inside: Learn how to sew a drawstring bag with this beginner friendly sewing tutorial. Sew a cinch sack for sports, dance or a day trip. Love this simple bag you can sew in minutes.
**Updated 6/2025, originally posted 2/2021**
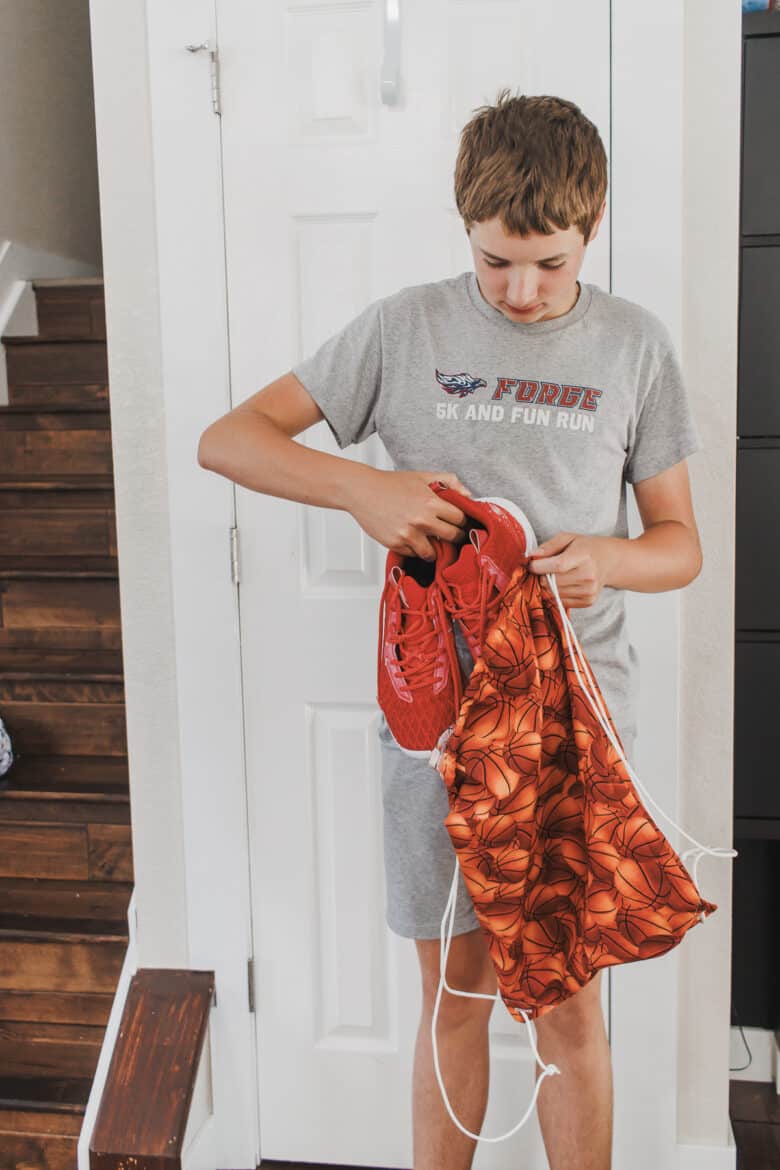
My son recently asked for a new drawstring bag. He had one like this, but the side had ripped out. The bag was one we had gotten at a race or other event like that. I had the cord on hand from sewing rope baskets and grabbed some sweatshirt fleece from my stash. {Note: at the writing of this update, this grey bag from 2021 is still going strong!} My kids ended up using it to hold shoes, so today’s update focuses on sewing cinch sacks to use for sports shoes.
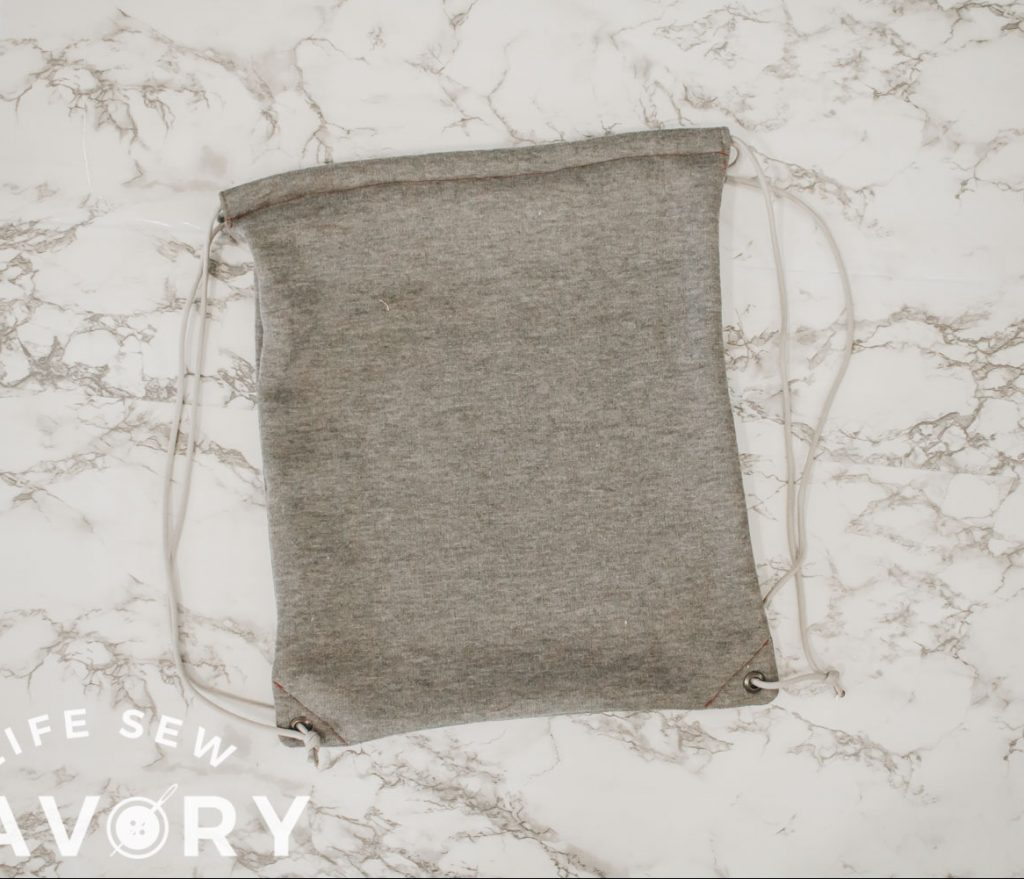

Make a Cinch Sack –
Like I mentioned above, my purpose for making this was a replacement bag for the one my son wore through. I used only materials I had on hand, but a nice rip-stop fabric I think would be perfect for this. You can also add a vinyl decal for more personalized fun.
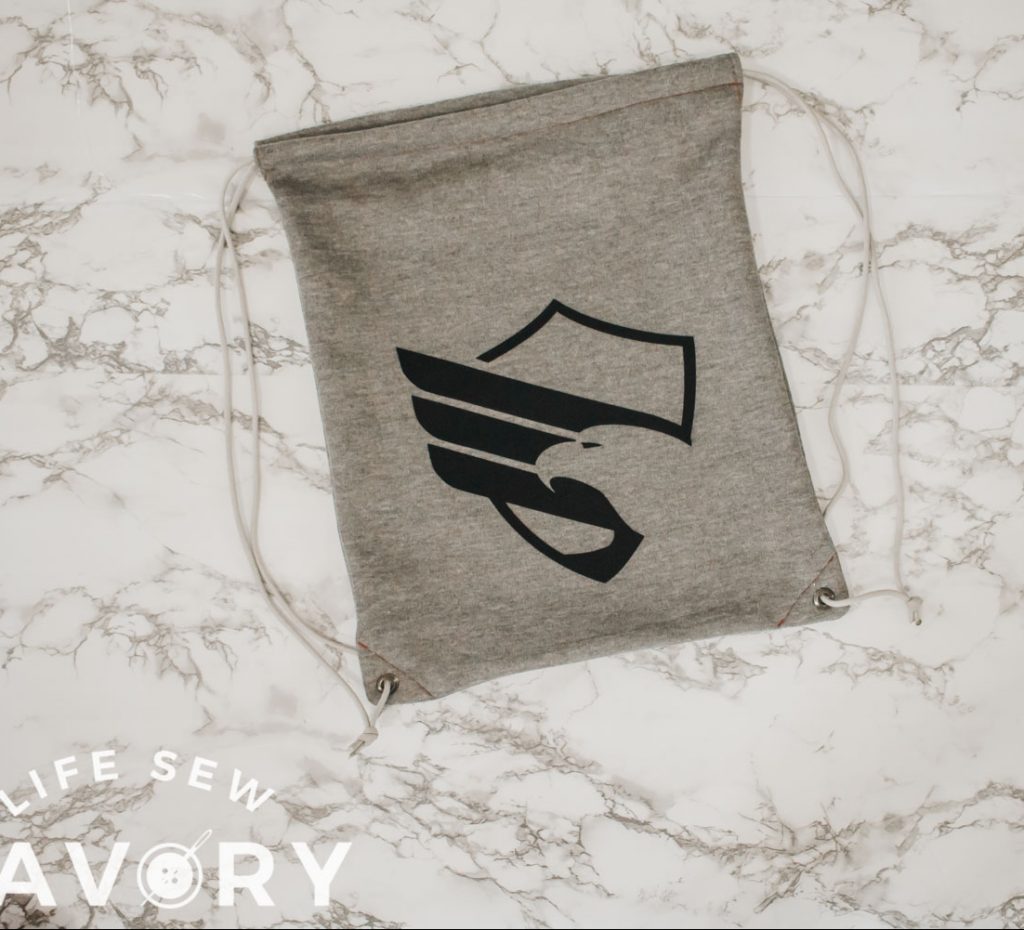
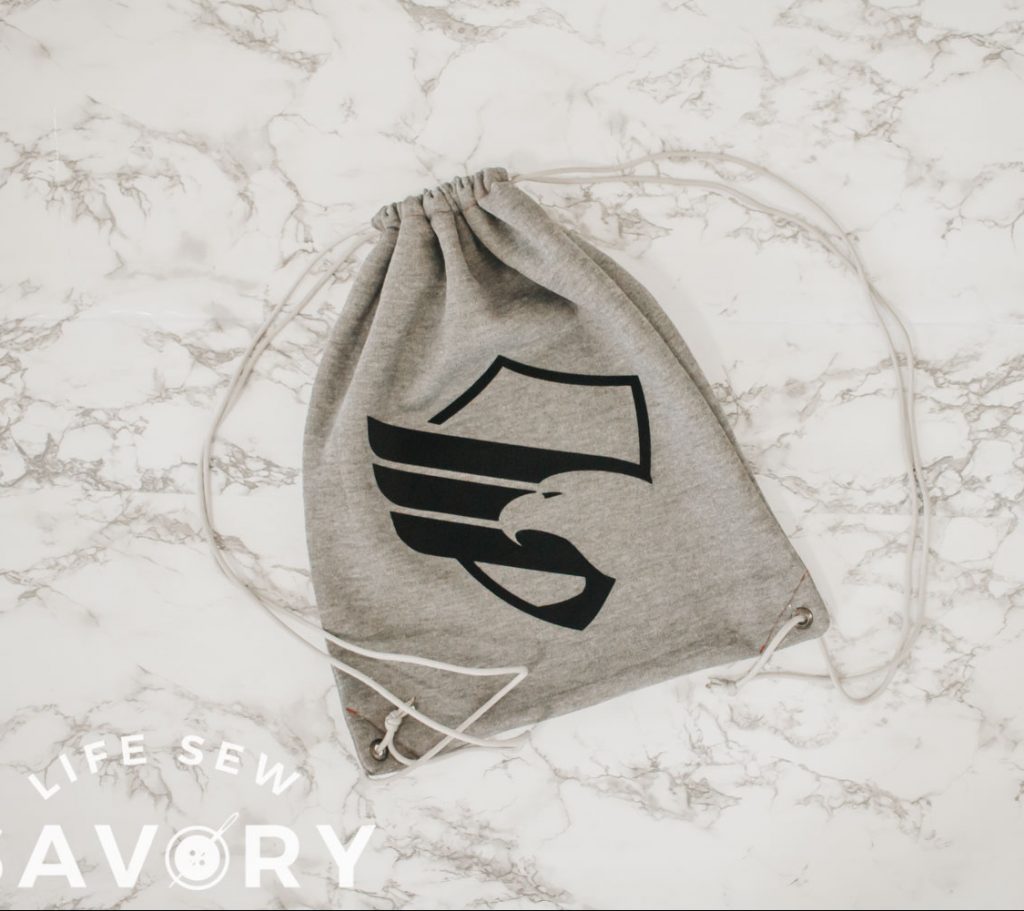
Since this is a bag for my sons sports shoes, I added our school logo to the front for a fun add on. Need help with heat transfer vinyl? Here are the basics.
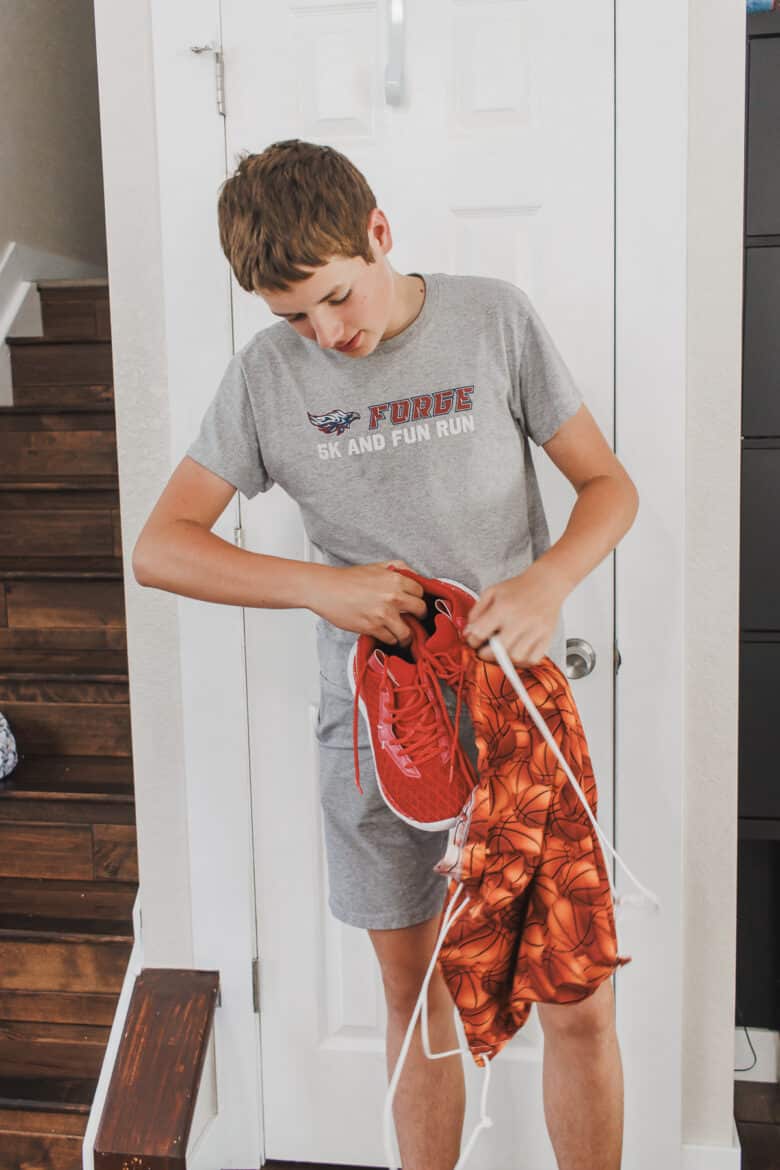
And then I got lucky because the shoes actually fit! I had forgot to measure before I made the bag, just went by a size that seemed good and the fabric I had… When I made some of the new bags I did add an inch or two to the width as my kids have way bigger shoes now.
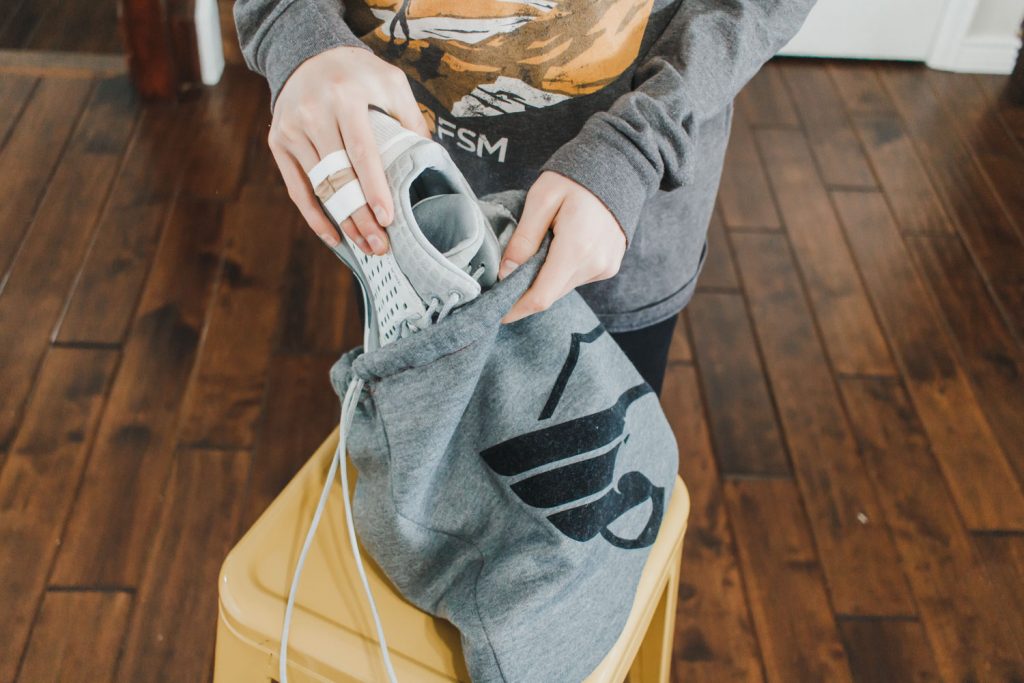
I’ll give you the updated size below, but you will notice these bags are just a bit bigger than the version I shared years ago. I also used fun sports themed quilting cotton that I found at Hobby Lobby {On sale!}


I made bags for basketball shoes, gold shoes, track spikes and our pickleball paddles. I still have a couple more to sew, but personalizing the fabric is a great way to know what’s inside each bag without opening.
A few other Simple Bags for Kids
Cinch Sack tutorial video-
How to sew a drawstring bag –
Time to jump into the beginner sewing drawstring bag tutorial.
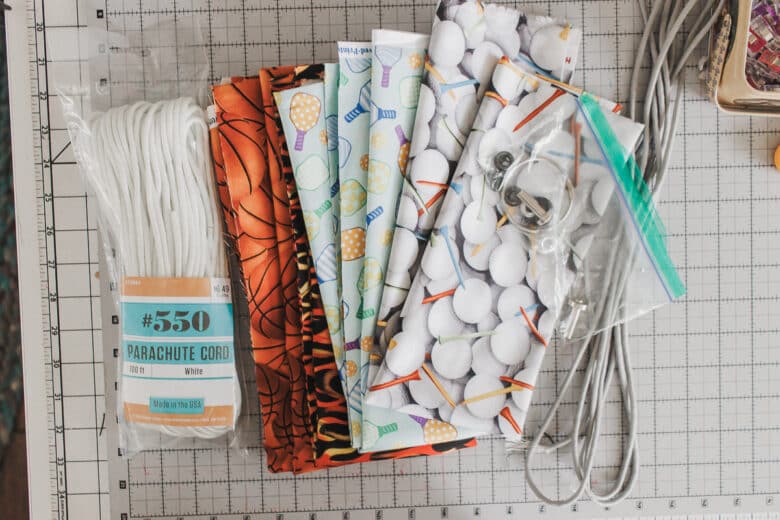
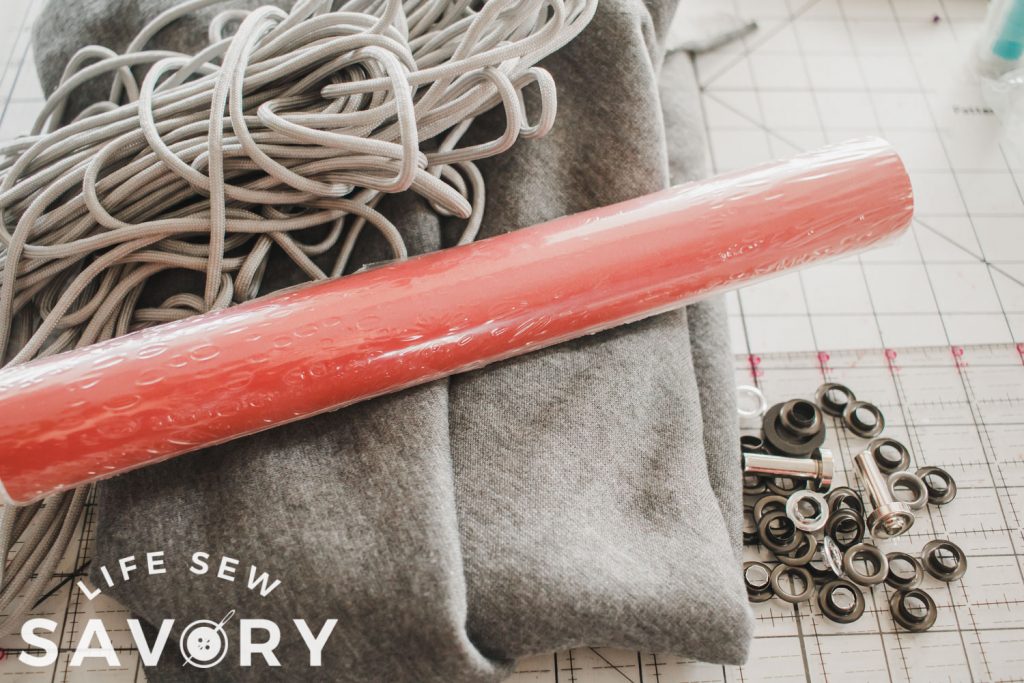
Supplies for making a drawstring bag –
- Fabric – You need 1/2 yard per bag if the fabric is 44″
- Sweatshirt fleece {what I used}
- Ripstop type fabric
- Any other fabric you want – I used fun themed cotton as well!
- String/cord
- Grommets {optional}
- Small bit of interfacing
- Optional: Vinyl
You can cut your bag really any size that you want, but here is the size I made. Cut TWO pieces of fabric 14″ x 18″. For the larger bags I cut my fabric 15/16″ by the 18″ high. {Still cut TWO}
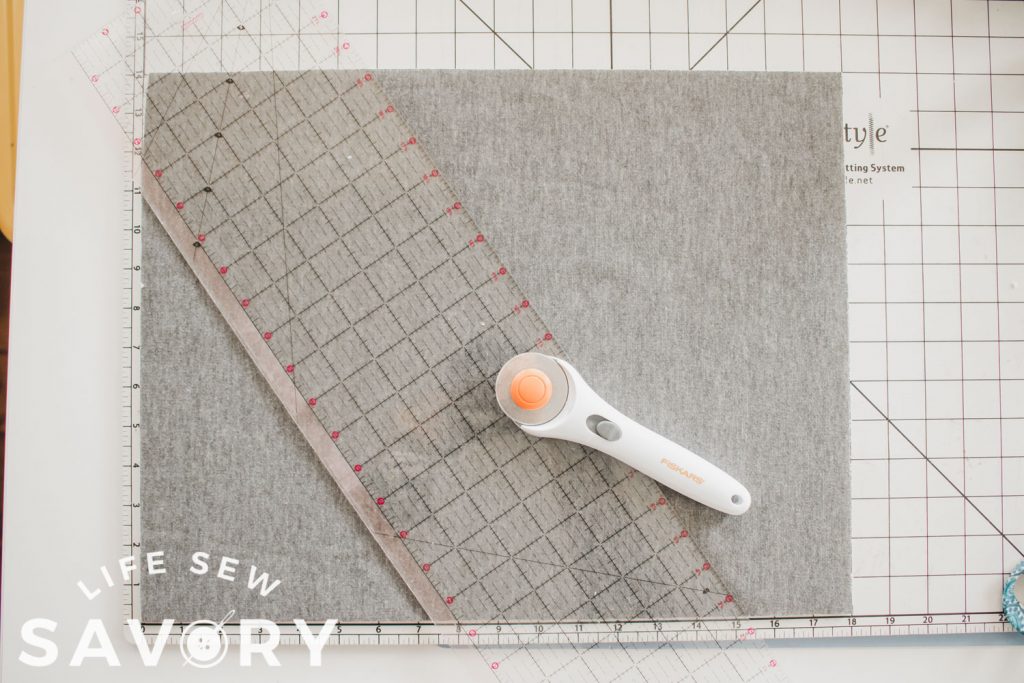
NOTE: if you are using cotton {or any other fabric that frays} finish all four edges with a serger or zig-zag stitch before proceeding.
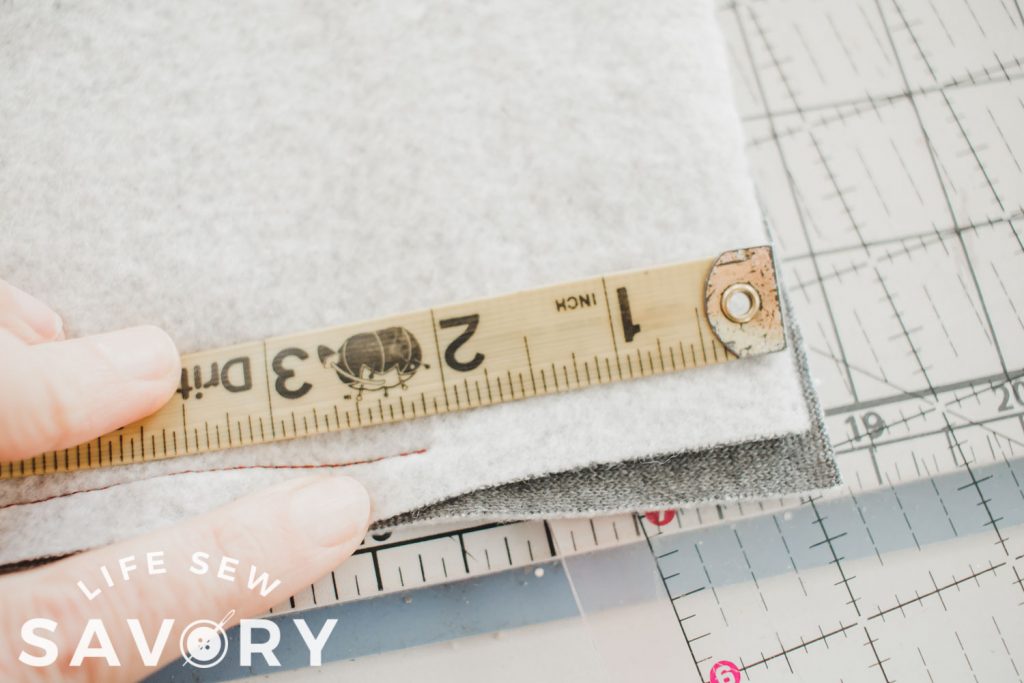
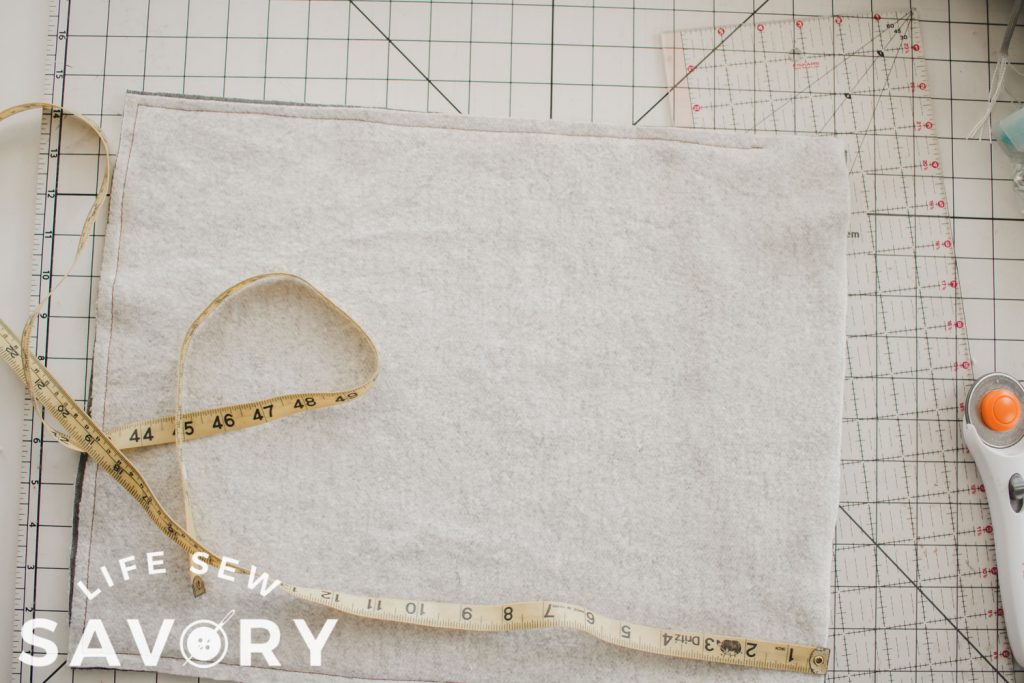
Place the two pieces together with right sides touching. One of the shorter ends is the top. Measure 2″ down from the top on both sides. Then sew around the three sides, stopping the 2″ from the top. Use a 3/8″ seam allowance.
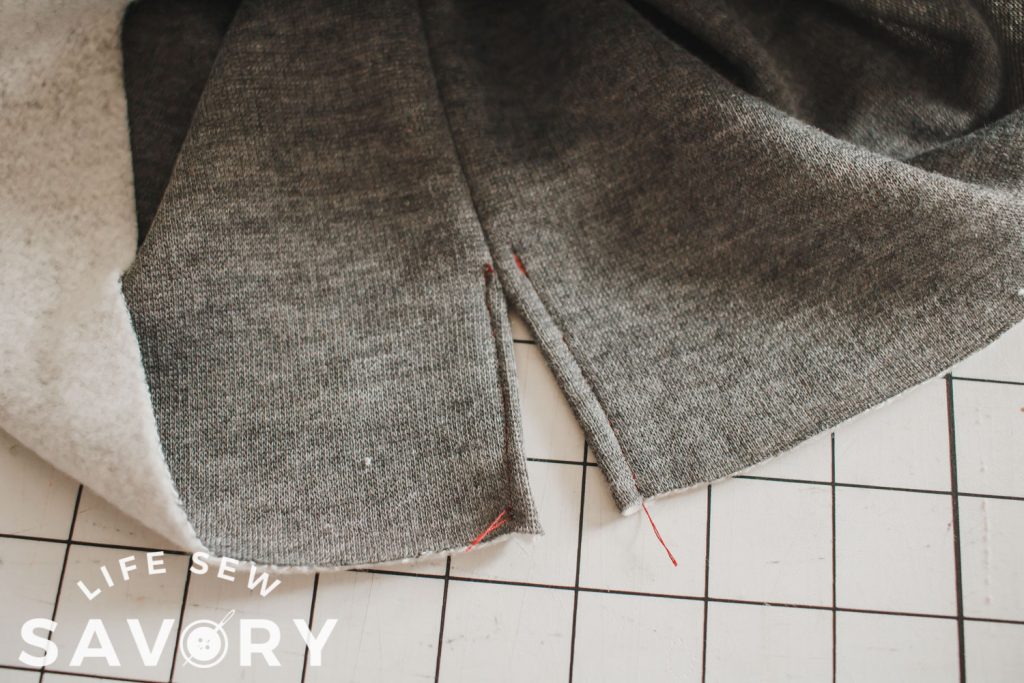
On the side seams, fold over the seam allowance from where the stitching stops to the top of the bag. Sew the fold over to finish the edges as shown in the photo.
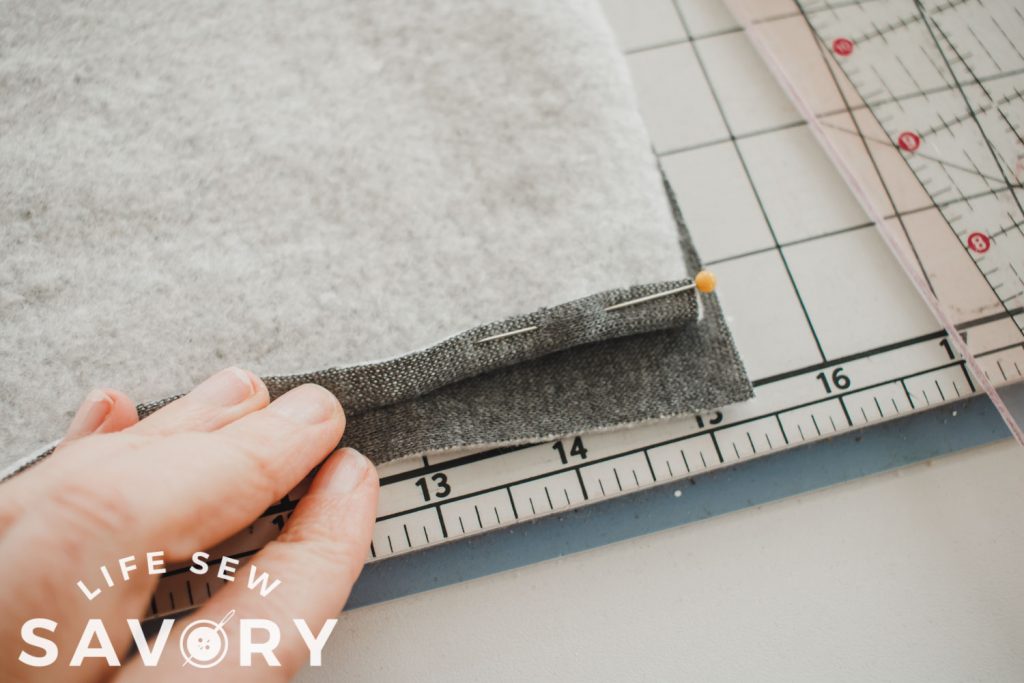
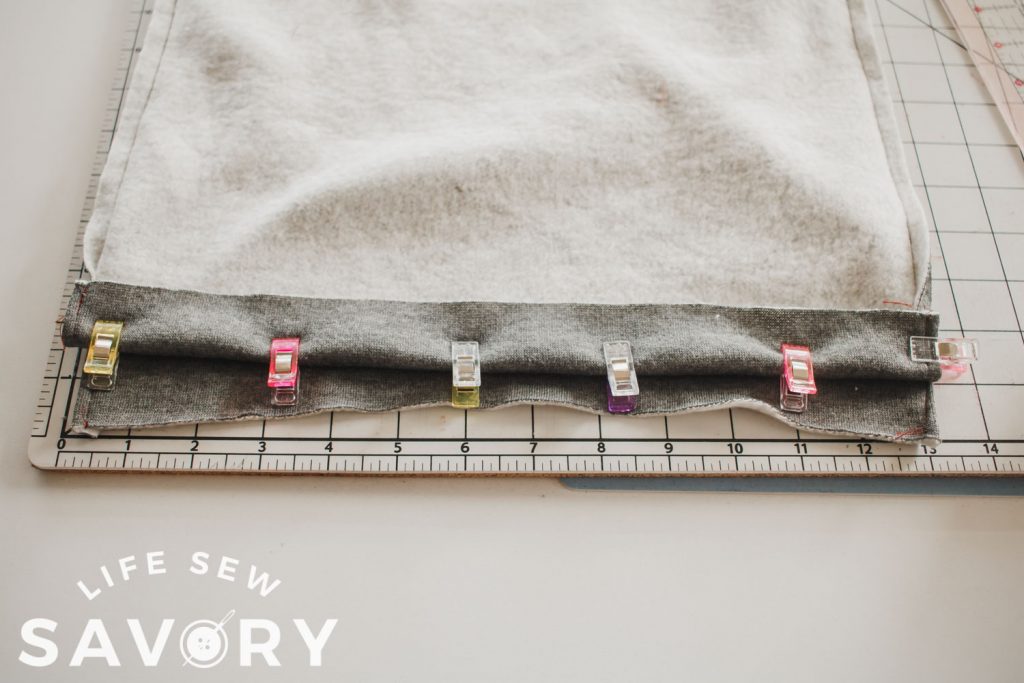
Fold back a 1″ top casing. Sew along the edge to create a casing and top hem.
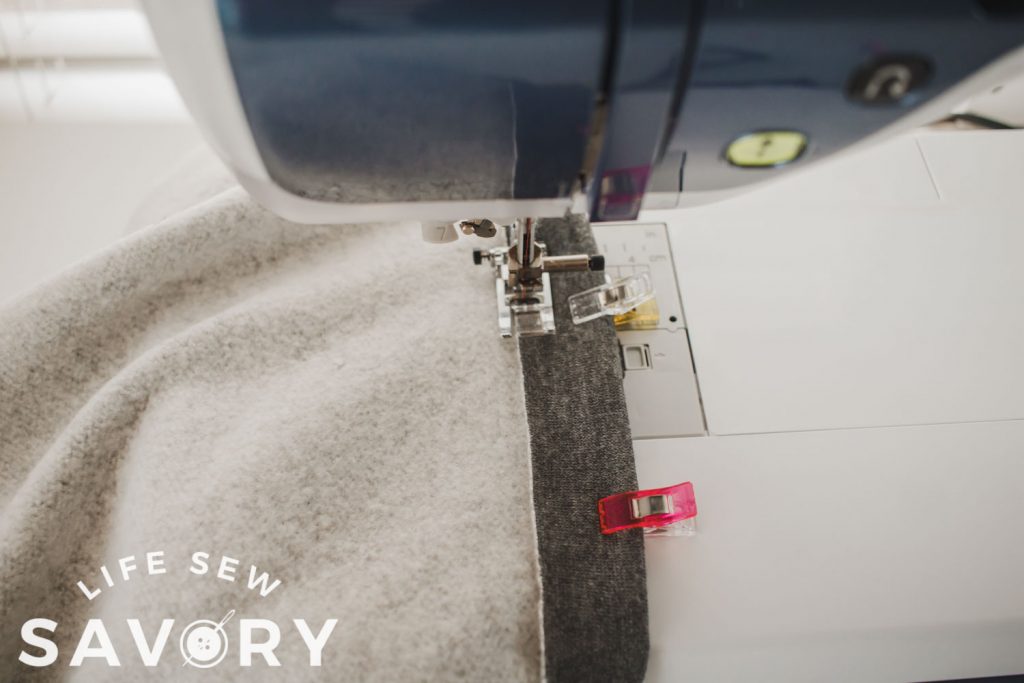
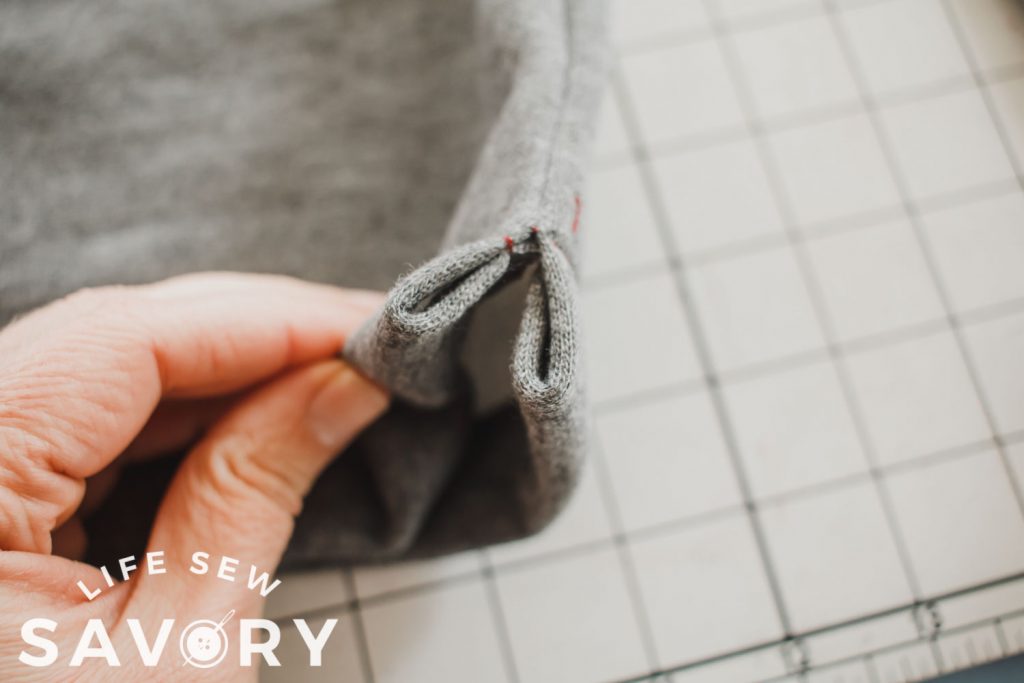
Here is what the edge of the casing looks like.
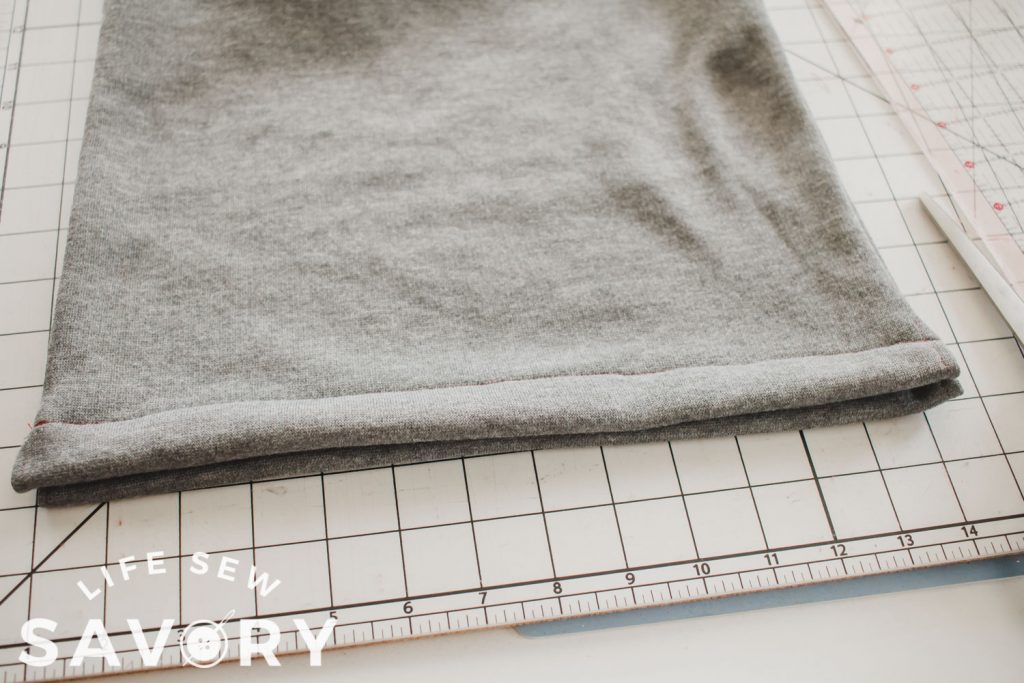
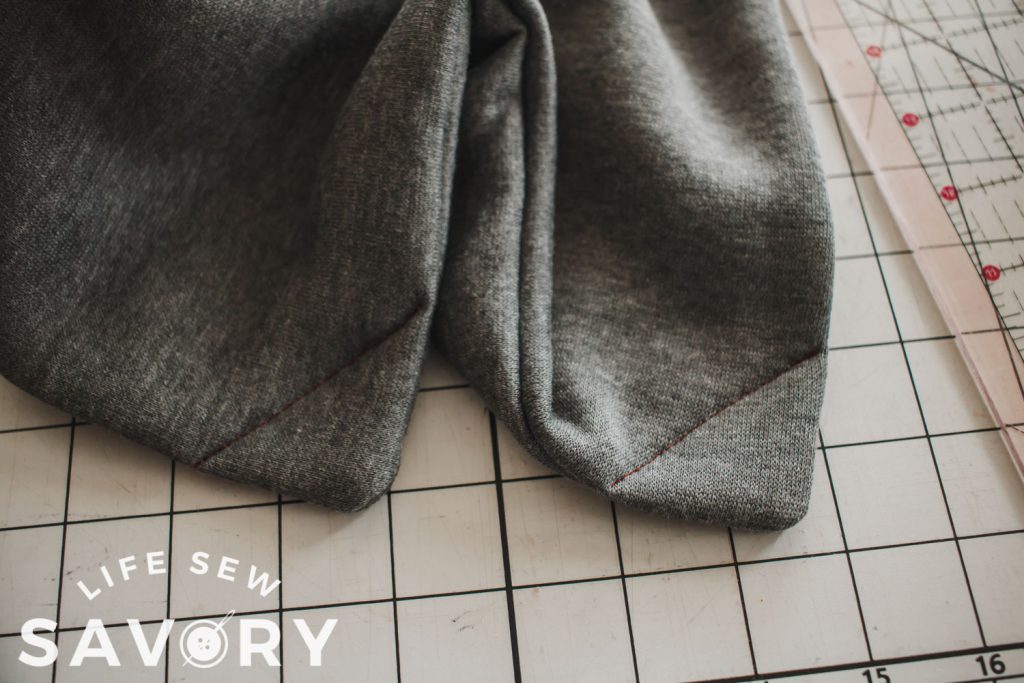
Turn the bag inside out and find the two bottom corners. Cut just a bit of interfacing and place it in the corners. I used an iron to fuse the interfacing to the fabric.
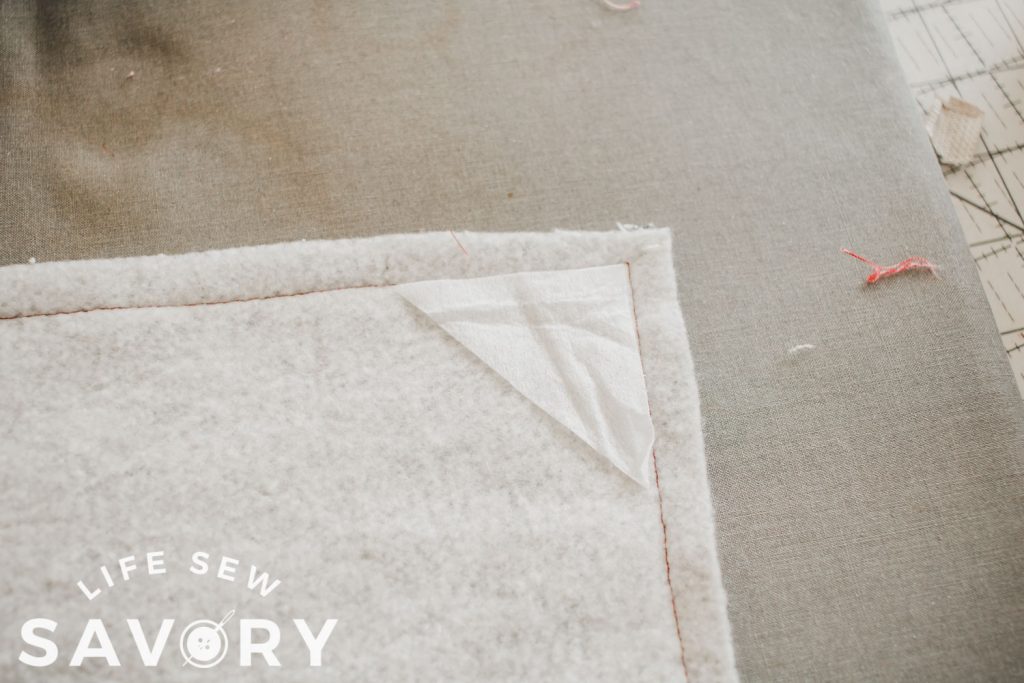
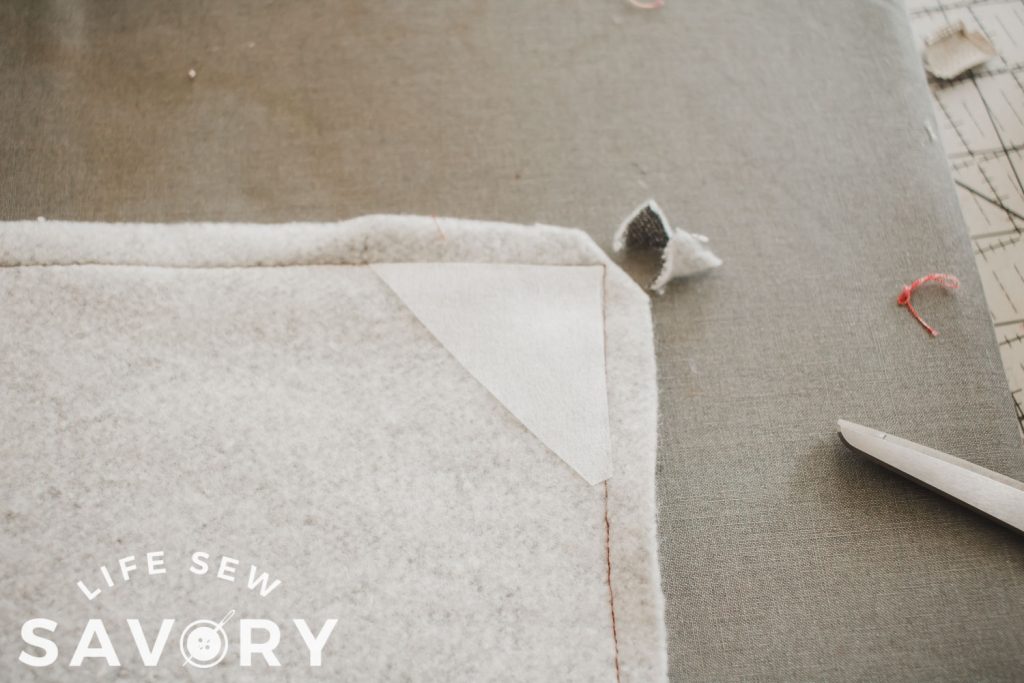
You can also use adhesive stabilizer to reinforce the corner. This was really easy, as it was just peel and stick! Do both sides of each corner.

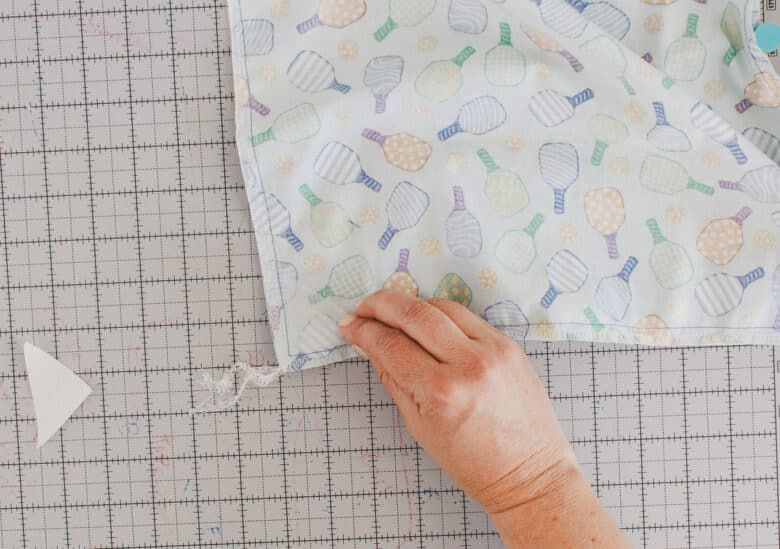
Turn the bag right side out and then stitch at the corner to secure the interfacing.
- Cut a small hole for your grommet
- Place the back of the grommet through the hole
- Place the other side of the grommet in place
- Use a press or a hammer to set the grommet.

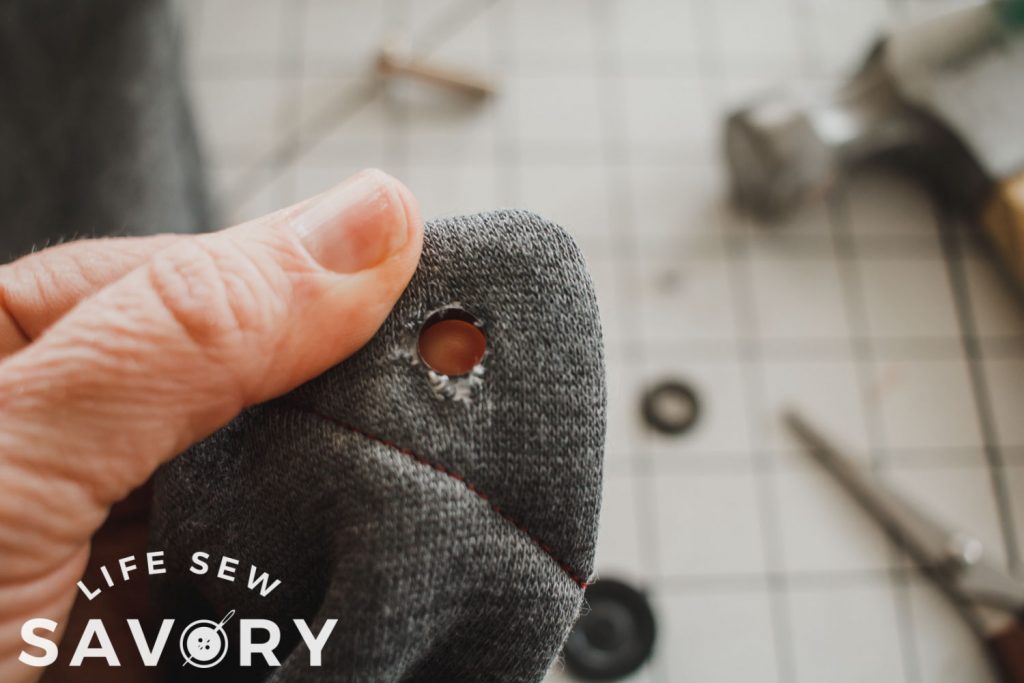
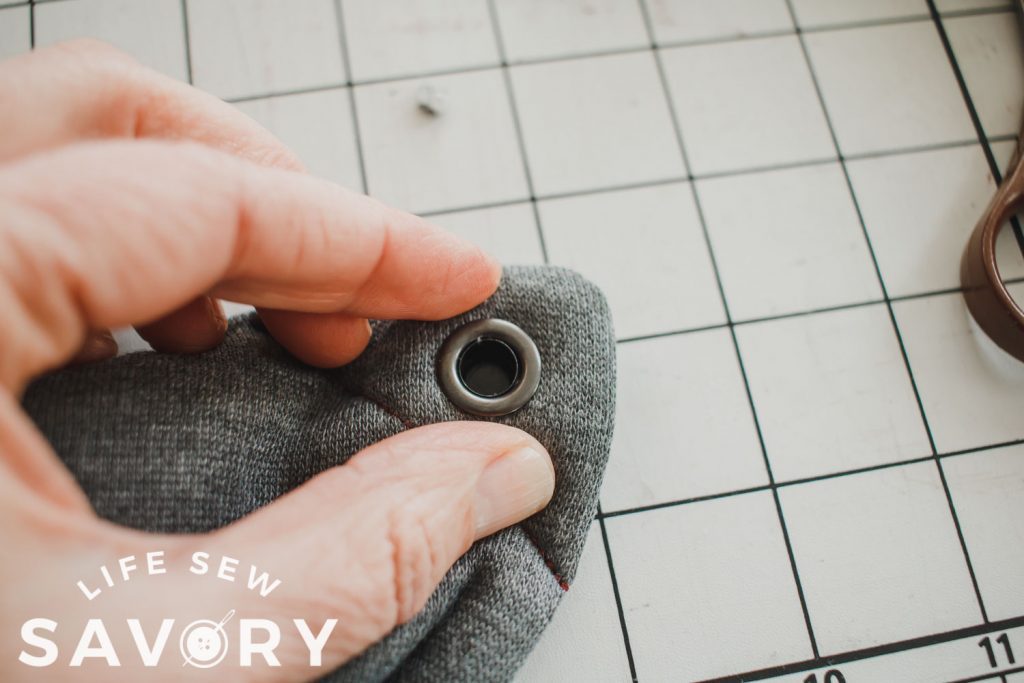
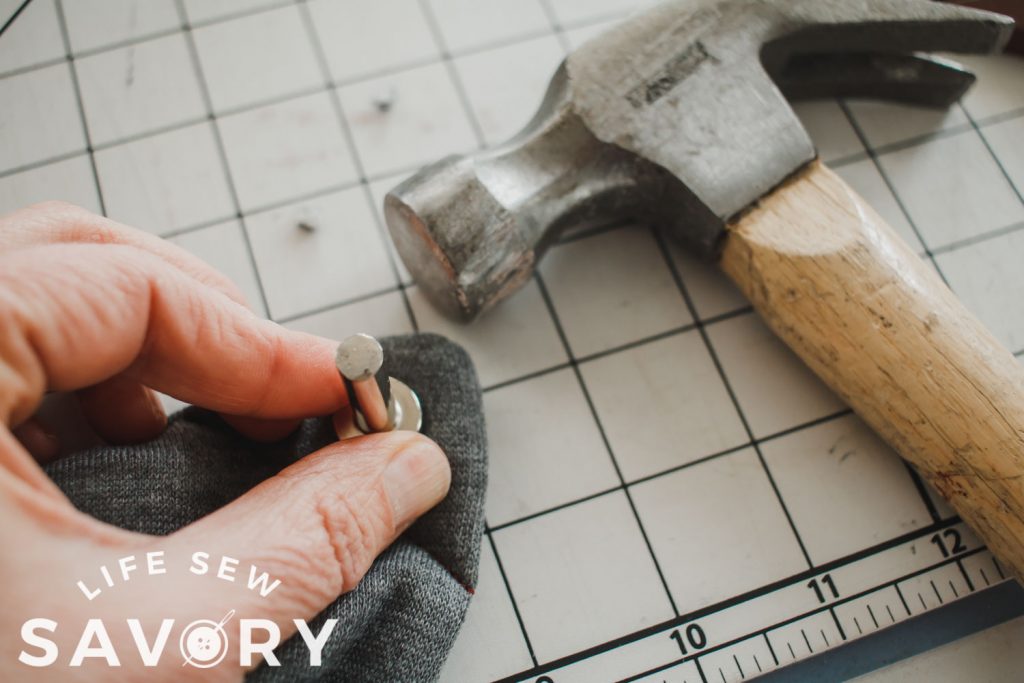
Completed corners of the drawstring bag.
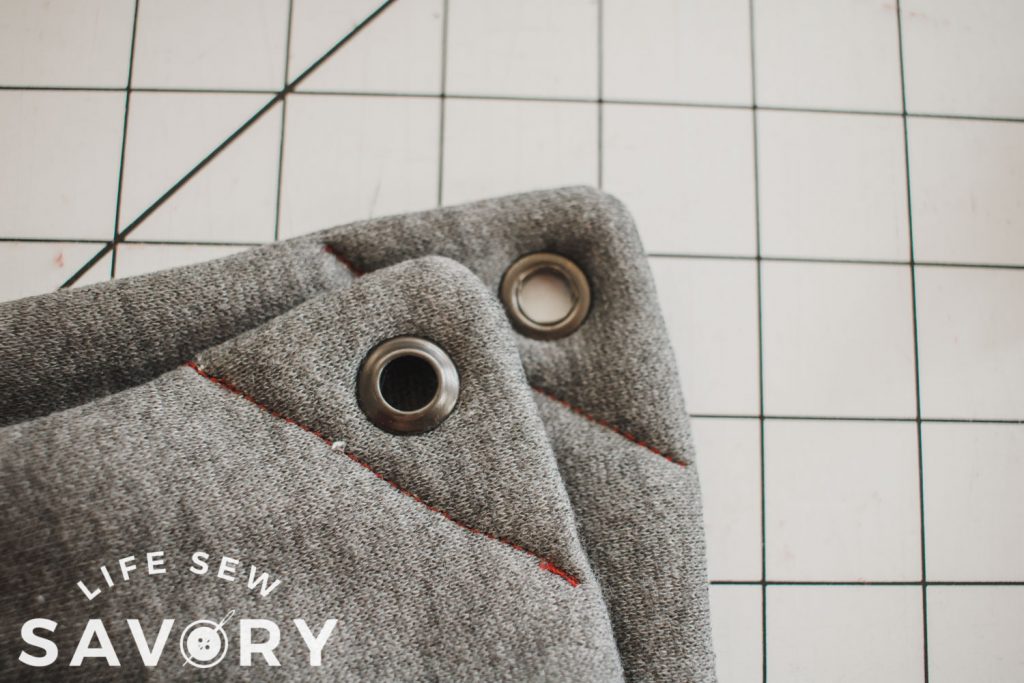
You can also just sew a button hole on the corner for same purpose.
Now it’s time to cut the strings. You can cut longer or shorter straps, but here is what I did. Start at one grommet and place the string up one side and then across the top. Fold back to where you started and cut the cord.
Cut one more this same length.
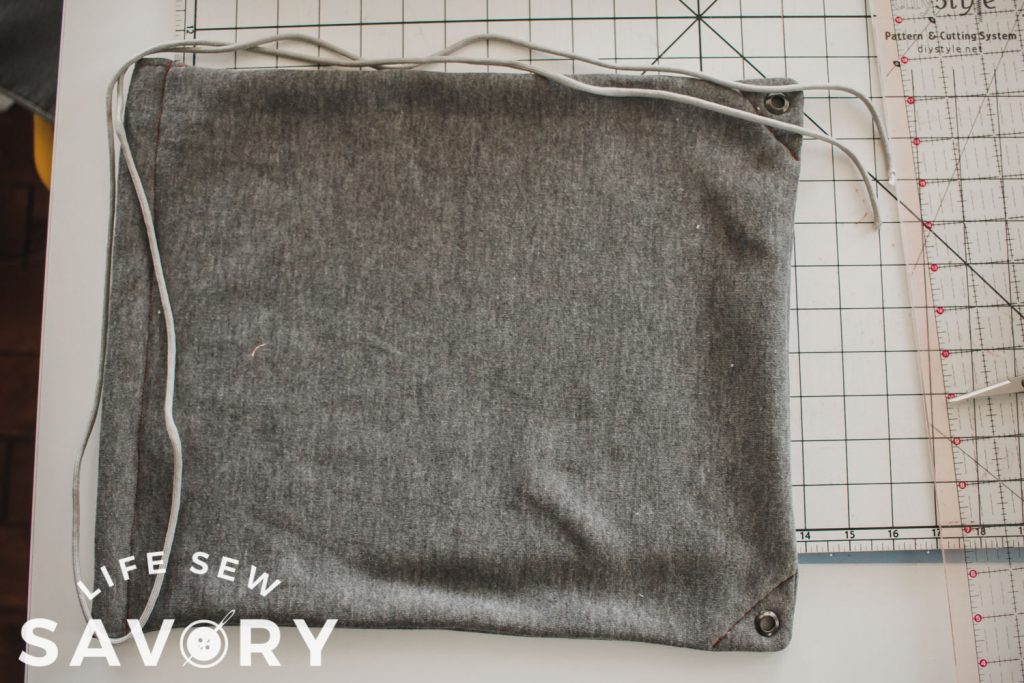
If your cords can fray, use a flame to melt the ends so they stay secure.

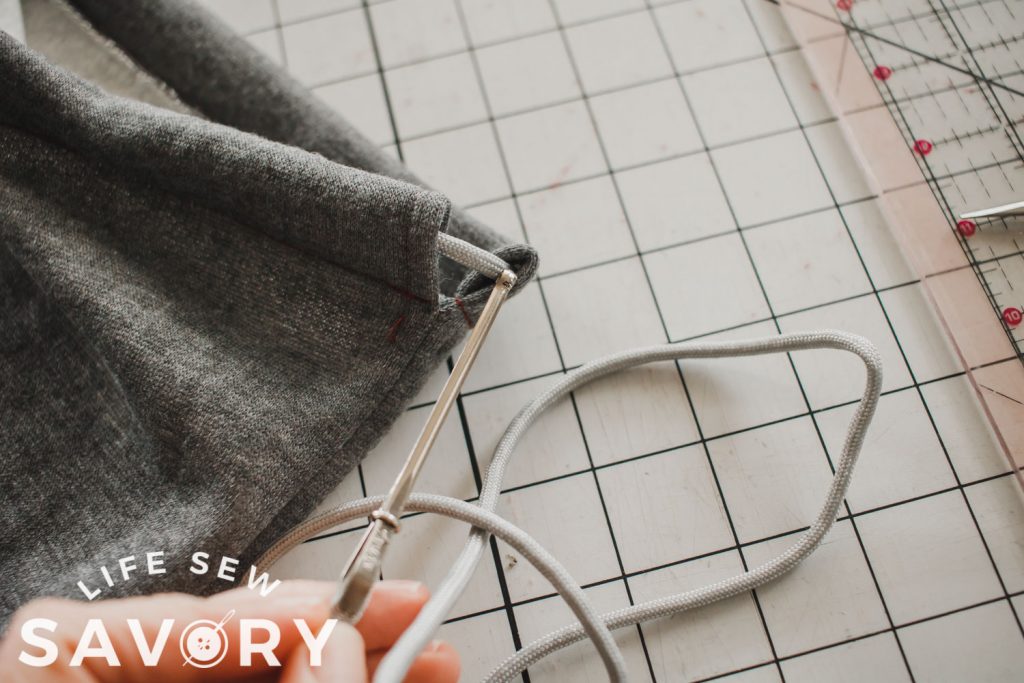
Thread one cord through a single side of the casing, when you get to the other side, thread the cord back through the other side.
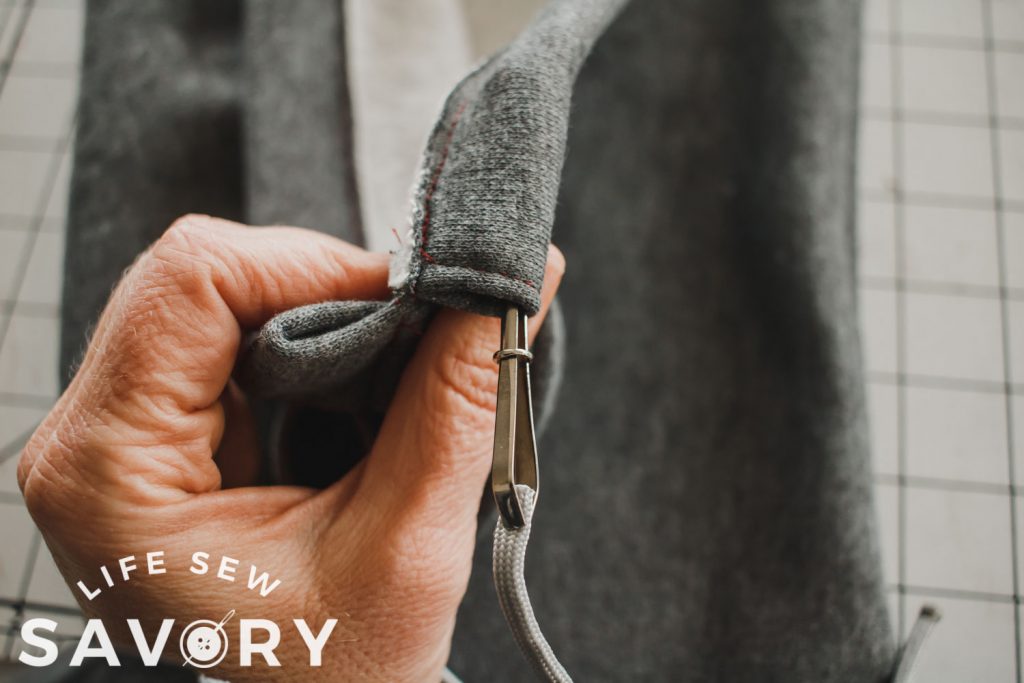
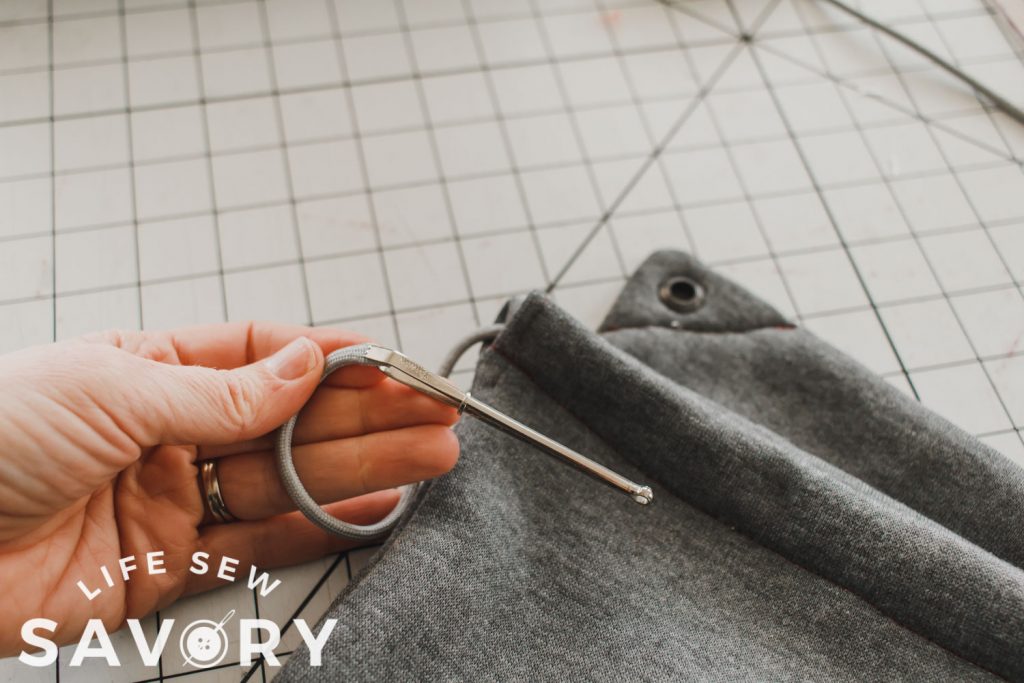
Center your cord in the casings and then down through the grommet, tie to secure.
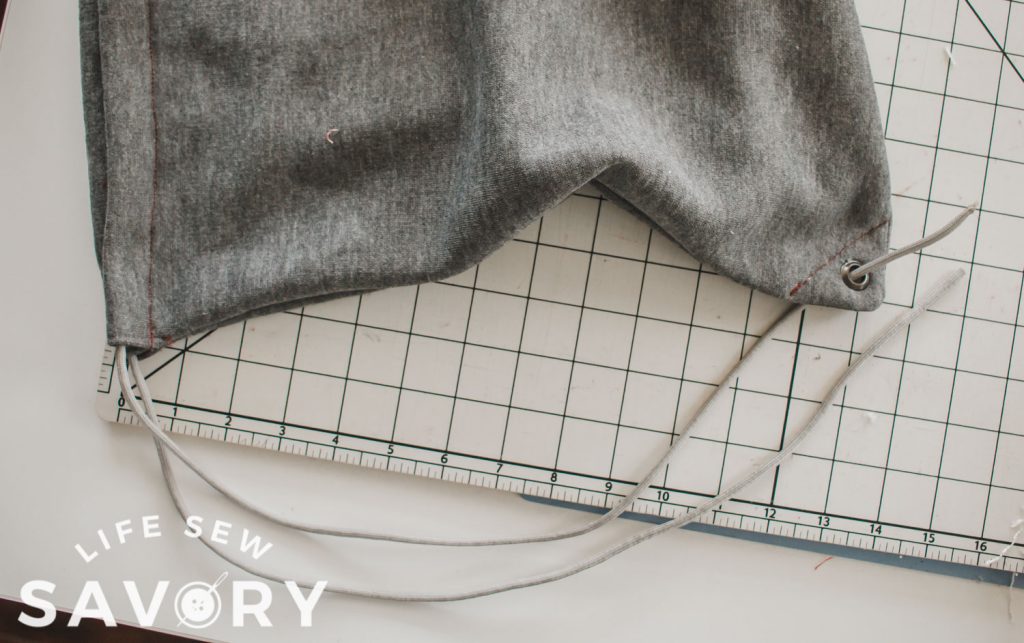
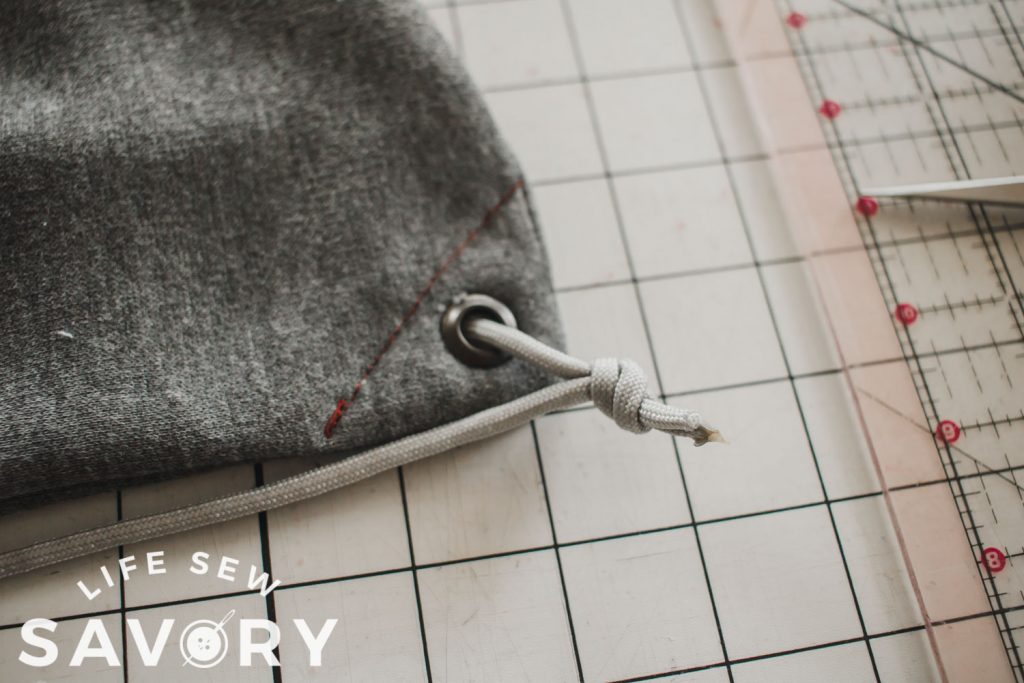
The second string is threaded opposite to the first one. Start on the side of the casing with the folded cord. Go through one side of the casing, then turn and go right back through the other side. Even the corn and then tie to the grommet on the opposite side.
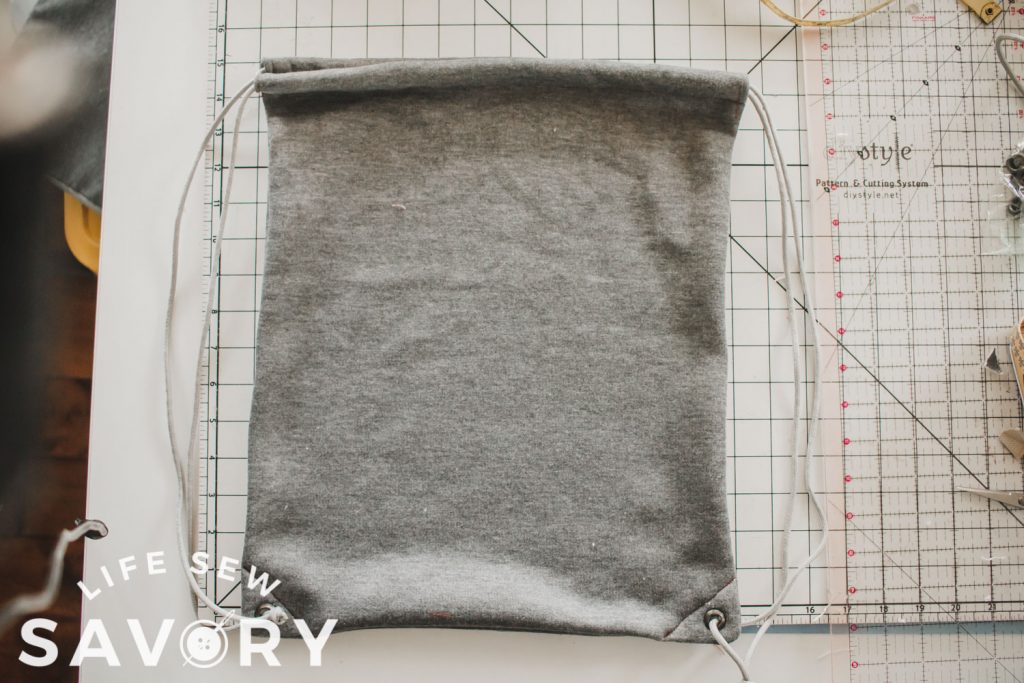
how to sew a drawstring bag in minutes
And that’s just how easy it is to sew a drawstring bag. This is a useful project that anyone can sew. Beginner or advanced sewer its a project my kids love to use.




susan parisey says
Thank you for the tutorial. I needed a bag to transport some oddly shaped items so I went through my stash and found some upholstery material remnants and whipped up this bag. Very easy and your instructions were easy to follow.