Remember the Ice Cream of the Future? Dippin’ Dots? Well, the future has come and gone and these dots are no where to be found. They are however, very fun to make and more fun to eat, so let’s go back to 1990 and make some DIY Dippin Dots today. These are SO COLD they are steaming!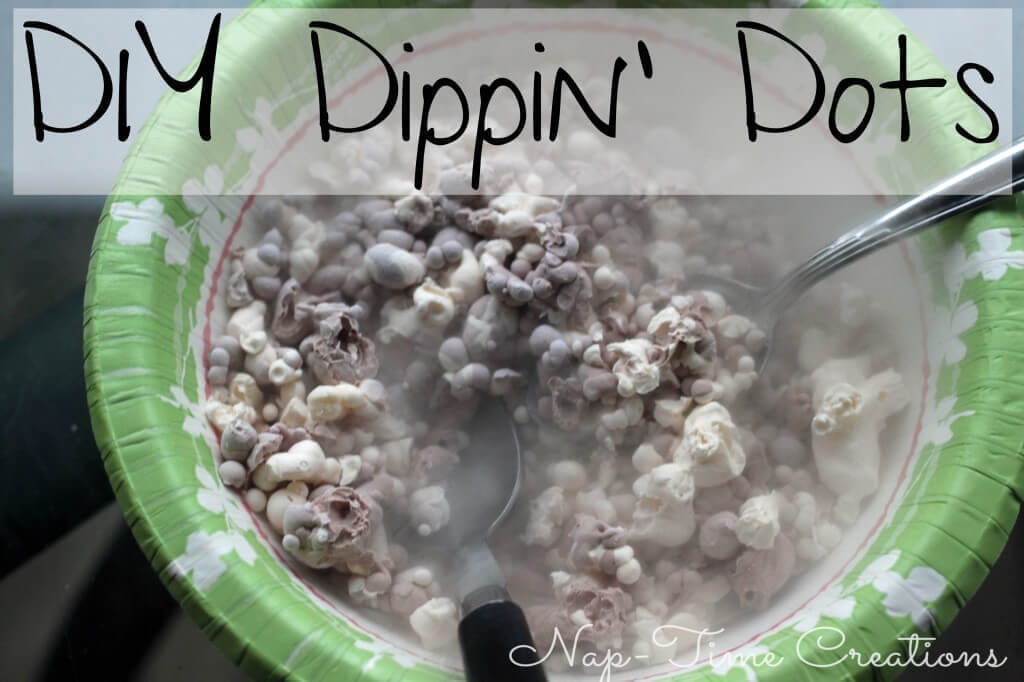
The problem with this DIY recipe is that you will need to know someone in the medical field to get the supplies. I just don’t know where to get the items otherwise. My brother is a Vet, and he got this all organized. So grab your neighborhood Dr. or Vet and gather these supplies..
DIY Dippin Dots
Ingredients
Instructions
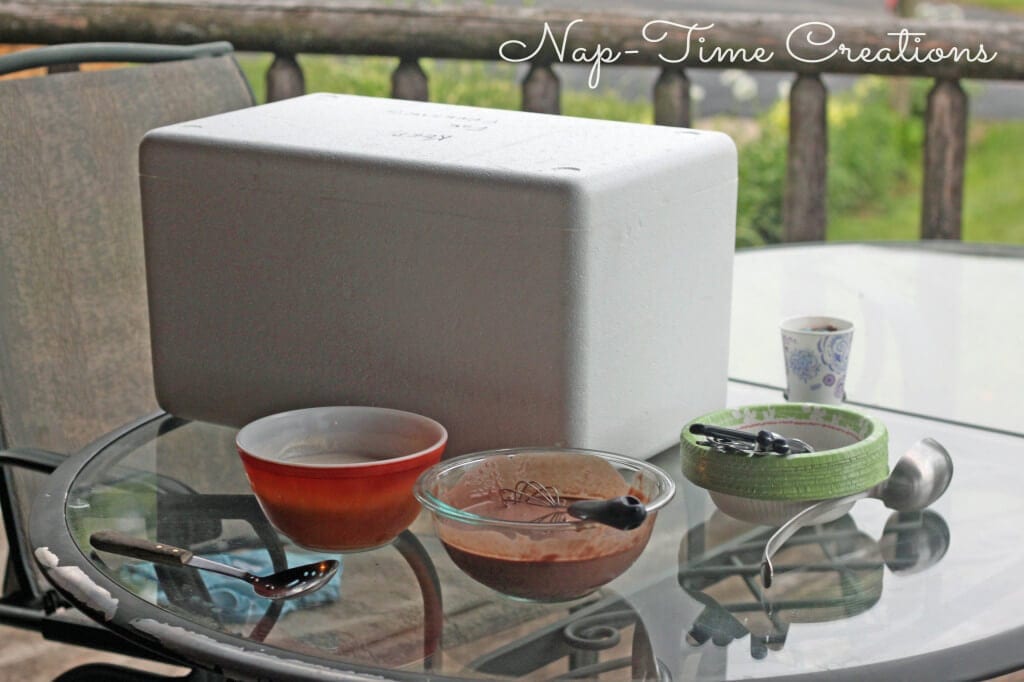
Cooler, melted ice cream, slotten spoon and syringes ready!
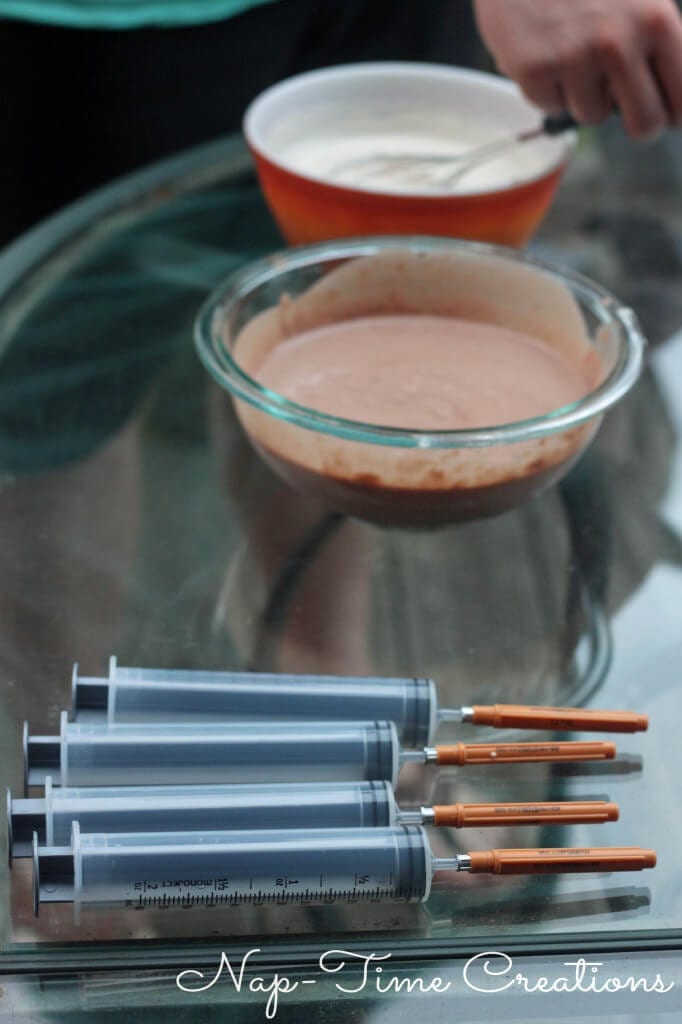
Melted ice cream separates a bit so stir well. The ice cream mix doesn’t separate. Fill syringes.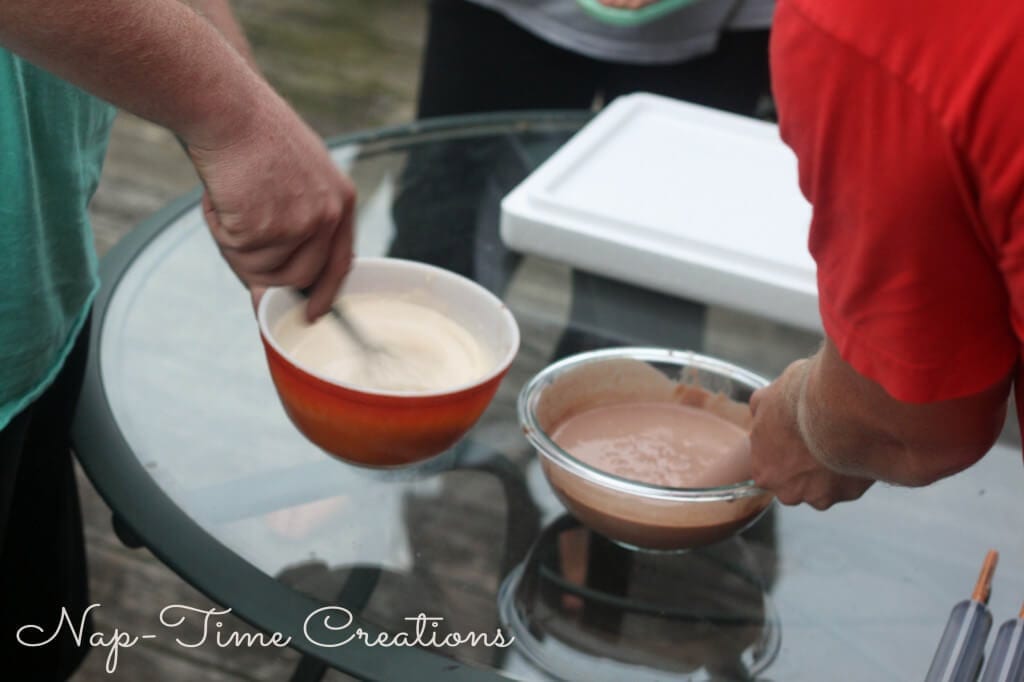
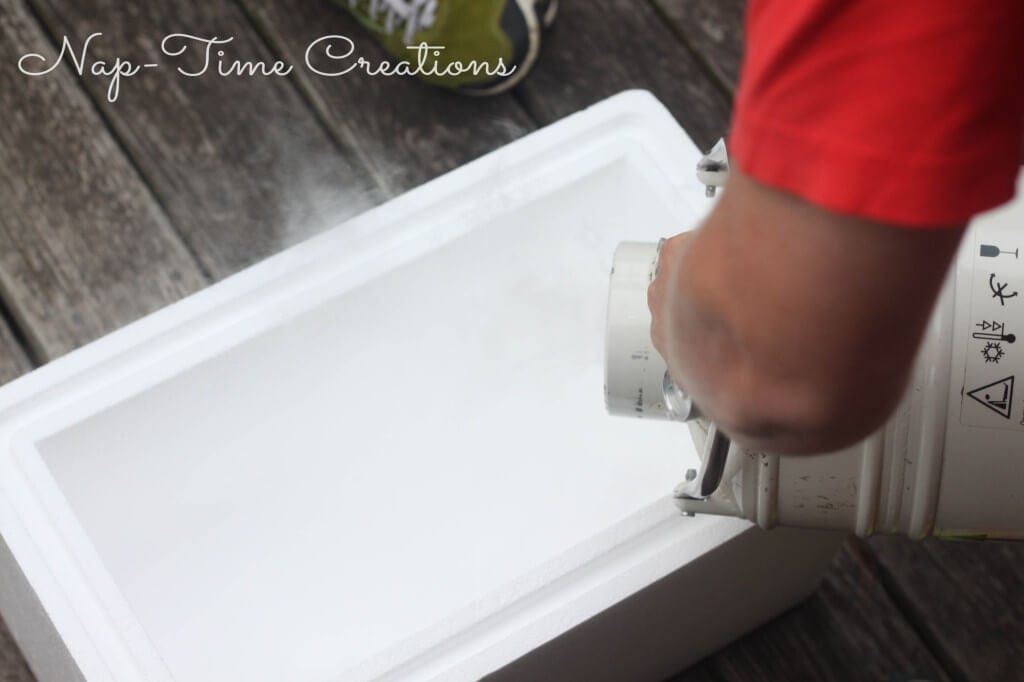
![]() Drip into the cooler filled with liquid nitrogen.
Drip into the cooler filled with liquid nitrogen.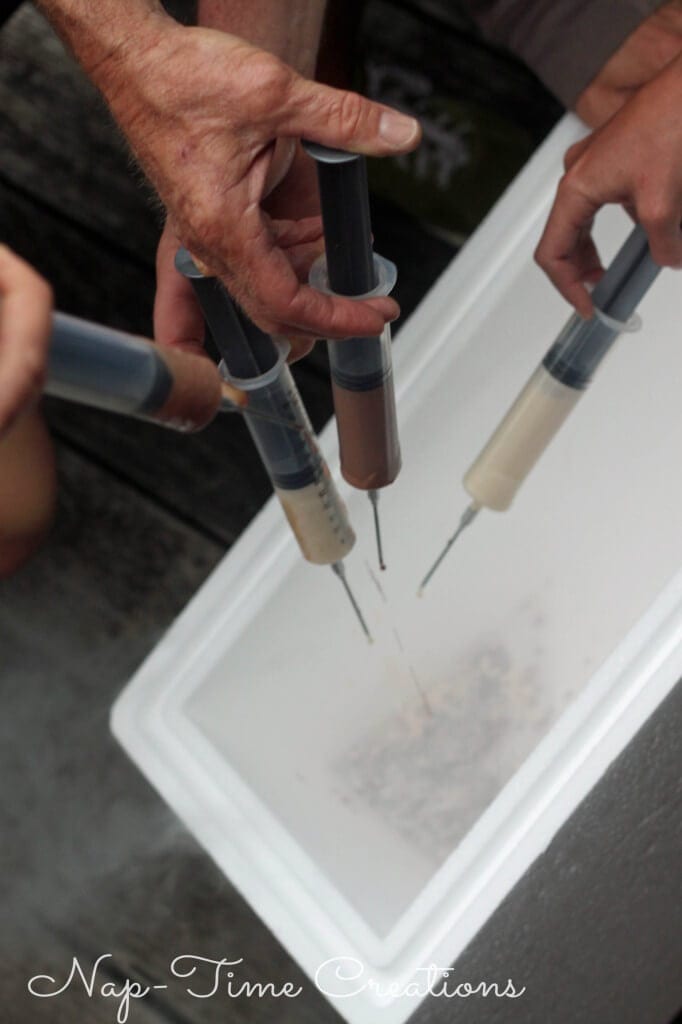
It’s pretty steamy, but you can see the dots forming. Keep going until dry ice or ice cream is gone. Scoop out and enjoy!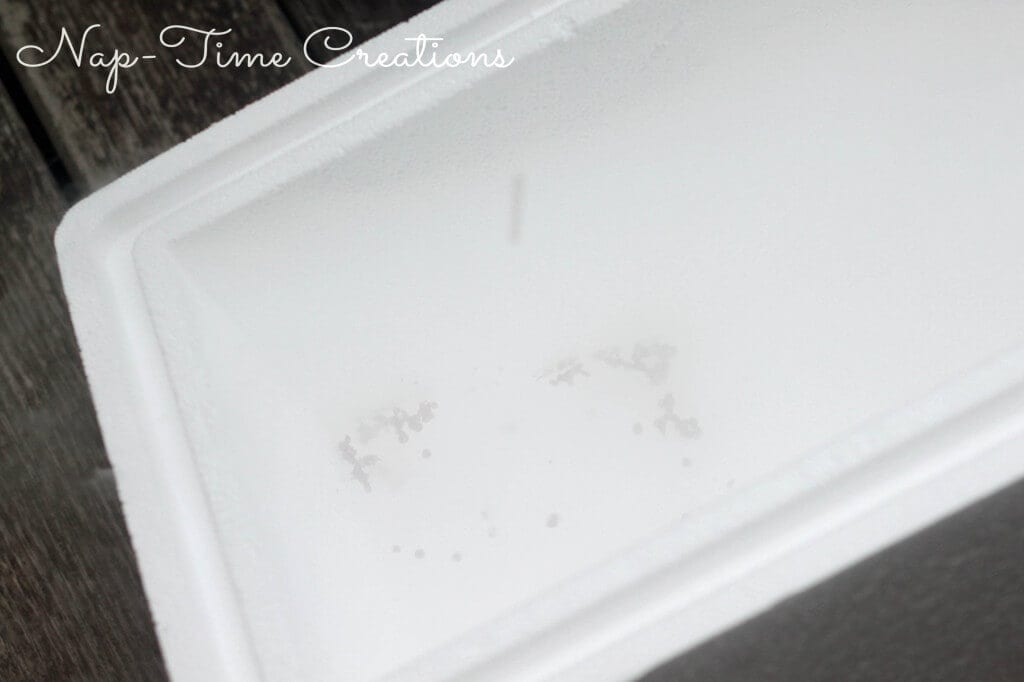
We had a blast making these DIY Dippin Dots with my extended family over the holiday weekend. We ran low on liquid nitrogen, so only got one big bowl, but there was enough for us all to have a few bites and we really enjoyed the taste. Remember to wait a few minutes to eat, you can see how cold they are by the steam coming off them. 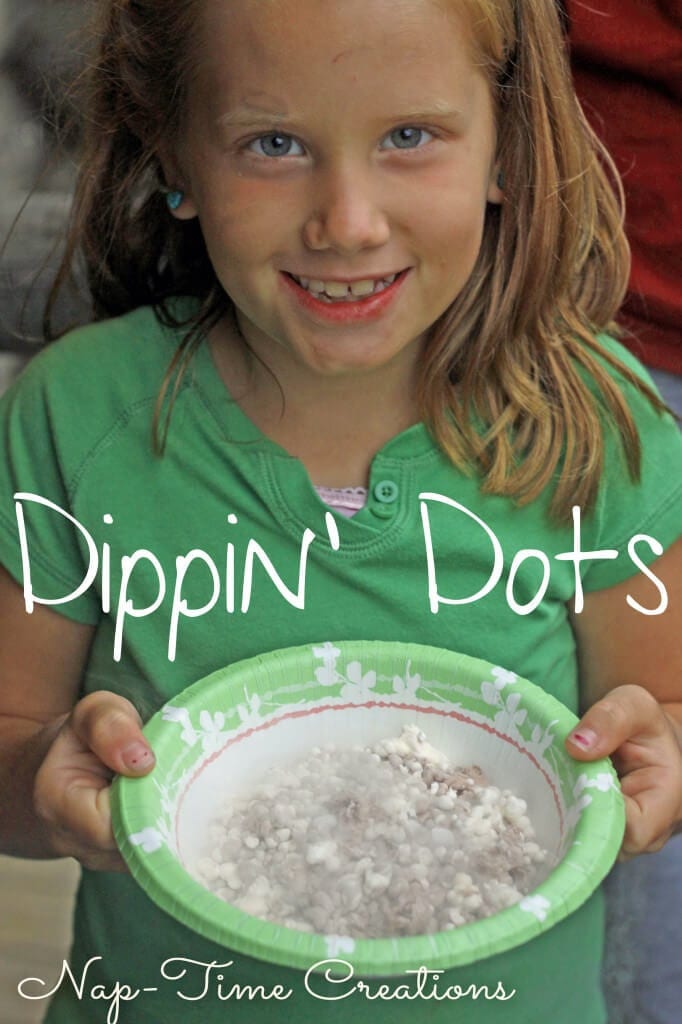
For other fun summer time recipes see:






Evelyn @ My Turn for us says
What fun!! Would love to try with the Grandkids!!
Pinned!!
Hugs
Heather Painchaud says
Very cool! Thank for sharing 😉
xo
Emily says
thanks!!! we had fun making them!
Toni says
That’s so cool! (Haha, pun intended!) This would be such a fun experiment to share with the kids!
Emily says
it was fun to make, although you do have to be careful. the kids loved to watch! AND EAT!!!
Mel says
Oh that is so much fun, what a great idea
Jessica @ Cutesy Crafts says
What?! I had no idea you could make this yourself! How fun!
chiropractors fairfax va says
Great post.