It’s free pattern Friday!! This is a cute one! Before Christmas I drafted up this Criss Cross Jumper pattern to send to my nieces. And today, I’m sharing this free criss cross jumper pattern in size 2-6T with all of you! I’m open to making it larger, I just wasn’t sure if there would be interest. It’s a bit of a little girls’ dress, but if you would like it in a larger girls size, please let me know! Have you joined the Nap-Time Creations FB group? It’s a great place to ask questions and keep updated on all my free patterns! You can find my page of free patterns here.
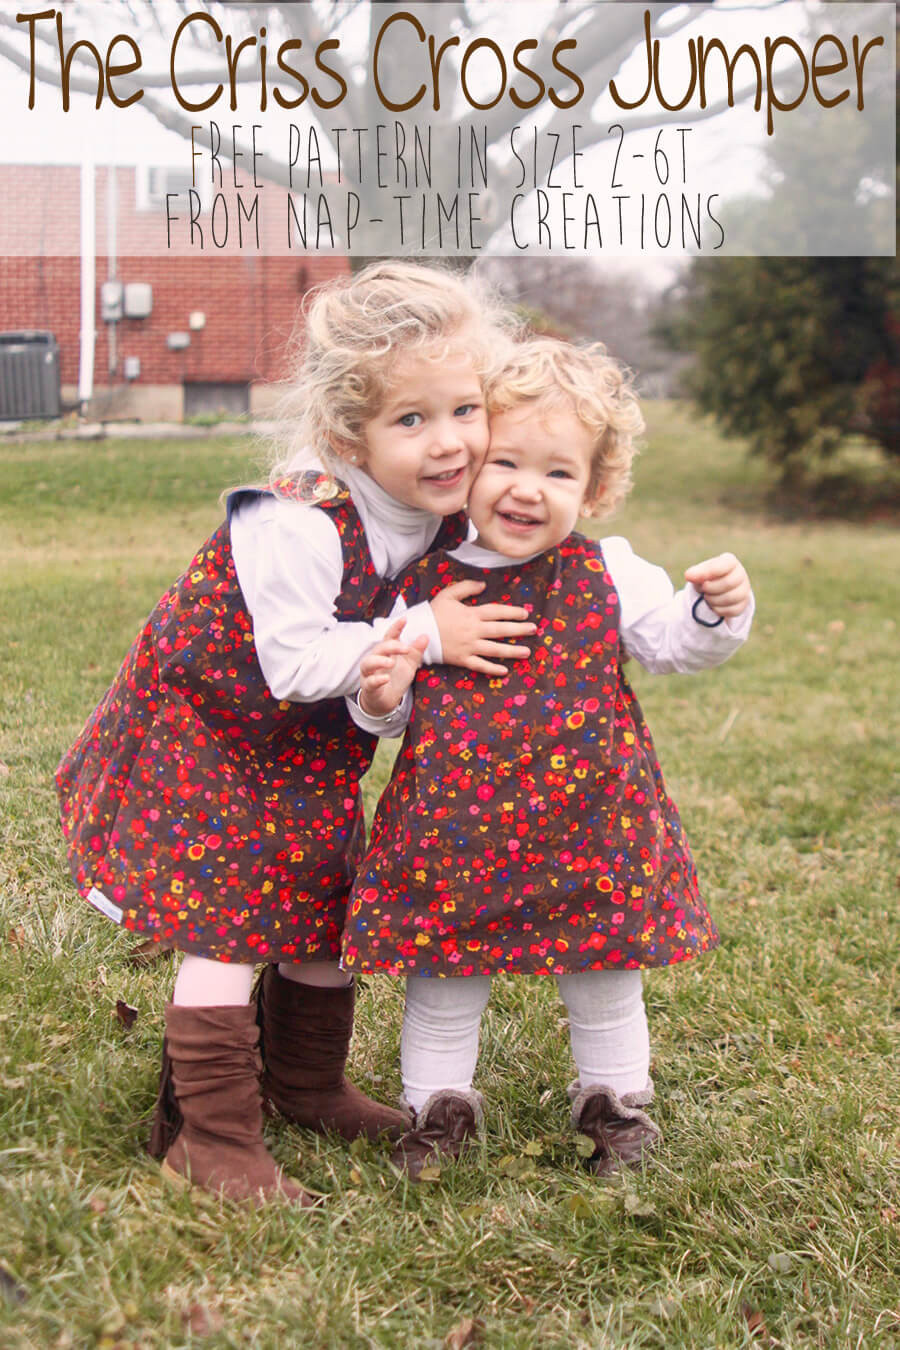
Free Criss Cross Jumper Pattern
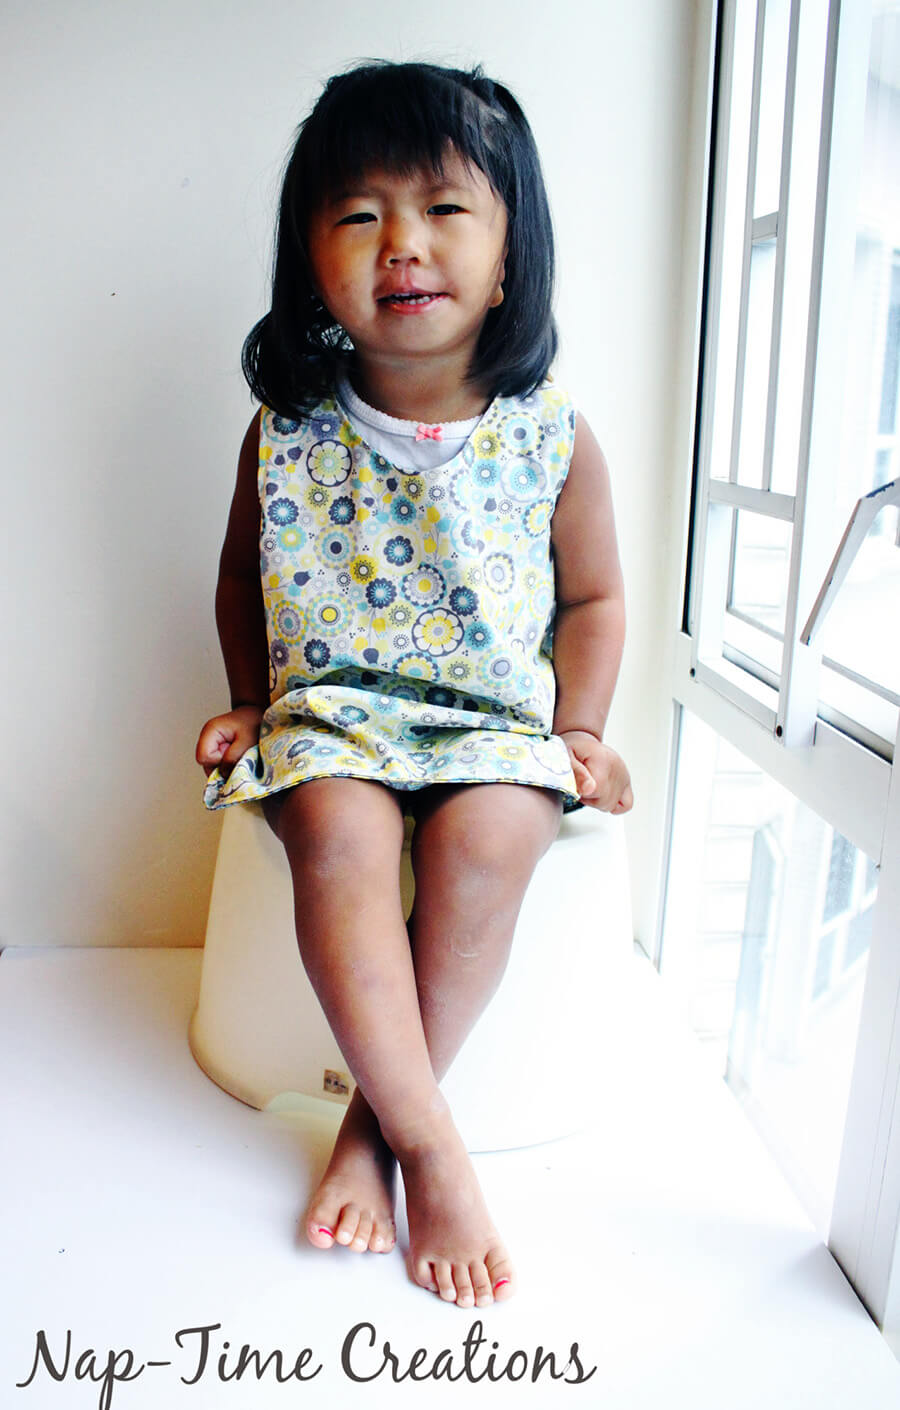
The great this about this pattern is it’s for all seasons! Above I made it with corduroy for winter and below is in light cotton for summer. Any woven fabric will work. I’d love to try it in a light wool for a winter jumper… The jumper is fully lined, with the heavier fabric, I used a thin liner. For the summer cotton, I used two layers of cotton.
The name of this dress comes from the cute criss cross back! The straps cross in the back, then button on the shoulders to fasten the dress.
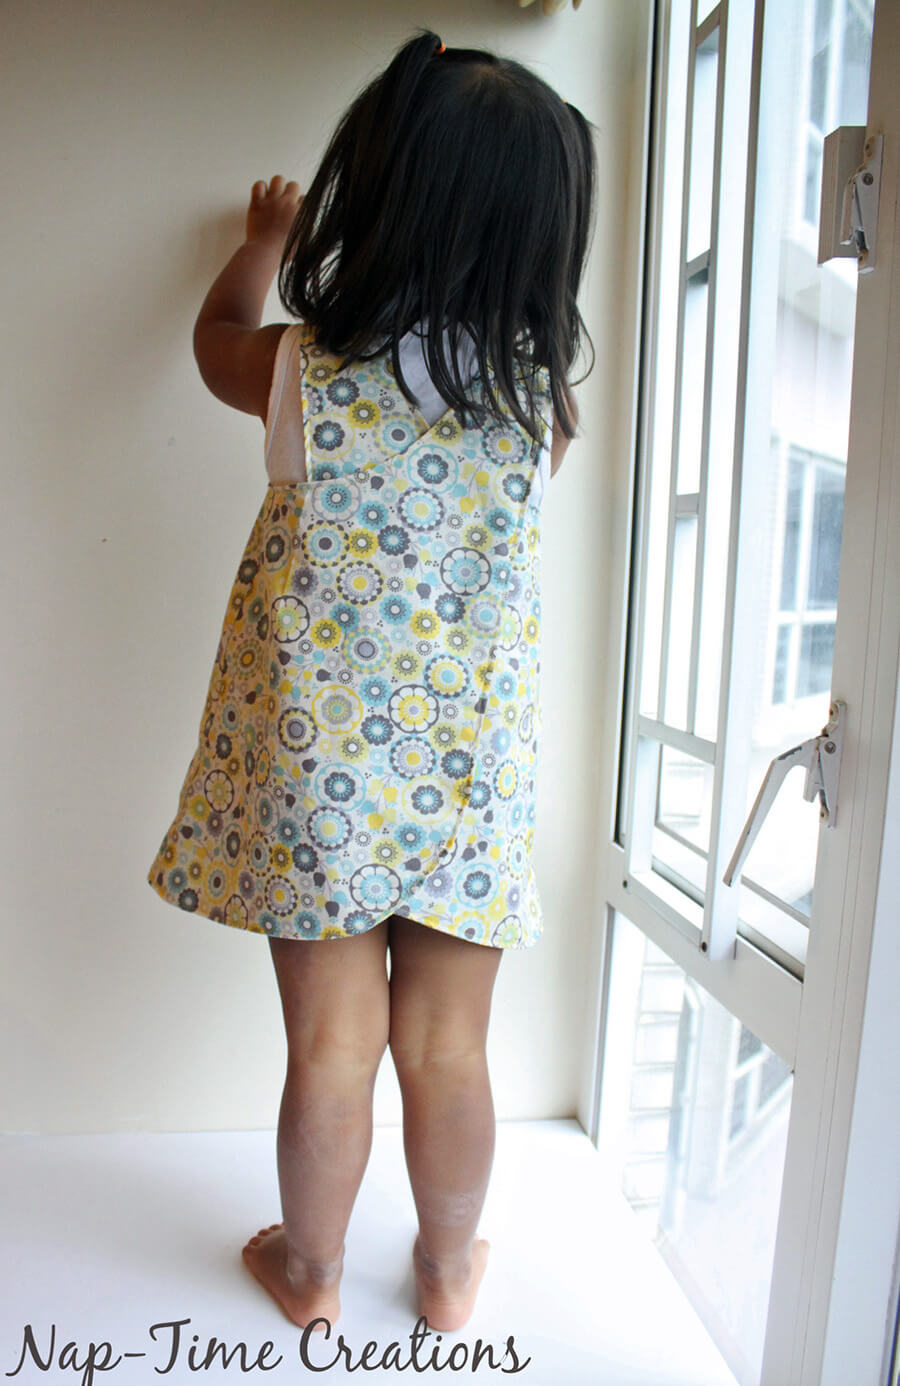
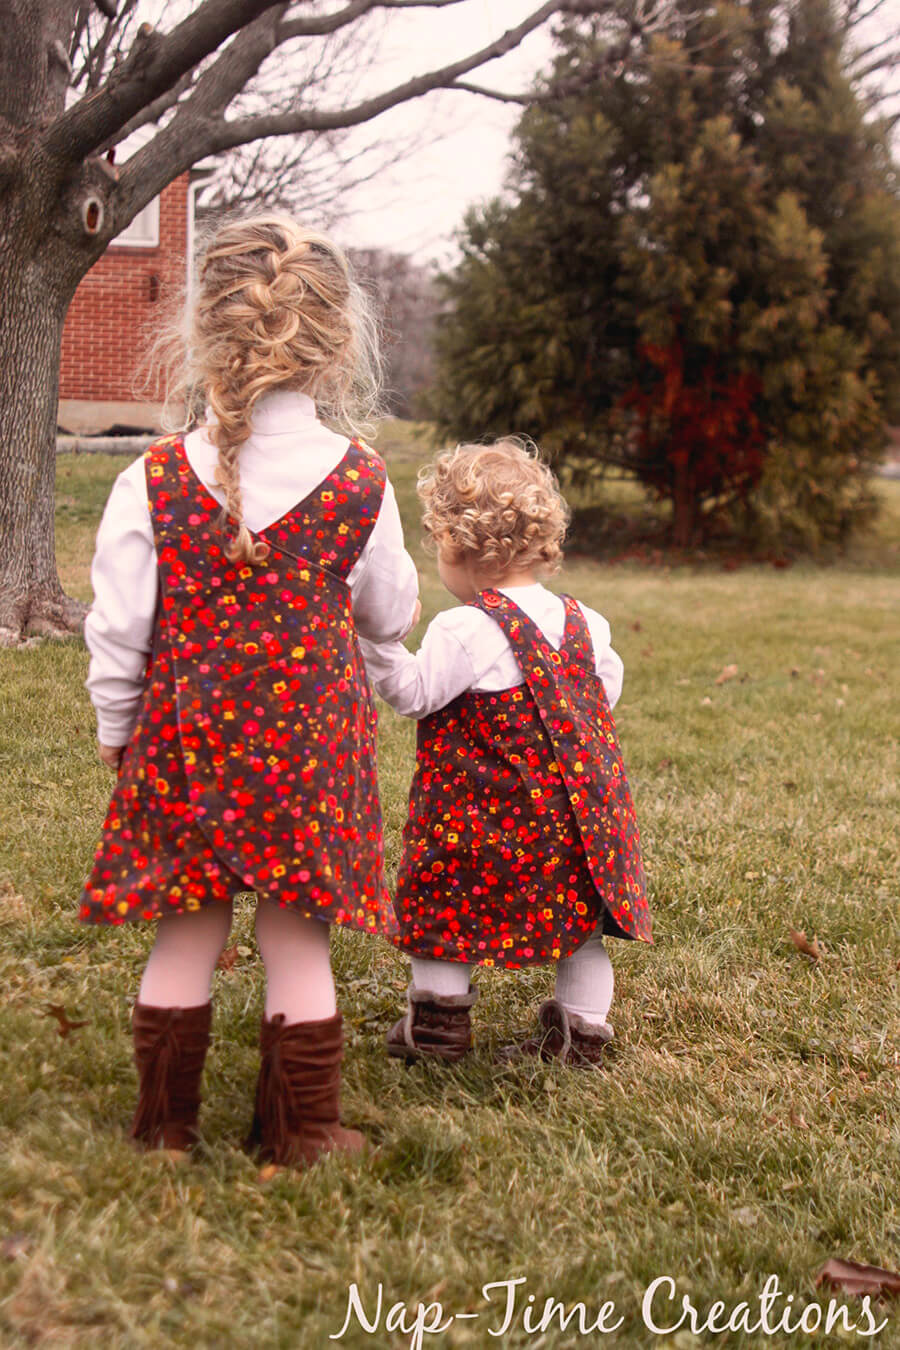
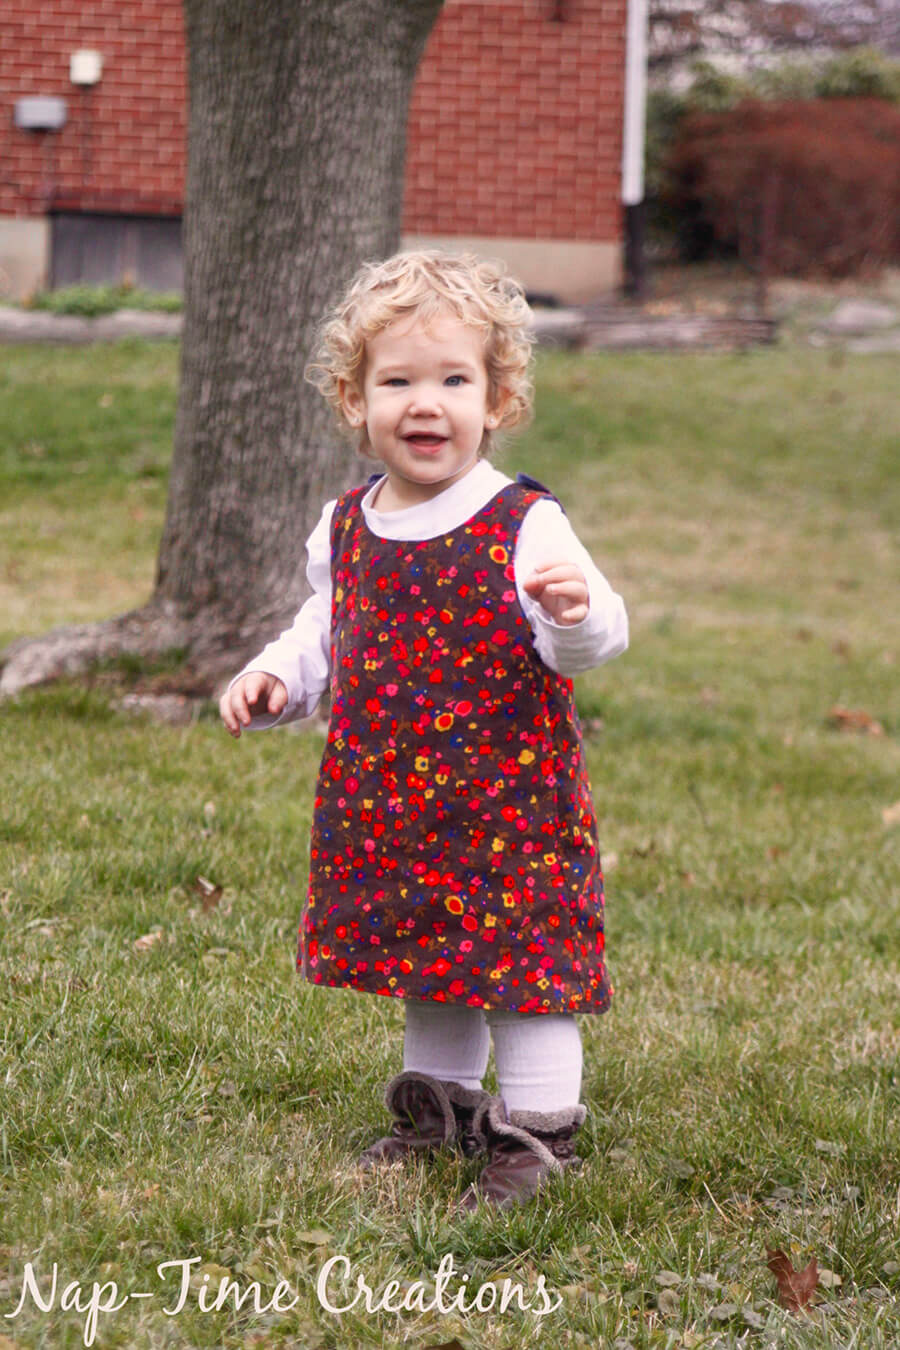
Both girls are wearing the 2T, but my daughter has more narrow shoulders. You can see how it looks wider on her. Depending on shoulder width you may have to adjust the pattern for your child.
Okay, let’s get to the tutorial. Here’s the size chart and layout for you to tape the pattern together.

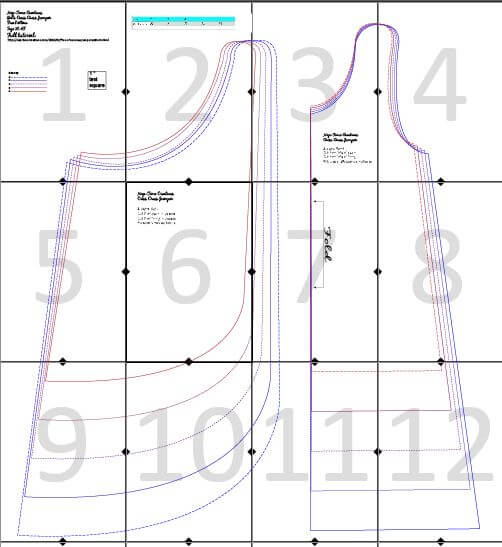
Go print your Free Criss Cross Jumper Pattern over at Craftsy. Make sure to print your pattern at actual size or %100 and check the 1″ size box. You will need 3/4 yard of each fabric for the 2t and about 2 yards for the 6T {you will have extra, but you need the length for the dress.} CUT each pattern piece in the LINING fabric AND your MAIN fabric.
Sew the side seams of the front and back. Do this for both the lining and main pieces. Seam allowance is 3/8″ for all seams.
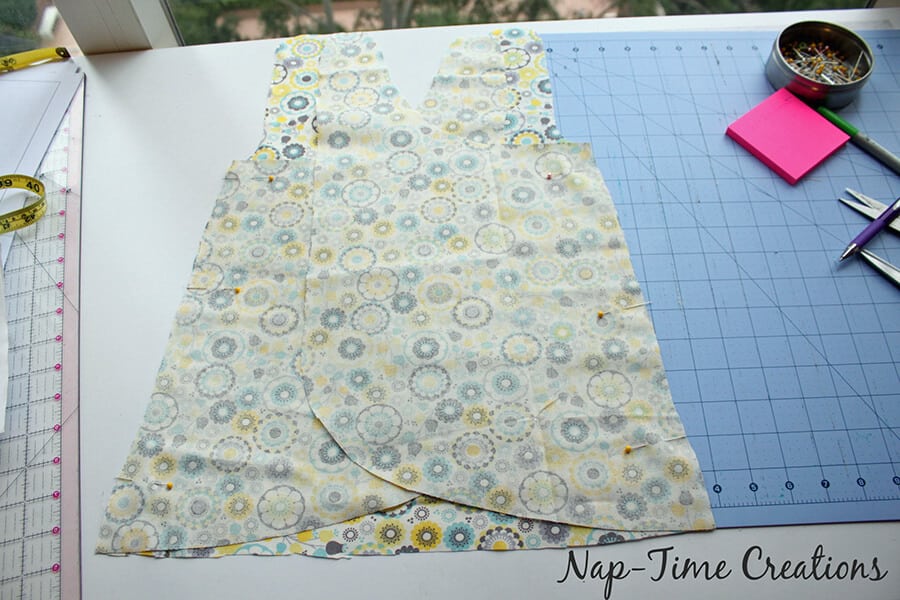
With right sides together, open up the dress and line up all the edges. I start at the side seams, then pin around from there. 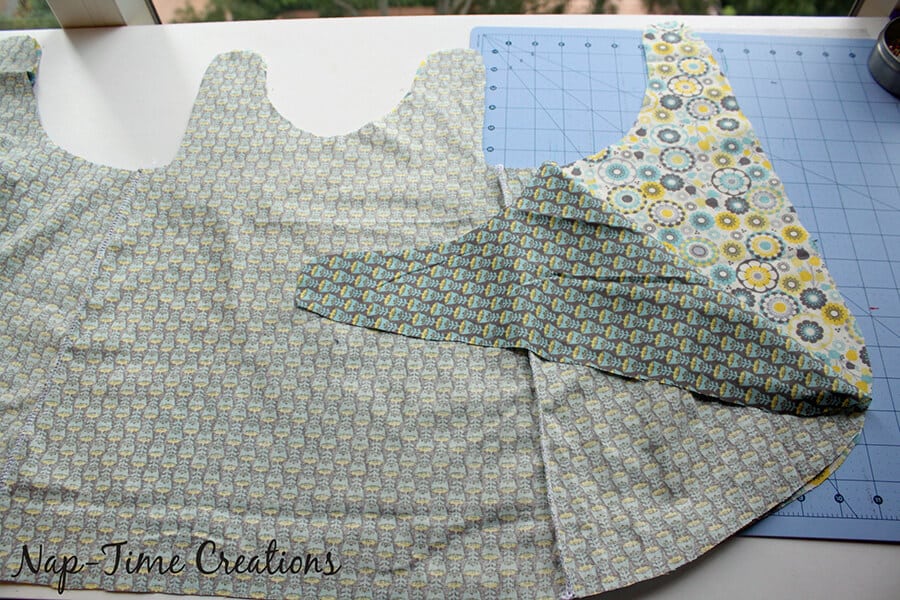
Sew around the entire outside, leaving a 5 inch opening for turning. I like to leave this on the flat edge of one back side.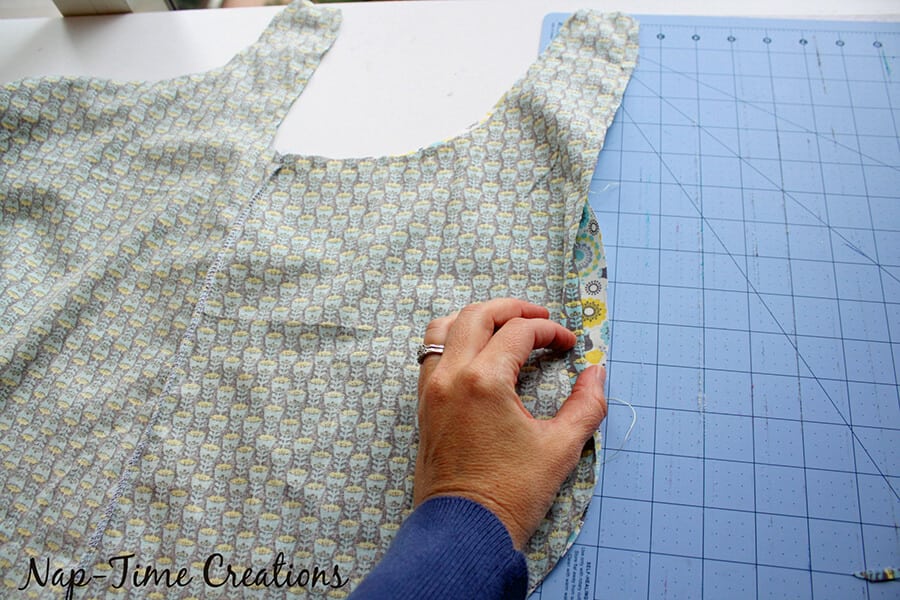
Clip the corners and trim excess SA. 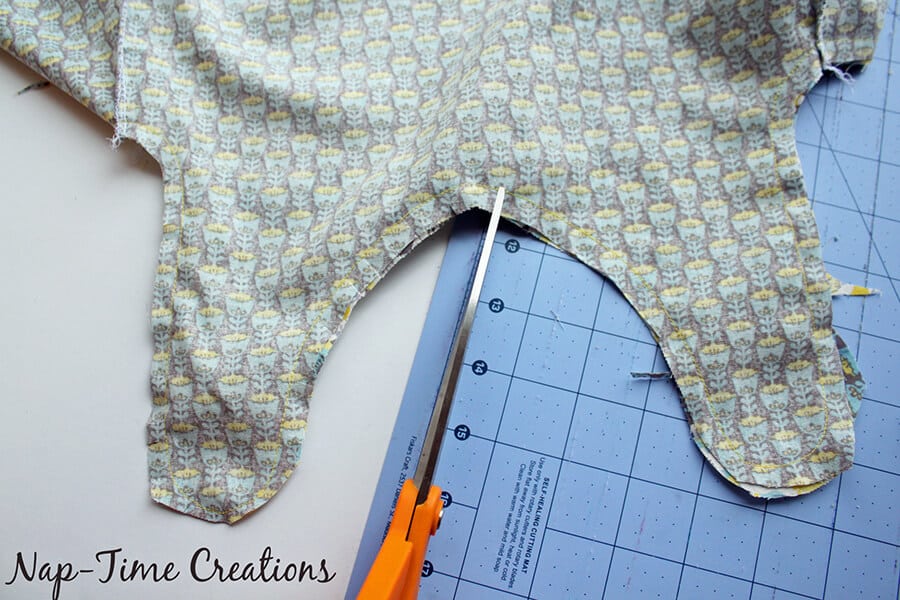
Turn right side out and iron the edges. At the opening iron the seam allowance to inside of dress.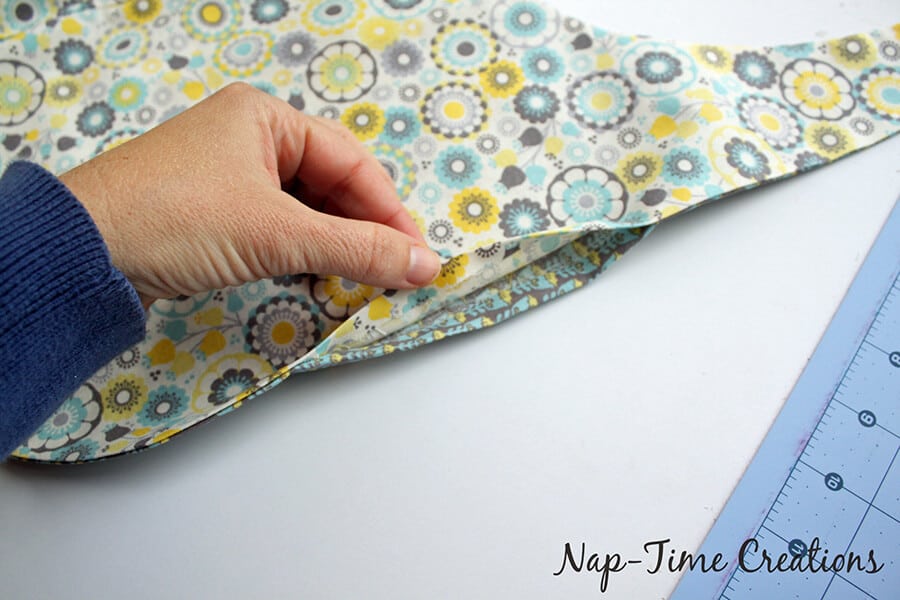
Top-stitch around all the edges, closing the turning hole as you stitch. 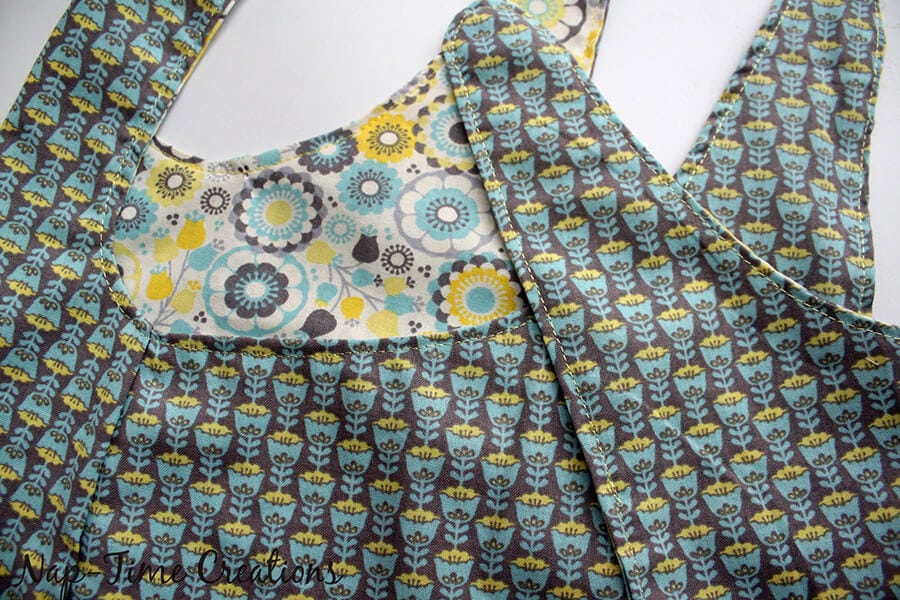
At this point the jumper is still technically reversible, so you can decide which side will be out if you haven’t already. Try on your child and mark where button should be sewn. The pattern has a 1″ intended overlap on each shoulder, but can me more or less depending on the child.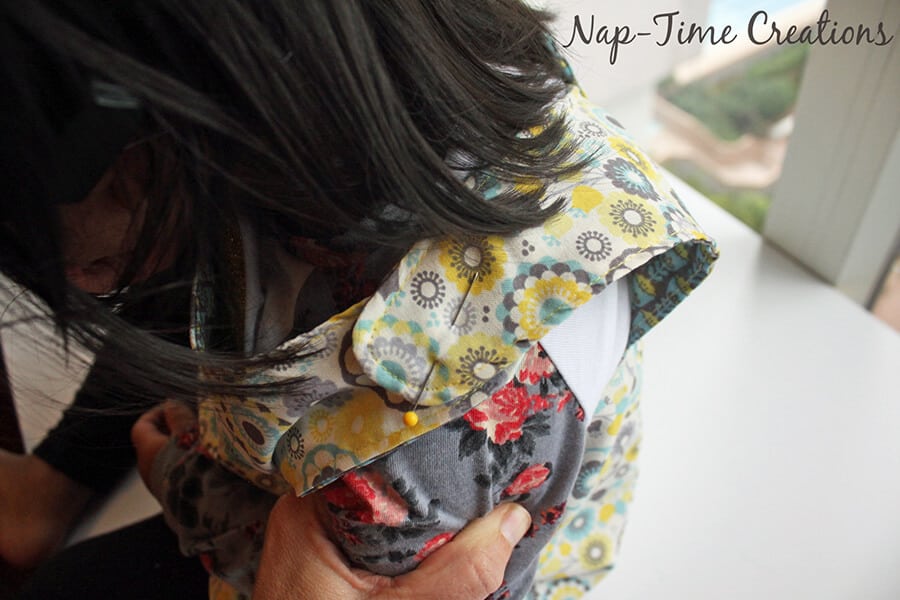
Sew the buttons to the dress front straps where you marked. Make button holes on the back straps to fit your chosen buttons.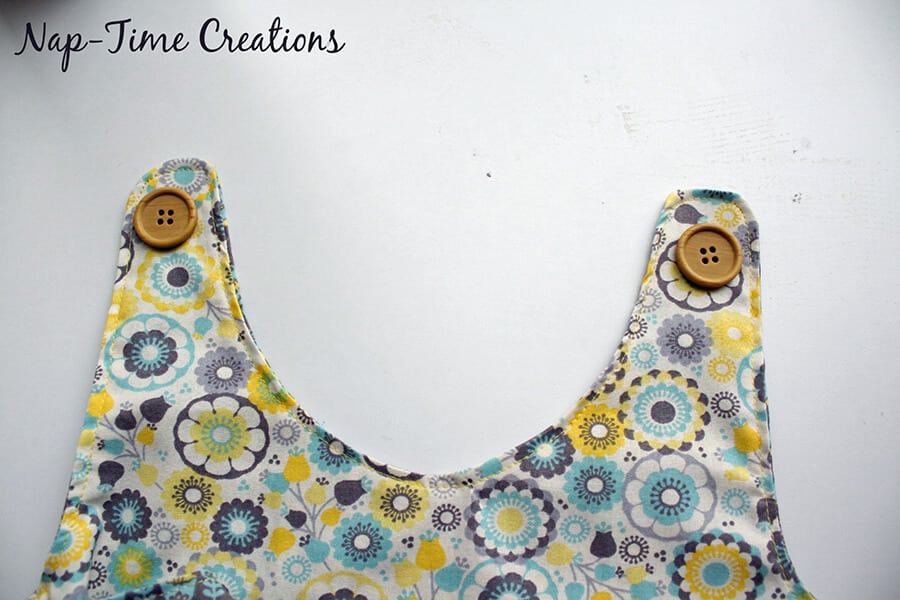
That’s it! Criss cross and button up and you’ve got an adorable jumper! Here’s one more link to go DOWNLOAD the FREE CRISS CROSS JUMPER PATTERN HERE.








corinne says
Merci pour ce super patron, déjà 2 robes realisees, une astuce pour les pattes qui peuvent être carré…..plus facile pour les debutantes à réalisé que les arrondis
Bonnie C. Westrom says
Thank you for sharing your adventure. You have a wonderful family.
Ricky says
Hi
I am confused by the instruction cut two of main in mirror and tow of lining in mirror–if the fabric is foled as it comes from the store with wrong sides facing and you cut two like that is that what you mean by in the mirror??
Ricky says
Thank you for the rapid response!!
Lisa says
Fab! Making a prototype in oilcloth to test size and thought it would be a useful coverall for messy play!
Carole says
I love your Criss Cross Jumper pattern and would like to make it for my granddaughter. Is there a way to adjust the pattern for an 18 month old?