One of my favorite things about summer is just letting my kids PLAY. Schools out and the kids can just have freedom, it’s so refreshing after the school year. We live in a city, so we spend several weeks at my parents house in the country where the kids can explore and build forts and enjoy so many things I remember LOVING from my childhood. Today I’m sharing a fun kids adventure bag sewing tutorial that you can make for your kids to take along for summer/fall play. 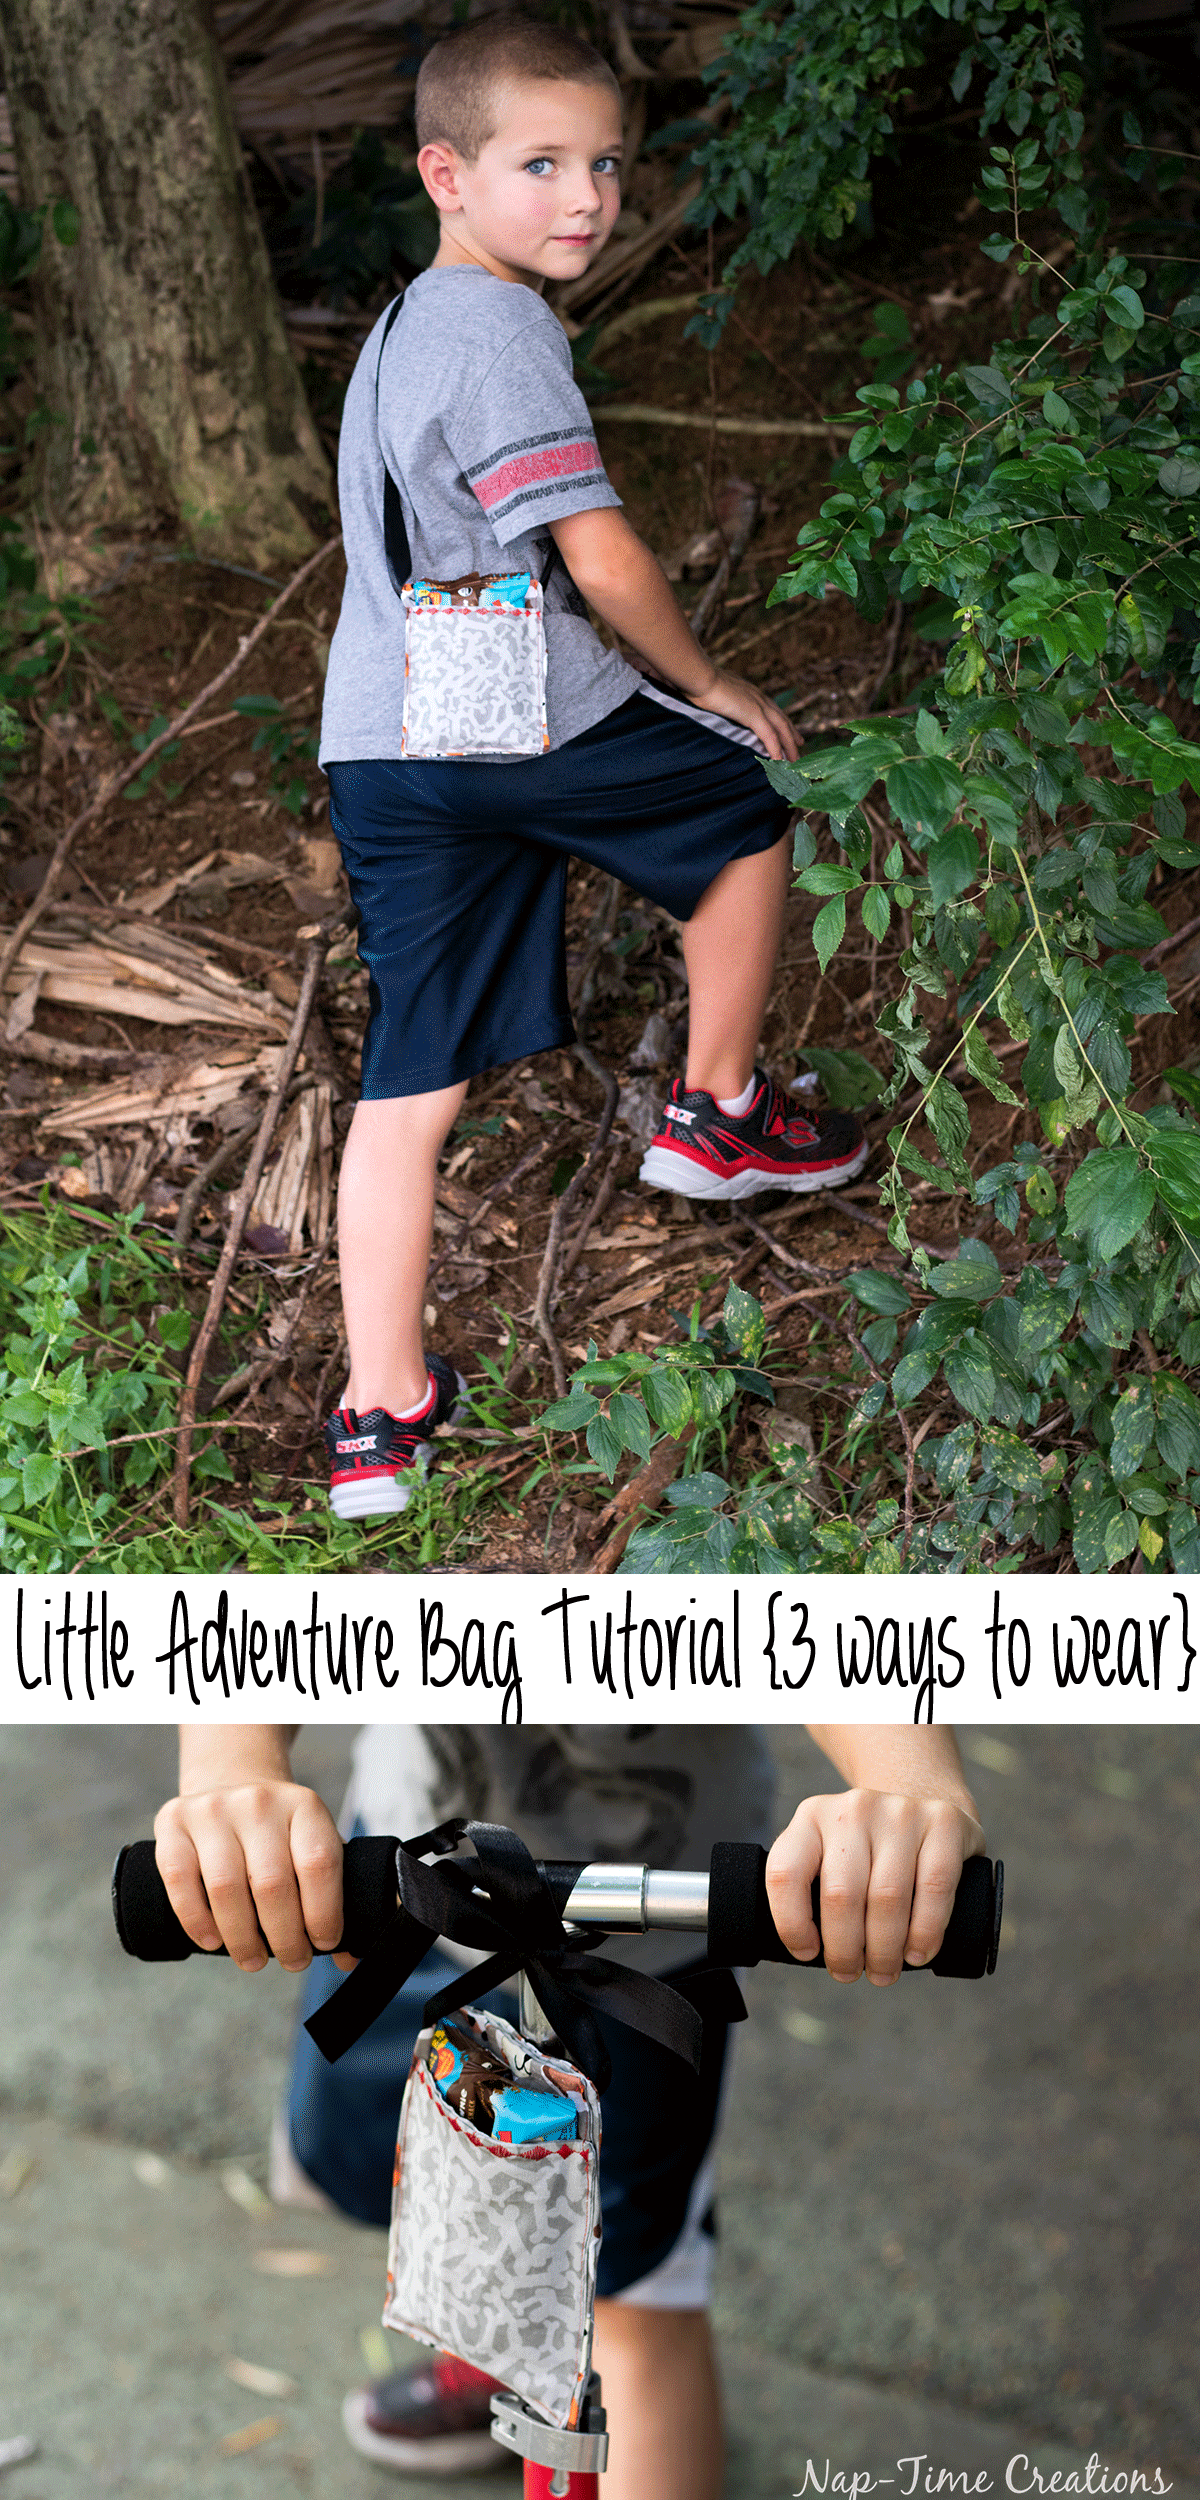
The fun thing about this kids adventure bag is that you can use it three different ways {you may think of even MORE!} We’ve used it as a scooter bag, a side bag, or tied around a waist. All are great for taking along an adventure snack and having a place to put any treasures your kids may find. We love taking CLIF Kid Zbar® for a snack while playing. CLIF Kid is dedicated to reclaiming play. And they’re encouraging boys and girls everywhere to get back outside, push their boundaries and feed their adventures, which is a message we agree with 100%!
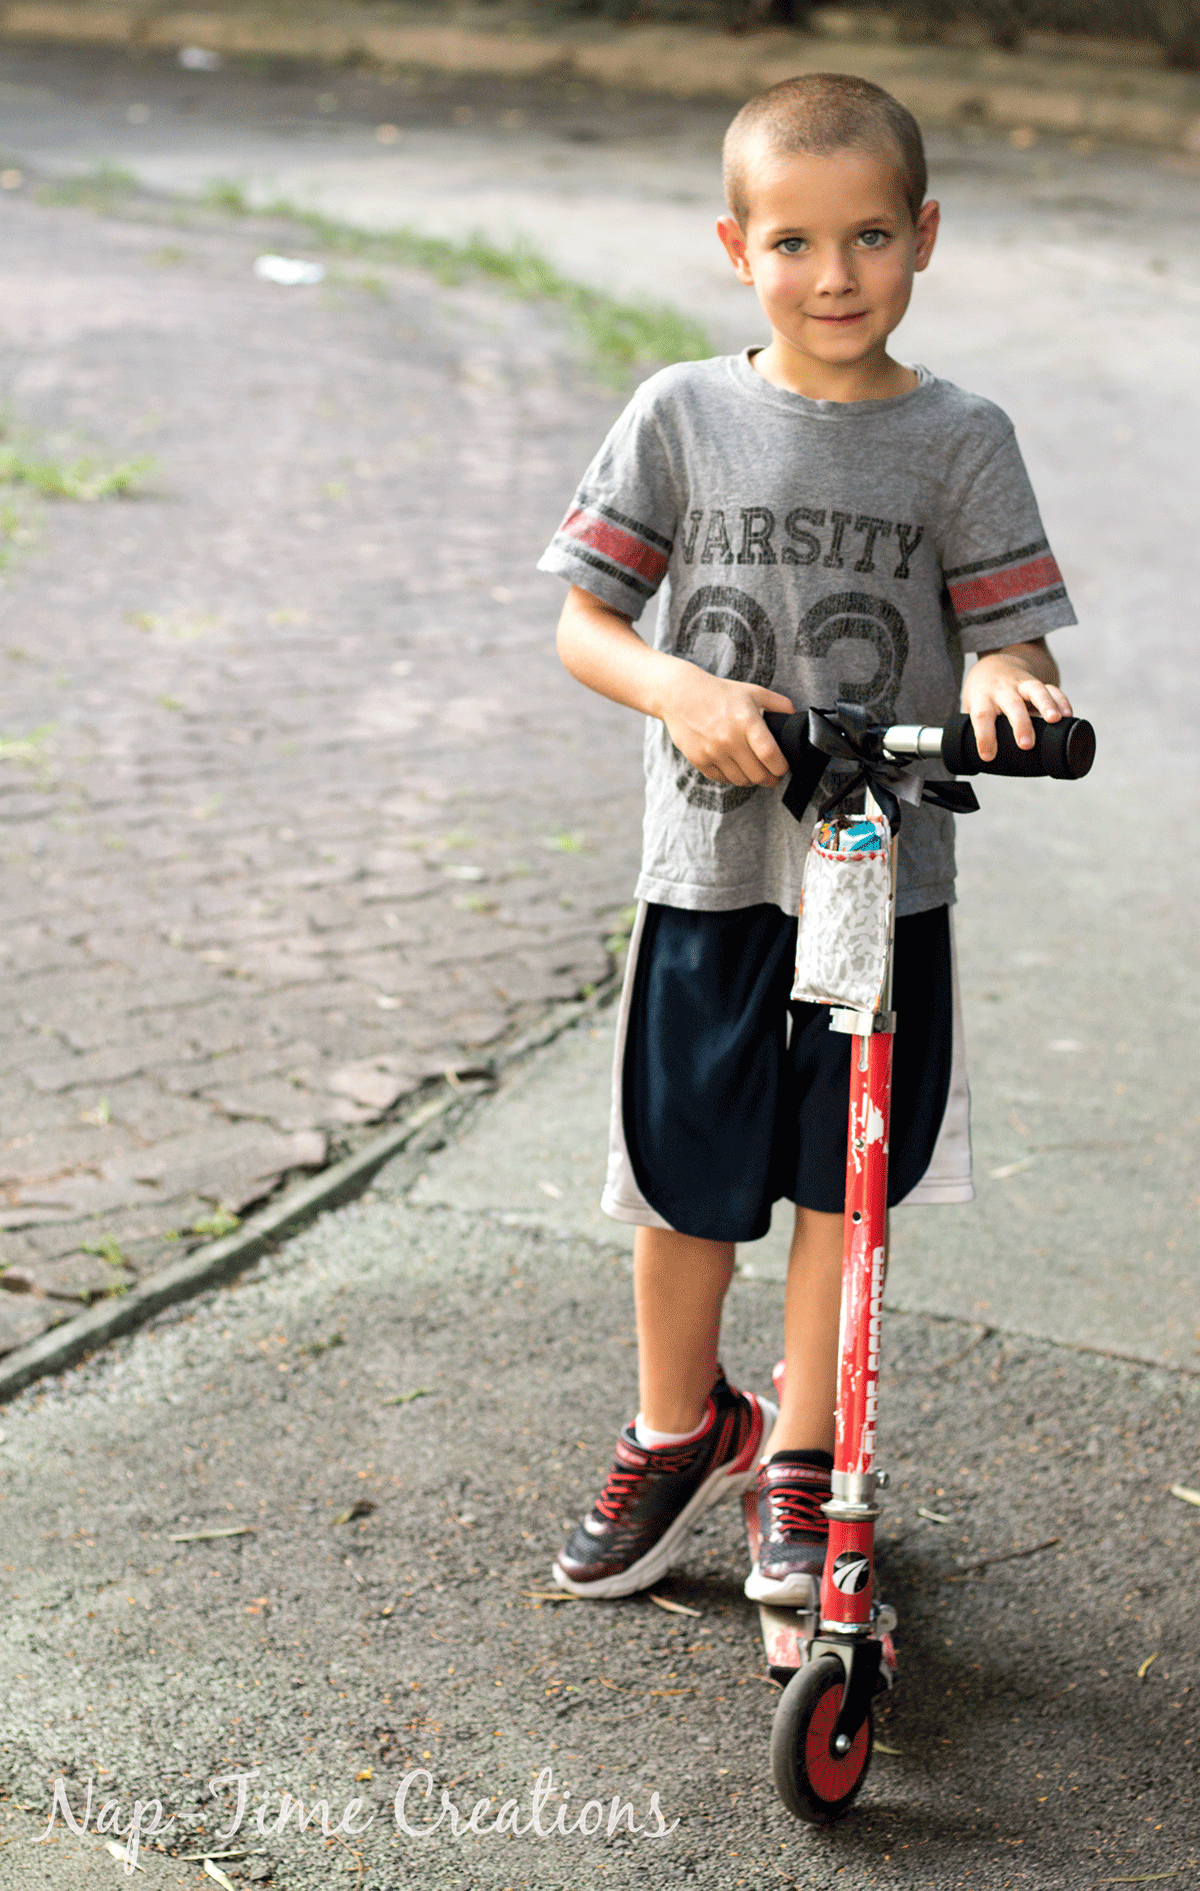
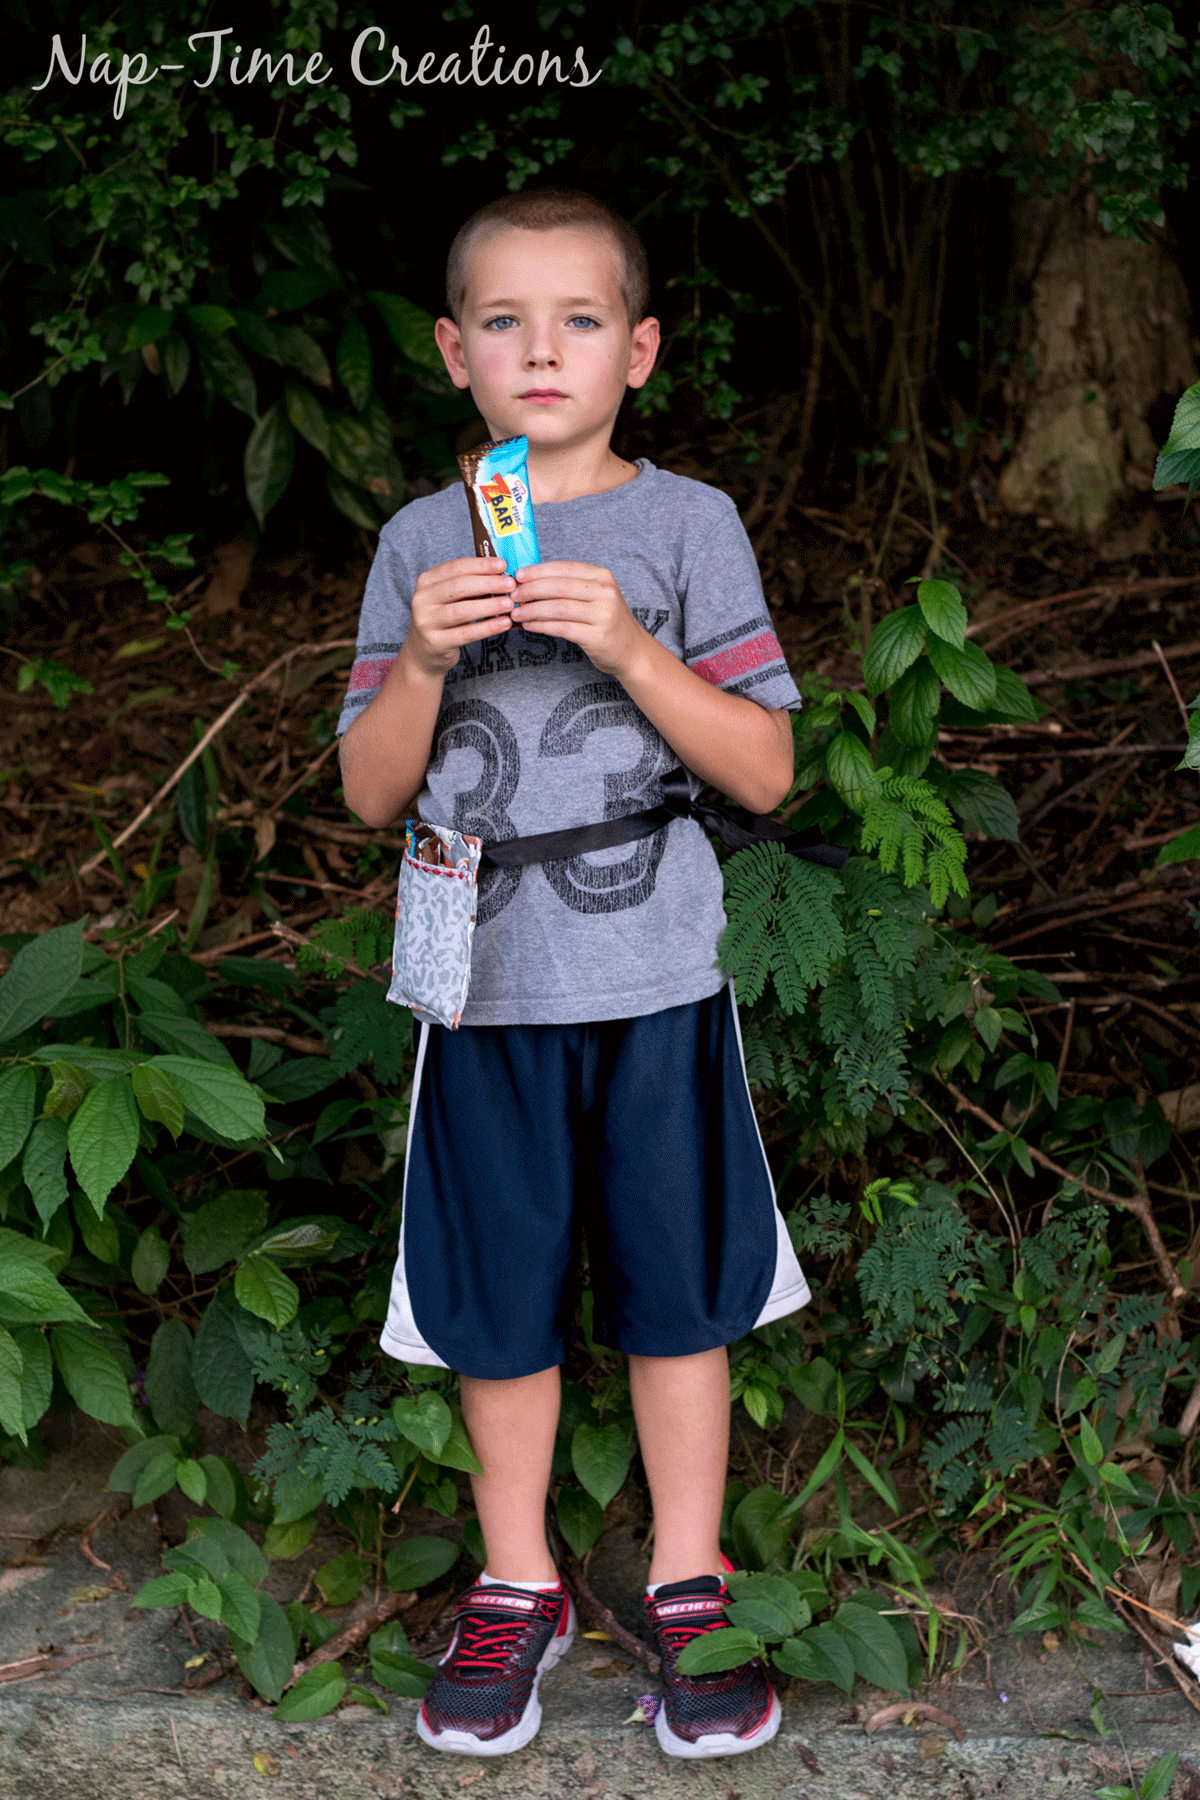
This bag can fit two CLIF Kid Zbar® so both boys can enjoy a snack after some hard play. 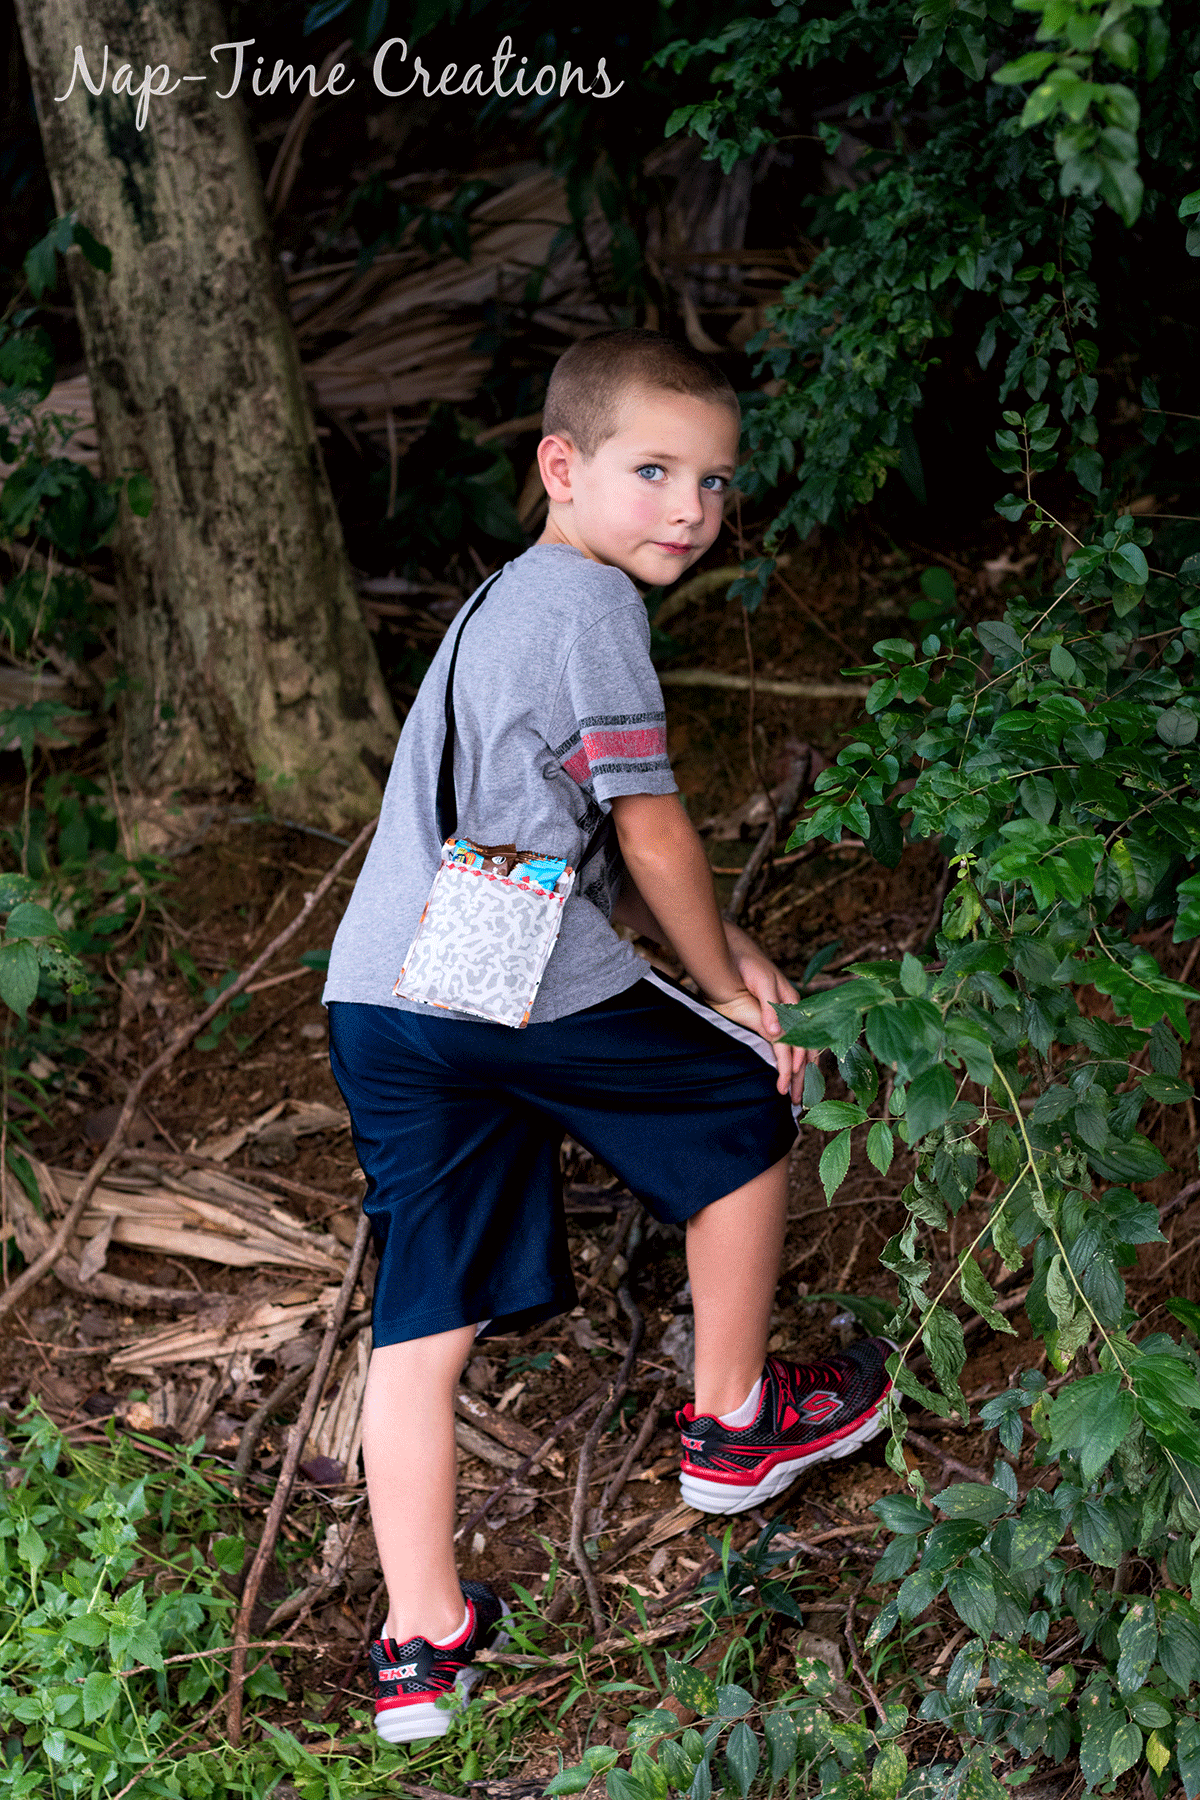
You can use this kids adventure bag for any outdoor fun, but we love taking along a couple CLIF Kid Zbar® made with organic ingredients for adventure snacking. CLIF Kid snacks feature nutrients that active kids need in flavors they crave, my kids love them. 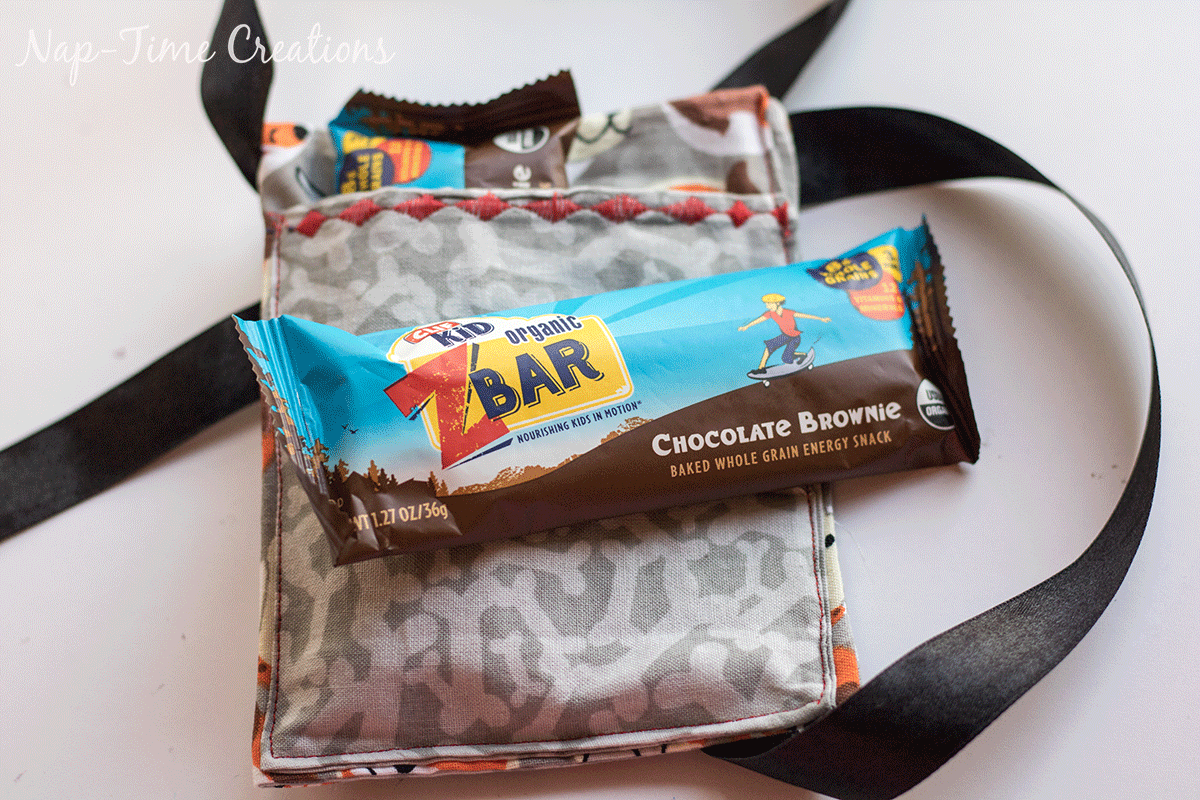
Want to make your own kids adventure bag? Here’s the easy tutorial to make one! You will need to scraps of fabric and 1 yard of ribbon {or any other kind of strap} Cut 2 rectangles 9.5 x 6″ and the 1 other 9.5 x 5″. So you have three rectangles. You will also need 3.5″ of velcro {optional}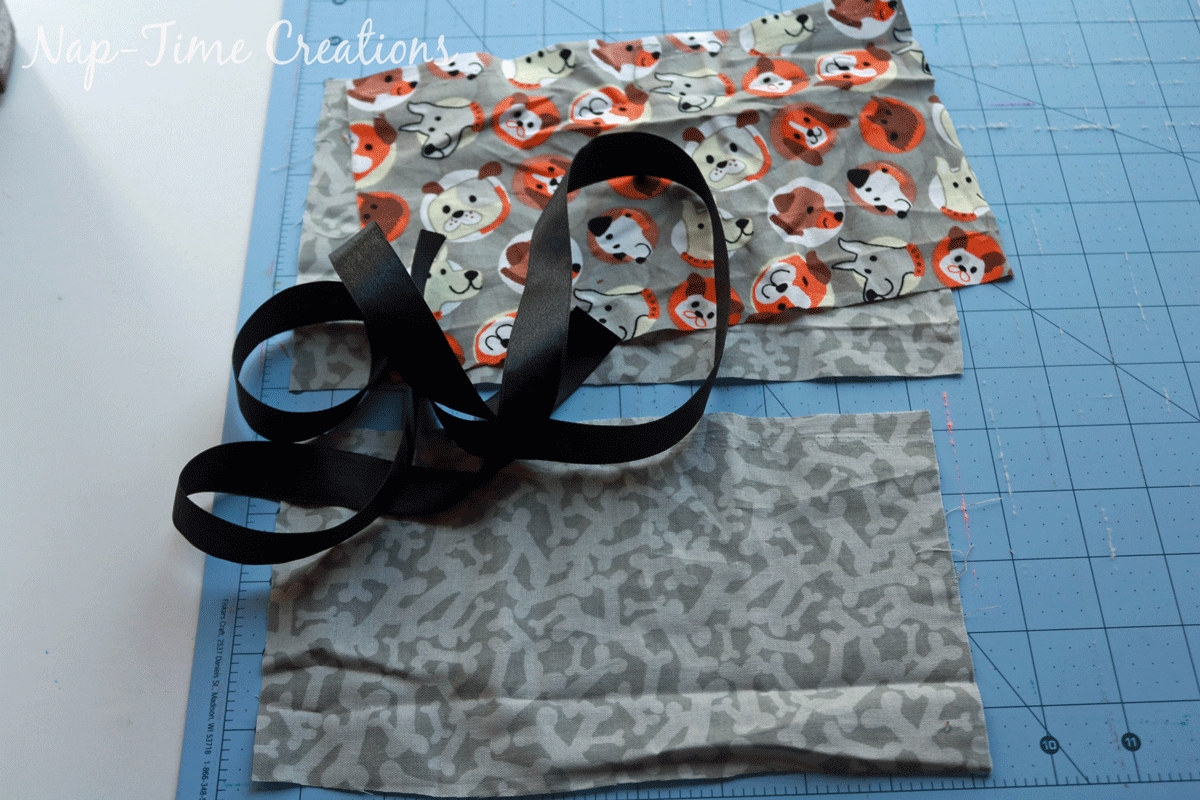
If you want to put a closure {velcro} on the bag, we will start with that. Take 1 of the larger rectangles and open up the velcro. Place on end 1/2″ from the side and 1/2″ down from the top of the left side top. Place the other piece the same from the right side. 1/2″ down and 1/2″ in from right. Pin. Sew. 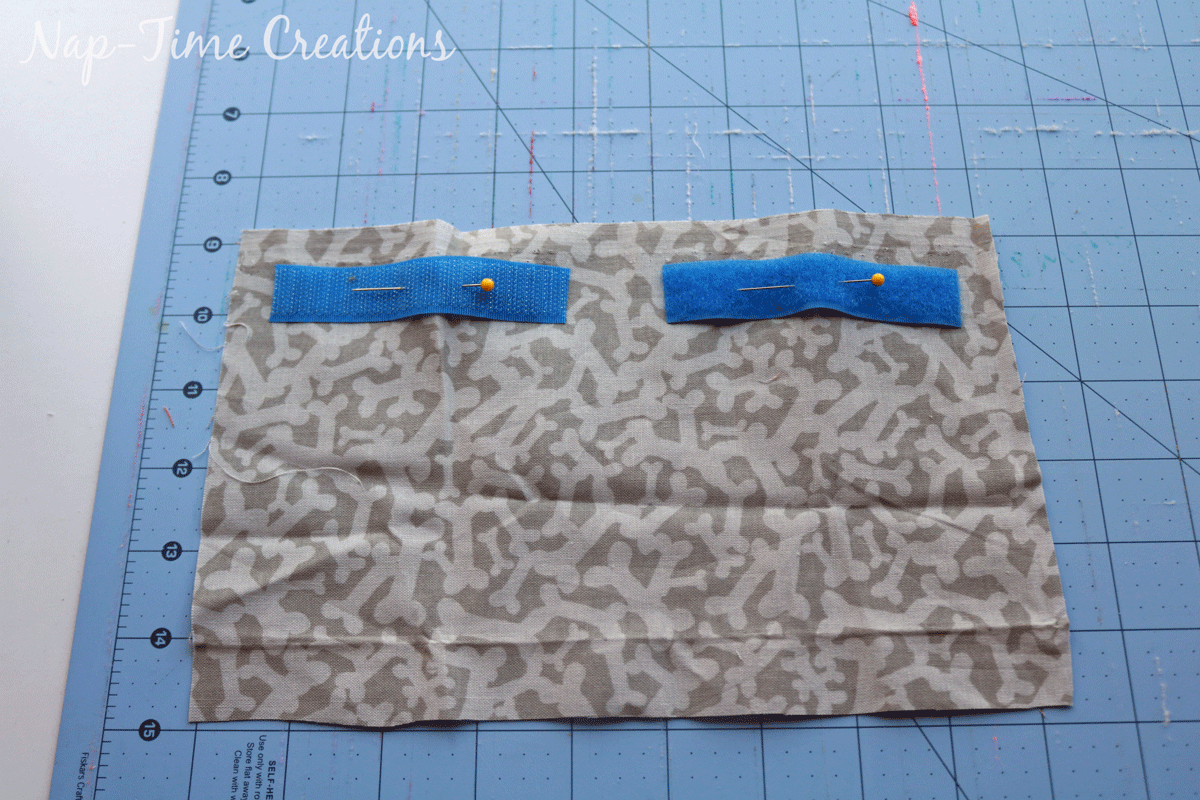
Place the other rectangle the same size on top with right sides together. Sew around all sides, leaving a 2″ opening to turn.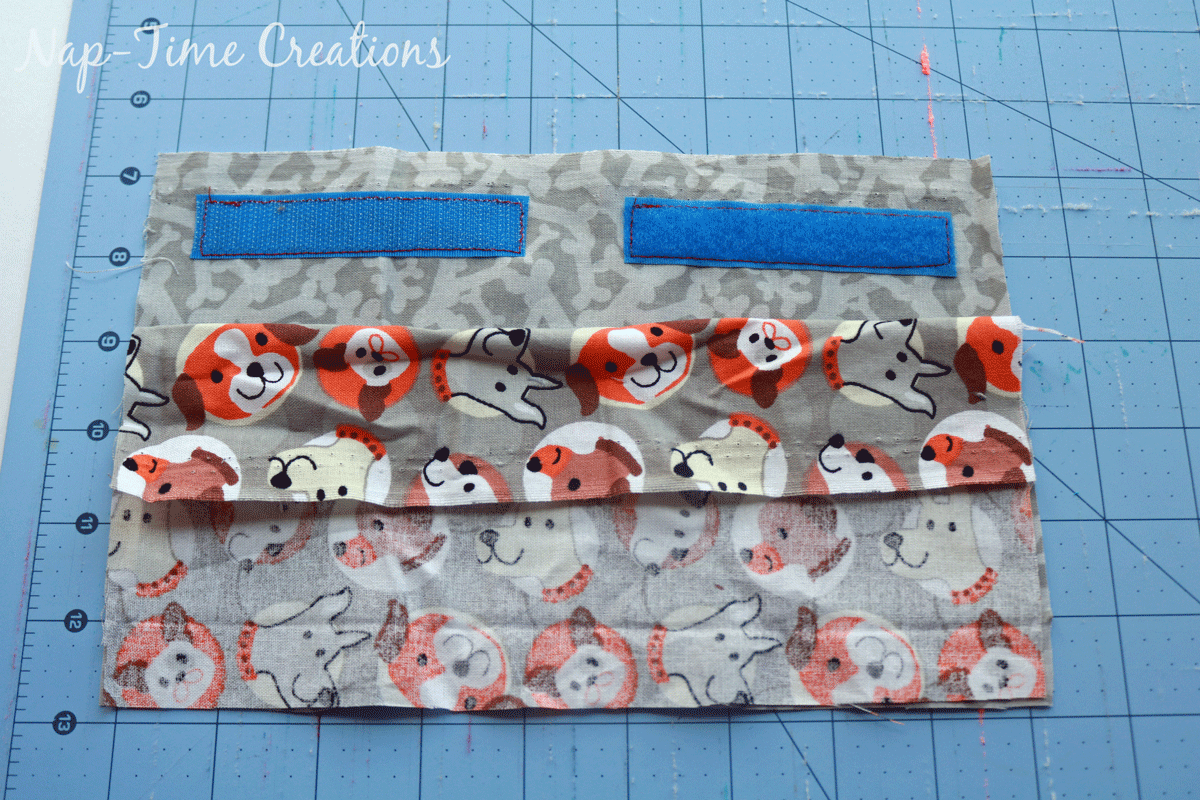
Here’s the opening… turn the piece right side out.
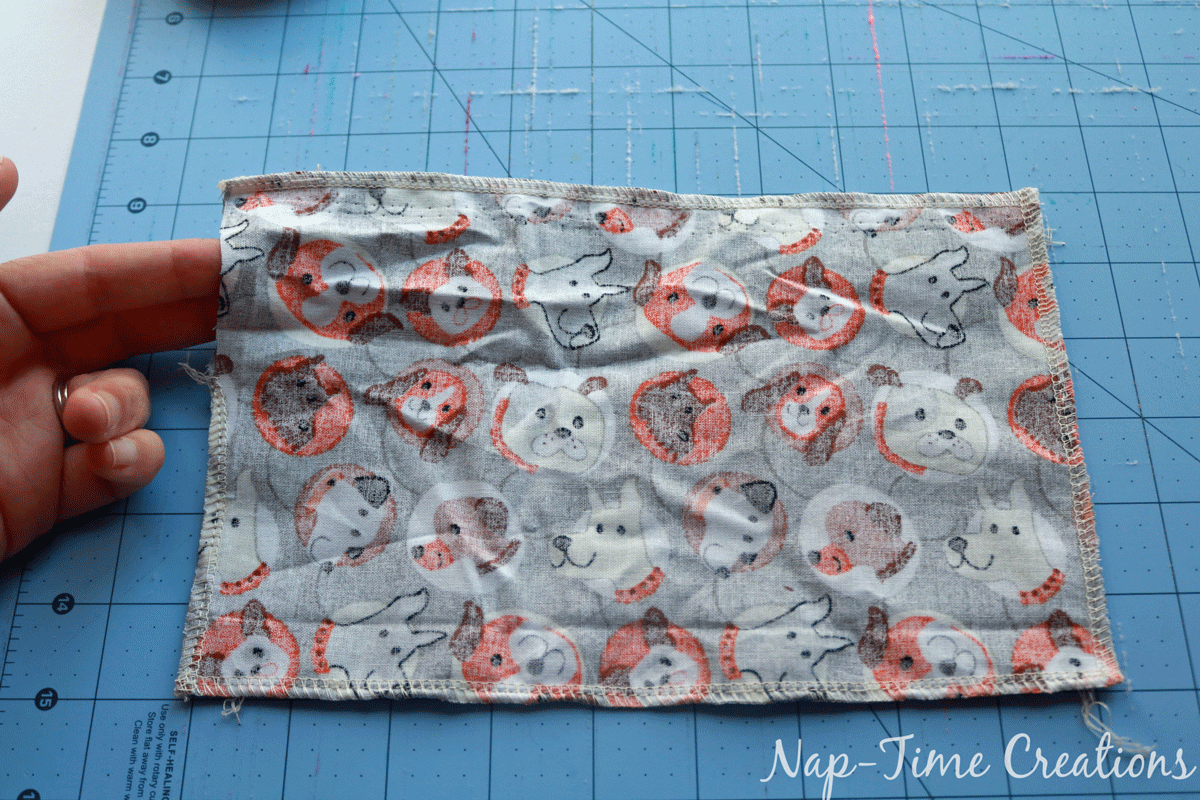
This is turned right side out, turn the edges of the opening in and then pin.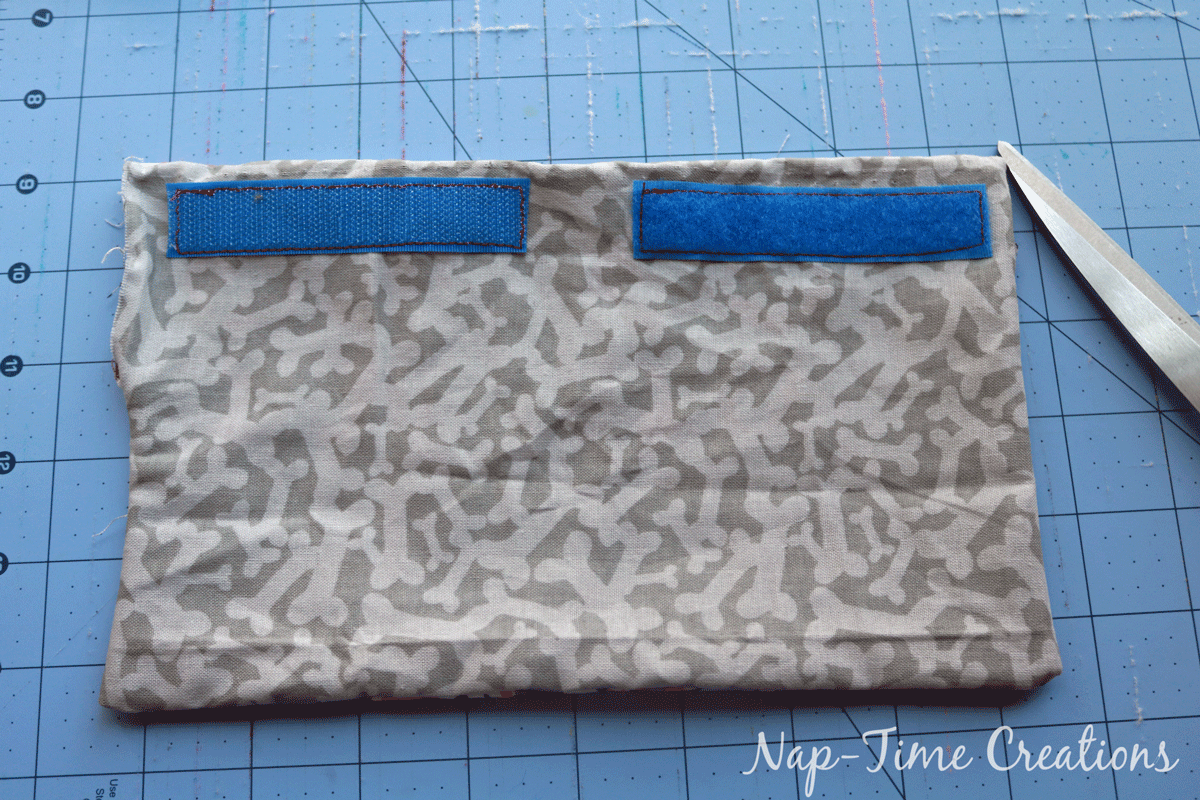
Fold the smaller rectangle in half with the short sides touching. Sew around, leaving a hole to turn out. 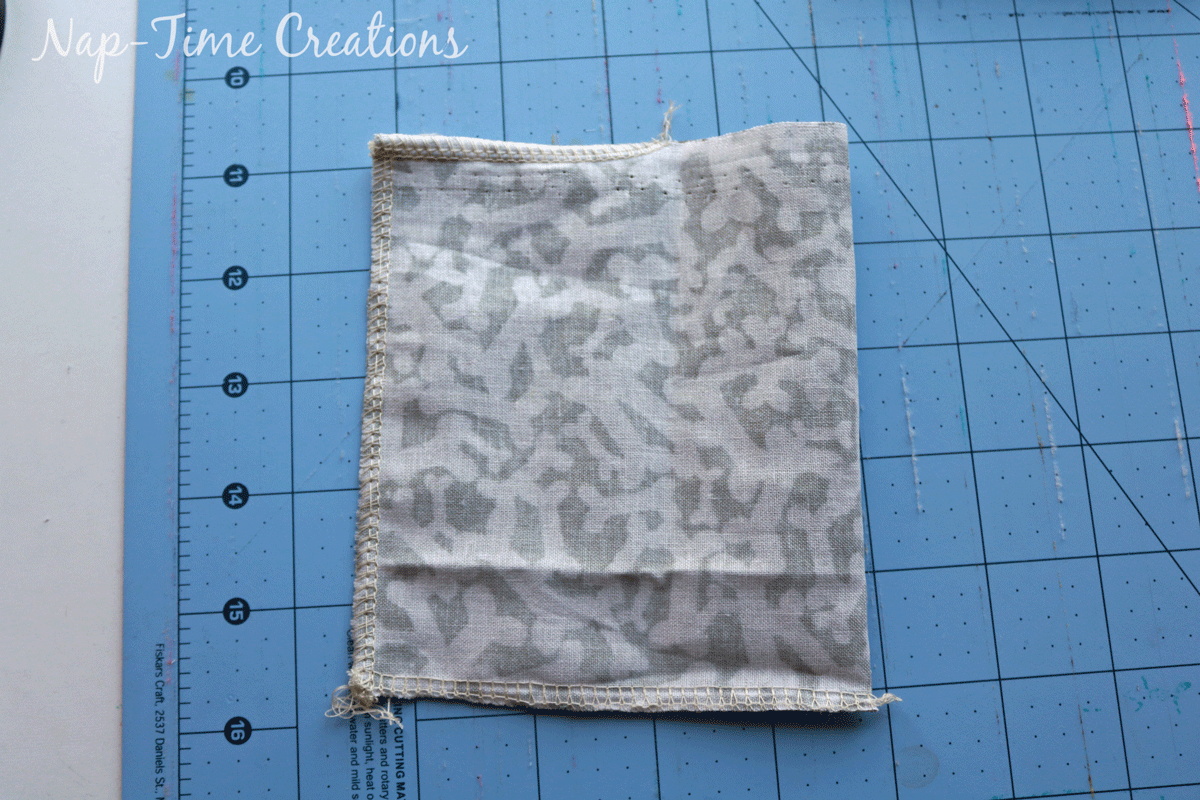
Turn the fabric right side out, then fold in the raw edges in and pin. Top stitch across this side of the pocket. This will be the top. 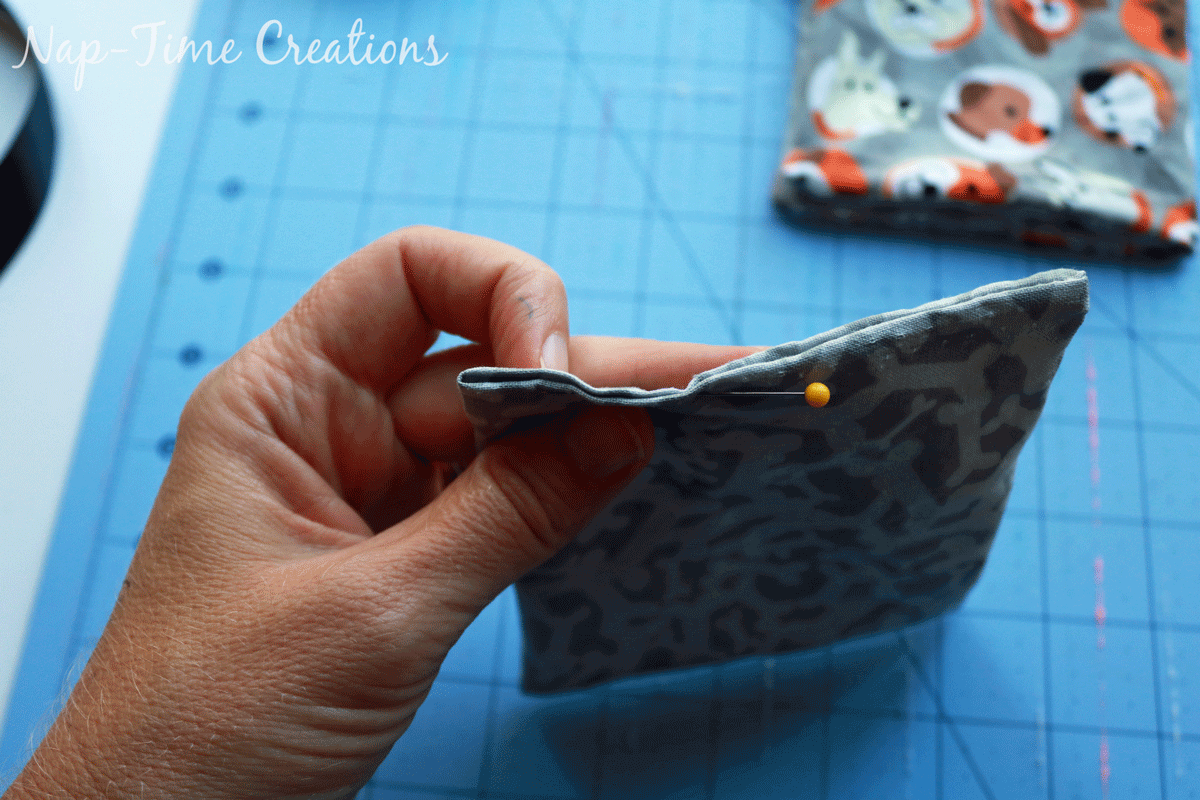
Fold the large piece in half so the velcro sticks together. This is the bag shape.
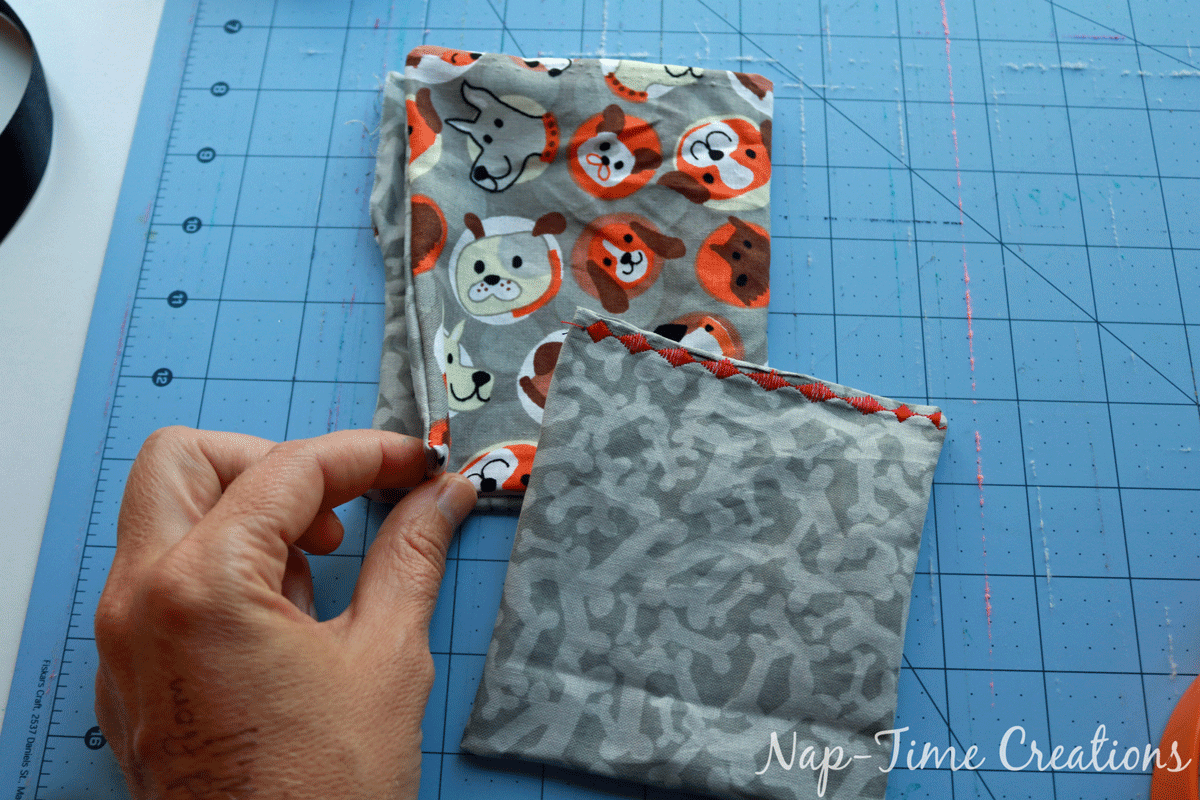
Place the pocket on top of the bag. Pin the left and right side and across the bottom {the top is the velcro side} Sew around these three sides.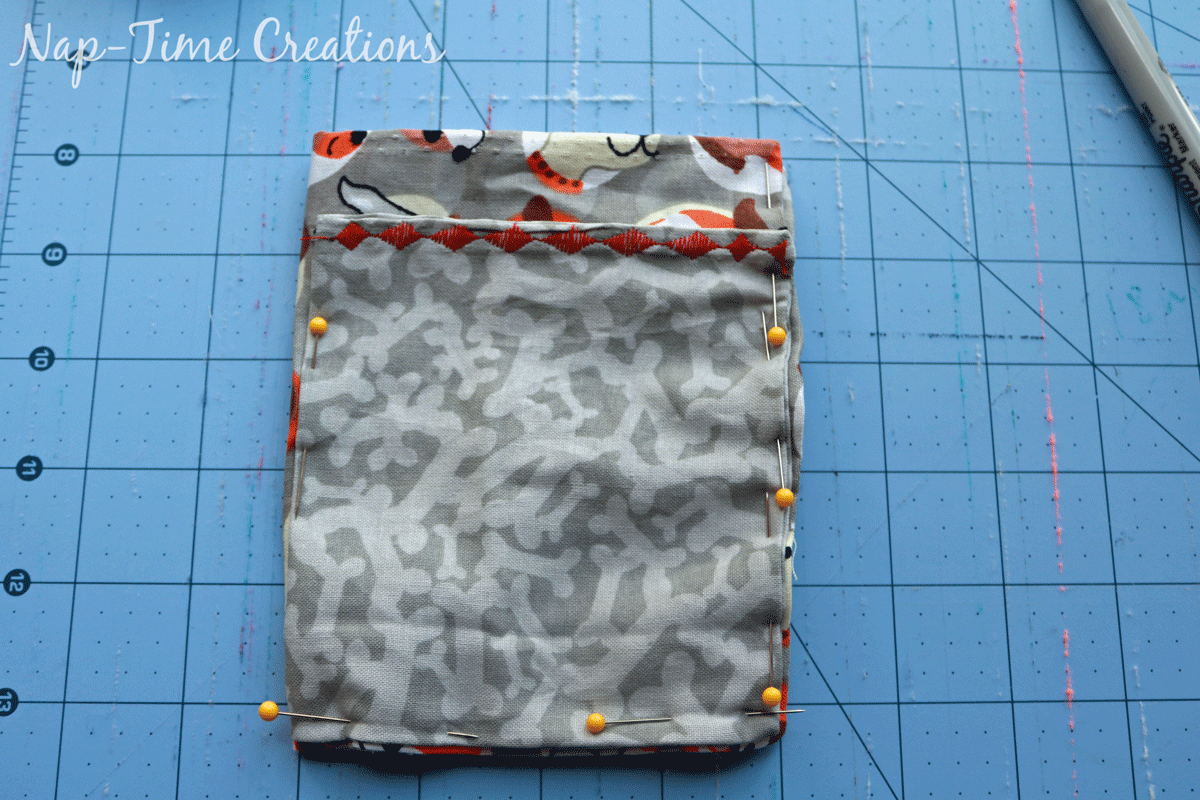
Now, you have a two pocket bag. 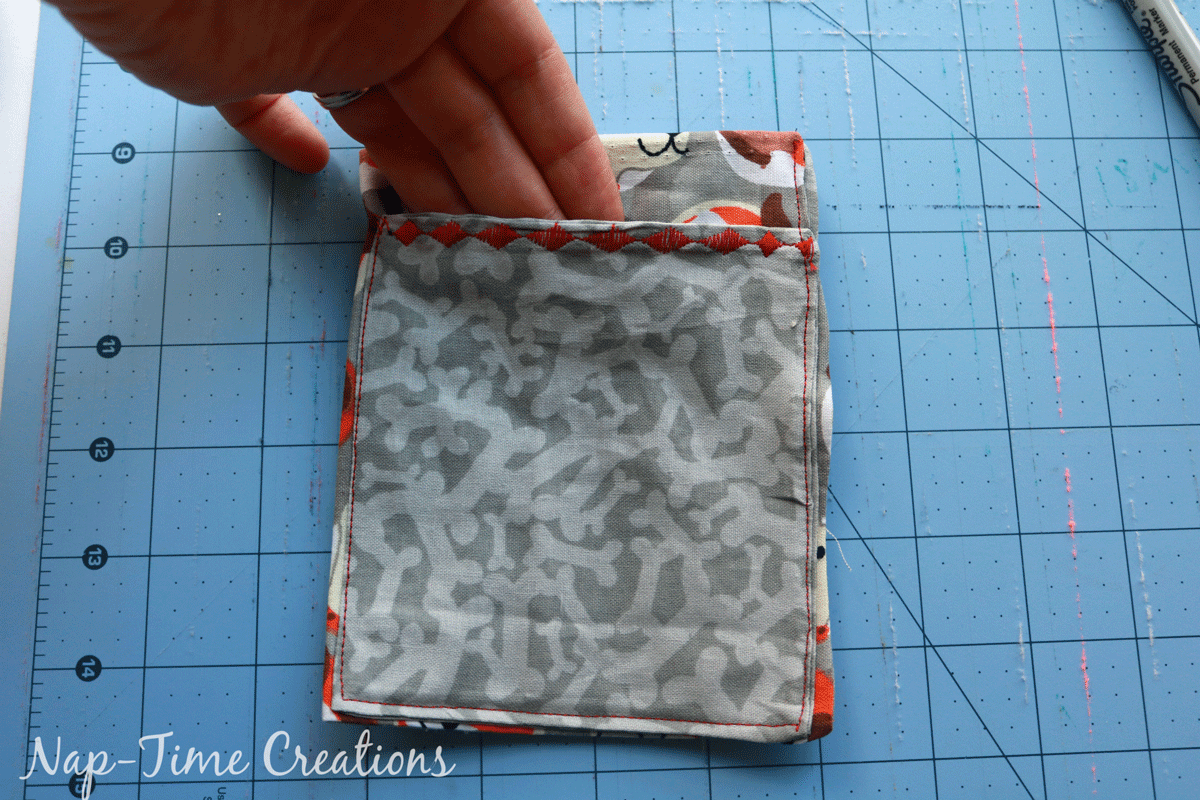
It has a front pocket and a main pocket with velcro closure.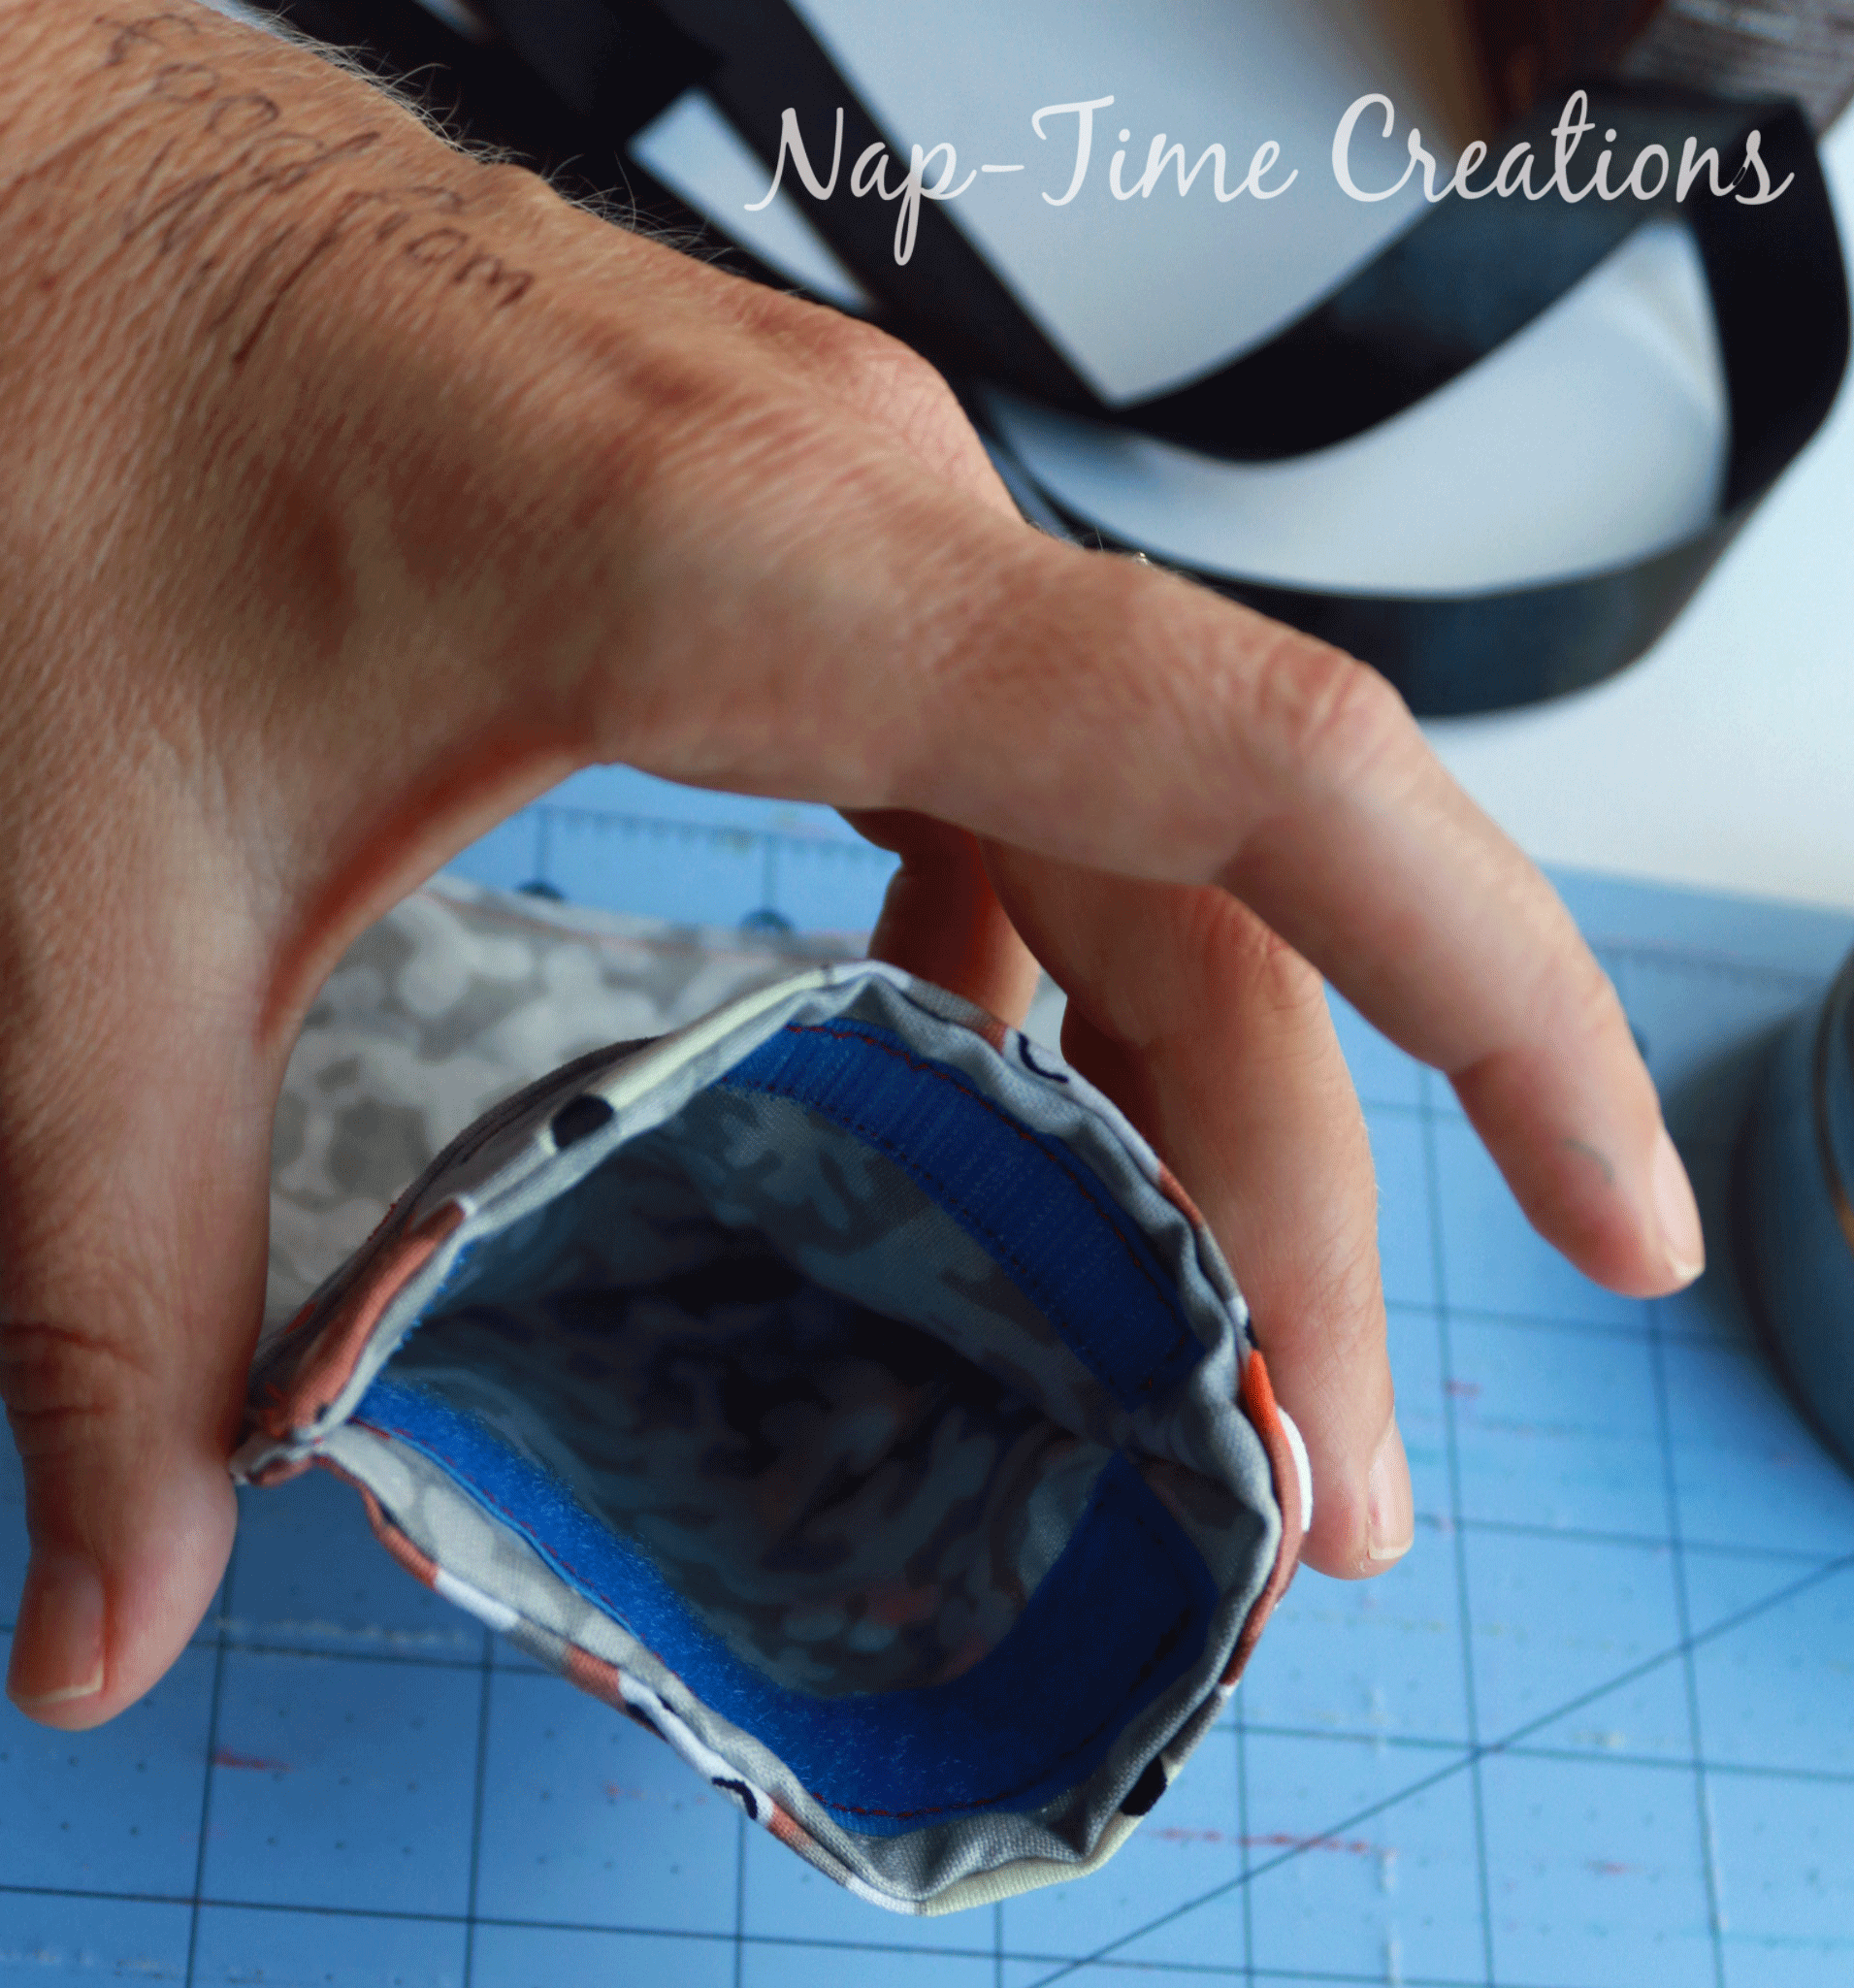
Sew the middle of the ribbon onto the back of the bag.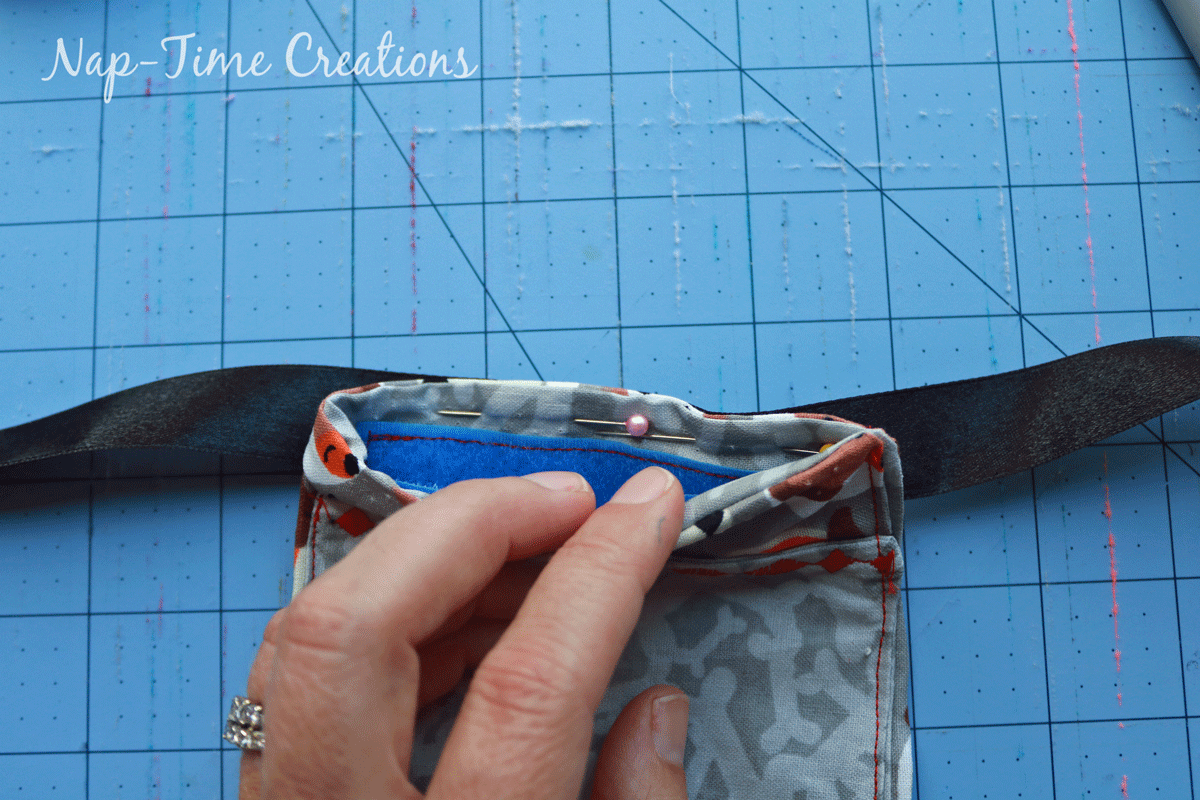
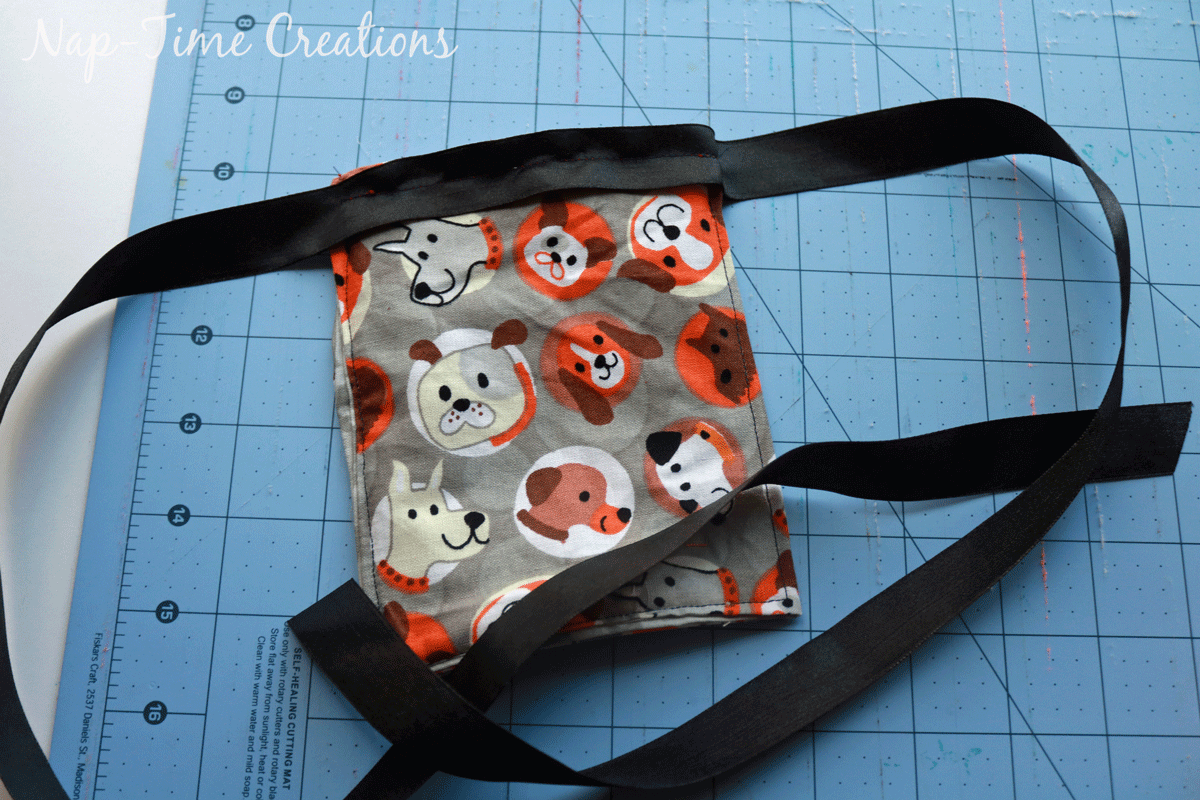
My boys love their new kids adventure bags for snacks and other treasures they find while playing outside. 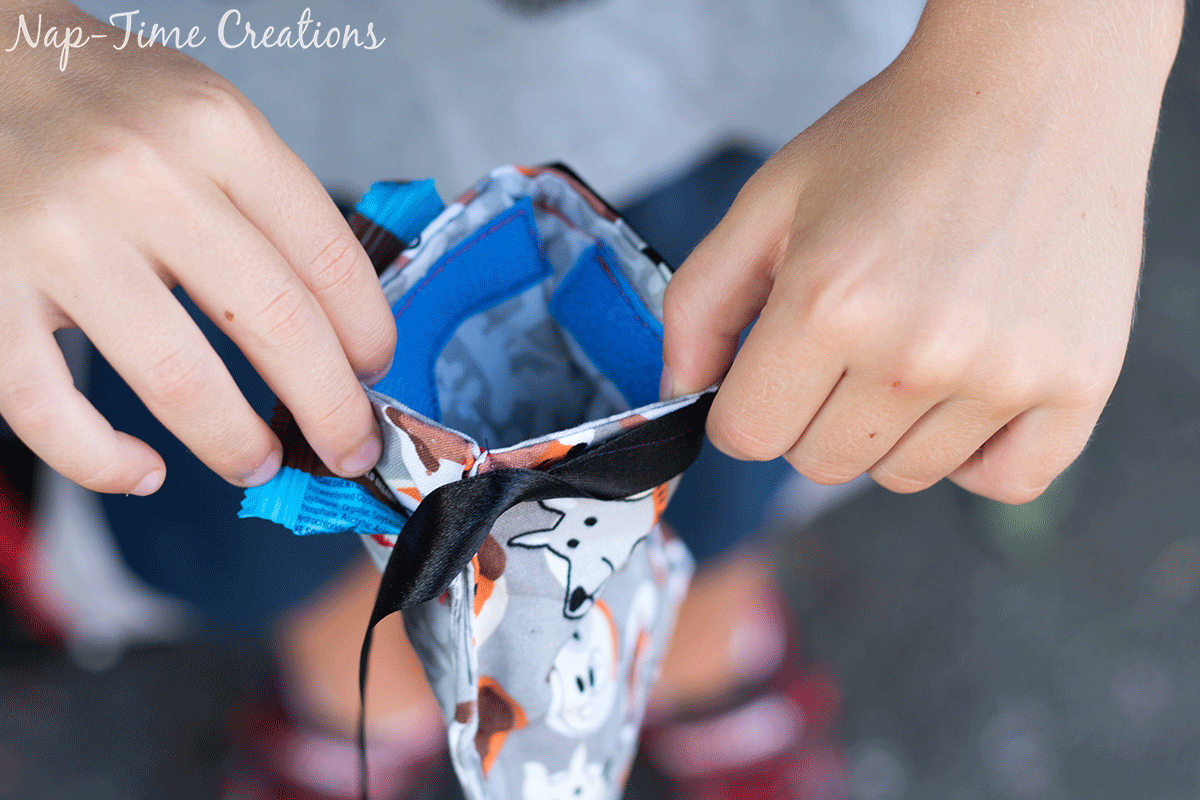
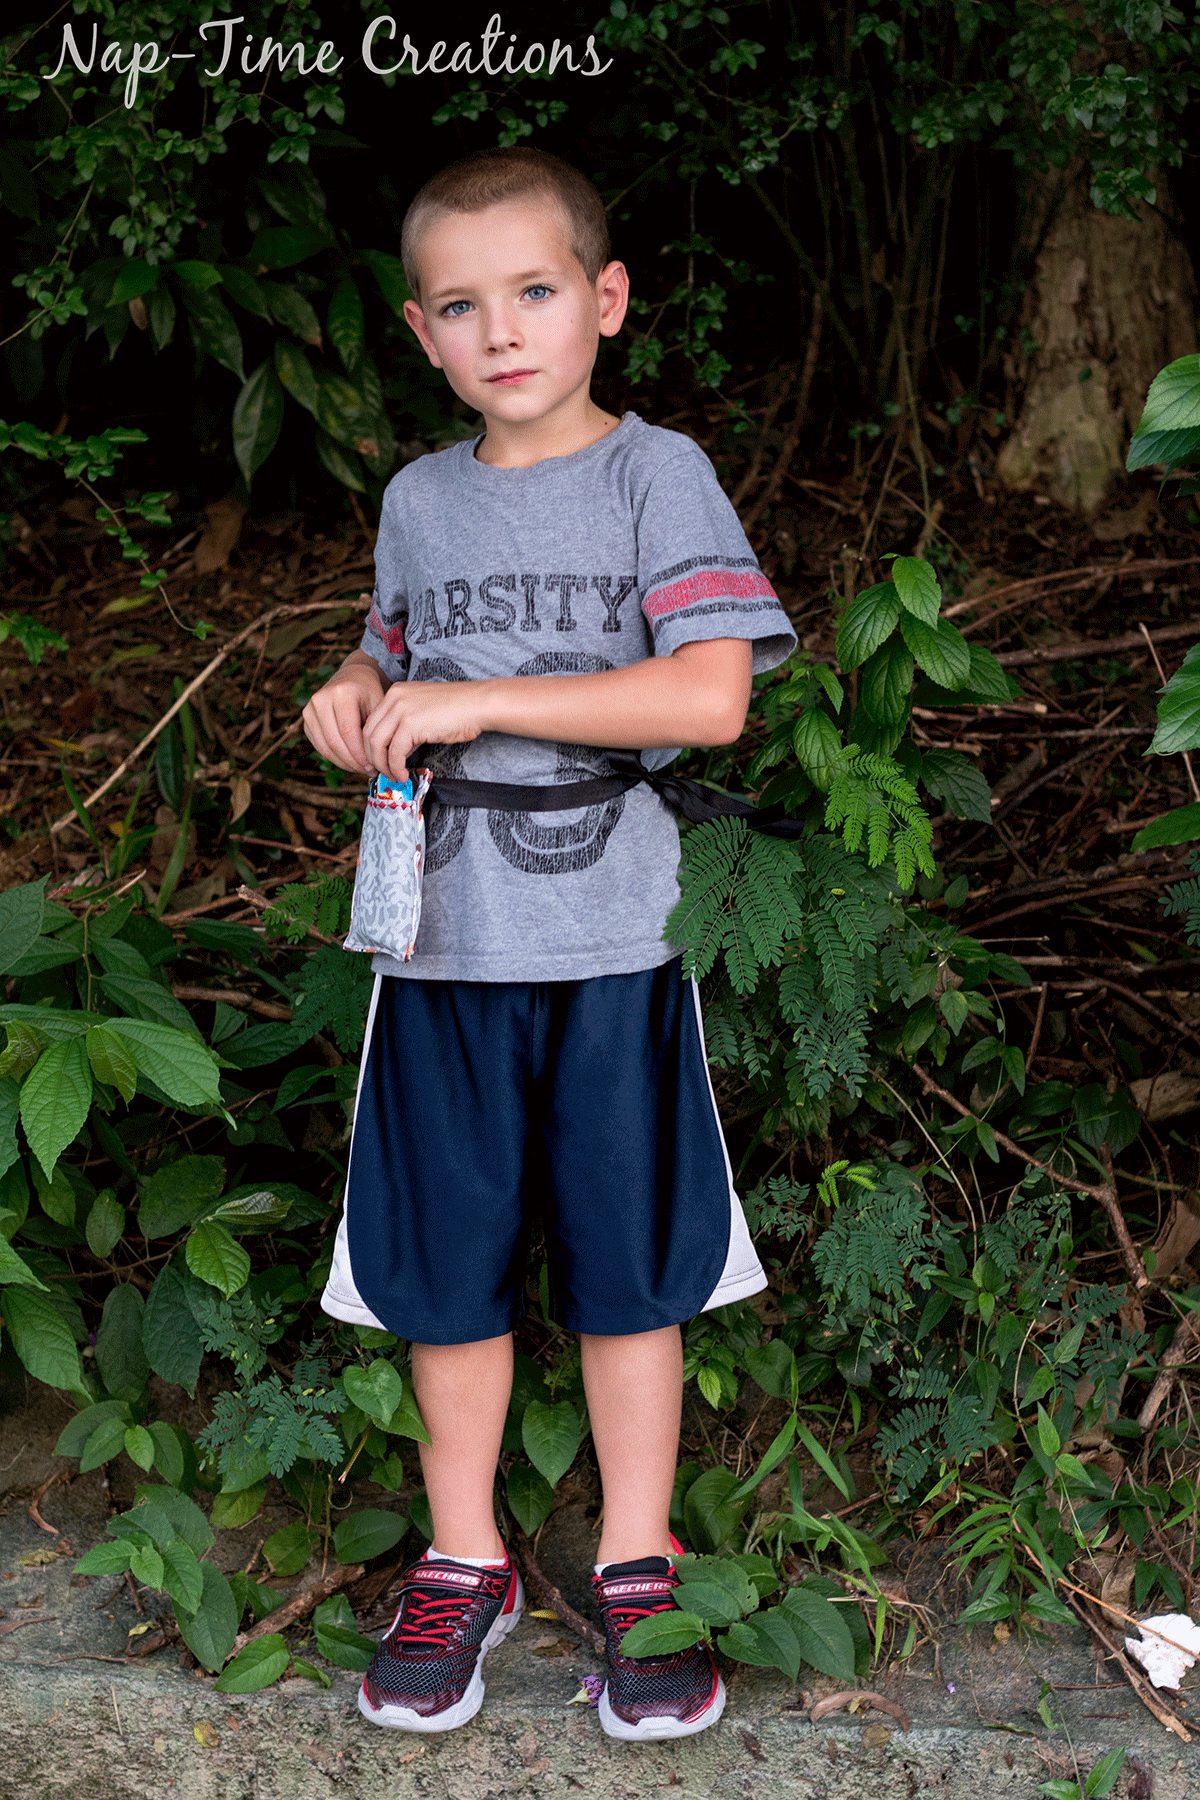
My kids LOVE getting tons of outside play and adventure all summer long. What’s your favorite outdoor fun? Check out these fun ideas from CLIF kid.
I was selected for this opportunity as a member of Clever Girls and the content and opinions expressed here are all my own.




tanya says
How cool is this? I love that bag. My son would totally use something like this. He always has to have a snack handy 🙂 Thanks for the tutorial.
Emily says
thanks! My boys are really loving it!
Anne says
Great way to bring along a little snack! I’ve got a Craft Gossip post scheduled for this evening that features your tutorial:http://sewing.craftgossip.com/?p=89442 –Anne
samantha says
What a cute idea to carry snacks around. My kids would love something like this! Thanks for joining the Family Joy Link Party!