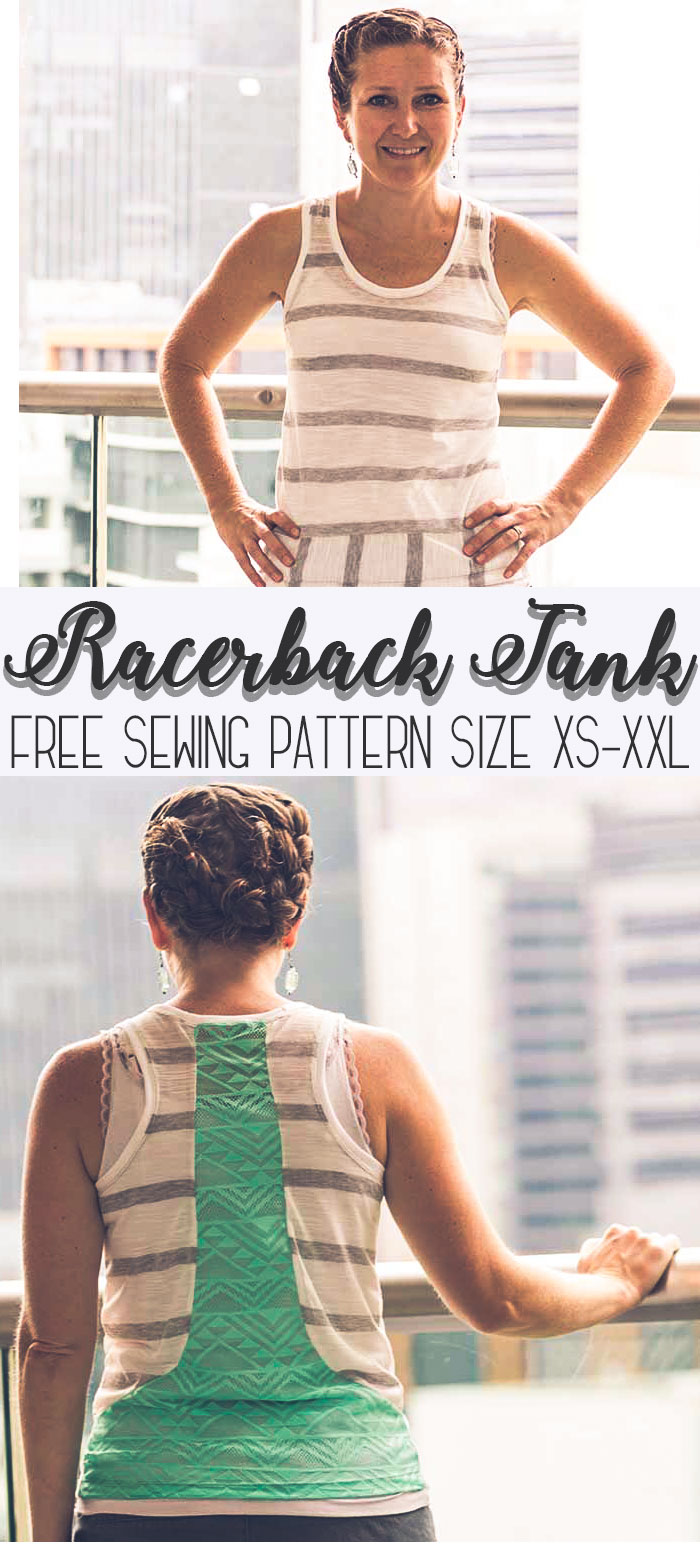
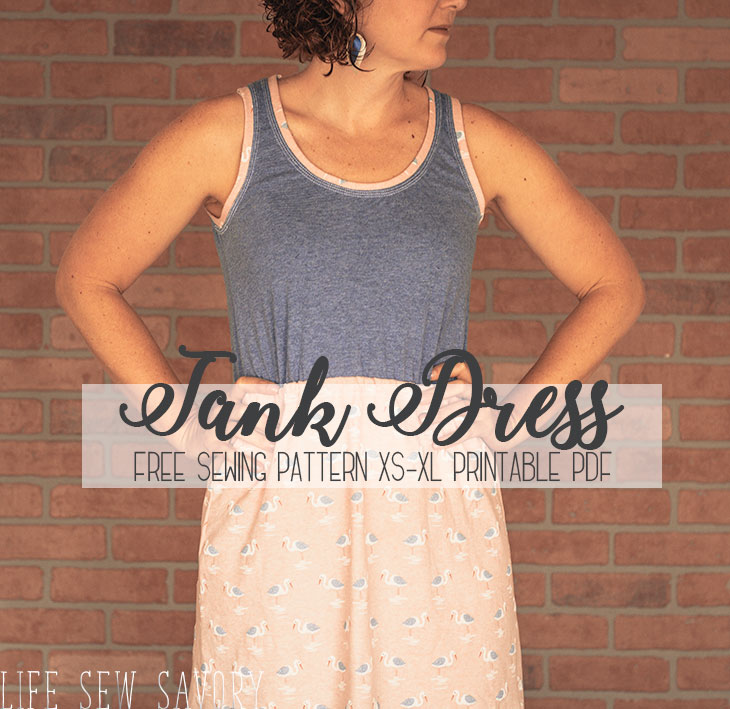
inside: A remake of an old project-free tank top sewing pattern – now with added sizes. With a racerback style and side panels this free tank pattern is a must-sew!
++Newly updated post++
I copied a tank a few years ago and shared free tank top sewing pattern in size S. Now I’ve added MANY sizes and digitized this pattern to make it better for you! SO…. grab the free pattern, check out my photos, then sew one with the full photo and video tutorial I’ve got for you today. Make sure to check out all my Free sewing patterns here.
Free Tank Top Sewing Pattern
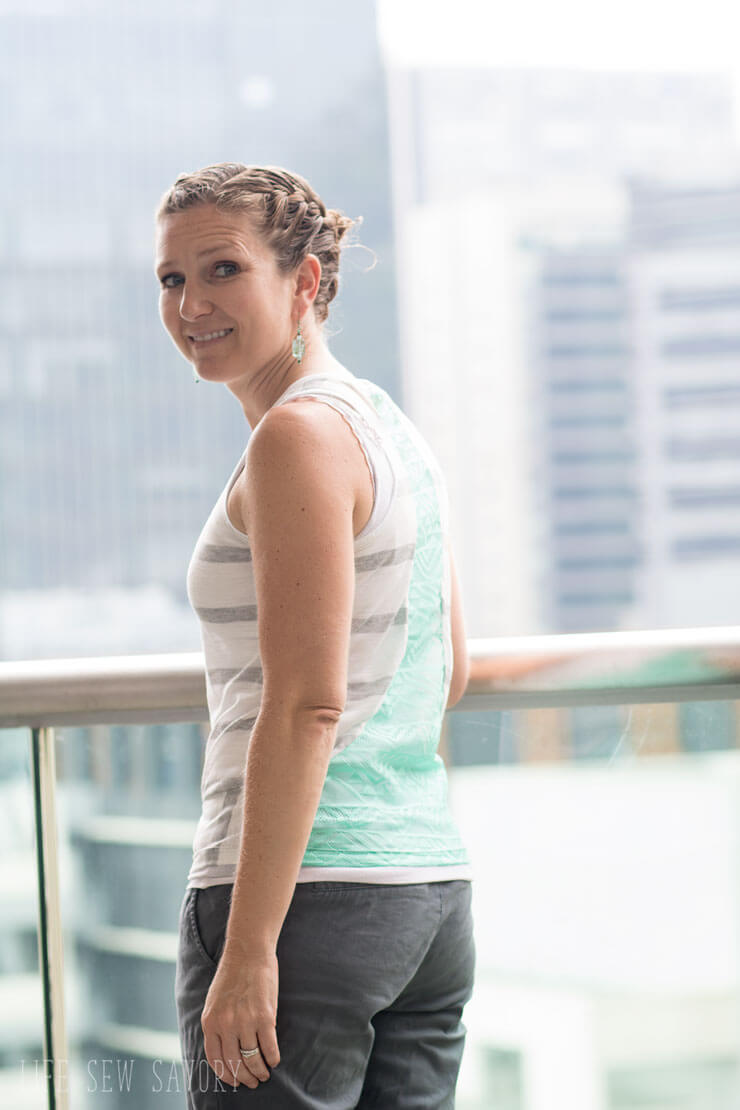
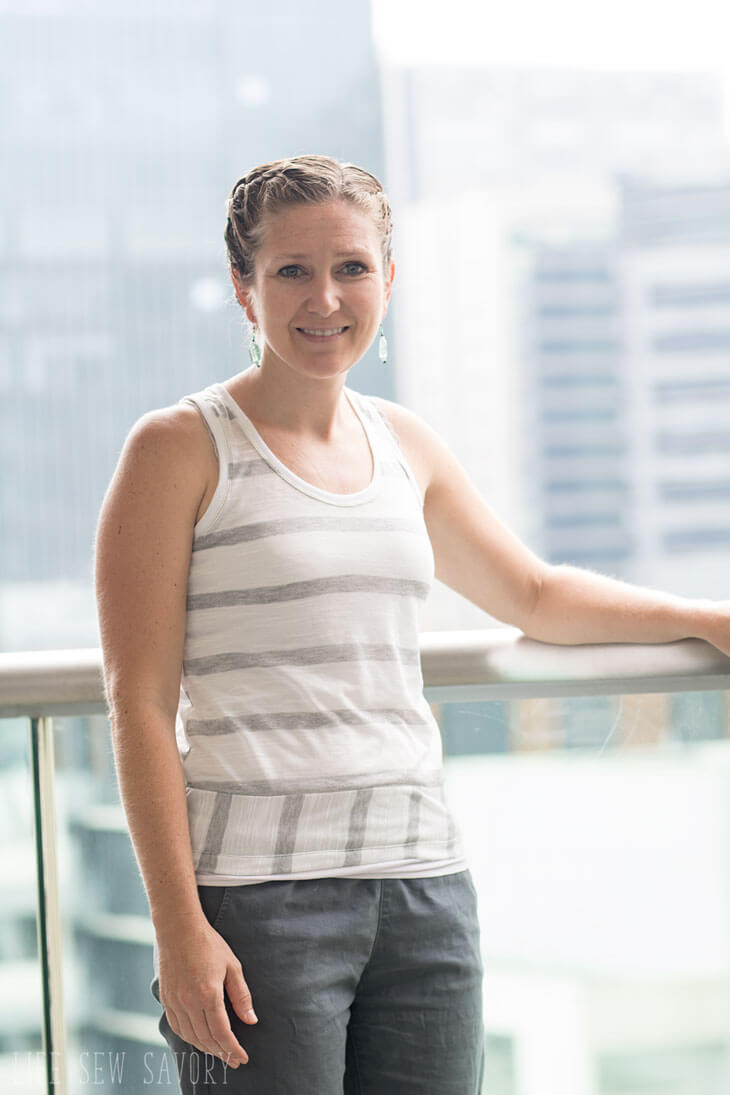
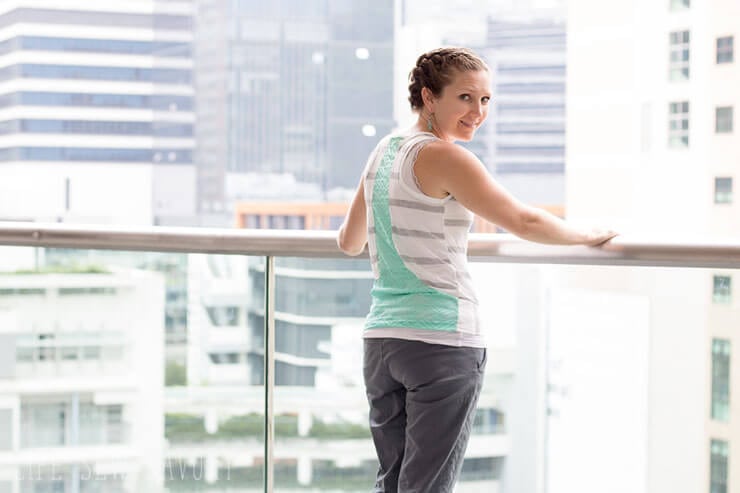
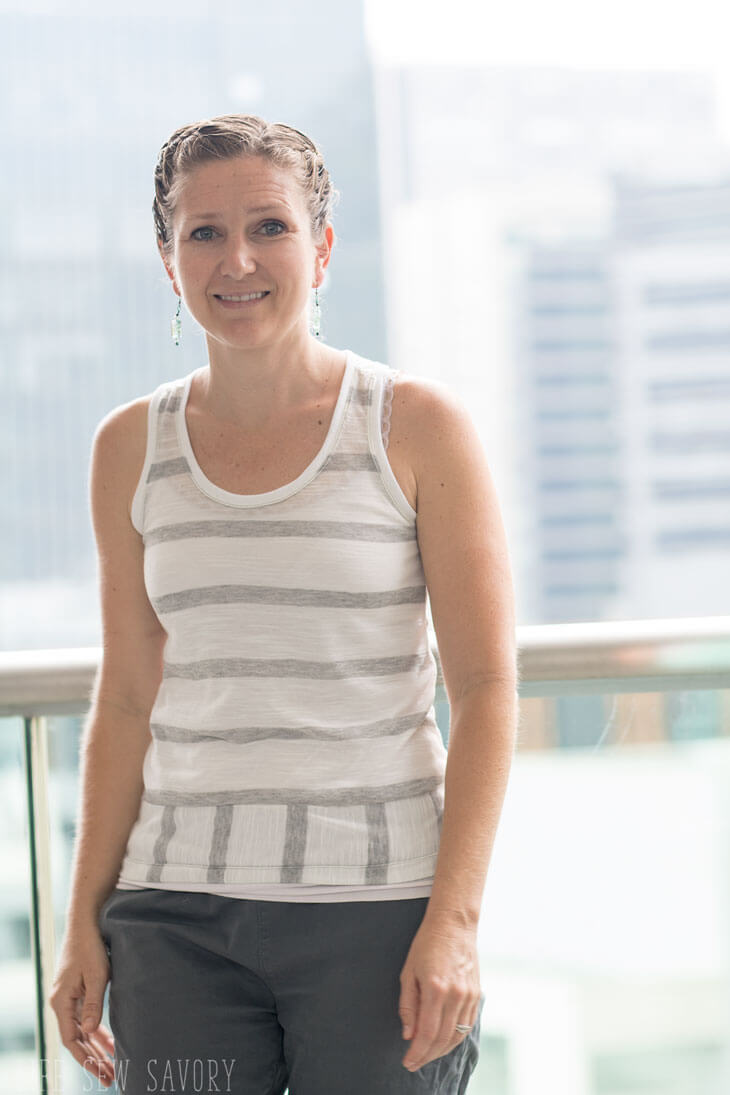
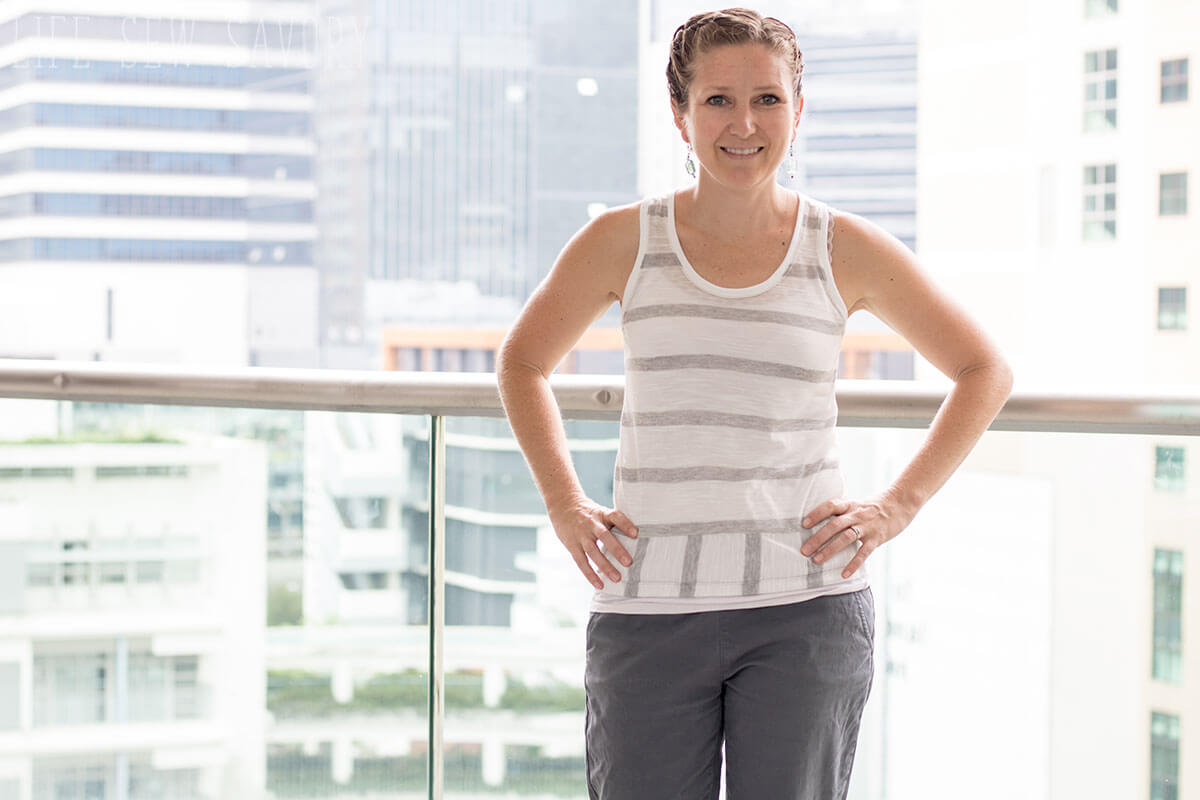
I wore out the tank like this I made a few years ago and it’s been on my sewing list FOREVER to make another one. This week I made one, and I LOVE it… I think I need about 5 more made with different fabrics and design variations. In the first version I made I just changed up the direction of my fabric for the back panel, in this one I added stretch lace and I think it looks amazing! The fun thing about this free tank top sewing pattern is that you can change up any of the pieces to fit your desired look.
How to sew a tank top –
Okay, let’s put this all together! The video in this post gives you the quick version of putting it all together. {if you have an ad blocker you will have to turn it off to view the video} The more detailed version is below. Here are the sizes that the tank fits. It’s made with knit, so it stretches and can probably be adapted for larger or smaller if needed. You will need about 1 yard of knit fabric for this tank, or pieces of two different fabrics.

Newly updated link! The pattern is now in my person shop as craftsy/bluprint has closed down. Get the pattern through the link below.
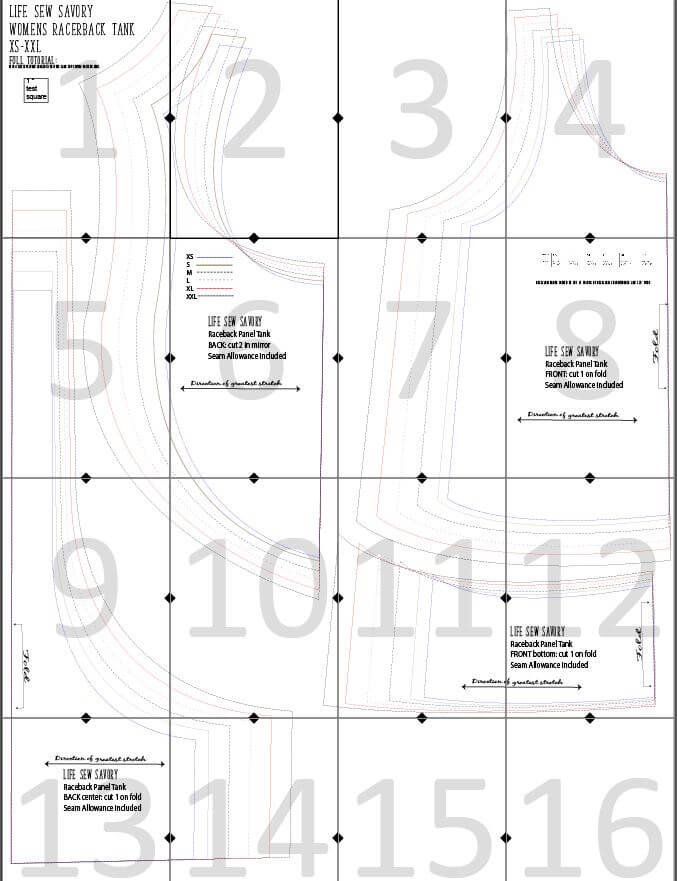
Trim the pages and tape them together. It’s 14 pages and should look like this.
Tank Top Supply List –
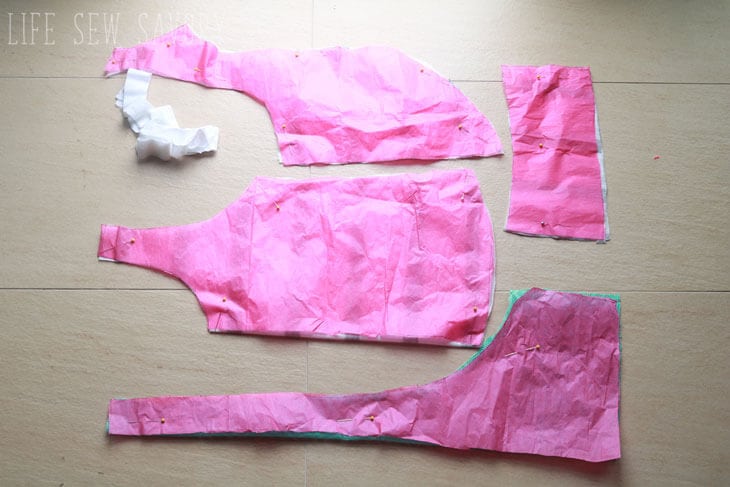
Cut 1 front top, 1 front bottom, 1 back center, 2 back panels and some stripes of 1.25″ wide knit for the binding. This can be from the same fabric or ribbed binding. I’ll go into more binding detail below. A 3/8″ seam allowance is included on all pieces.
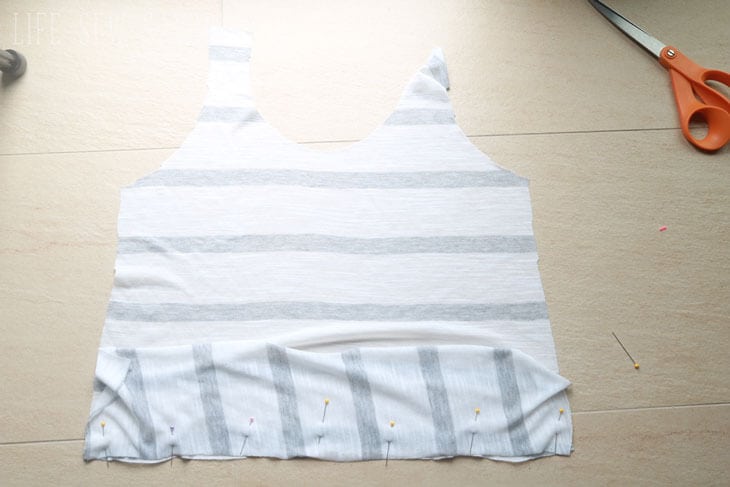
Pin and sew the front top to the bottom with the right sides together.
Create the back by sewing the side panels to the center with the right sides together. Pin the curves carefully before sewing.
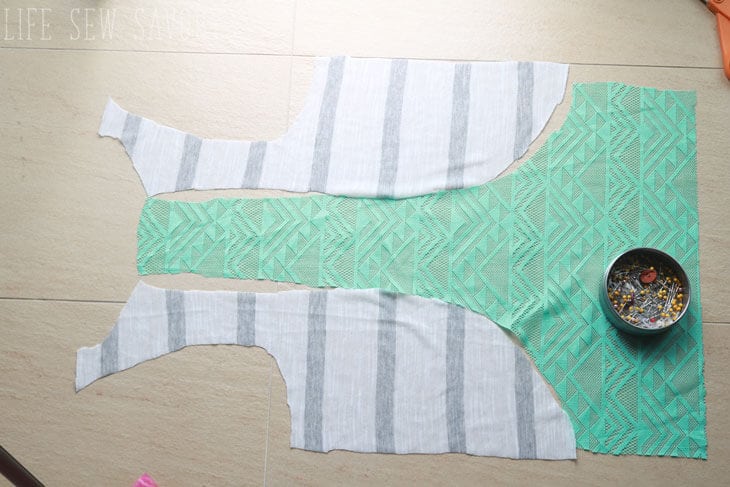
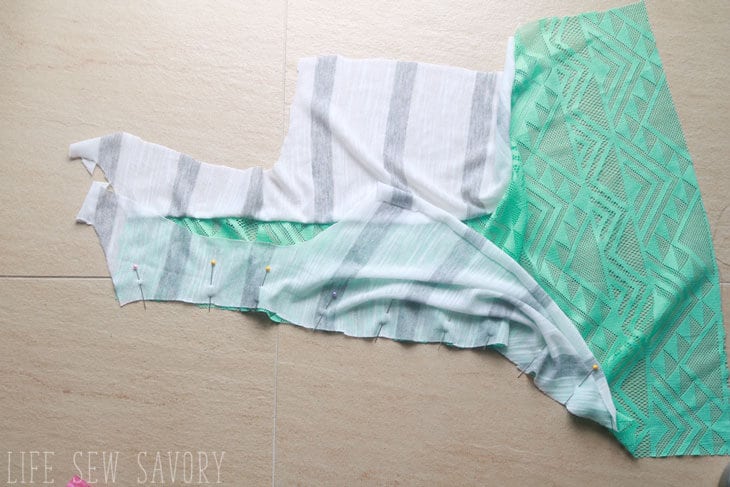
Here’s what the back looked like. I did a quick iron to smooth out the curves.
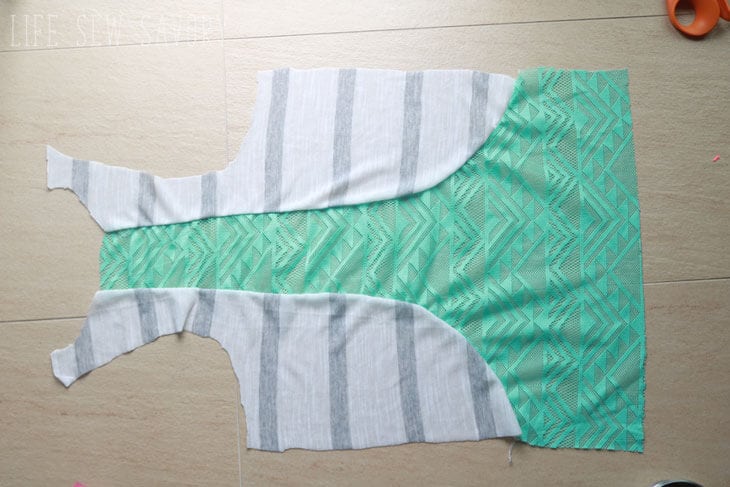
Sew the front and back together at the shoulders and side seams.
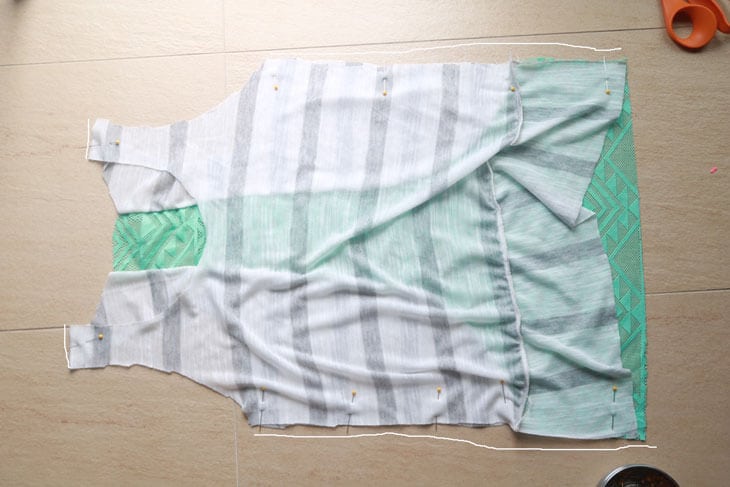
You cut long pieces of 1.25″ wide binding. To determine the length, measure your neck {or arm} opening, then cut your binding 80-90% of that measurement. EX: if your neck is 20″ you would cut your binding 16-18″ long. The length depends on the stretch of the fabric you are using. If it’s really stretchy, cut it shorter. Less stretchy, cut it the longer length.
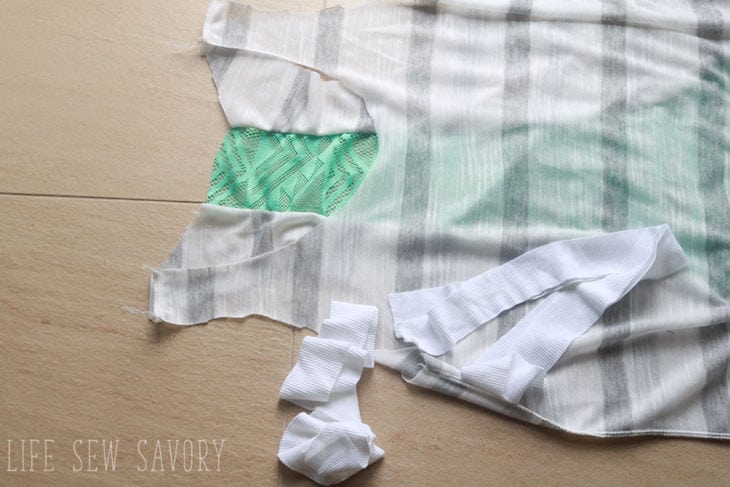
Sew the short ends together, then fold in half and pin to the RIGHT side of the tank top. { I know this photo shows it pinned to the wrong side, but this is NOT correct} I made a mistake and they didn’t get another photo {opps!} Stretch the binding around the opening, pin and then sew. Do this for both arm openings and the neck.
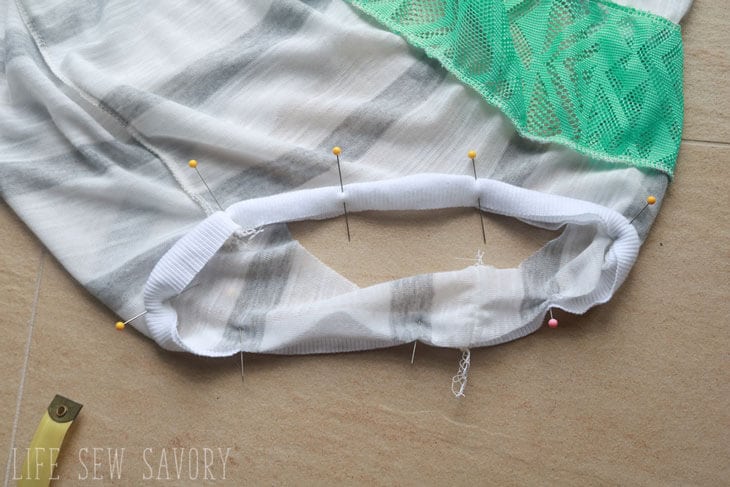
Top stitch the binding down to the tank with a knit stitch or double needle {see this double needle tutorial if needed}
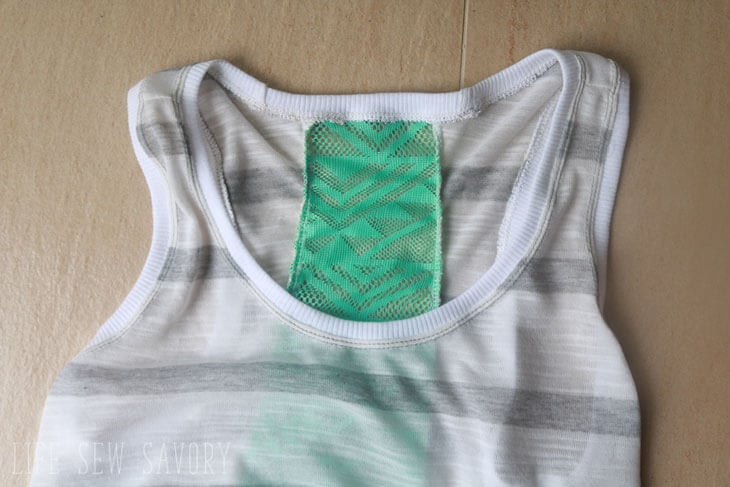
Turn under and pin a 1″ hem on the bottom. Stitch with double needle as well.
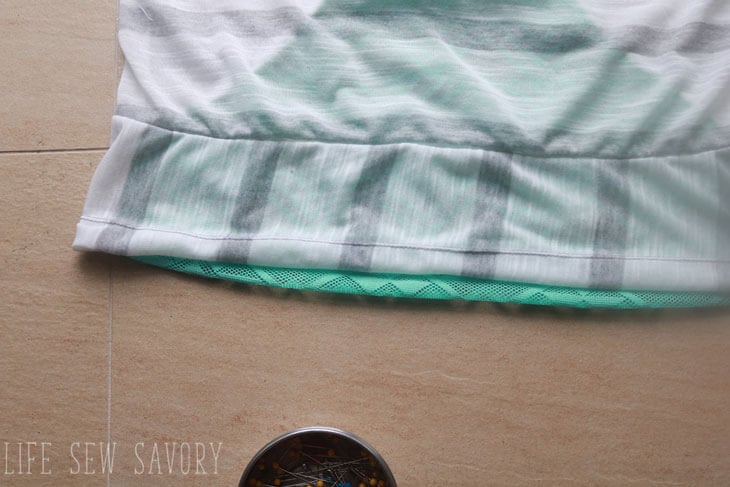 You did it! So cute, right? Here’s one more link to download the pattern, you can also see the finished photos or watch the video tutorial.
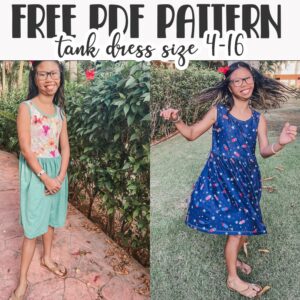
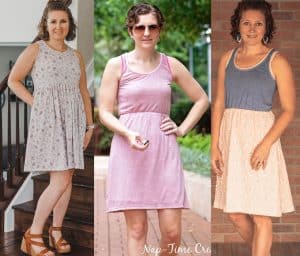
Here are some fun free tank top patterns you may enjoy –
Workout tank free sewing pattern
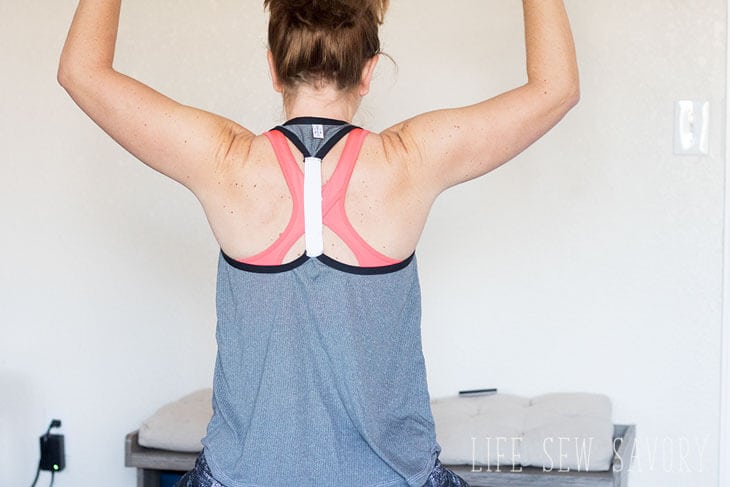
Womens Workout Tank
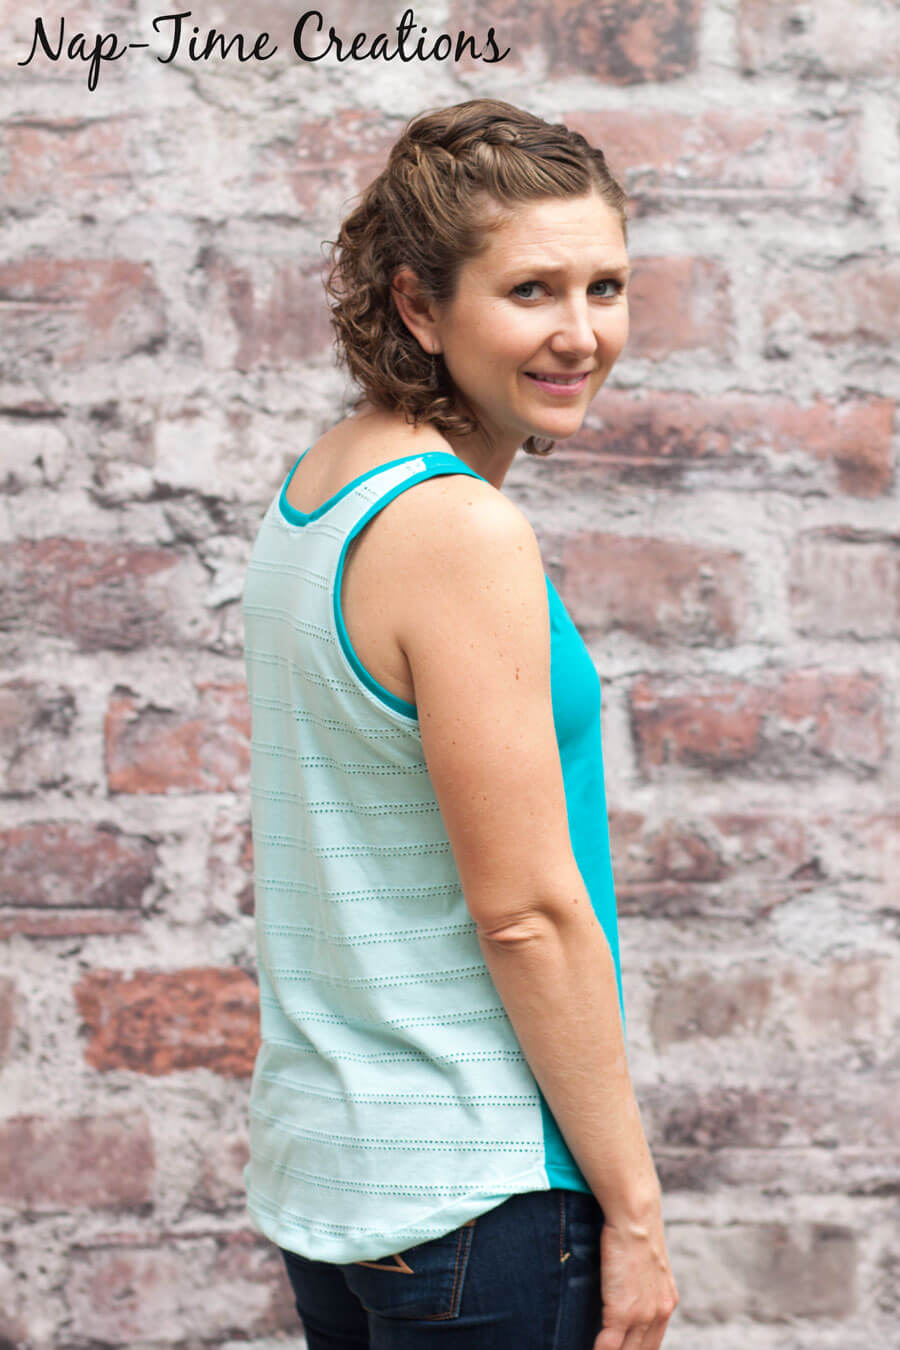
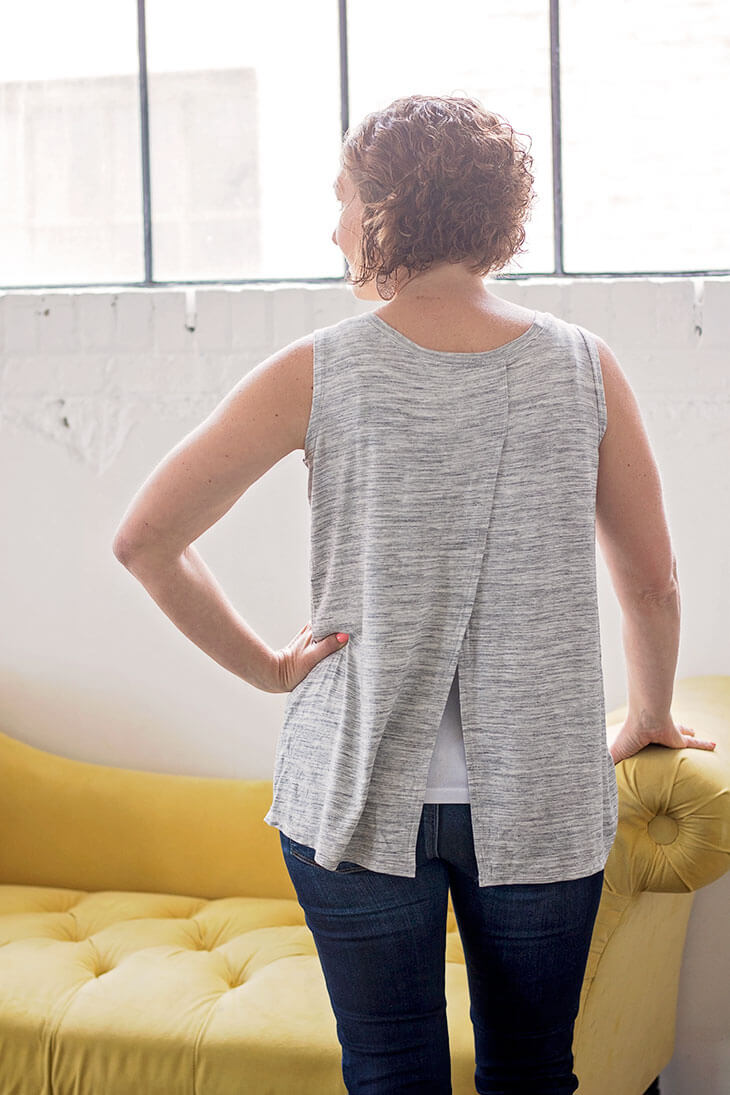
Cross Back Tank





Anne says
Cute tank!! I’ve got a Craft Gossip post scheduled for this evening that features your pattern: http://sewing.craftgossip.com/?p=92881 –Anne
Emily says
thanks!!
Miriam luz terrero Ramirez says
hello. my english is not good but, try to download any pattern and never cant. help me please I dont kknow what is wrong. thanks.
Christine says
I LOVE this Razorback tank it has coverage and looks so comfortable and cool to wear. Thanks SO MUCH for sharing…
Tamara Deneweth says
I am making one of these now. I am new to sewing, so the binding for the arm holes and neckline is a little intimidating. I have everything pinned and I’m sewing it now. Very easy to follow pattern and instructions thank you?
Chris D says
This is very cool, I was wondering if I needed a sewing machine that can do stretch stitching when using this light of fabric, or would regular stitches be fine?
Dee Kay says
Zigzag stitch is the best thing for knits when you don’t have a serger. Play with the stitch length and width with a scrap of fabric first and stretch the fabric to make sure the length/width you chose stretches enough for you.
Christina Slay says
As someone that normally just watched the videos, and doesn’t read the posts (cuz I’m lazy 😒), I have to tell you the pinning to the wrong side on the bands totally messed me up! I know its my fault cuz I didn’t read the post, but for future sewing people (like my lazy self) you might want to just omit that part of the video and pictures posted. Sorry 😞
Ozmen Ozdemir says
I am grateful for the post. Really looking forward to reading more. I will read on!!
Sallie Schwarz says
Love the tank! Great instructions, easy to follow. Thanks for sharing.
serik says
Great post. I am waiting for more of your posts.
Aviva Dallas says
It was great, I can’t wait to read more.
Dallas Shirts says
I am grateful for the post. Thanks for sharing.
Dallas Shirt says
Great instructions, easy to follow. Thanks for sharing.