With this Harry Potter Game today I’ve got a HUGE post for you. A NEW Harry Potter fabric matching game, and not one, but TWO giveaways and a fun tutorial showing how you can make this fabric matching game.. Make it using my templates for Harry Potter OR create your own using any words you want.
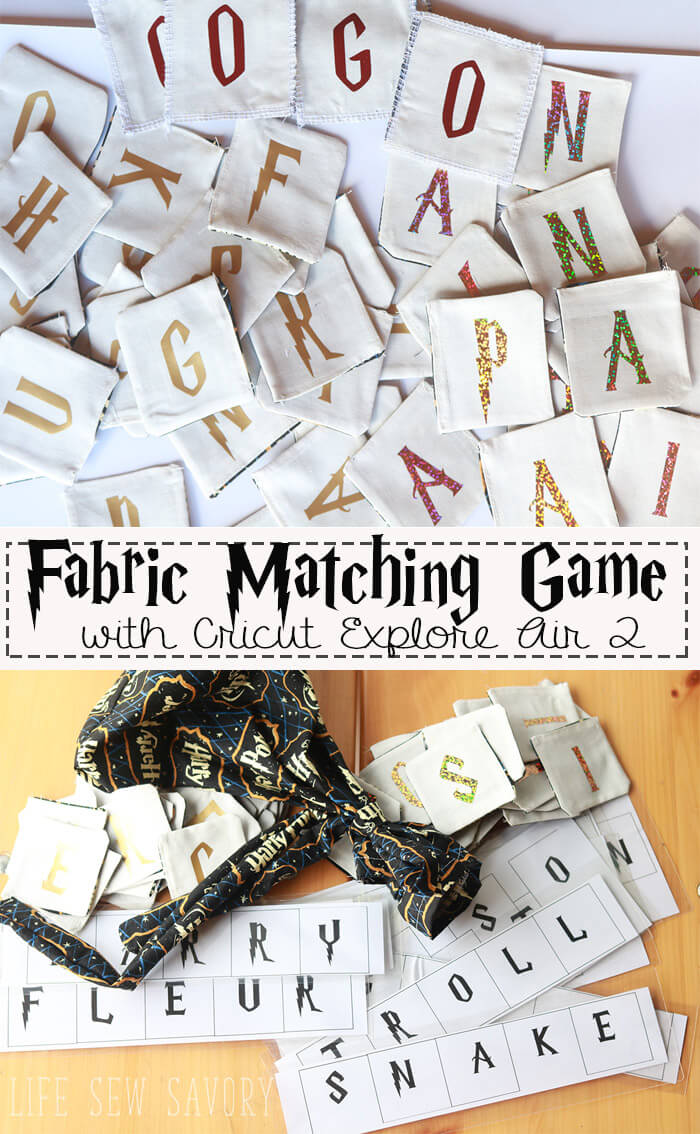
Harry Potter Game with Fabric Squares
Okay, before I get to the tutorial I just want to remind you to scroll ALL.THE.WAY to the bottom of this post so you can enter the giveways.. enter to win a Cricut Explore Air™ 2 machine – like I used with this project… AND a HUGE Harry Potter prize pack… here’s what you could win… Enter at bottom of post.
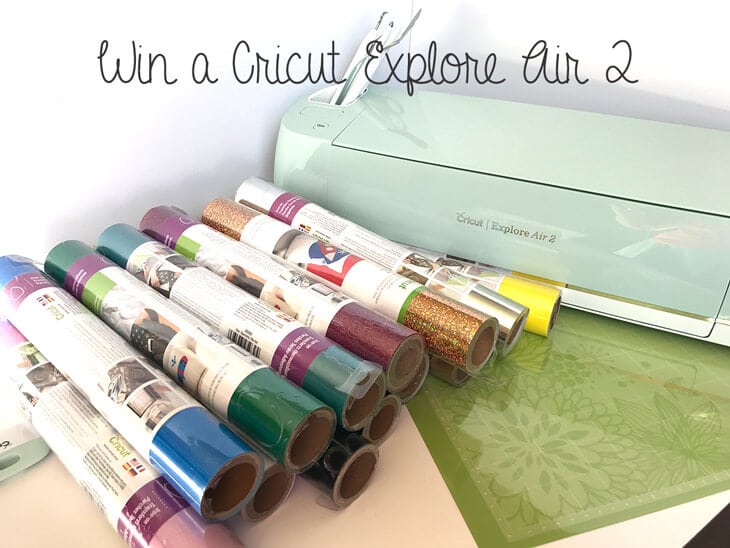

Ok, let’s get to the game! In addition to particpating in the Cricut sewing blogger series, I’m also joining Rae Gun Ramblings for her amazing Harry Potter series. I’m going to show you how to make this game Harry Potter style with all the free downloads… BUT, you can use any words you want and just use the same concept. To make this fabric matching game you will need 1 yard of Harry Potter fabric, and 1 yard white fabric, 3 rolls Iron On {of different colors}, the cut files for NAMES, ANIMALS, THREE and the game board files by clicking the photos below, then saving to your computer.
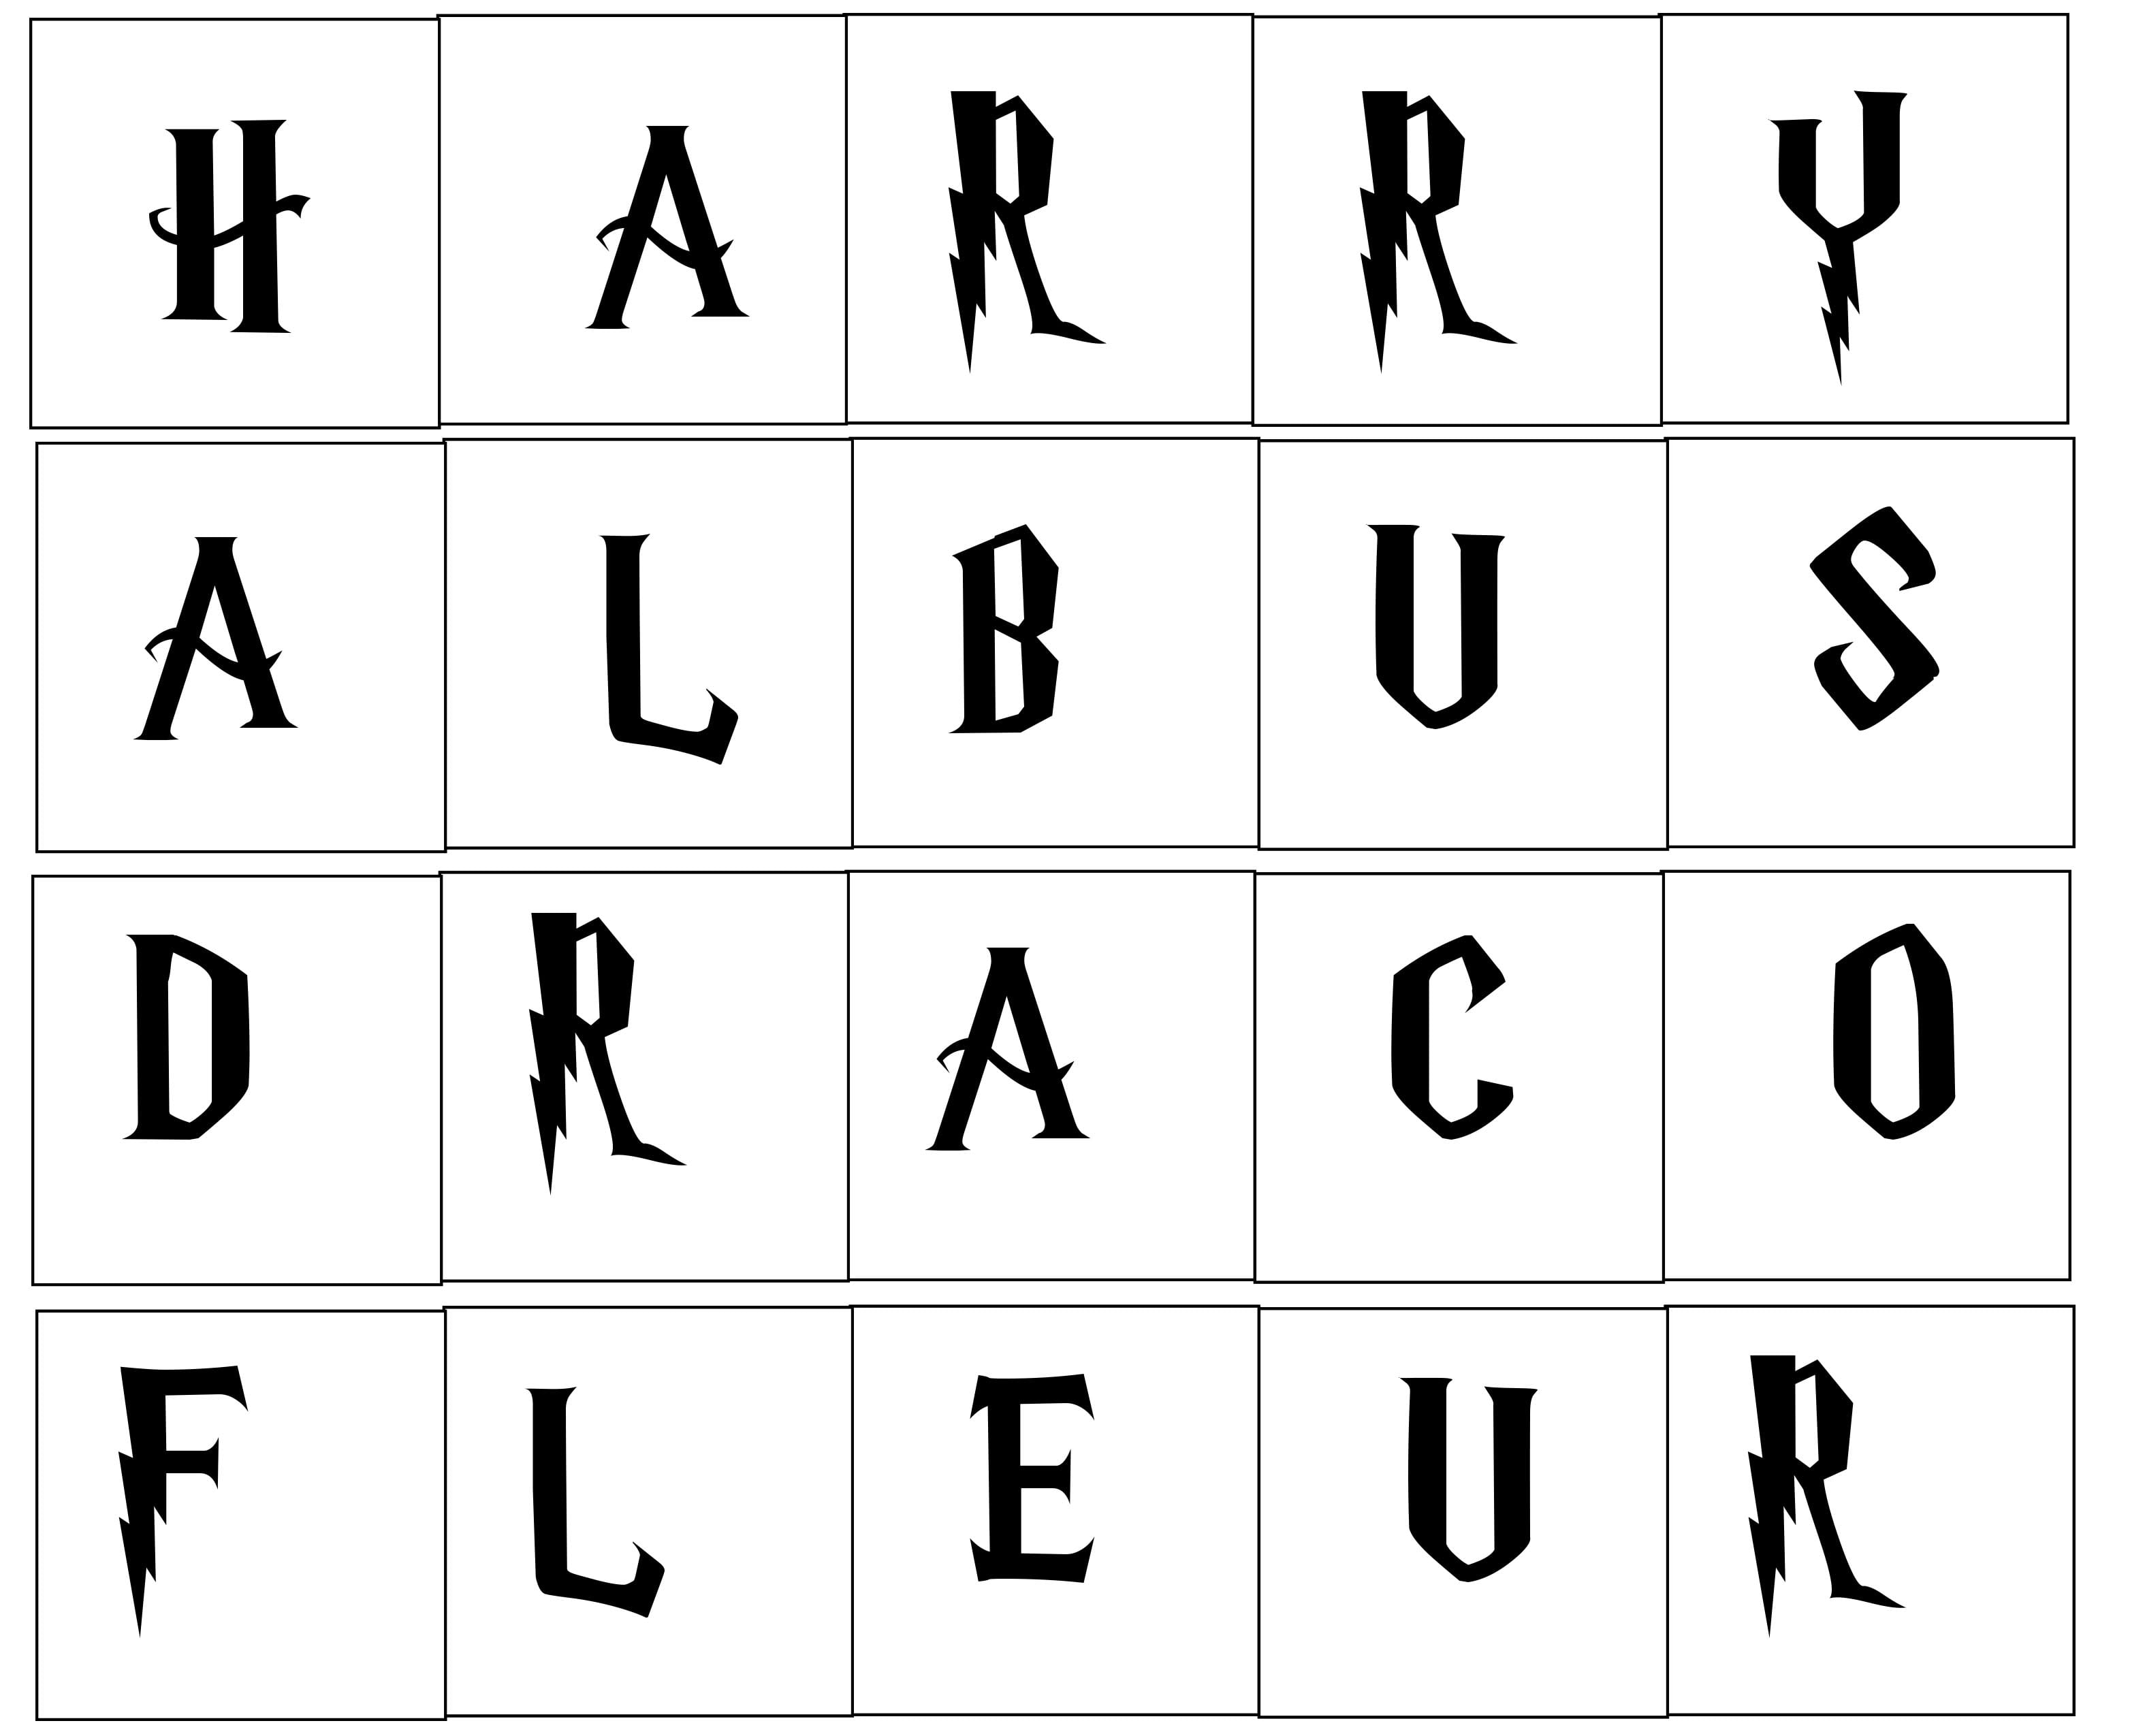
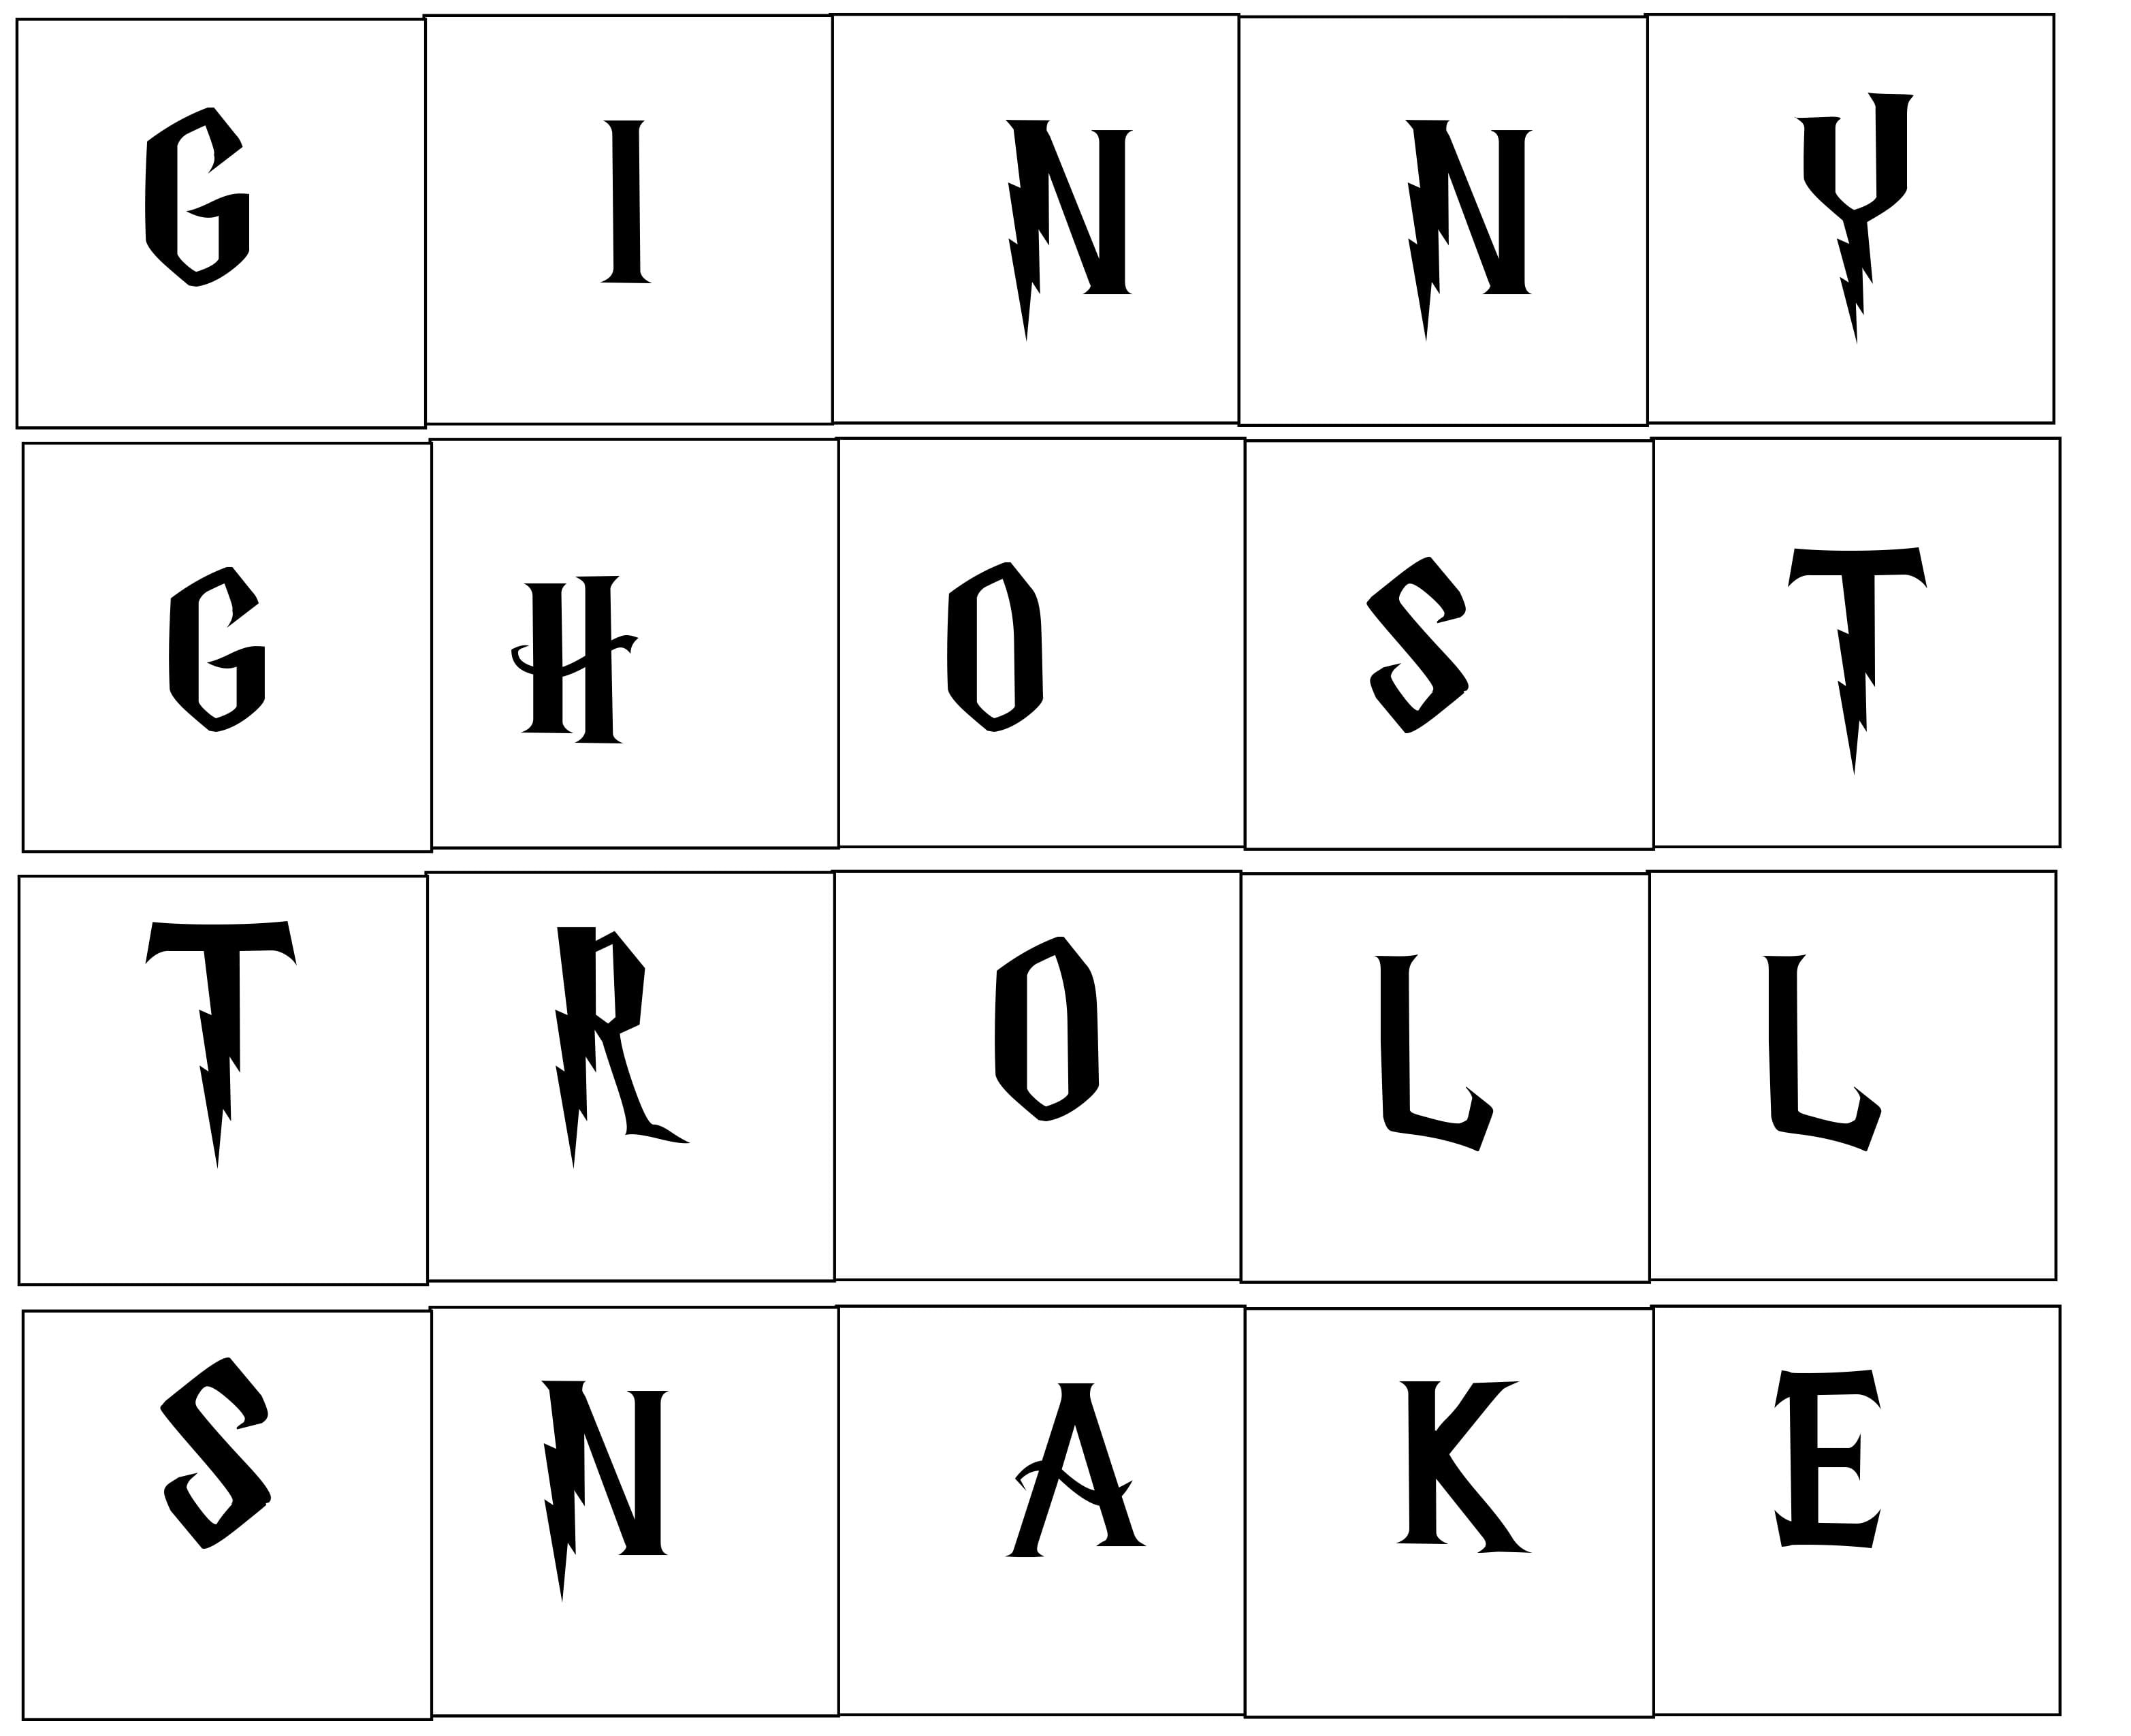
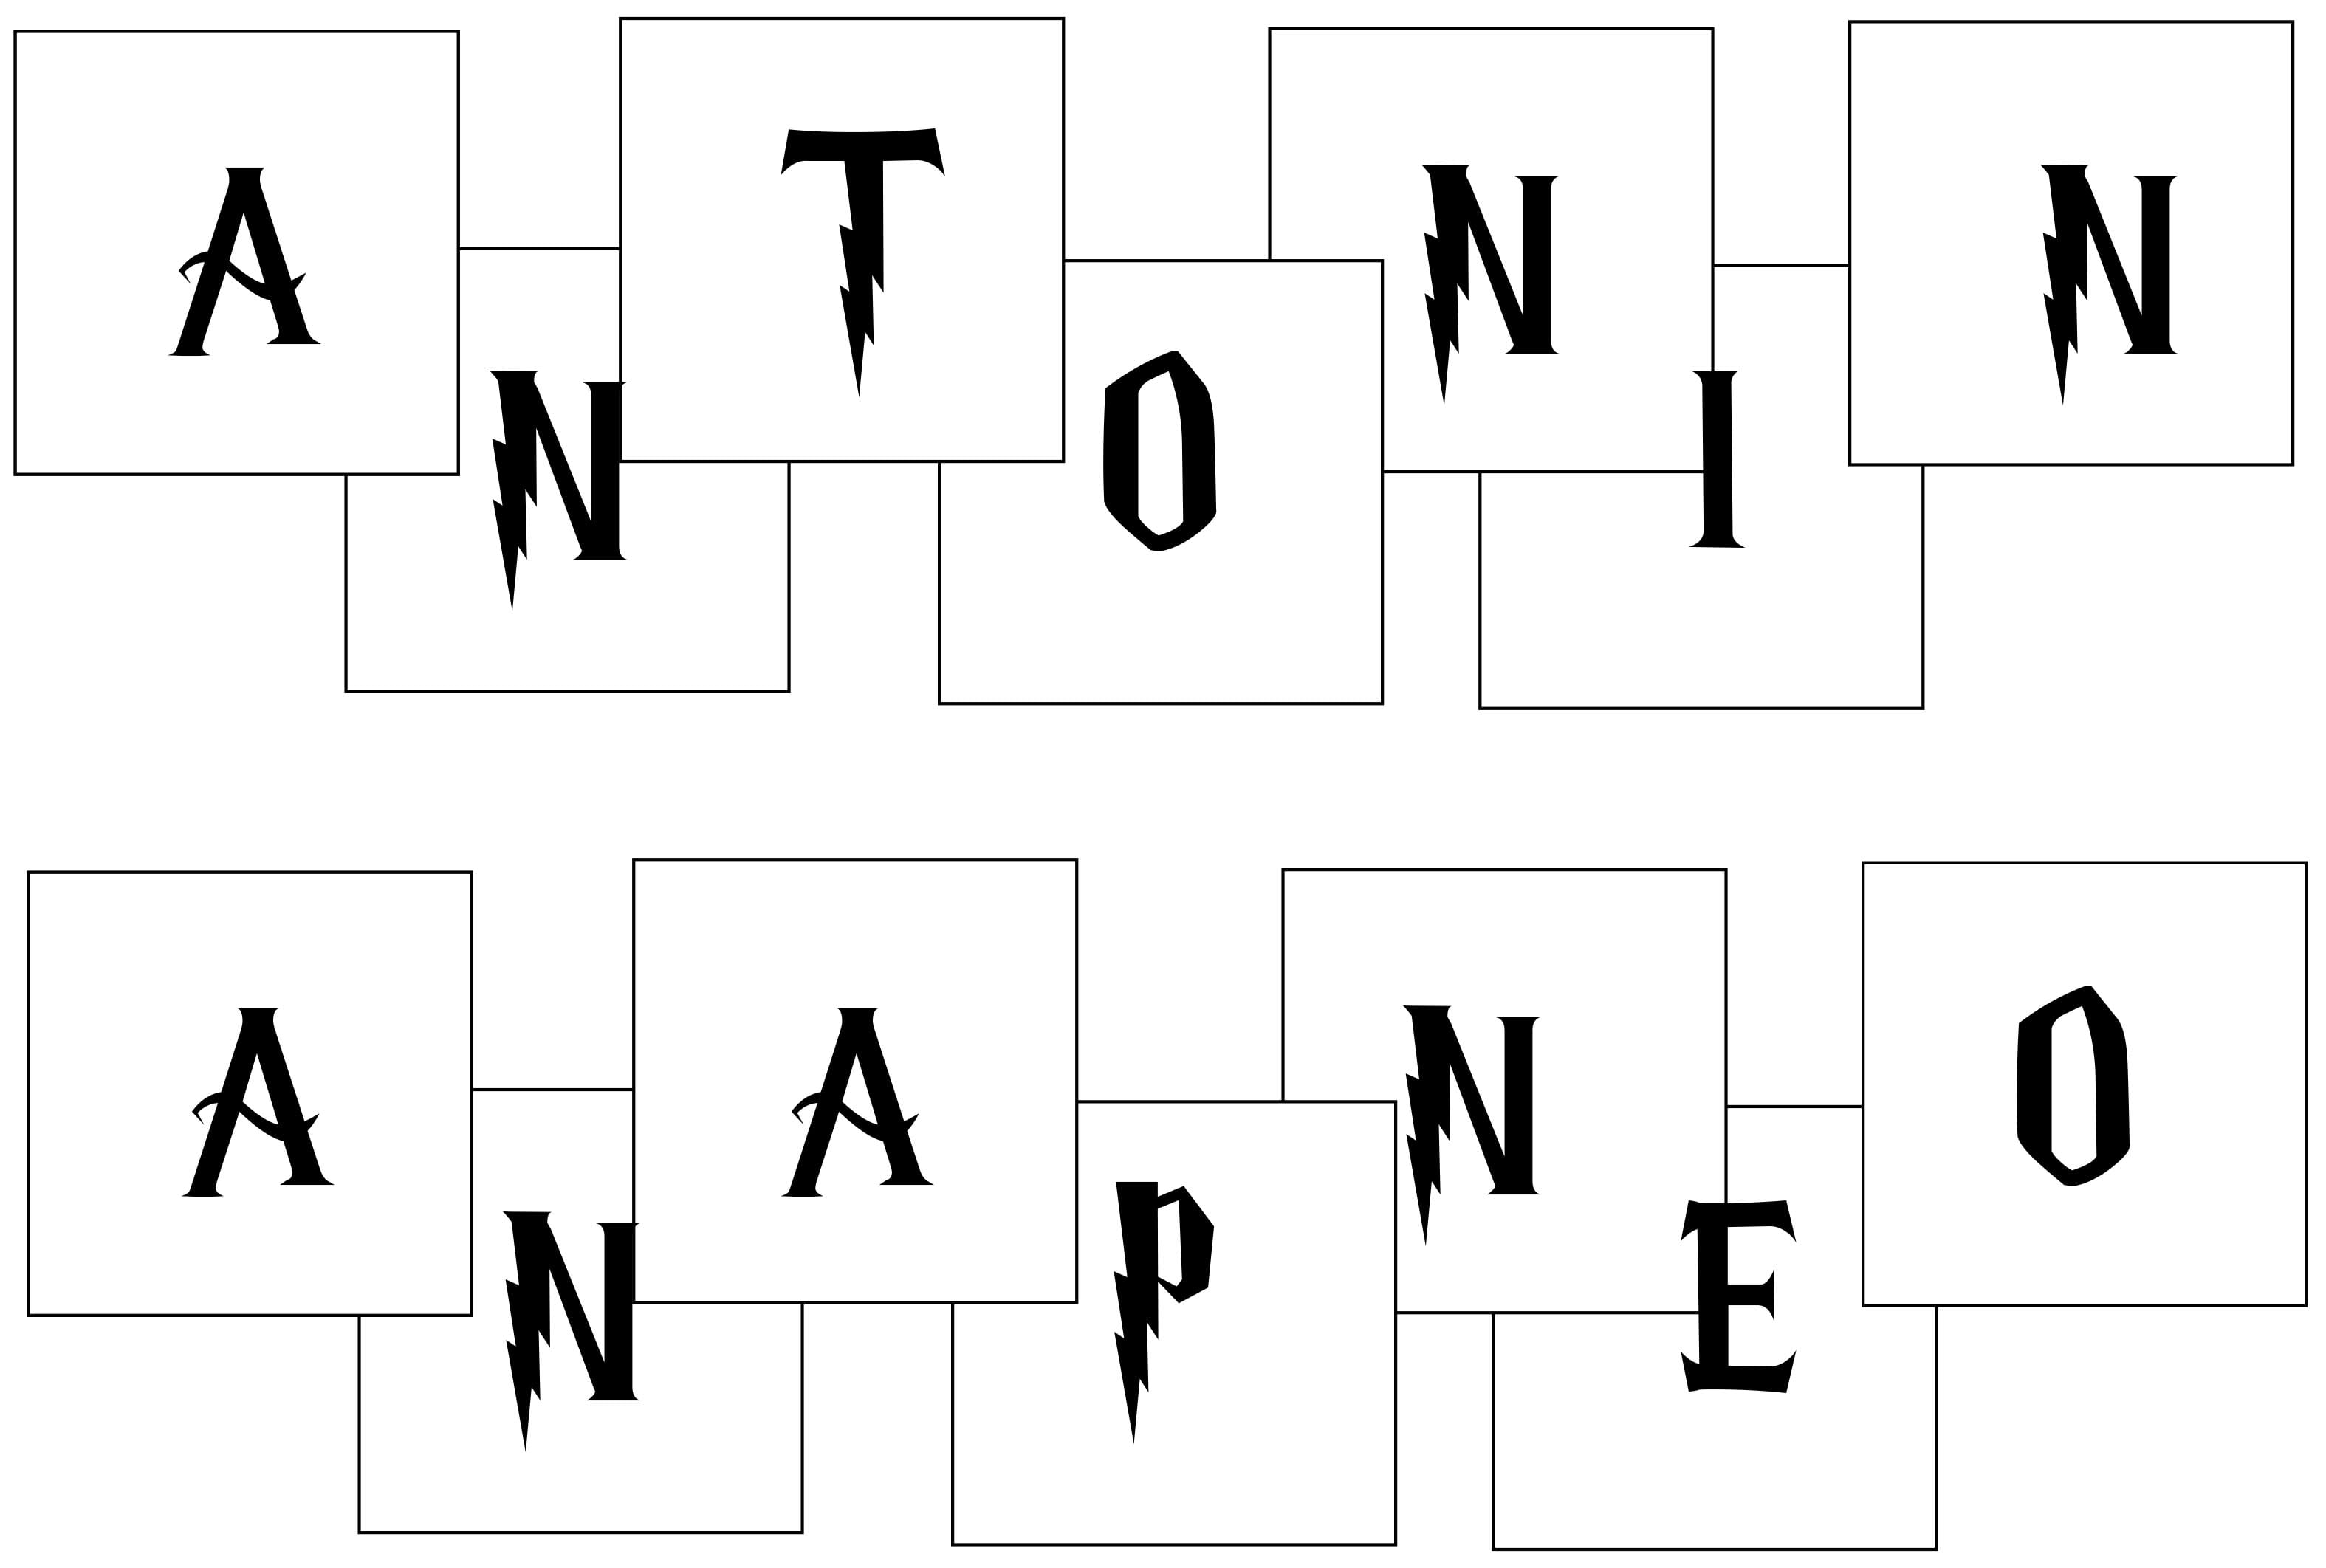
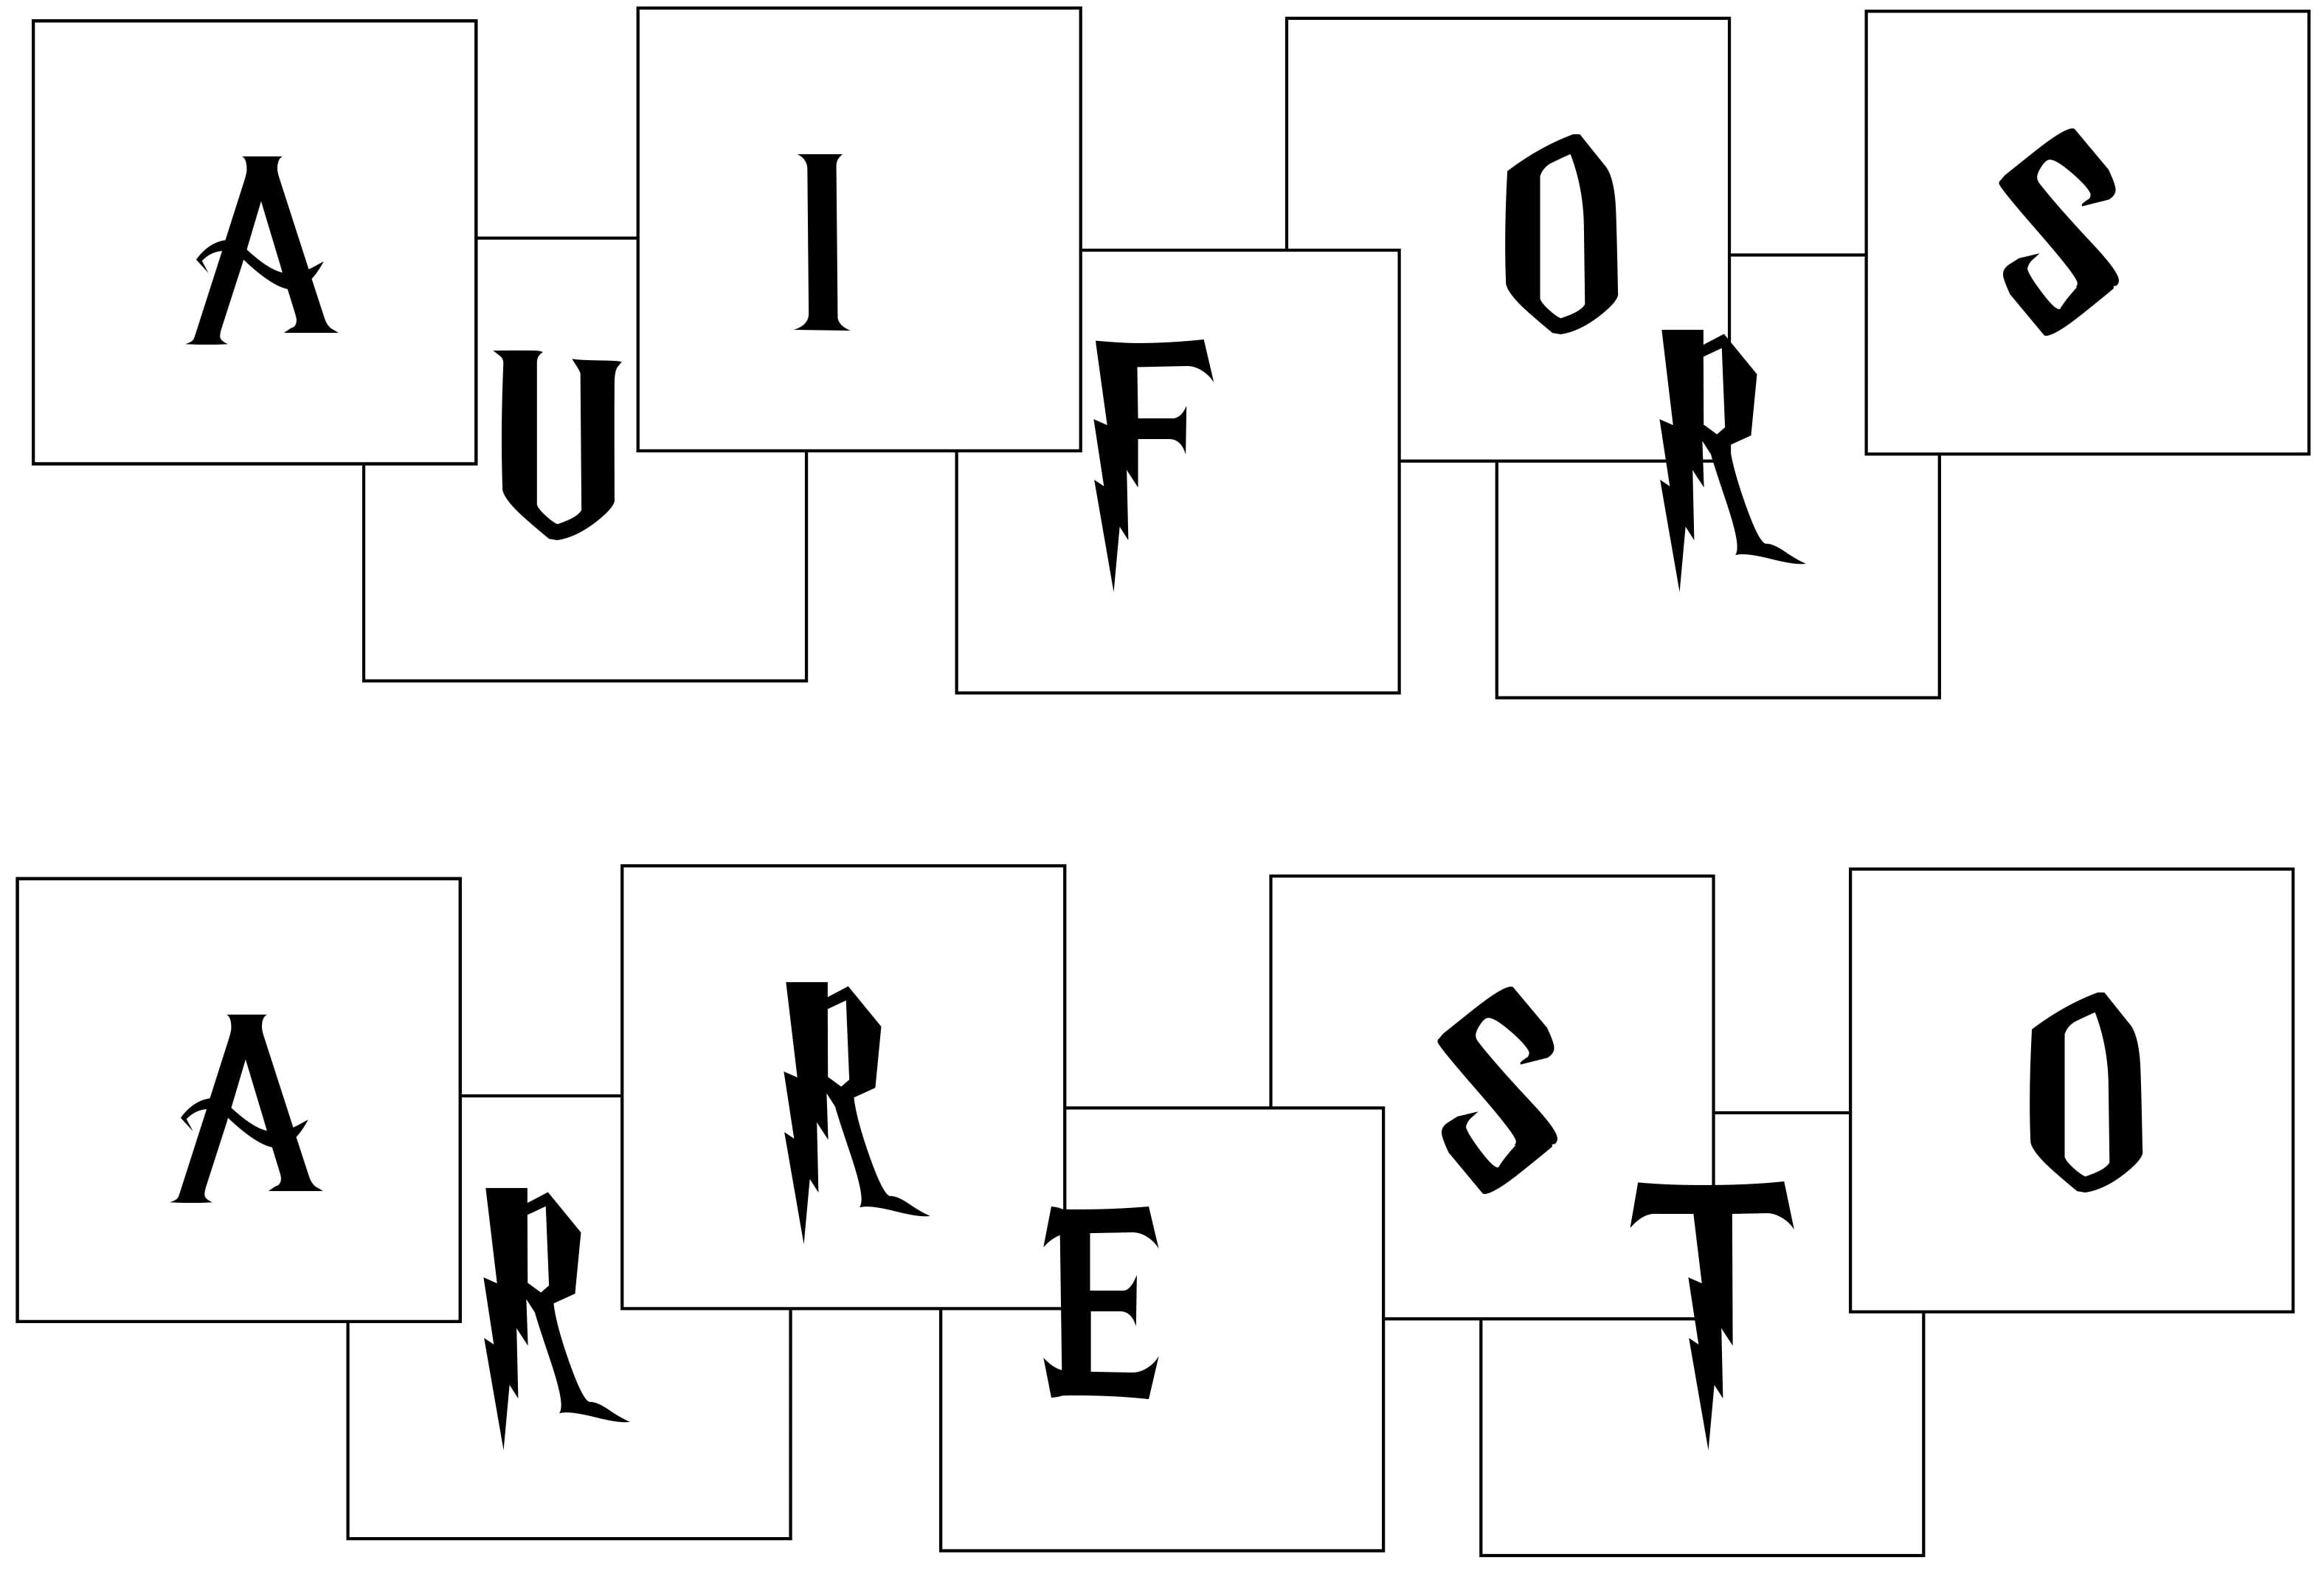
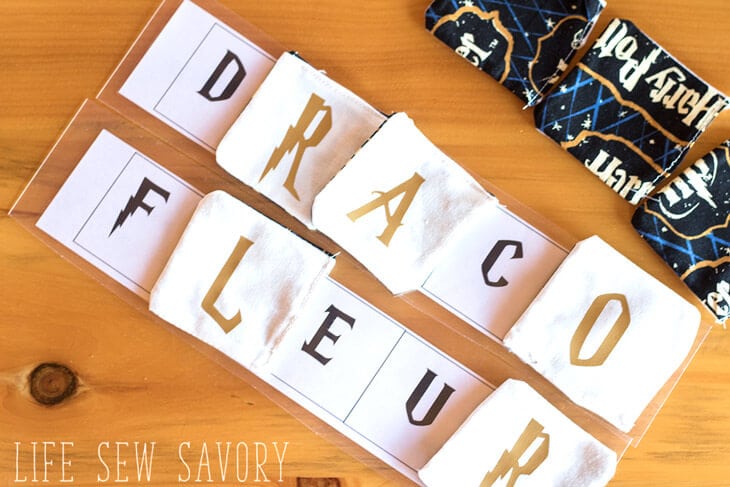
My tutorial makes a game with three sets. Names, Spells and Animals. You can choose to just make one set if you want. Sew the fabric squares {directions below}, cut the Iron On letters{free template provided}, print the game boards{above}. Choose one to start. We are playing names here… Place all the letter squares face down {we added a few blank ones and random letters to make it harder} and give each player a name card. Take turns turning a square over and seeing if you need it for your name. Continue around and the first one to fill their name wins. Make it harder and more challenging by getting the name IN ORDER. I play this way with my son who is very good at memory games. When we played with the little one we just filled in any letter. You have to remember where other people have turned up the letters you need. 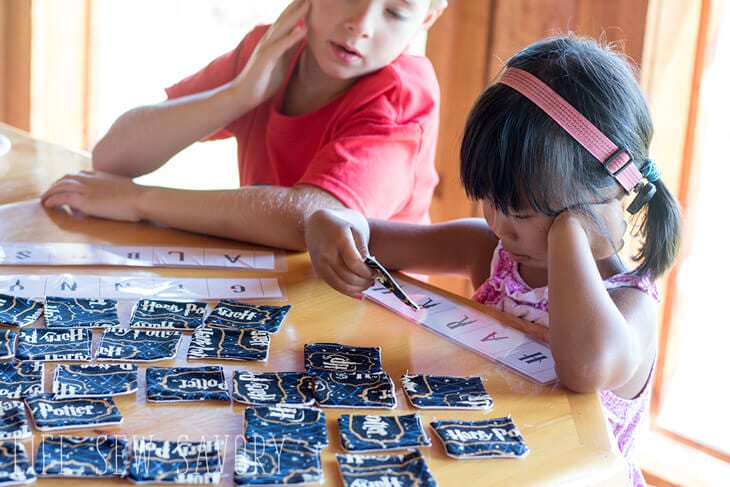
Use the incredible Cricut Explore Air™ 2 machine to cut your Iron On. {if you buy a Cricut use “ChristmasInJuly” for free shipping for US orders} You can use fonts, pictures and graphics in the design space OR upload your own. I created this text then saved as a .png for easy upload… it was SO easy to figure out. I love how it asks you if you want to MIRROR the text before cutting. You need to do this for letters and it was easy to remember. Remember you can grab the Harry Potter game letters above to upload and cut with your machine.
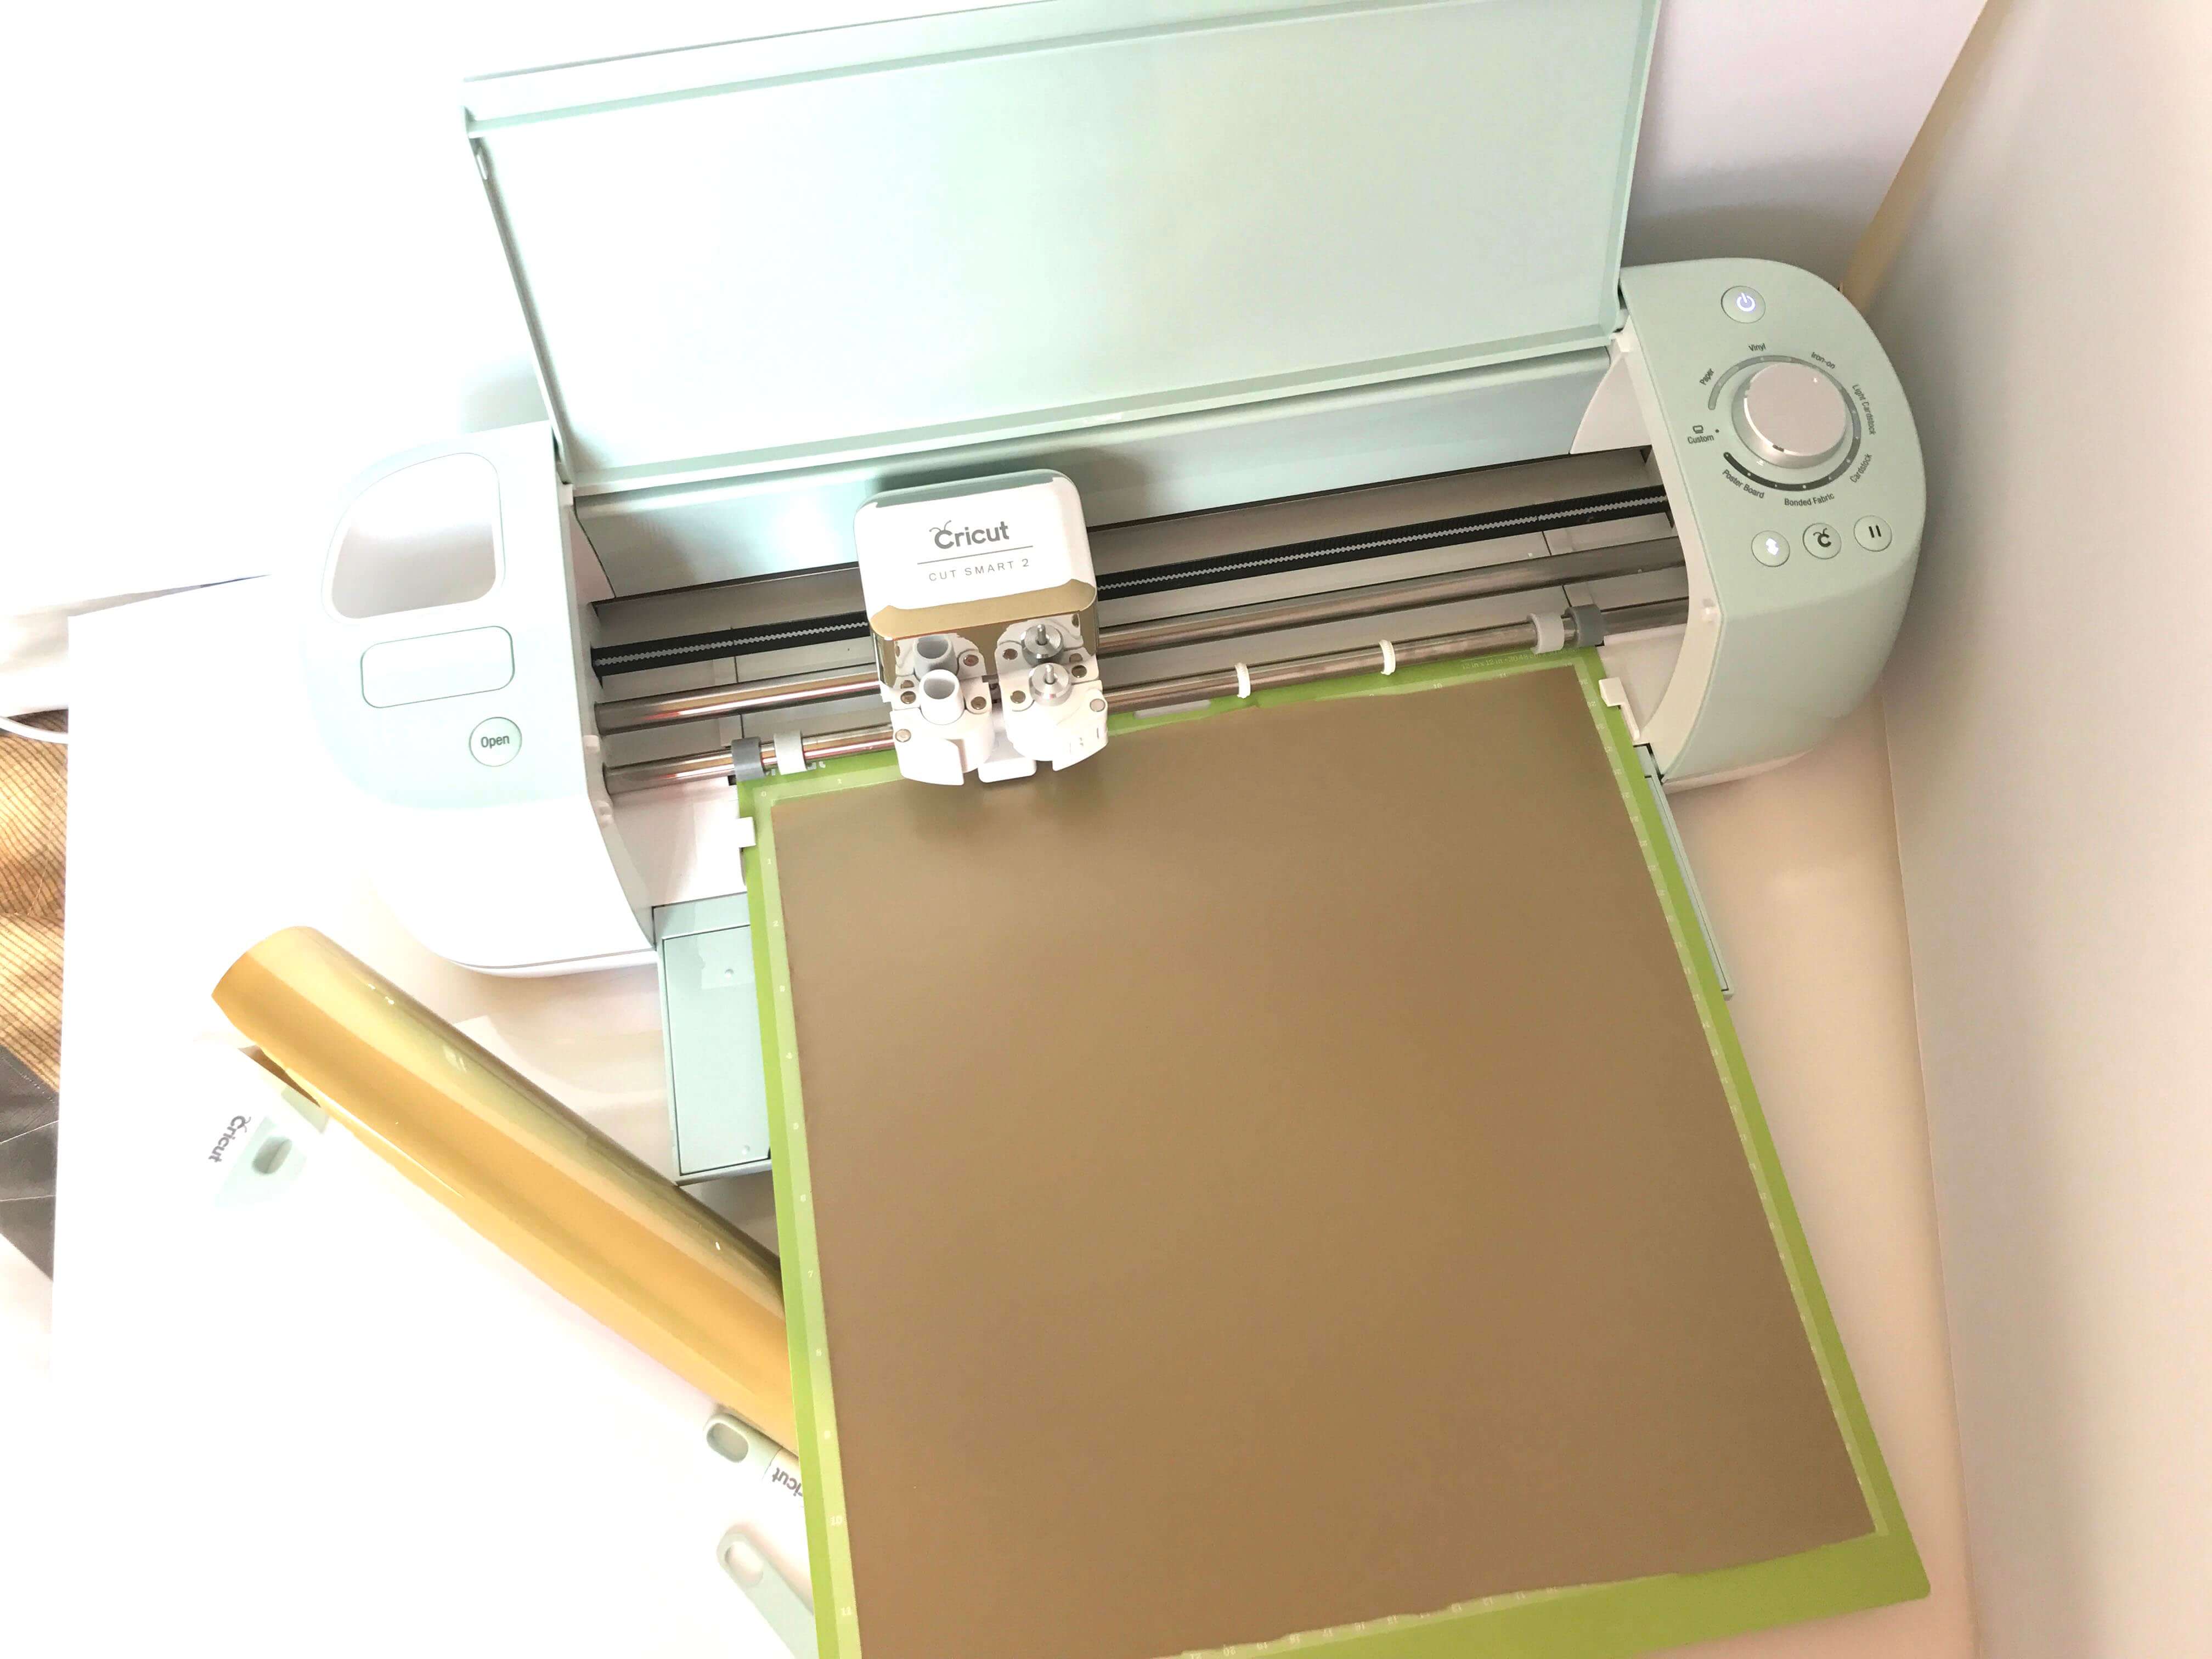
Pull off the extra Iron On then weed out the tiny spots that are left. You will have letters on a sticky backing. Cut all three sheets and set aside. I used a different color for each set so we can quickly sort out the letters we need for each game set. 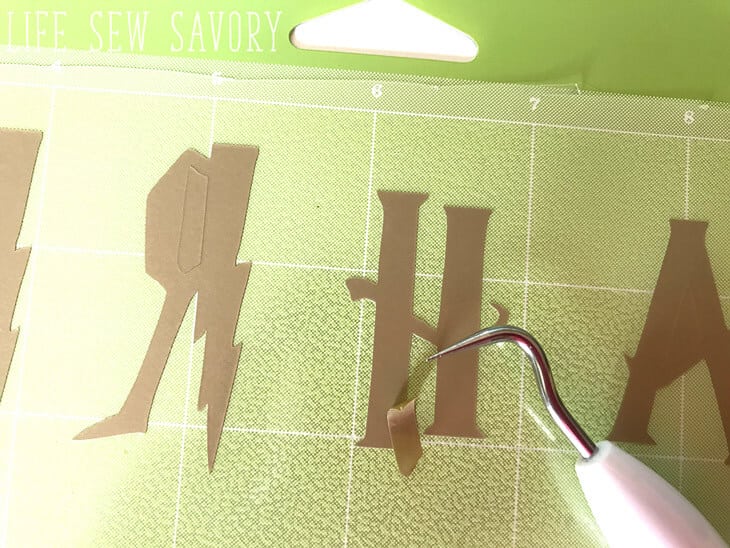
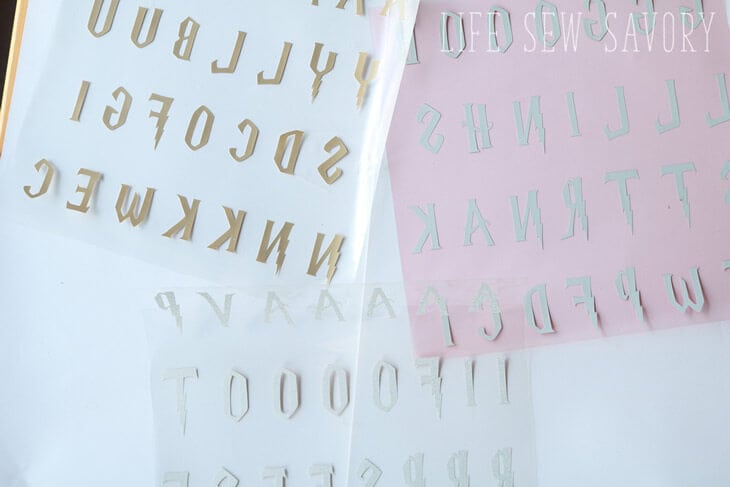
Harry Potter Game Sewing Tutorial
Cut your fabric 3 x 3″. You will need around 100 squares of the Harry Potter Fabric and 100 of the white.
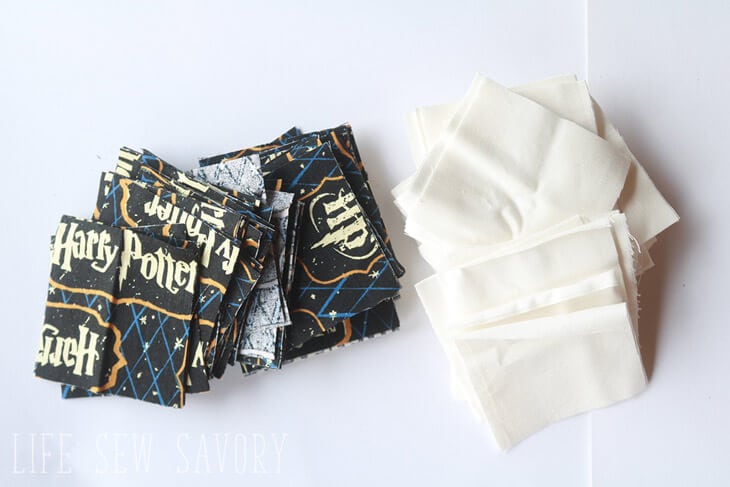
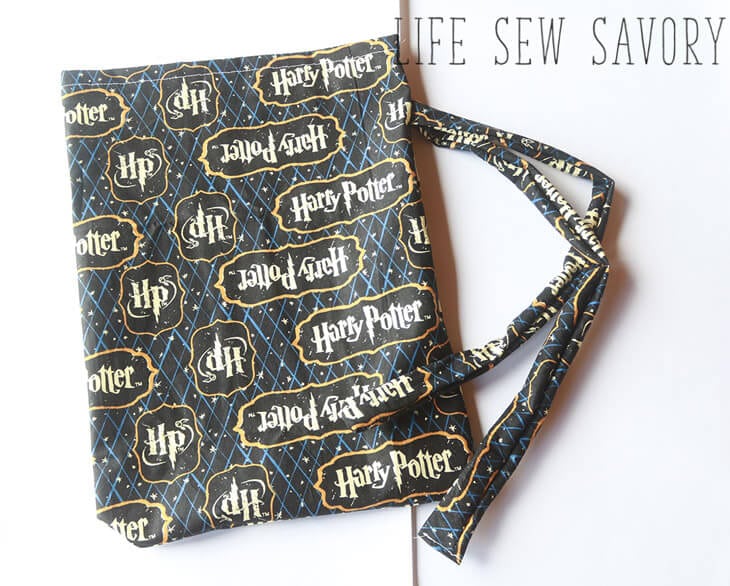
You should have fabric left over for the bag. I use one 3″ x 20″ piece for the tie, and then the bag is 12 x 20″. Fold over on of the long edges of the bag and hem for the top. Sew the long edge of the tie piece as well.
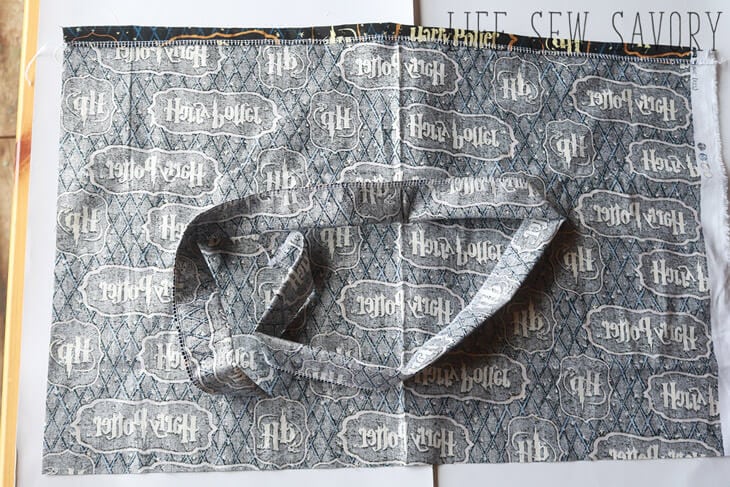
Turn the long tie and find the center. Place the center of the tie about 2/3″ down from top of the bag. Pin to the short side. Fold the other short side over with the right sides together to form the bag. Sew the side and bottom. The tie will be sewn into the side seam.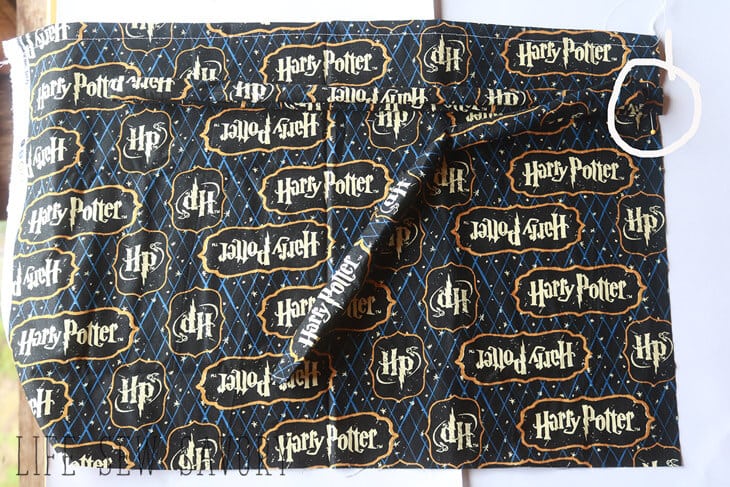
Sew the fabric squares together with right sides touching. I sewing them all on one side first. Since I was using my serger I just kept sewing and chained them all together. Then I cut apart, sewed a second side the same way. Continue for three sides.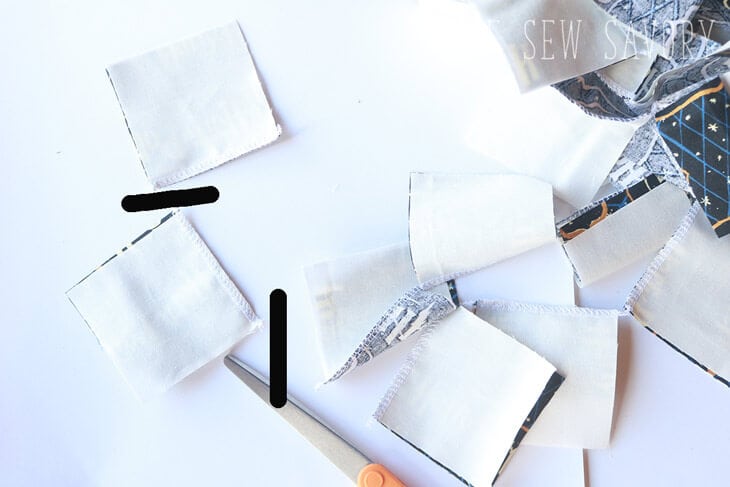
Once you have three sides sewn, turn and press flat. 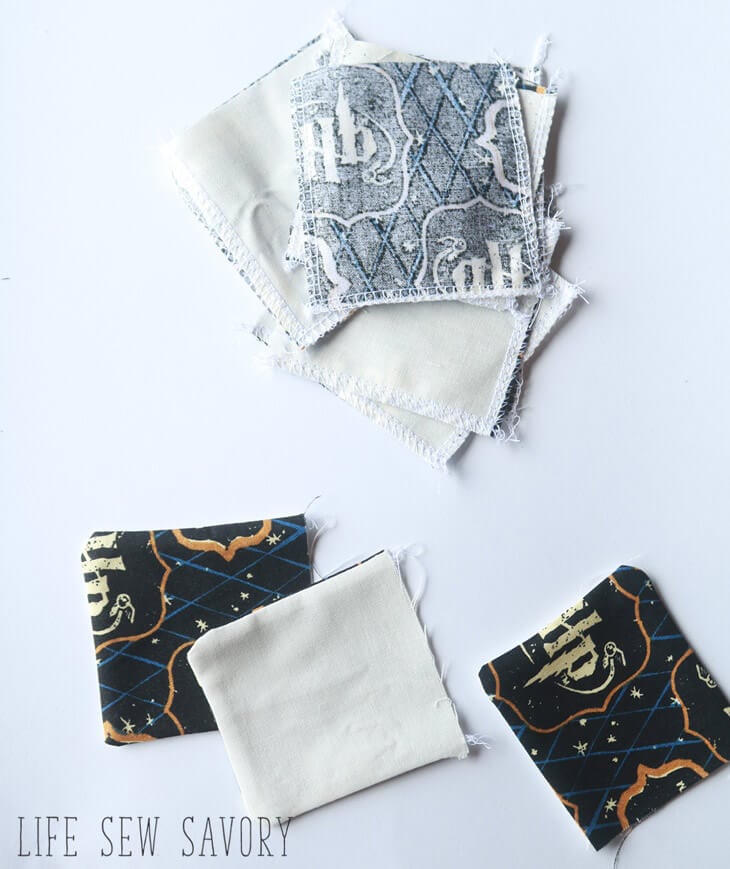
Don’t have a serger? I sewed the three sides of these with a simple zig-zag on a regular sewing machine. After you have turned and pressed the squares, fold the raw edge in and top-stitch it closed. 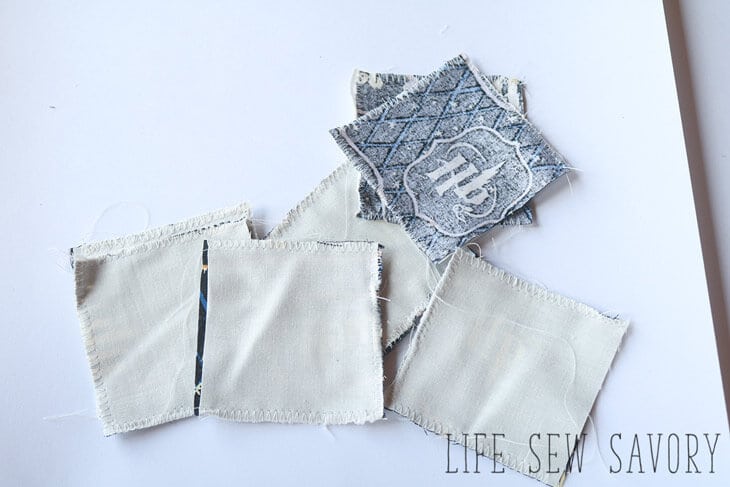
For a SUPER easy version… sew with the right sides out and DO NOT turn. Just finish all for sides and leave with the sewing showing. 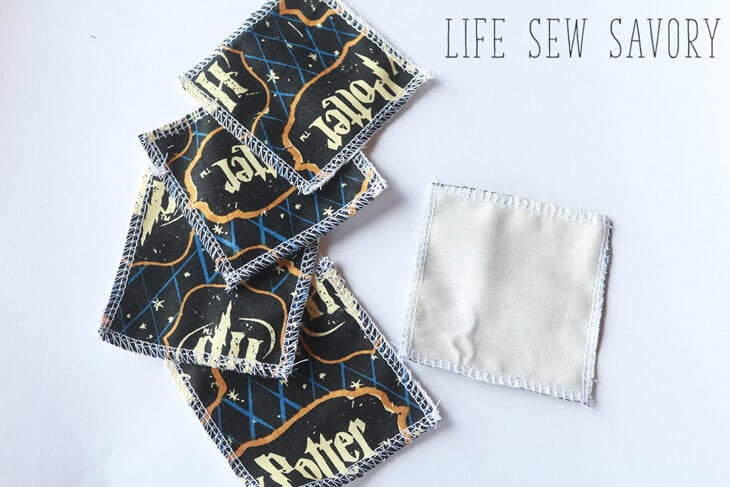
Once you have your fabric squares sewn, it’s time to add the Iron On. Cut the letters apart, but leave some backing on each one. 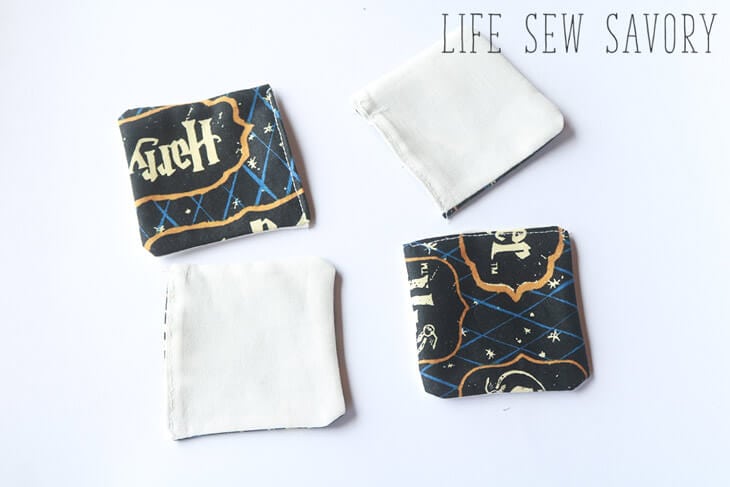
Set your iron to its hotest setting and grab a tea towel. I was able to do 4 at a time. Place the white side of the square up, then place the letter on top. The backing should be up facing you. Place the tea towel on top of the letters, and put iron over. PRESS HARD! I mean put your weight into it!! Hold for about 20-30 seconds. Let cool.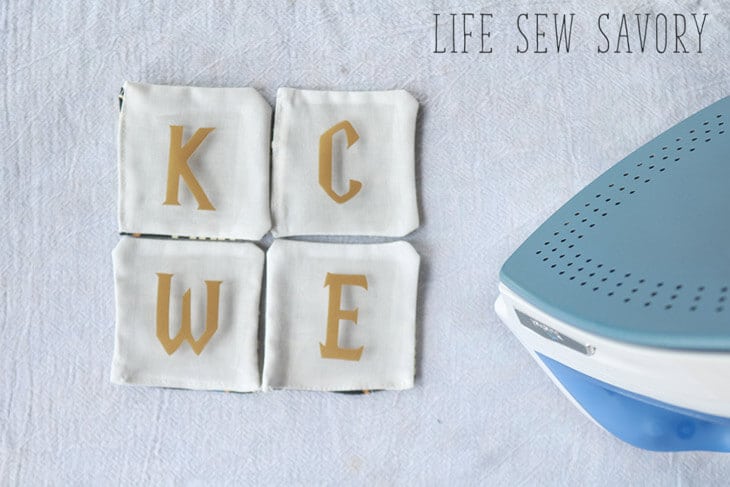
Peel off the plastic backing and enjoy your cute Harry Potter game pieces. 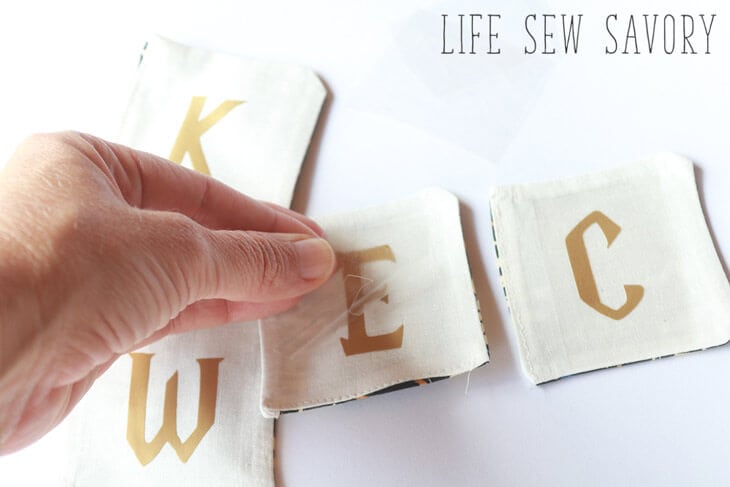
These are all for the names set. 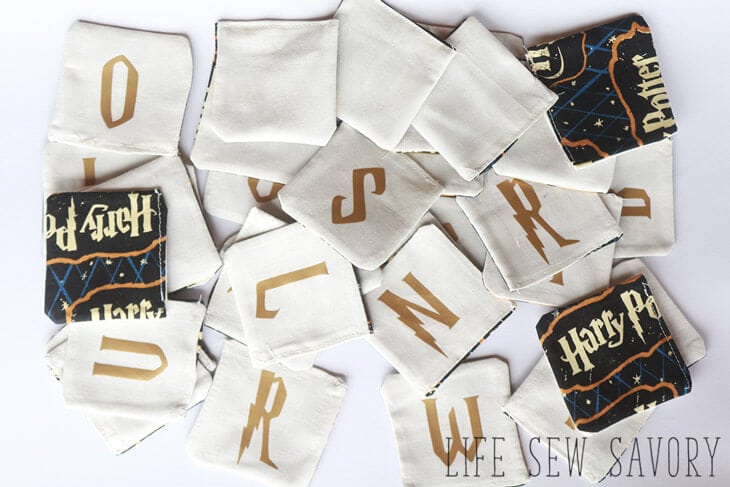
The game set up is simple.
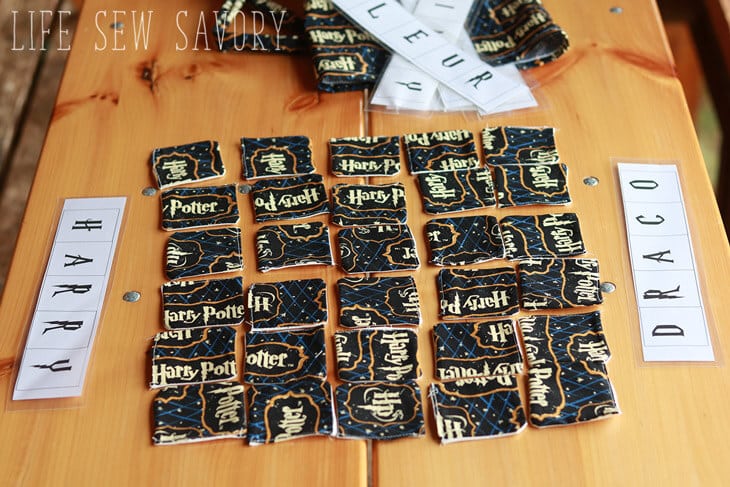
Refer to the instructions I wrote above for the rules to this simple Harry Potter game… It’s fun for all ages… my daughter can’t read at all, but she can match the letters she turns over to the ones on her game board. 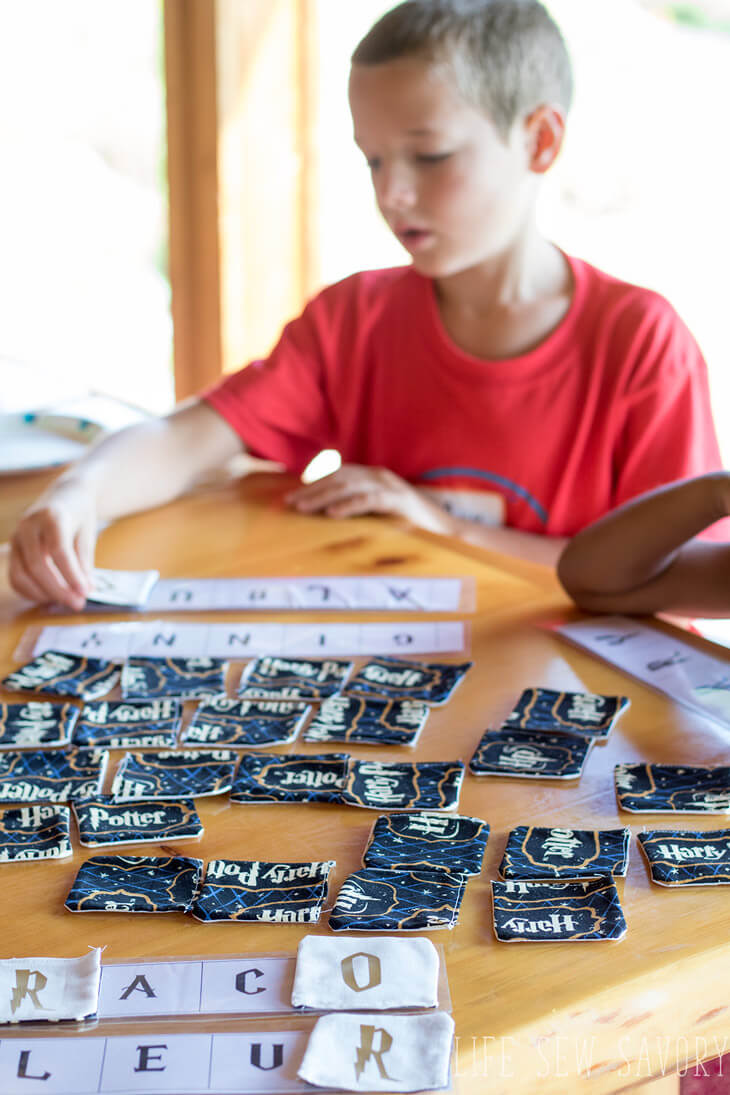
Check out the Cricut Design Space for LOADS of inspiration to get you started… Remember you can enter to win the giveaway below or purchase your own Cricut Explore Air™ 2 machine




Kim Coffin says
This Harry Potter Memory Game is such a fun idea! My kids would love to play this.
Emily says
thanks!