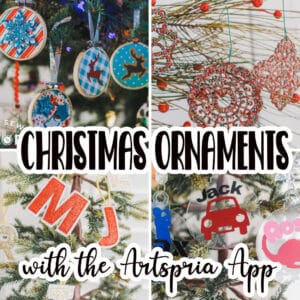
inside: Craft a beautiful DIY Christmas Ornament with this free svg file and tutorial. Always remember 2020 with a personalized name ornament. Easy ornament to make.
2020 might be a year we all want to forget, but I’m pretty sure we never will. While there have been many horrible things this year, it’s also been more laid back and a time for us to really spend a ton of time together with our little family, I am thankful for that. My kids {and my nieces and nephews} are all getting one of these fun personalized Christmas ornaments this year and I had a blast making them.
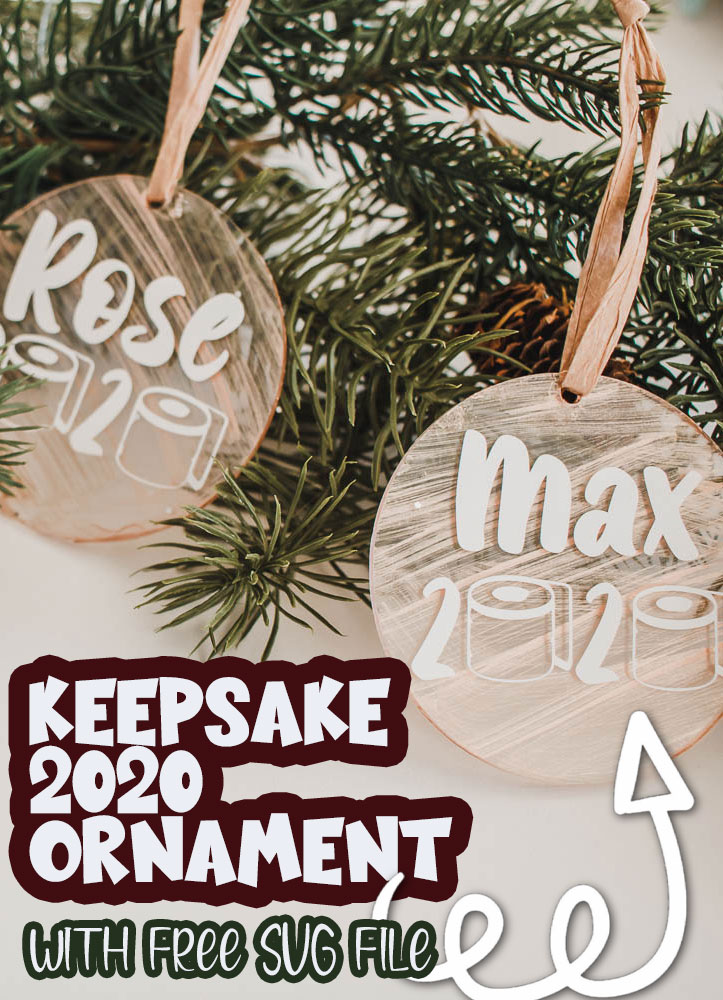
DIY Christmas Ornament
In this tutorial I am using a Brother Scan N Cut to create my personalized ornaments, but this tutorial and the free file can be used with Cricut or Silhouette as well. The process will be almost the same.
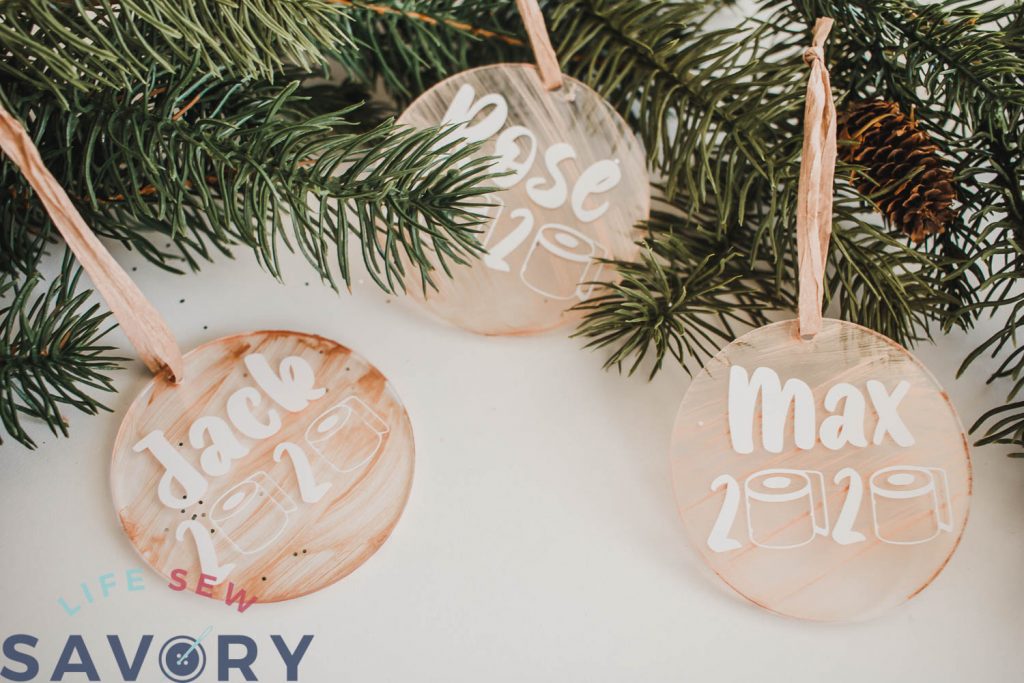
I’ll walk you through each step, but if you are familiar with vinyl projects this should be pretty simple. I took lots of photos for those of you who need a bit more help as well.
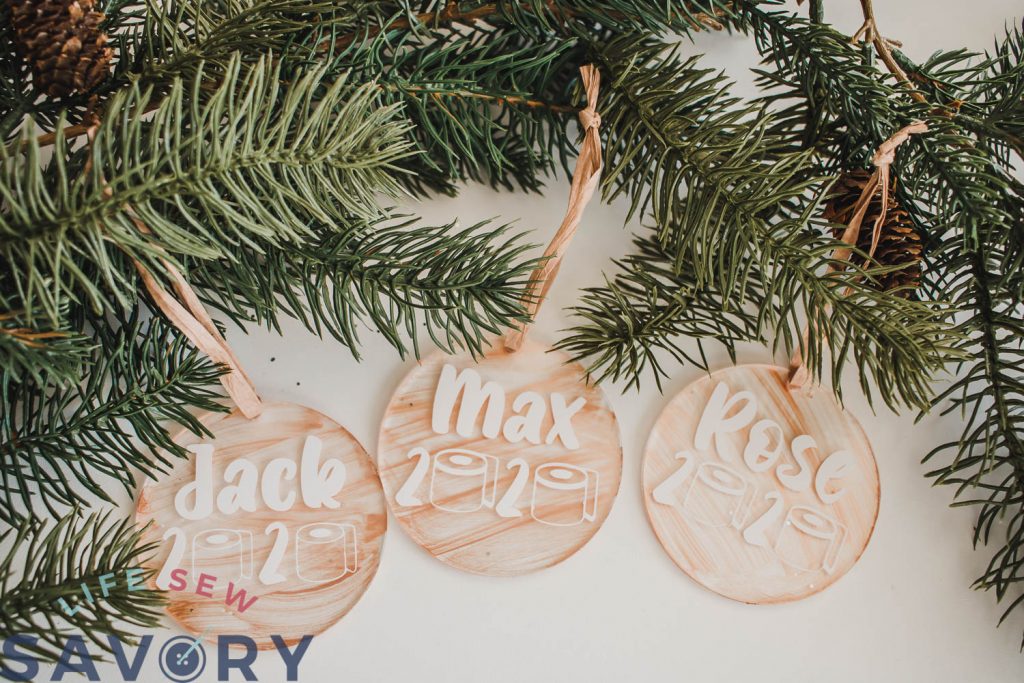
I used acrylic discs for my ornaments, but you could also put this design on ball, wooden discs and more!
Other DIY Christmas Ornaments to make
- Filled with kid Fun ornaments
- Hot Cocoa Ornaments
- Perler Bead Ornaments
- 50+ DIY ornament ideas
- Fabric Ornaments
Craft a Personalized Christmas Ornament
2020 DIY ornament supplies
- Free cut file downloaded from my shop HERE
- Sticky craft vinyl
- Vinyl Transfer Tape
- Acrylic Discs from Amazon
- Your cutting machine software. I’m using Canvas Workspace
- Craft paint if desired
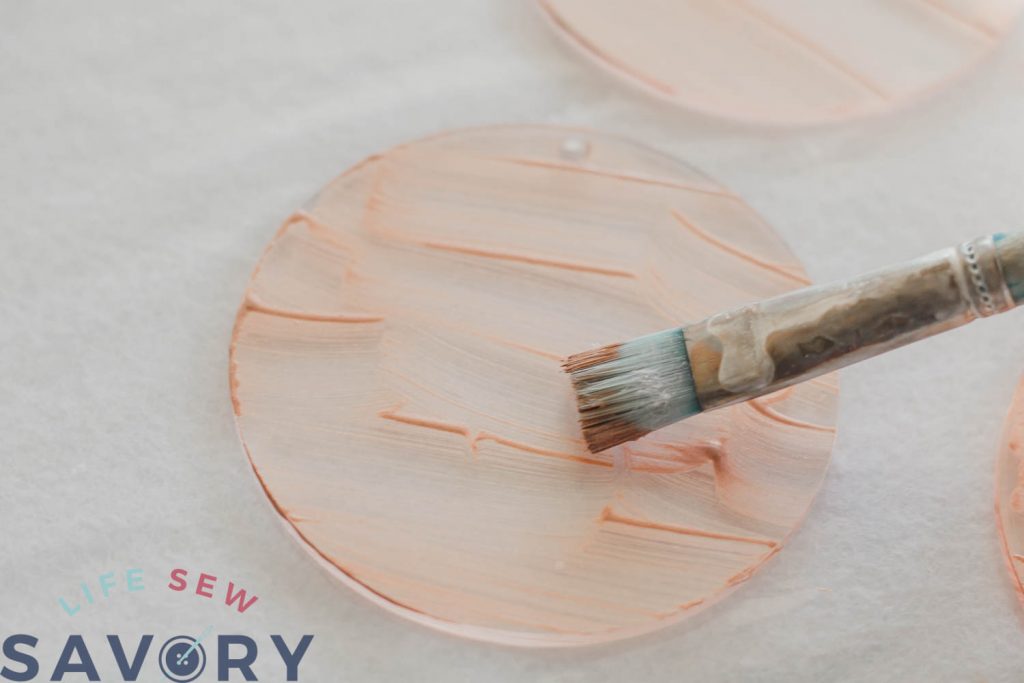
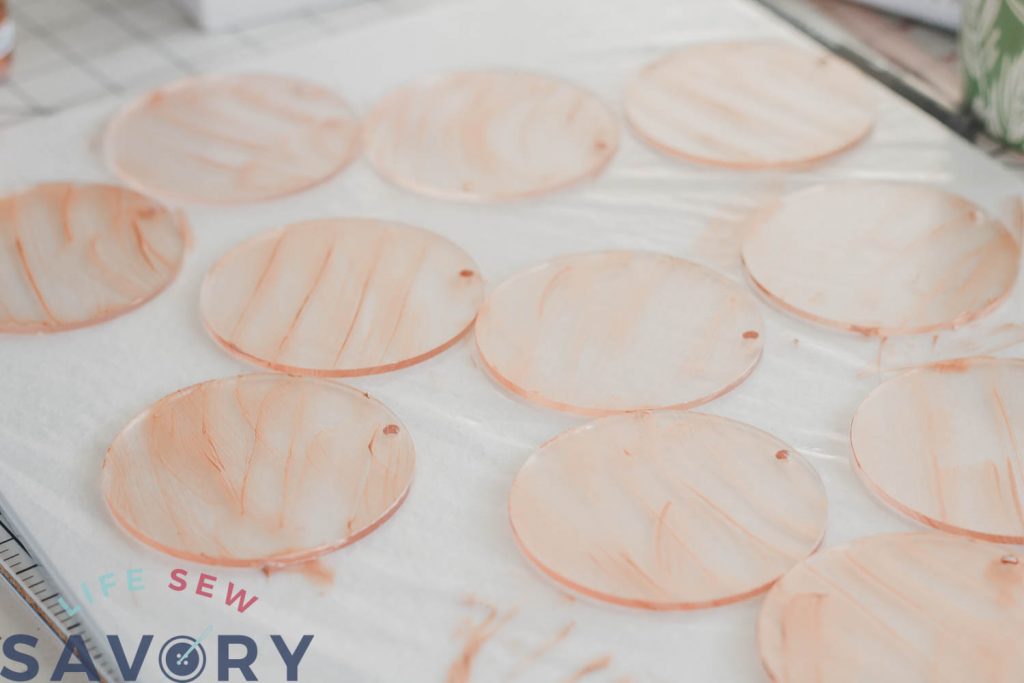
Start by downloading the free file and unzipping to reveal the SVG file. I also chose to paint one side of my acrylic discs. I was using white vinyl and wanted it to stand out.
Depending on your vinyl color you may want to just leave it clear. Paint as many discs as you plan to use. I put just a thin layer of paint, then let dry.
While the discs are drying you can get creating with the vinyl part of this ornament project.
Import the free svg file to your cutting machine software. There are two layers. More are shown here, but there are only two on the file I shared. The name and the 2020. Turn off the name layer or delete it.

Then open the text editor in your program and add the NEW name you want to use. Pick a font you like.
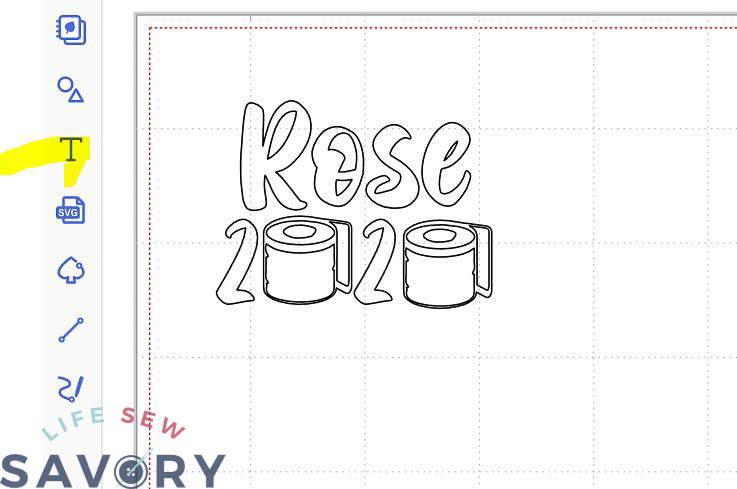
From there you can copy and paste and change the name as many times as you need to create the DIY Christmas Ornaments that you need to cut.
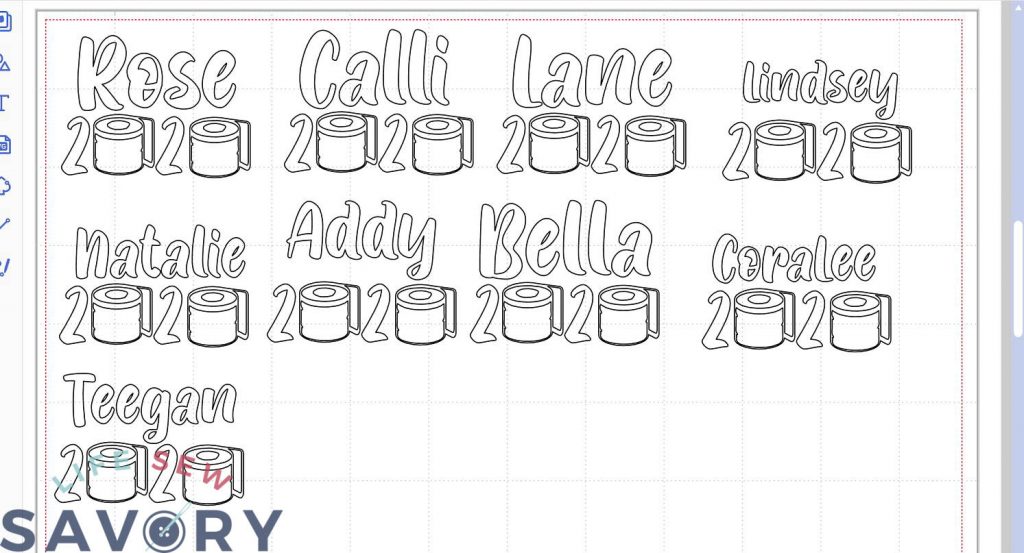
Cut the vinyl for ornament
Send the design to your machine and cut the adhesive vinyl.
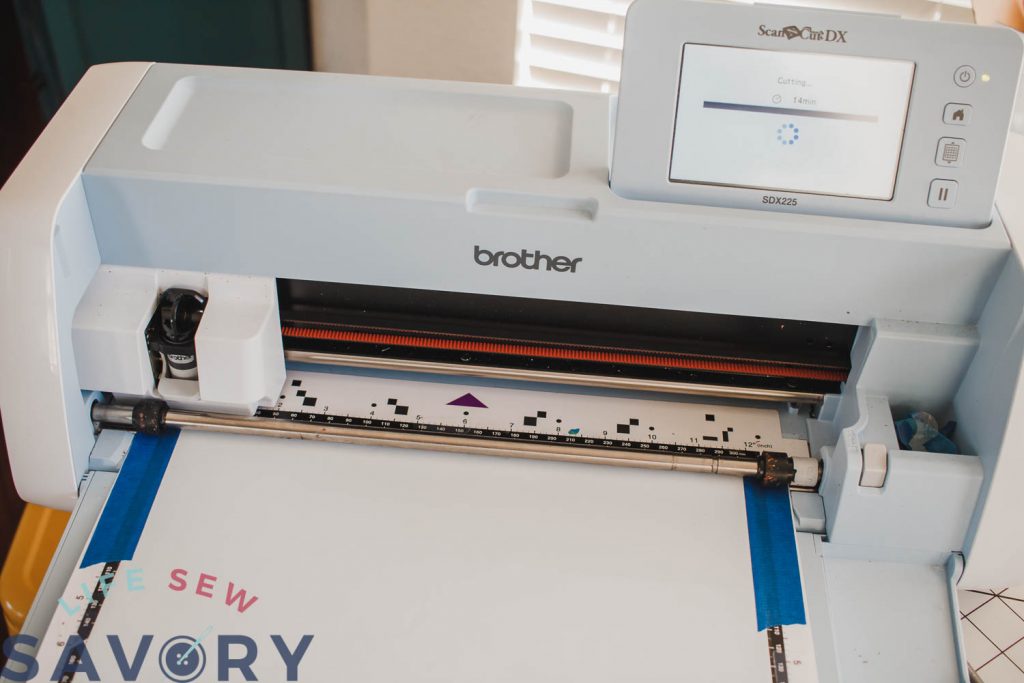
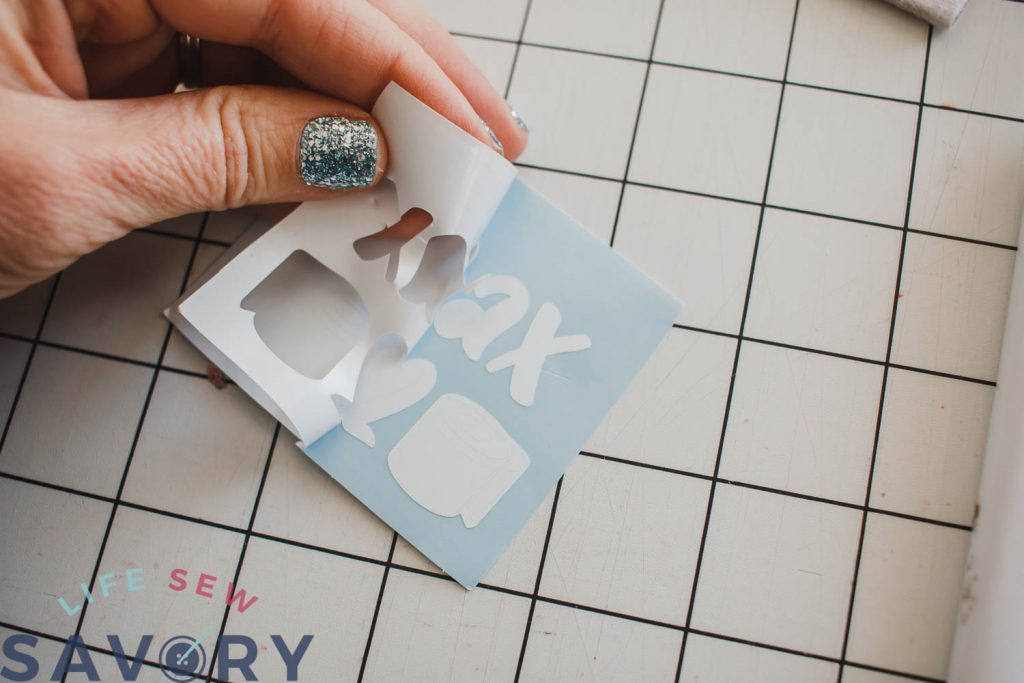
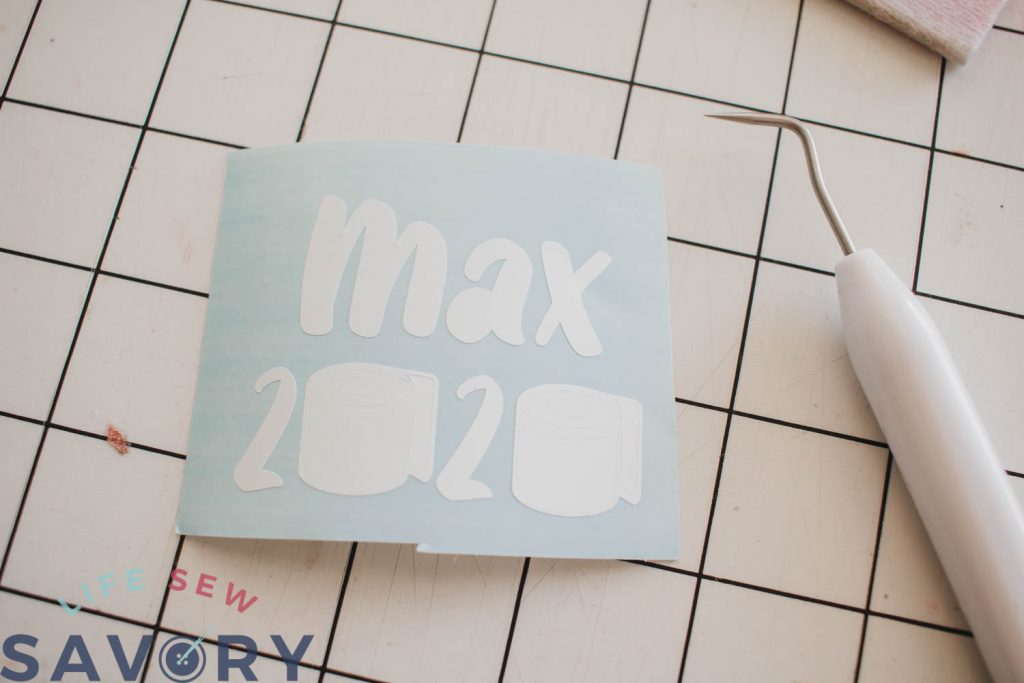
After it was finished cutting all the files I cut them apart with scissors so I was working with smaller piece. Peel off the extra vinyl to reveal the design.
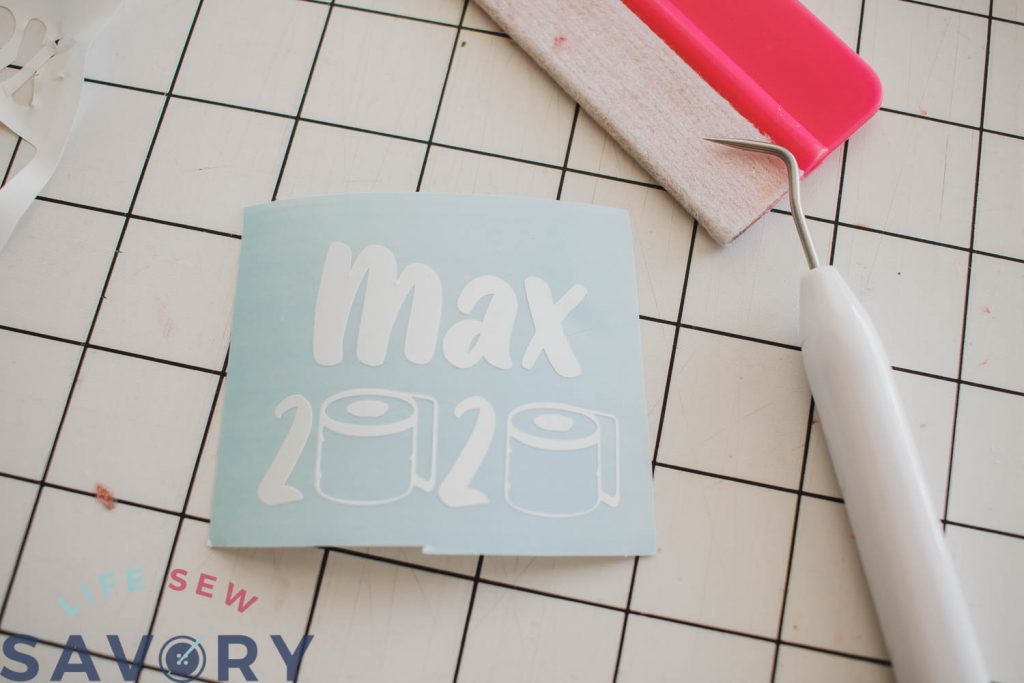
From there you can weed out the tiny pieces of the inside of the design.
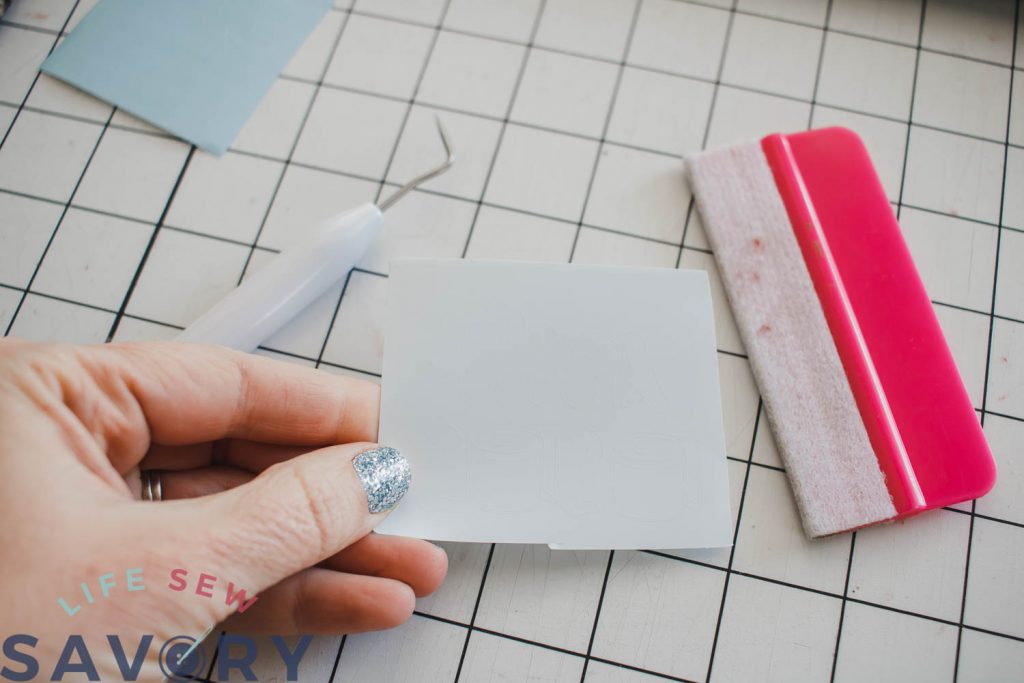
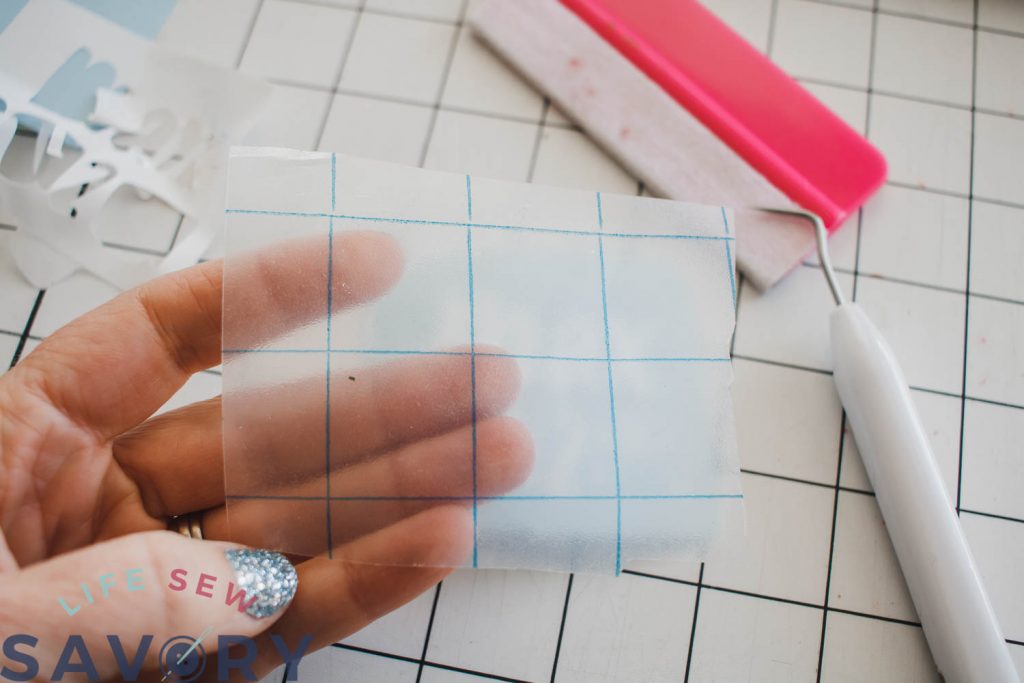
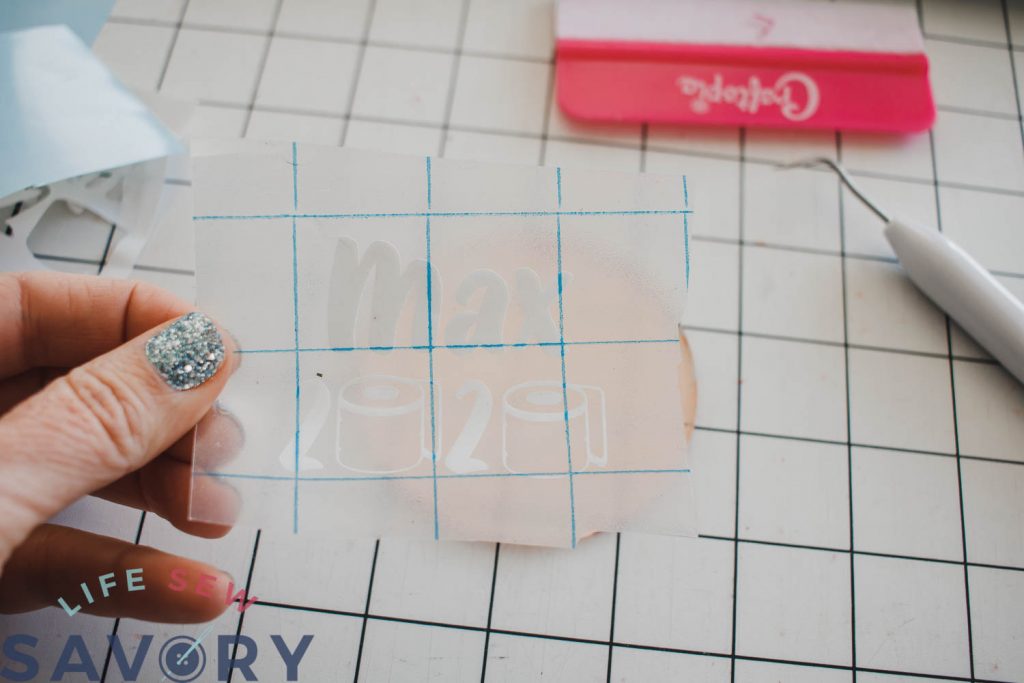
Cut a piece of transfer tape just bigger than the design. You can use the tape over and over. I think I was able to do 4-5 designs before getting a new piece.
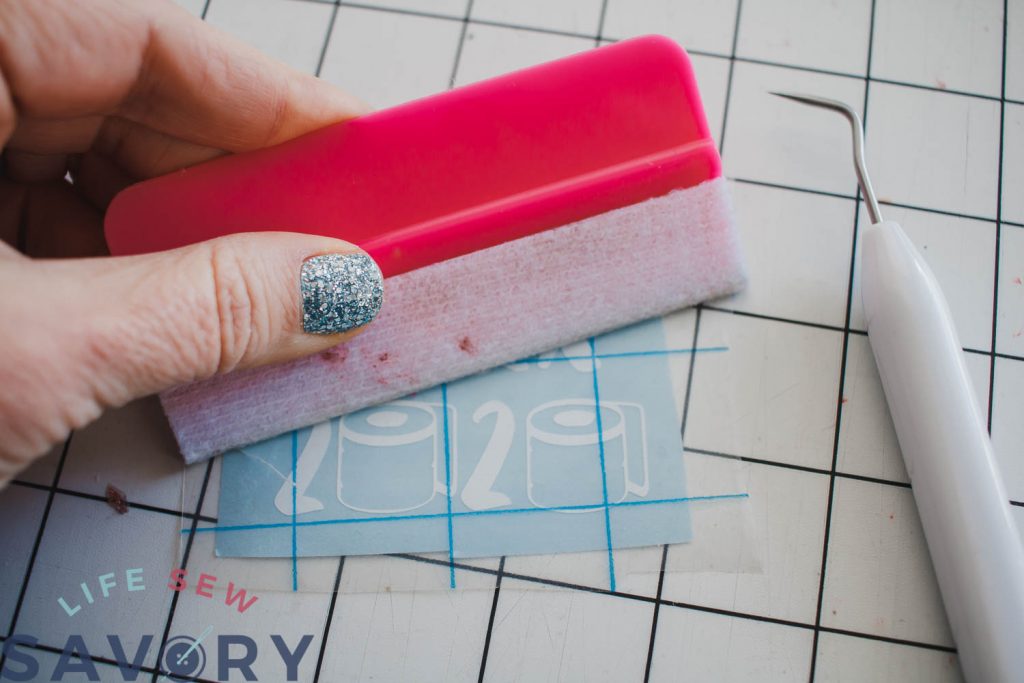
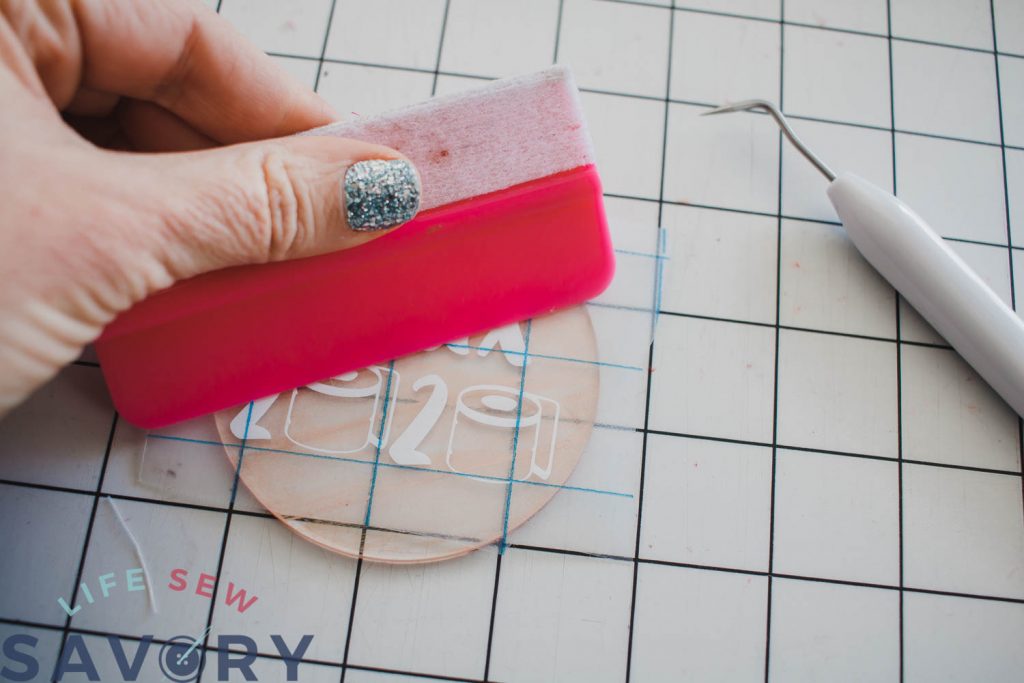
Place the tape sticky side down to stick on the design. Rub firmly to transfer the design to the tape.
Apply the sticky vinyl to the disc ornament
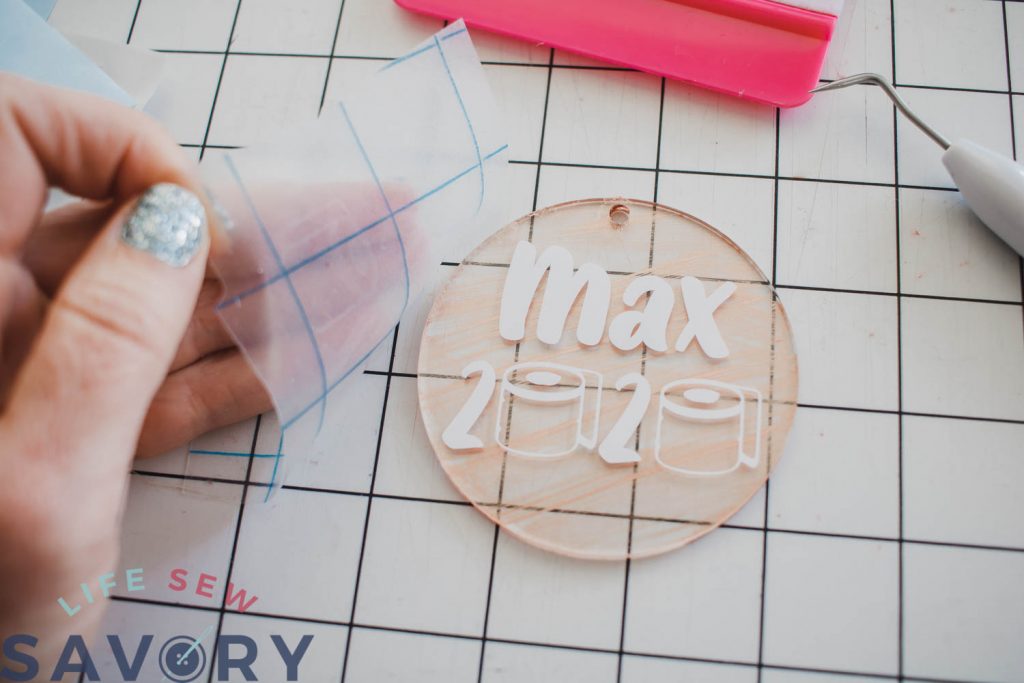
Pull up the tape. If the design doesn’t come with it, rub some more. Place and center the design on the disc ornament and then rub firmly again to press the vinyl to the acrylic circle.
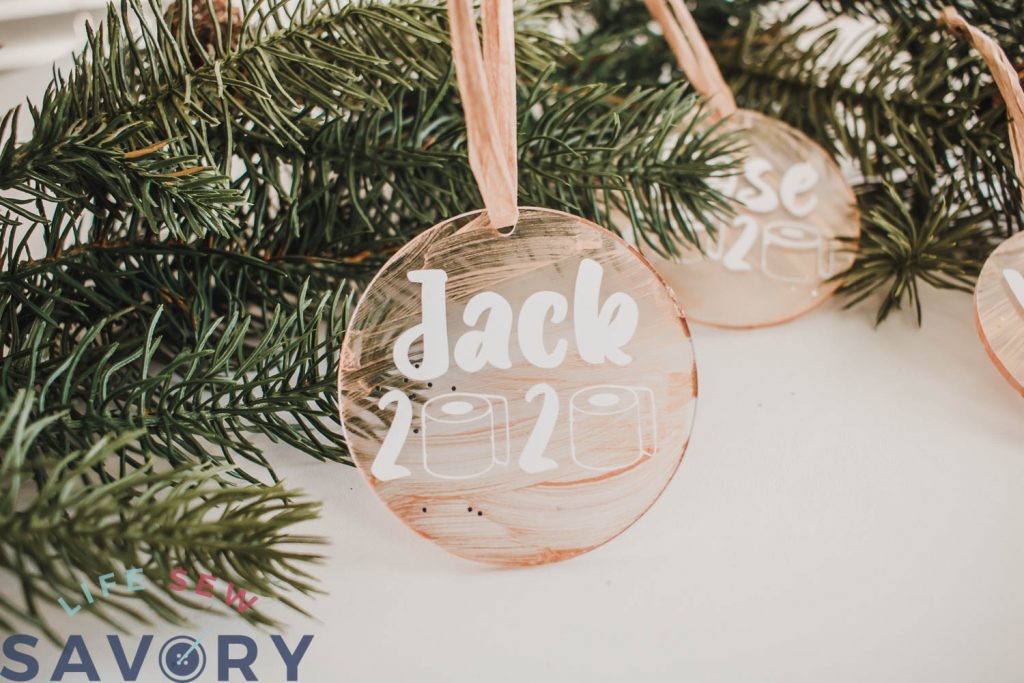
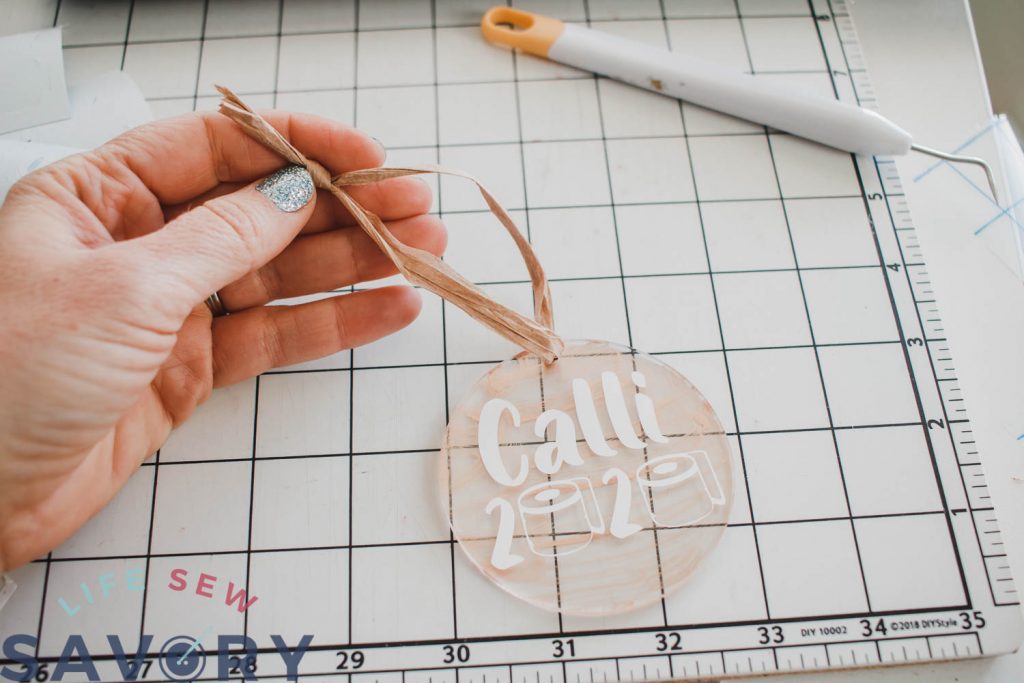
Add a hanger of some kind. I used fun raffia yarn, but anything you have on hand works.
I LOVE how they turned out!! So fun and easy. I enjoyed making several in one afternoon.
DIY 2020 Personalized Ornaments by lifesewsavory on Jumprope.






papas burgeria says
Thanks for sharing!