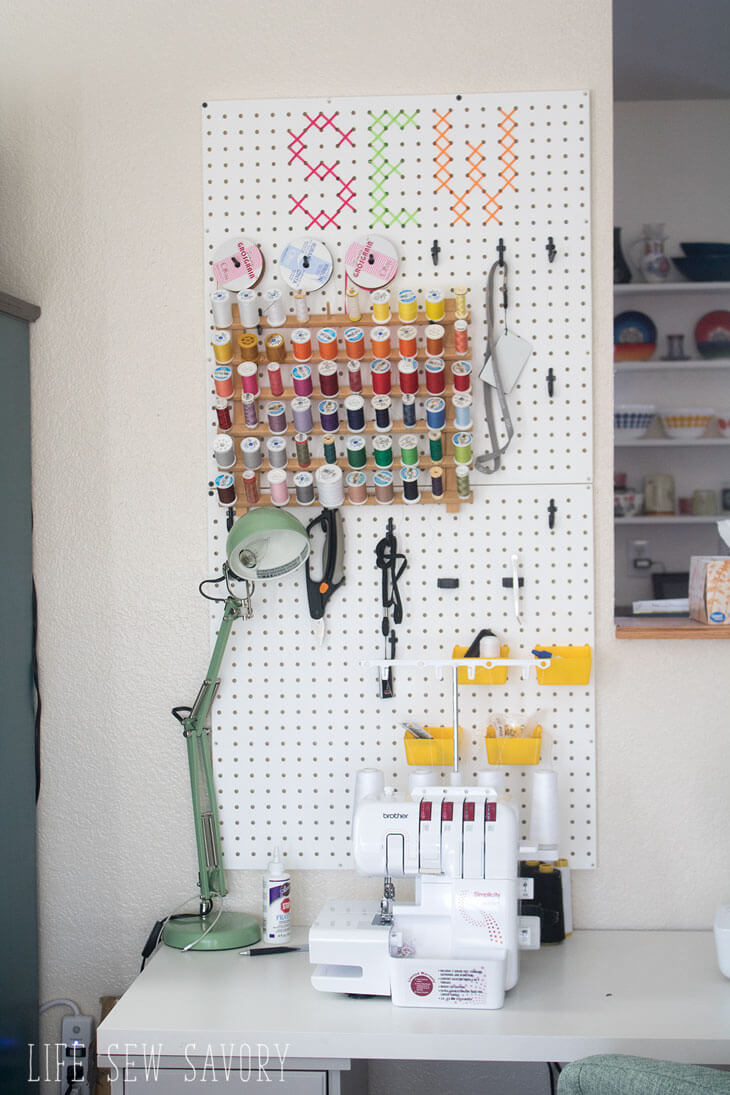
I just love my new DIY pegboard decoration! It’s not only fantastic decoration for my new sewing space, but pegboards are also a great organizational tool. I’ve got so much stuff on mine, it’s so useful and I love the S E W that I “stitched” on the top. Today I’m going to show off my pegboard DIY and give you a little tour of my new sewing room. This is the first room reveal in our new home… with more to come.
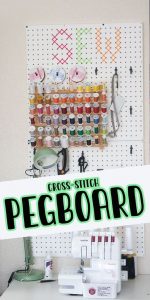
Here’s my pegboard… Cute and perfect for organization! I’ve got a great photo and video tutorial for you today.
Here’s a quick video showing how I did the letters, and you can also check out the photos and supplies needed below.
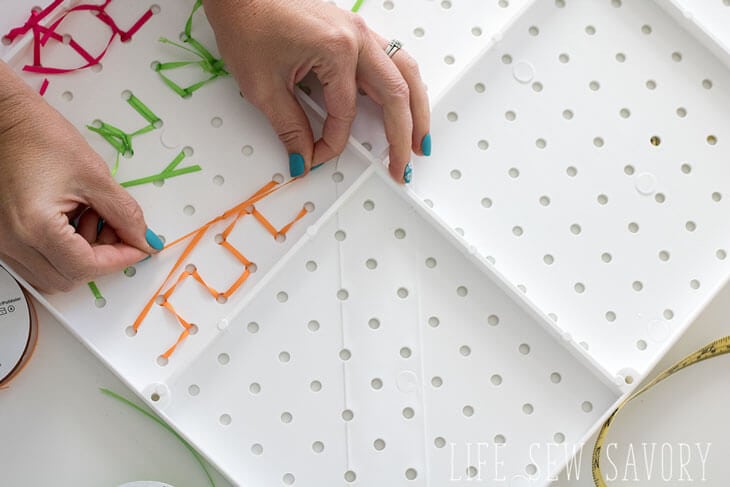
To make your own awesome DIY pegboard decoration you will need: Plastic Pegboards and Thin Ribbons, Use a pencil to sketch in the letters you want to create.. Make sure they are all the same size.
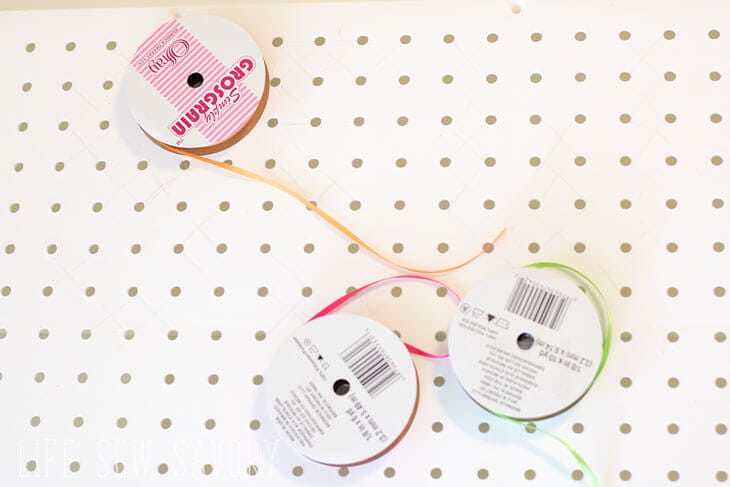
I cut ribbon about 10-15″ long and did 2-3 cross stitches before tying off the ribbon.
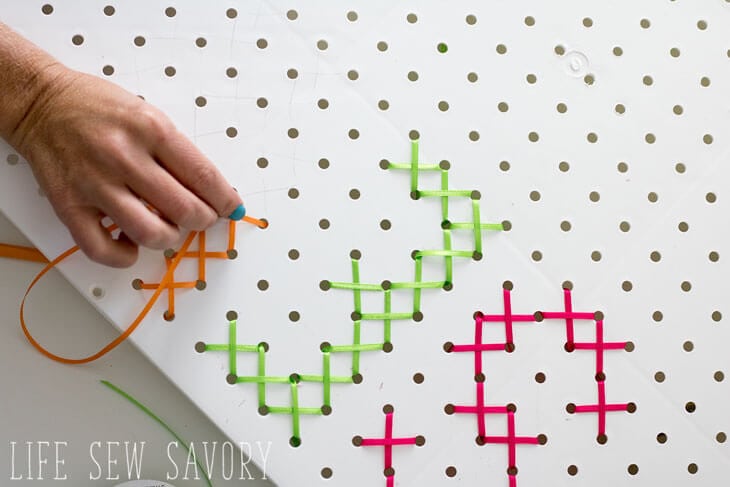
Tie off each couple of stitches and keep going…
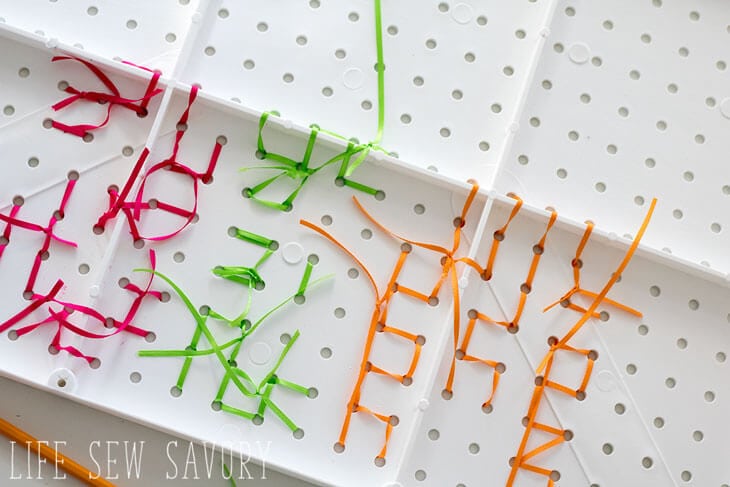
So the back is pretty messy, but not one will ever see it once I put it on the wall.
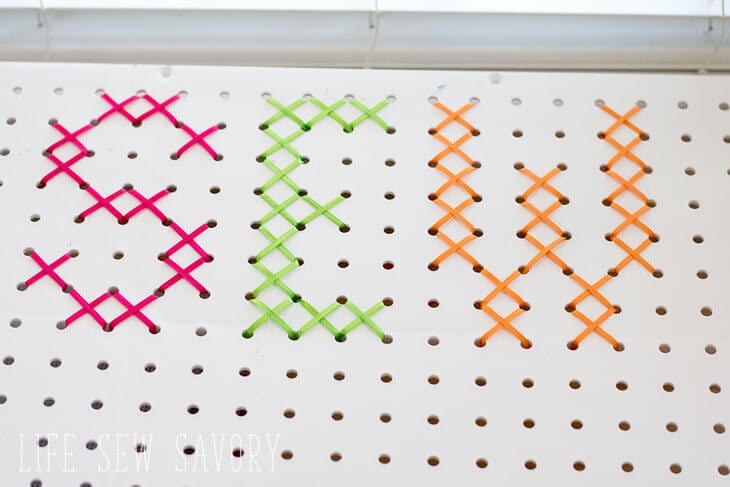
All done!! Love it, right?? I put this on 1 of the pegboards, then attached both of them to the wall above my sewing machine desk.
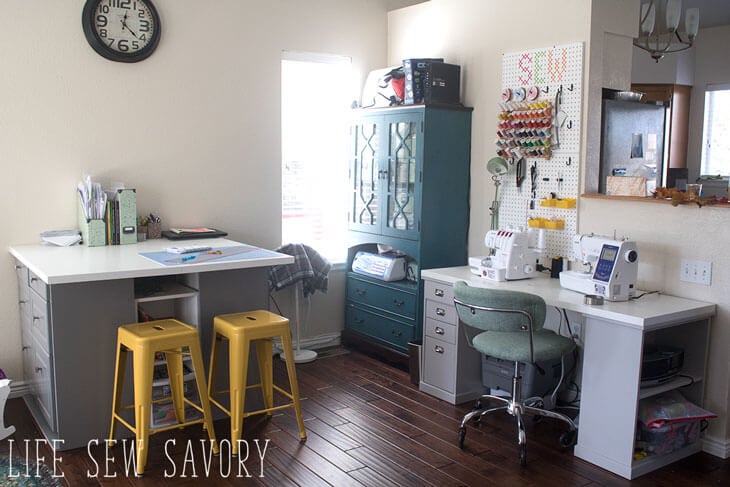
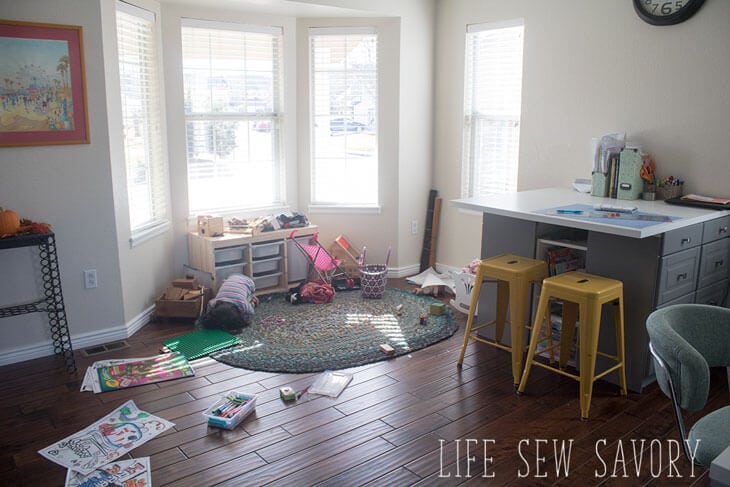
AHHH and here’s my pretty sewing space! I’ve been thinking/planning for this room for months… even before we bought this house I was planning what pieces I would want to get. I made my custom cutting counter/storage space {more info below}, the hutch is from Birchlane.com and the desk is also IKEA. Of course my fabulous new machines are from Brother.
AND… here’s what the other side of the room looks like {haha} including my daughter laying on the floor… My kids always want to be in the same room as me, so I decided to make the playroom and workroom all in one! Its working out great so far. I love the rug in the space… my husbands grandma made it and she taught me how to make them too… You can see my tutorial HERE.
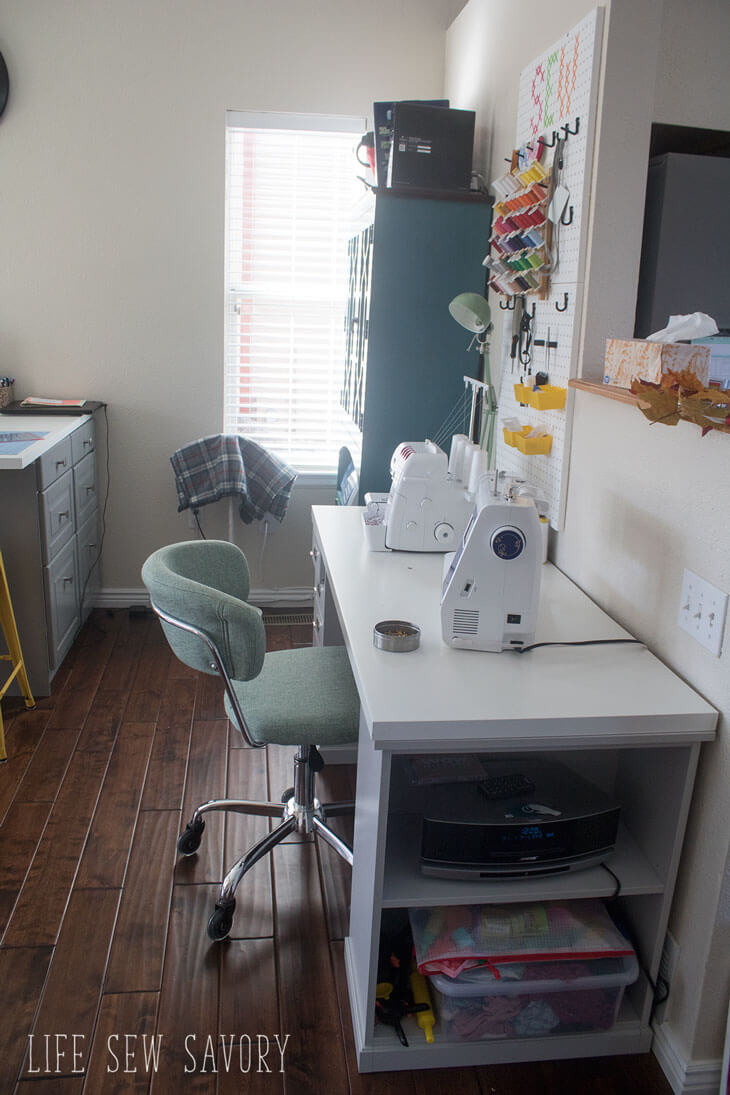
My desk is also IKEA… with a long top for all my machines.. {one is missing here.} I got my fun chair from Wayfair and I added the rollar blade chair wheels so it won’t hurt my wood floors.
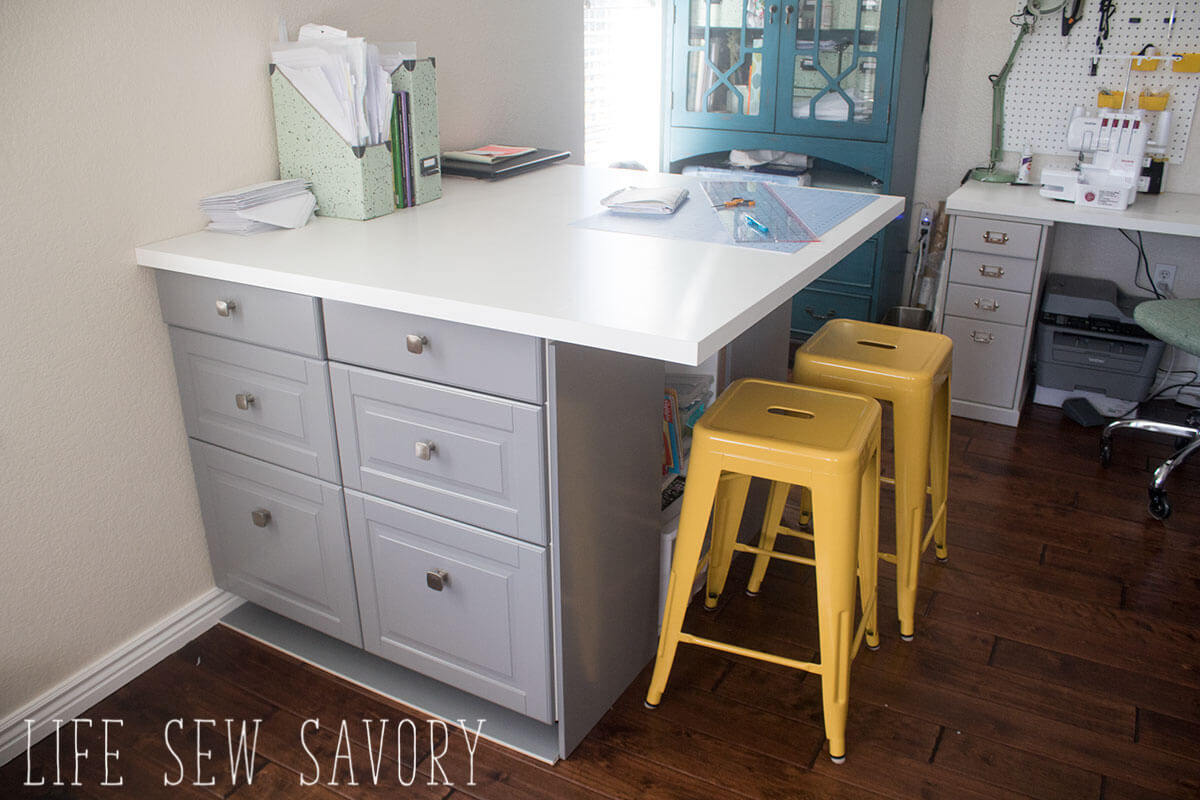
I built my own custom cutting table. It’s counter height for a perfect cutting table. It is 4 IKEA cabinets {back to back} with 2 desktops on top. The desktops are anchored together, then attached to the cabinets… I love my fab metal stools too!
Here’s one last look at my room… I’m so please with how it all turned out and I can’t wait to show you the rest of our home soon! Becuase I work in our front room I have to keep it pretty neat and organized these days and my new DIY Pegboard decoration helps me to do this. Want to see our last home? You can find the complete Hong Kong apartment tour HERE.





Sharon@bluewillowhouse says
Your peg board is so cute. Thank you for sharing at Snickerdoodle. I am featuring it at the party today.
Kim Six says
i love this idea! Perfect for a craft room! You’re my featured project this week on Creartivity Unleashed. I’ll be sharing it in this week’s party and all over social media!
Jessi @ Practically Functional says
What a cute idea! I love organizing with pegboard, and this is perfect for the top couple of inches that you can’t really reach!
I just wanted to let you know that you were featured as a Rockstar at last week’s Creativity Unleashed party! Congrats, and thanks for sharing at our party! https://www.practicallyfunctional.com/creativity-unleashed-202/
Rebekah Purnel says
Wow!!! What an outstanding idea! As a DIY lover, I’m just speechless to watch them. The article was so easy to understand and by following it I made tow like yours! They are just great! Thanks for the idea!!!