inside: learn how to draft and sew a turtle neck on any shirt. Change up a sewing pattern you already own by adding a turtle neck to the neckline.
I used to wear turtle neck shirts all the time, but in recent years haven’t worn them much. I realized that my neck is always chilly and unless I want to wear a scarf all the time I should sew myself some higher neck shirts. I figured out how to create and sew a turtle neck that you can add to any shirt and today I’m going to show you how you can do it too.
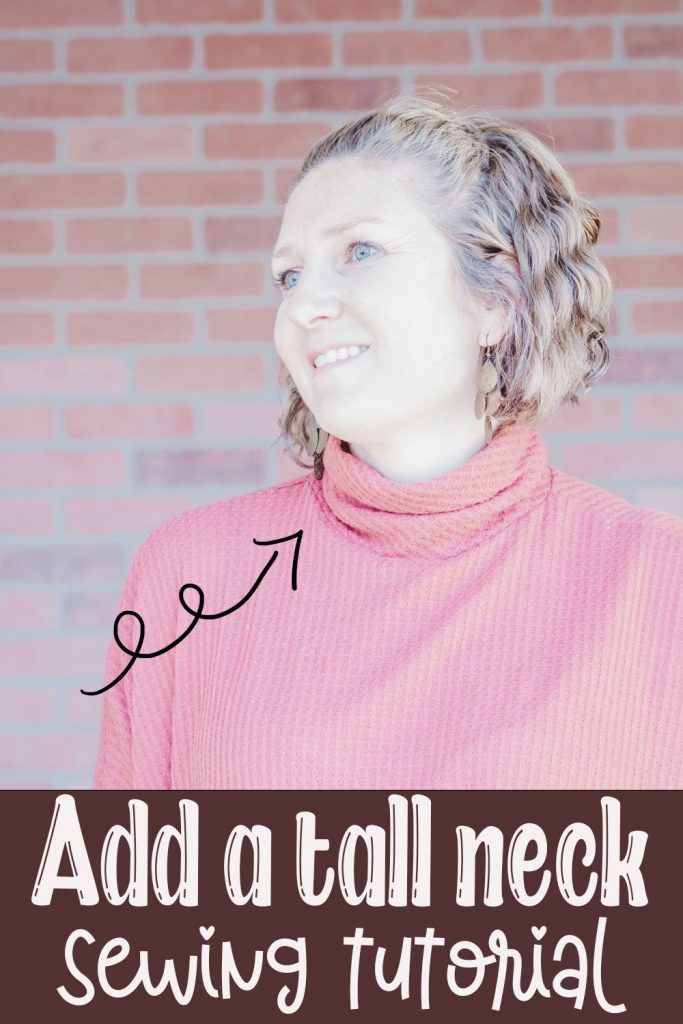
How to sew a turtle neck
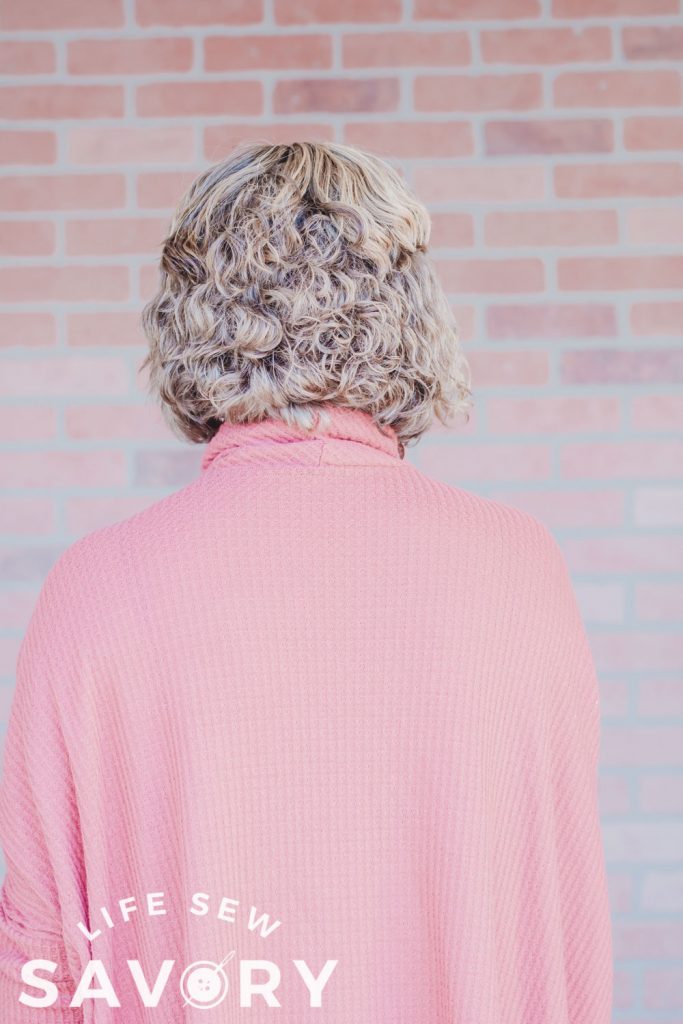
The best thing about this sewing tutorial is that you can create a turtle neck look on any shirt pattern you already have. I used the DIBY Mae poncho for mine, but you can really use any top/ dress you have an like.
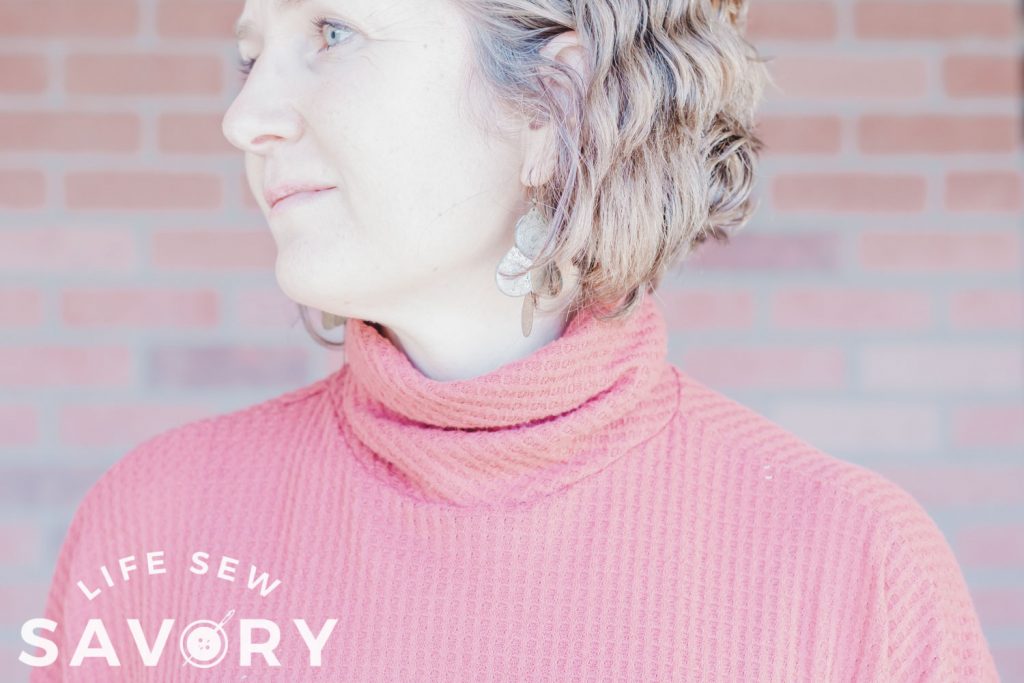
It’s really actually pretty simple to draft and create this look for sewing patterns you already own. You know I love recreating new designs using existing patterns!
Free Shirt patterns to use:
Any of the above amazing free sewing pattern would work for this tutorial. You can always use something else though, like I did using the poncho pattern.
Draft and Create a turtle neck
Let’s take a quick look at how to create this look yourself. You will need about an extra 1/4 yard of fabric to add a turtle neck to a pattern you are sewing. When planning for the fabric take this into account.
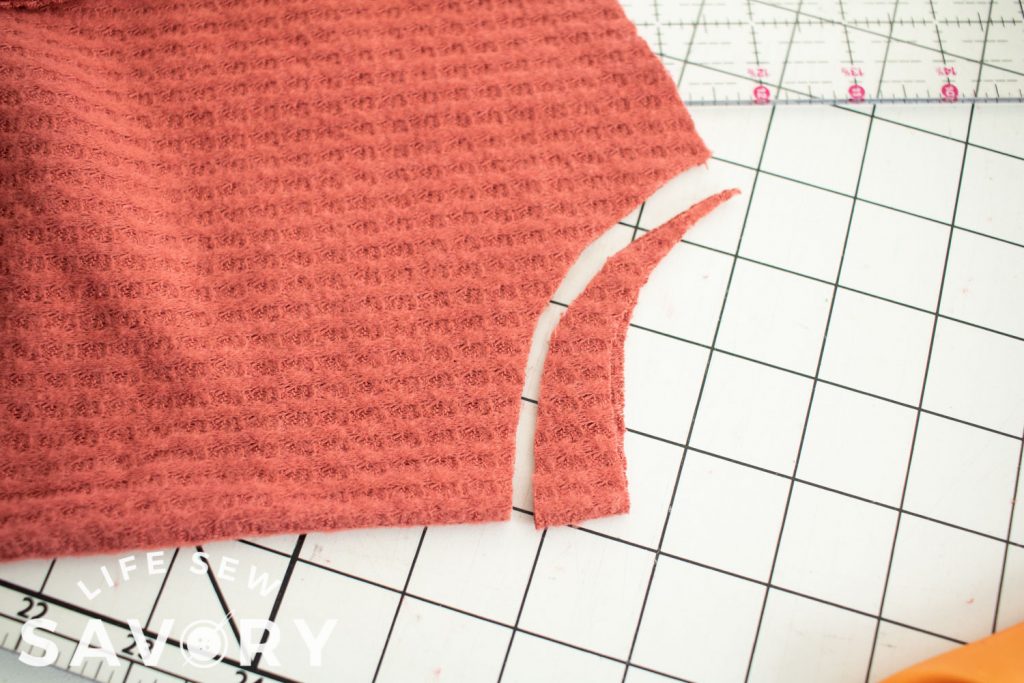
I started by cutting out the pattern as directed. The only change to make though is to cut TWO back necklines. You do not want a scoop neck, so I started by cutting two backs.
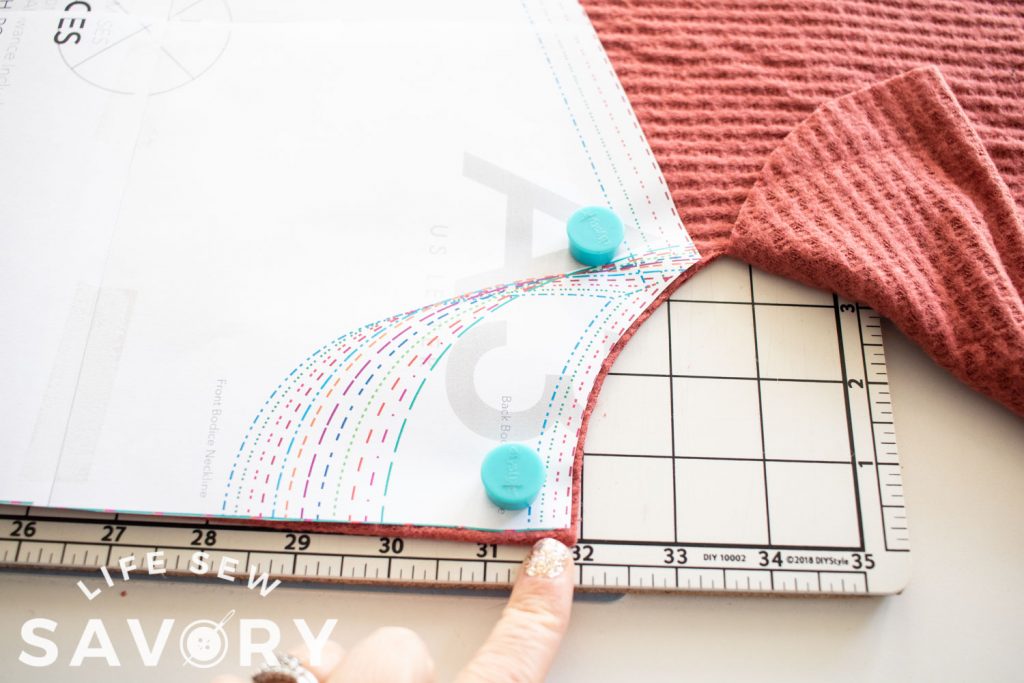
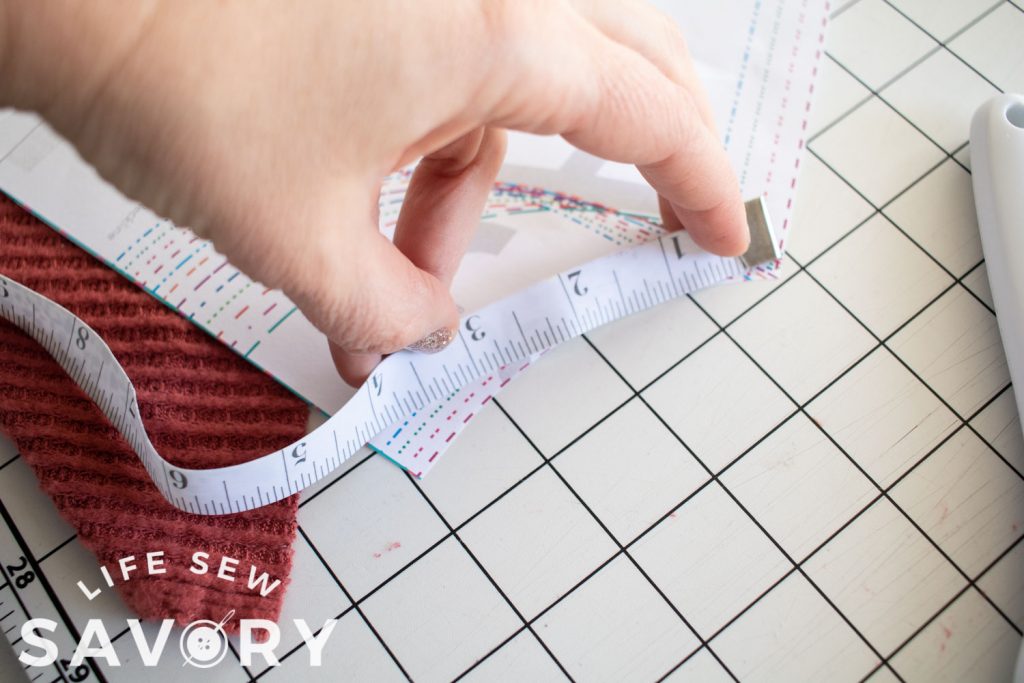
I ended up cutting the front down 1″, just to lower it slightly. From there you need to measure the neckline by measuring the front and back to find out the circumference of your neckline. I did this before sewing the shoulder seams, but you could also sew the shoulders and then measure if that’s easier for you.
The two measurements you will need is a neckline width {what we are measuring here} and height {how tall do you want it to be?}
My final measurements were width 16″ and height 6″
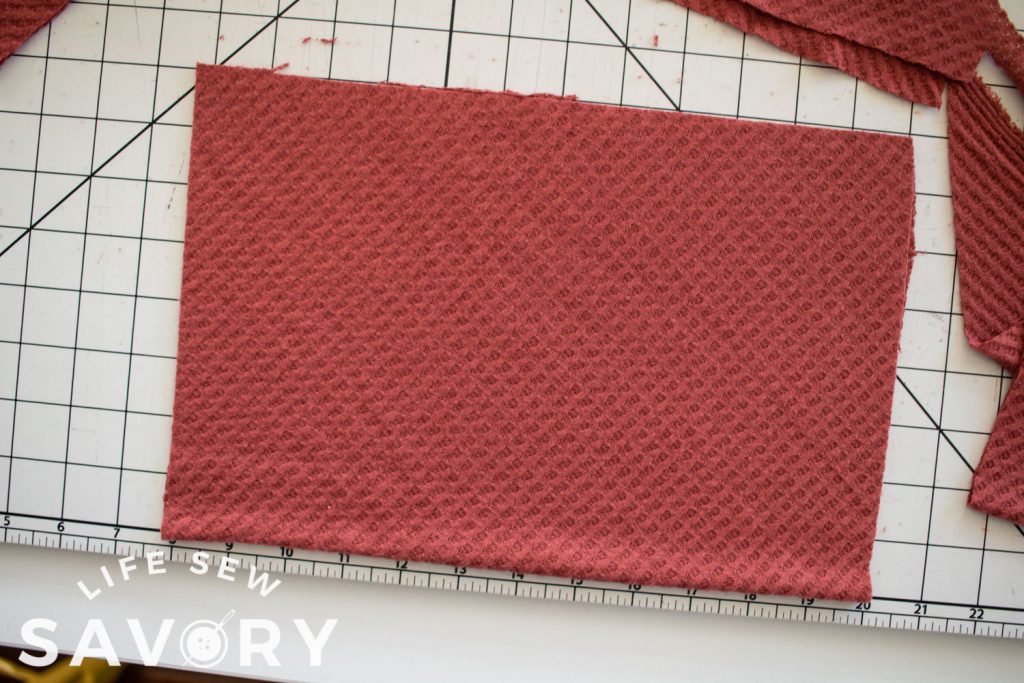
To start you will take one corner of fabric and fold it so the raw edges {side and top} line up and our fold is now on the bias of the fabric. You can see how my fabric is folded below.
We will first measure from the fold to the distance of half the neckline. We are only marking half of the width measurement because we are cutting on the fold. You can see I’m measuring and marking 8″ each a few inches apart.
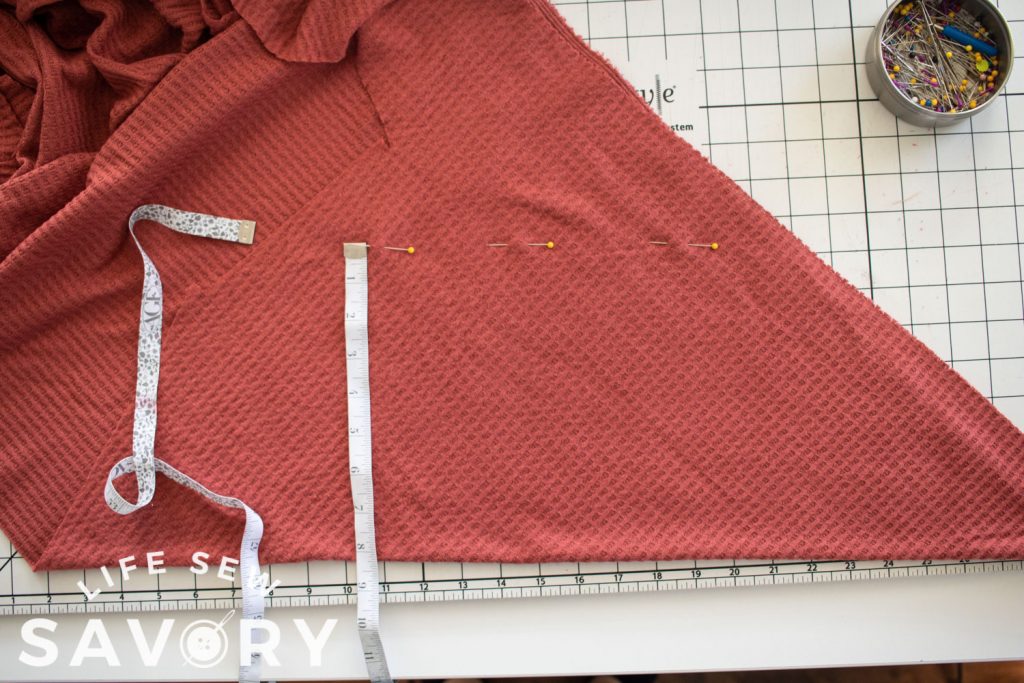
Now on the fold mark DOUBLE the height you want your neck to be. It will be folded over so we have to double this measure. Mine is just over 12 to add a bit of seam allowance and still end up with an approx 6″ tall neck.
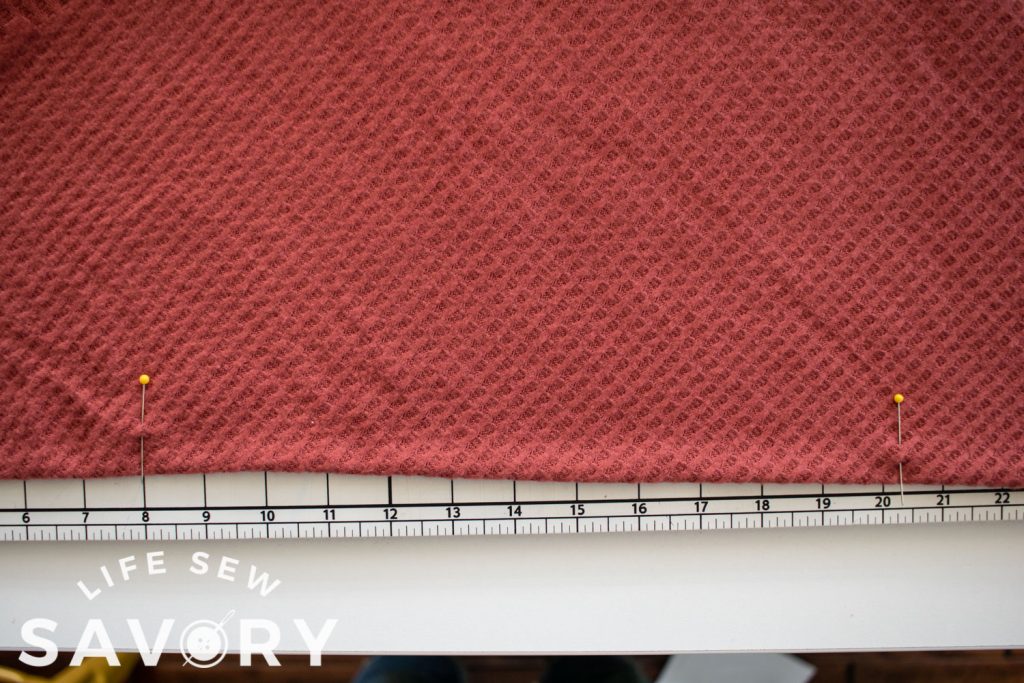
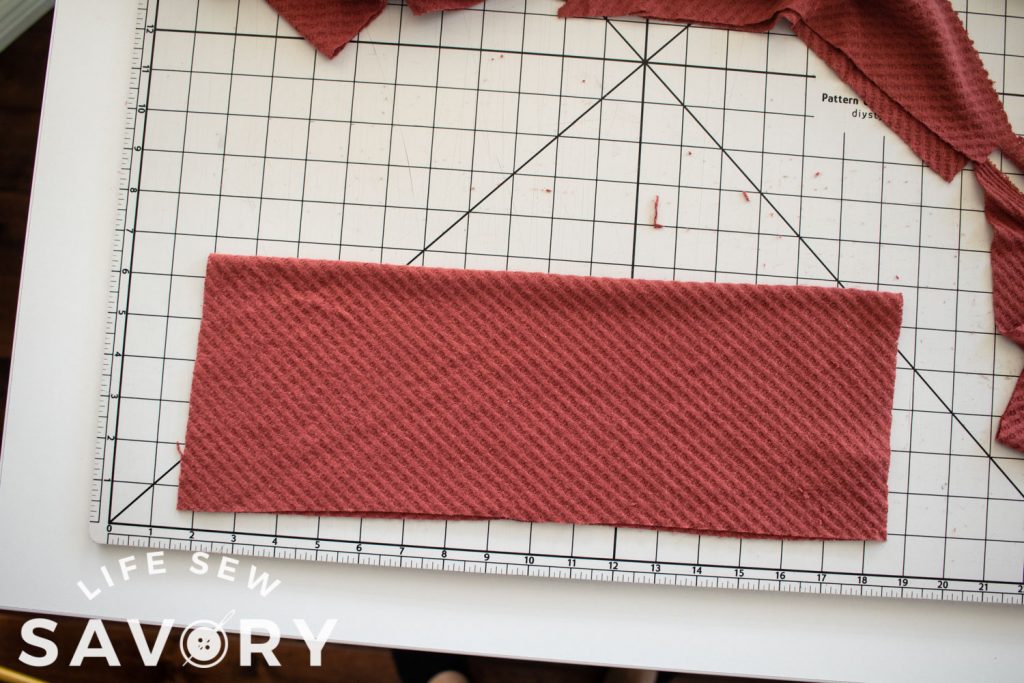
We now have a rectangle marked to cut. You can use tailors chalk or ruler to mark and cut this.
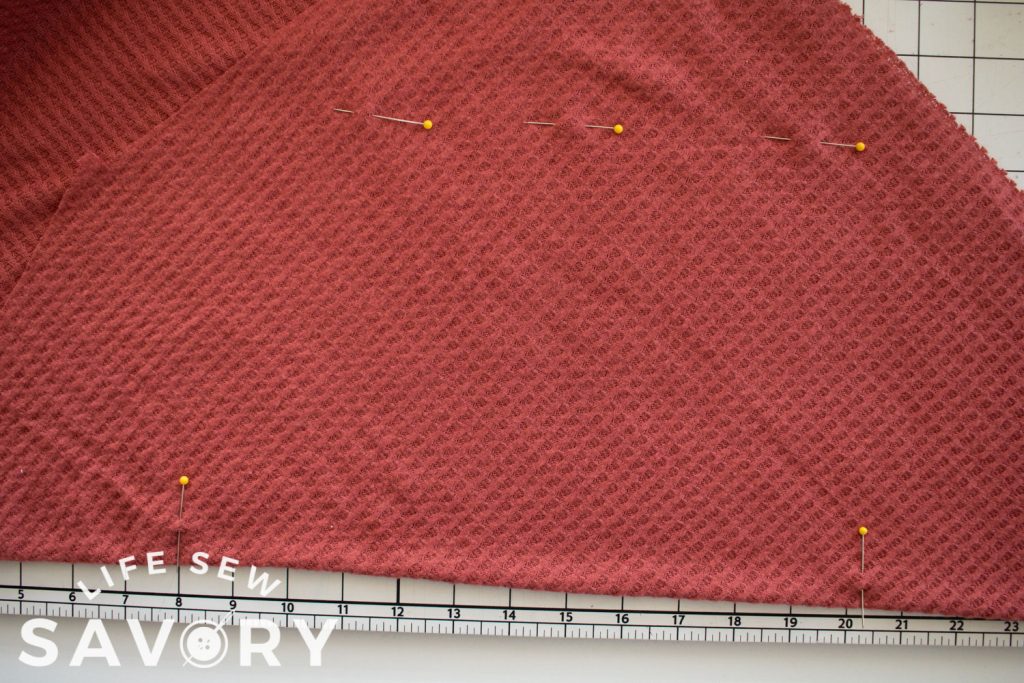
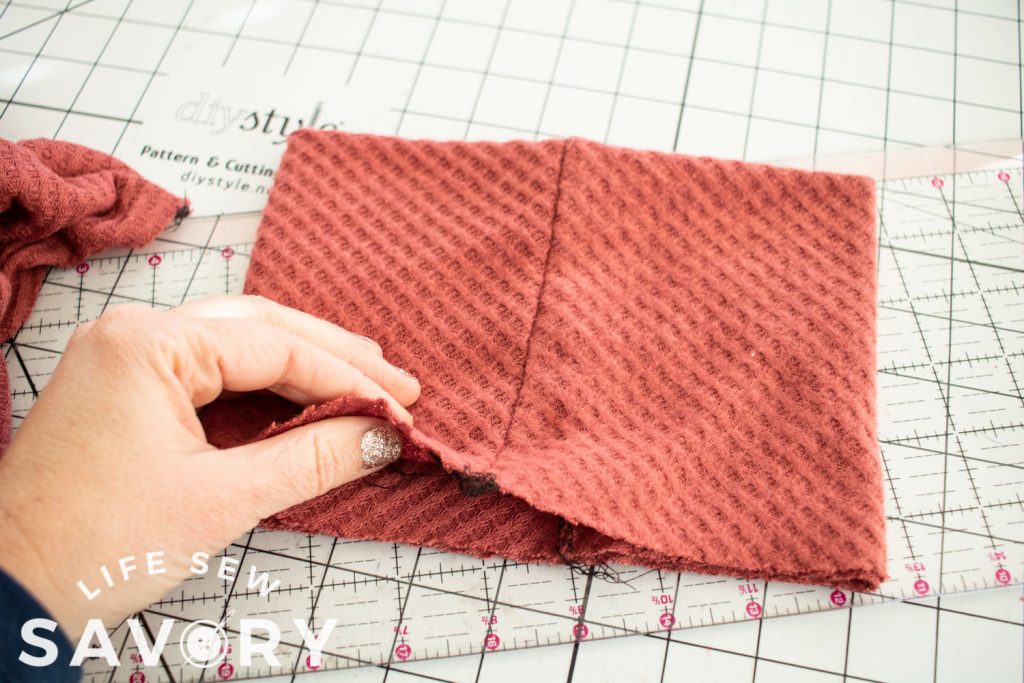
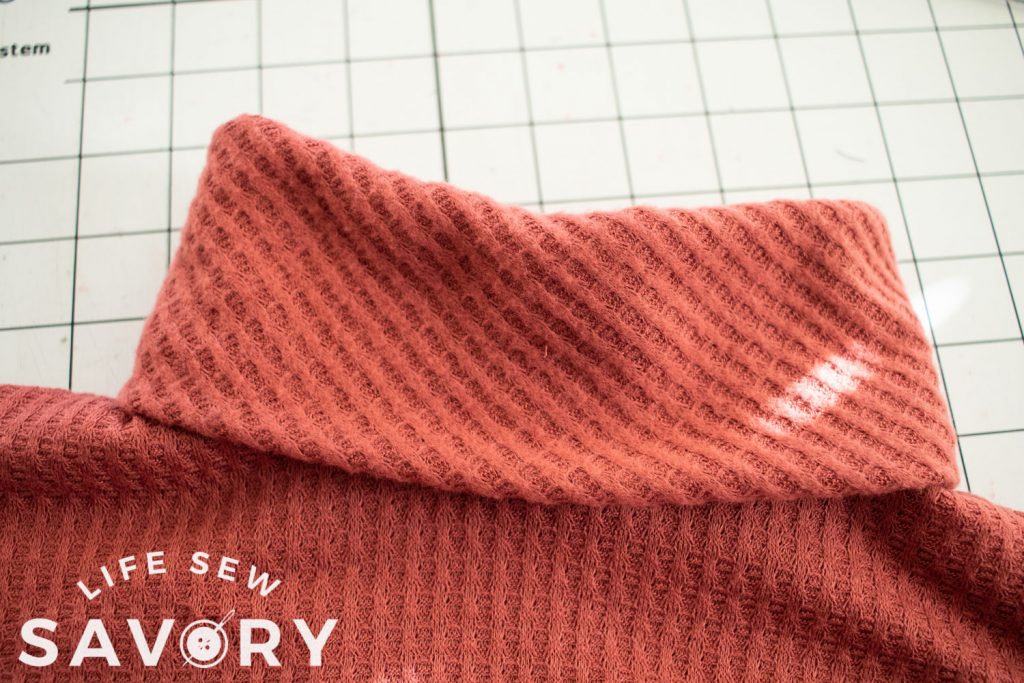
First cut out the rectangle, then open it up and fold it the opposite way. The fold should be on the long side. This is now what your turtle neck looks like for sewing onto the neckline.
When you compare the two raw edges of the neck bottom, it should be about the same measurement as around the neck. This is knit fabric so we can stretch to fit slightly.
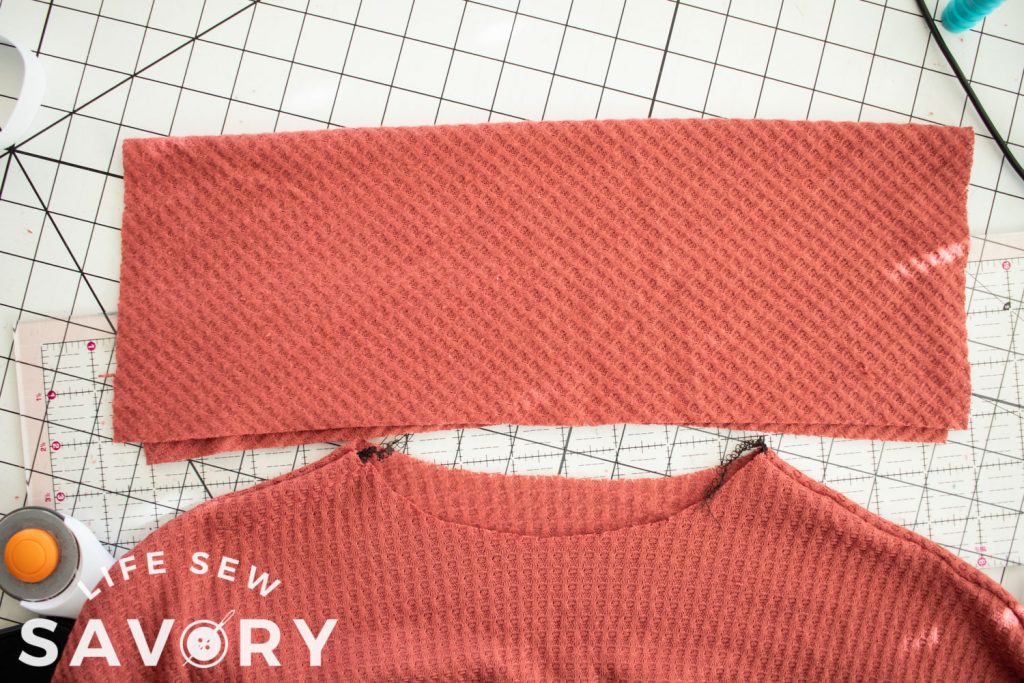
sewing a turtle neck to a shirt –
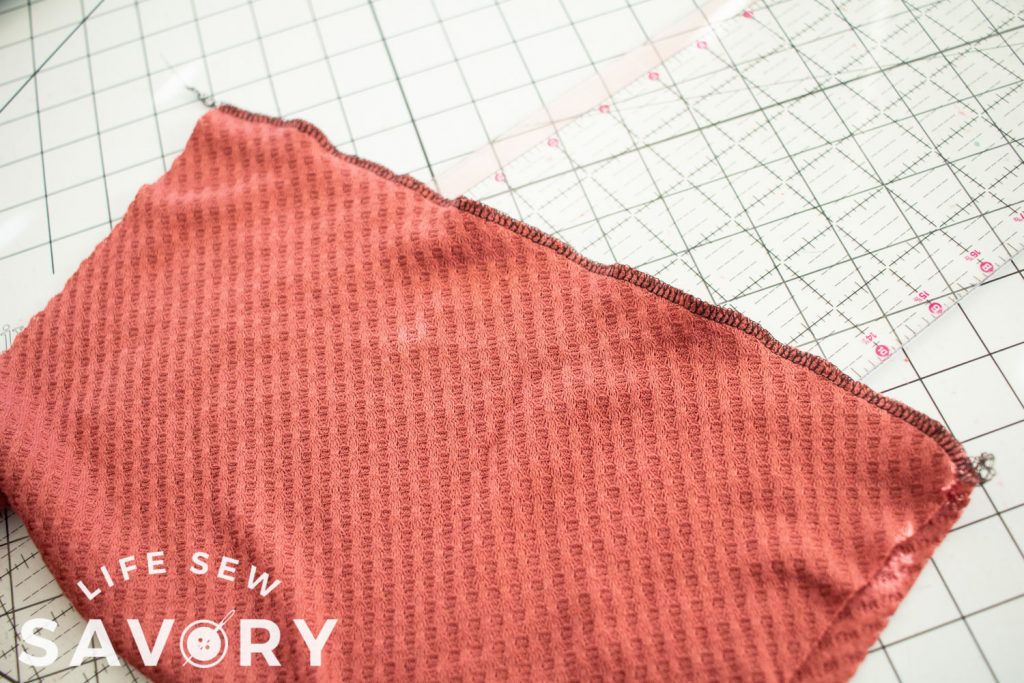
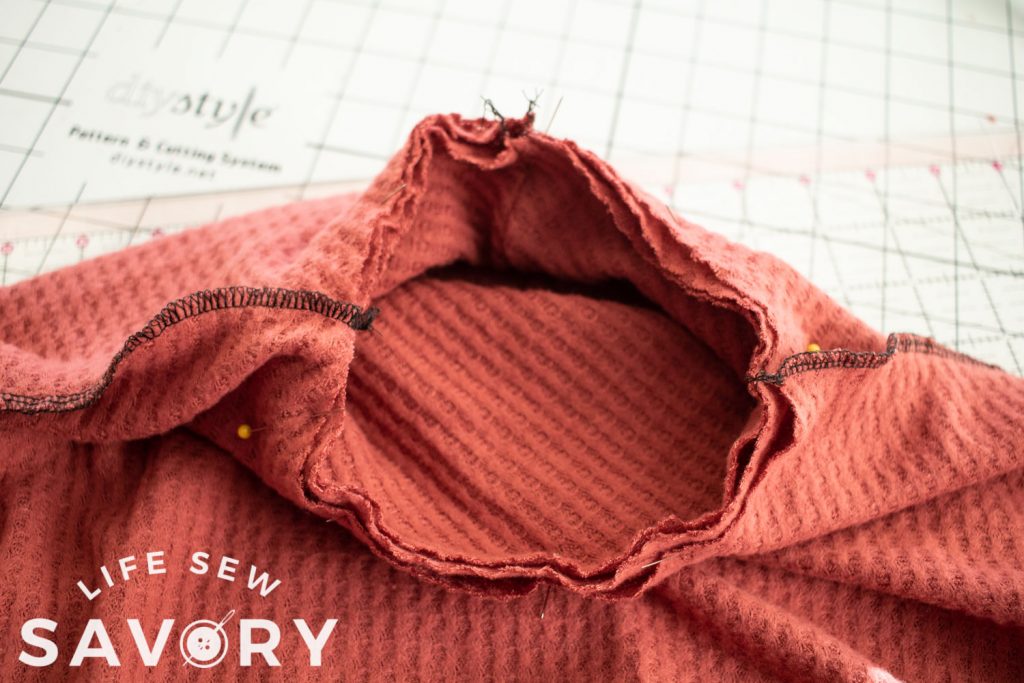
Open up the neck and place the long sides together again {this is the back of the neck and where we will sew the circle. Sew the back sides together, then turn right side out and fold over to create the neck.
Sew the shoulder seams of the shirt if you haven’t already. Mark the back center and front center of the shirt.
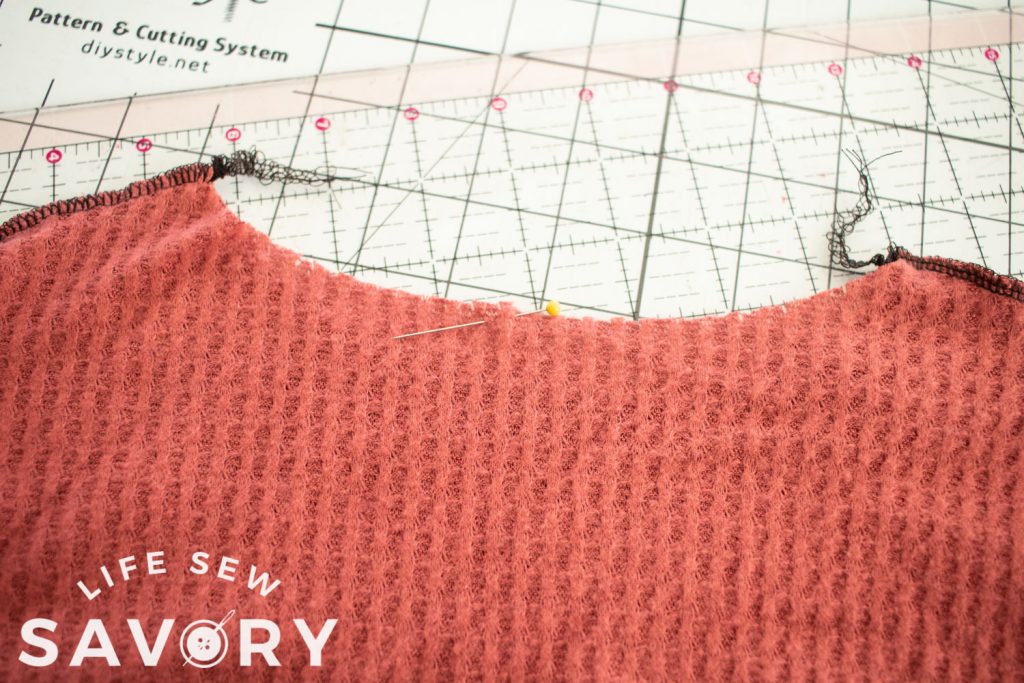
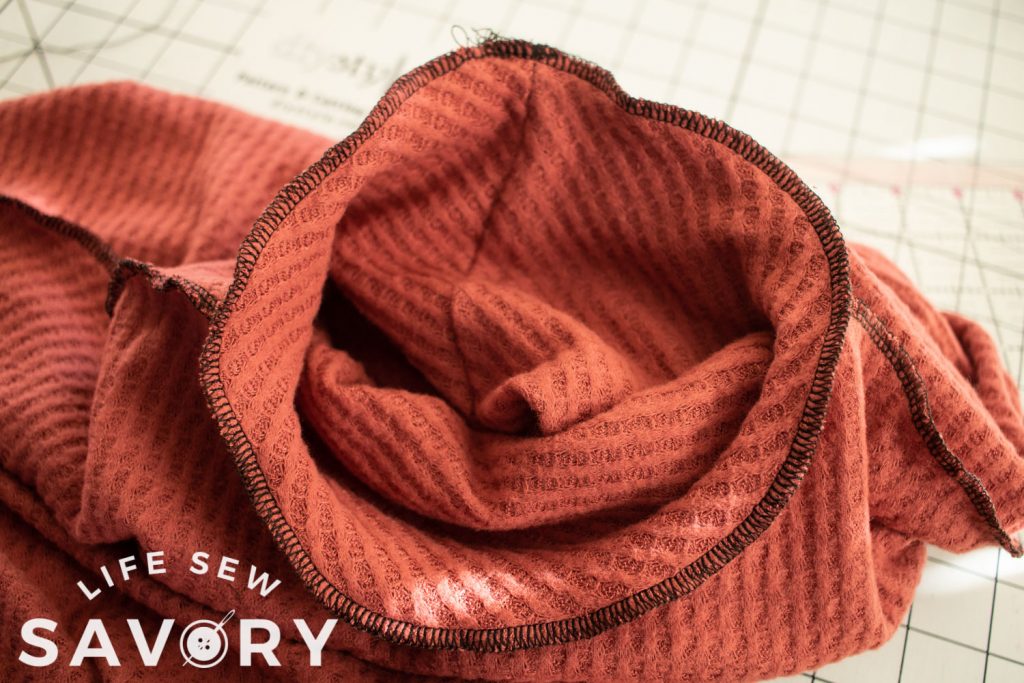
Match the seam on the neck with the center back marking and the fronts as well. Stretch and ease the rest of the neckline together. You will have three pieces of fabric to sew together. Two from the neck and one from the shirt.
Sew with either a serger or a stretch stitch on a sewing machine. This has to go over your head so it needs to be stretchy.
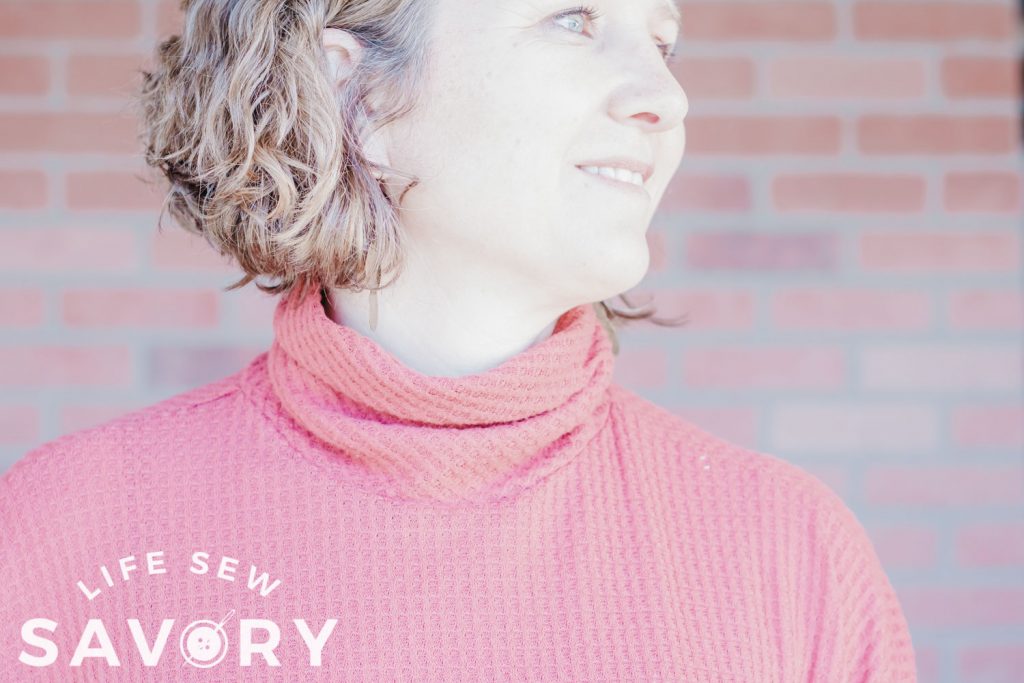
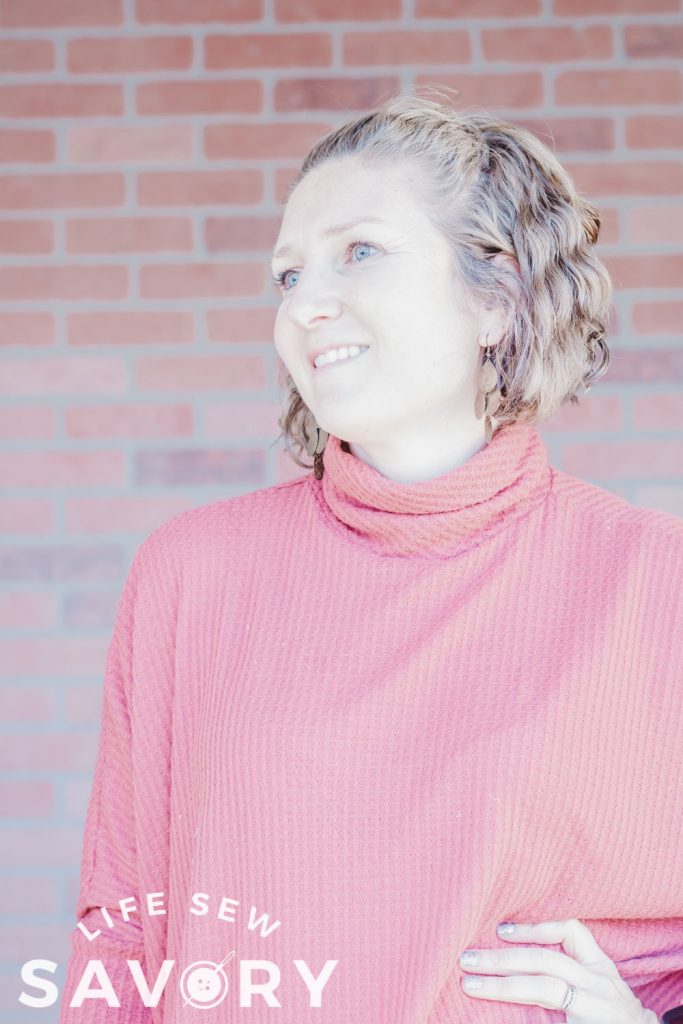
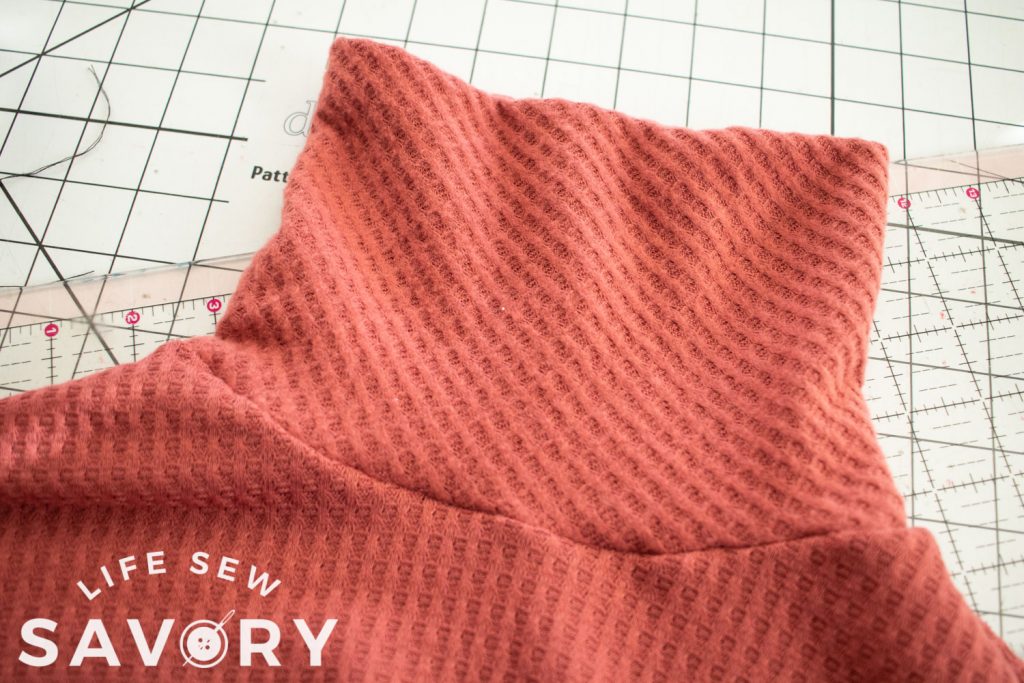
Now you can either wear this fab neck standing up and slouchy, or folded over. Enjoy adding cute turtle necks to your favorite sewing patterns to create new looks.
And now you have a fabulous finished shirt!! I’m super excited about this look and I can’t wait to try this neckline on some of my other free sewing patterns.





Bee says
What a great idea! Thank you 😊
Lynn Samuels says
Thank you. This is exactly what I’ve been looking for.
Ruth says
I’m a beginner and so appreciate all the wealth of knowledge you share. I’ve learned so much from you and truly appreciate it.
Hope you and your family have a Very Merry Christmas/Happy Holidays!!!