This DIY Trash Bag Dispenser post was sponsored by Color Scents, all opinions are my own.
You may not know it, but you need this trash bag dispenser in your life. As a mom trash is a big part of my life {haha}… usually it involves my kids handing me their trash and me saying, “I’m not your garbage can”, but also in our kitchen, where the main trash can is for the house. I feel like I change out our bag 5x a day {although it’s not at all that many} but I like to keep my extra bags handy. With limited storage space in our small kitchen I decided to make a trash bag dispenser to hang right next to our can for ease of use. I’m going to share a quick sewing tutorial to make your own dispenser today as well as share my new favorite bag for keeping our kitchen smelling great and no mess trash take out!
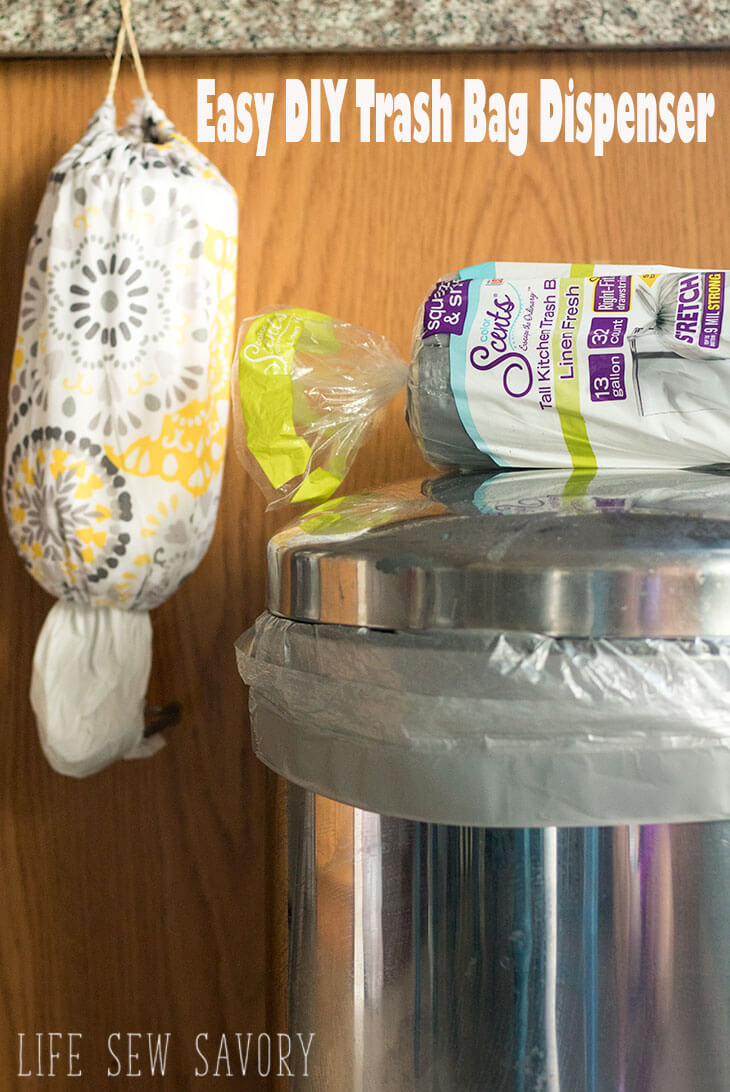
DIY Trash Bag Dispenser Sewing Tutorial –
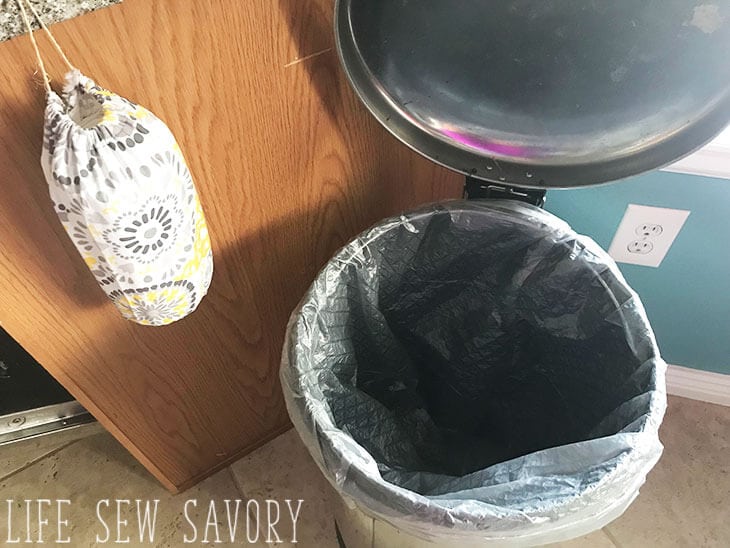
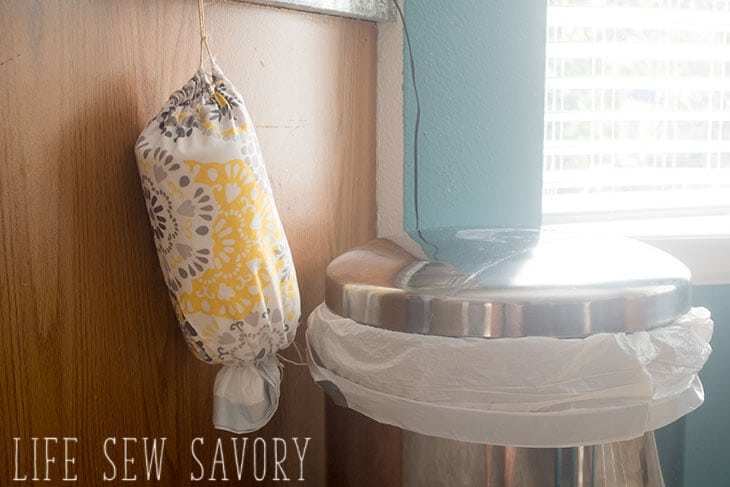
Look at how handy it is to have your trash bags right next to the can! Perfect for the whole family! Plus I LOVE the silver/grey color that matches the can so well.
We are loving using Berry Plastics Color Scent trash bags. These are some great smelling and great looking bags! They have a new silver/grey color of the stretch linen fresh bag that is perfect for your stainless steel can and also a new scent of the white stretch bags – Meadow Fresh! We have tried both! Color Scents bags also have great strength, stretch, and a Right-Fit® Drawstring {fits my can perfectly}. Even though we are talking about trash bags these are a great value and a fun “Escape the Ordinary™” with the combination of subtle color and scent that is unique to the Color Scents brand. The best part is during June/July (2018) you can get $1.00 off these 13-gallon Color Scents items at Walmart with the instant redeemable coupon found right on the packaging, while supplies last. Now that you know what trash bag you need to buy on your next trip to Walmart – here is an easy sewing tutorial to make a DIY trash bag dispenser. You will need some fabric scraps… at least 20 x 20″ and a sewing machine {you could hand sew}.
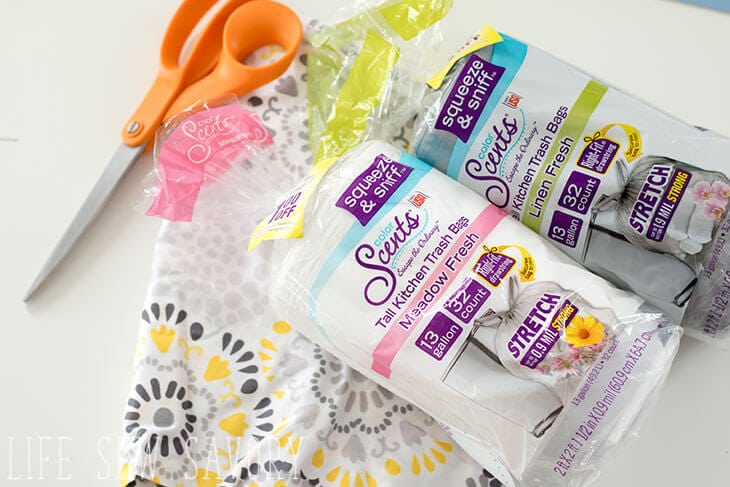
Measure your fabric with the roll of bags to measure around and how tall to cut the fabric. We will make a draw string on the top and bottom so leave at least two inches on the top and bottom of the roll.
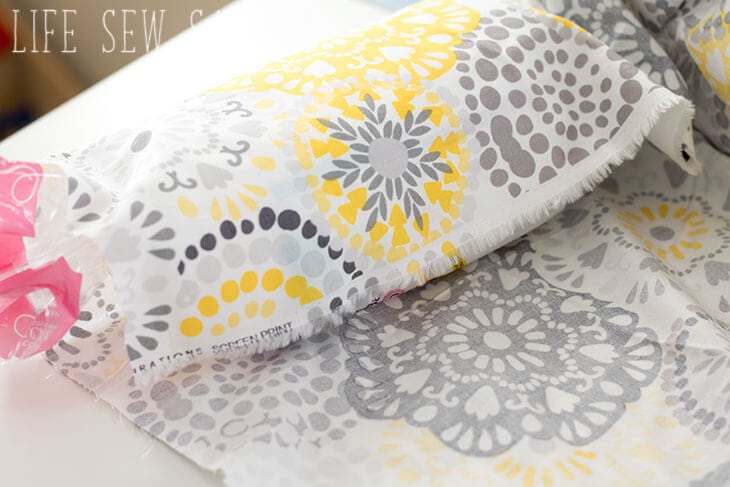
Here’s my cut fabric rectangle. 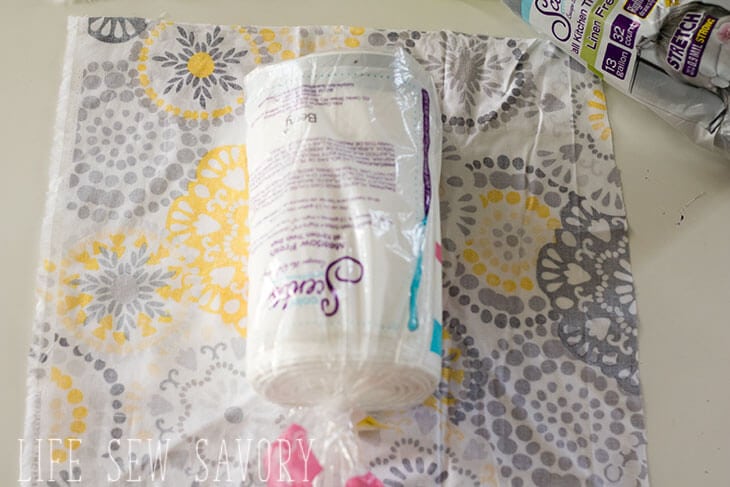
Finish the top and bottom edge with a serger or zig-zag stitch, then fold over 1/2″. Sew to create a casing for your lace. 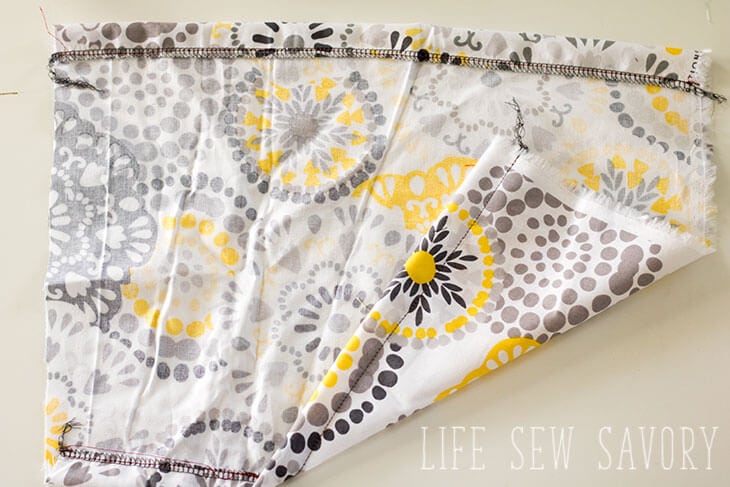
Turn the right sides together and sew up the side seam. Do not sew over the edges of the casing you just made. 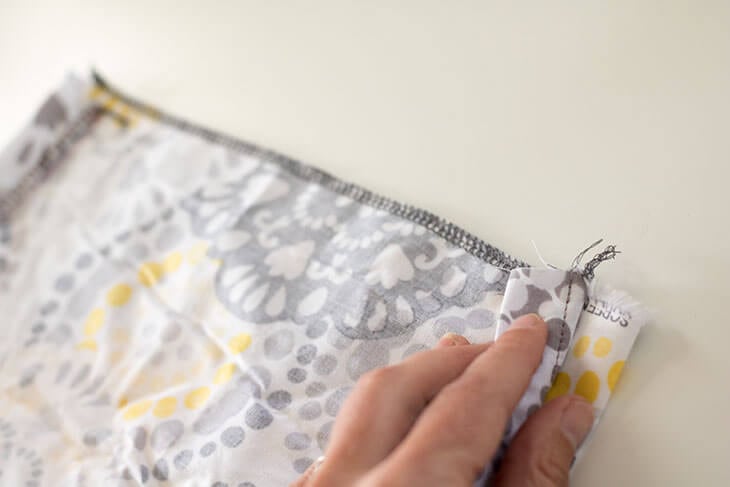
Thread a lace or string through the openings. Each string should be at least 15″ long. 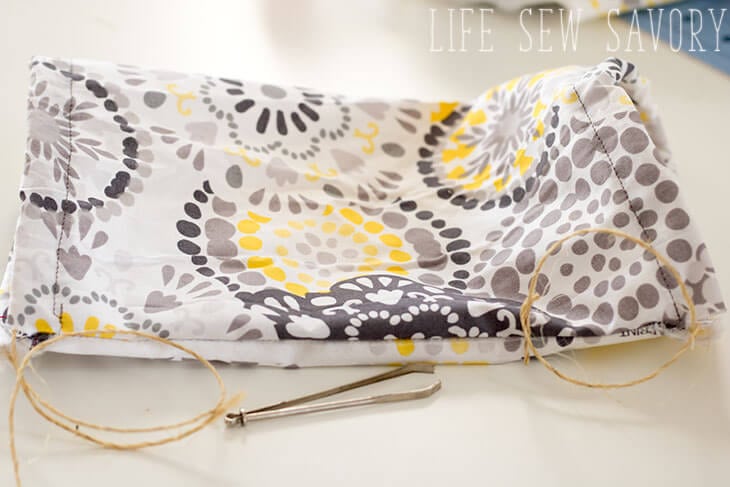
Slide the roll of trash bags into the fabric roll.
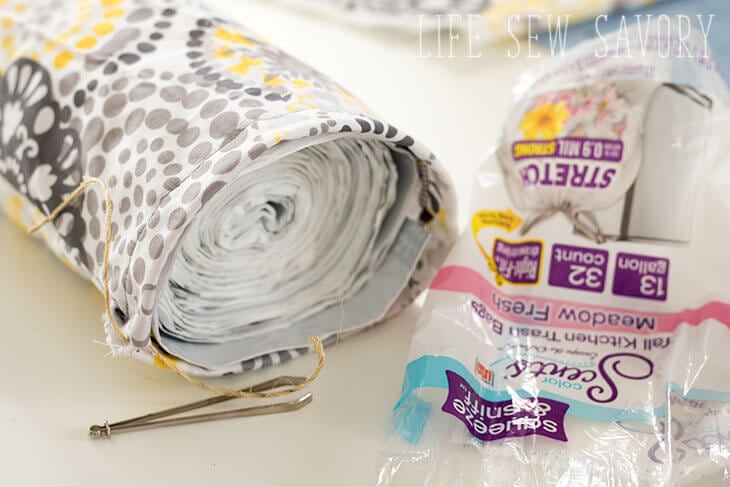
Pull the edge of the outer bag out of the bottom and then pull tight the string. Tie with a bow or something else you can open later to add more bags.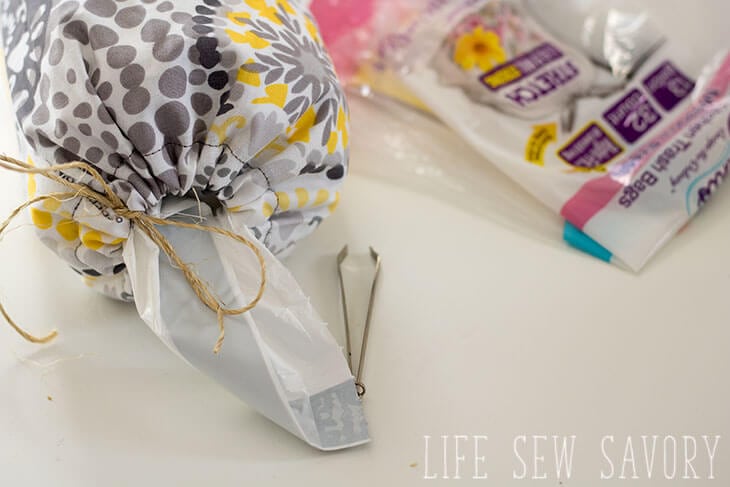
On the top of the dispenser pull the string and tie ones right by the fabric, then another time a few inches up so you have a hanger now. 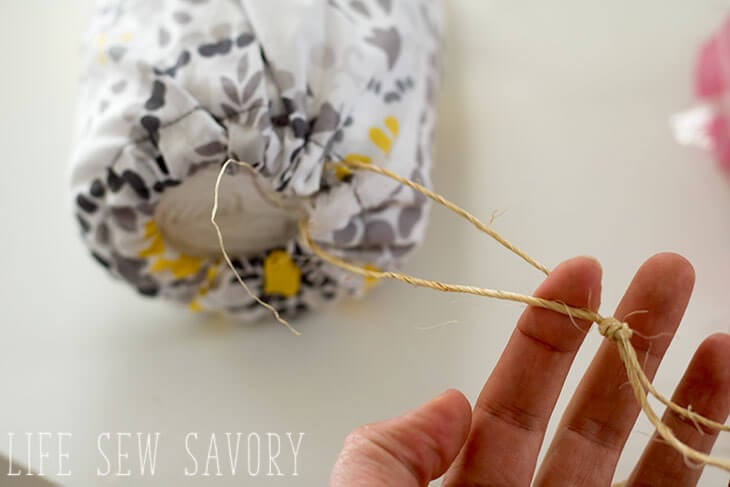
Perfect for hanging right by your can! Now anyone can empty the trash bag and put in a new bag any time we need. When one bag pulls out the next one will start to come with it, so you always have a bag at the ready.
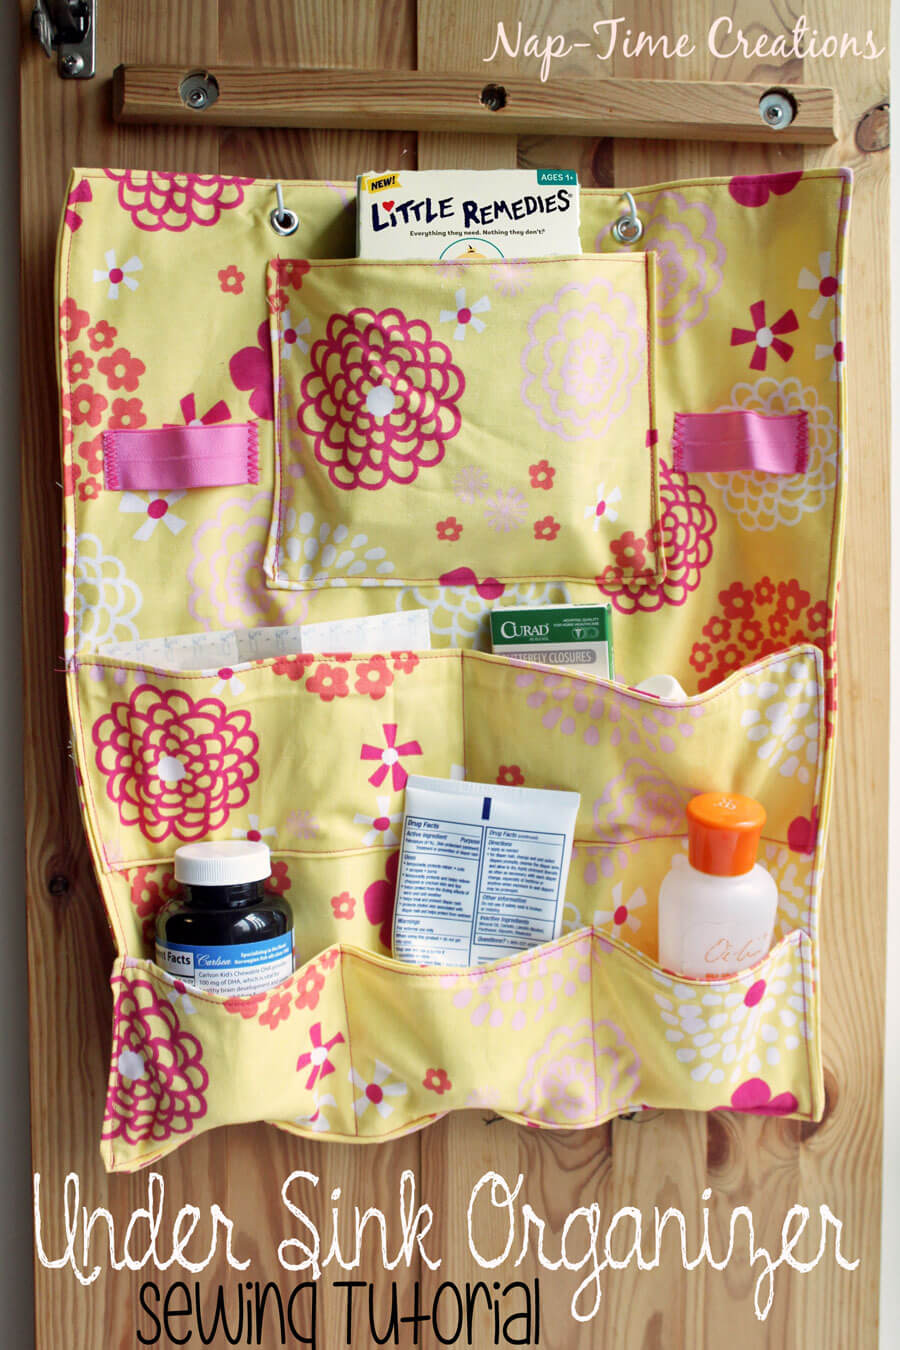
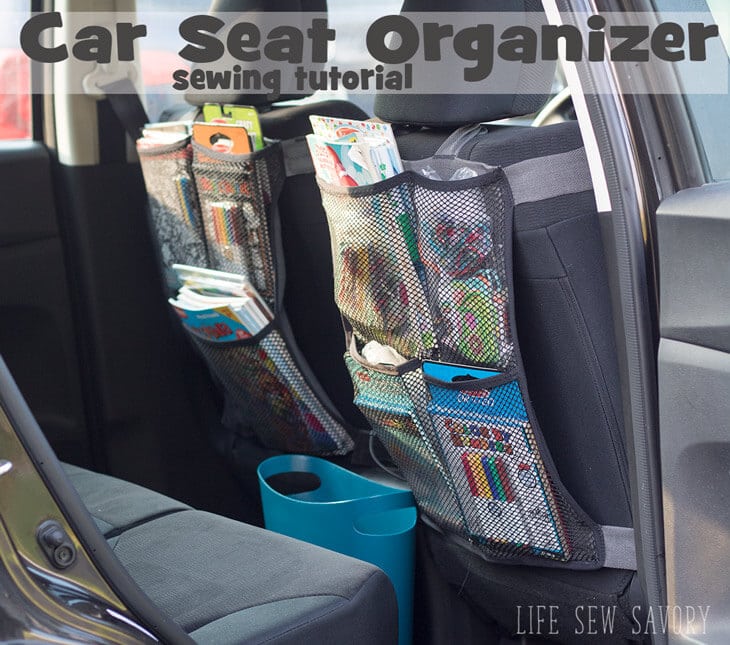
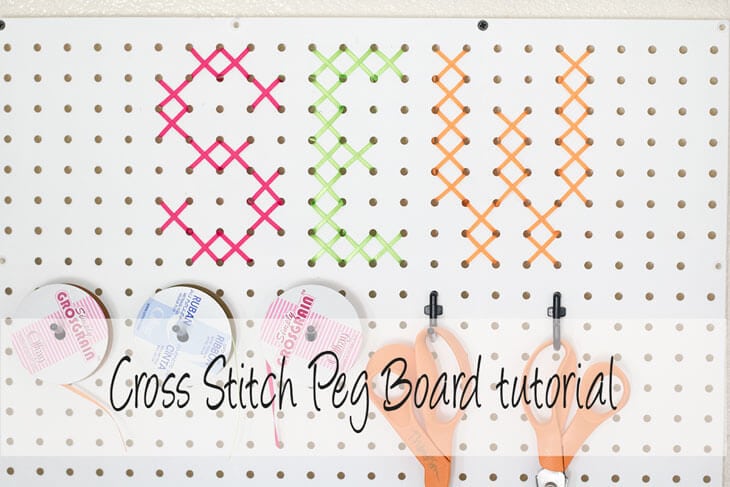
Here are a few other tutorials to help you organize your home.







usps liteblue says
Nice Article here good one here.