This lunch box name tags post is sponsored by Pepperidge Farm, but the content and opinions expressed here are my own.
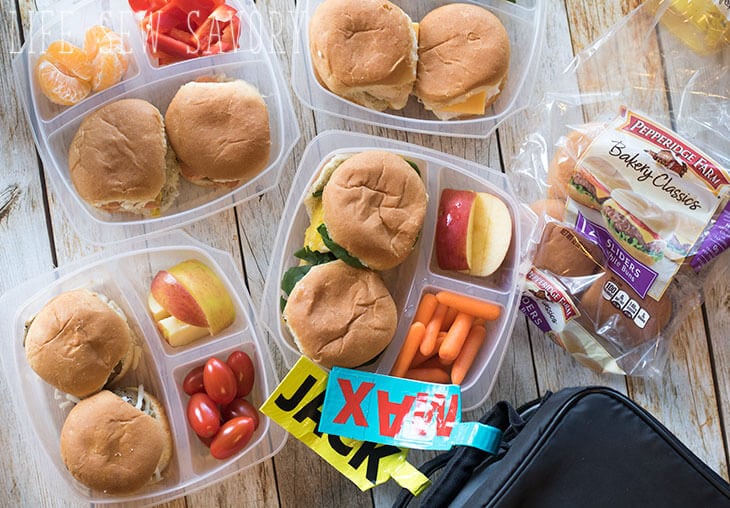
Today I’m gearing up to back to school with a lunch box name tag tutorial, AND some fun lunch ideas with slider buns. My boys don’t like lunch meat and they get tired of peanut butter, so I feel like I’m always trying to be creative with lunch ideas. I’m planning to make up a bunch of these slider lunches at the beginning of the week so they can be easy lunches all week long. I also added lunch box name tags to my kids lunch bags to try and keep track of them all year long. These bright tags make them easy to find in the lost and found and hopefully we can keep it all school year long.
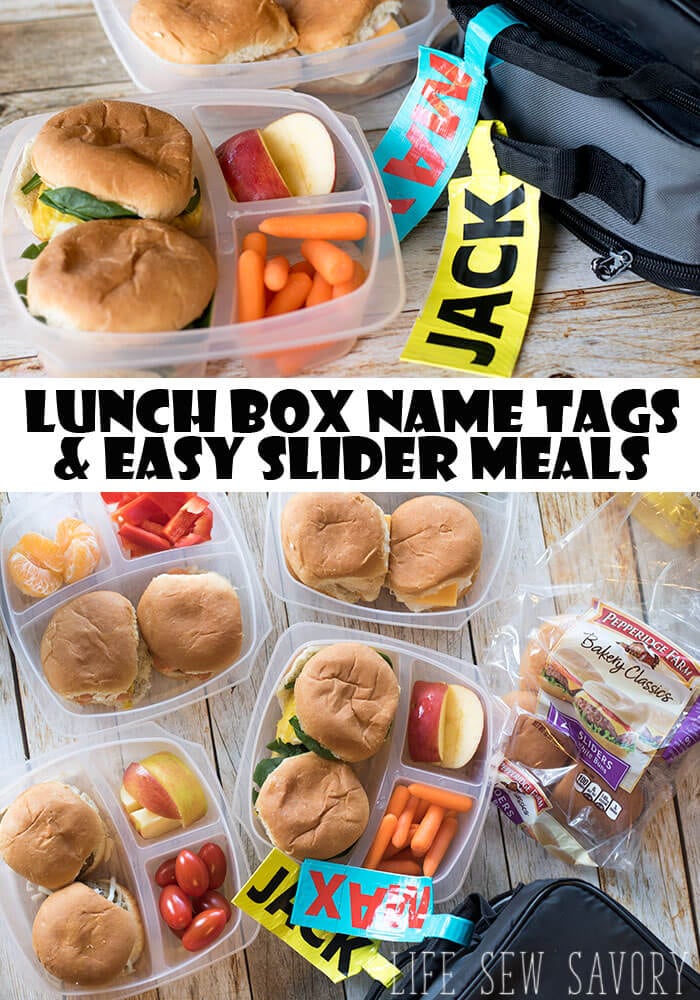
Lunch Box Name Tags and Slider lunches –
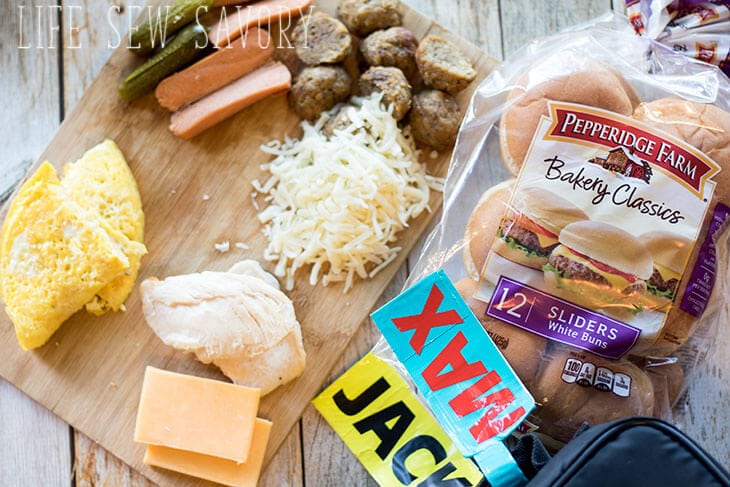
I decided to try making some difference sandwiches with Pepperidge Farm® Bakery Classics Slider Buns, to mix up our lunches a bit. Pepperidge Farm® Bakery Classics Slider Buns are perfectly sized for your child’s little hands, and small things always taste better {am I right?}.
The sandwiches shown here are –
- Egg and spinach
- Hot Dog and pickle with Mustard {or ketchup}
- Chicken and cheese with ranch
- Meatball, Mozzarella and tomato sauce.
Since school hasn’t started yet we tried these out for a dinner and they were a huge hit. You should consider trying Pepperidge Farm® Bakery Classics Slider Buns for some school lunches this year… they are perfectly-sized for children’s lunches, versatile for any recipe, quality buns made with premium ingredients, and the wide variety of flavors – YEAH!
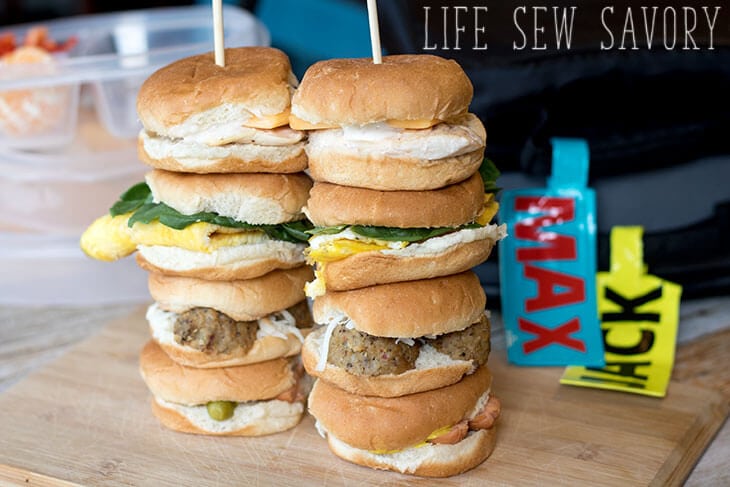
I think making up a bunch of lunches at the beginning of the week is the way to go. So gather up all you family’s favorite sandwich fillings, Pepperidge Farm® Bakery Classics Slider Buns and prep for the school week. Look at how bright and colorful my lunch box tags are too, I’ll show you how to complete your lunch prep with these easy to make tags below!
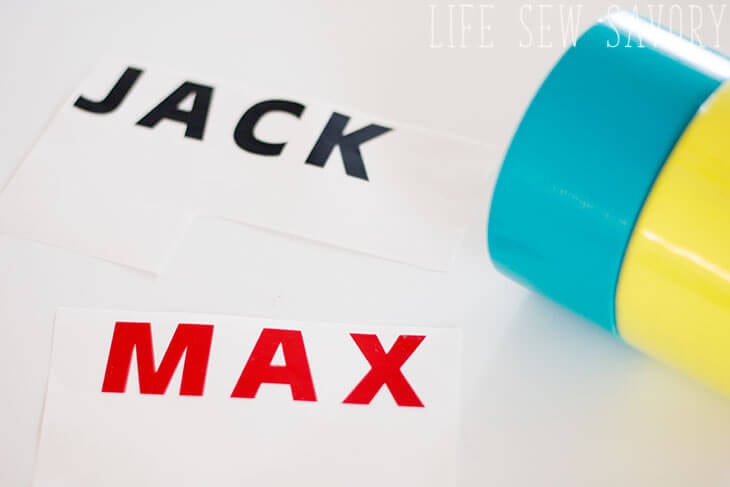
You will need tape and letters for this project. I cut my vinyl letters with my ScanNCut, but you could also use letter stickers
The video shows this all in action, but here are the sets.
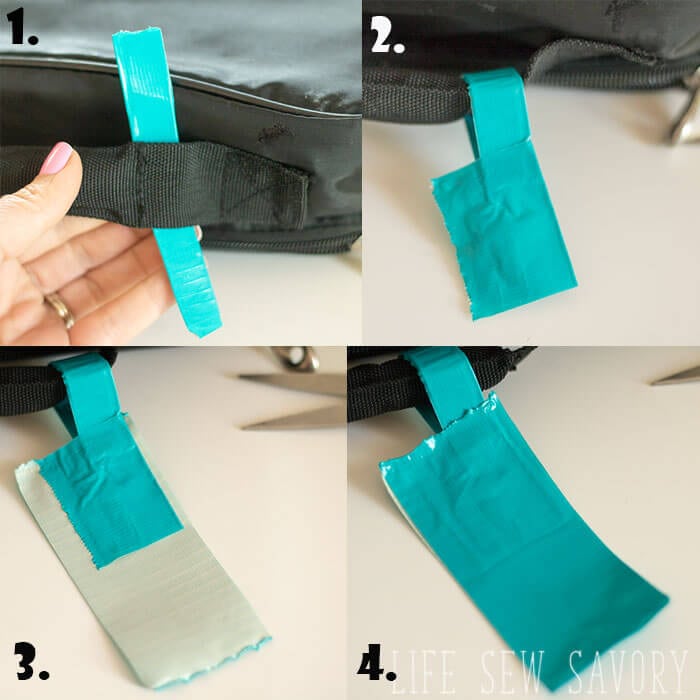
- Fold a 6″ piece of tape over 1/2″ and continue to fold to make a strap. Place through the lunch bag handle.
- With a smaller piece of tape secure the ends of the strap together.
- Take a 5″ piece of tape and place it sticky side up under the strap
- Place another 5″ piece on top, sticky side down to make a tag. Trim is desired
- Finish top and bottom edge with a small piece of tape to hide raw edges – optional
- add vinyl or sticker letters to finish.
When do your kids go back to school? Do they have a favorite lunch I could make on these sliders? I’m always looking for more creative sandwich/lunch ideas!
Here are some other great back to school ideas –
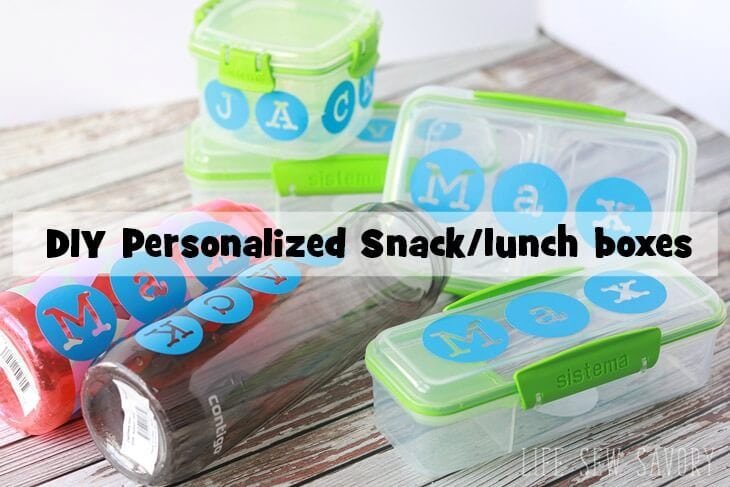
Personalize snack and lunch boxes
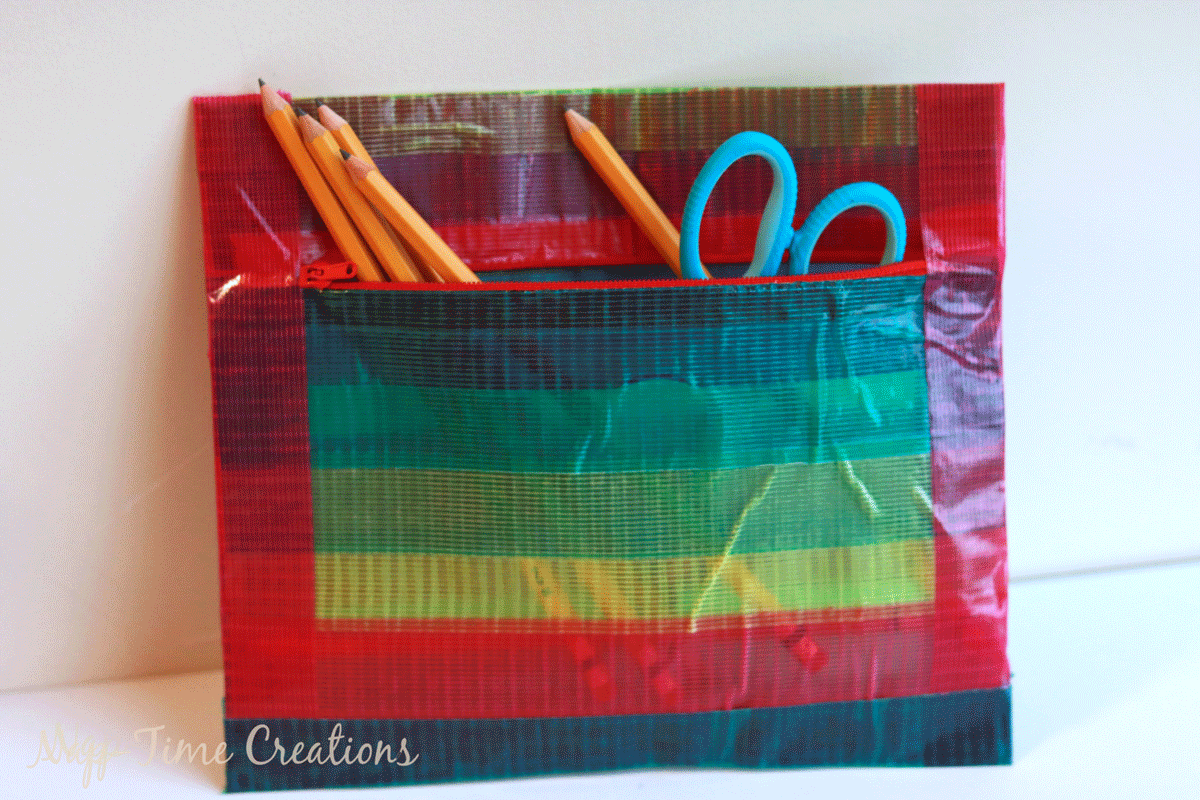
Duck Tape Pouch




Leave a Reply