Today I’m going to show you how to make corn hole bags {or bean bags as I called them for years}. We called this game “bags” growing up in WI, but other places seem to call in corn hole, so we will call it both for the purposes of this DIY tutorial. My first try making bags years ago I cut them all the same size, but didn’t weigh the corn.. I just estimated and my brothers were SO frustrated with that set of bags – they all were different weights and did not throw the same. I’ve now learned that it’s very important they are all the same, so today we will make some official corn hole bags. 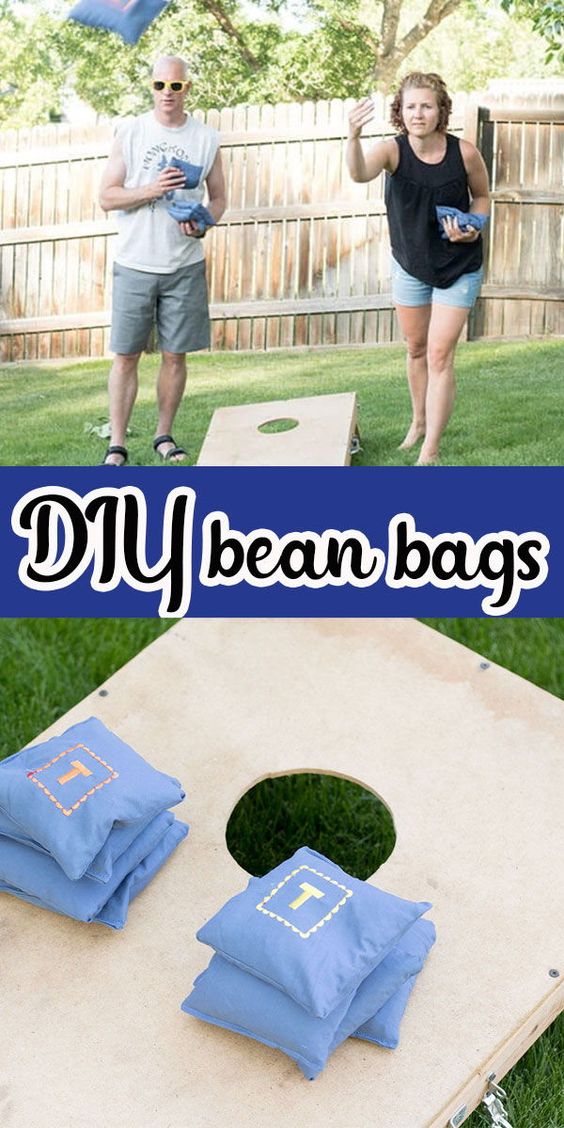
How to make corn hole bags –
What you will need: 1 yard heavy weight fabric- non-stretch {duck cloth, canvas}, whole kernel corn {I got a 10 lb bag at a local feed store for cheap!} and thread to sew it all together. You can use two different fabrics or add embroidery to make the two teams.
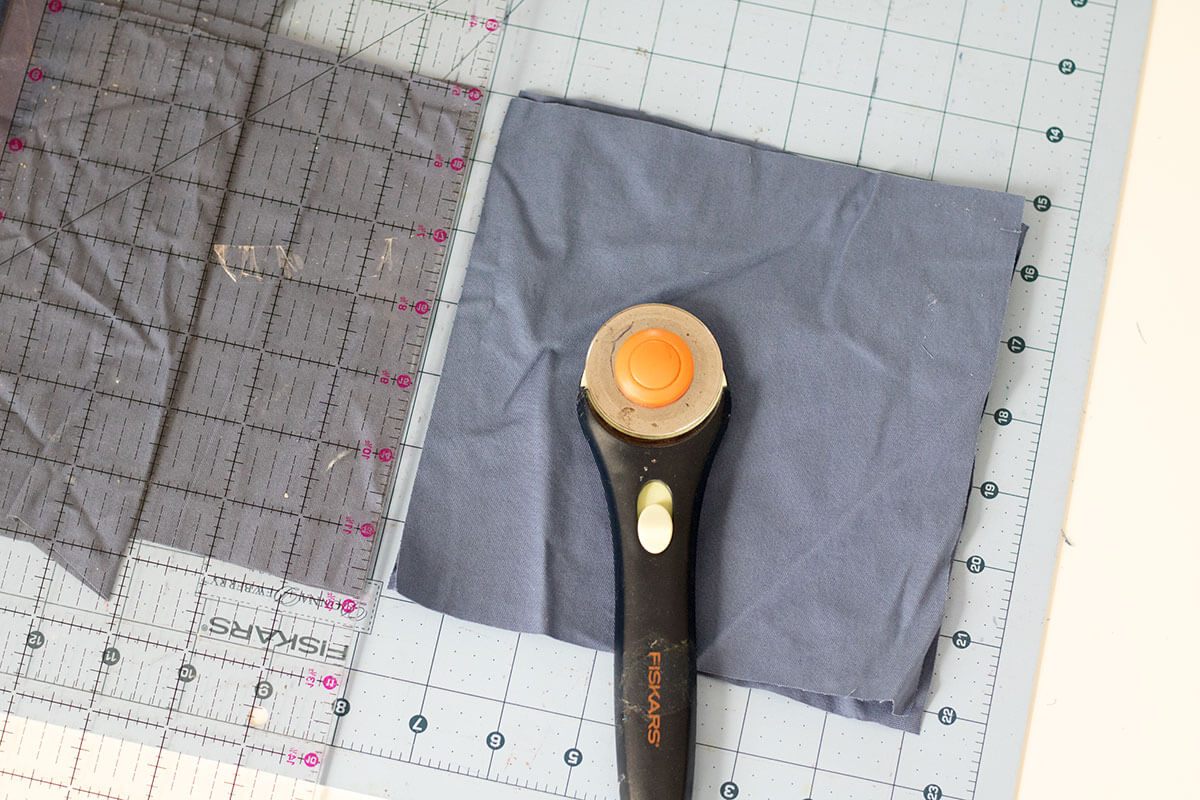
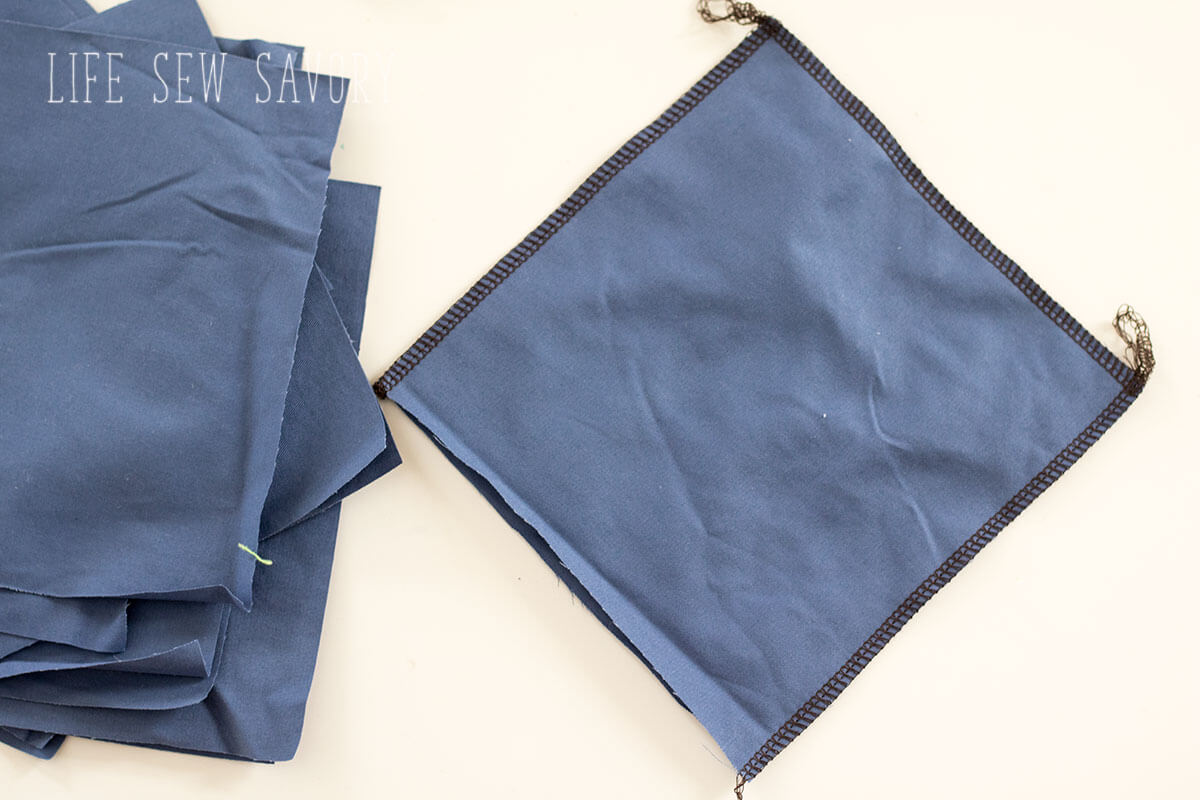
Cut 7″ x 7″ squares. Cut 16 squares to make a set of 8 bags. I made mine all from the same color and added two colors of embroidery for markings. Place two squares together and sew around 3 sides of each square. Sew with 3/8″ seam allowance.
Fill with the hole kernel corn. Each bag should weigh 16 oz including the fabric, so you will want to weigh with the corn in the bag. If you don’t have a food scale and aren’t planning to play this game professionally you can measure out 2.5 cups of corn for each bag. This will be very close.
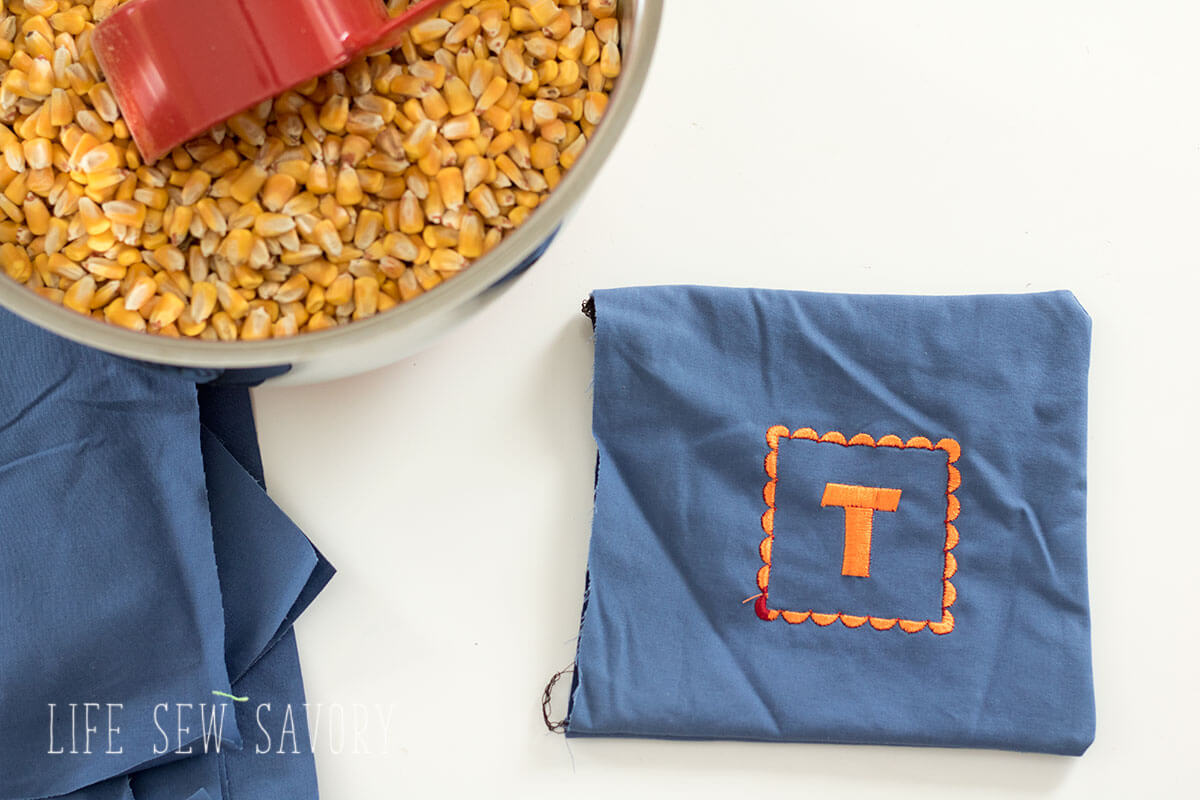
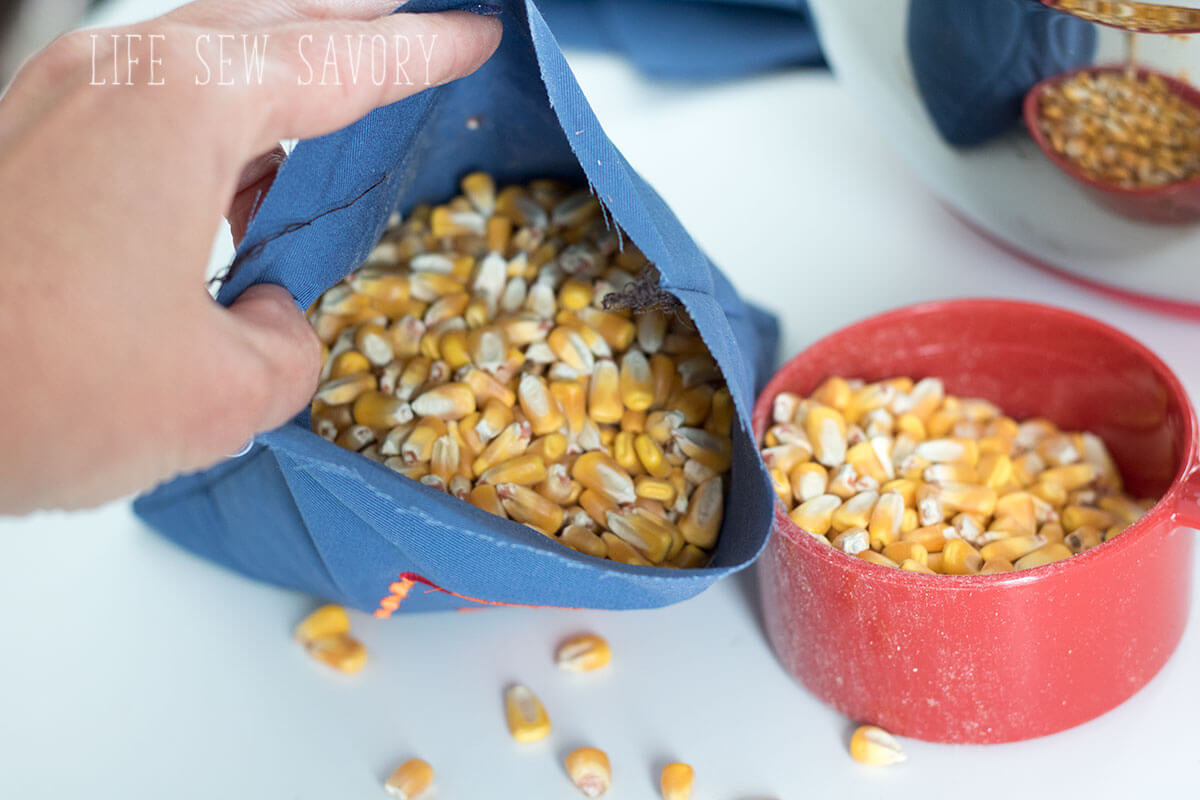
Fold the seam allowance in on the open side and pin or clip.
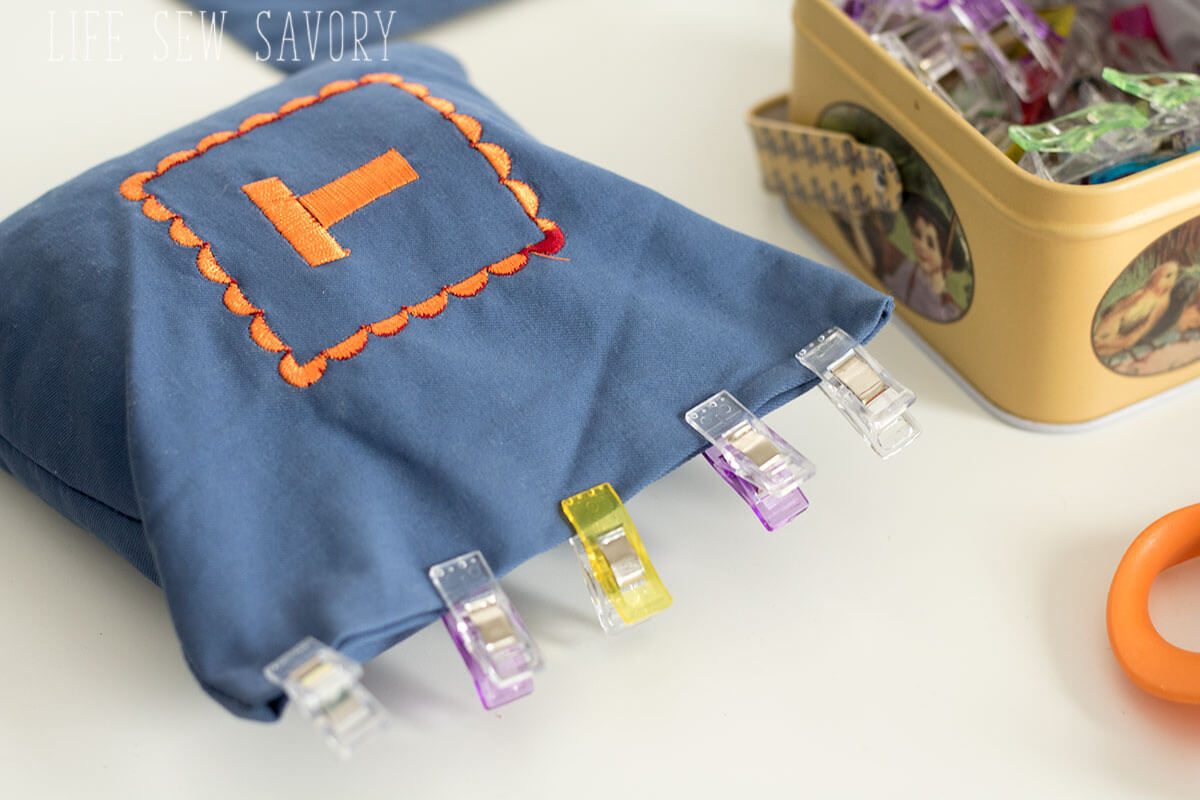
Stitch the seam twice or use the triple stitch on your machine. You did it! Repeat 7 more times and you have yourself a set.
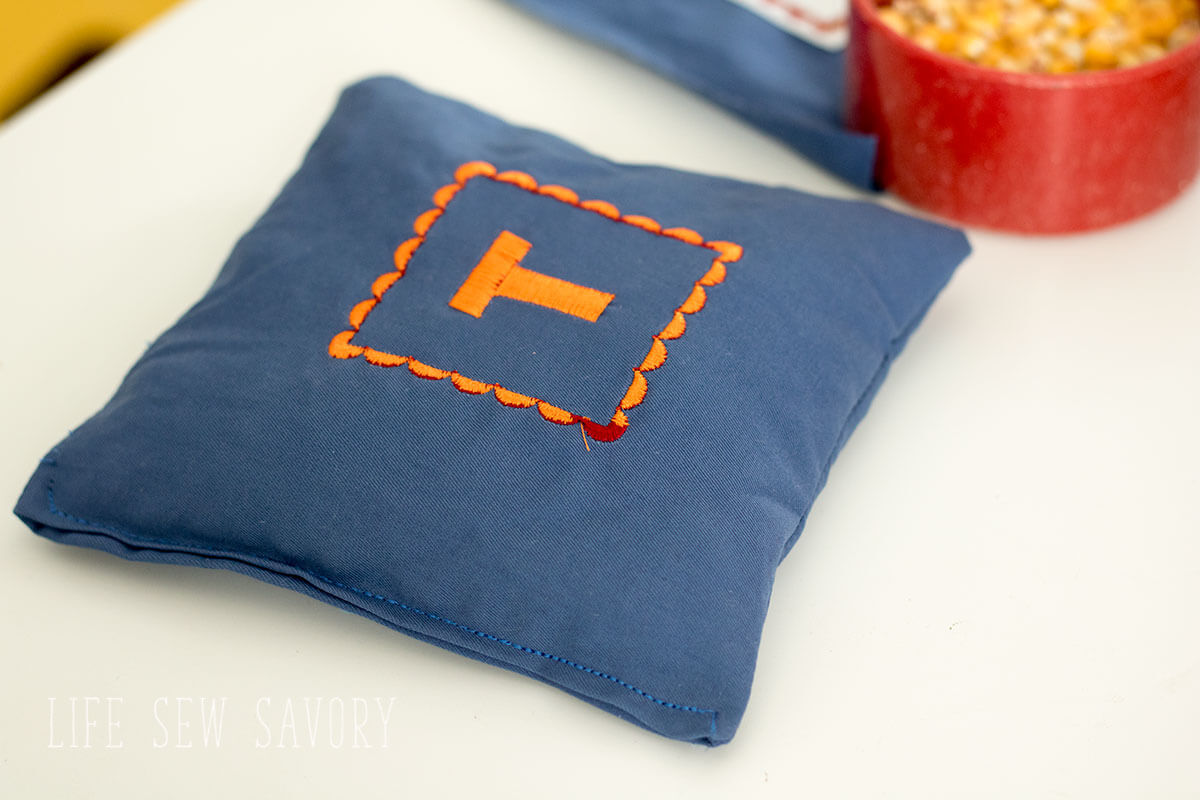
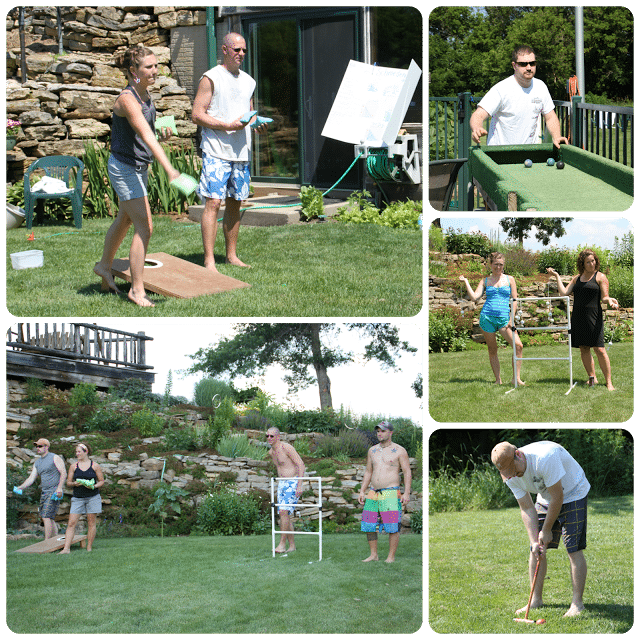
Ready, set, play! I think I need to paint our boards… We’ve had fun in our backyard this summer.
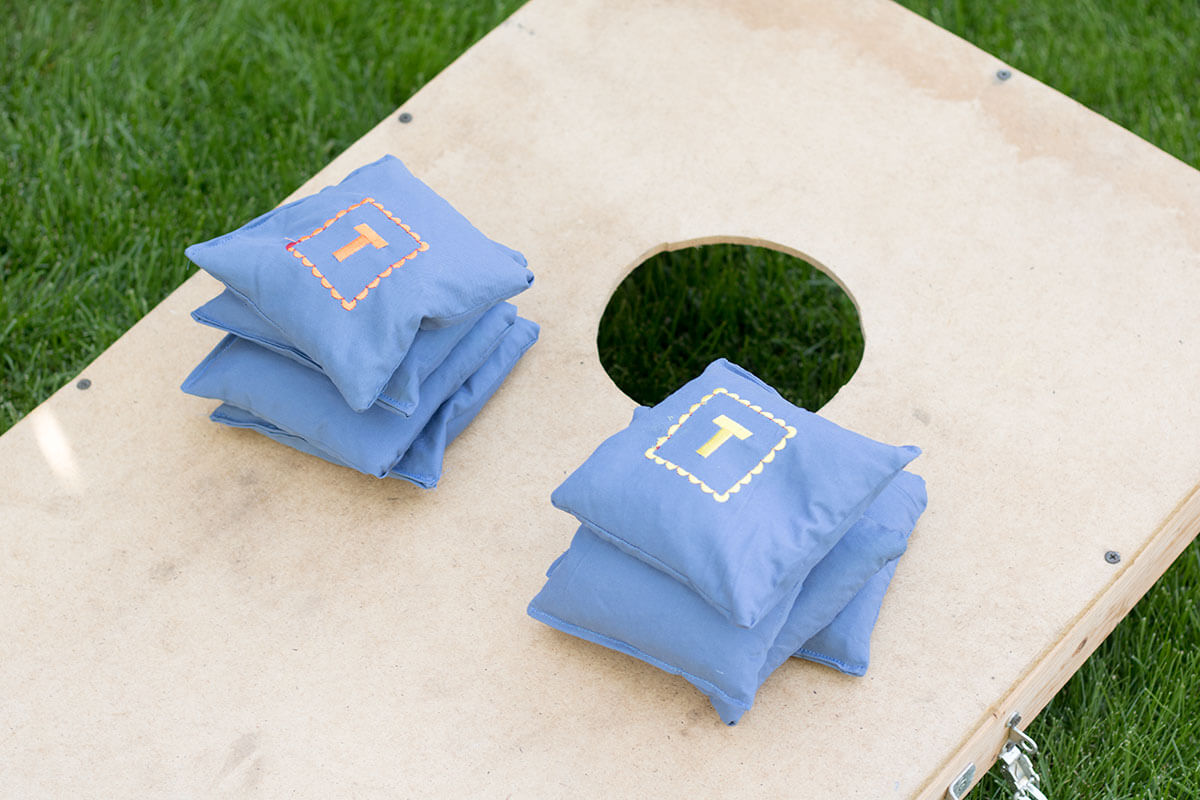
Here are a few other fun lawn games we’ve made;
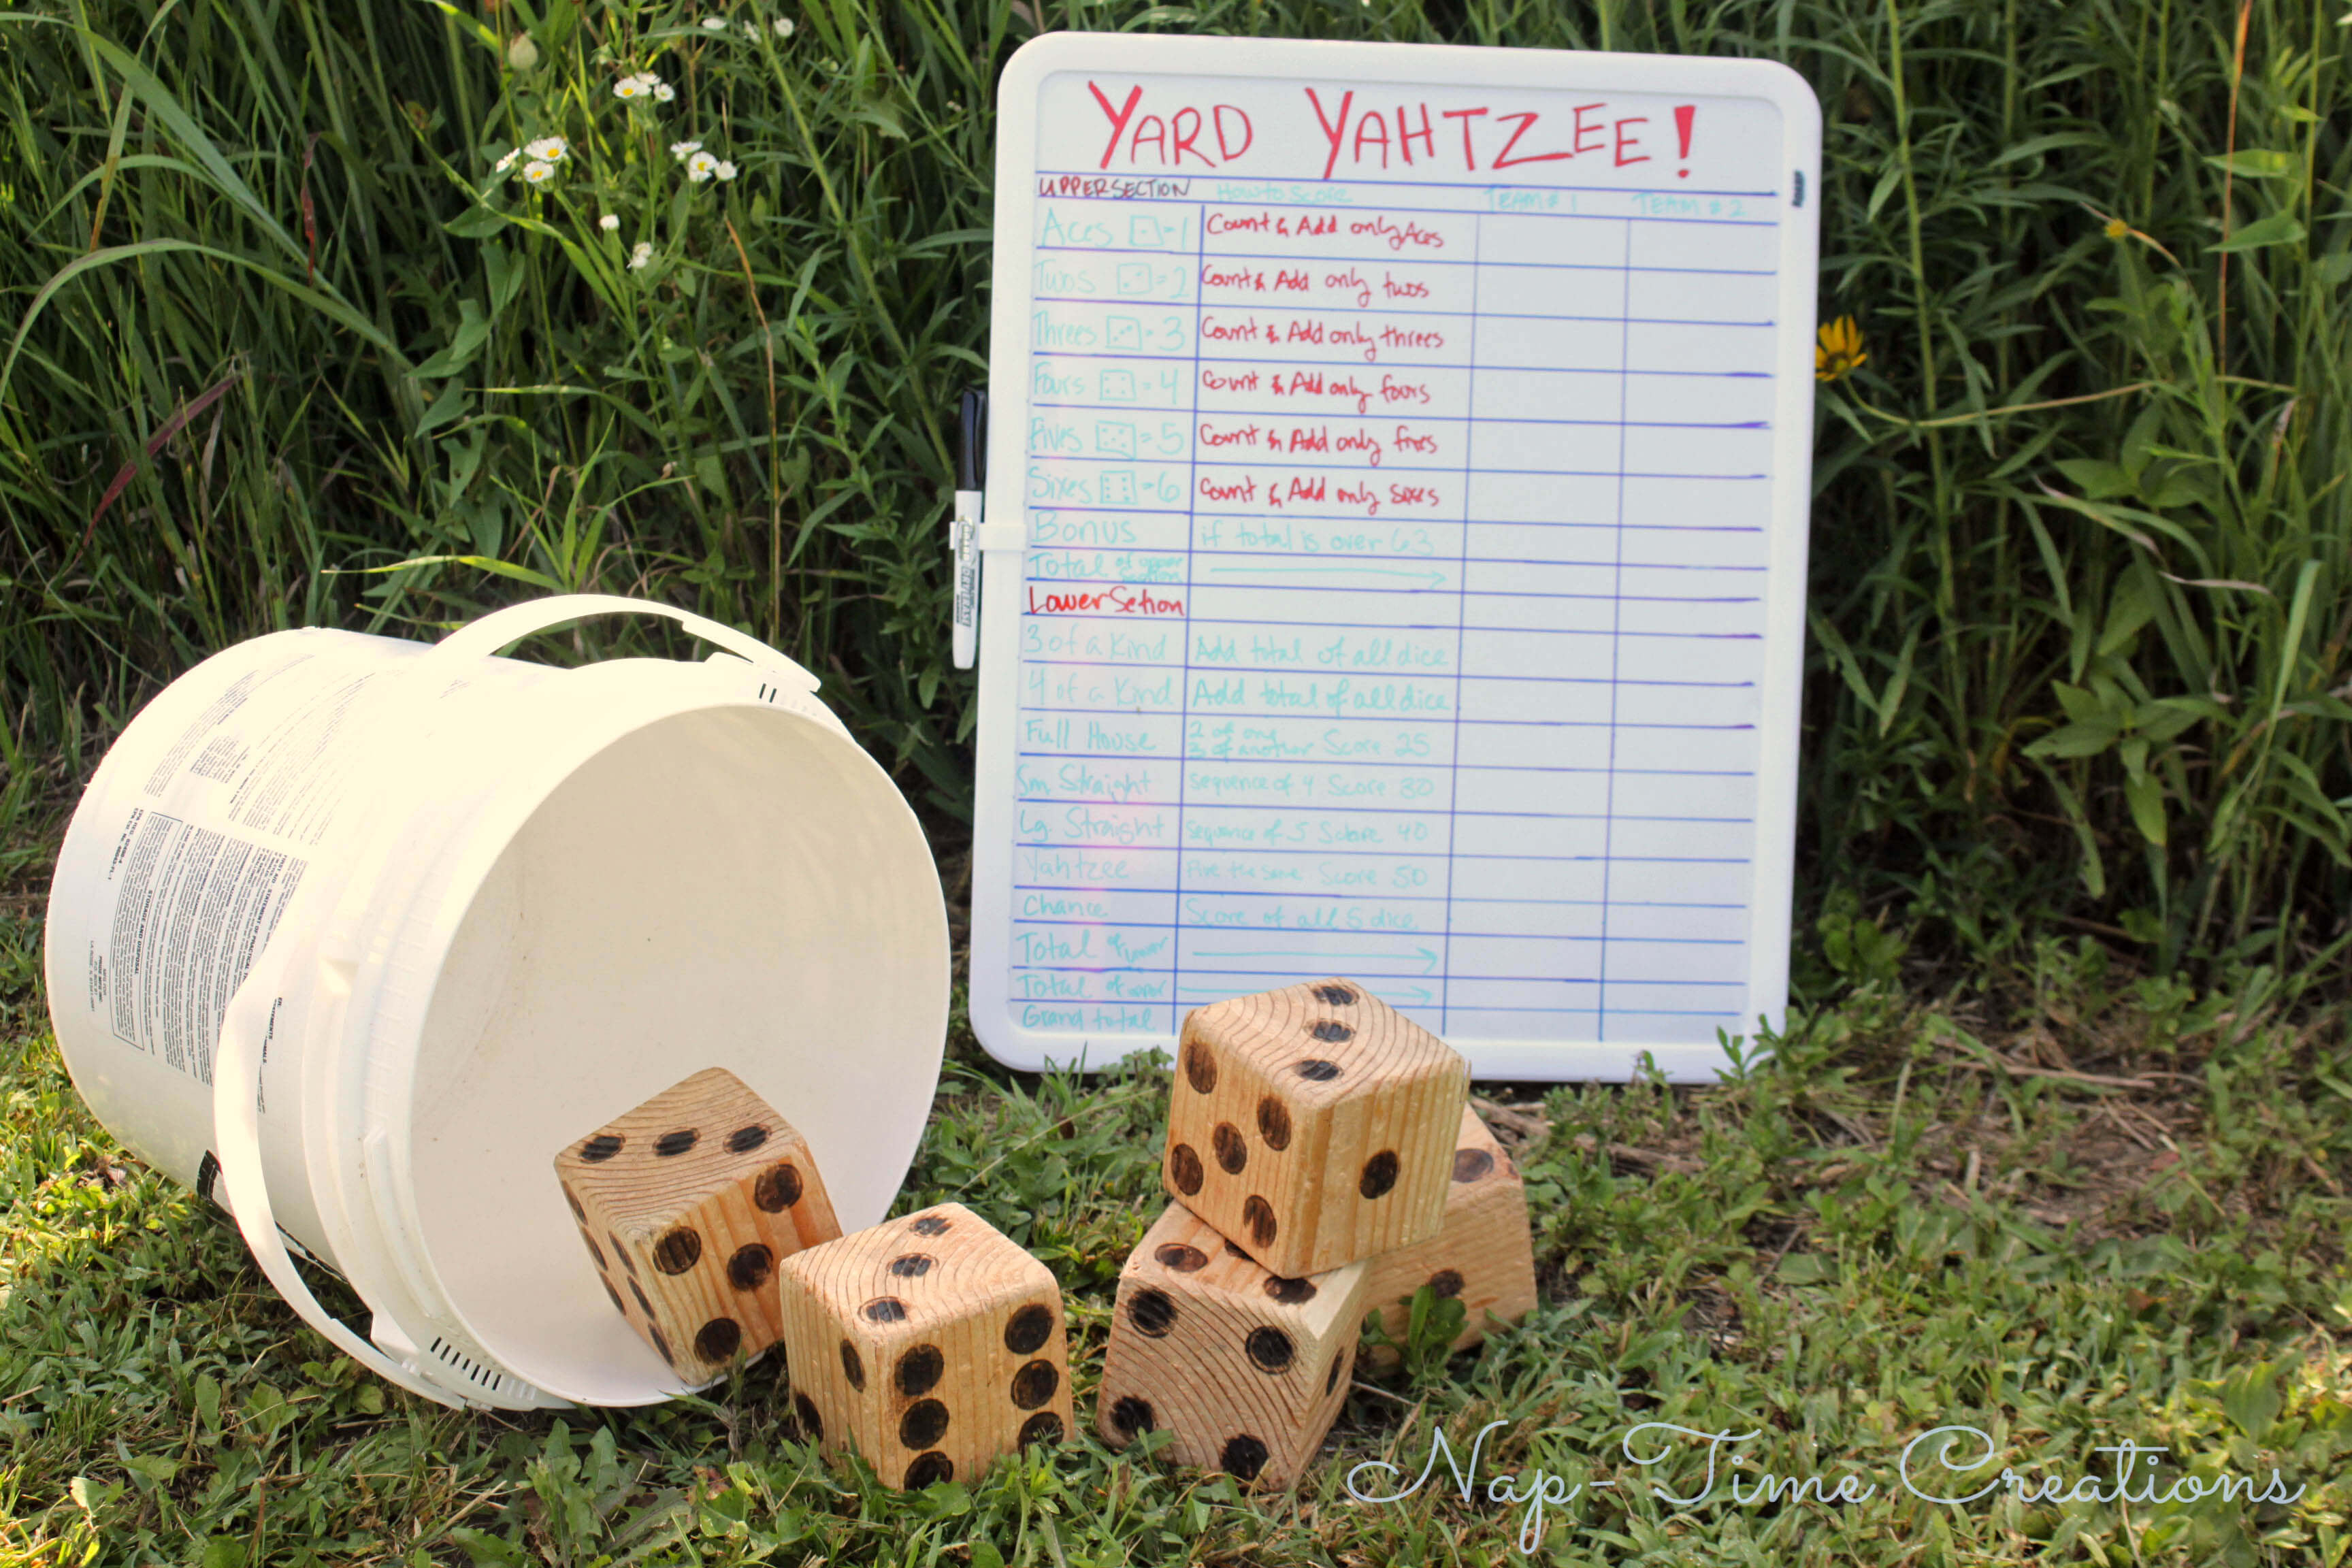
Yard Yahtzee
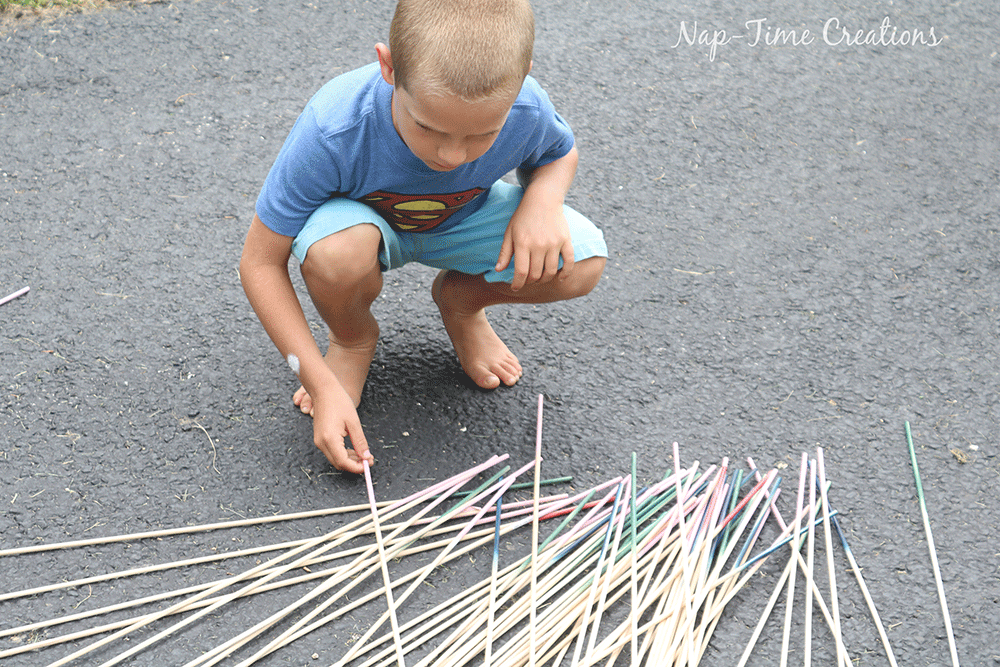
large pick up sticks





Joanna @DIY Project says
Awesome corn hole bags making DIY tutorial. This is my favorite activity.