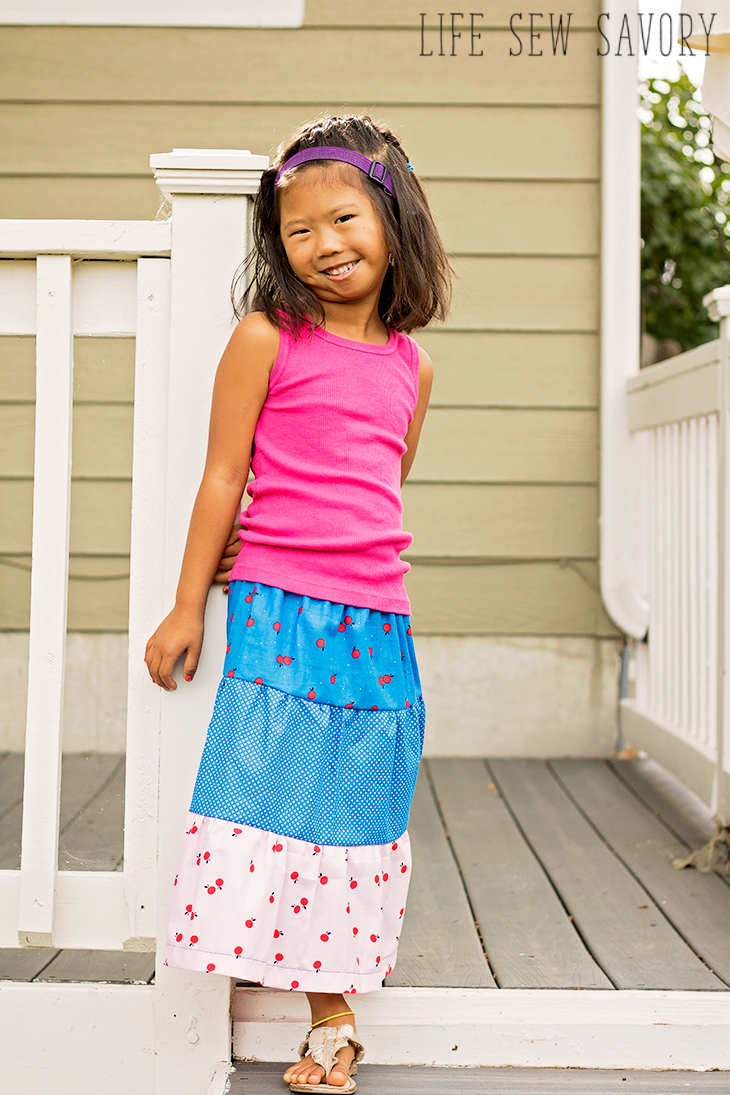
A Few years ago I tried a tiered skirt pattern, but it didn’t turn out well at all. Since then I now have a daughter who loves to wear skirts and I knew I had to try a layered skirt pattern again. I don’t remember the tiered skirt instructions I followed the first time around, but this tiered shirt turned out perfectly and my daughter loves it. She wore it to school right after we took these photos!
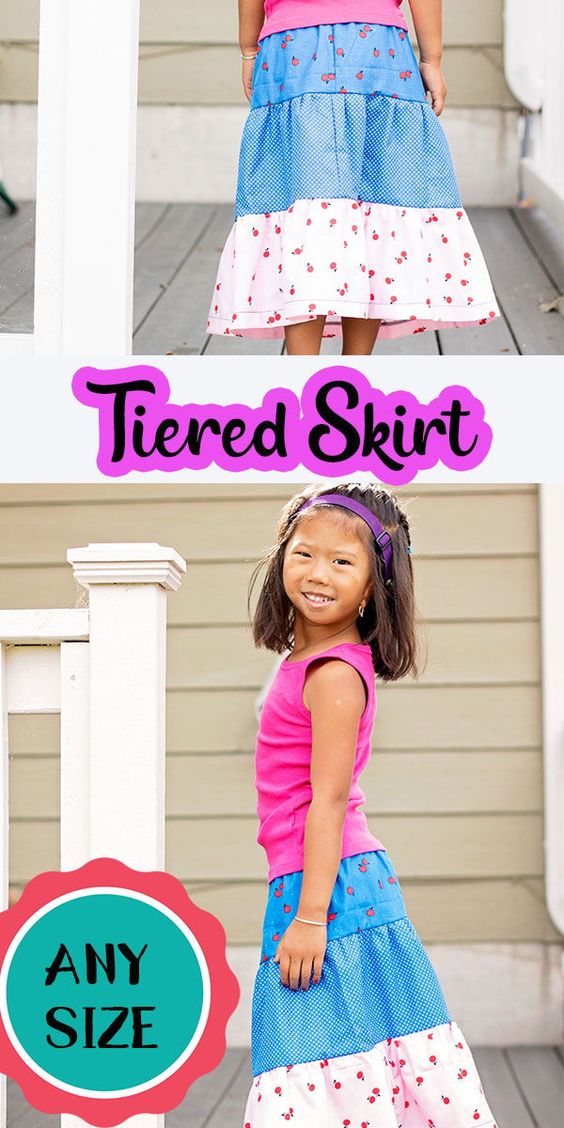
Tiered Skirt Pattern –
I’m going to give you the tools to create a tiered skirt {or layered skirt} in ANY size you like. This tiered skirt instruction post would allow you to make a skirt for little ladies or big ladies and any size in between.
I’m also showing off the adorable new fabric line from Riley Blake… Let Them Be Little. The designers are my friends over at Simple Simon and you can find the fabric here.

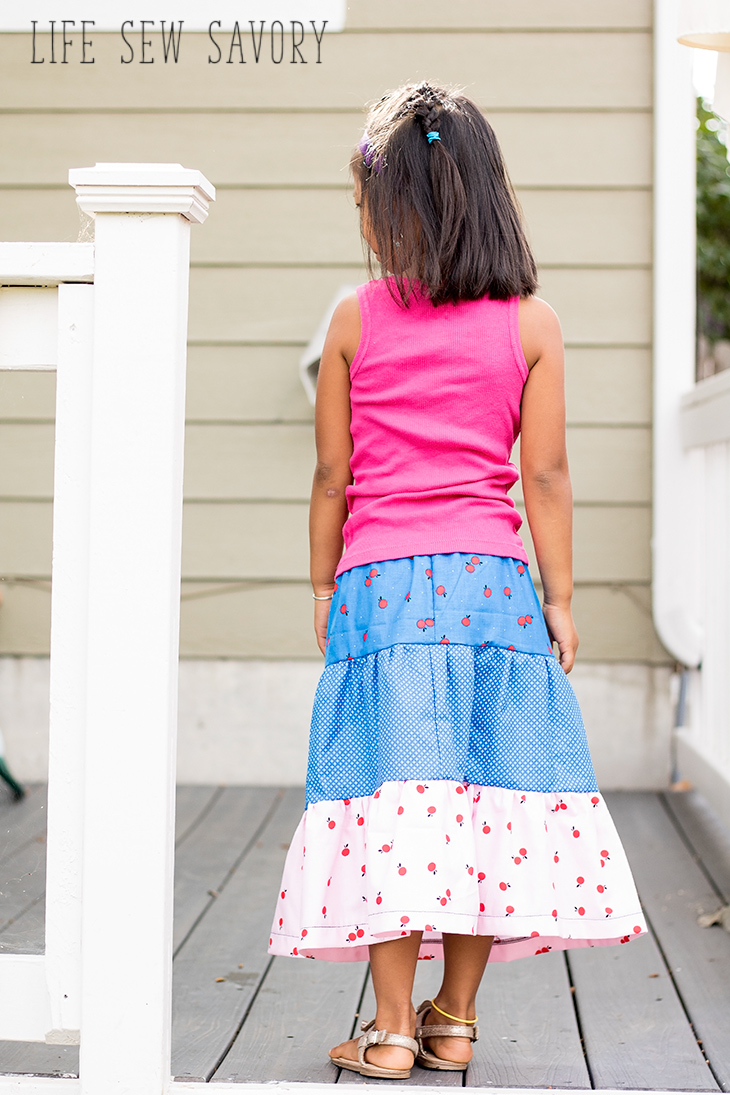
How to make a long tiered skirt –
Alright! Let’s dive right into this tiered skirt pattern.. it’s actually more of a tutorial, but I’m giving you all the tools you need to make the skirt, so we can call it a pattern if I want. I started with three yards of fabric, but you don’t need that much. Your fabric needs will depend on the size of your tiered skirt, and can be determined by the measurements of each tier. Let’s figure out the tiers and then you can get your fabric… here’s another link to the cute fabric I used! In addition to fabric you need some elastic, it should be measured to fit snug-ly on your waist. I used 1″ elastic.
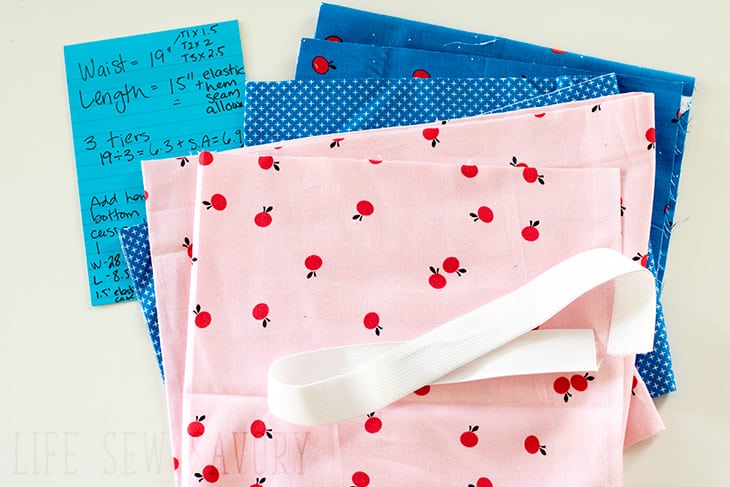
Okay… let’s dive into the instructions for your skirt. Let’s start with the basics… three tiers… waist measurement and the length you want your skirt to be. I’ll explain my method shown on this paper. First, let’s determine the width of you tiers. Take your waist measurement and the first tier is 1.5x that width, the second is 2x the width and the third tier is 2.5x the waist measurement.
Now you know the width each tier will be, let’s talk about the height. Below you will see 19/3… this should be the LENGTH divided by 3… apparently I wrote the waist and that is a mistake.. my skirt ended up a bit longer because of it, but we will work with the number below for this example. If the length is 19″, divided by 3 is 6.3″, add seam allowance to both top and bottom of tier for 6.9″. I rounded up to 7″ for each tier. Look at the bottom of the paper for the final tier heights and reasoning for each one. 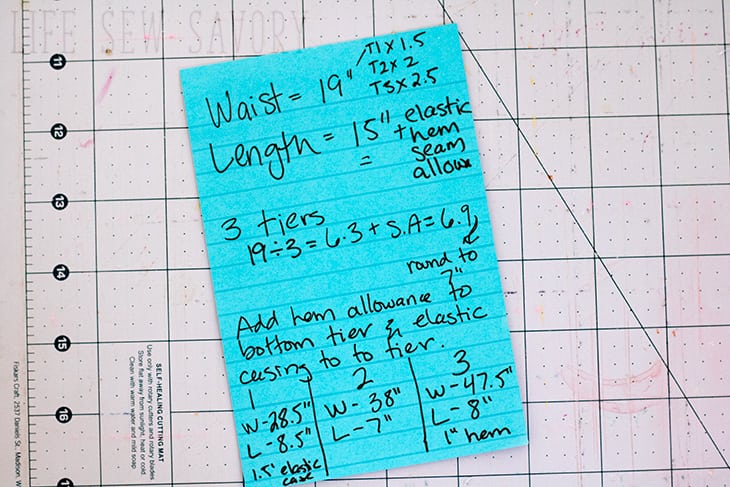
Cut your three tiers according to the dimensions you figured. For the wider tiers {or bigger sizes} you will need to piece fabric together for the width. For smaller skirts you can just sew the fabric together to form a circle. 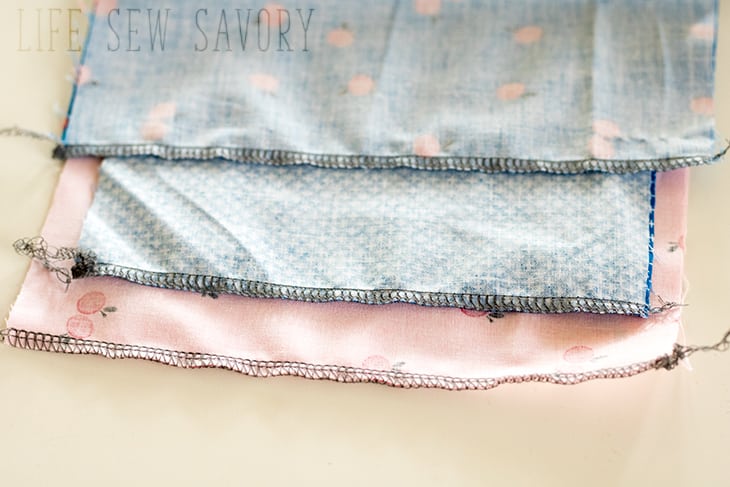
Line up the tiers and run a gathering stitch on the top of tier 2 and 3. If you need tips for gathering see this post.
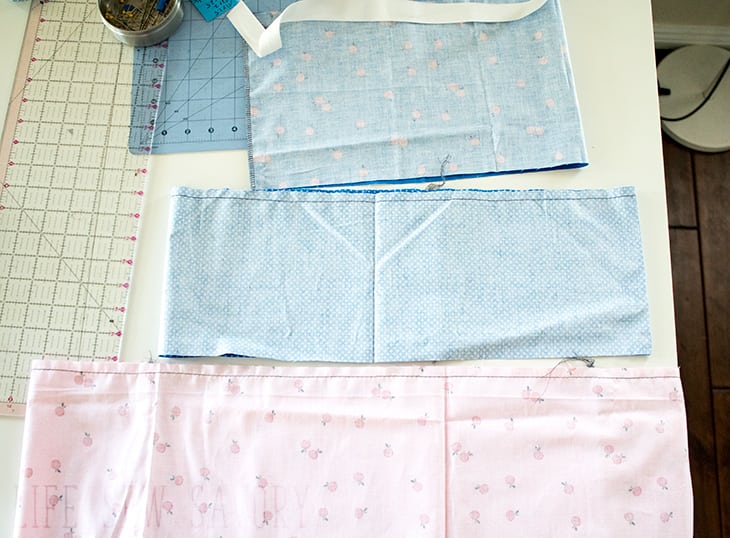
Gather tier 2 to match the bottom of tier 1 and the top of tier 3 to match the bottom of tier 2.
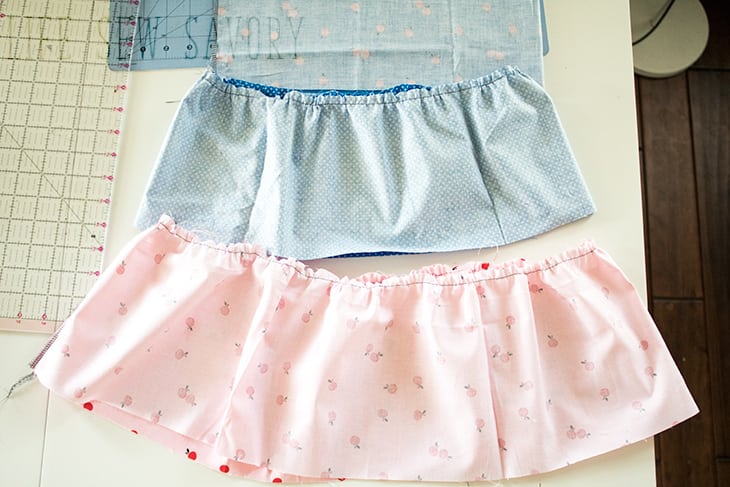
With right sides together pin and sew the tiers together.

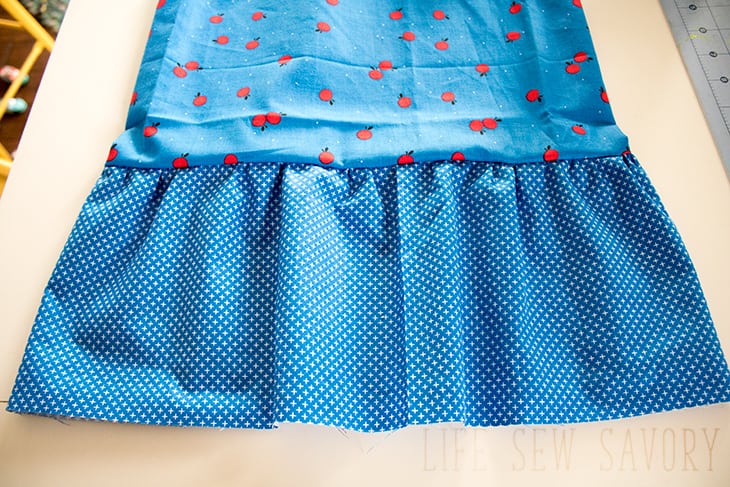
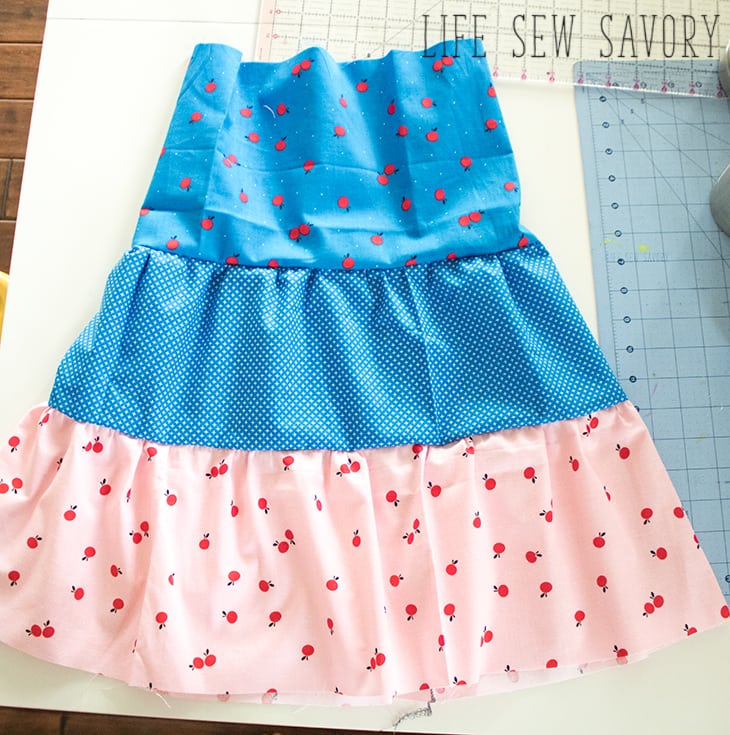
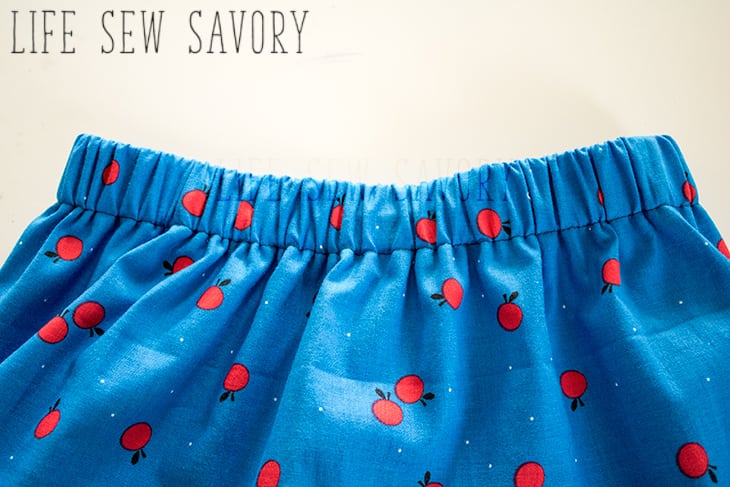
Finish the top of the skirt with a serger or with a 1/4″ fold. Then fold over another 1.25″ for the elastic casing.
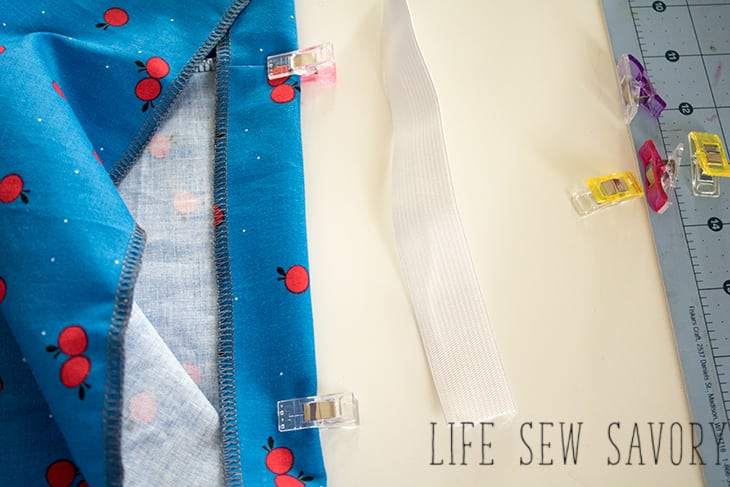
Sew the casing, leaving a 2″ hole for the elastic. Thread the elastic through the fabric.
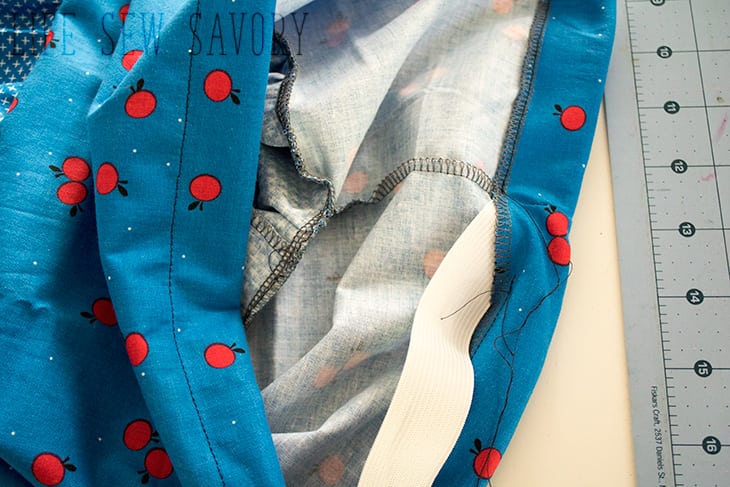
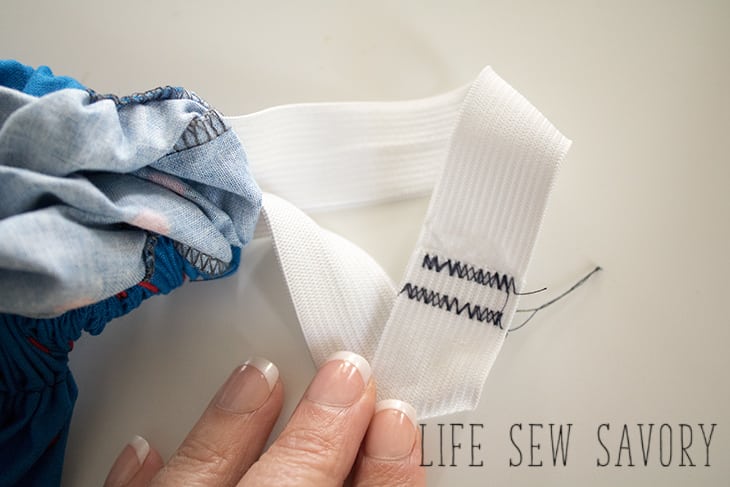
Sew the ends of the elastic together, and close the opening.
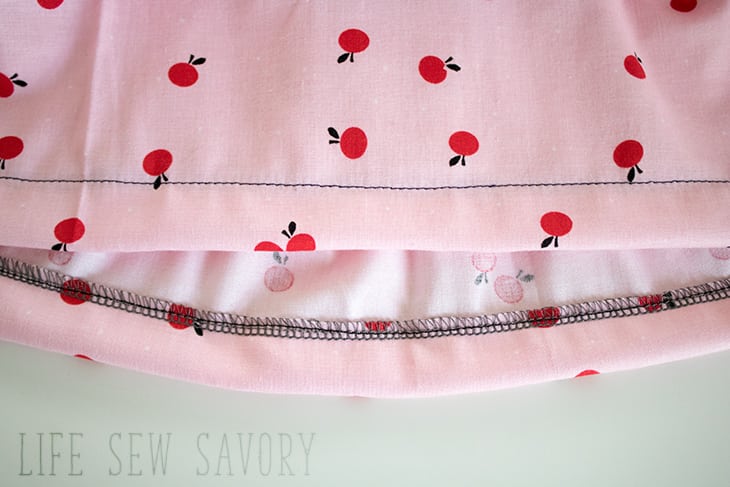
Hem the skirt by folding over 1/4″ then 1″ or serging and folding up an inch. You did it!!
Here some other skirt tutorials you should check out!
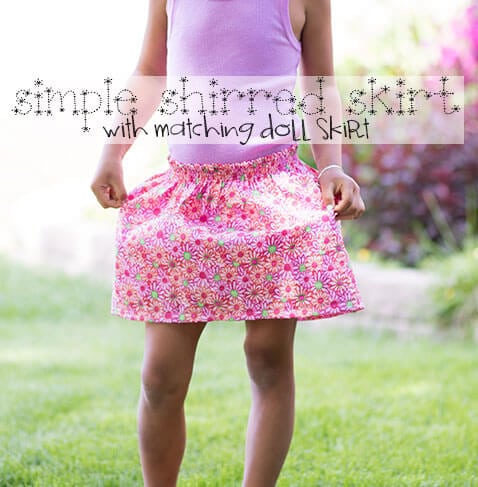
Shirred Skirt
Half Circle Skirt with Yoga Waist

Summer Skirt with Elastic Waist






Leave a Reply