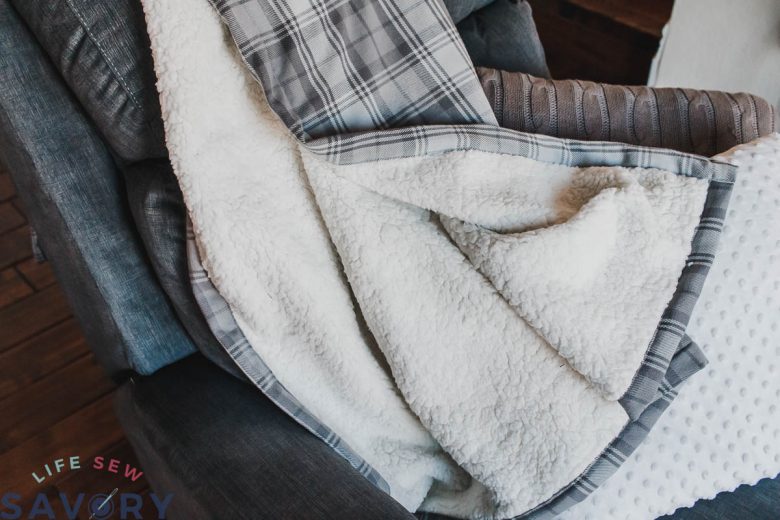
inside: Learn how to sew a sherpa and flannel blanket with this sewing tutorial. Simple sewing with cozy results and a beautiful blanket. Get cozy this fall with a cozy blanket.
It’s starting to cool off here and I’m so excited! {don’t worry, I’ll be complaining about the cold soon, haha} One of the ways I stay warm in the cold weather is with lots and lots of cozy blankets in our home. I’ve sewn most of them and this sherpa and flannel blanket has been a favorite since I sewed it last year. Now I get to share this simple sewing tutorial with you.
ALSO, if you scroll to the bottom of this post you will find more than 12 other amazingly cozy sewing ideas. My sewing friends and I are in the fall sewing mood and we want you to be as well. Don’t forget to check out all the cozy ideas.
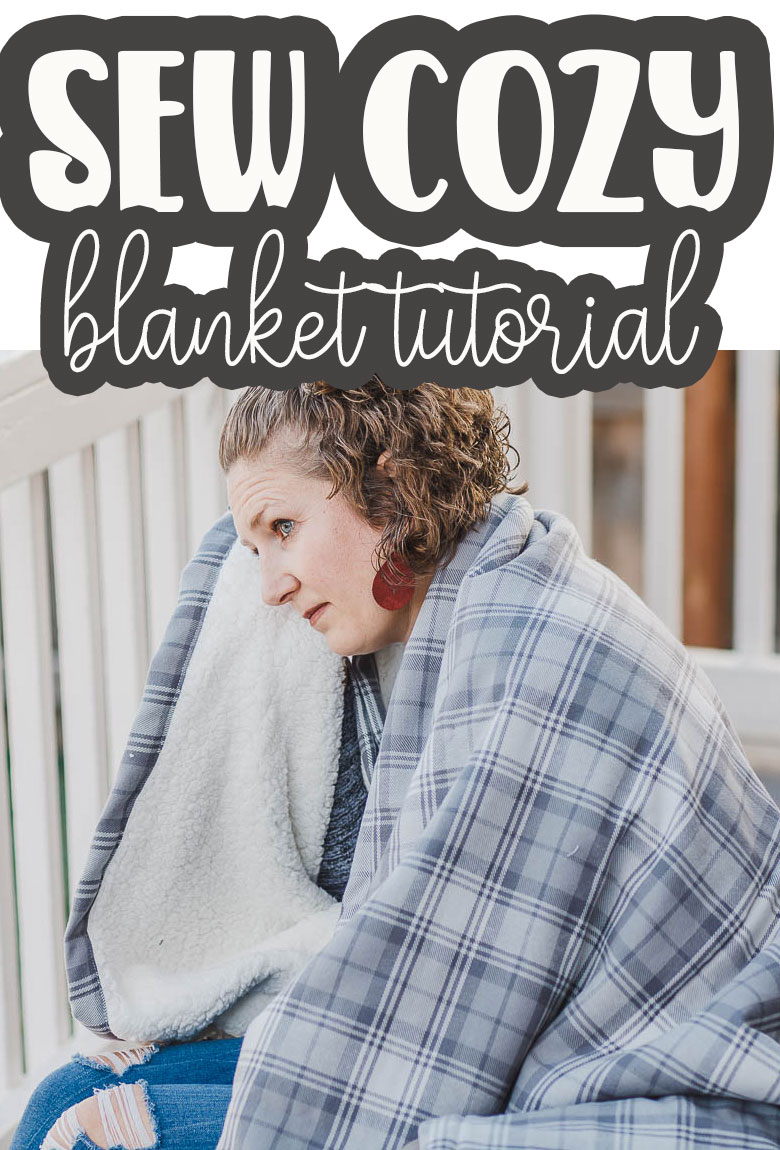
Sherpa and Flannel Blanket
You will find the video tutorial here. If you can’t see it try a different web browser or disable your ad blocker. I will also walk you through the full tutorial below.
This cozy blanket is fluffy sherpa on one side and flannel on the other. Plus it’s fully washable, and this is a family favorite blanket in our family room.
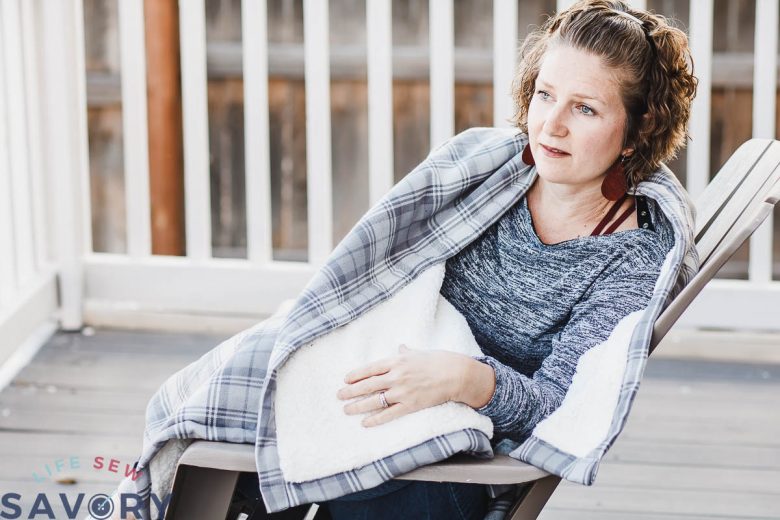
The blanket I sewed is lap size, but you could adjust your fabric to sew a blanket this style in any size. You could even piece the fabric together to sew a bed size blanket. {my kids would flip over that!}
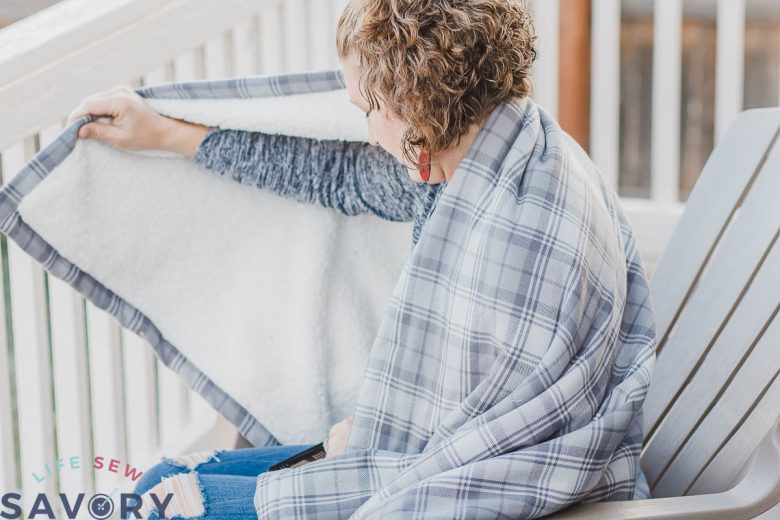
How to sew a sherpa and flannel blanket
Blanket supplies:
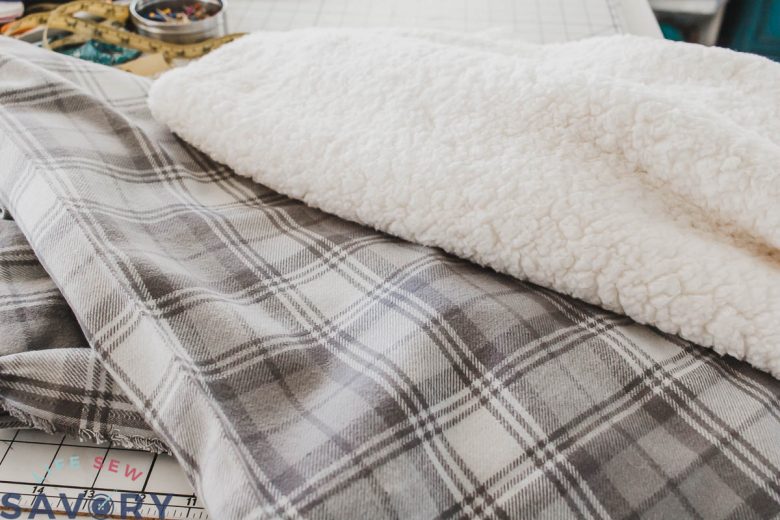
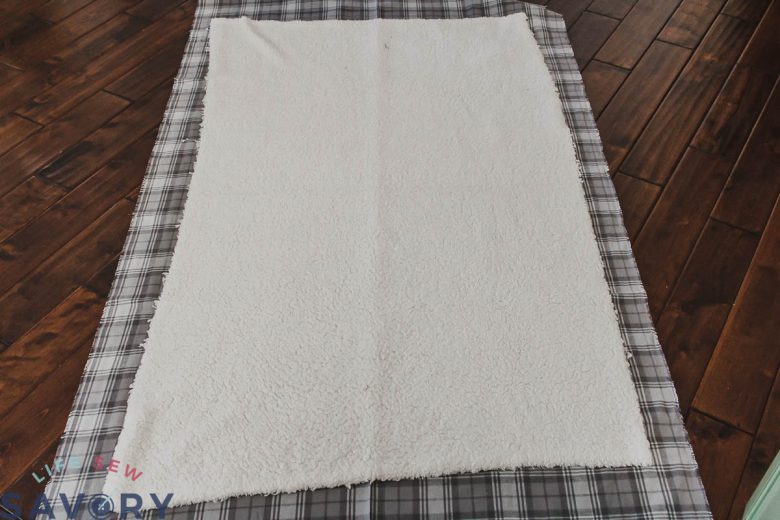
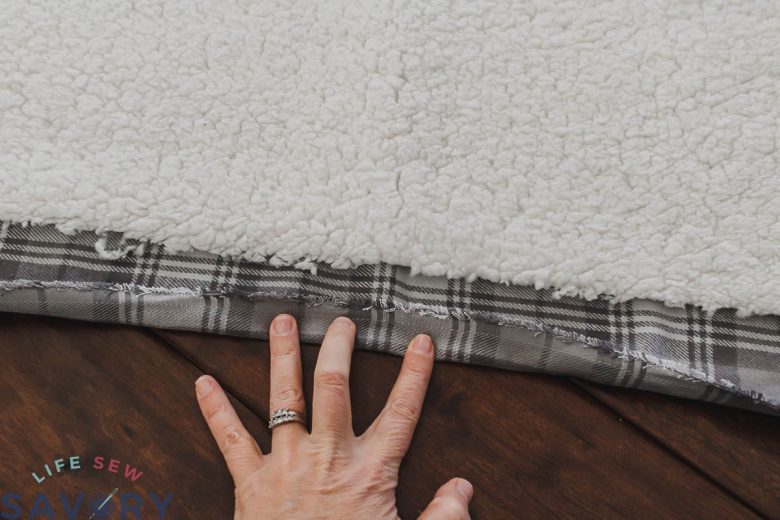
You may need more or less fabric depending on your desired blanket size. Flannel is usually only 42-44″ wide and the Sherpa is usally around 58″, so 1 yard of the wider sherpa and 2 yards of flannel laid out looks like this. Straighten and align the fabric so the sherpa is in the center, and make sure that the WRONG sides of the fabric are together. Trim the flannel so you have 2-3″ overhang on all sides of the sherpa fabric.
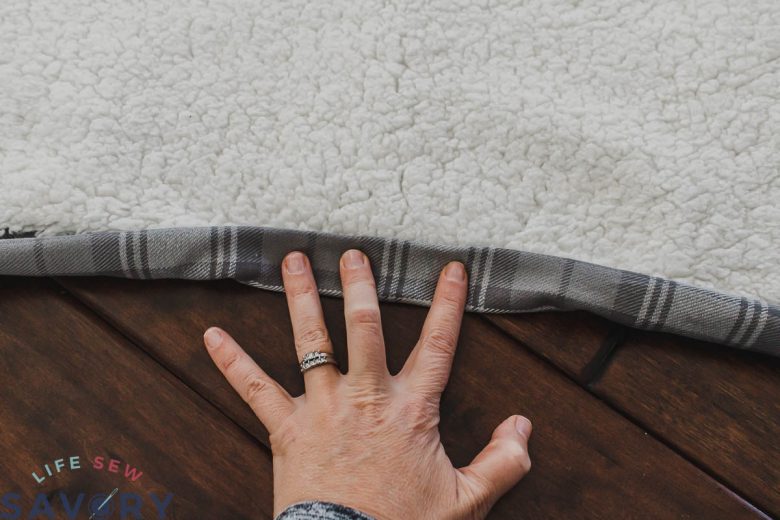
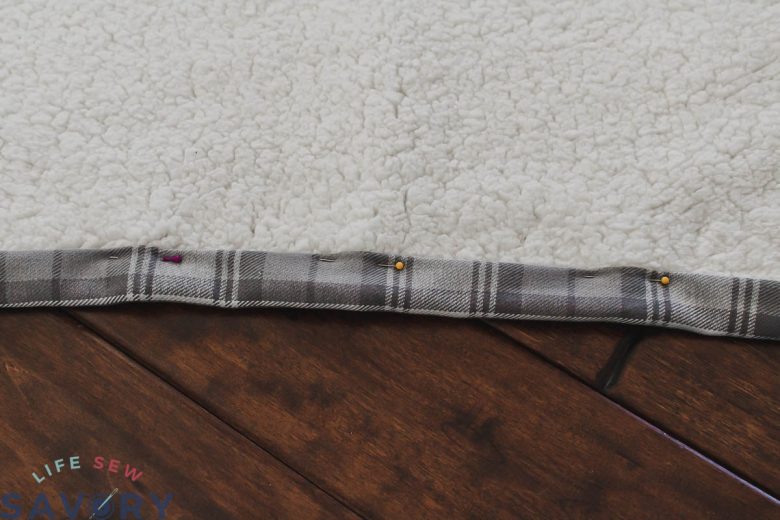
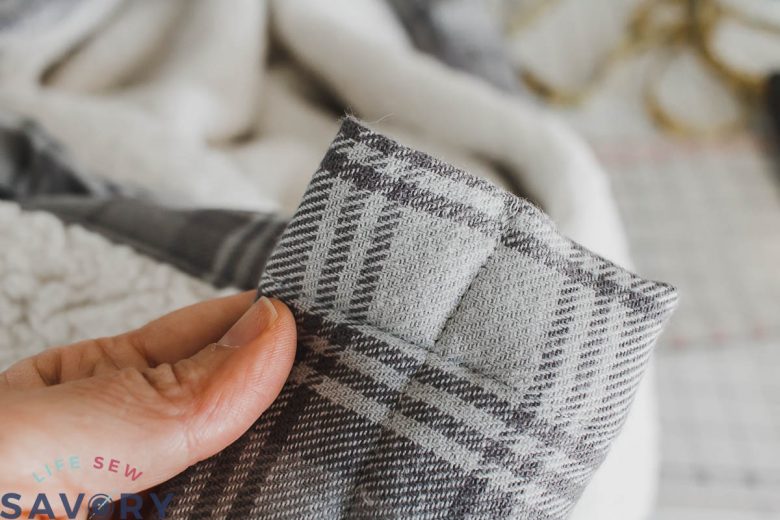
On each side of the blanket, fold the flannel, then fold it again to create the balnket binding. Pin, Pin, Pin.
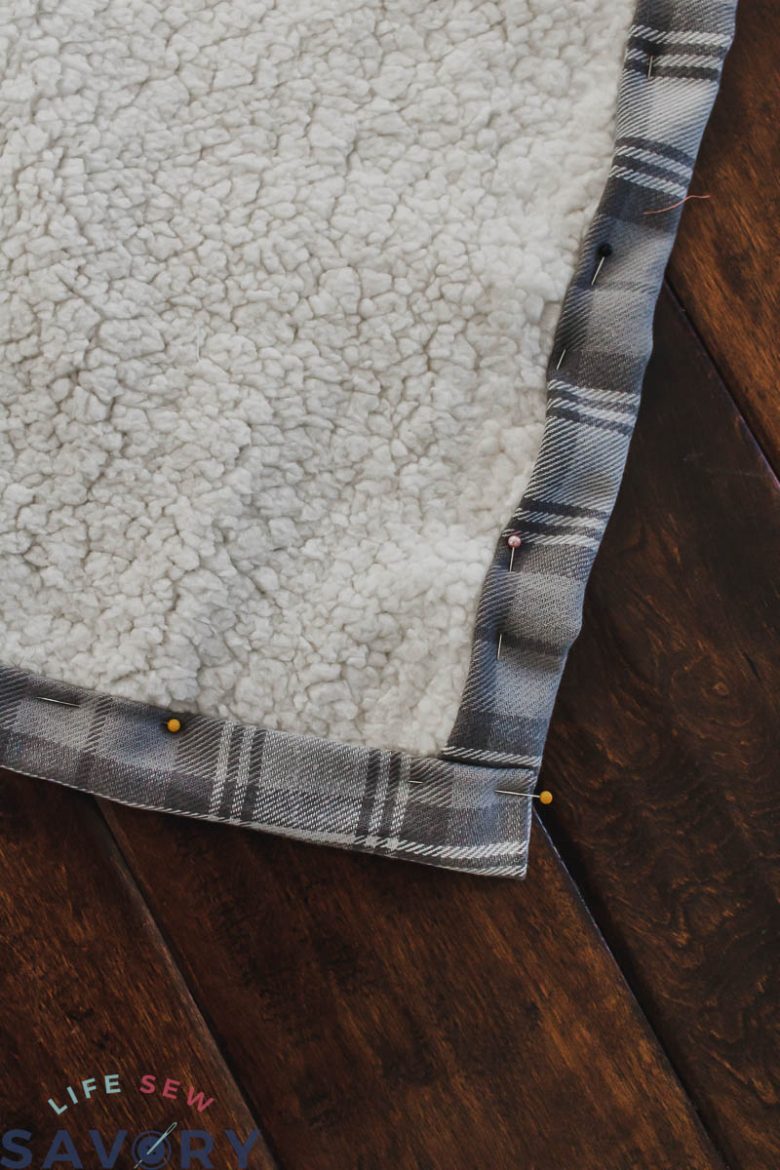
Use pins every few inches to secure the binding in place. The corner I folded all the way to the edge on one side, then turned the blanket and starting fold the same way on the next size.
If you are using a bulking flannel you may need to trim the fabric on the under layer to avoid a big clump. My grey flannel was pretty thin, so it worked for me.
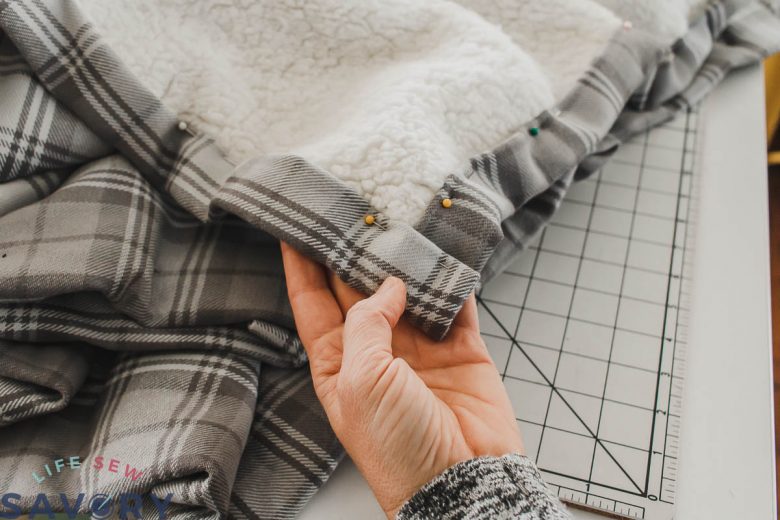
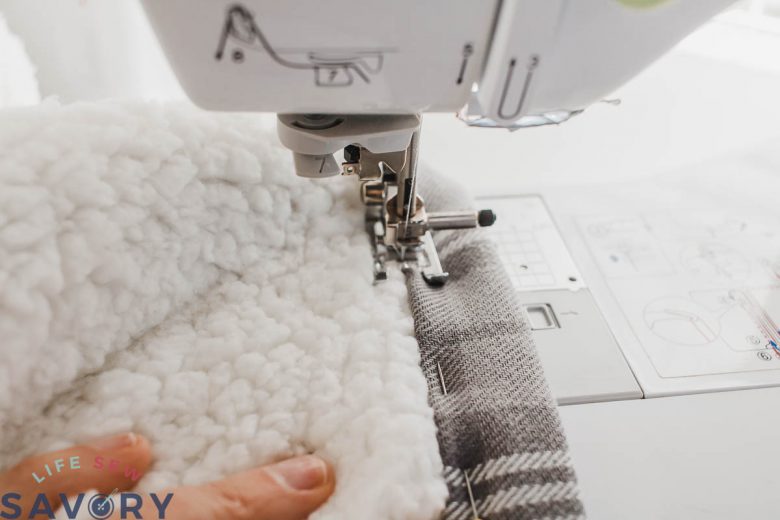
Start on one side and sew close to the folded edge of the binding close to the sherpa. On the corners make sure to sew all the way to the edge of the fabric on both folds.
And that’s it! Seriously, such an easy blanket in just a bit of time. The biggest challenge for me laying out the fabric and getting it all straight. Also… WARNING… the sherpa makes a mess… so don’t say I didn’t warn you. {haha}
Here are more fun blanket tutorials for you to try:

SEW COZY projects and tutorials
And now the best part! Check out all these amazing cozy sewing projects from my blogging friends!!










Maureen says
What a great project !! Thanks for sharing the tutorial. I plan on trying it.
Do you prewash the flannel to deal with the shrinking ?
Thank you – Maureen