Inside: Learn how to use burrito method sewing to sew a lined bodice. Cute and easy, make reversible tank tops or dresses for summer. Includes free sewing patterns to use with this sewing tutorial.
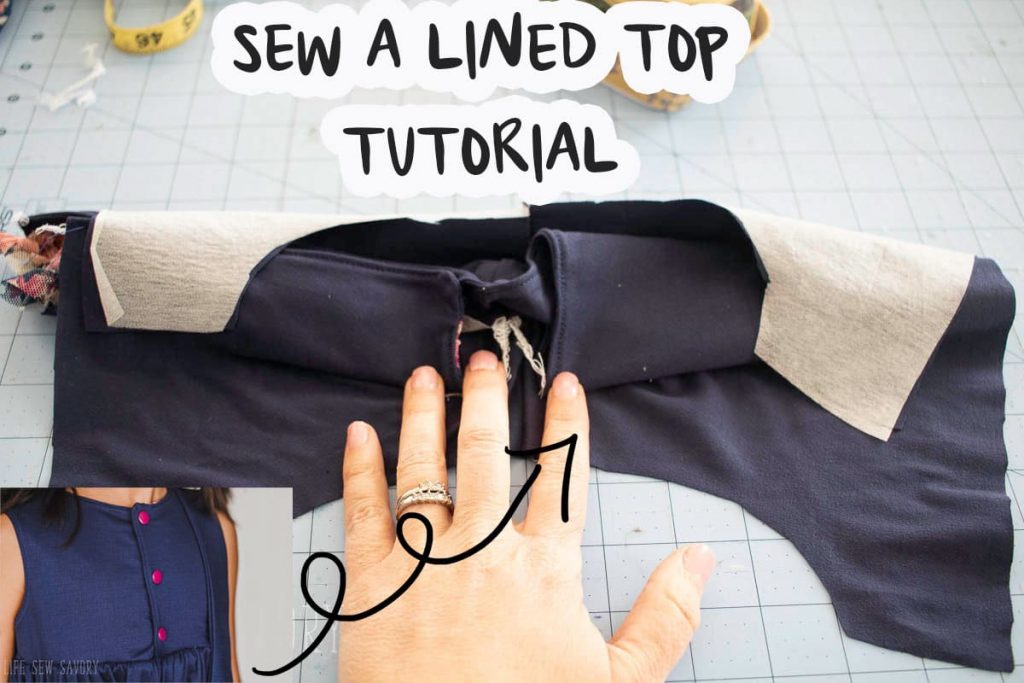
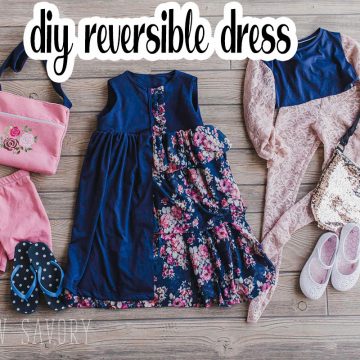
Todays tutorial will show you how to sew a lined bodice. You can use this to sew reversible dresses, tanks and tops for summer {or other seasons too!}. I used this burrito method sewing tutorial when making the reversible dress shared earlier in the week. This post will give you more details for recreating that look.
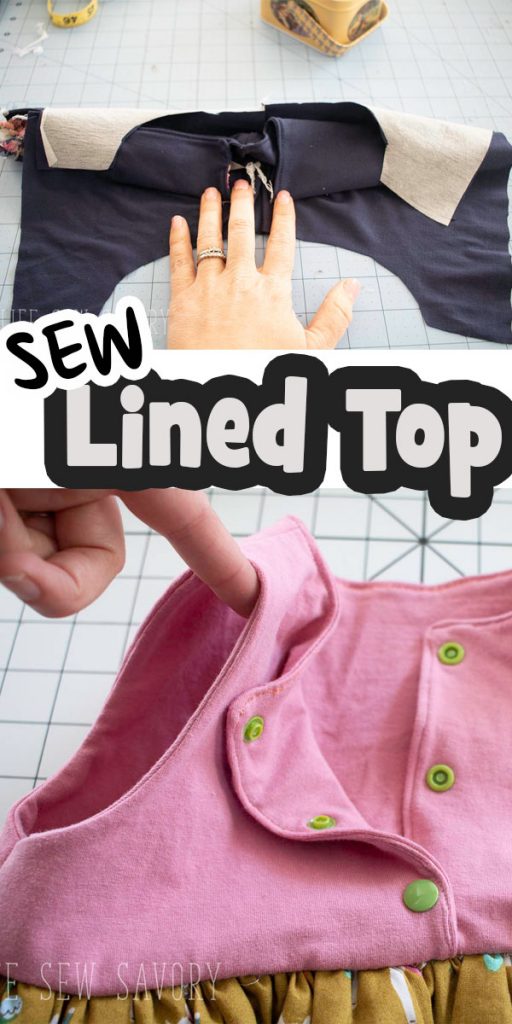
How to sew a lined bodice –
All the details for this tutorial can be found in the video below. If you can’t see/hear the video try a different browser and disable any ad blockers you may be running.
notes: burrito method only – 9:00 min, reversible skirt only- 16:50
The version I’m going to be sharing today is a sleeveless top with lining and I’m using one of my free patterns, but you can apply the sewing methods seen here to any top you want to line.
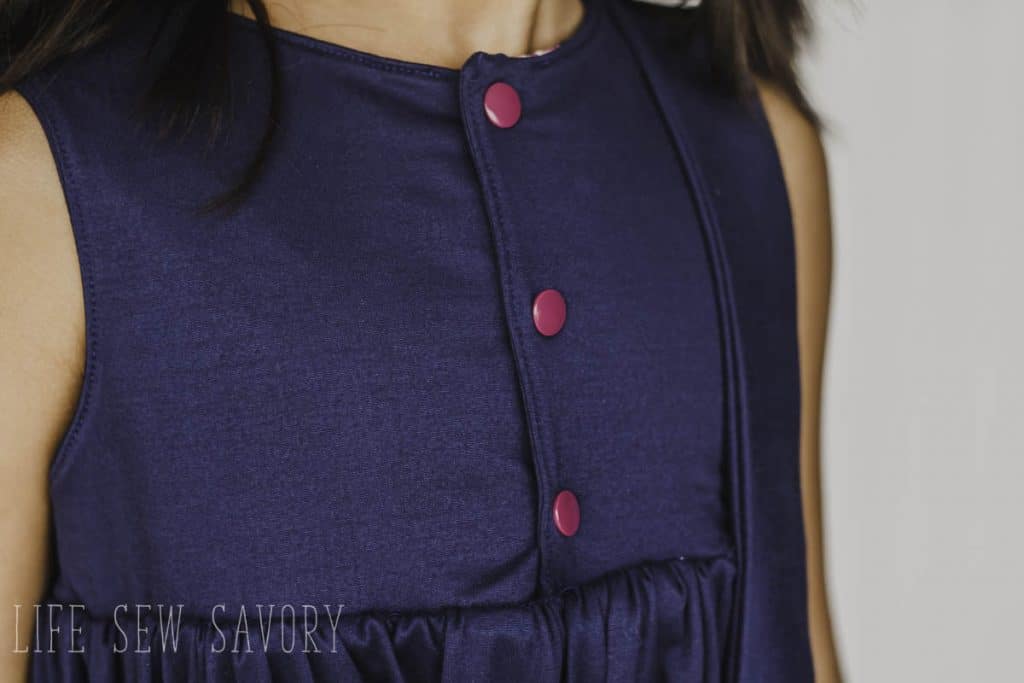
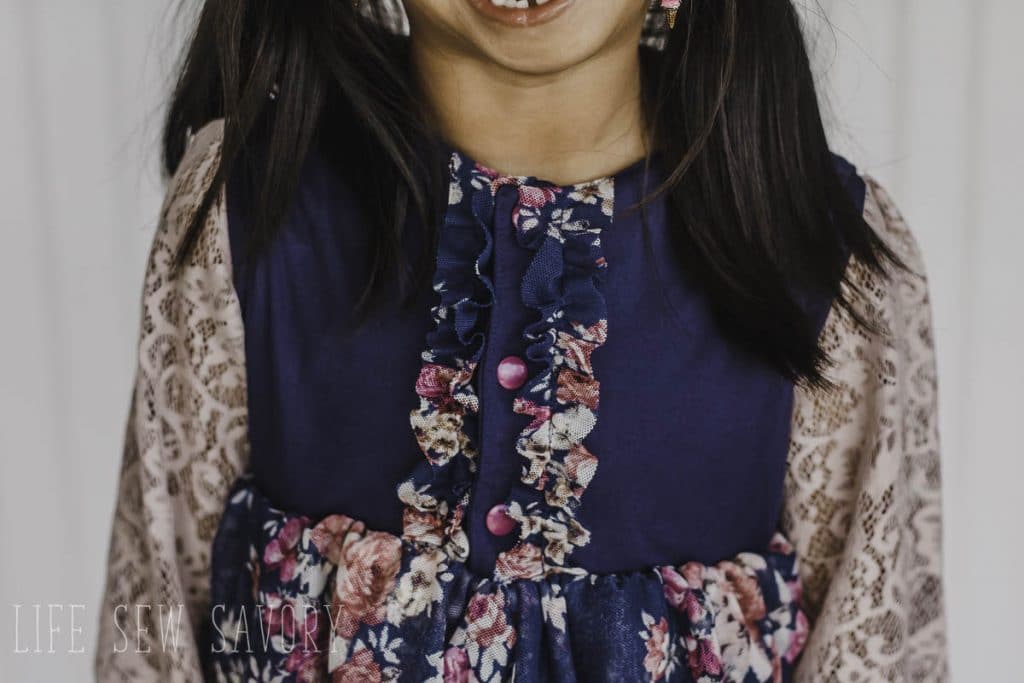
Earlier this week I shared a beautiful reversible dress. Here are two bodice versions on that dress. These are the two sides of the same dress. {the lace sleeves are a separate piece.
Burrito Method Sewing for a lined top –
You may be wanting to sew this method because it’s reversible – like mine… OR you may just want a finished look on your bodice and this is a great way to have finished necklines and armholes for sleeveless tops and dresses.
The top part of this tutorial will show how sew a lined bodice and then at the bottom I will give you some tips for skirts and reversible dresses.
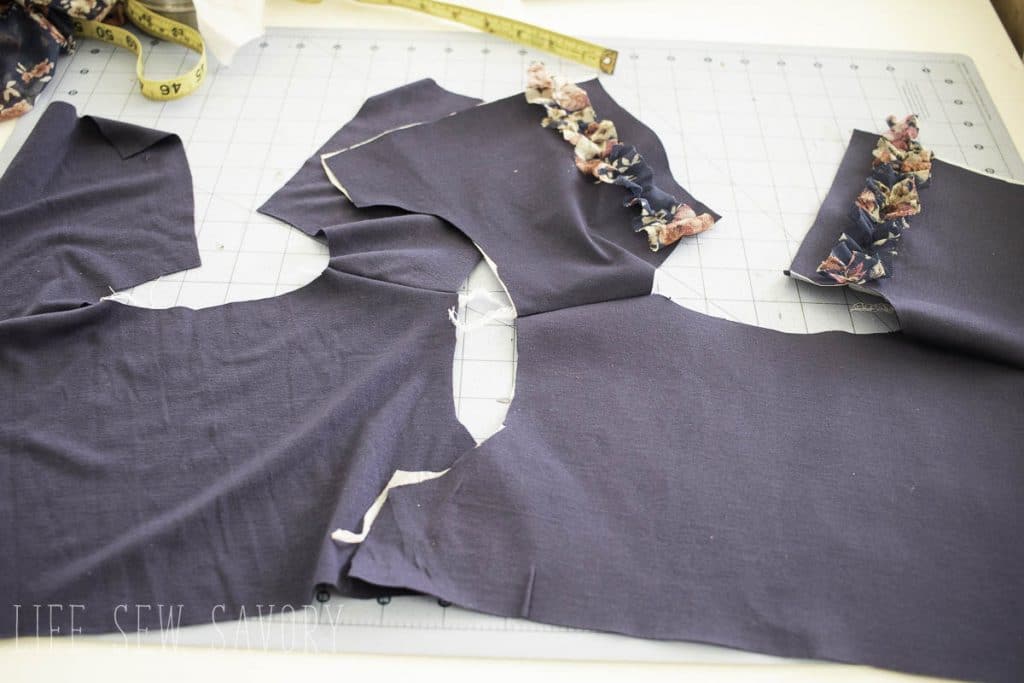
Begin by cutting two sets of all the bodice pieces. I used the sweet rose dress for this top. As I said in the earlier post, this pattern was originally for woven so to make it more fitted I sized down. To help support my dress I used iron on interfacing on one of the sets.

lined sleeveless tank dress –
Sew up the shoulder seams of both sets. You may have two very different fabrics for your top with lining, or they may be similar like mine.
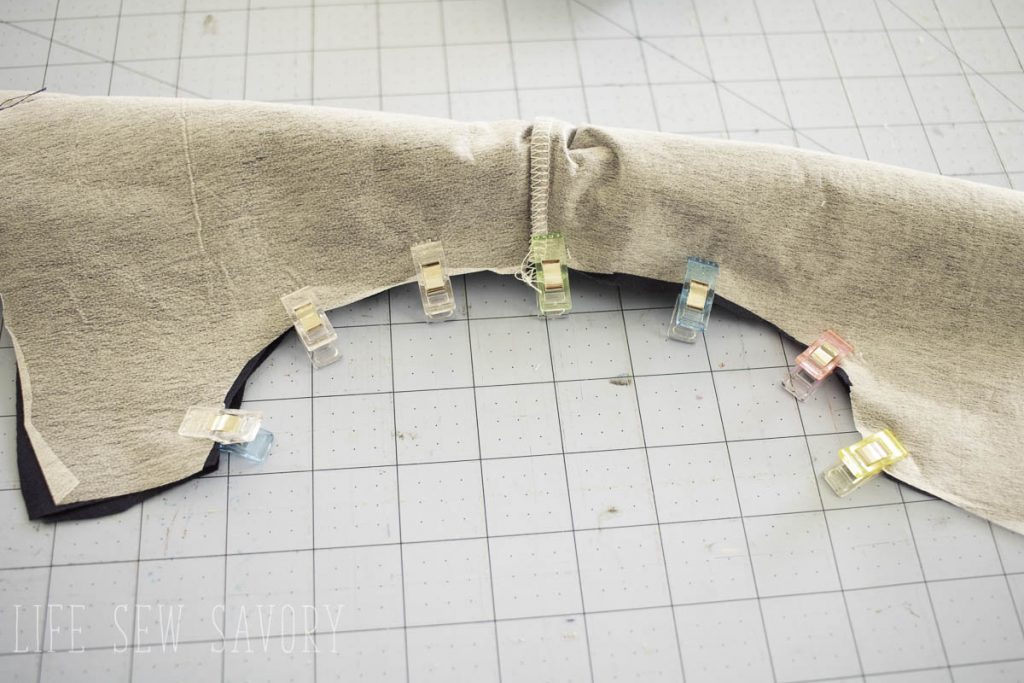
With right sides together match up the shoulder seams and pin/clip the neckline. You neckline may be open like mine or a full circle neckline.
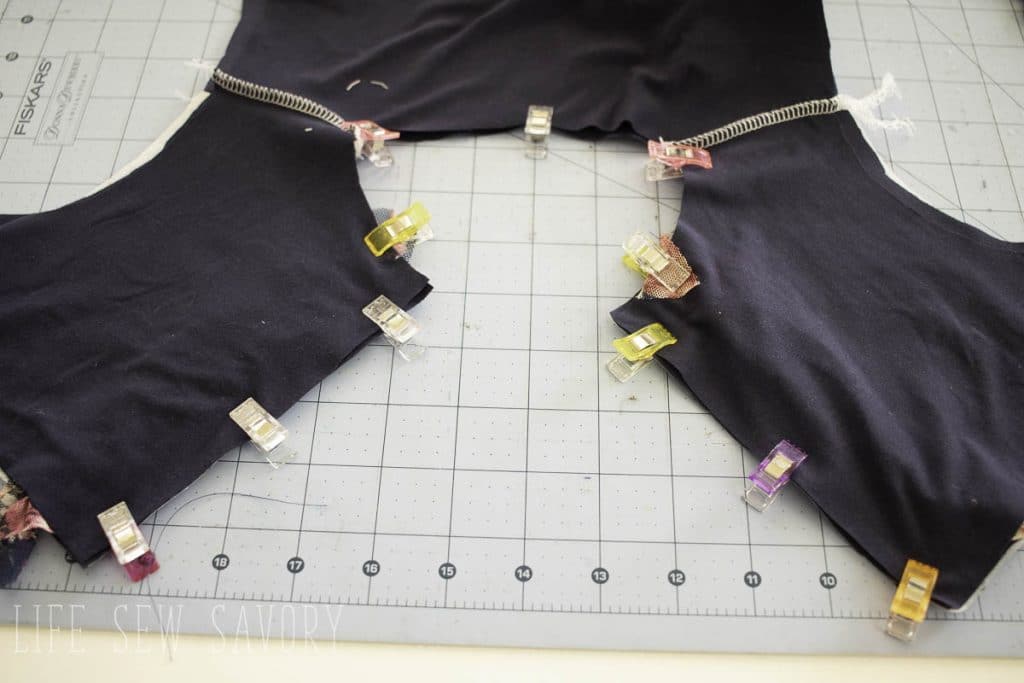
If you aren’t using a serger clip the curved seams before turning right side out. Press and top-stitch neckline as desired.
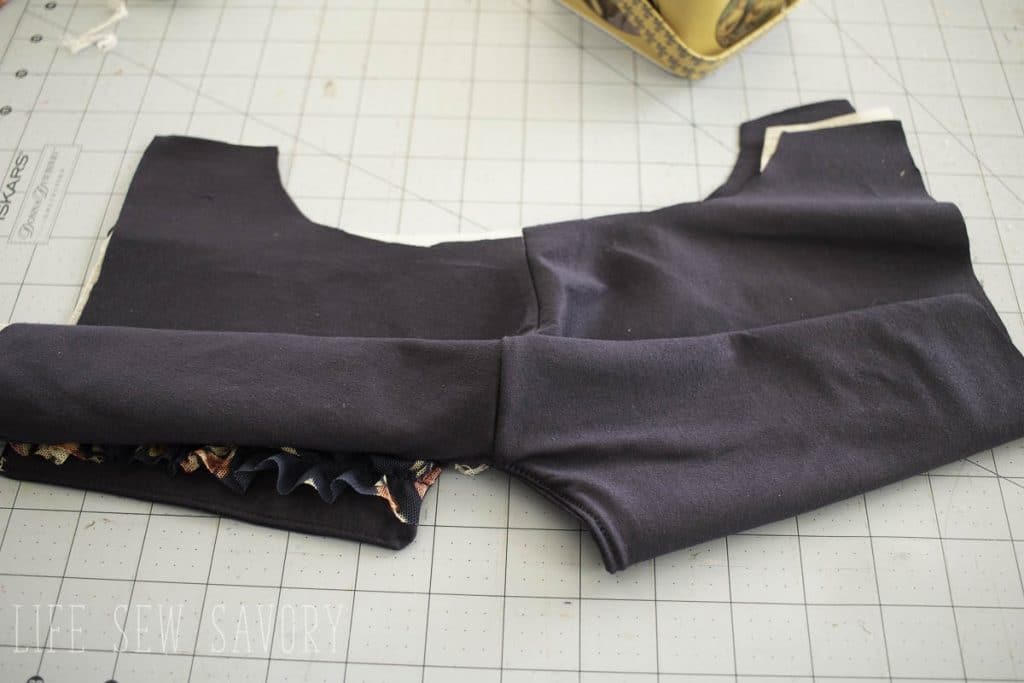
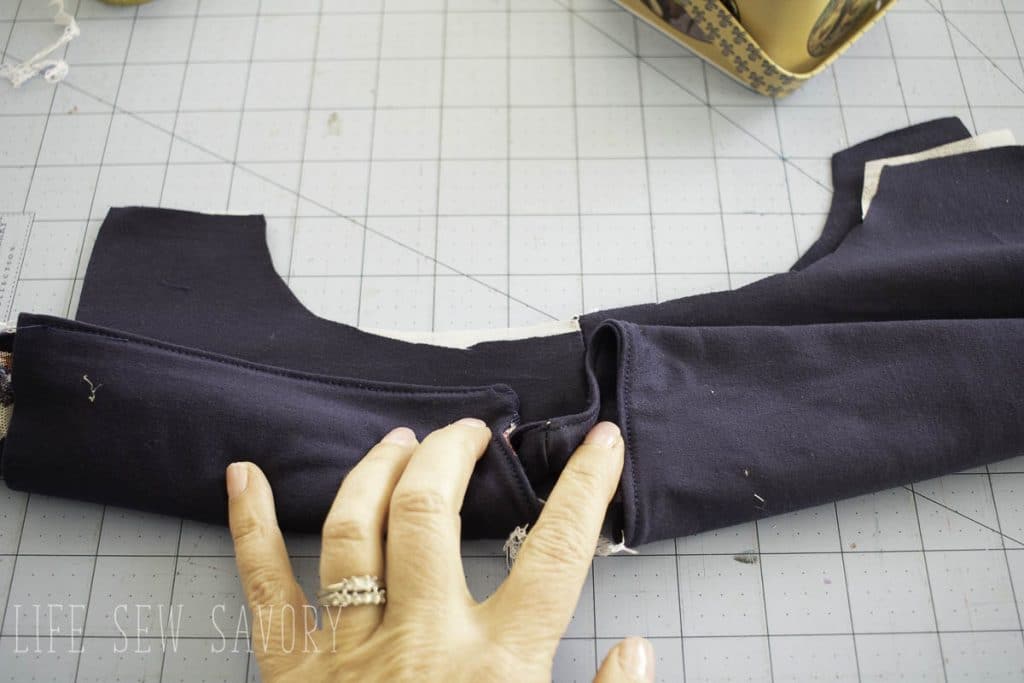
Now come the burrito part – if this isn’t clear to you PLEASE watch the video. Begin rolling up from one armhole to the other. Stop when you get the roll on time of the other shoulder.
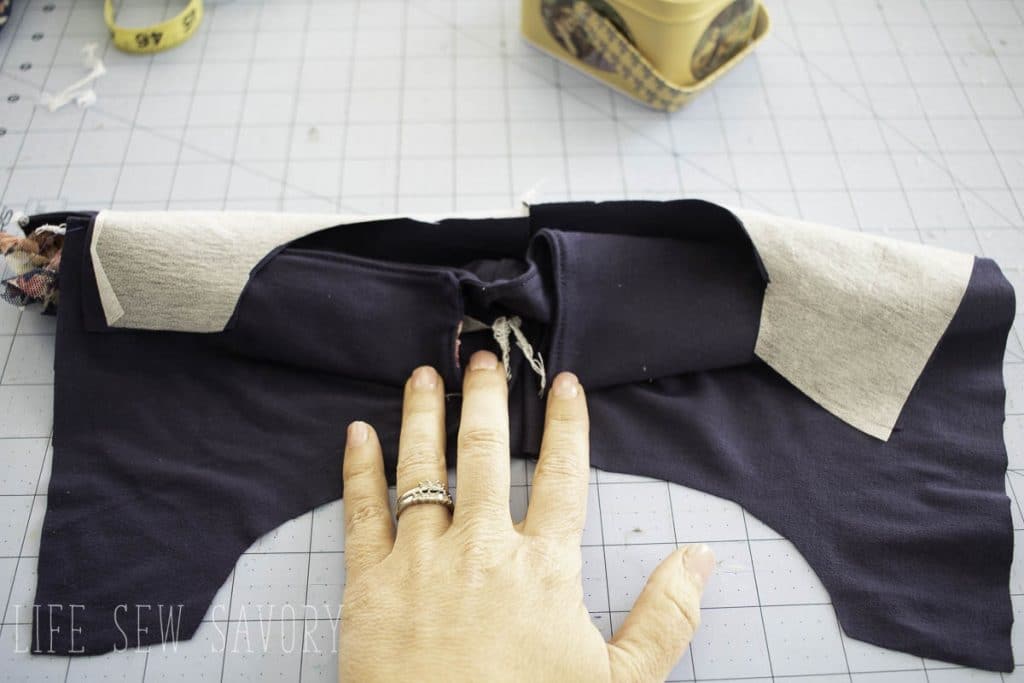
Once the roll is on the opposite shoulder pull the bottom layer of arm opening under and towards you. Pull the other layer over the top so the right sides of fabric are together. Pin or clip the arm hole and sew.
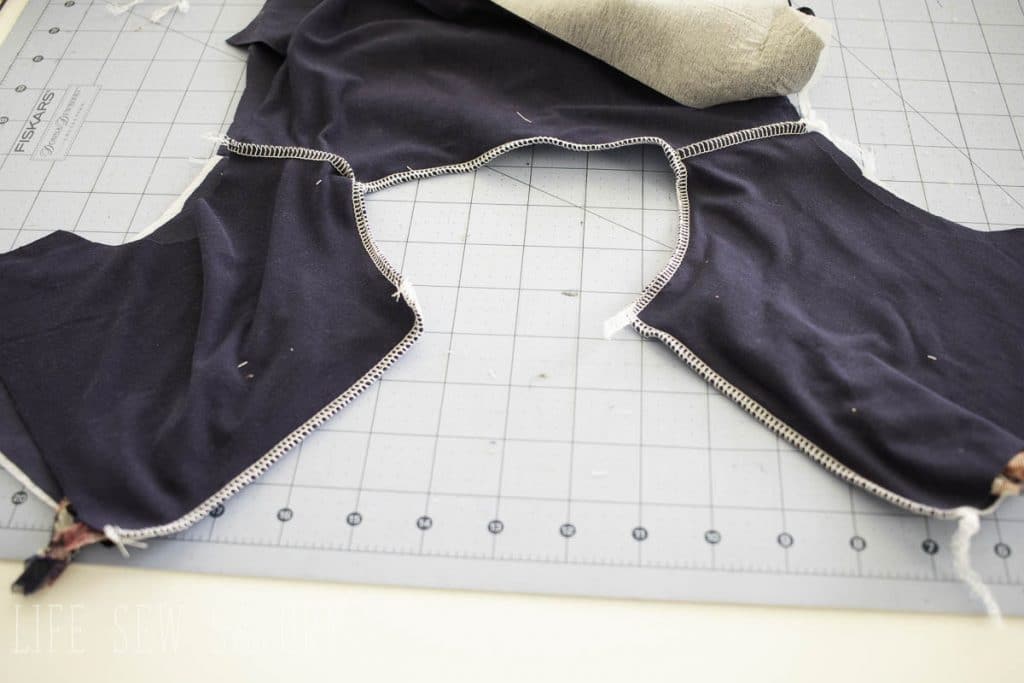
This picture shows you why this is called the burrito method. {haha}
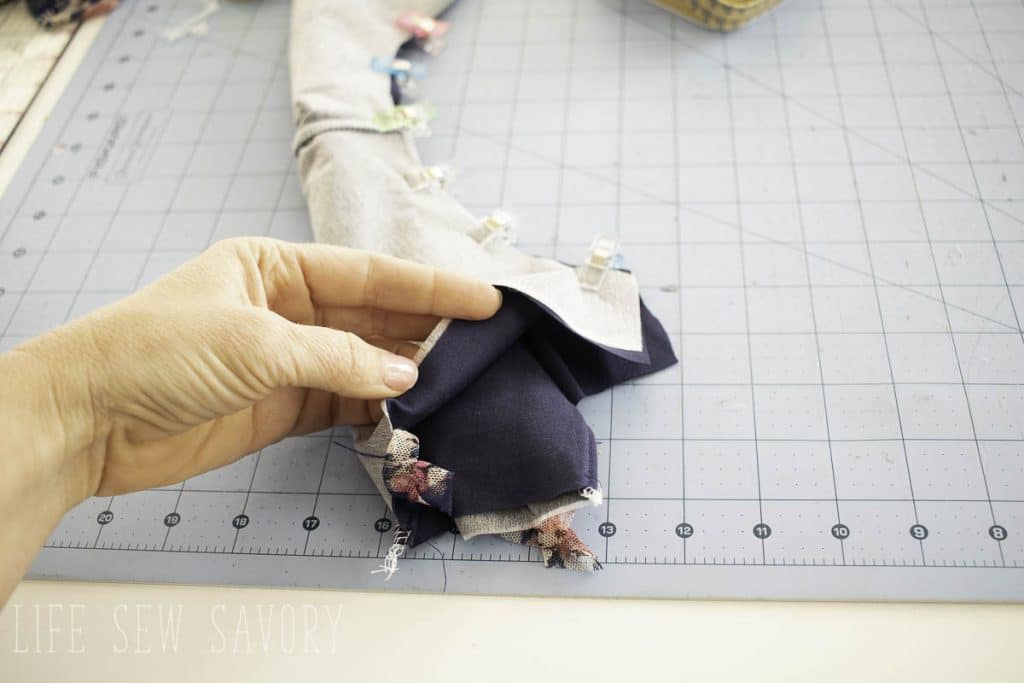
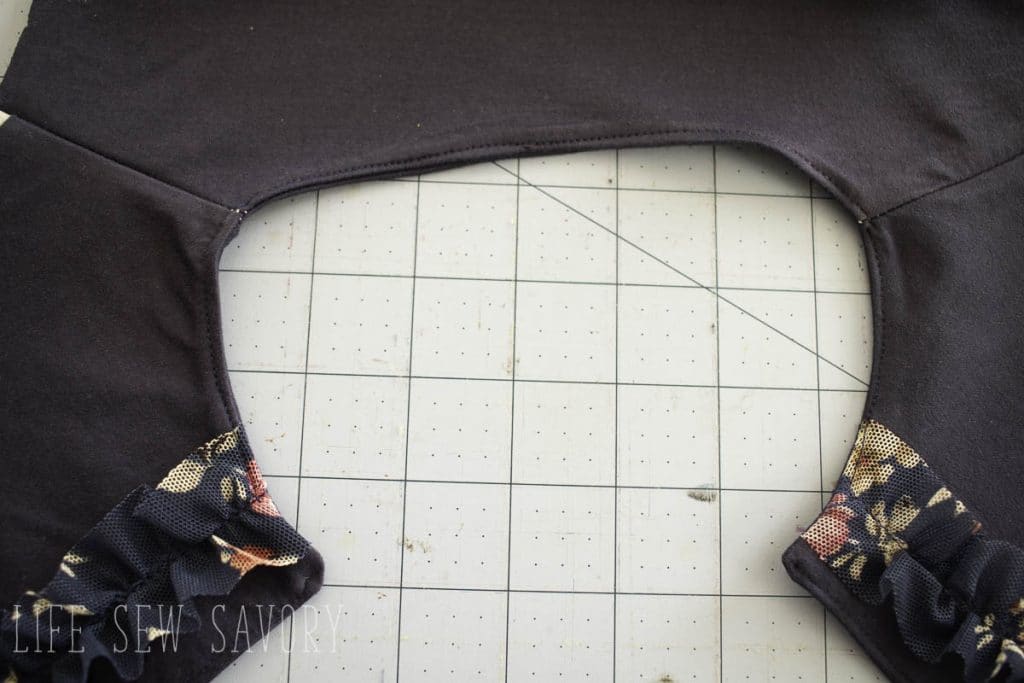
Repeat for the other side. Top – stitch if desired.
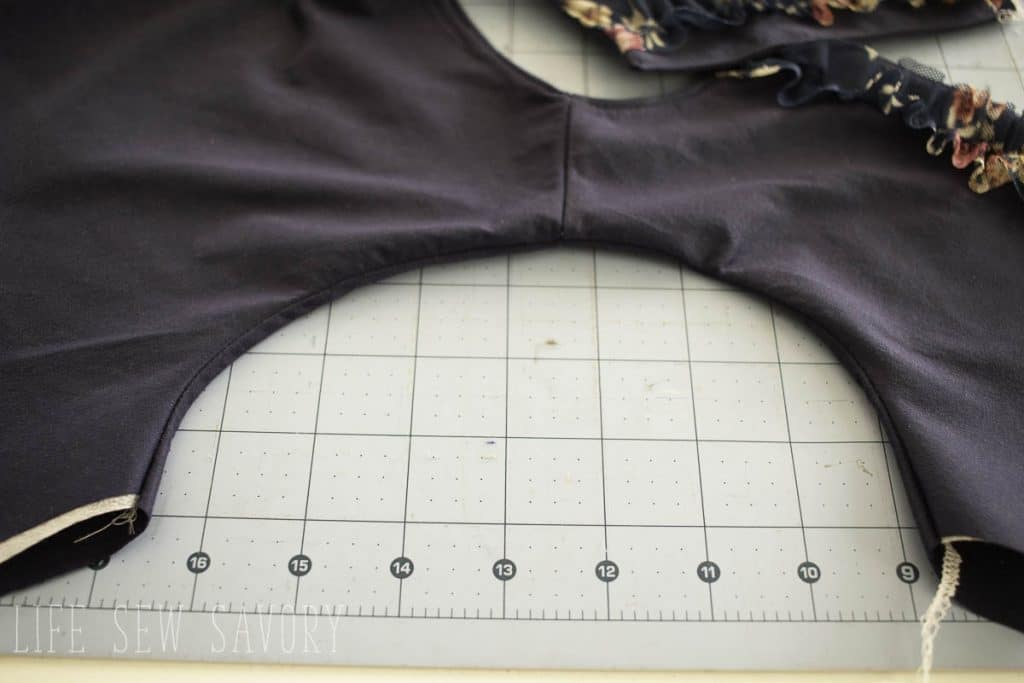
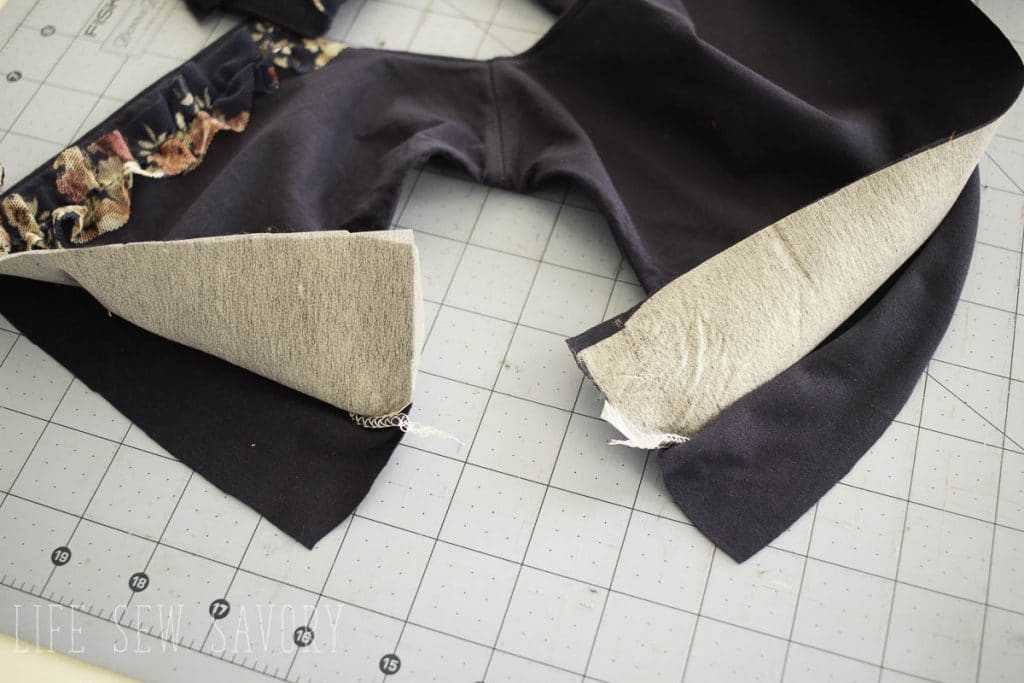
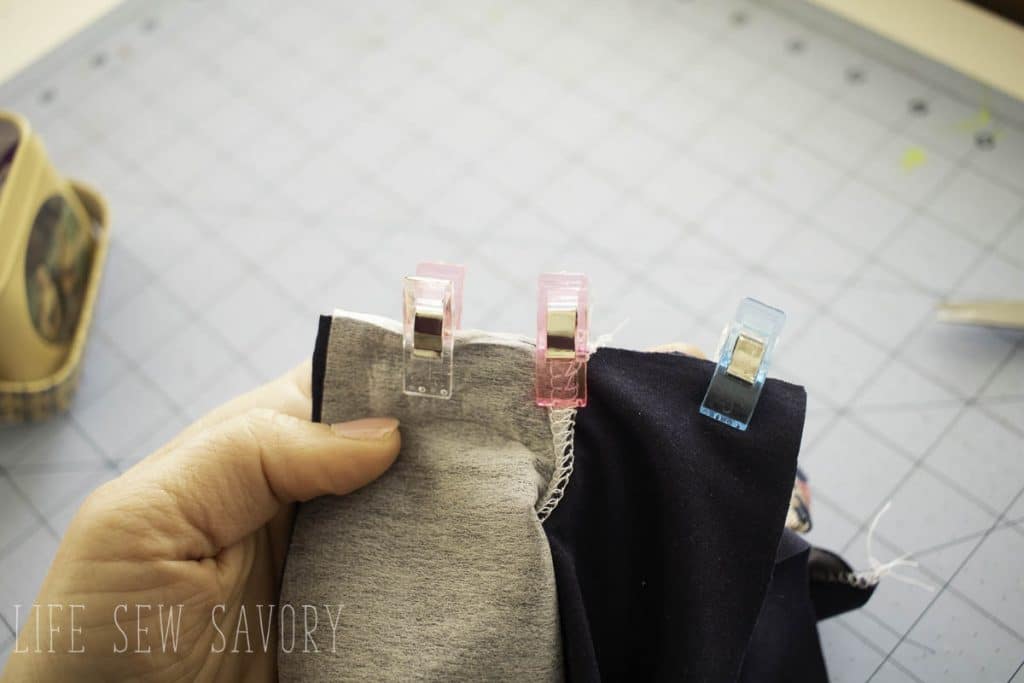
To sew the side seams open up the raw edges under the arm holes. Match bodice 1 with bodice 1 and 2 with 2. On mine that is the white one with the white one and blue with blue. Match the center seam, right sides together and sew.
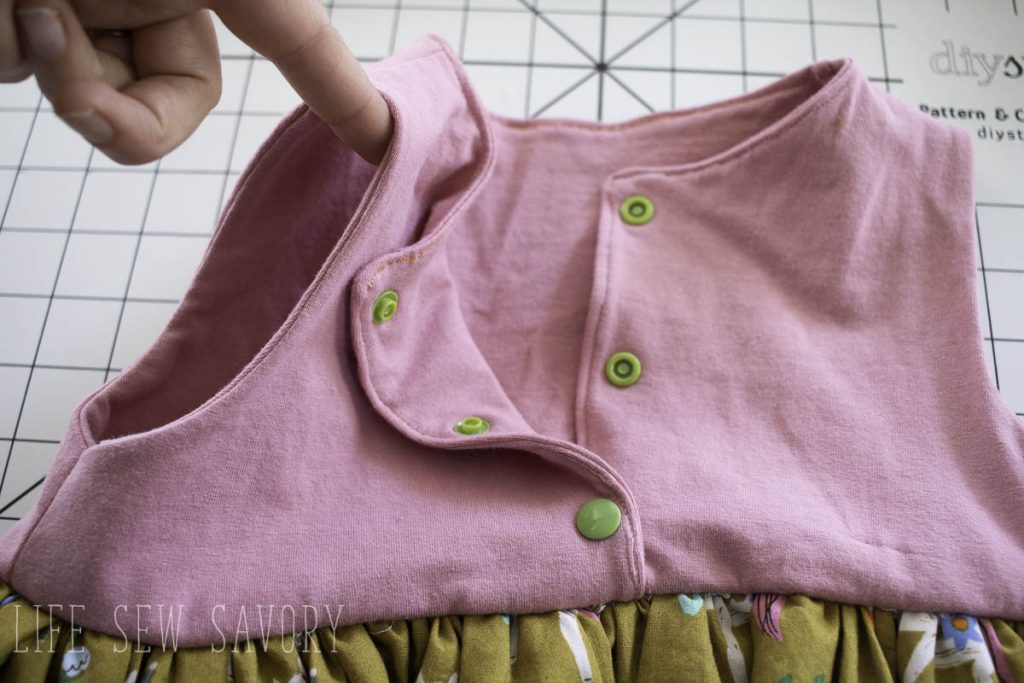
Flip over for a completely finished and enclosed bodice.
Want it truly reversible? Use Kam snaps! The look the same on both side. Only lining your top and not reversing it? Use buttons or other desired closure.
Two layer reversible skirt –
To create a skirt that is also reversible prep two skirts. You can make a-line or gathered skirts {see one of each here} Place the skirts right sides together.
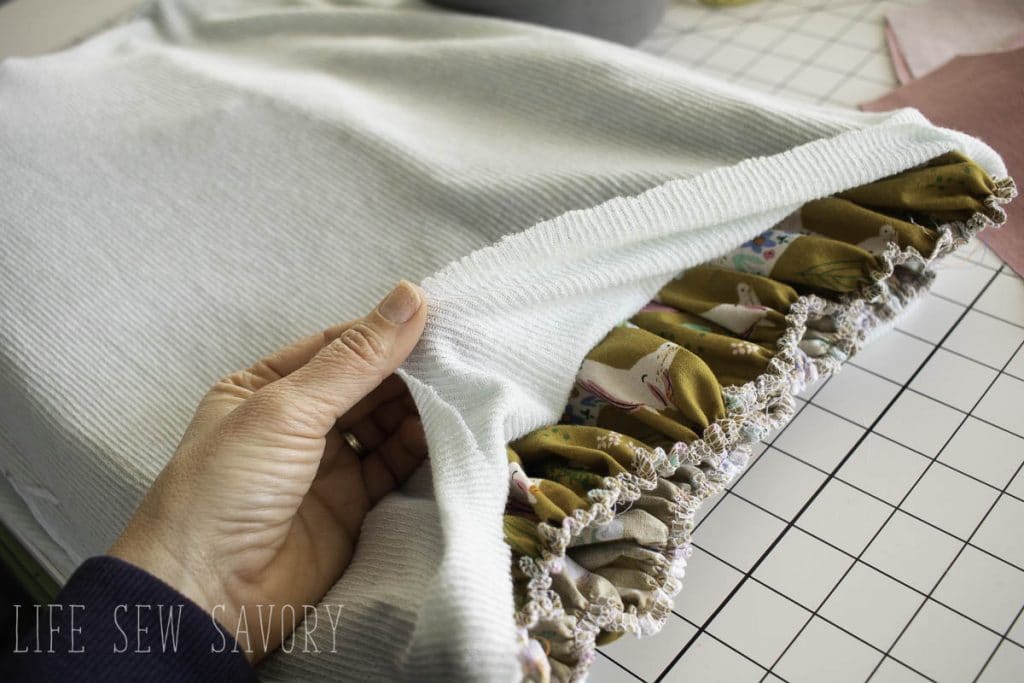
Insert the bodice between these layers. Place the side of the bodice that goes with each skirt touching. If you have one side of the top that goes with one skirt more than the other make sure it is touching that side of the skirt.
Line up the four layers. Skirt, bodice, bodice, skirt. Stay-stitch all the layers. When you flip open the skirts the seam is hidden and your dress has two layers.
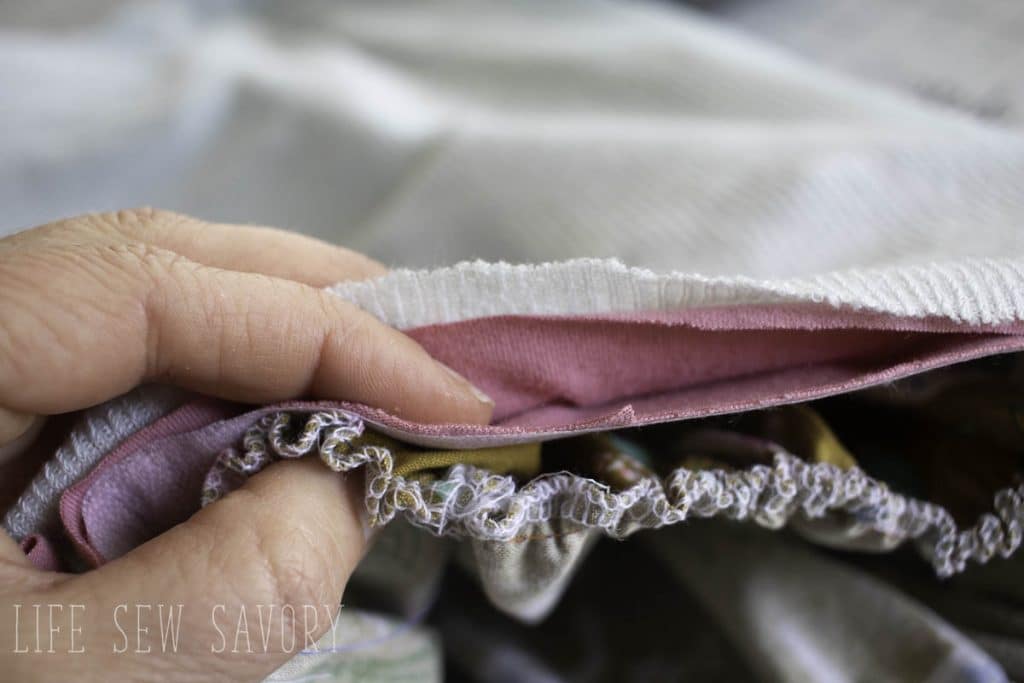
Reversible skirt… On this one the mesh layer sticks out of the blue layers just slightly. When the mesh side is showing you don’t see the blue at all.
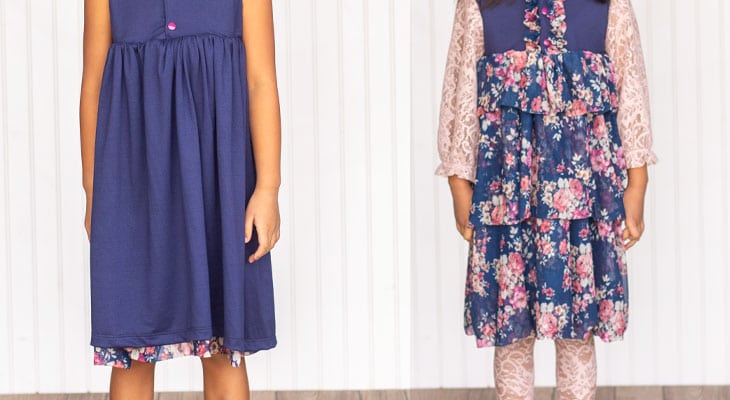
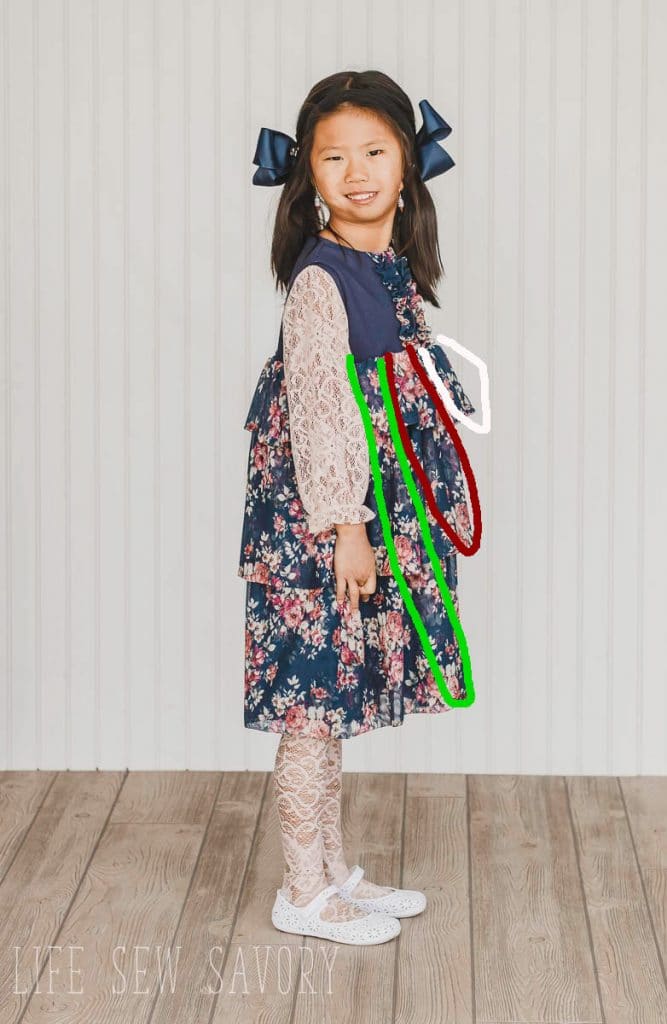
I didn’t take photos of the layered ruffle side of the skirt, but I’m going to try and explain. I created three layers, each layer is folded on the bottom. So measure your three layers and then double that length as you will fold over each ruffle.
The width was about 2x the bottom of the top. So not a ton of ruffling, but just enough. Sew each layer into a circle and then gather the raw edges of each one.
Once I had all the layers gathered I stay-stitched all three together so it was one piece to sew to the bodice.
Printable version of the instructions-
How to sew a lined sleeveless bodice
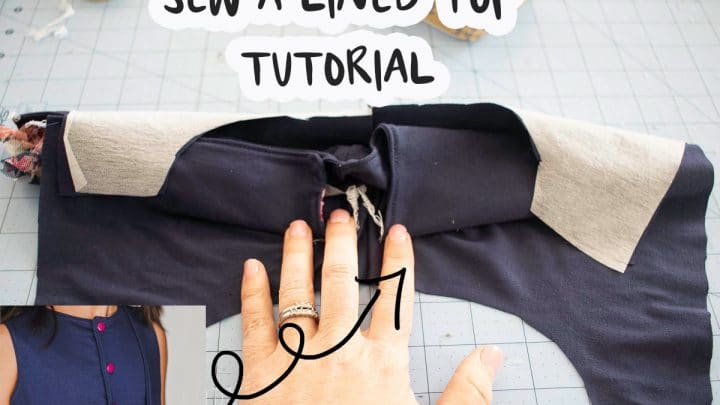
a mini version of the full tutorial available in this post
Materials
- fabric
- Pattern
Instructions
To make a lined sleeveless top follow these steps. See full tutorial for photos.
1. cut two bodice from desired fabrics.
2. sew each bodice together at shoulder seams.
3. with right sides together place both tops together. Pine and sew at the neckline only
4. turn right side out and top-stitch if desired
5. Start on left side of bodice and roll both layers towards the right side. When you have the roll on top of the right shoulder flip one layer of that shoulder open and sandwich the roll inside the shoulder seam. You now should be able to place the RIGHT sides of that armhole together. Pin and sew right sides together of the right arm opening.
6. turn right side out.
7. repeat by rolling the right to the left and sewing the left arm opening right sides together.
8. watch video for more details. burrito sewing method shown at 9:00 min.






duck life says
Lovely, I like it