inside: Sew an adorable zipper pouch that has an exposed zipper. Useful and pretty this exposed zipper pouch is easy to sew and fun to use. Find a fun zipper and get sewing.
I had this pretty zipper with the lacey edges and I wanted to use it for a project. I think they came in a two pack and I used one for this zipper neckline tank {that I love!}. This other zipper has been hanging around for a few years, but now it has a new home in this awesome exposed zipper pouch.

Exposed Zipper Pouch –
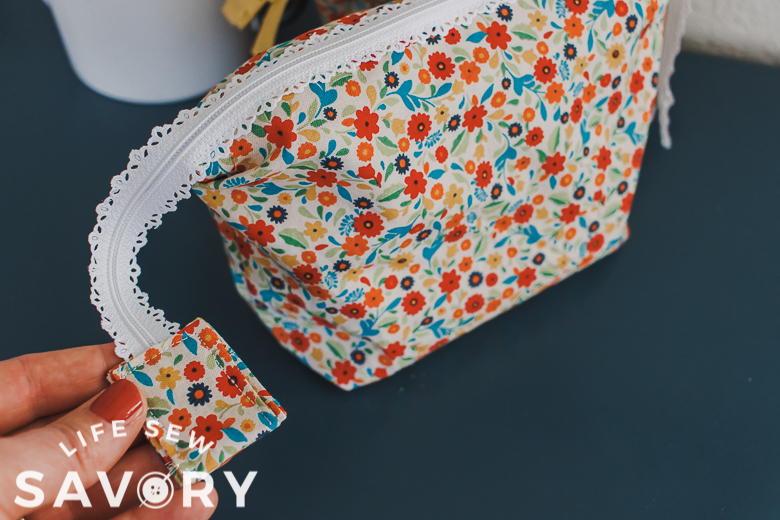
So cute right! I love love these two pouches. They are fully lined and the zipper extends on both sides. You can add a zipper tab on both sides or just one. I just put it on the end of the zipper that I cut.
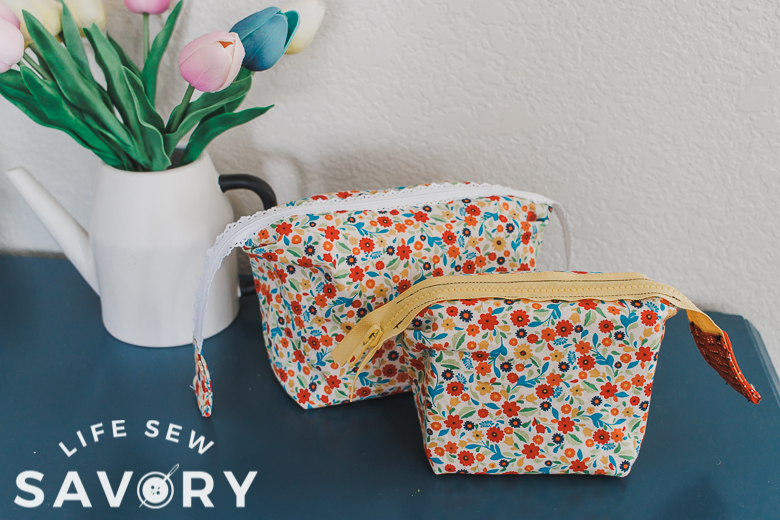
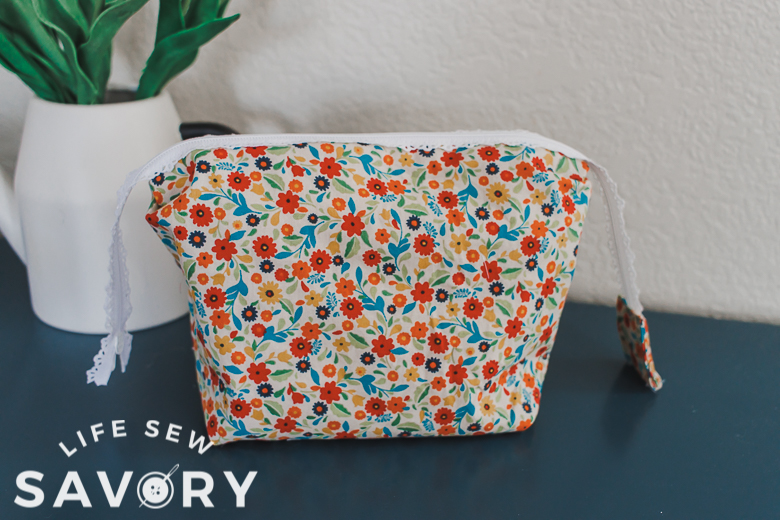
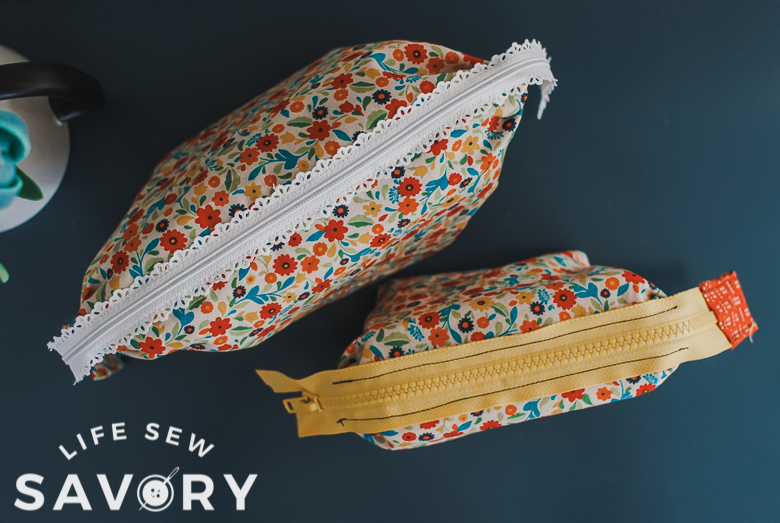
Ok, so I wish I had used yellow thread on the yellow zipper, but it does give you a look at where the stitching is on the zipper. The white one is so pretty though and my favorite zipper.
Other zipper pouch tutorials to check out:
How to sew a pouch with exposed zipper –
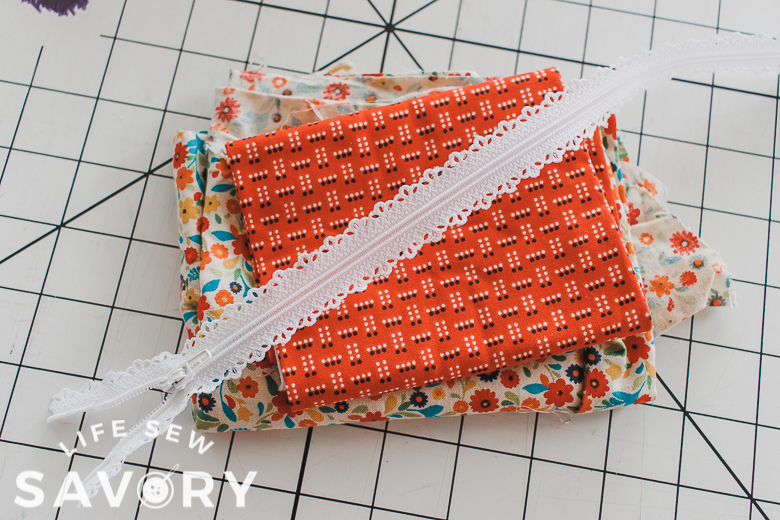
Here are the supplies you will need to create these fun lined cases:
- Fat quarters of fun fabric
- Decorative zippers here or here or here
You can cut the fabric nearly any size you want to create the pouches. I cut one 10 x 10″ and the other pouch smaller than that. For each pouch cut four pieces of fabric, two of the main fabric and two of the lining.
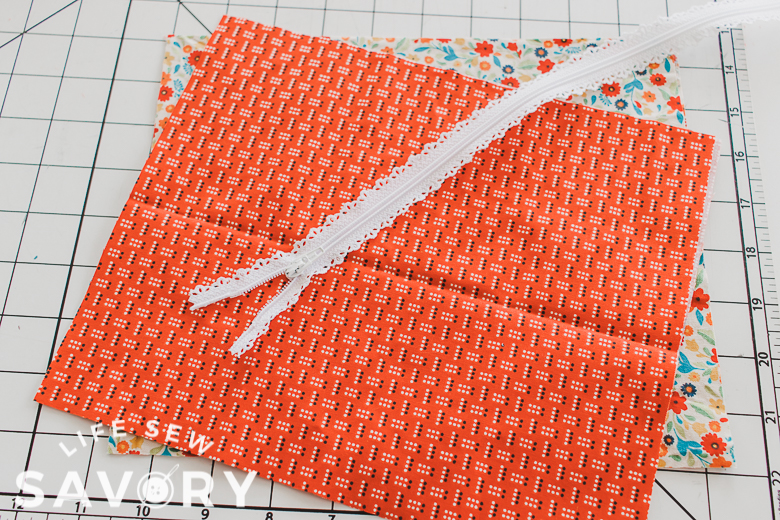
Place the matching fabric right sides together and measure 1″ down from the top on both sides. Sew the sides and bottom of both the outer and lining fabric. Press open seam allowance.
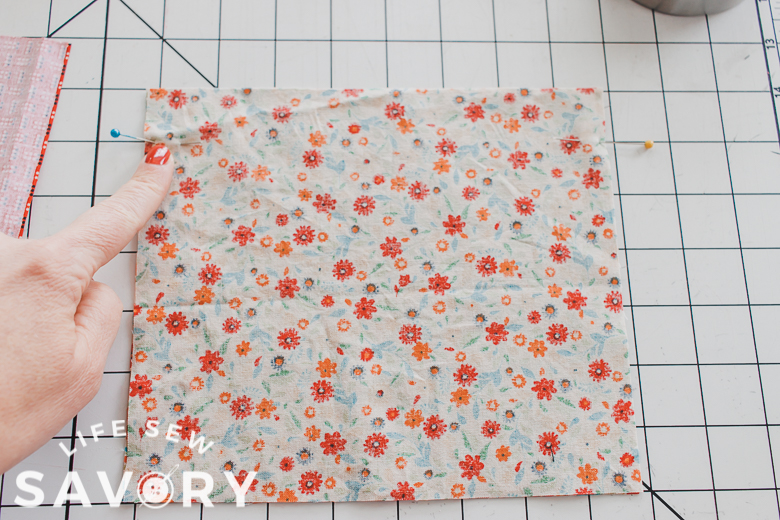
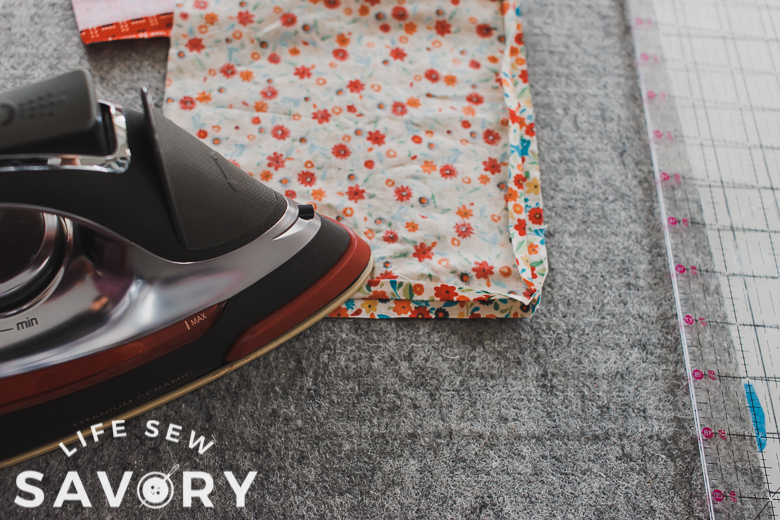
Fold open the bottom corners and sew 1 – 1.5″ from the corner point. Trim point after sewing. Do this with bother layers. Turn the lining right side out and place it right sides together inside the outer fabric.
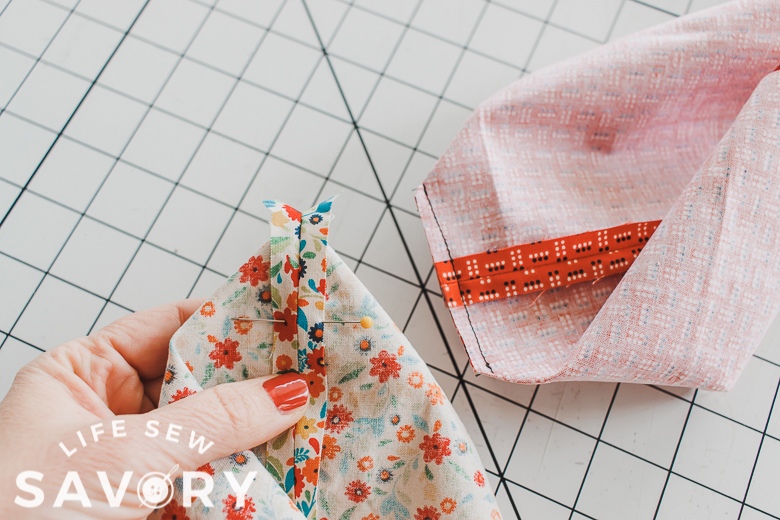
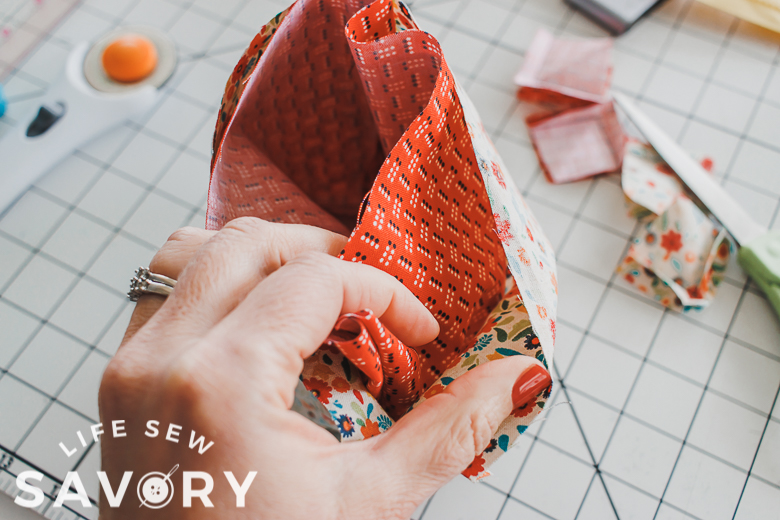
Line up the top raw edge of the fabric around the pouch. At the 1″ gap on the side keep the seam allowances folded back and then also pin the bottom of the V. You will sew down the sides and across where the pin is.
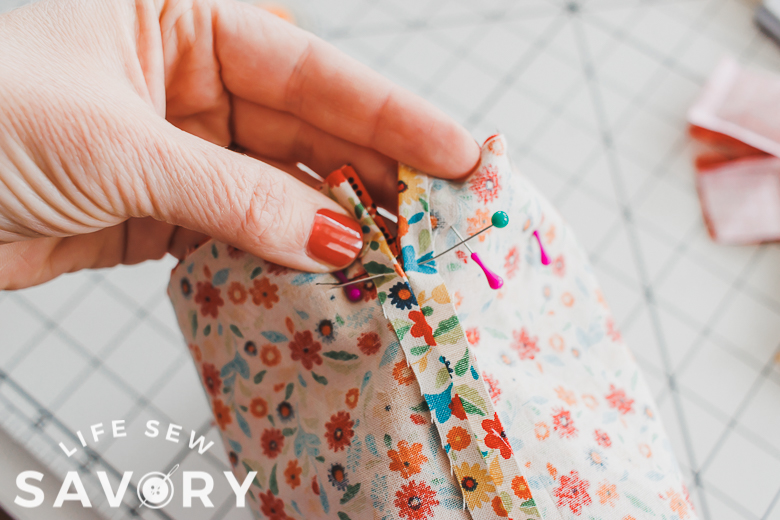
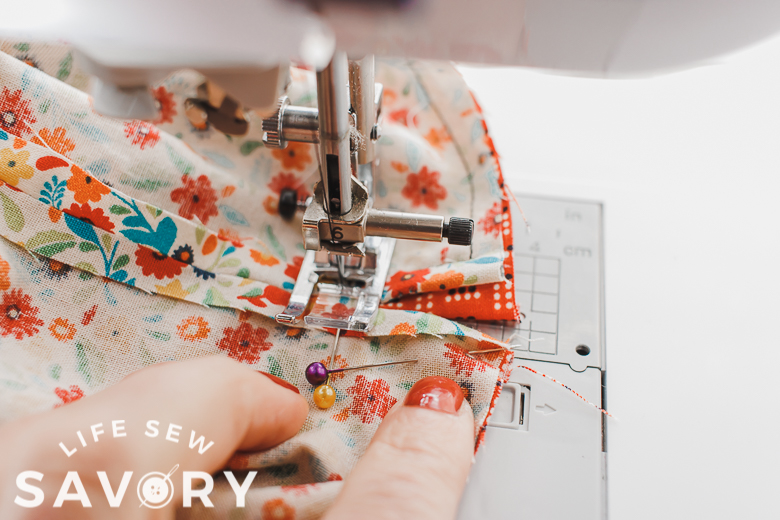
Sew around the top of the bag and on both V sides, but leave a 2-3″ opening to turn the pouch right side out. Clip the corners on the side seams before turning.
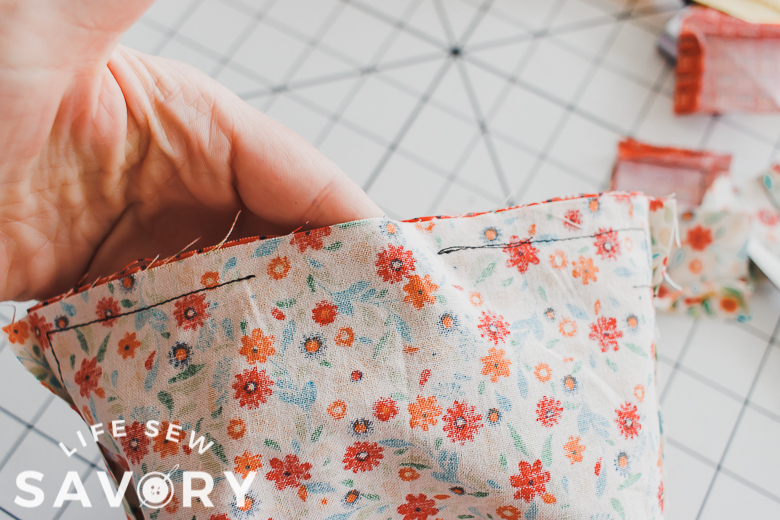
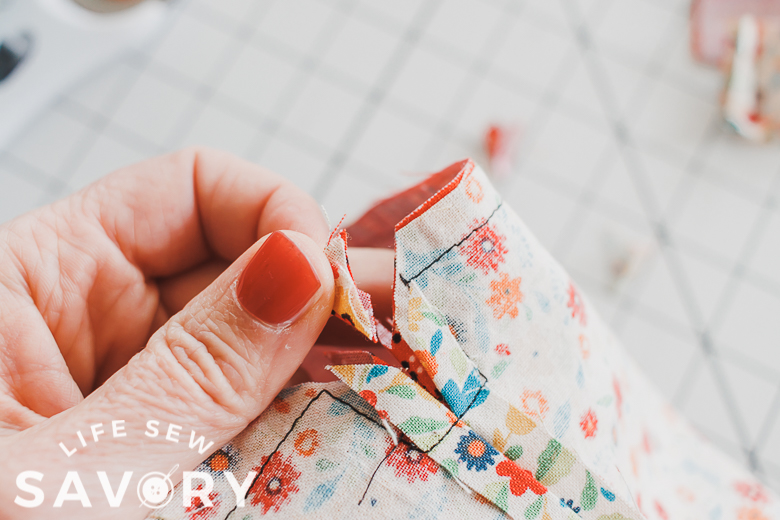
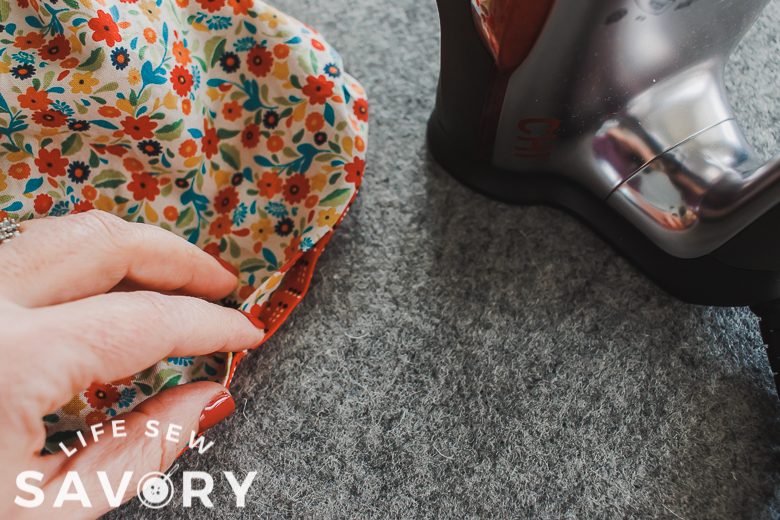
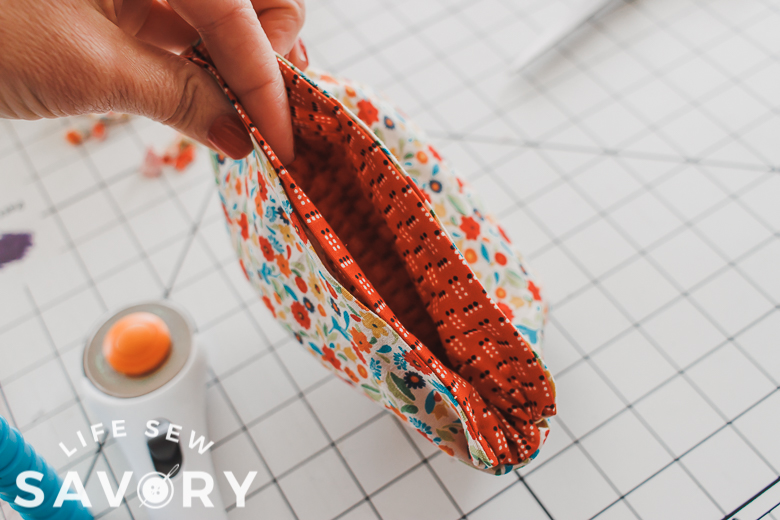
Pull the lining out from the turning hole then push it back inside the main fabric. Press out the top edges of the pouch, keeping the turning hole seam allowances folded in. You should now have two straight top edges to sew the zipper to.
Now we need to create the zipper tab. You can do this on both ends or just one.
- take two pieces of fabric 2″ wide by 5″ long each. Fold in half and sew the sides.
- turn right side out and press.
- Sew the bottom raw edges together, turn and press.
- Trim the zipper to desired length
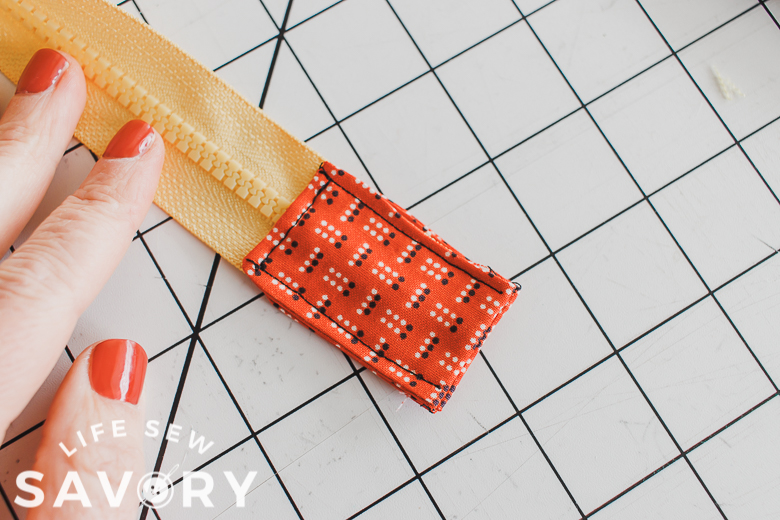
- place the cut end of the zipper on one side of the tab.
- fold up the other side and pin.
- Sew around the fabric rectangle. Be very carful sewing over the zipper teeth.
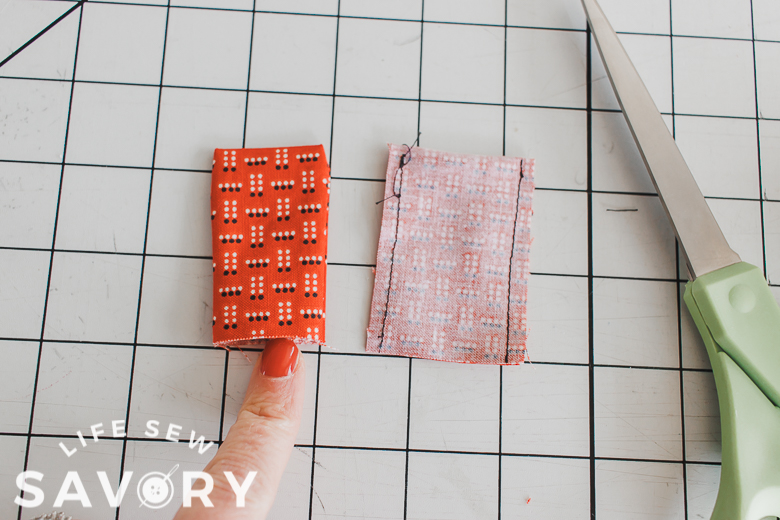
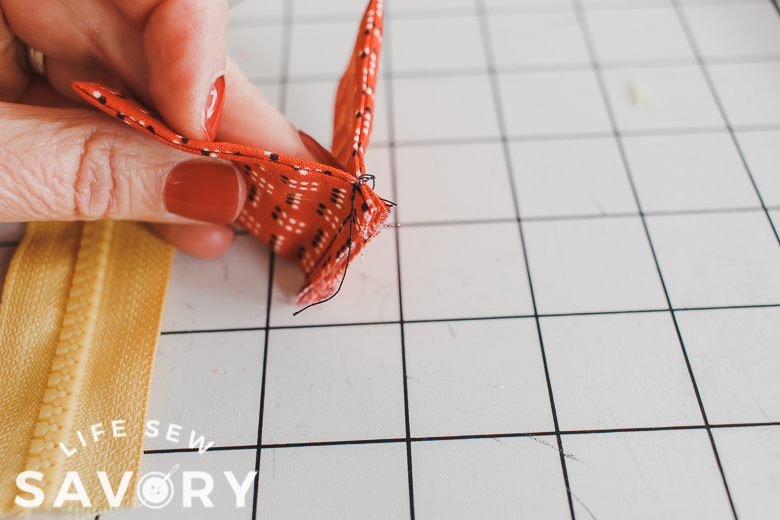
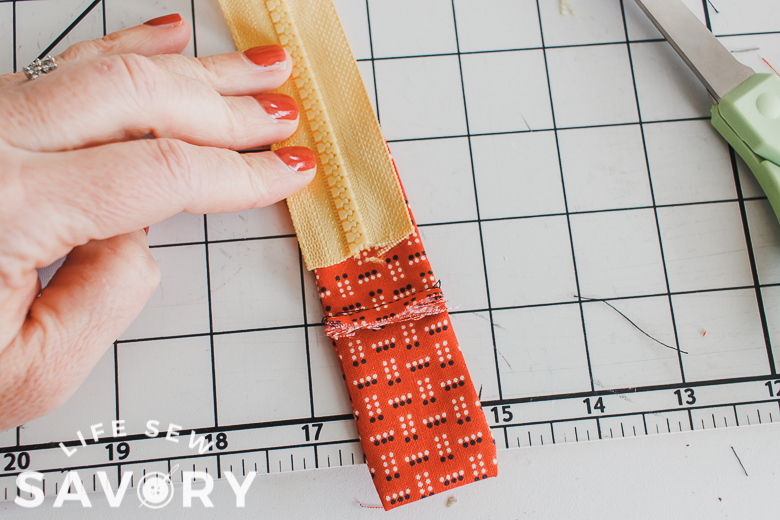
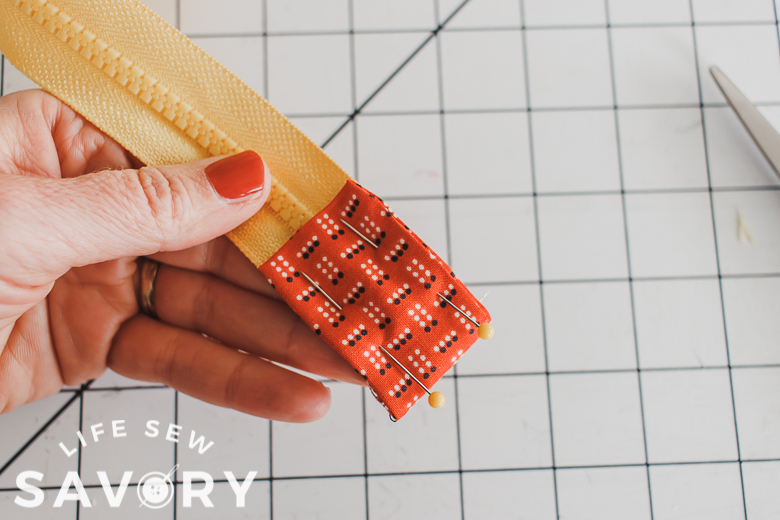
Take your zipper with the right side facing up and place it along one side of the pouch. Pin so the top of the pouch is right below the zipper teeth. You can see it pinned here from both sides of the zipper.
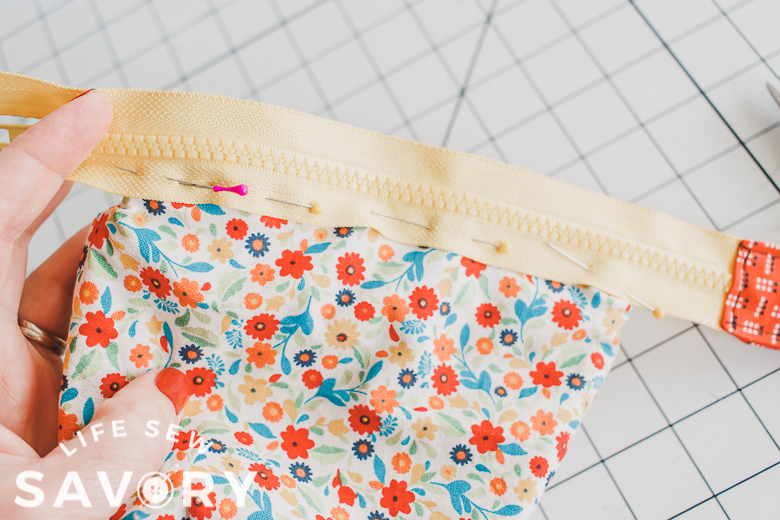
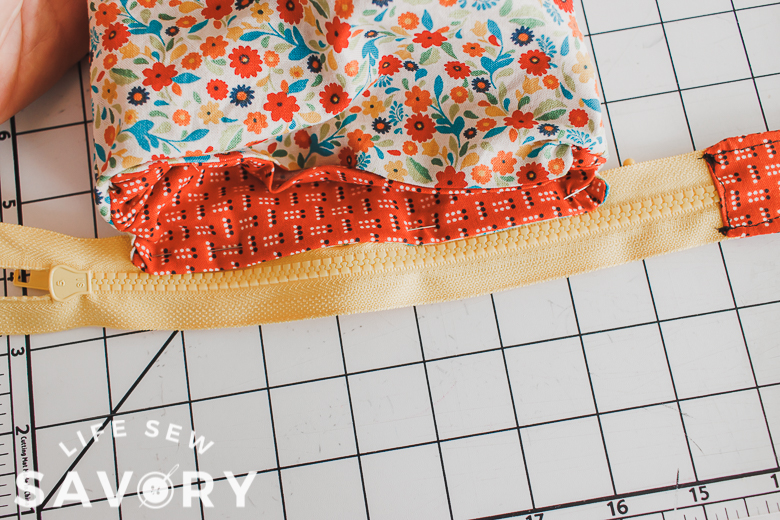
Sew with a zipper foot down the middle of the side. {use coordinating color thread!}

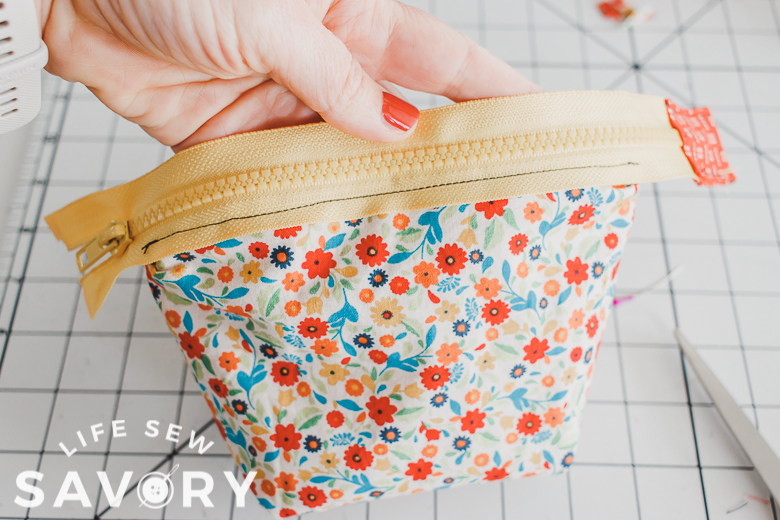
Open zipper and pin to the other side of the pouch. Sew this in the same way while the zipper is open. When sewn, you can zip back up.
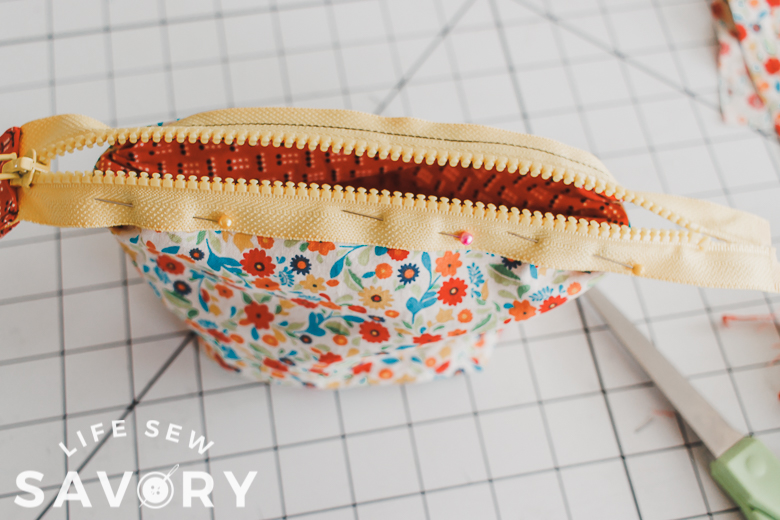
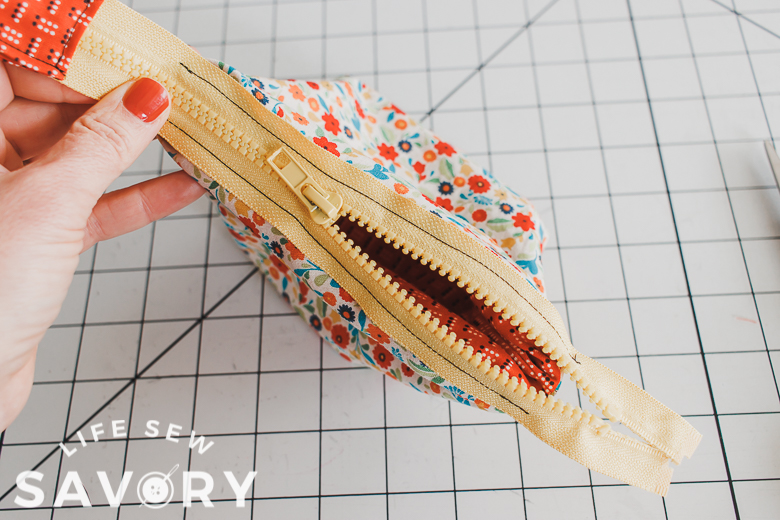
Here’s what that 1″ opening looks like under the zipper when both sides are sewn to the top of the pouch. I just love my cute little pouches.
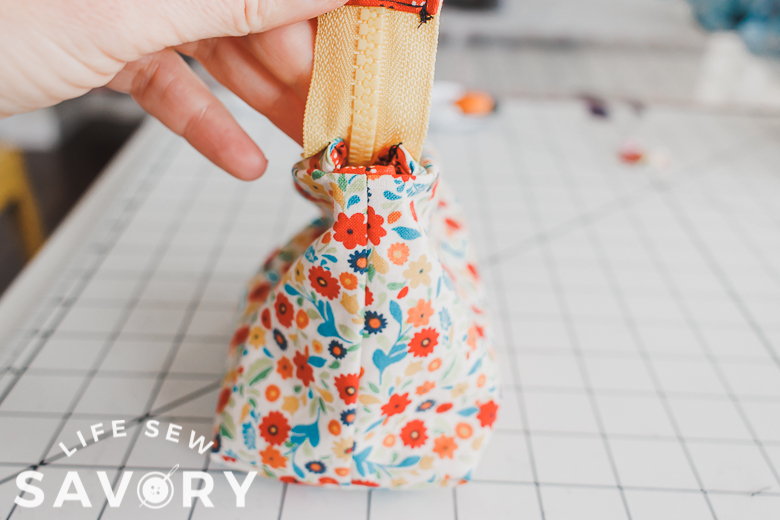
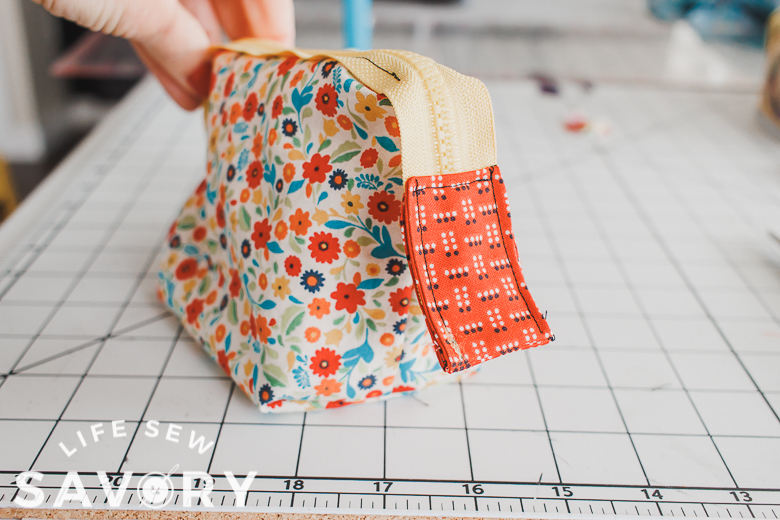
Sew one {or ten!} in any size with lots of fun zippers. I will need to order more now as I see many more of these in my future and it’s not nearly as nice with the plain yellow zipper as it is with the lace one!




wanda says
that is such a cute I idea that is perfect for traveling Thanks for the tutorial