inside: Learn how to customize your own clothes by adding embroidery. Creating custom clothing with embroidery is an easy way to make looks that will wow and amaze. Sew clothing that looks amazing with these tips and tricks for adding embroidery.
My daughter wears mostly mom-made clothing items. For her I sew custom clothing because store sizes don’t’ fit her very well. Being able to sew for her allows her to wear custom clothing that actually fits. I recently experimented with adding some embroidery to her clothes, for an even more custom and creative look. We both love the results.
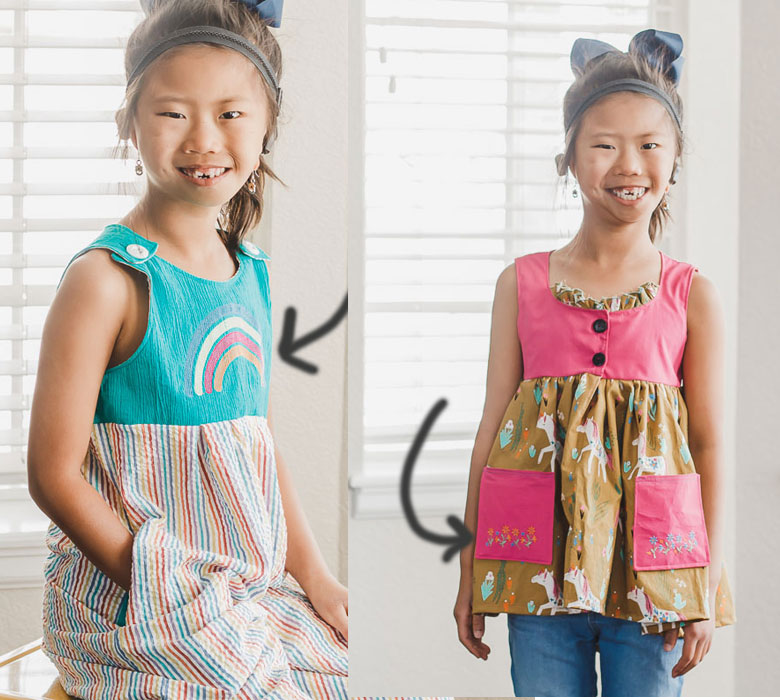
Custom clothing with Embroidery –
If you follow me closely you may notice these photos do not look current for posting in 4/22, that because they were take a year ago. I can post old photos of myself no problem, but Rose changes so much I feel like I need to mention these are older photos. {haha}
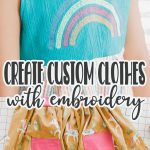
But seriously, how gorgeous are these outfits?
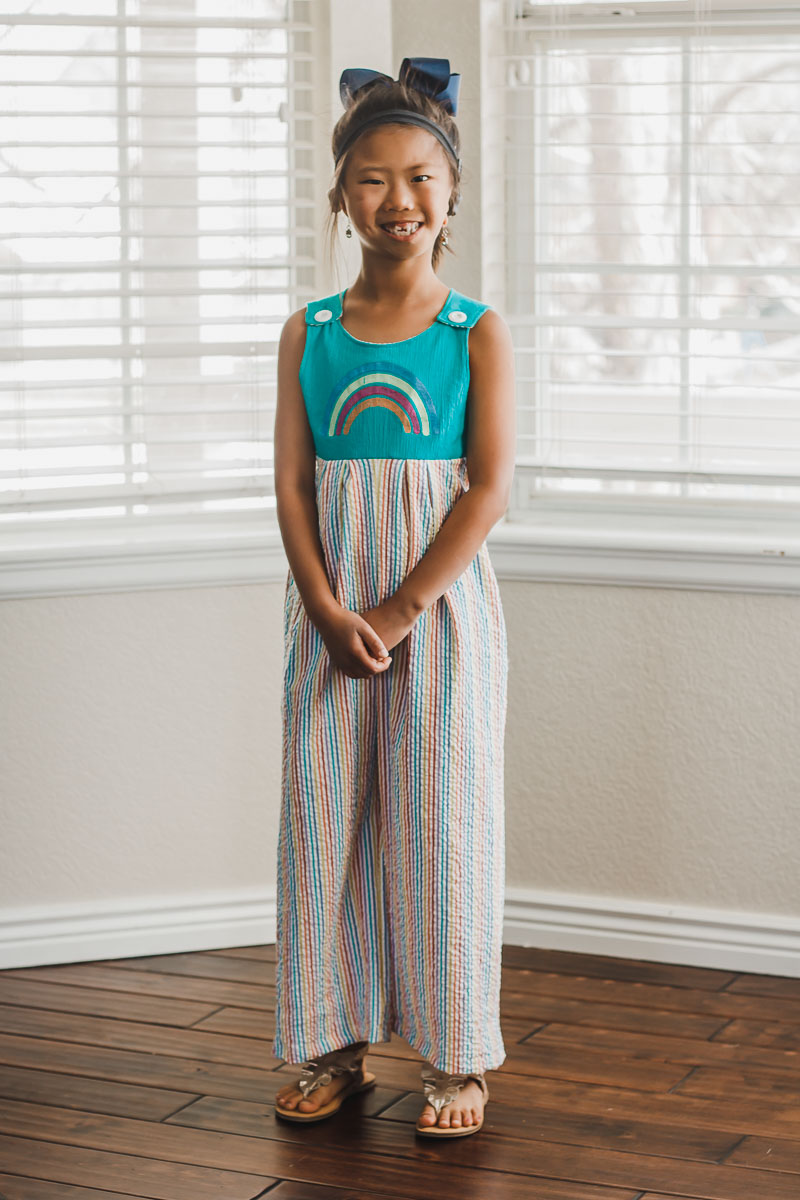
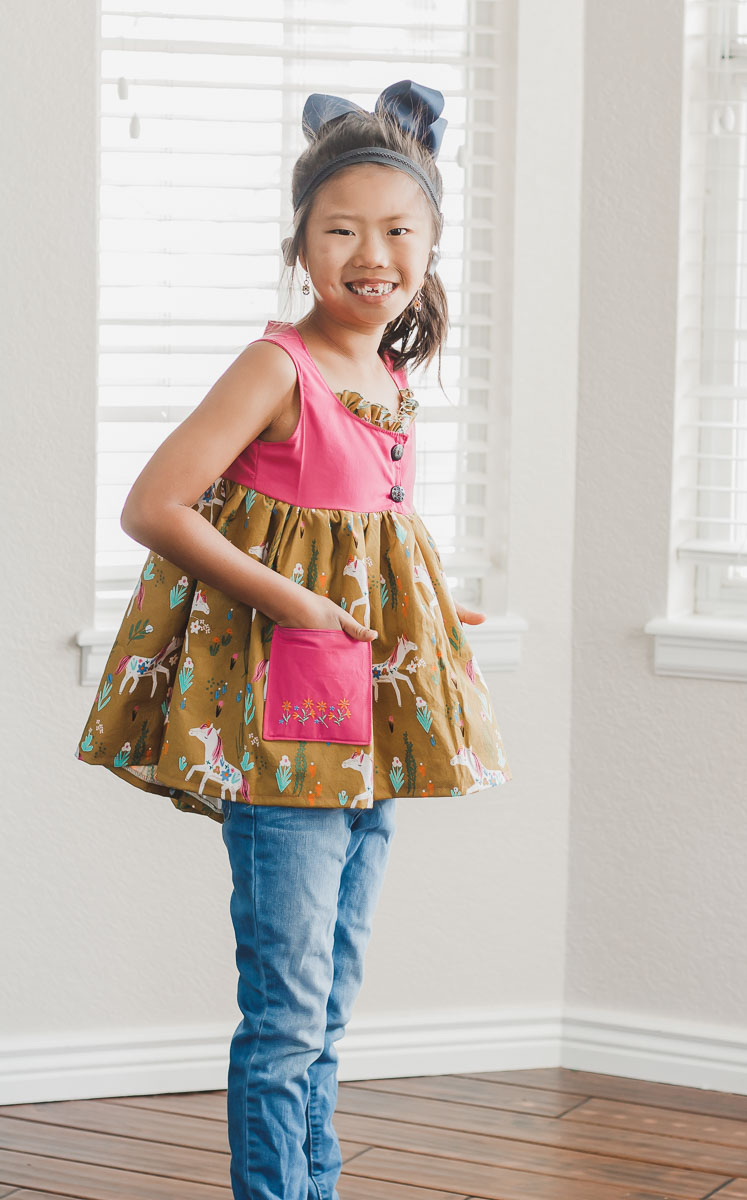
I love adding embroidery to clothing – especially kids clothing for girls, to really add a custom look. There are so many gorgeous designs that can really add to what you are sewing.
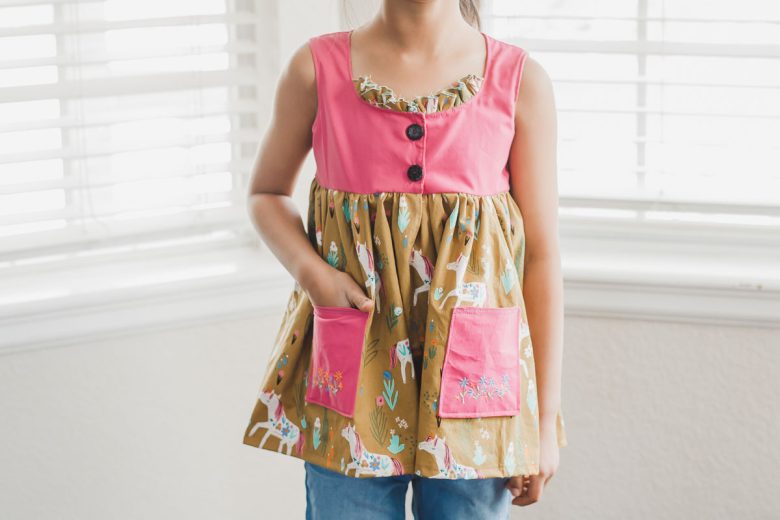
I’ll give you both the embroidery designs and clothing pattern info below, but really you can use these basic concepts for any clothing and designs.
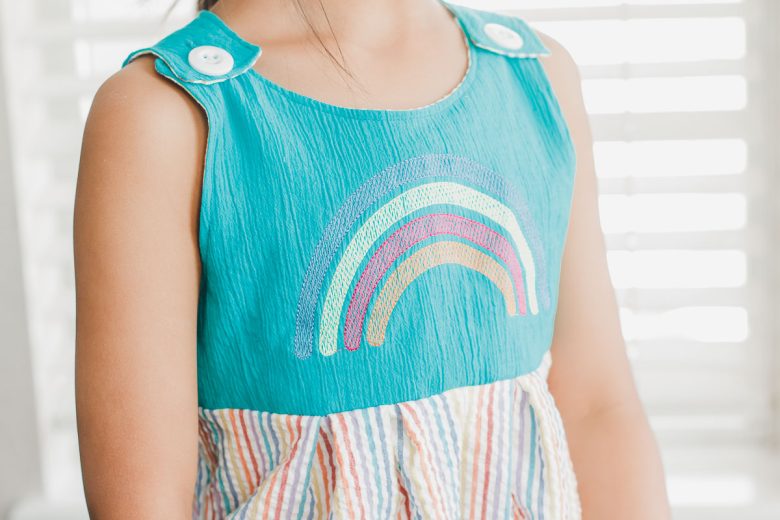
My goal for these looks was to make the embroidery look like it was part of the clothing design, not an add on. I was looking for designs that fit with the fabric patterns and thread colors that fit right in.
I think both of these goals were achieved in the outfits below. I’m going to show you how to add custom embroidery on clothes and some tips and tricks for making it easy.
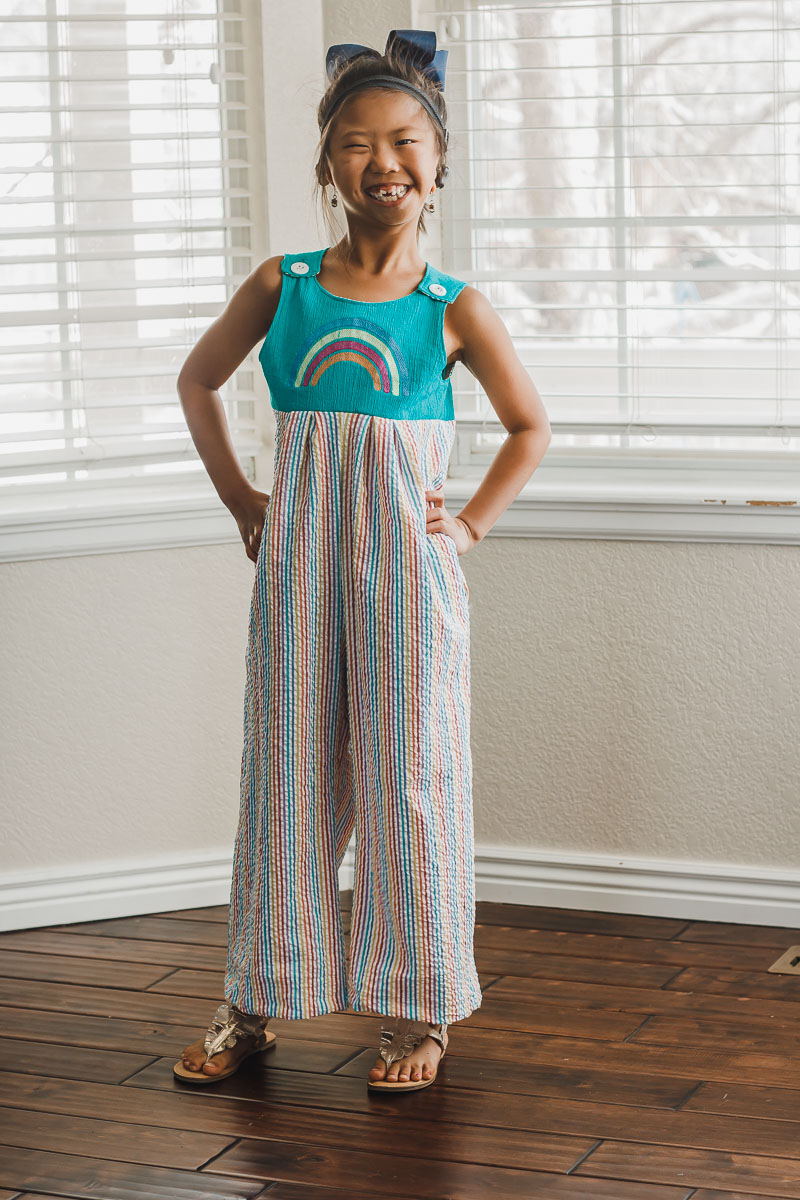
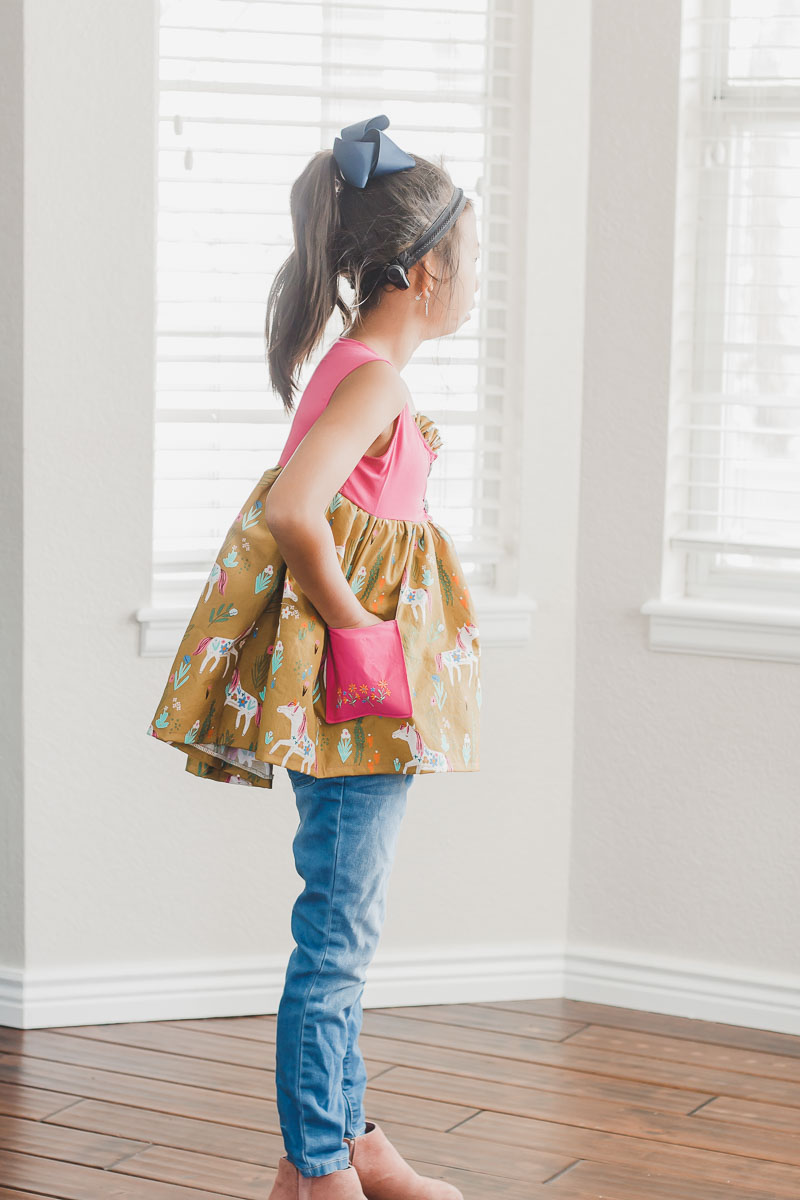
How to add embroidery to clothes
Supplies to make these projects:
- Brother embroidery machine
- Brother sewing machine
- Brother serger
- Patterns of choice {I used the Hanna from Little Lizard King and my FREE tank Dress Here}
- Fabric of choice {mine came from Hobby Lobby}
- Embroidery Designs
- Don’t have an embroidery machine? LLK also has beautiful hand embroidery designs to add to clothing.
- Check out my free pdf page for tons of kids and womens free patterns that can be used to create these ideas.
These are also my two go-to locations for purchasing embroidery designs for anything I’m making. Ibroidery is just for Brother machines, and Etsy has files for all machines. Just make sure to verify the file type your machine needs before purchase.
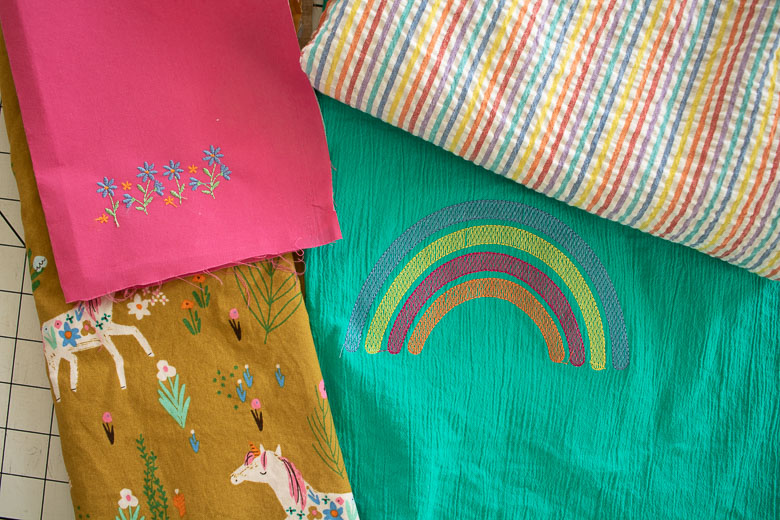
Remember my goal for this embroidery was to make it looks like it coordinated well with the fabrics. I found the floral that looked very much like the floral on my fabric and then I used the same colors as the rainbow seersucker fabric to bring it all together. Plan out your fabrics and designs before starting.
Custom embroidery on clothes
So, the best thing about sewing your own clothes is that you can add the embroidery before even sewing the item. this makes adding the embroidery SO much easier! When you hoop your fabric just keep in mind the size of the final piece you need. What will you be cutting from the embroidered piece? Make sure to leave enough fabric around the embroidery to cut what you need. When you start the embroidery check the placement one more time.
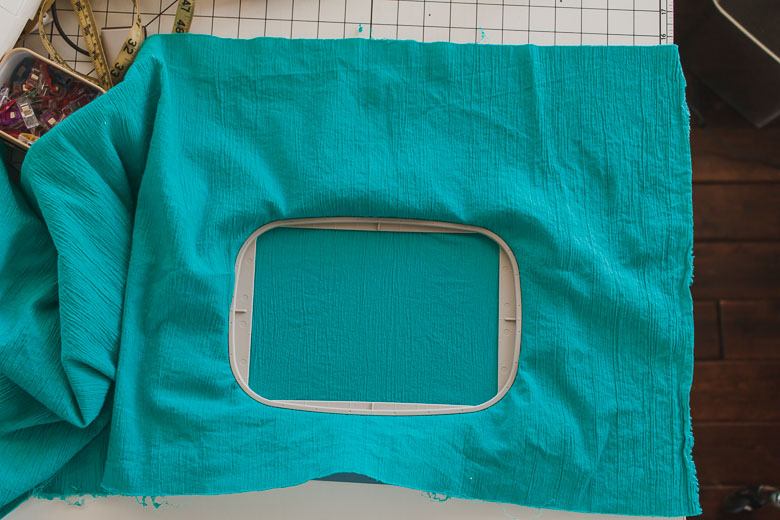
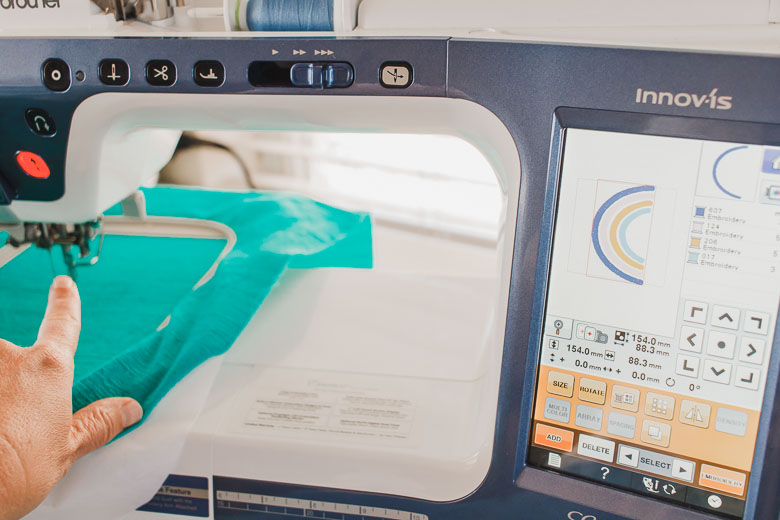
If you have a large piece of fabric, make sure all the extra stays out of the way.
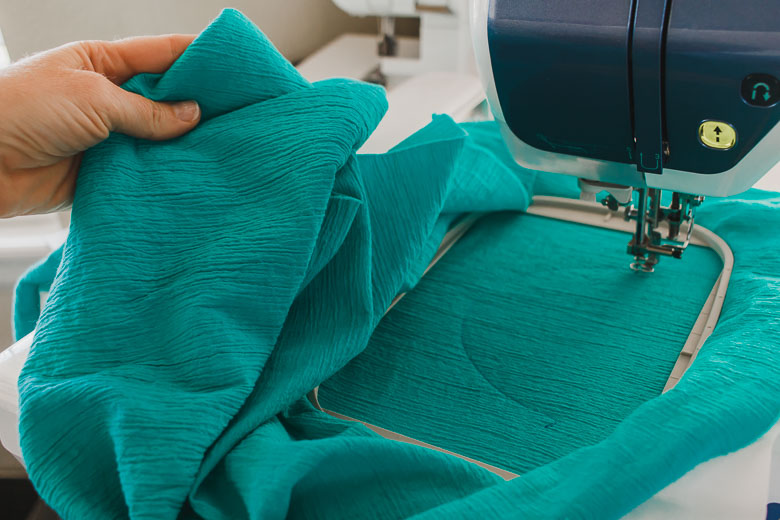
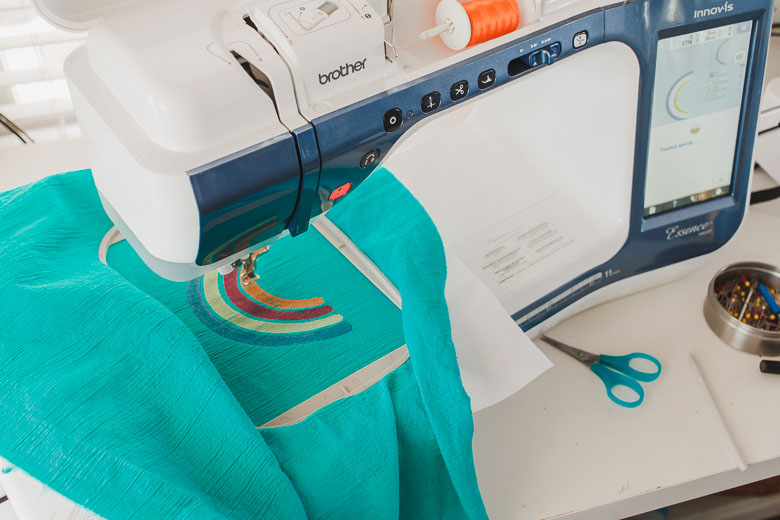
For the rainbow piece I will be showing you how to now cut your bodice pattern piece. This will work for tops of any shape with either machine or hand embroidery.
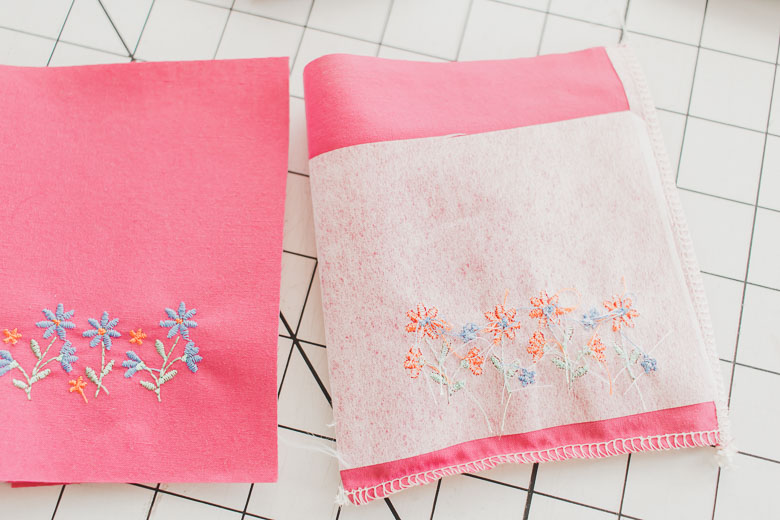
First consider if you need to add a cover to the back of the embroidery if it will be touching skin. This top has a lining, so I don’t need it.
Fold the design in half to find the middle. I like to have the right side of the fabric/design up.
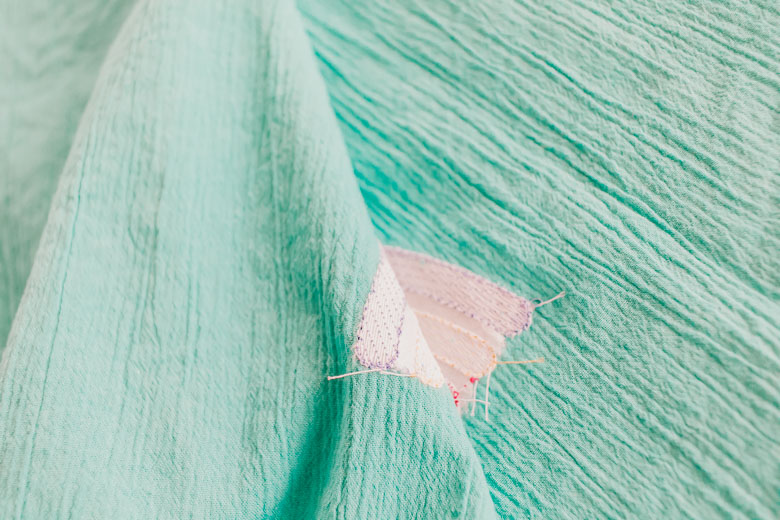
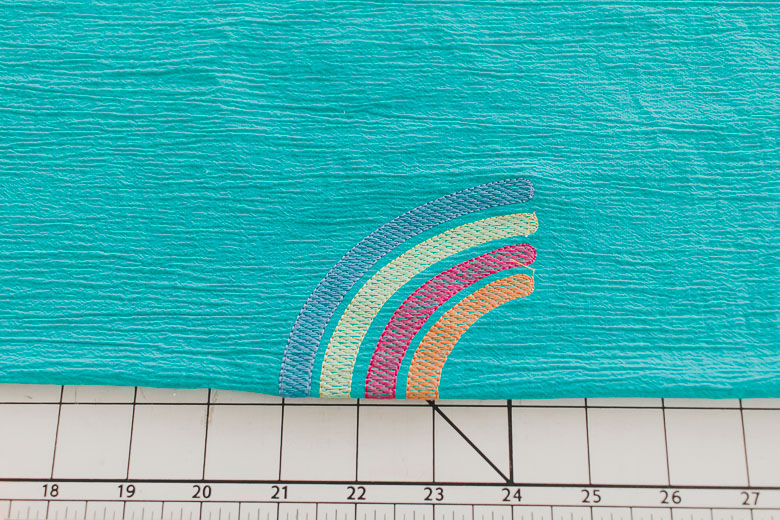
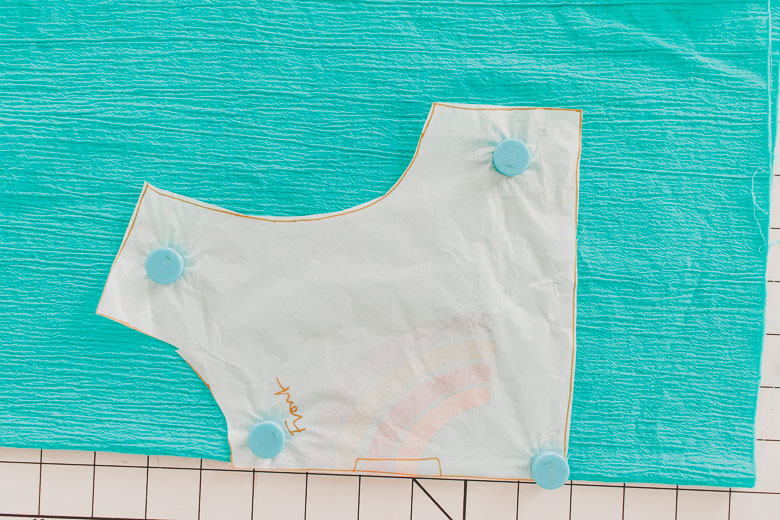
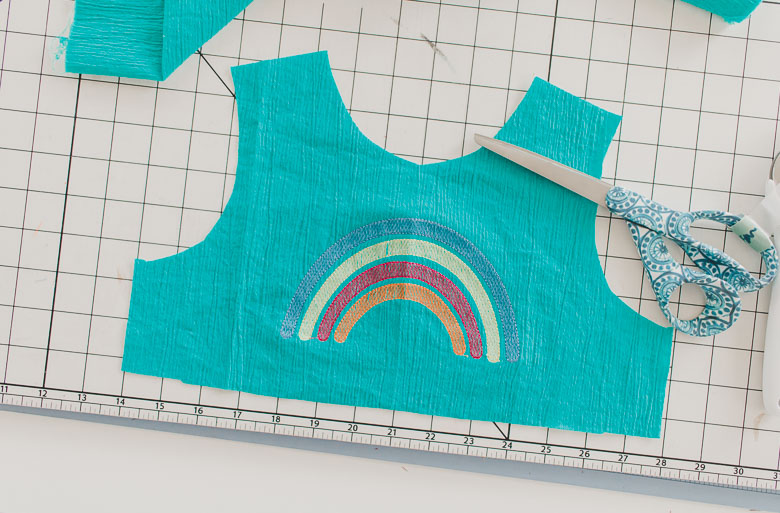
Then you will place your pattern piece on top of the design. Pay attention to the top and bottom placement as well. Cut out the fabric, then sew the rest of the top/romper as the pattern directs. You have a beautiful embroidered piece that was easy to create because you did it before sewing the top!
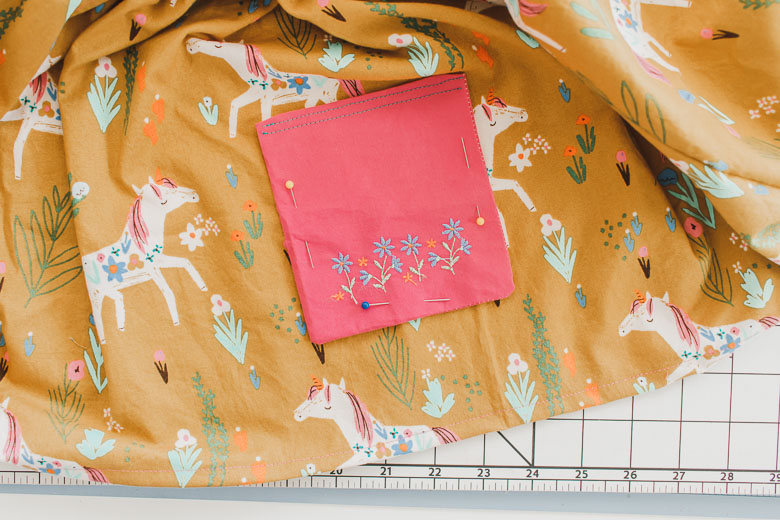
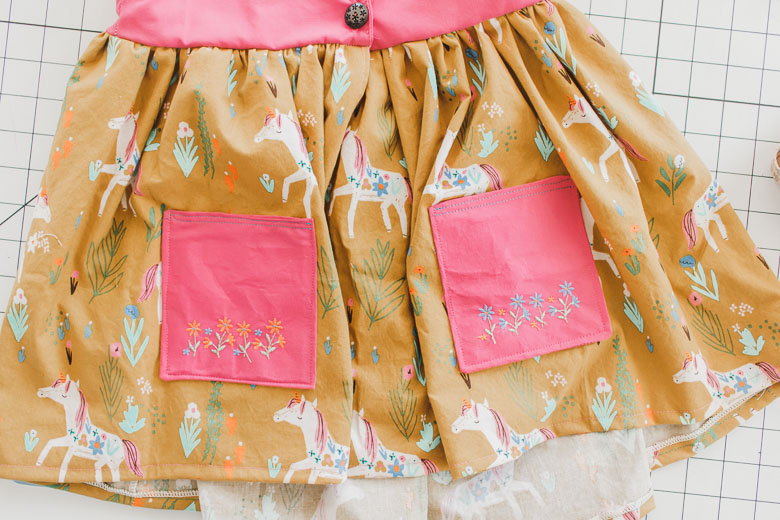
The pockets were created with a similar method. I embroidered the floral on the pink fabric before cutting the pockets. After you have the embroidery cut to pockets. Make sure the design has the same placement on both pockets. I used the first one as a template for the second.
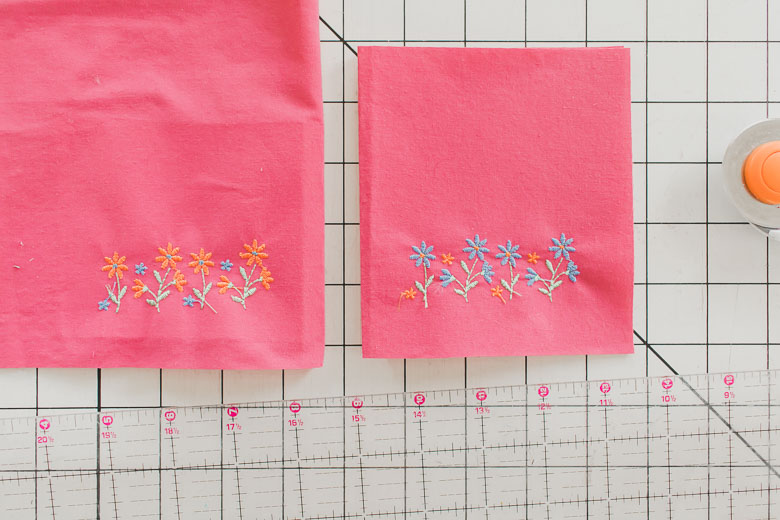
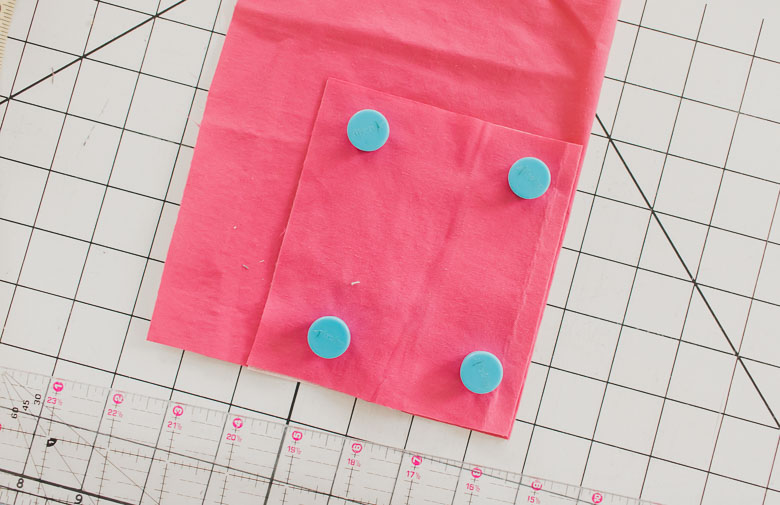
My pockets were also two layers, so I didn’t need to back the embroidery. I sewed the side and bottom of each pocket, then tucked in the top seam allowance. Hem to finish the top of the pocket.
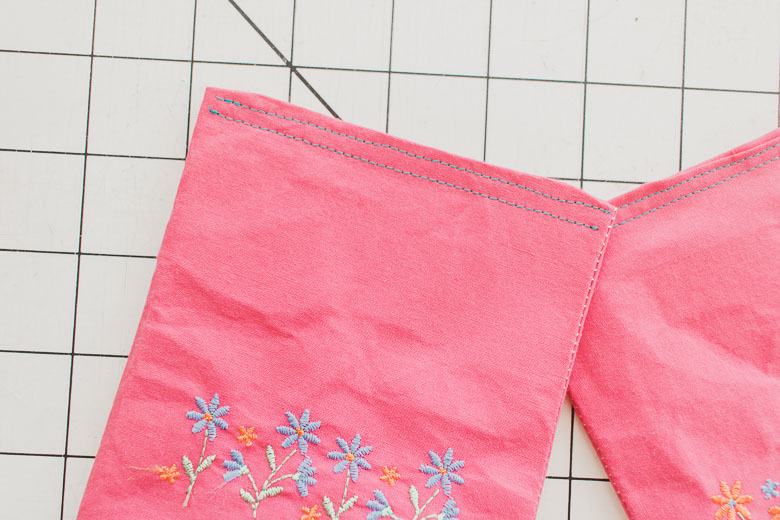
Pin both pockets to check placement, then sew the sides and bottom of pockets to secure to the skirt. This just touches the surface of what you can do with custom embroidery on clothing. How have you used it before? Or does this post inspire you to embroider on a pattern you love? Share your ideas!




Judy says
I really love these clothes you have sew for your daughter. So cute!