inside: A fun simple DIY skirt tutorial to make your own paper bag style skirt. Easy sew skirt in any size. Sewing tutorial to make a doll, child or adult skirt.
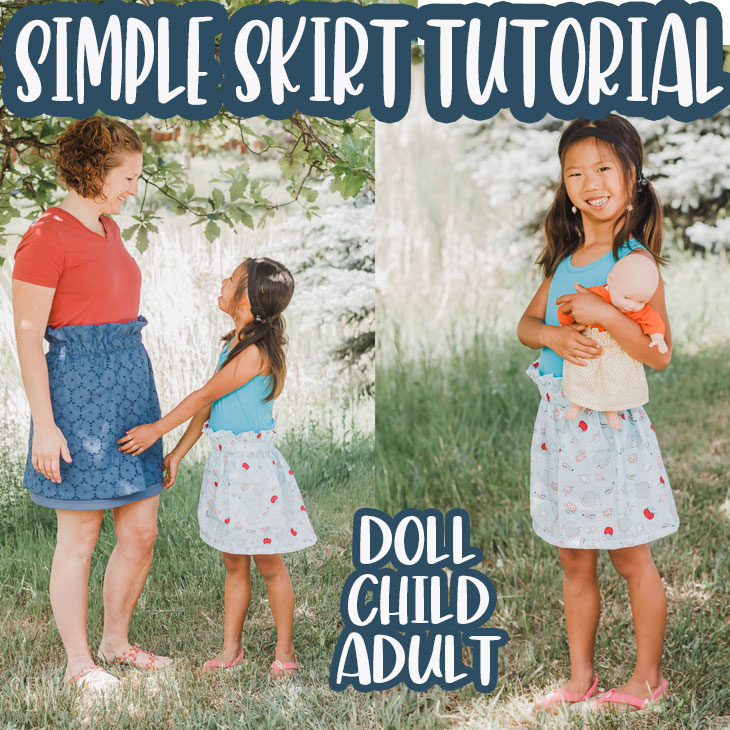
As I mentioned earlier in the week in my PDF skirt patterns post there is nothing easier to wear than a skirt. SO many options. Dress up, dress down, and so comfy!! Today I’m sharing a DIY skirt tutorial to make a easy sew paper bag style skirt. It’s fun and easy and you can make it in literally any size! I’ve got tips for adult, child and doll skirt sewing in this post.
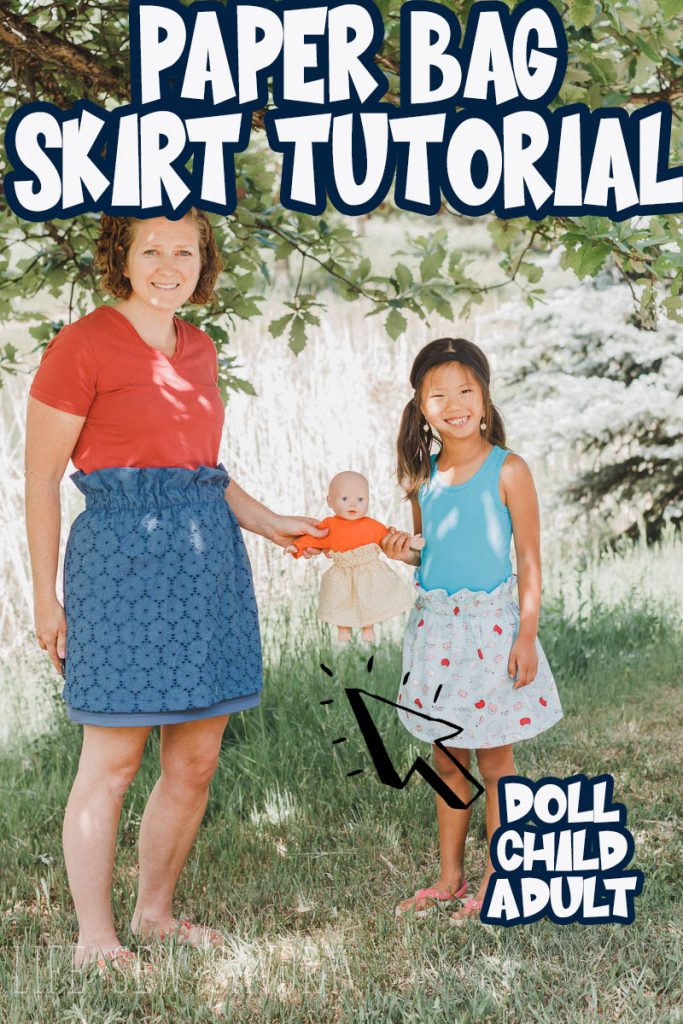
DIY Skirt tutorial – any size
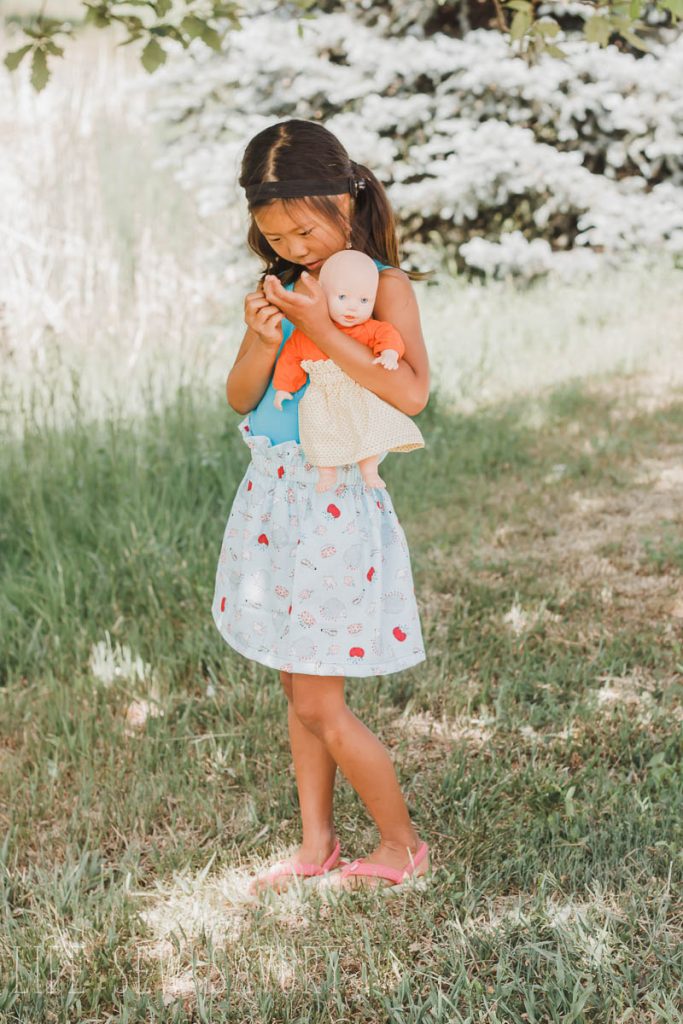
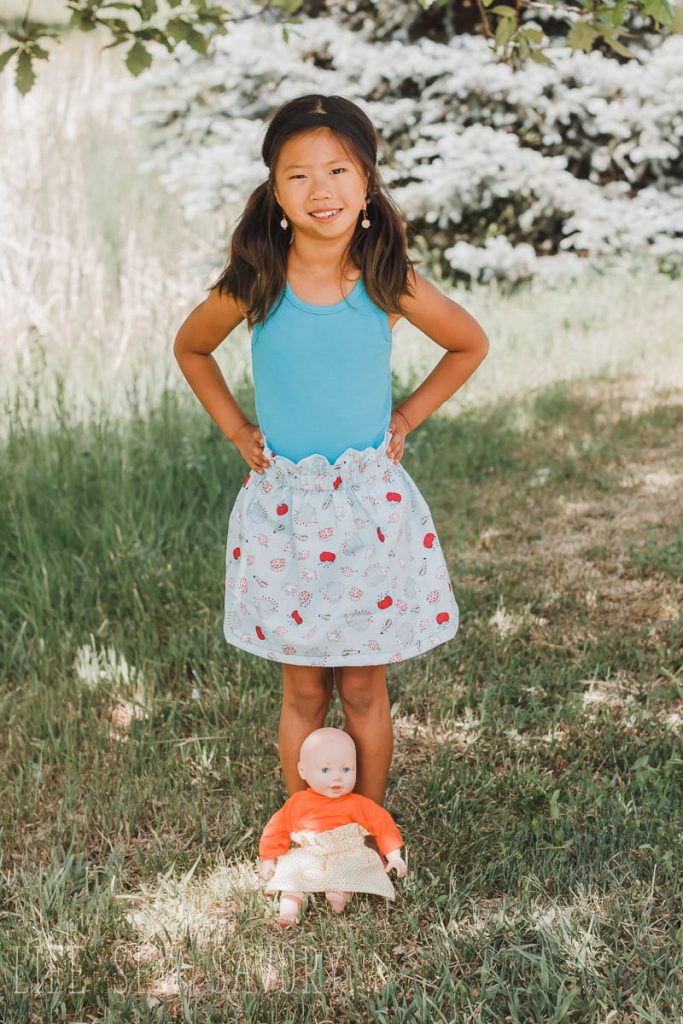
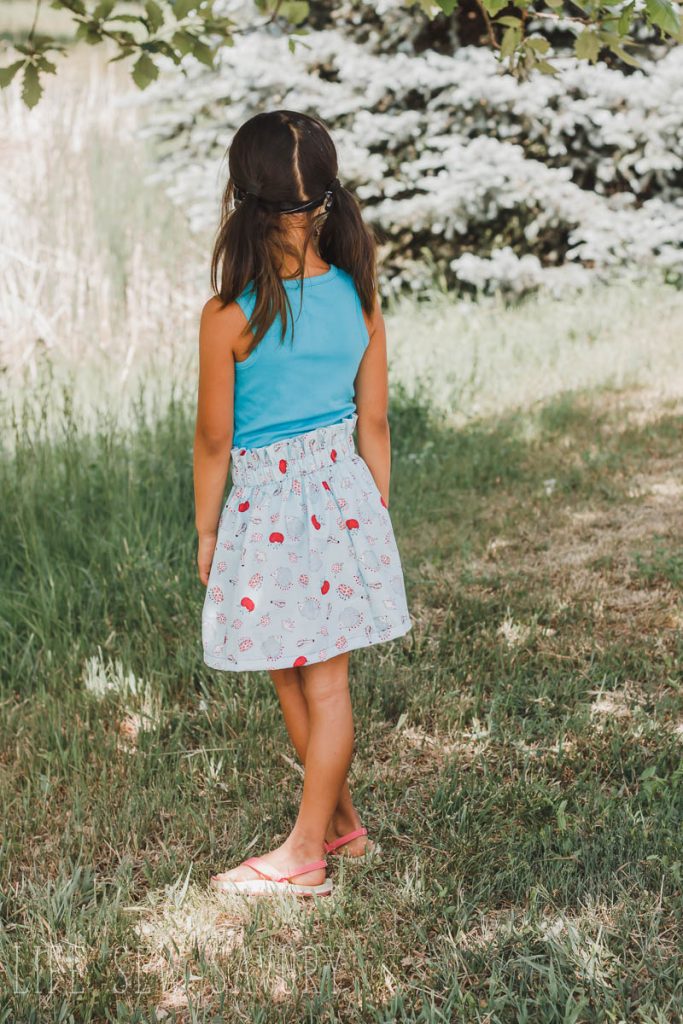
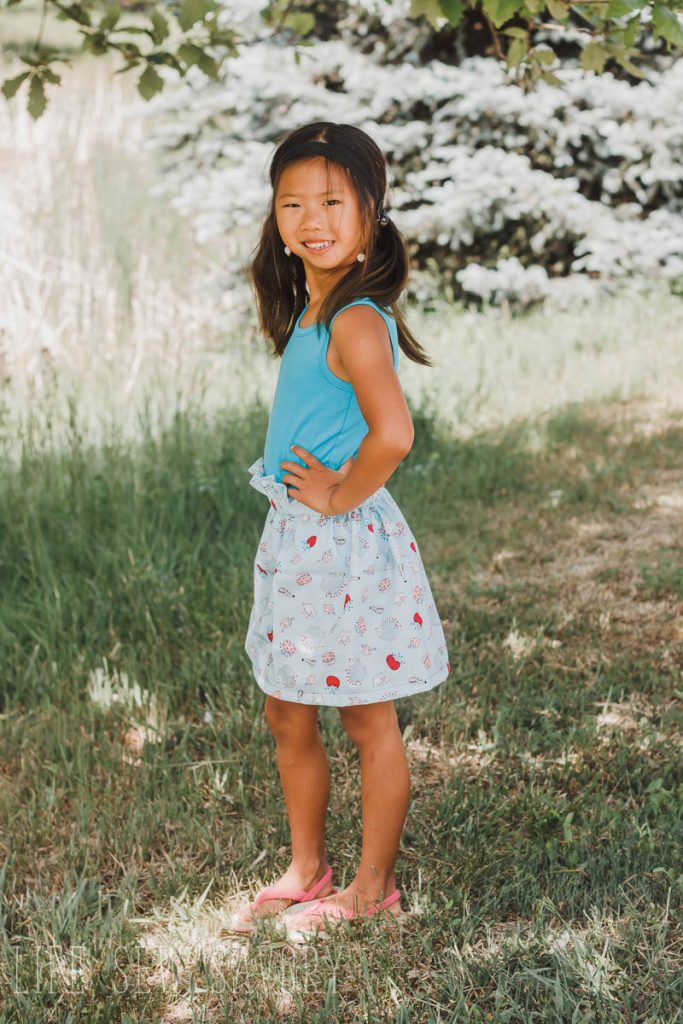
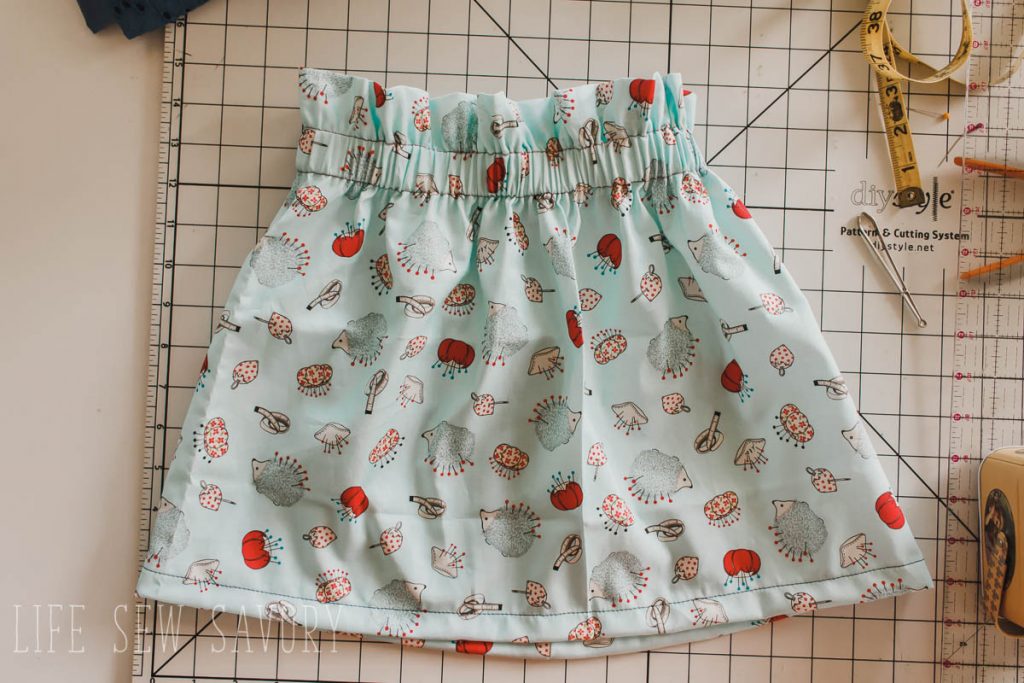
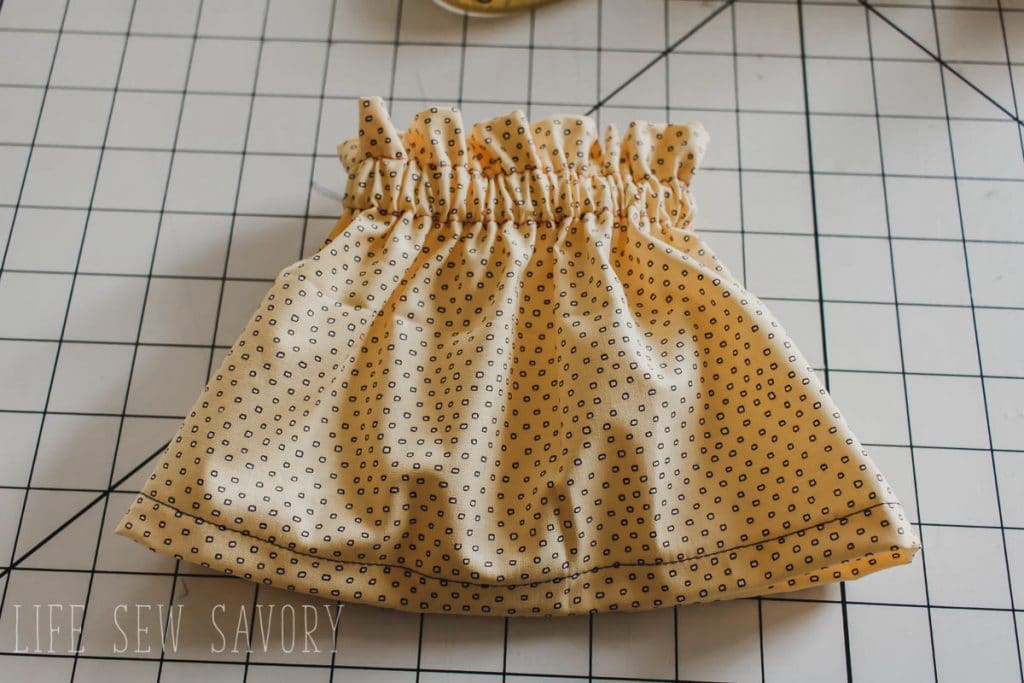
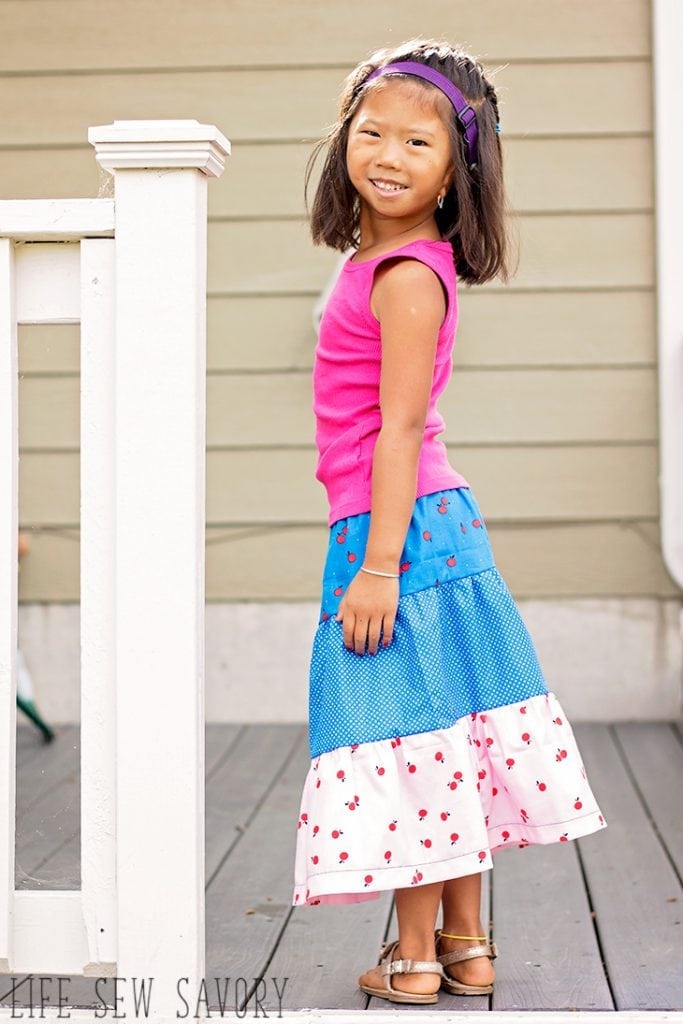
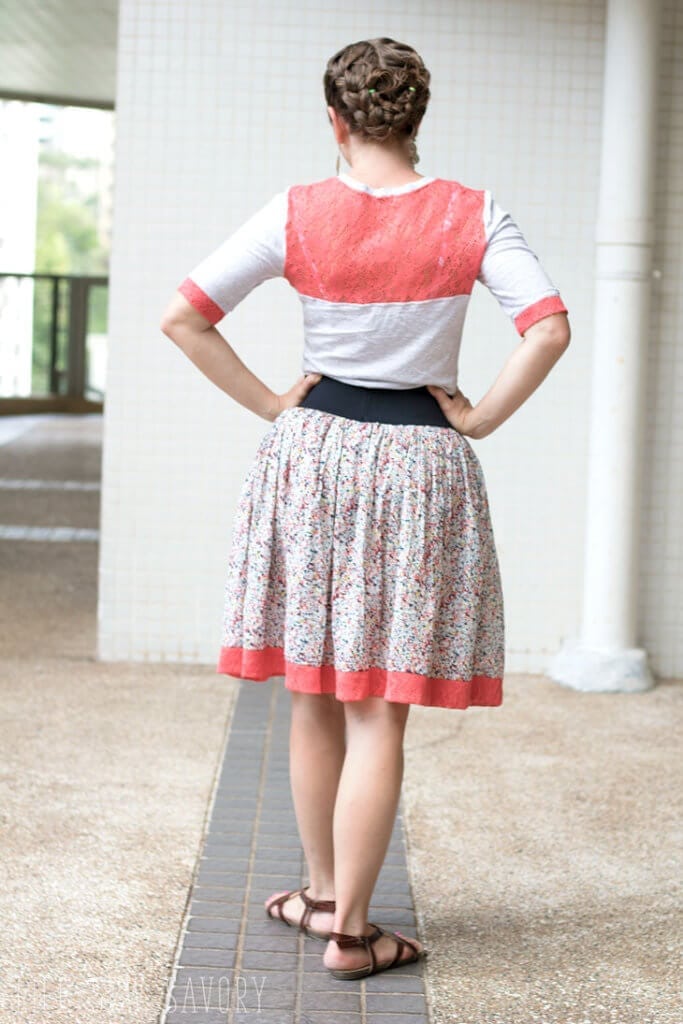
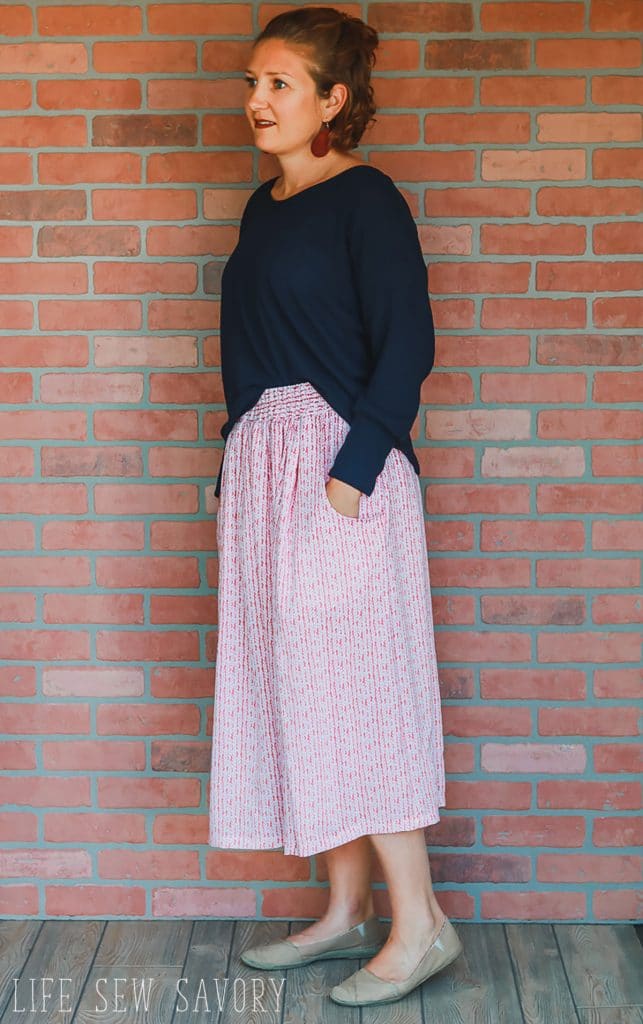
I love how the child and doll skirt came out.. I don’t particularly love the one I made for myself. I liked the idea of the double layer of fabric, but it came out thick and bulky. No matter, you can use the DIY skirt tutorial here to make a skirt in any size.
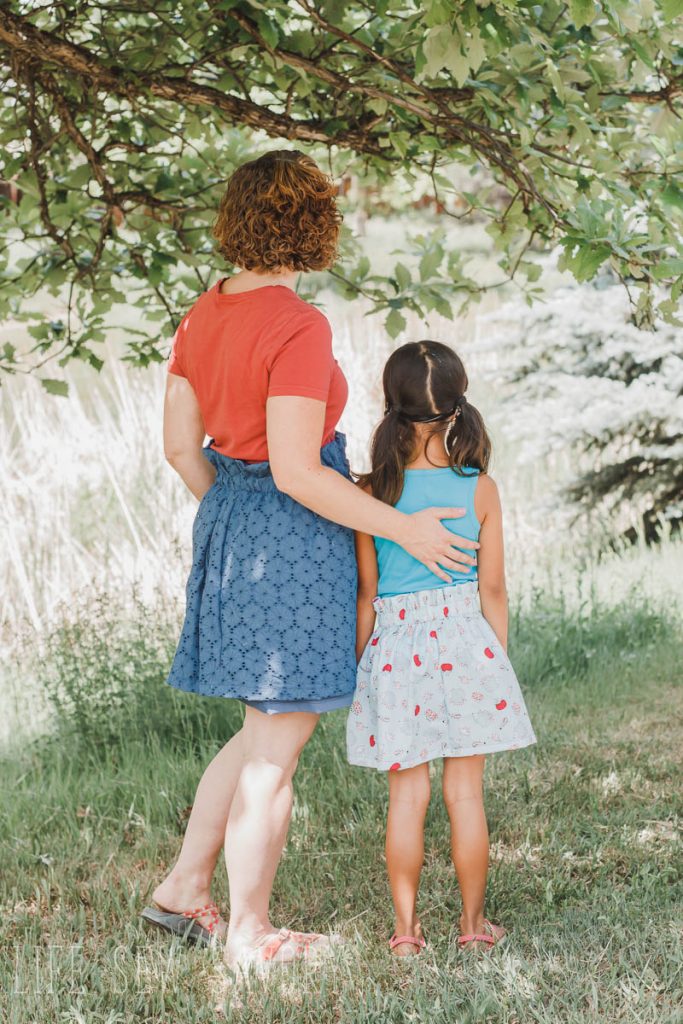
If you can sew a straight line on your sewing machine you can make this skirt. It’s really an easy sew skirt and a matching girl and doll set is pretty fun!
It also takes a tiny bit of math. I will give you the blank templates below to fill in for the measurements of each skirt. The tutorial shows pictures of the doll and child skirt simply because they are easier to photograph {smaller}
Shall we get to it?
How to sew a skirt –
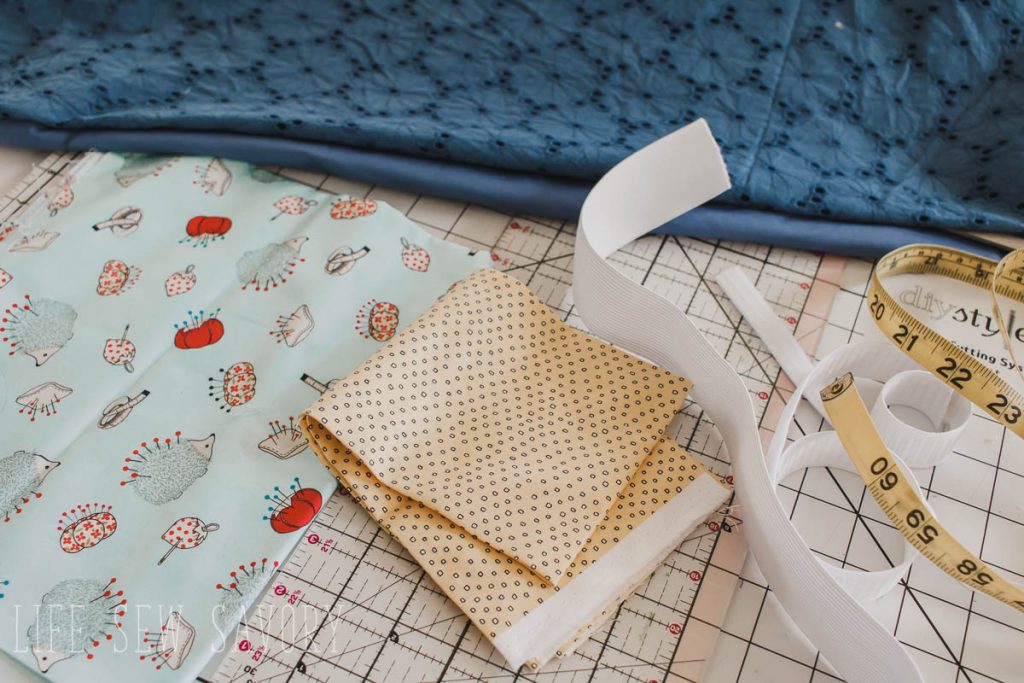
Start by gathering your supplies. Your fabric needs will depend on what size skirt you are making and measurements. We will start with figuring the fabric size so you can know how much fabric you need.
Supplies:
- Fabric – quilting cotton or flowy fabric {rayon challis, etc} works great.
- Elastic 1/2“, 1″ or 1.5″
Skirt basic measurements. Height measurement + Hem allowance + Elastic casing allowance = skirt height, Waist + 1/2 of waist measurement = Skirt width
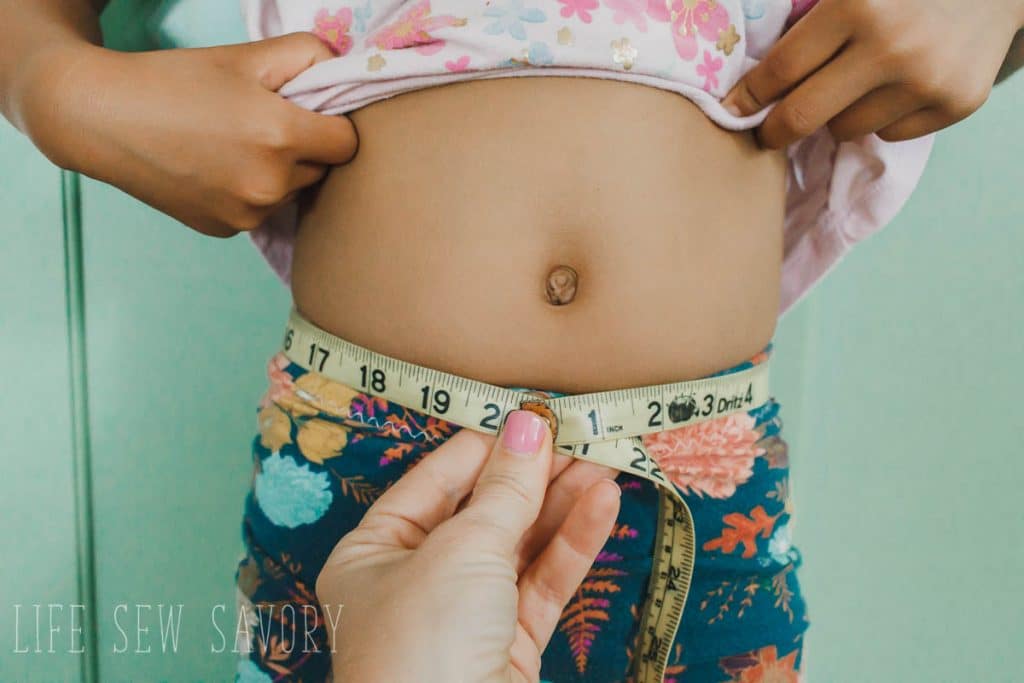
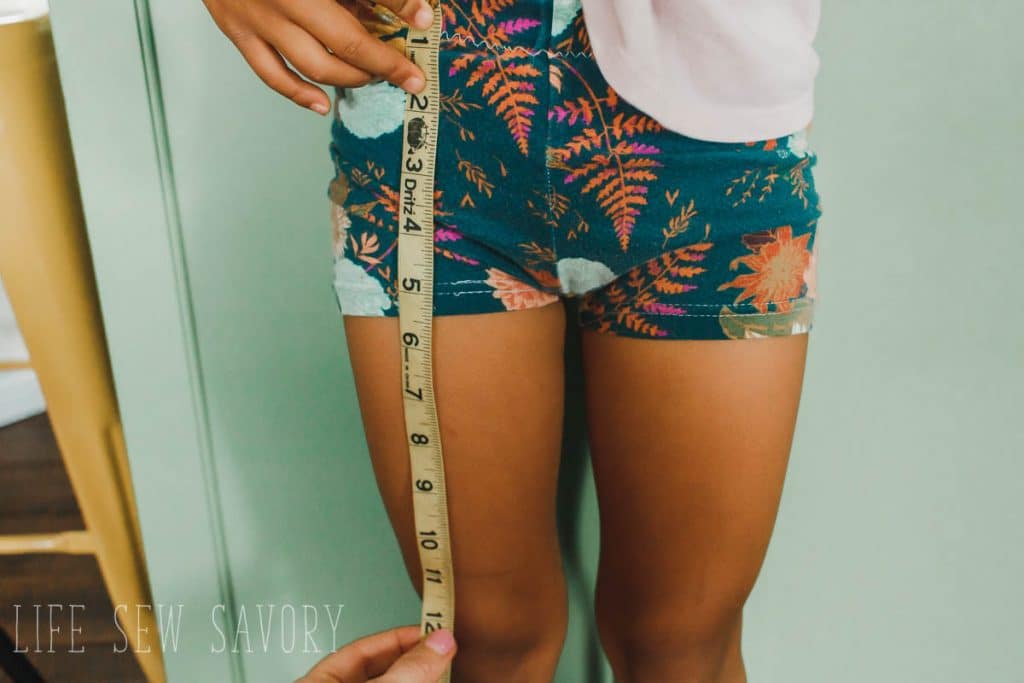
Measuring – For doll, child or adult you will need a waist {high or low depending on preference of wearing} and length. Length will measure from the waist to where you want the bottom of the skirt to fall.

For example my daughter her waist is 20″ so to find the width… 20″ + 10″ {1/2 of waist measurement} = 30″ this is the width of the fabric needed. It will allow for cut gathers, but not be too full. For larger sizes you may need to piece the width.
For the skirt height we wanted it 12″ from her waist to knee so.. 12″ + 5+ 3/4″ = 17. 75″ This is the skirt height I will cut.
My final skirt fabric is 30″ x 17.75″ and I use 1″ elastic.
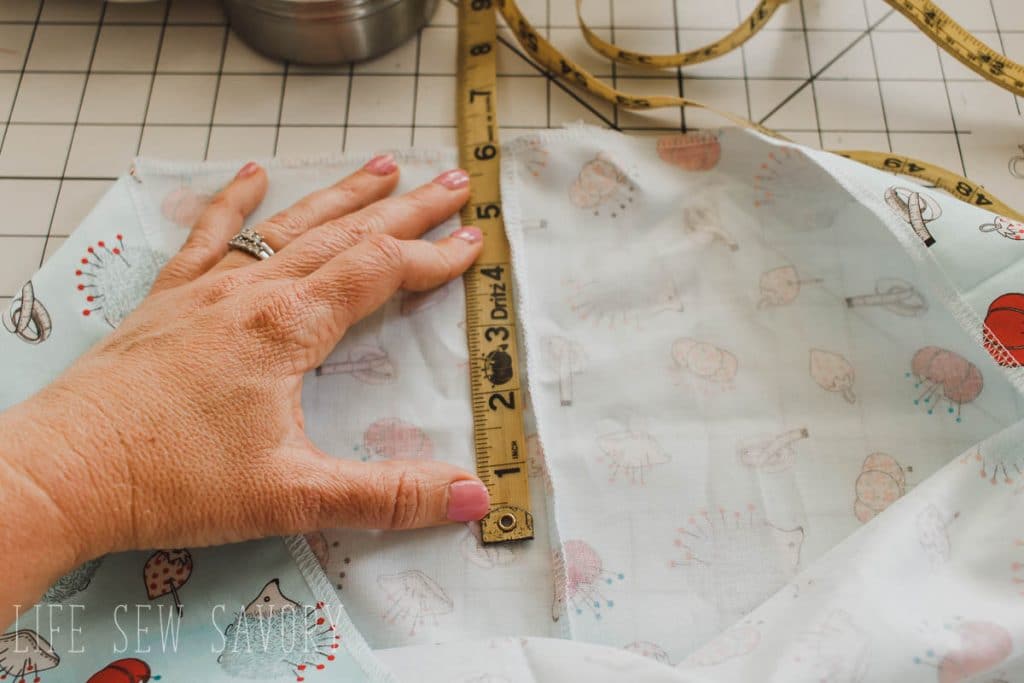
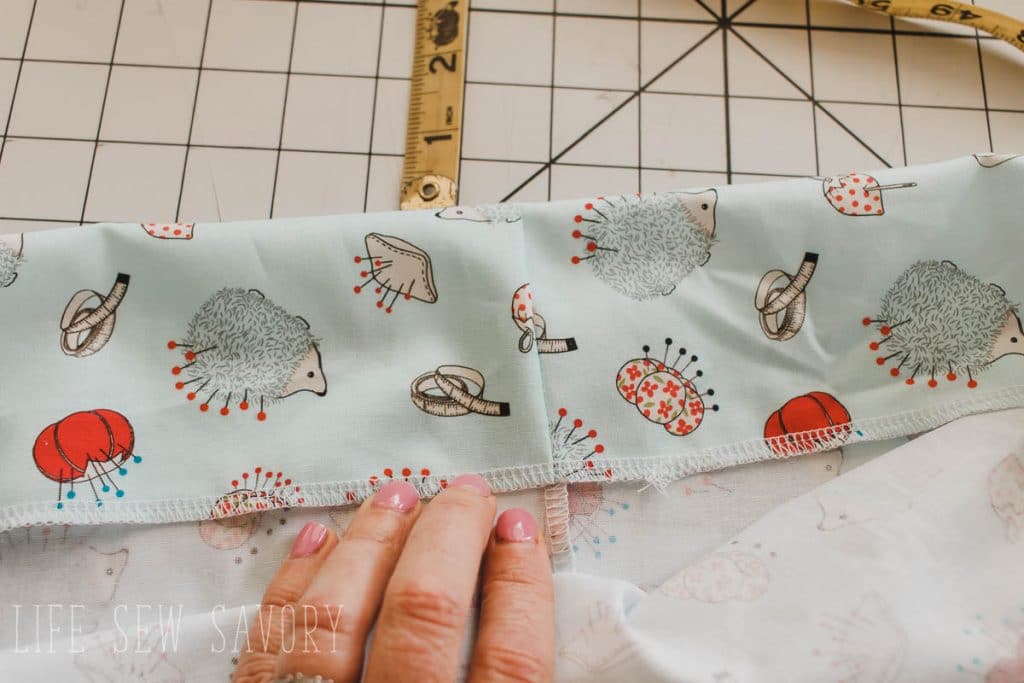
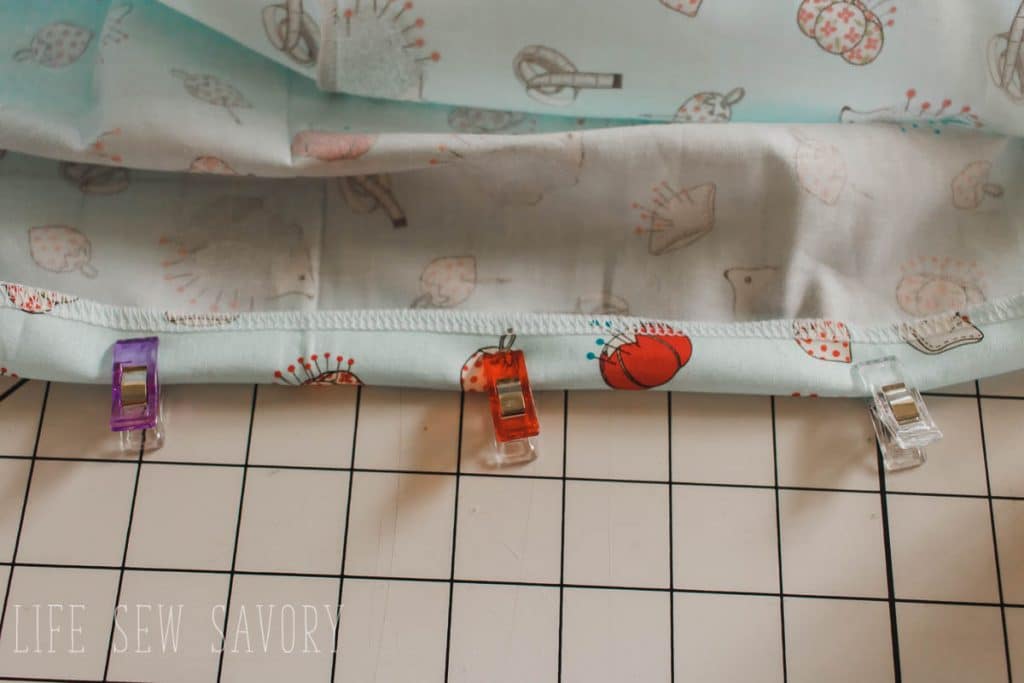
Sew the two short ends of the fabric {this is the back seam}. Then finish the top and bottom of the skirt with either a serger or zig-zag to finish the raw edges.

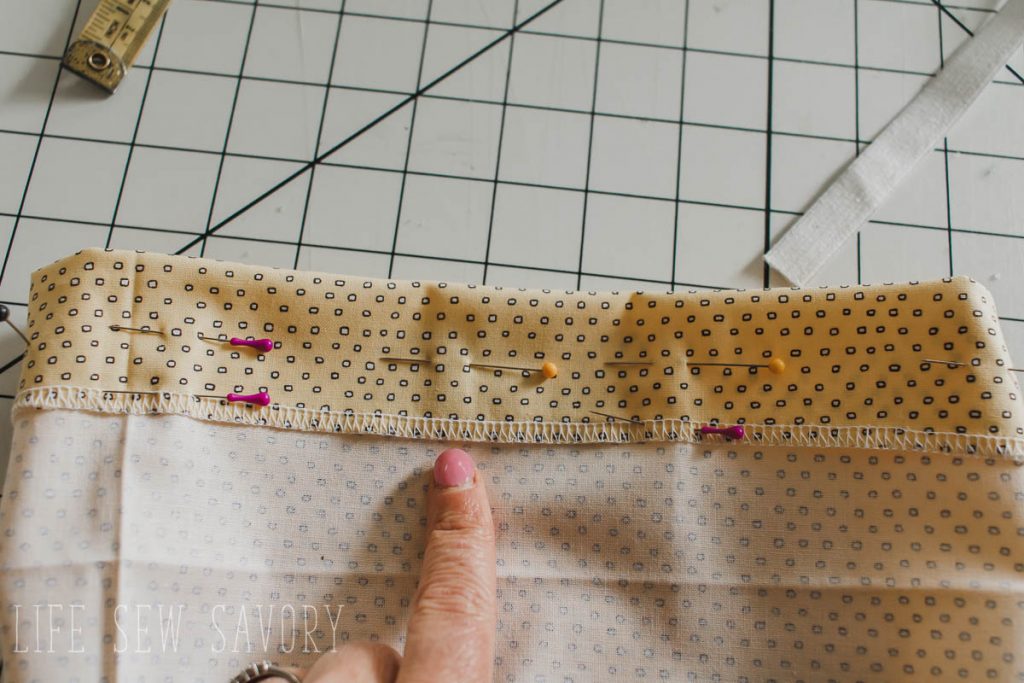
Use the chart above to determine how much to fold over for the elastic casing and paper bag top. For the doll 3″, child 5″ and adult 7″. Mark this from the top and then fold the top over to meet this mark.
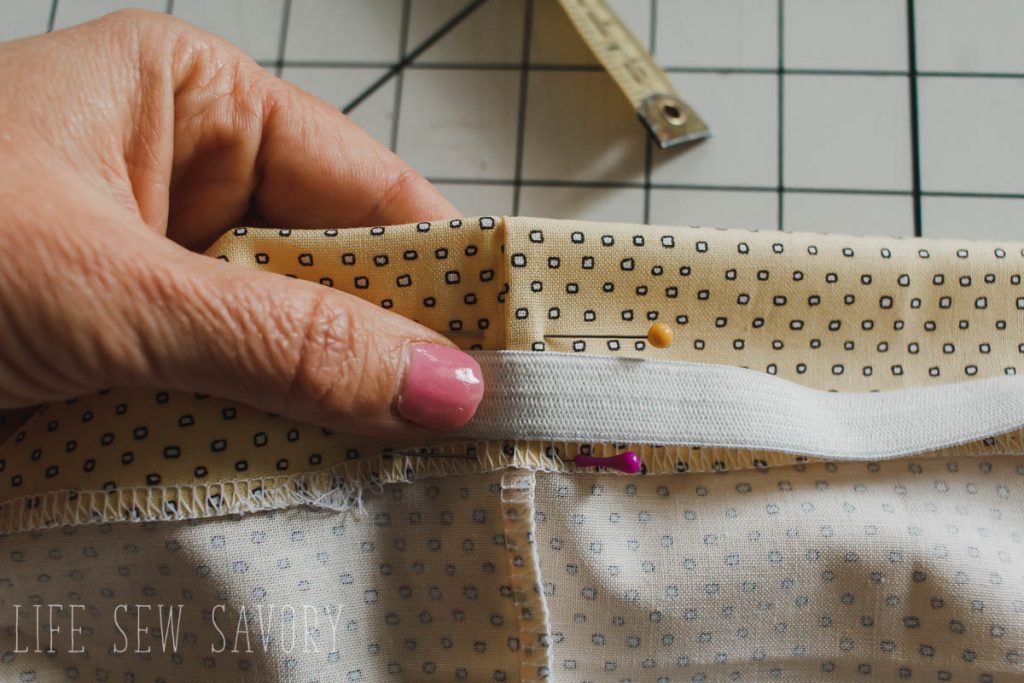
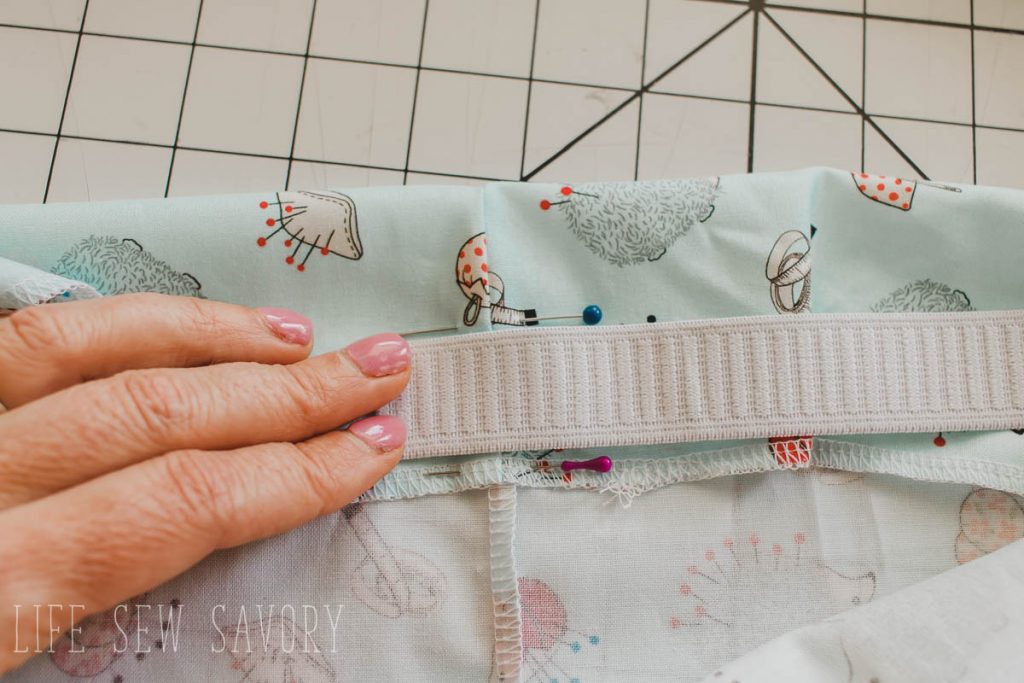
On this folded over fabric pin the bottom edge all the way around and then mark the top edge of the elastic as well. Use the elastic size as recommended for the size you are sewing.
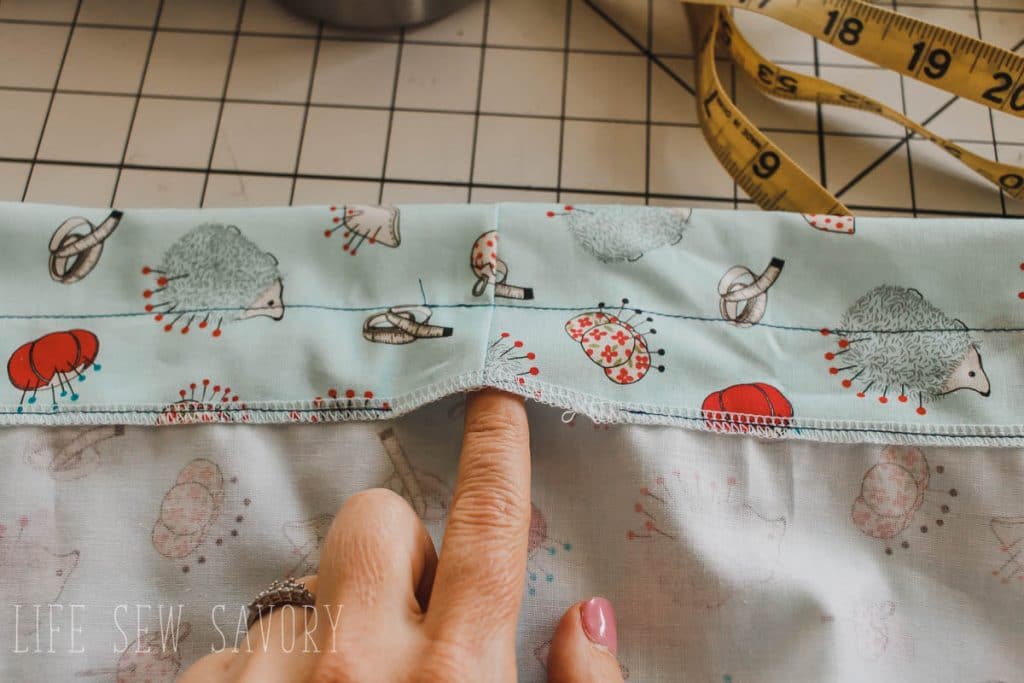
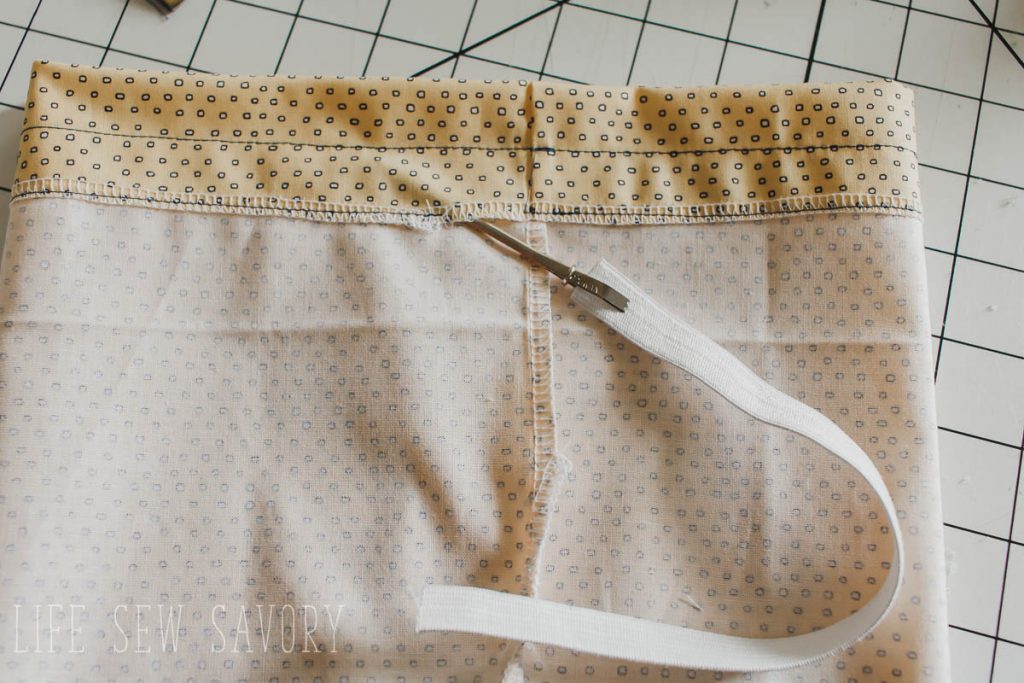
Mark the two lines you will sew to create the elastic casing. Leave an opening over the back seam on the bottom edge to thread the elastic.
Measure your waist for elastic tightness and thread it through the casing.
Sew the ends of the elastic together and then close the hole.

Fold up the bottom hem according to the chart.
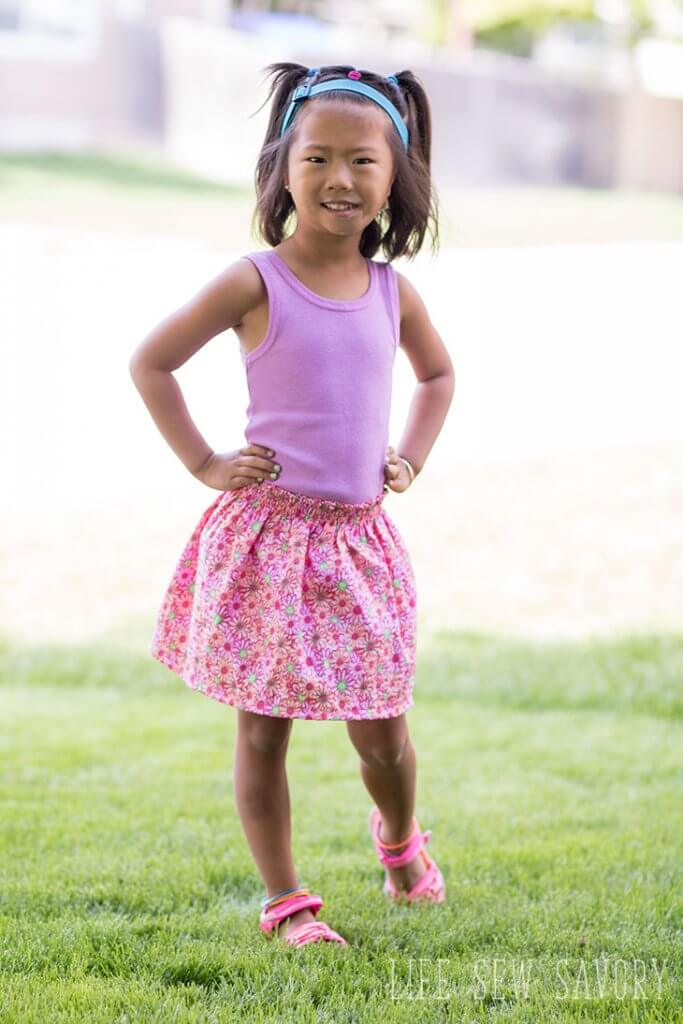
Now you have a super cute skirt in the size you chose to sew. It’s easy to make a few! My daughter loves hers and her new doll skirt.
More free skirt tutorials to sew

Shirred Skirt Tutorial 








Leave a Reply