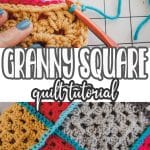
inside: Learn how to crochet a granny square quilt. Granny squares are easy to crochet and perfect for on the go crafting. Sew them into a quilt for an easy crochet project.
Hi all! This tutorial today is going to be a bit different that my normal sewing tutorials, but this is a project I’ve been working on and I wanted to share it with you. I almost always have a crochet or knitting project in the works and I work on it while we drive cross country for summer and Christmas family visits. This crochet granny square quilt has been in the works for a couple of years and I just finished it. Today I’m going to share an easy crochet tutorial to crochet a granny square quilt.
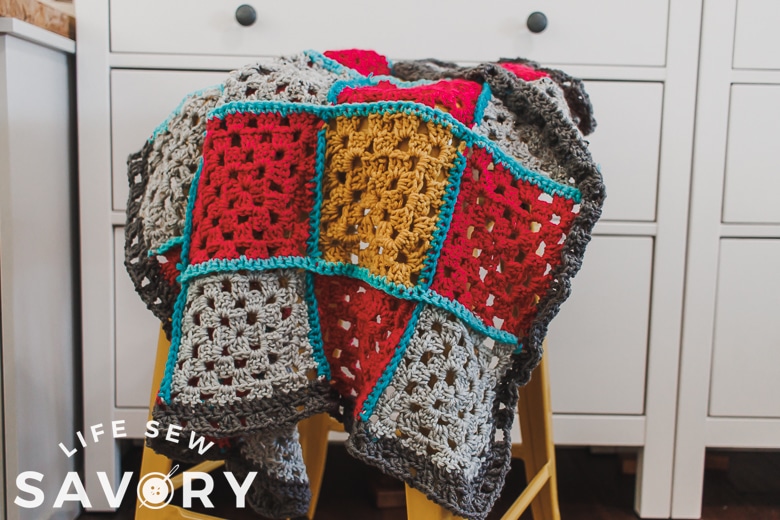
Let’s Create a Quilt with Granny Squares
Granny squares are a pretty simple crochet project to get started with a yarn project. I like them because I can work on this project in the car with minimal supplies….PLUS I made this whole project with yarn I had on hand. If it looks a little cobbled together, it’s because it is! I used all this yarn from my stash and I love the final result.
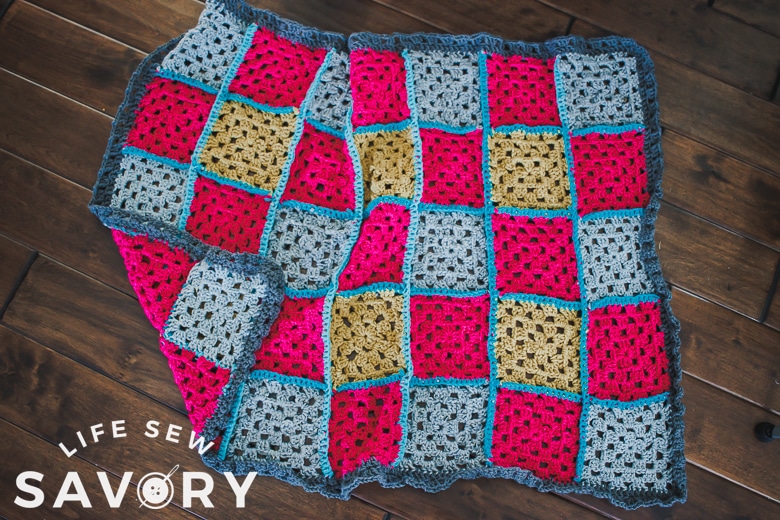
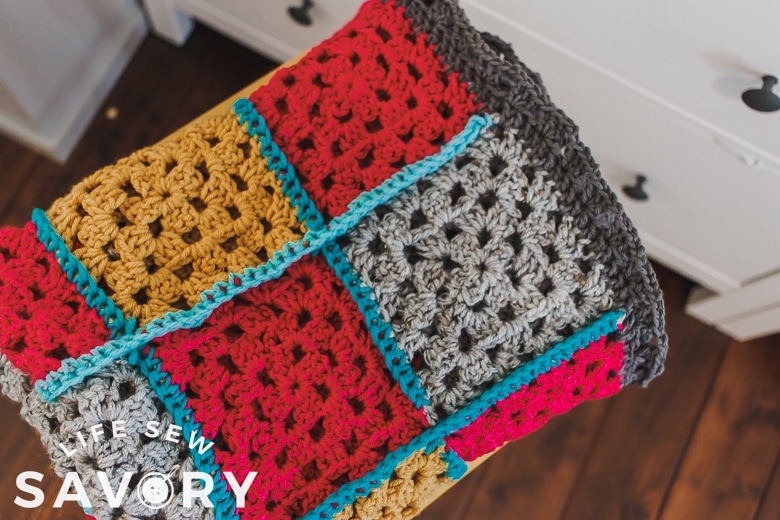
I started with the original colors of yellow, pink and grey and then I added the teal binding and dark gray border.
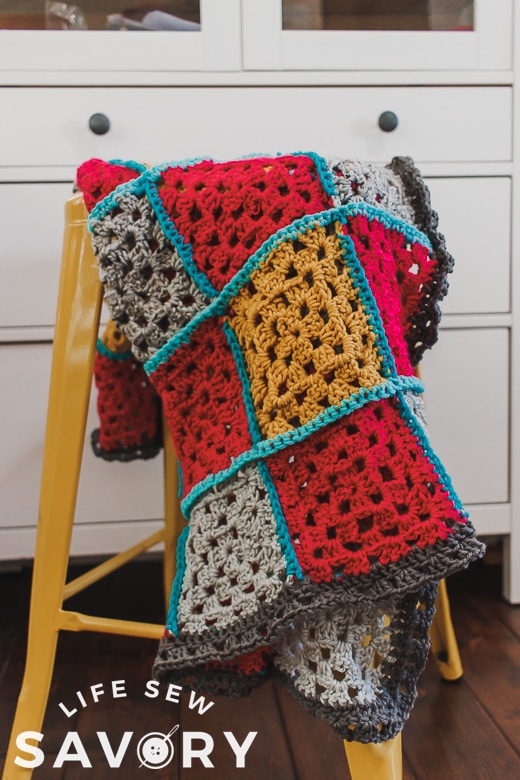
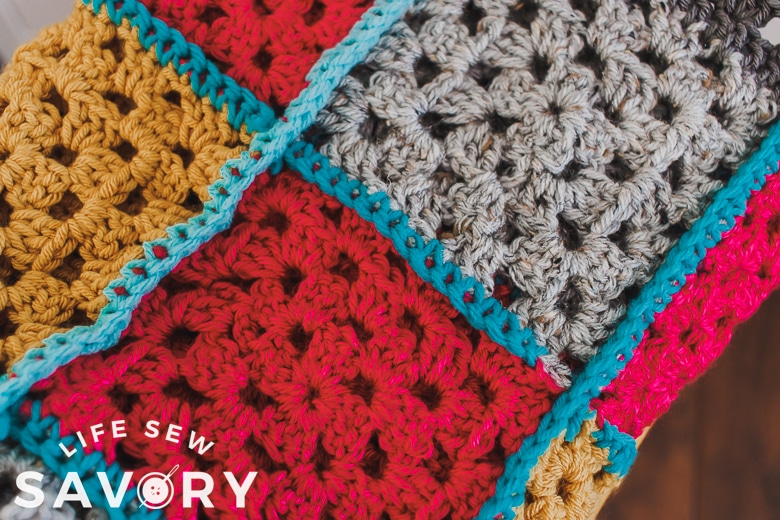
We will start with the basics of crocheting a granny square, then show you how I put it all together. Again, I work on this in the car on long drives, so it takes me quite awhile to make enough for a quilt. And my final quilt is only a baby size one. My quilt was 7 x 5 squares plus a border for a baby size blanket.
More blankets to sew/make
- Faux Chenille baby blanket
- Sherpa and flannel blanket
- Geometric fabric blanket
- super simple flannel blanket
- Rag Quilt tutorial
How to crochet a granny square
You can really use any hook and yarn that you want! The more consistent the weight of the yarn, the more consistent the squares will be. Play around with different hooks and see which one works for the yarn you want to use.
Helpful abbreviations:
- ch – chain stitch
- ch-sp – chain space
- dc – double crochet
- sl st – slip stitch (Insert hook, yarn over, pull through stitch, and loop on hook)
- st(s) – stitch(es)
The rounds of the granny square are made from granny clusters separated by chain spaces.
Granny cluster (3 dc cluster): A granny cluster a set of 3 double crochet stitches, all worked into one stitch or space. In this pattern, the granny clusters are separated from one another with chain stitches.
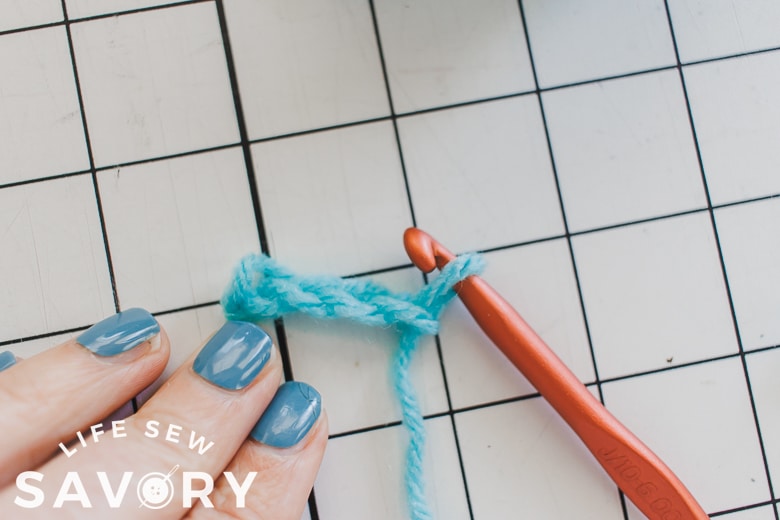
Start your square by creating a ring. I make mine with the following technique.
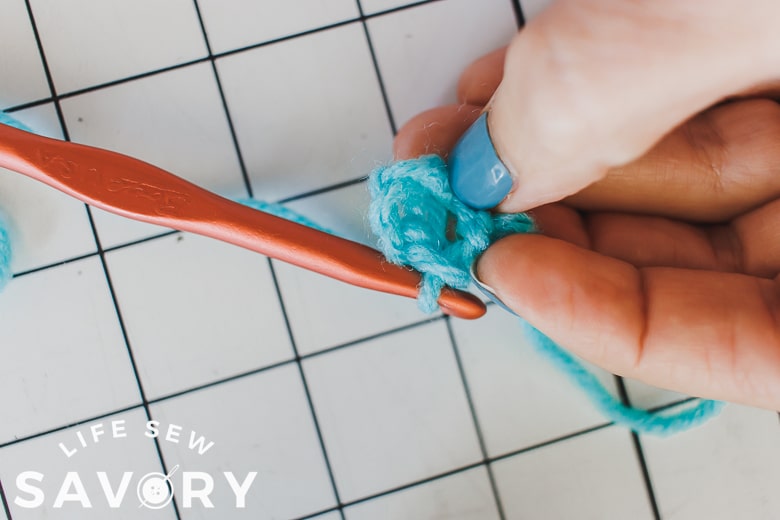
Chain 4 stitches, and use a slip stitch to join your chain into a circle. Then work your first round into the circle.
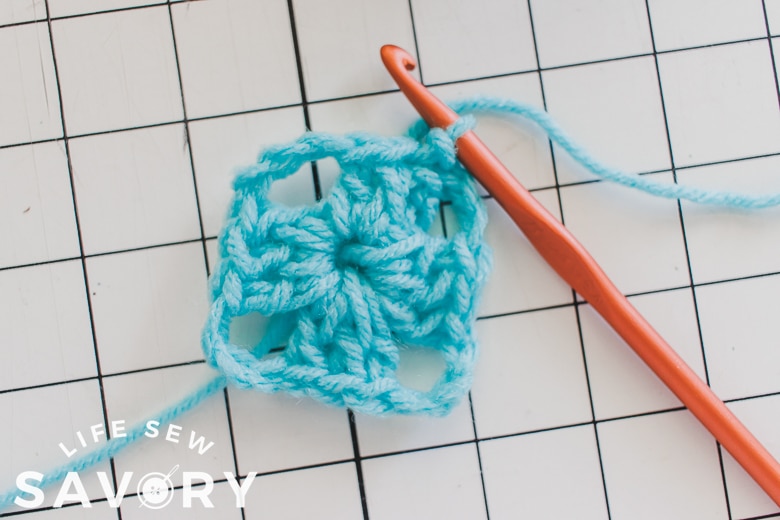
Round 1:
- Ch 3. Into the center ring, make 2 dc {first cluster}
- ch 3,
- 3 dc, ch 3 three more times.
- Join with a sl st to the top of first ch-3.
- You should have four double crochet clusters and four chain threes
Round 2:
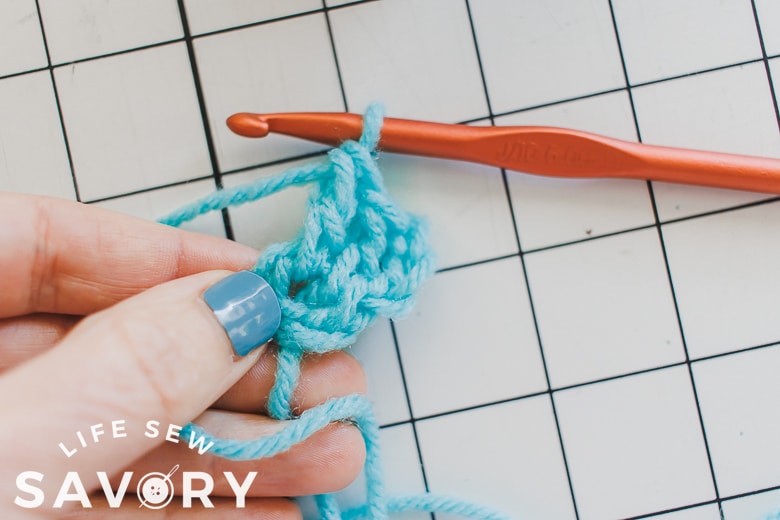
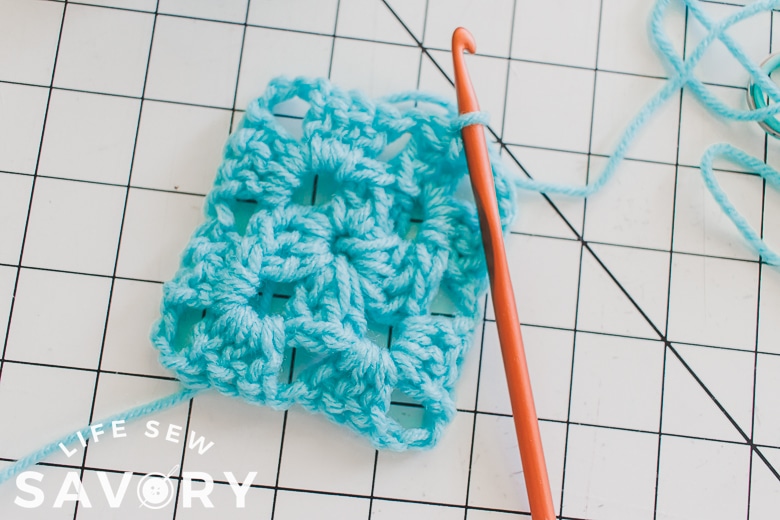
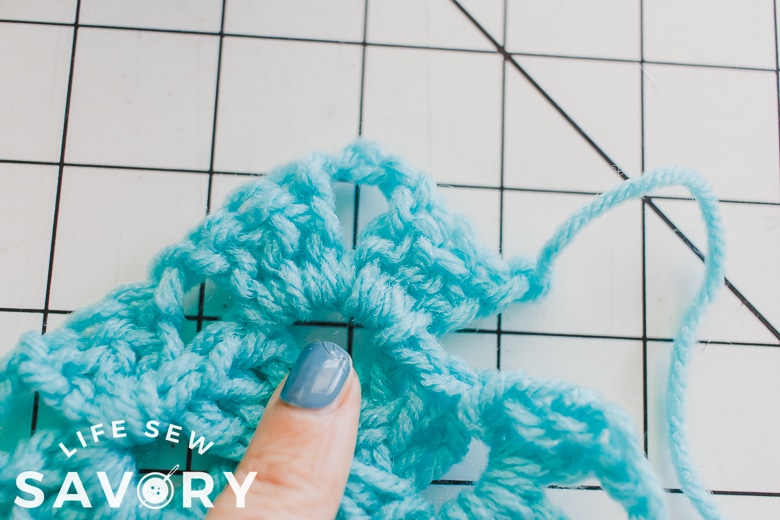
- Chain 4. (This counts as the first dc and ch-1 space.)
- In the next ch-3 space (aka the first corner space), work: 3 dc, ch 3, 3 dc, ch 1.
- Repeat Step 2 twice more for a total of three times.
- In the last ch-3 space, work: 3 dc, 3 ch, 2 dc.
- Join with a sl st to the 3rd chain of the beginning chain stitches.
Round 3:
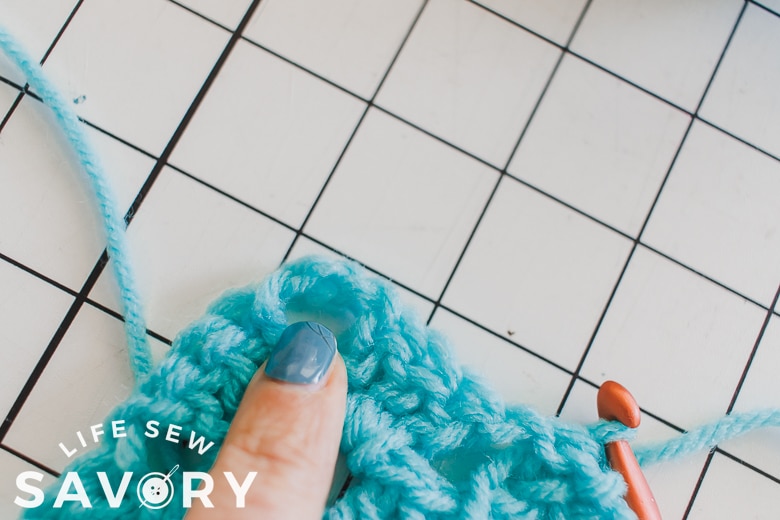
- Chain 3. (This counts as 1 dc.)
- Then, into the ch-1 space just below in the previous round, work 2 dc, ch 1. (This makes the first granny cluster of this round.)
- Into the next ch-3 corner space, work: 3 dc, ch 3, 3 dc, ch 1.
- Into the next ch-1 space, work: 3 dc, ch 1.
- Repeat steps 3 and 4 around to the beginning chain. Finally, join with a sl st to the top of the starting ch-3.
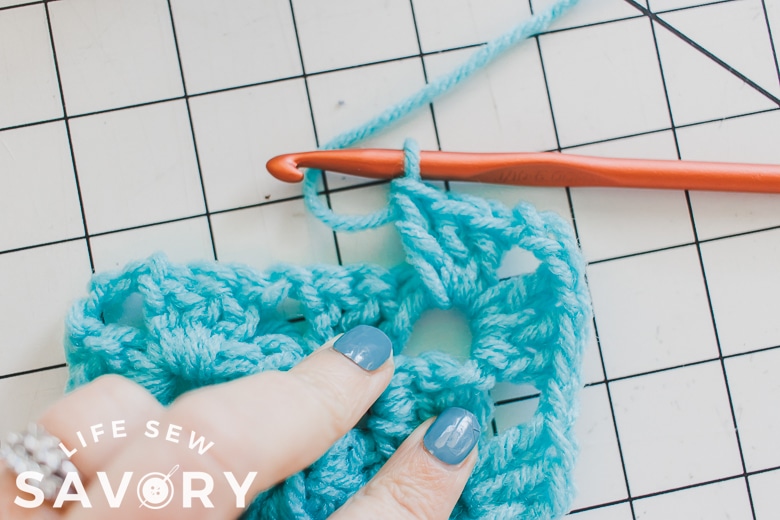
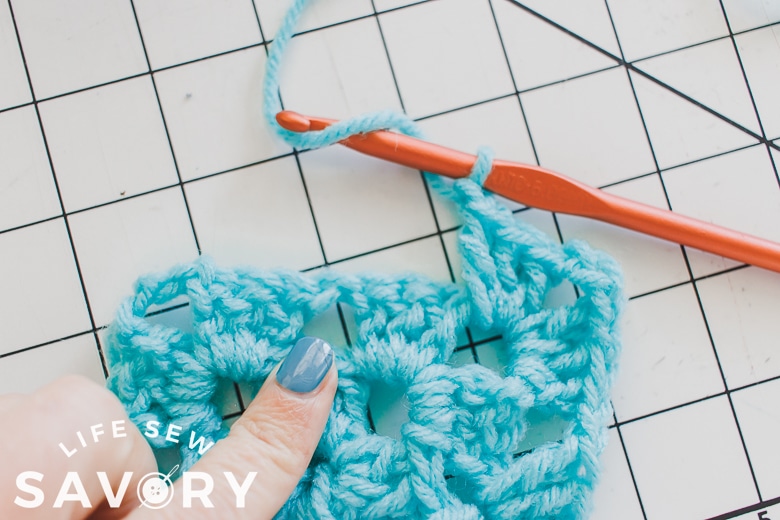
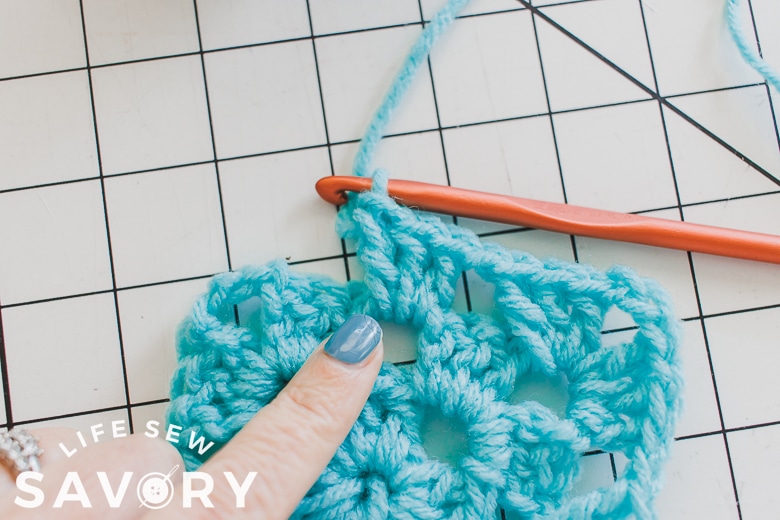
Round 4:
- Chain 4. (This counts as 1 dc and the ch-1 space.)
- Into the next ch-1 space, work: 3 dc, ch-1.
- Into the next ch-3 corner space, work 3 dc, ch 3, 3 dc, ch 1.
- Repeat steps 2 and 3 in each of the remaining ch-1 and ch-3 spaces.
- In the last ch-1 space, work 2 dc.
- Join with a sl st to the top of the starting ch-3.
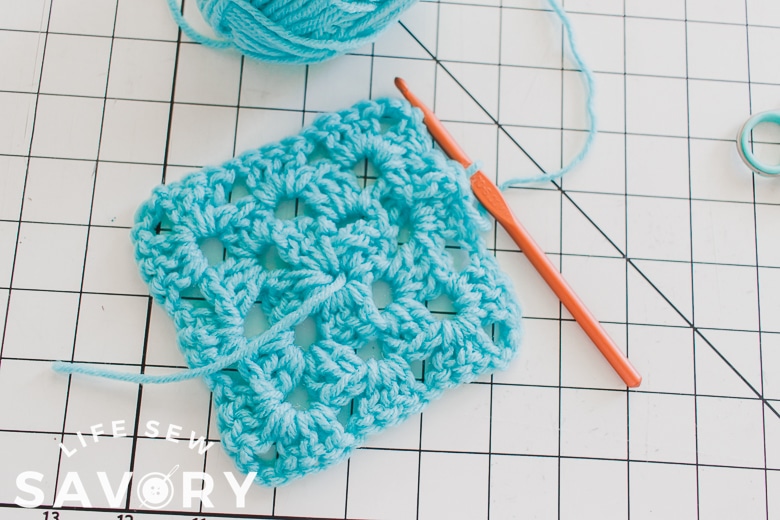
How to create a quilt with granny squares.
First start by laying out a pattern with all your squares. I had three extra after I created this layout.
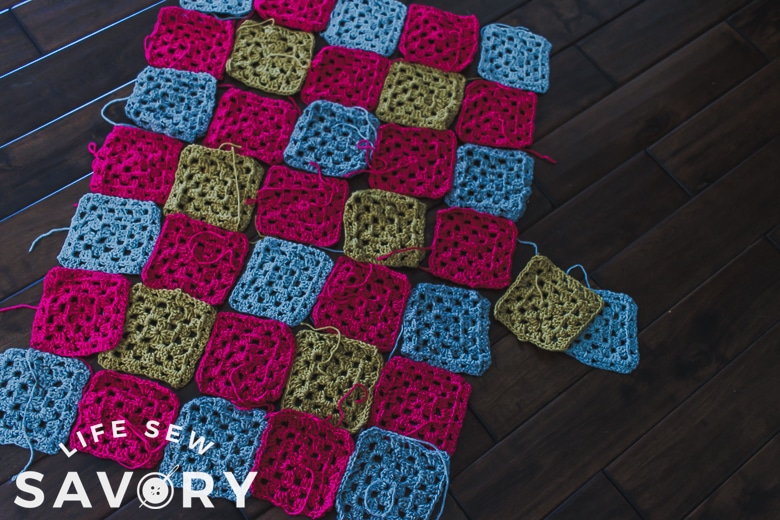
Now we will put this together just like you would a fabric quilt. Squares sewn together to form rows, then sew the rows together to form the quilt. I crochet each square together with the teal yarn. See below for the stitch details.
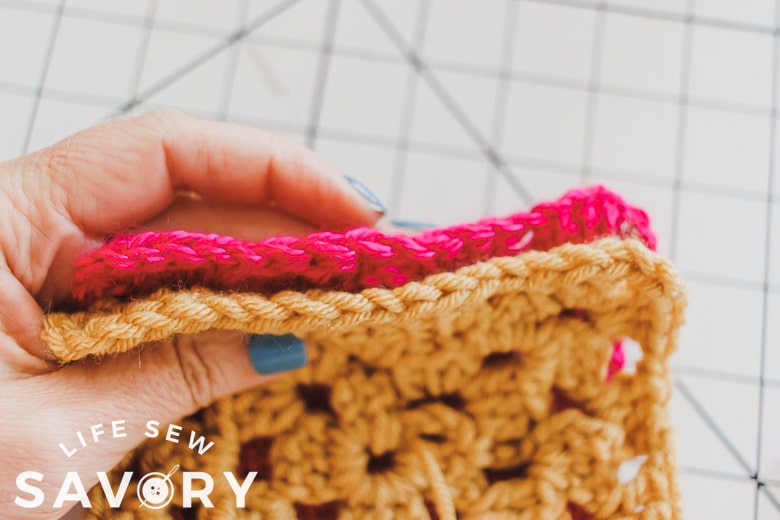
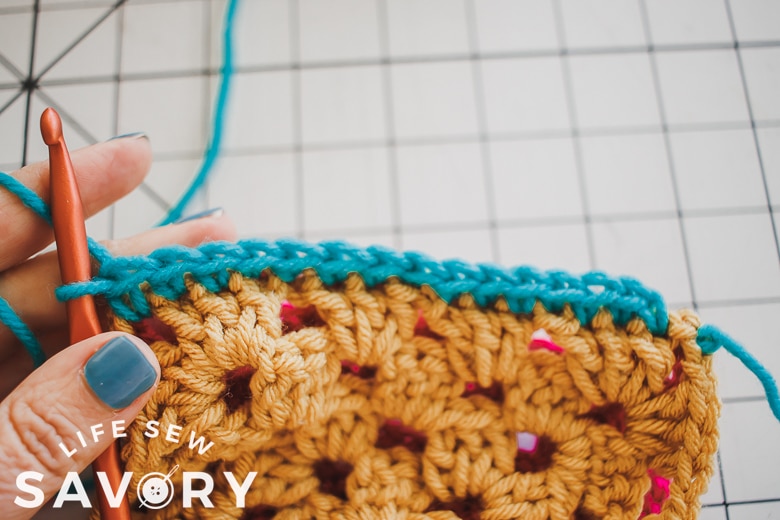
Line up two squares from one row and pull a loop through one corner. Pull a tail through the loop to secure the end. Keep the long tail of the yarn and work it into a seam later. Push the needle through the first stitch in each square and pull through a loop, yarn over and pull through to complete the stitch. Push through the next stitch and repeat until the end of the square.
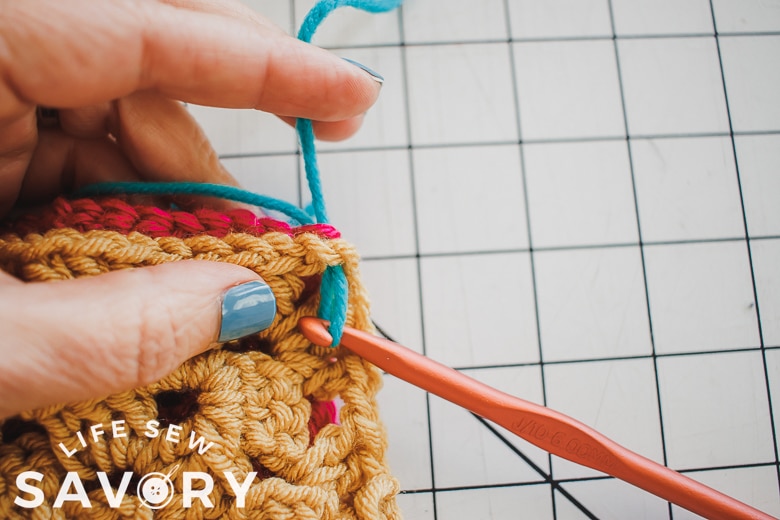
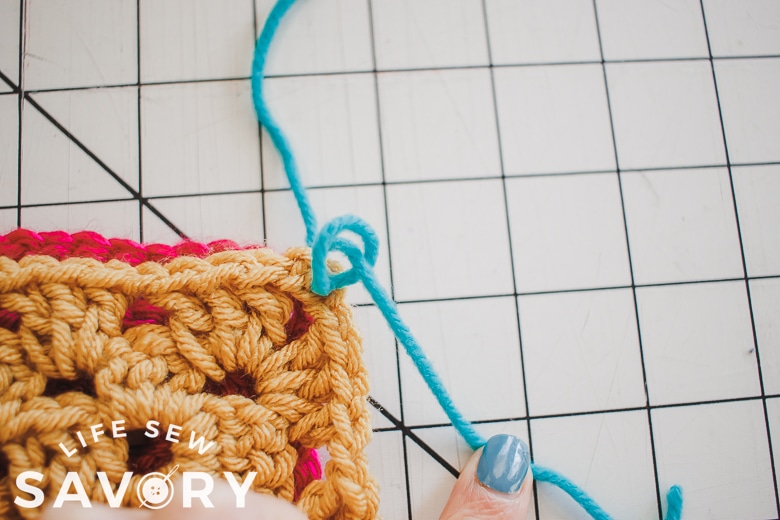
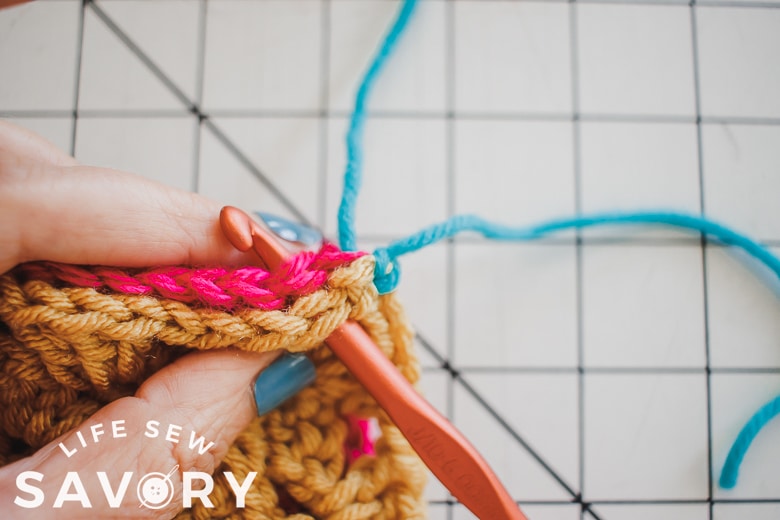
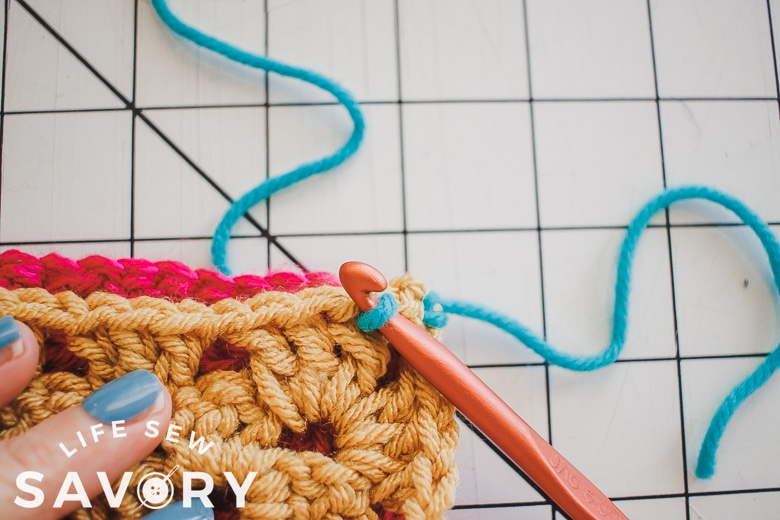
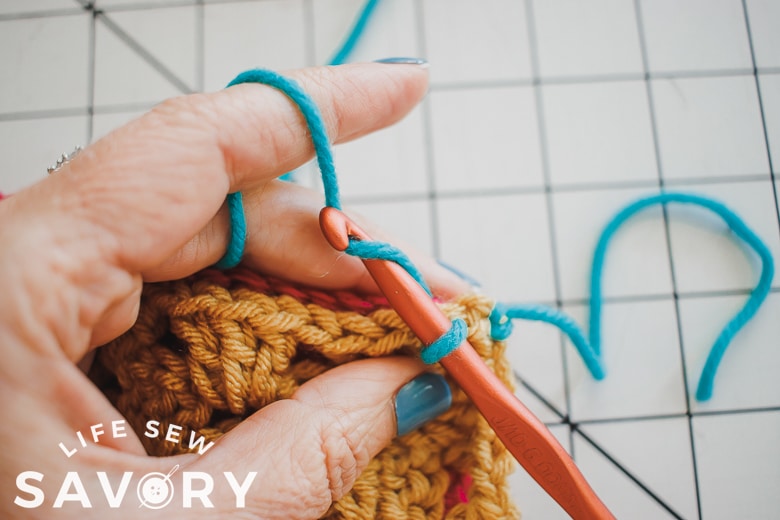
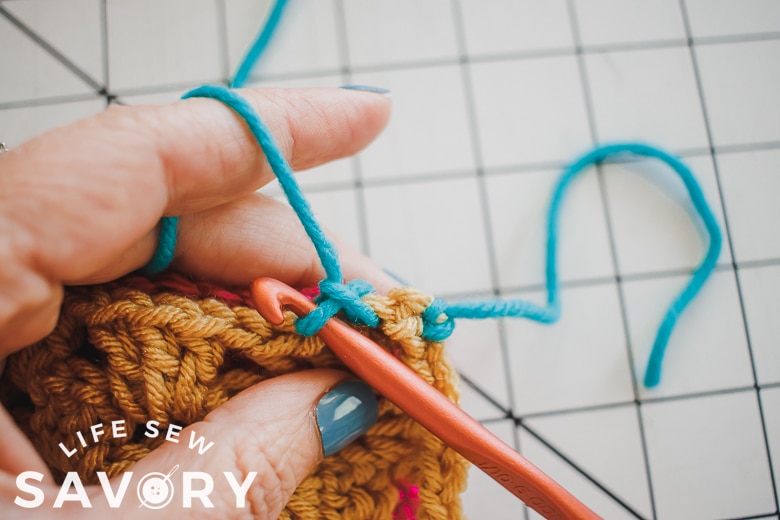
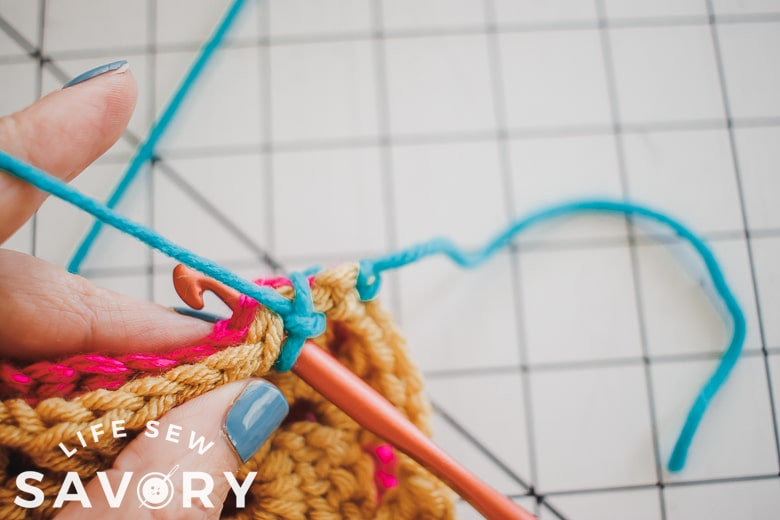
When you get to the end of the square, finish by pulling a cut thread through the final loop.
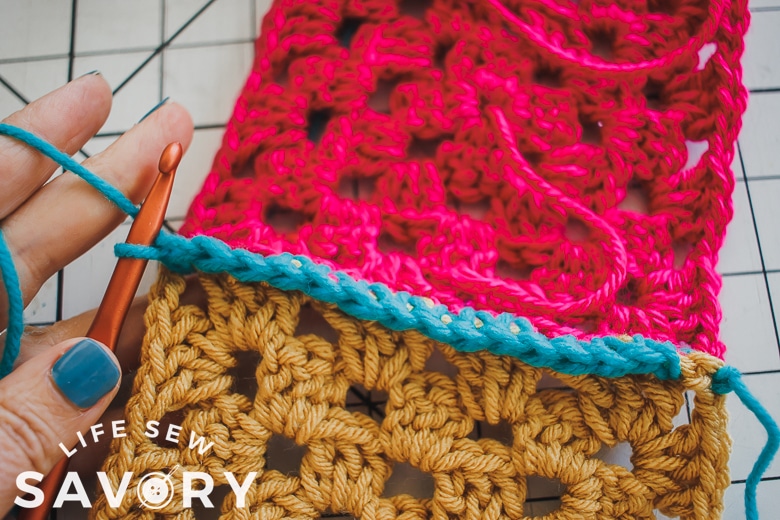
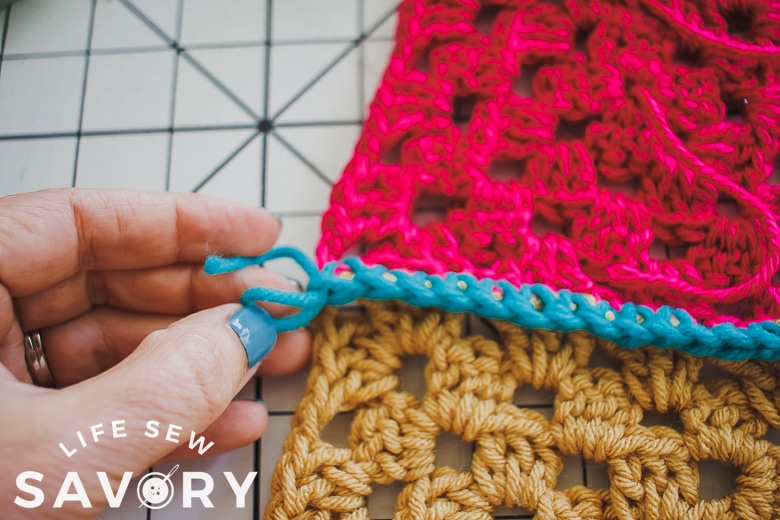
Assemble all the rows, before laying them together and then sewing each row together in the same way that you sewed each square together.
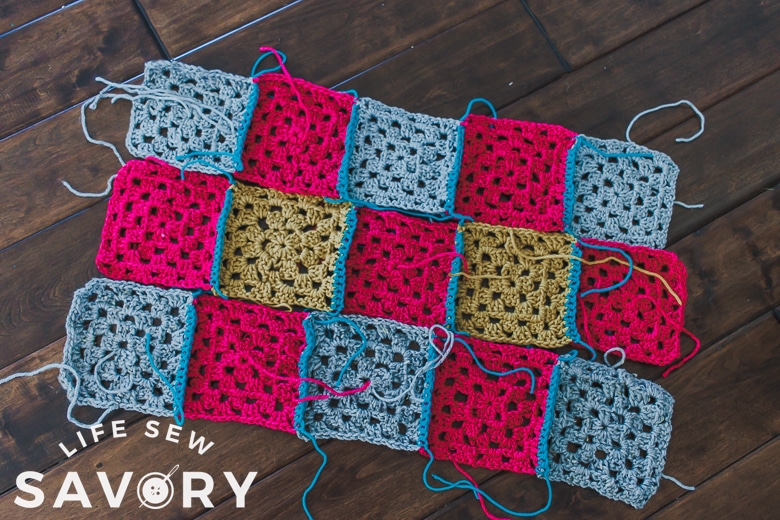
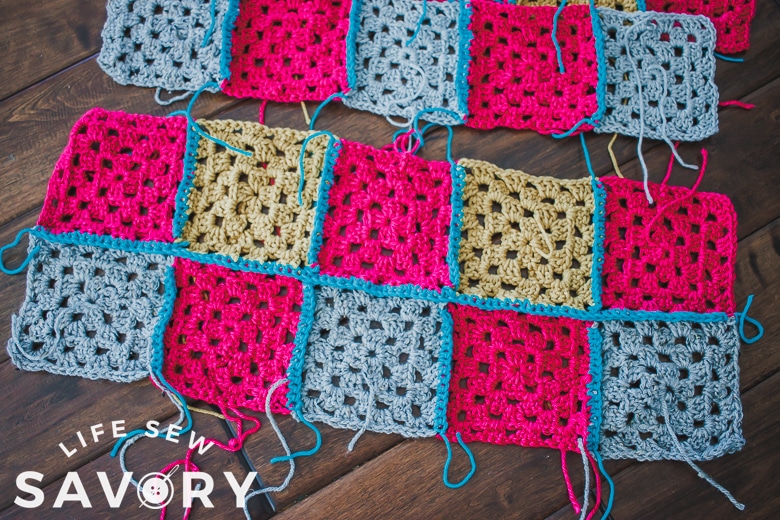
When you have all the squares together you can add a border if you want.
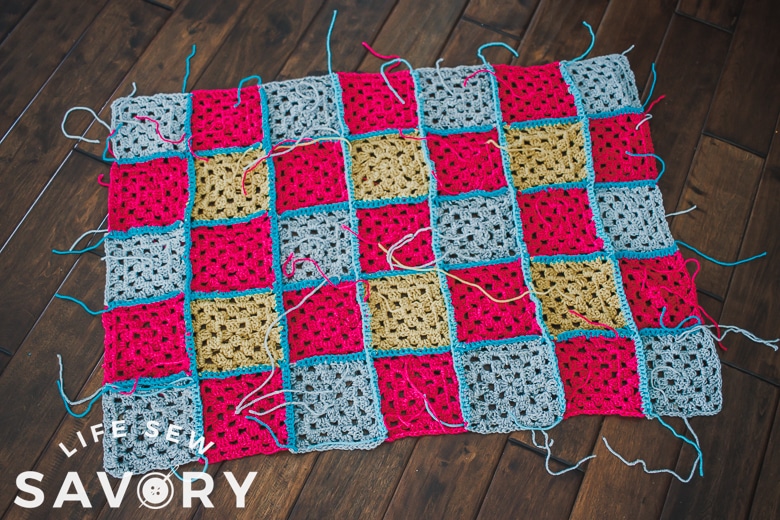
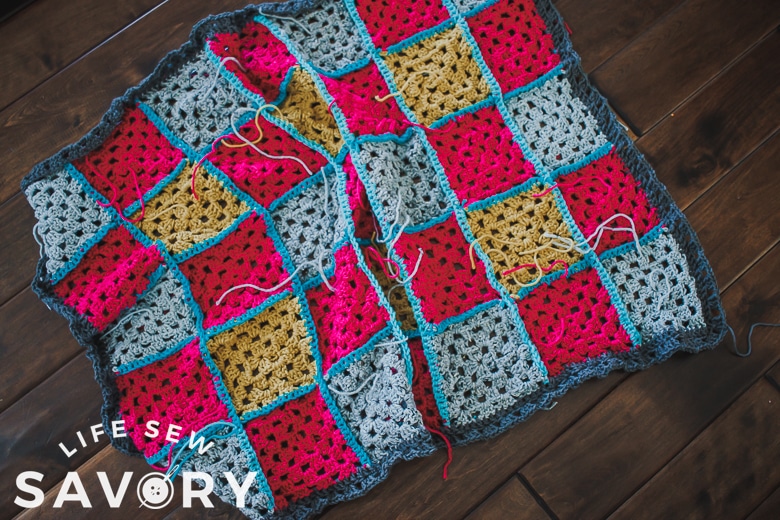
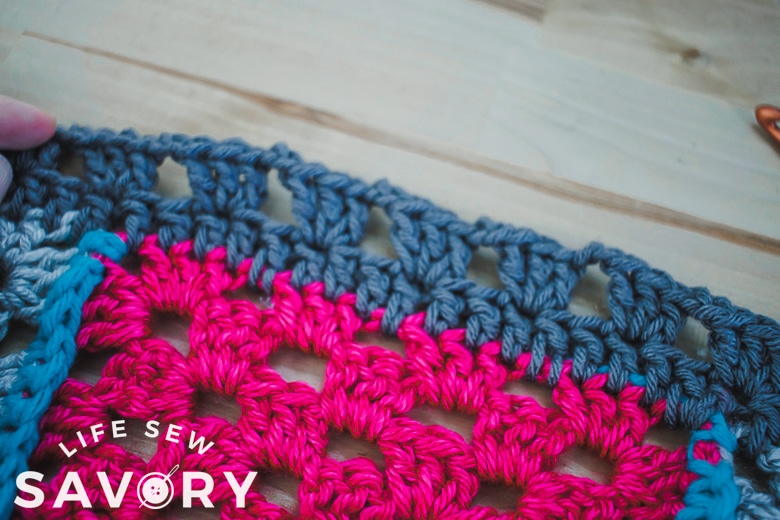
My border is a row of double crochet stitches all the way around. Then I added a second row of double crochet clusters and then chain 2. I did the double chain clusters in every third stitch around the top of the double crochet first row.
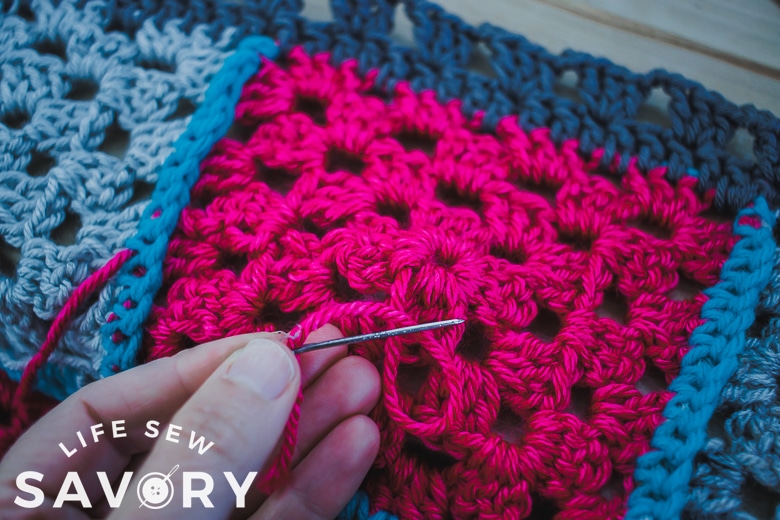
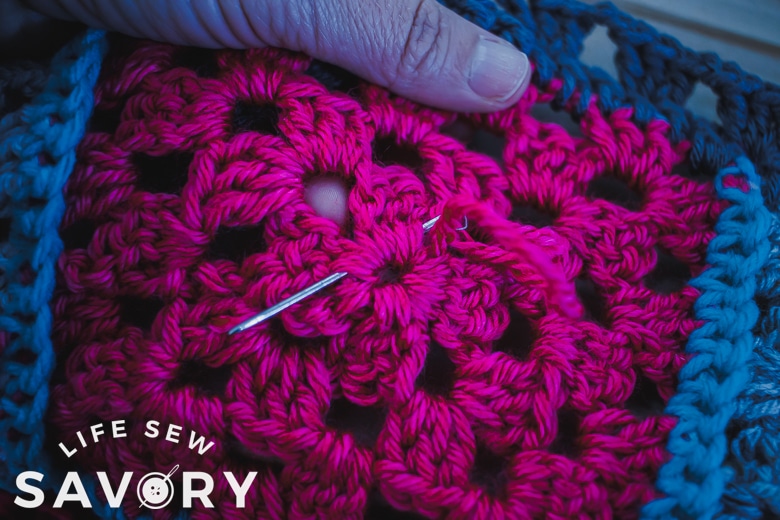
The final step is to weave in all the loose ends. Take a darning needle and weave about two inches of each thread end into the stitches before cutting the end.





Leave a Reply