inside: Learn how to sew a scrunchie four different ways. Use this free sewing tutorial AND free template to create easy scrunchies. Simple and fun sewing project, scrunchies!
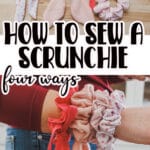
Have you sewed scrunchies before? They are so fun and easy! Today’s tutorial is how to sew a scrunchie four different ways and I’m so excited. I know that there are many other blogs who have written tutorials on sewing scrunchies, but I’ve combined four of my favorite methods into one post and all the information is here for you. Choose which method for scrunchie sewing that you love best and get sewing.
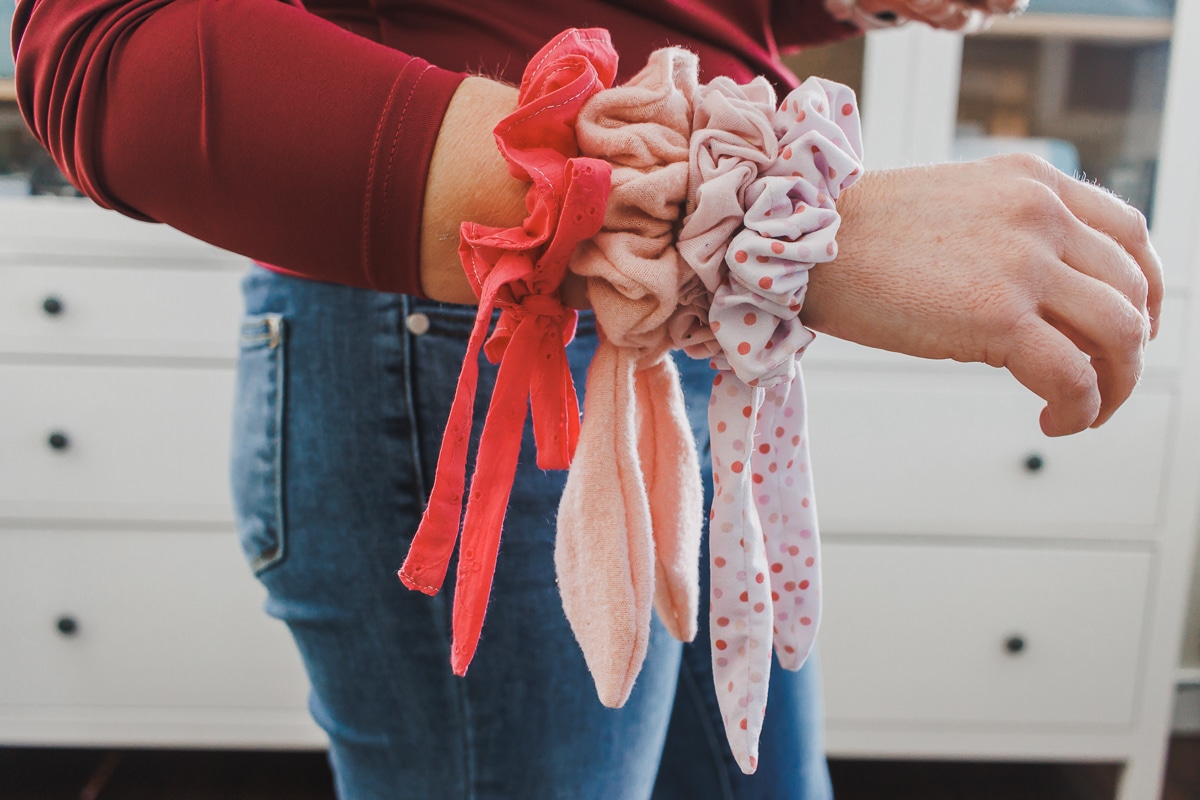
How to sew a scrunchie: Four ways!
I’m so excited to put all these of these scrunchie sewing methods together in one place for you. There are probably even MORE ways to sew a scrunchie, but these are my favorite and give you a bit of a variety.
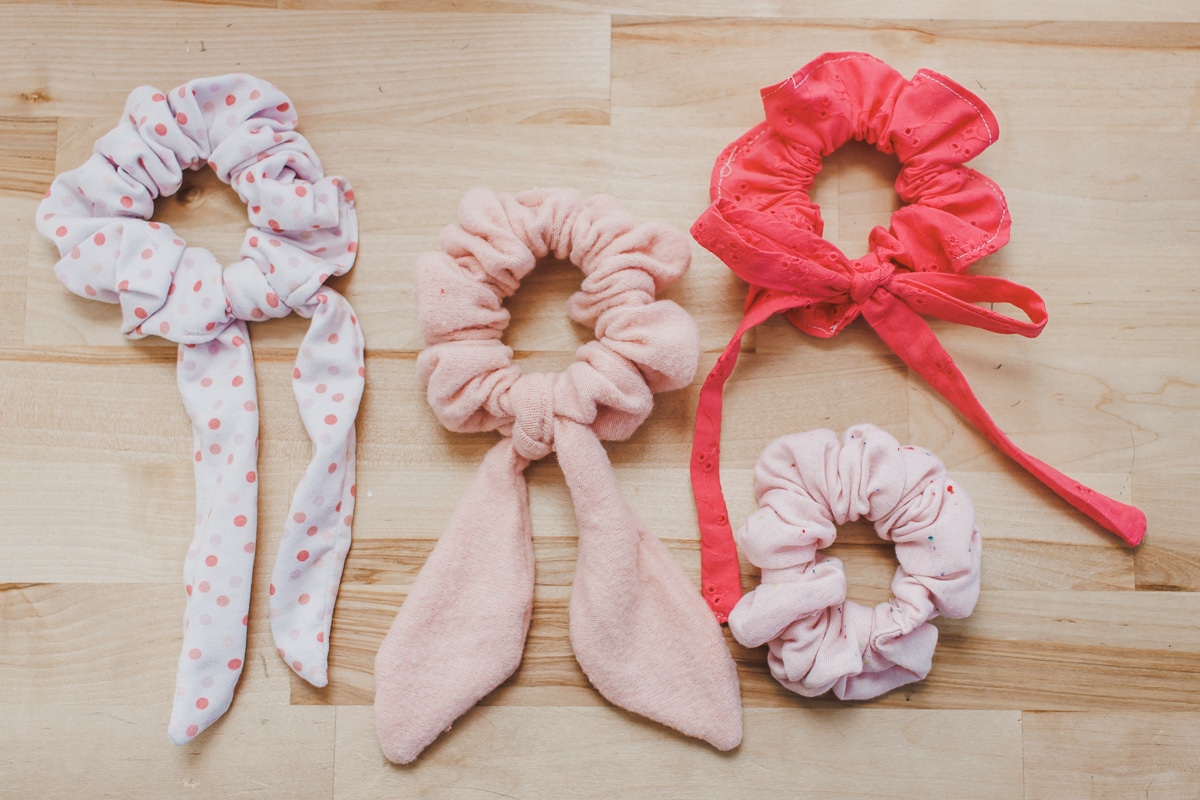
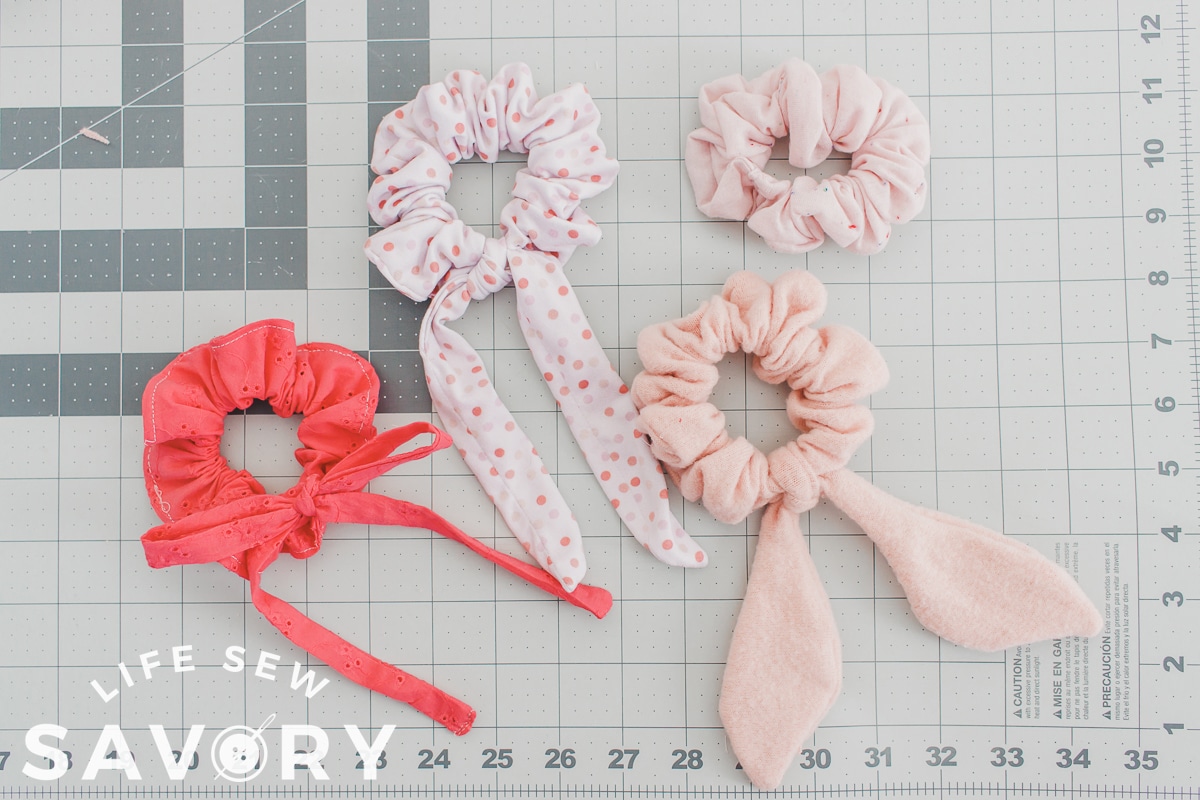
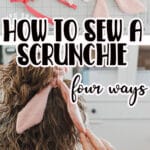
Each of these four scrunchies was sewn using a slightly different method. I’ve also got a free printable template for the bow and other fun add-ons for the scrunchies.
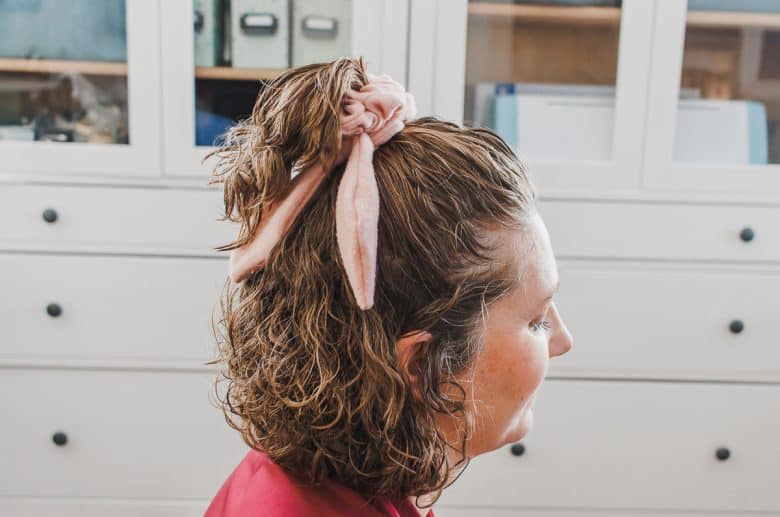
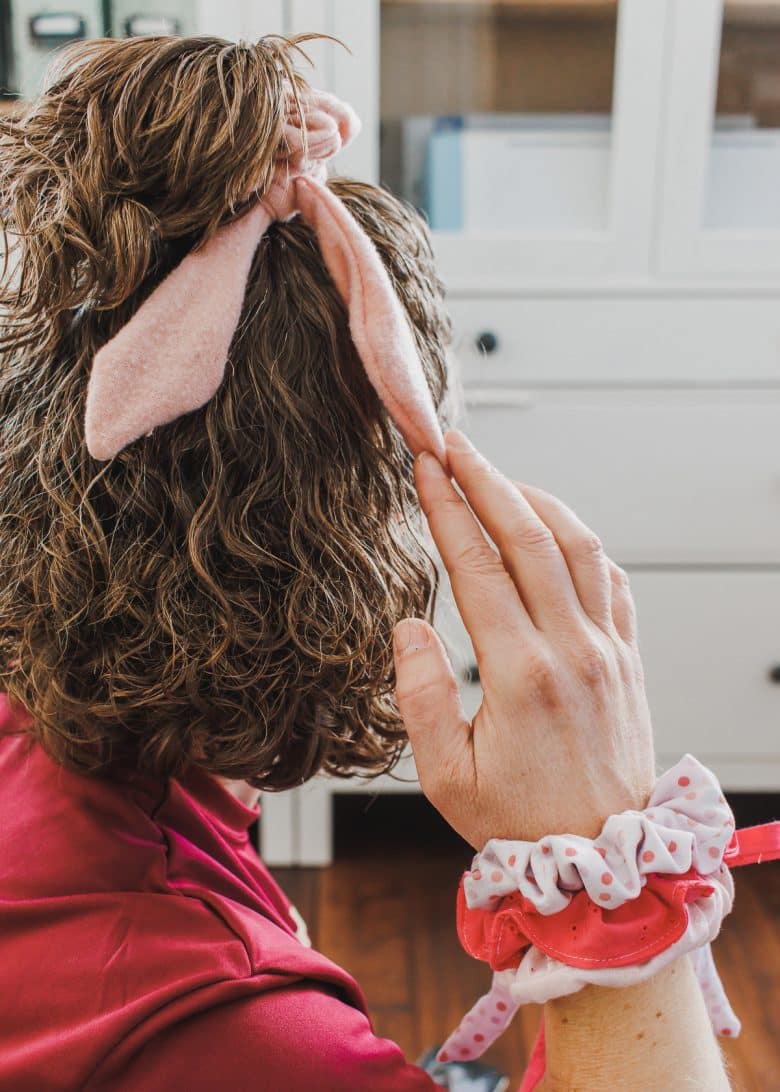
Ready to get sewing? Let’s get started!
Fun Hair Accessories to Sew-
Four Methods for sewing a scrunchie –
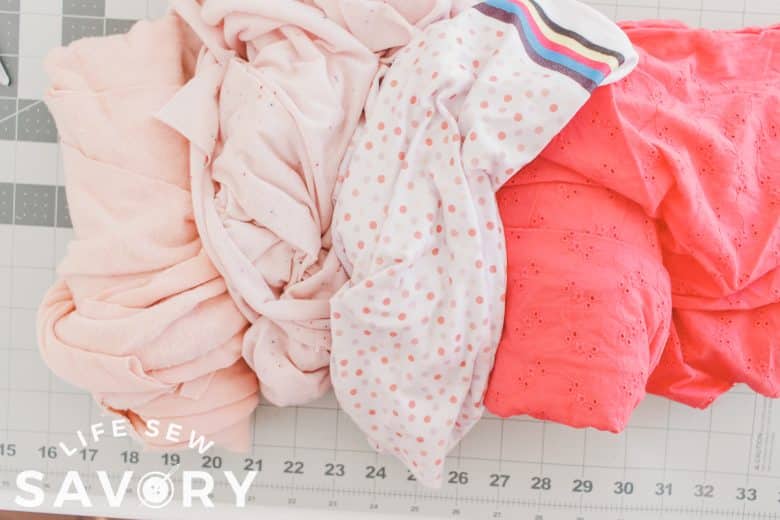
I grabbed four different fabrics from my stash and they cut four slightly different types of scrunchies. You can download the template HERE. Or using the button below.. same one page file.
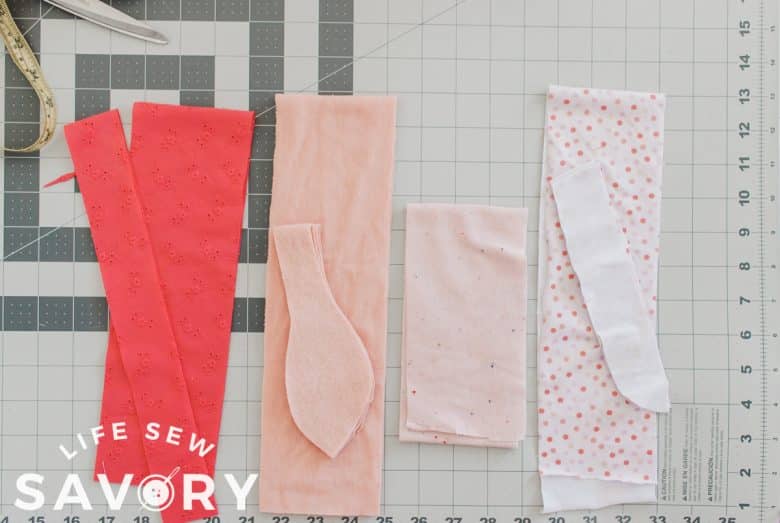
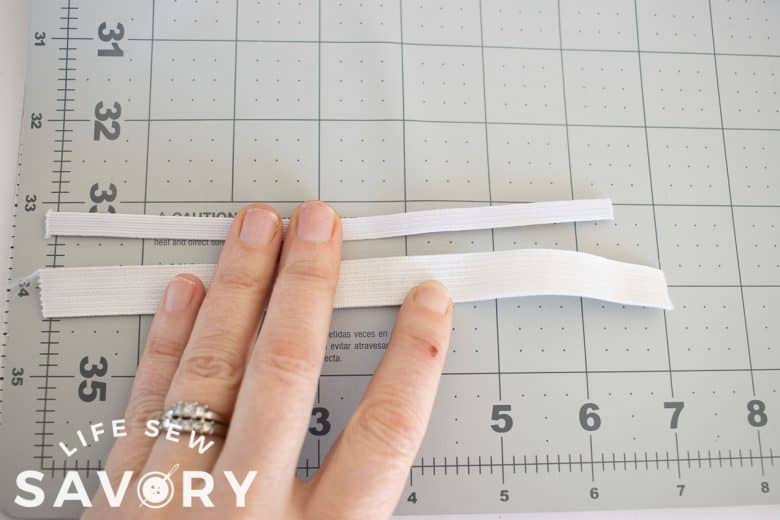
All the main rectangle shapes are 3.5″ x 22″. The extras are cut using the template. {see links above} The elastic is cut 6.5″ for thin elastic and 7″ for thicker elastic. I used 1/4″ and 1/2″ elastic from my stash. This was perfect for those small scraps I never know what do to with.
Let’s jump into method number 1.
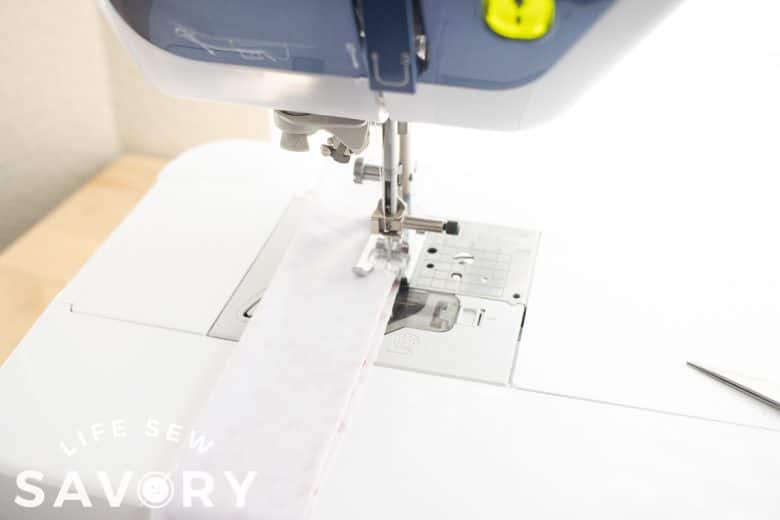
- Fold the main rectangle in half with the long sides together. Sew one short end and sew the elastic in that end, then sew down the long side. This was knit fabric so I used a zig-zag stitch.
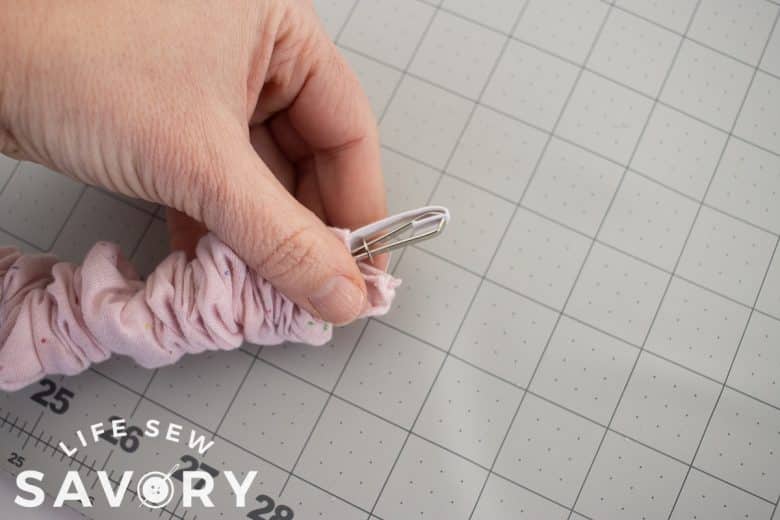
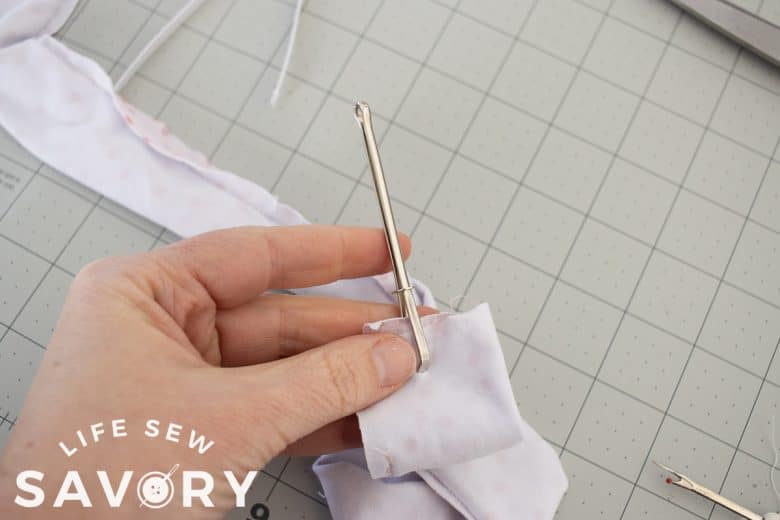
- Use a bodkin or large safety pin to turn the fabric tube right side out.
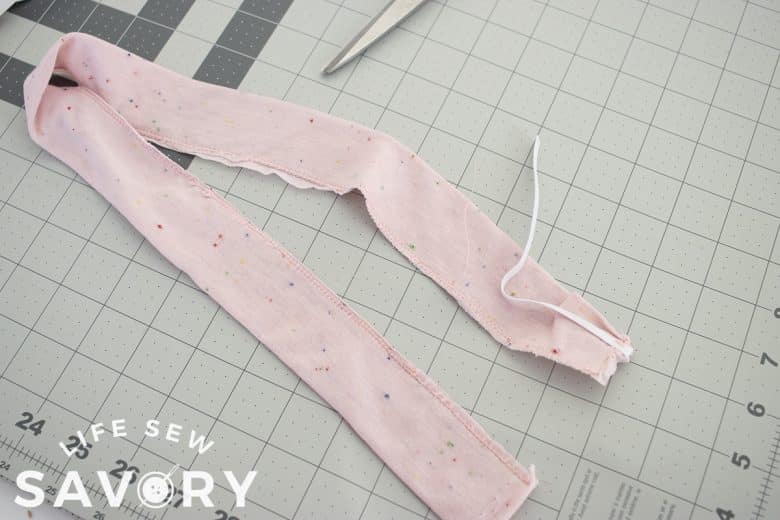
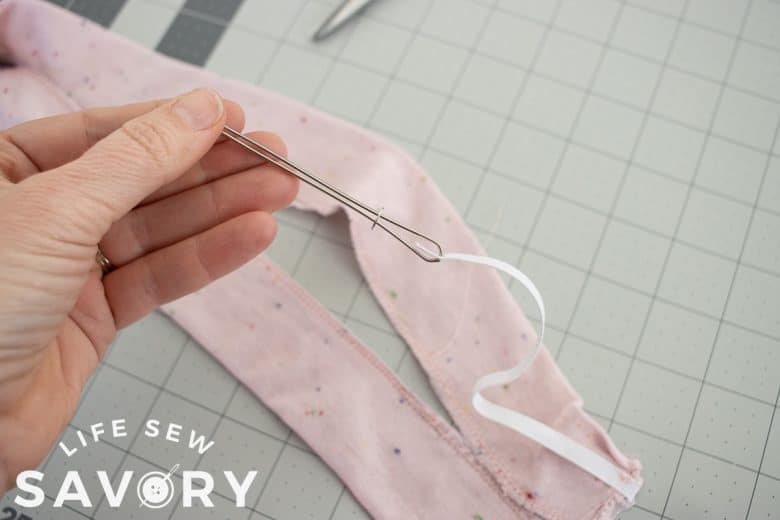
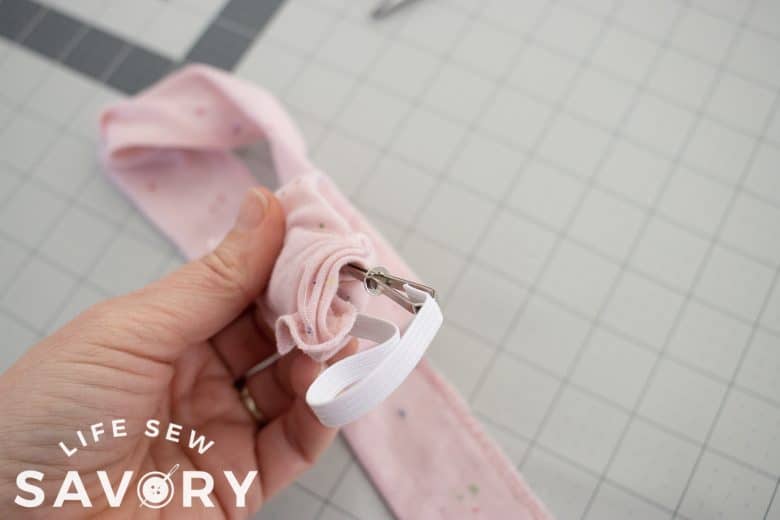
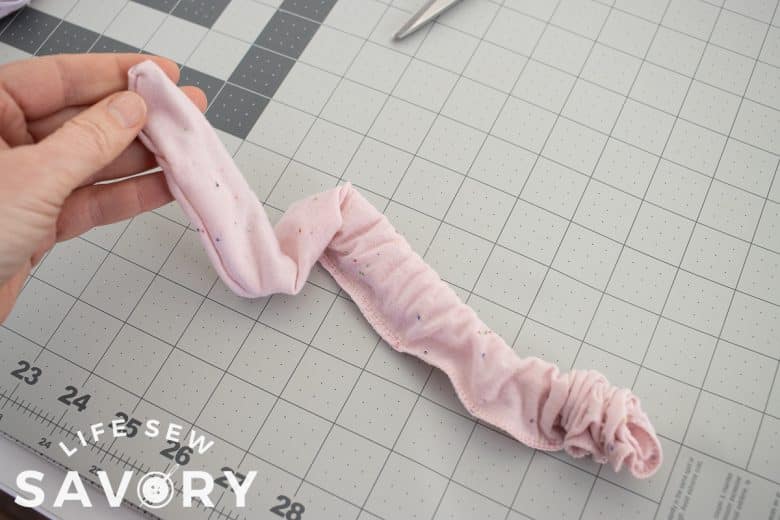
3. Then pull the bodkin out the open end pulling the elastic through the fabric.
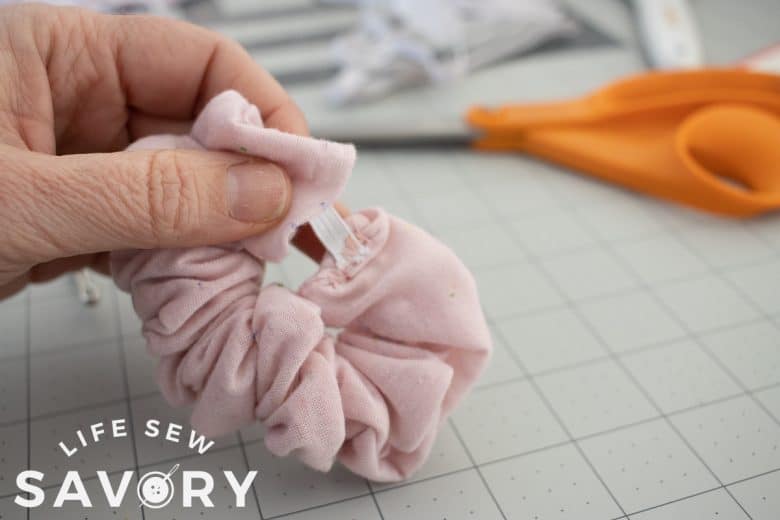
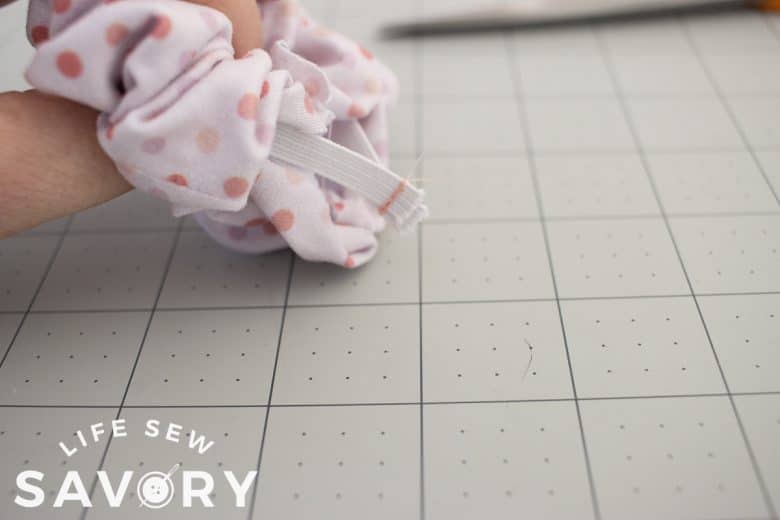
4. Scrunch all the fabric together and sew the loose elastic end to the other fabric short end.
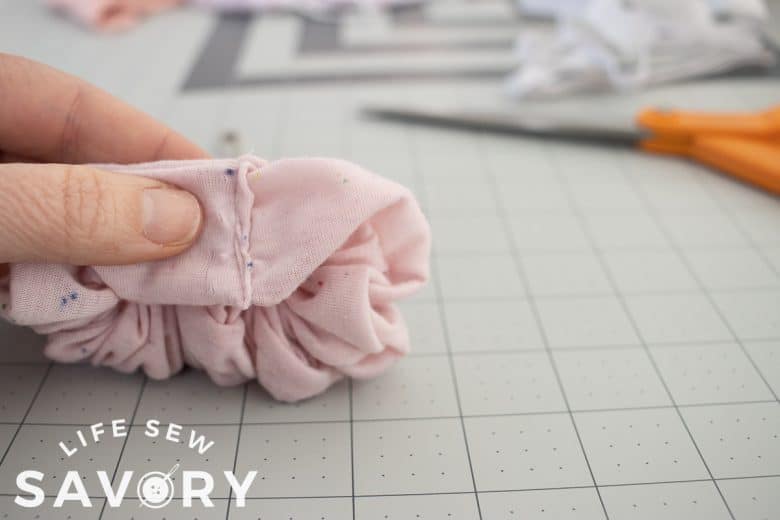
5. Fold the raw fabric in and then overlap the short ends and sew to connect the ends of the fabric.
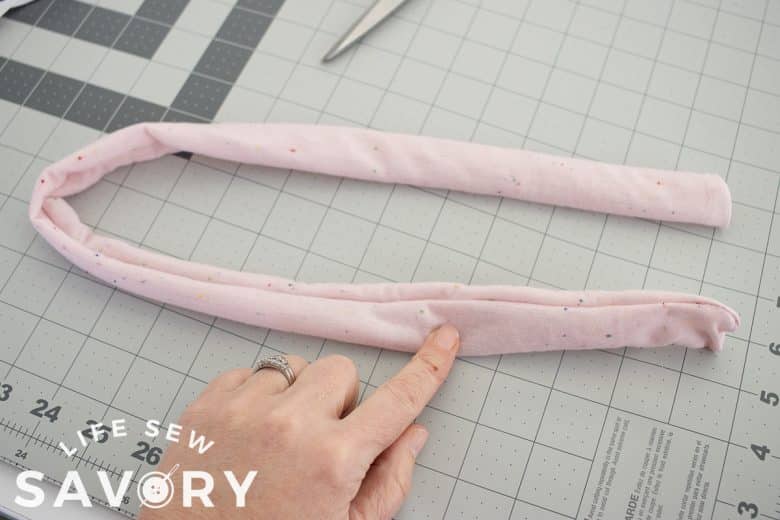
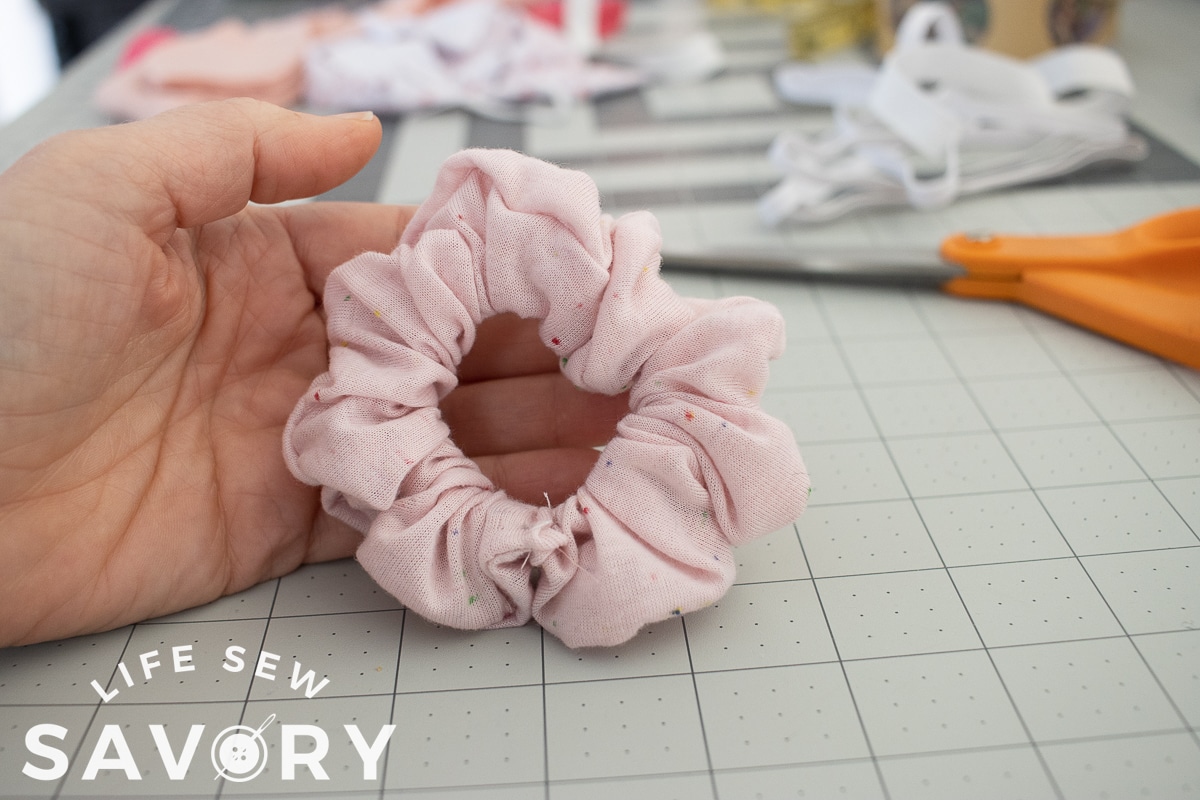
Enjoy your super awesome easy scrunchie!!
Scrunchie method 2:
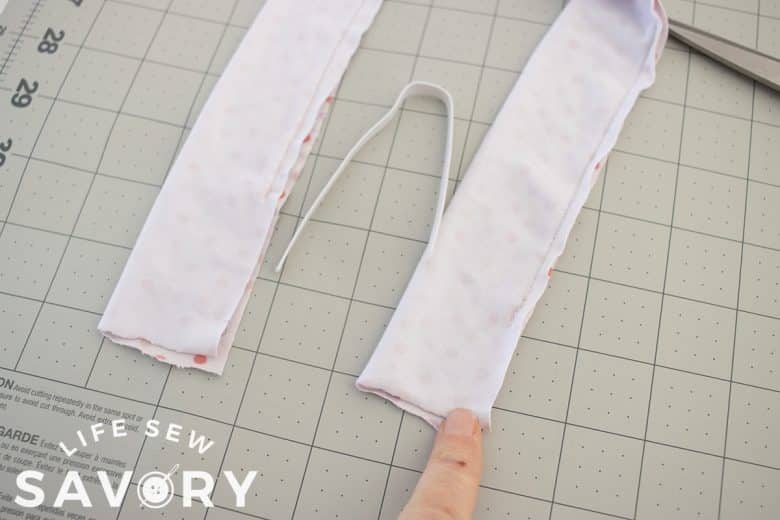
- Fold the long ends of the fabric together and sew the long side, BUT don’t sew the first and last 1.5″
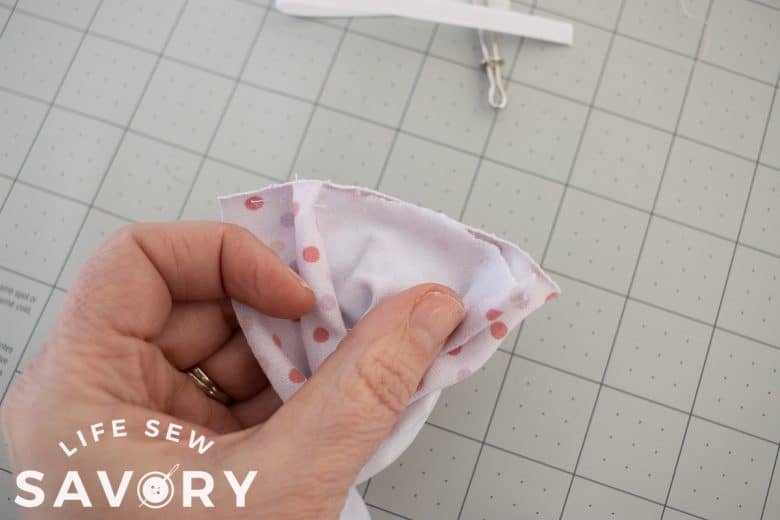
- Pinch one short end with the Bodkin or safety pin and pull it through the tube.
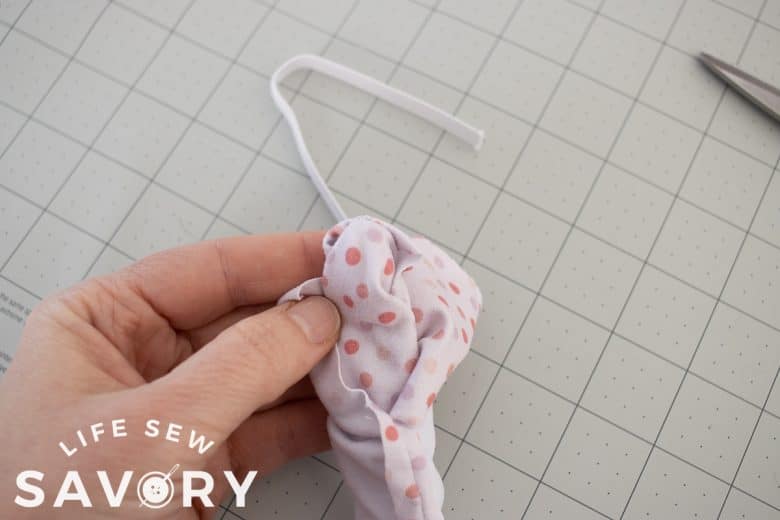
- Only pull through half way until the raw short ends are together again.
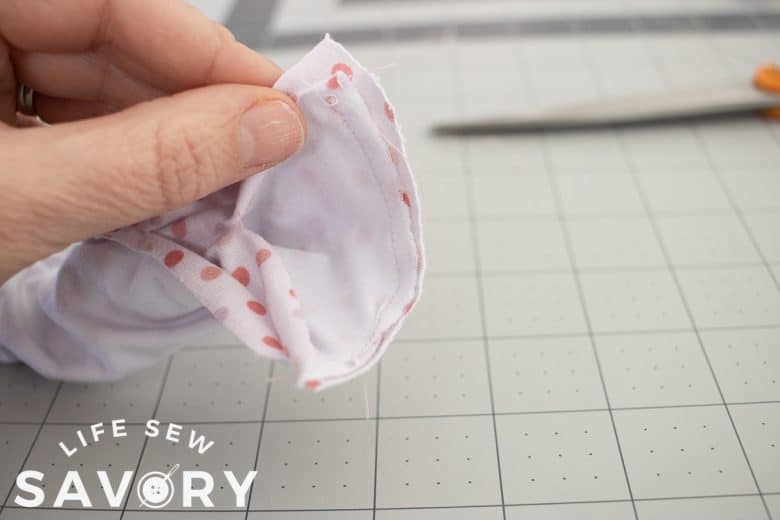
4. Line up the two raw edges and sew across.
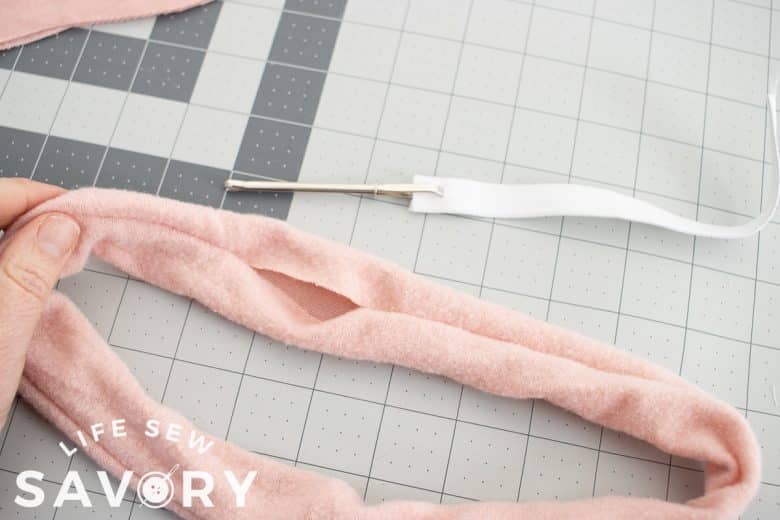
5. Turn the fabric tube the rest of the way out, you should have an opening in the middle.
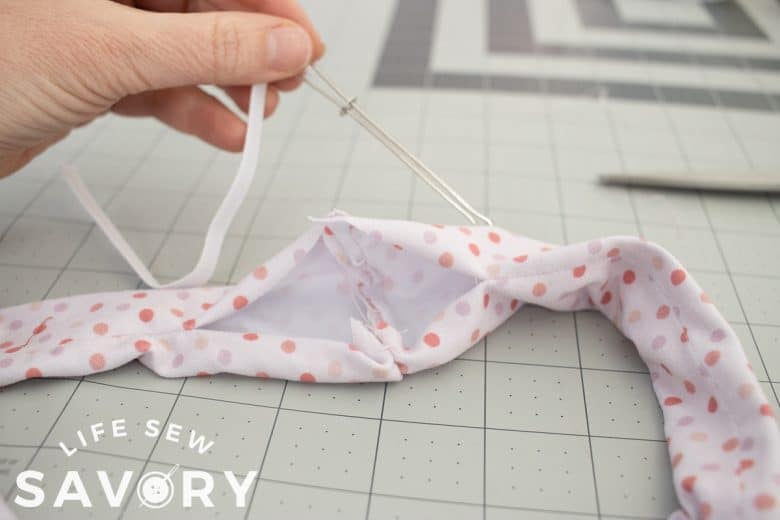
6. Thread the elastic through the casing all the way through.
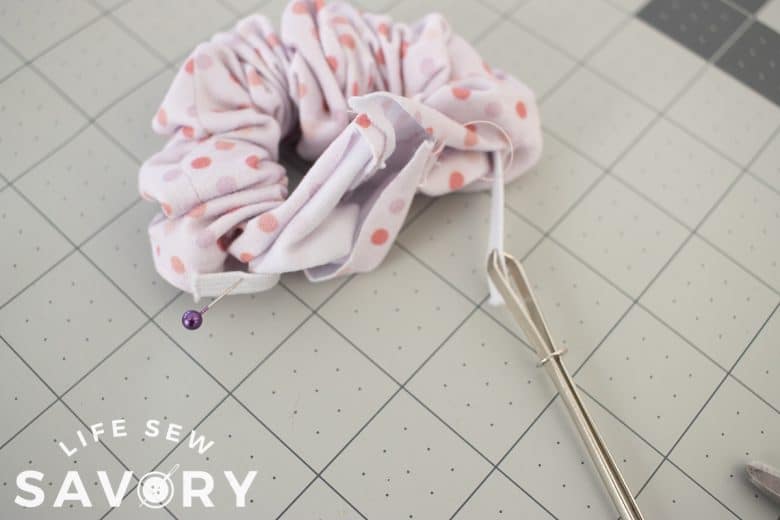
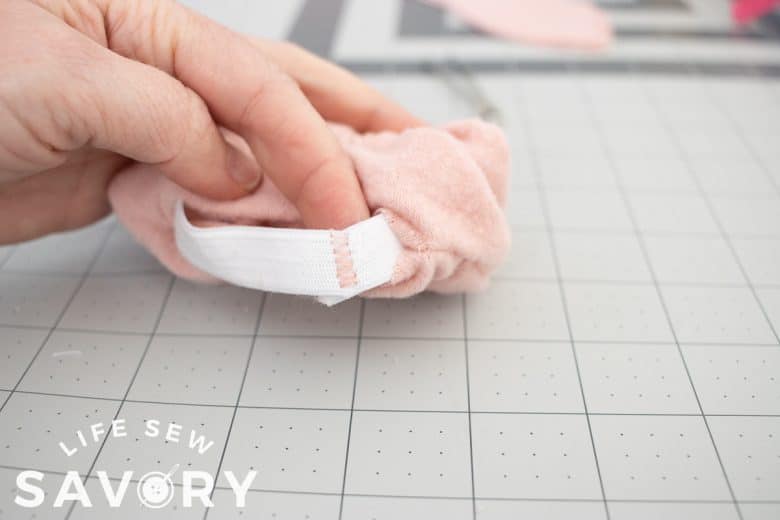
7. Sew the ends of the elastic together.
8. Fold the seam allowance in on the opening and pin or clip the edges together.
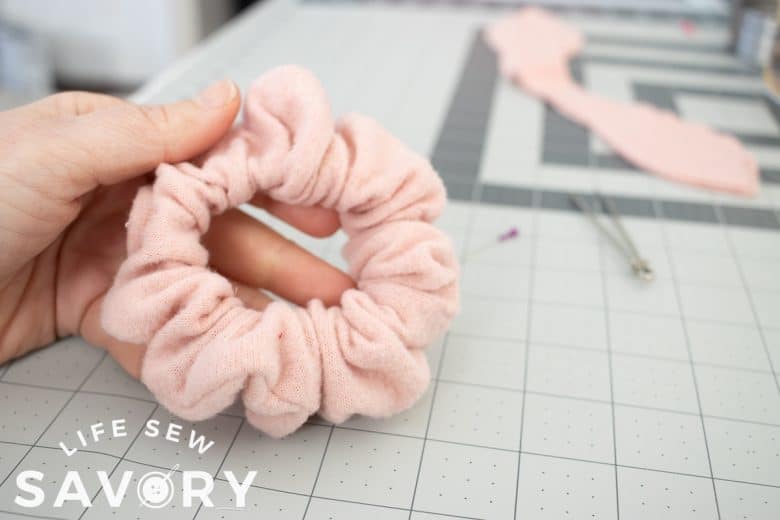
9. Sew the opening closed with a stitch very close to the edge.
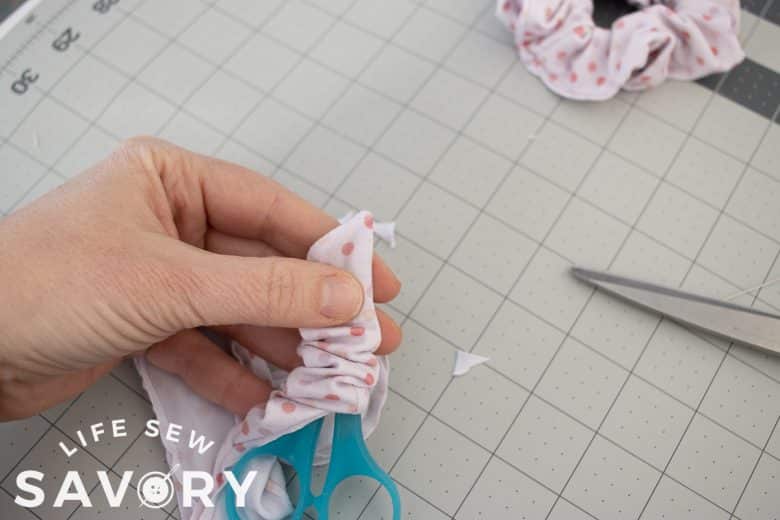
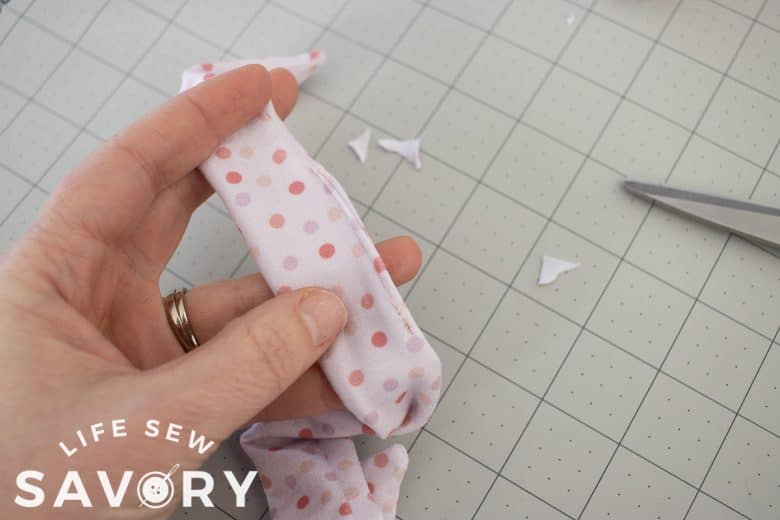
10. If adding the tail sew all the way around it, leaving a small opening to turn right side out.
11. Turn right side out {poke out the corners}
12. Fold in the seam allowance then sew the opening closed.
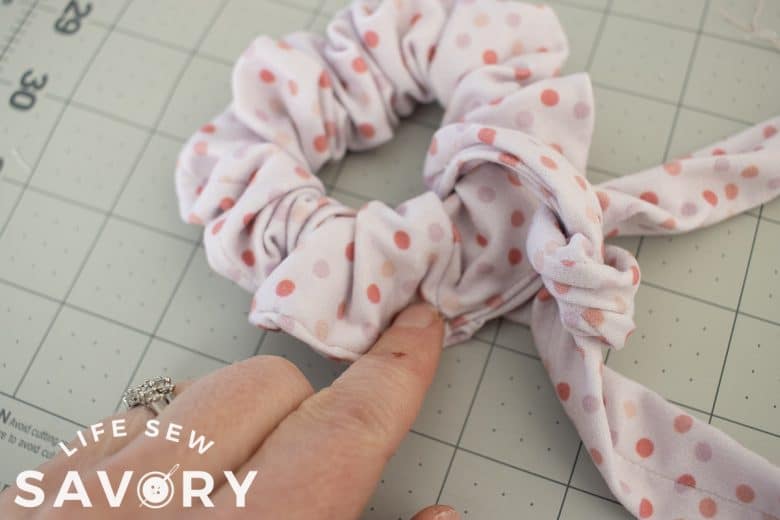
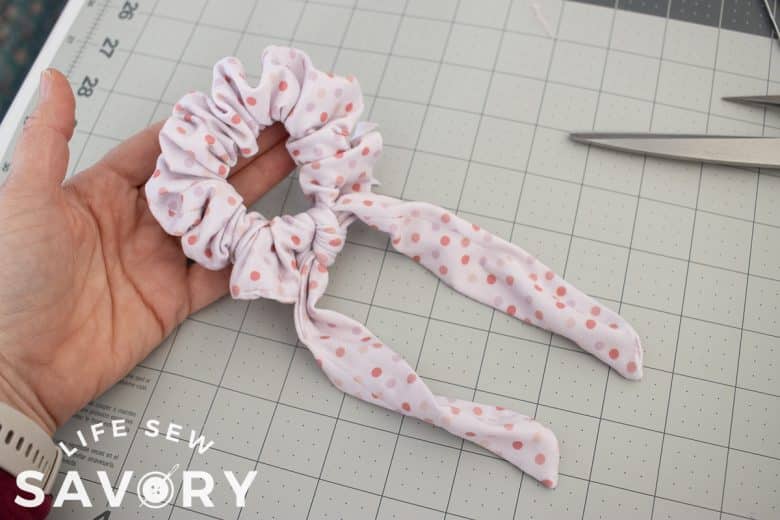
13. Tie this around the scrunchie right where the seam is.
14. wear your new scrunchie all the time! {haha}
Sewing method 3 for scrunchie-
This is the only one I made from woven fabric, and I think they method would be a bit more difficult with knit fabric. BUT, it’s a fun one to make with a pre-made hairband instead of elastic.
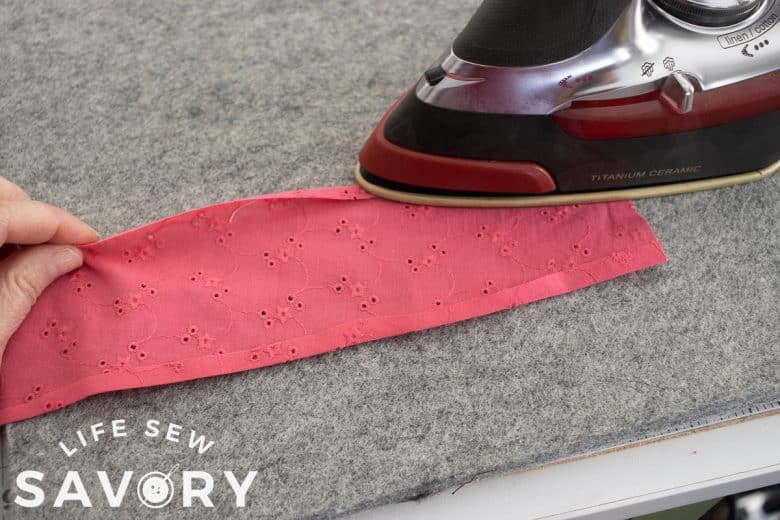
- Fold over and iron 1/4″ on each long side of the scrunchie.
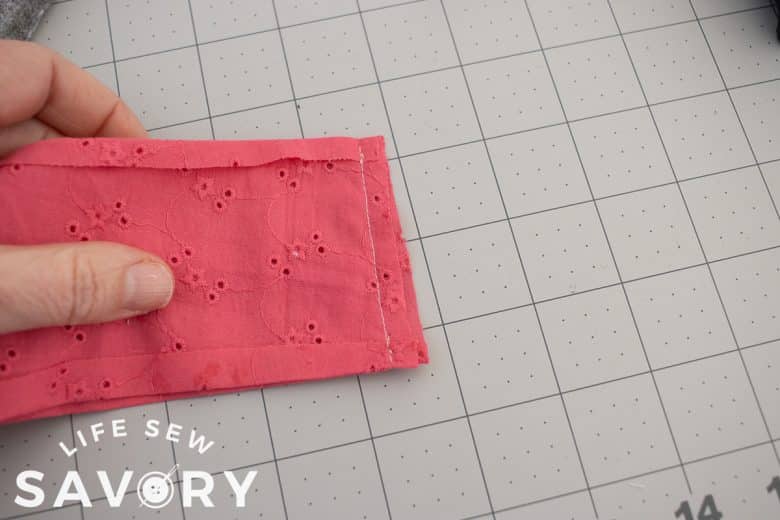
- With right sides together sew the short ends together.
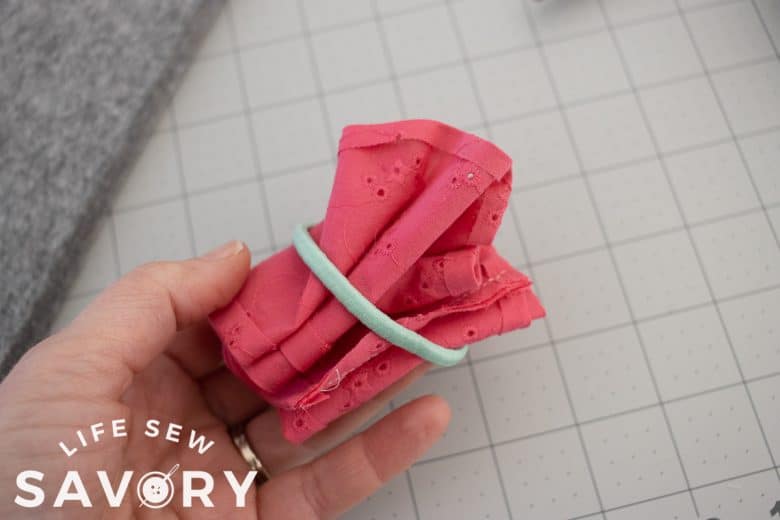
- Scrunch up and place the elastic band around the fabric.
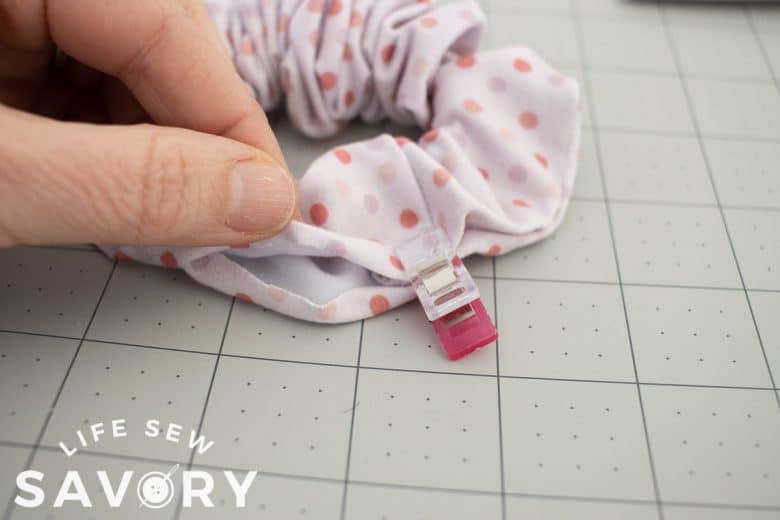
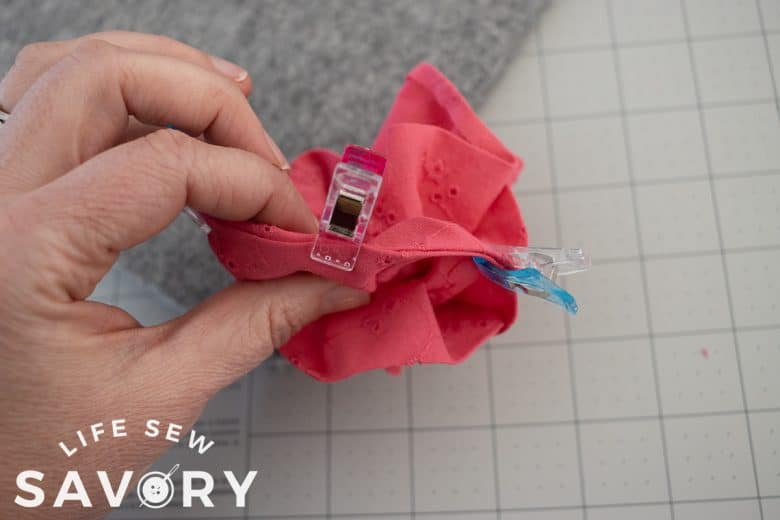
- Fold the ironed edges in towards each other and pin or clip. The right side of the fabric should be out.
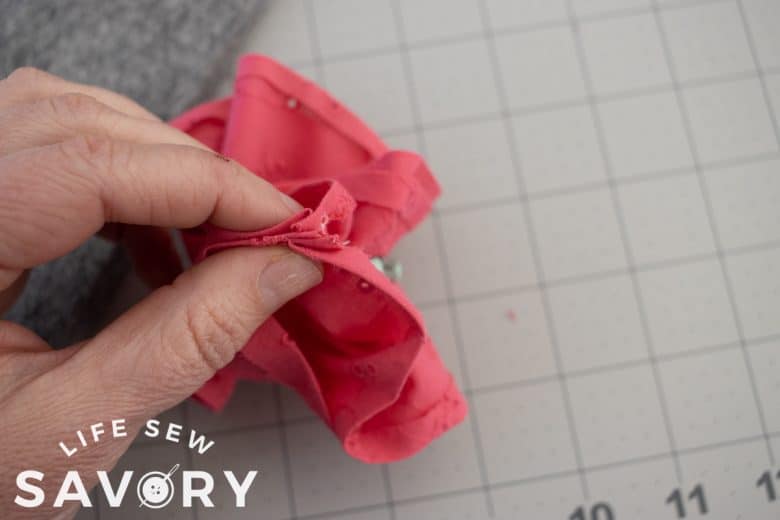
5. Work your way around the fabric pinning or clipping.
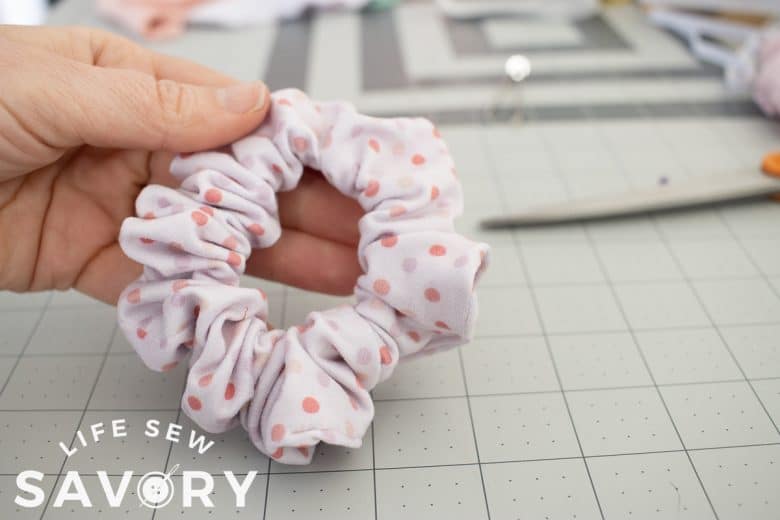
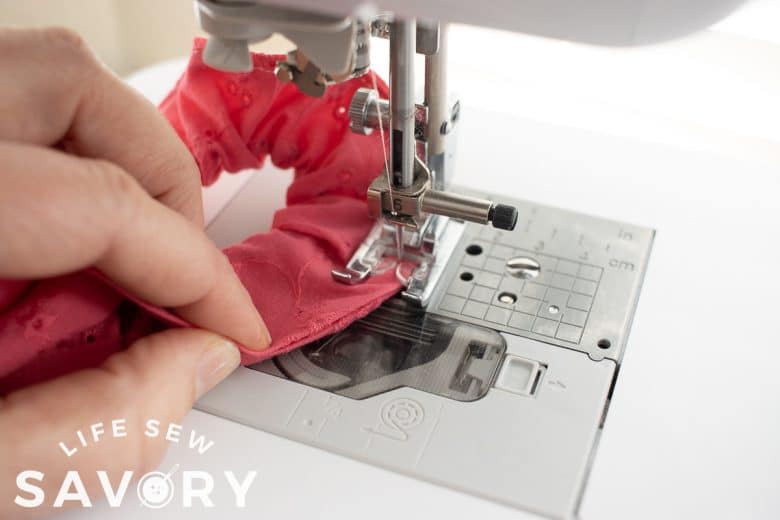
6. Sew around the edge of the fabric
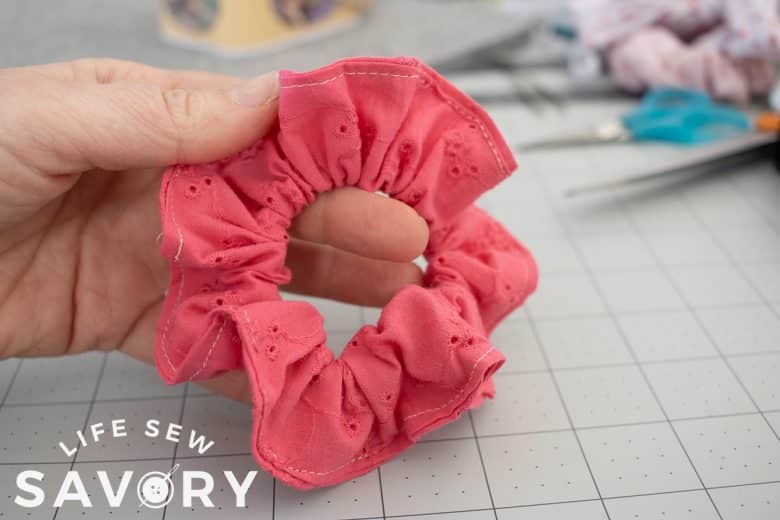
7. Sew all the way around the scrunchie fabric to enclose the hair band.
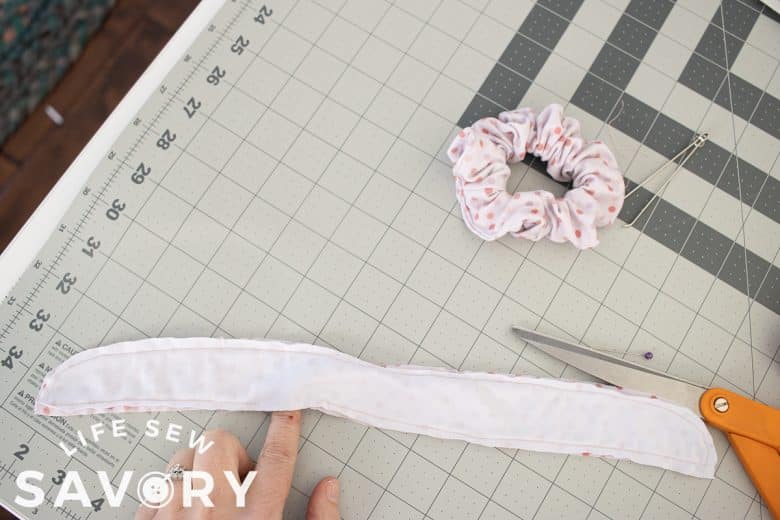
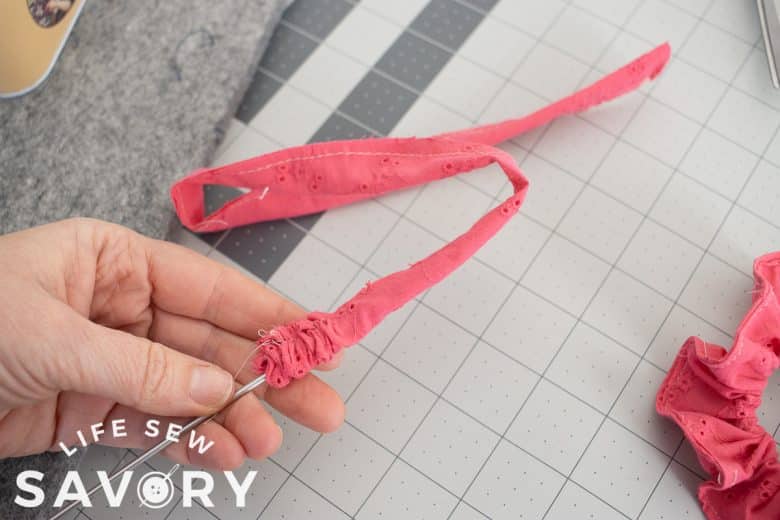
8. If adding a tie sew the long edge of the tie
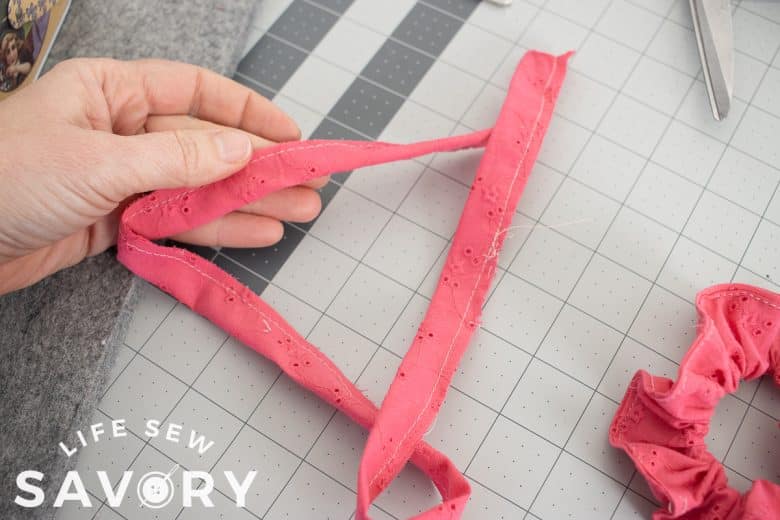
9. Turn the thin tie right side out.
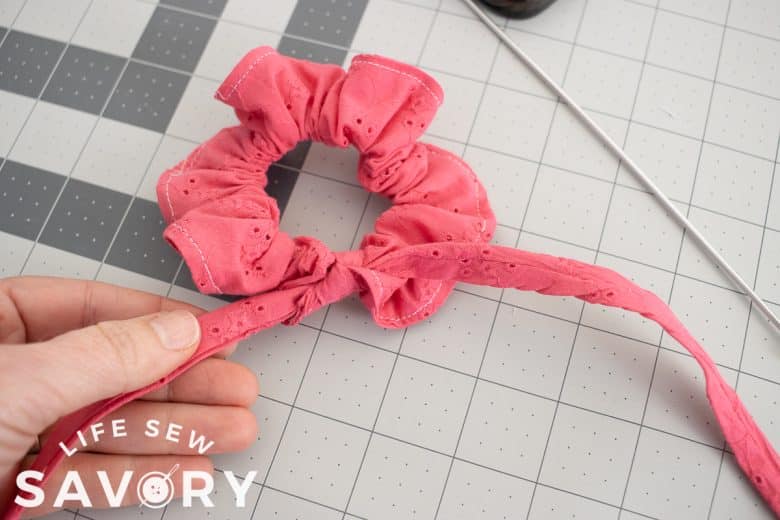
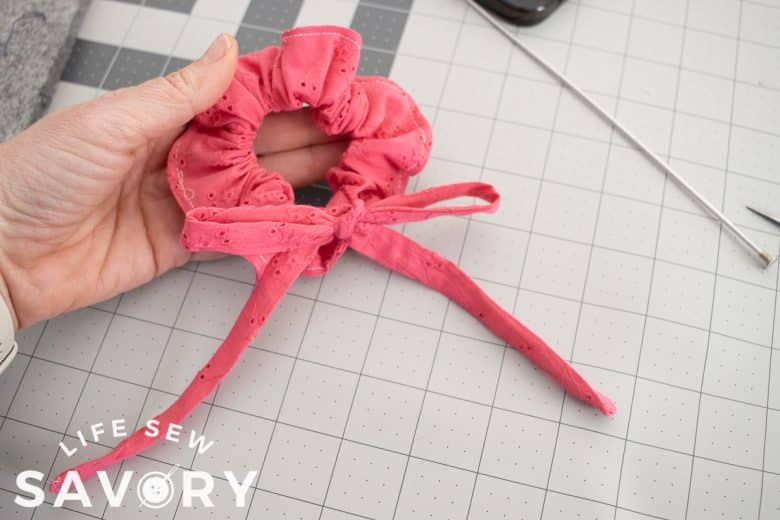
10. Tie the thin tie around the scrunchie then tie a bow to finish. So cute!
Sew a scrunchie: method 4
Ok! Time for the final sewing method. I can’t wait to hear which one you like the best.
- Sew the long side of the scrunchie again, leave a 2″ opening in the middle.
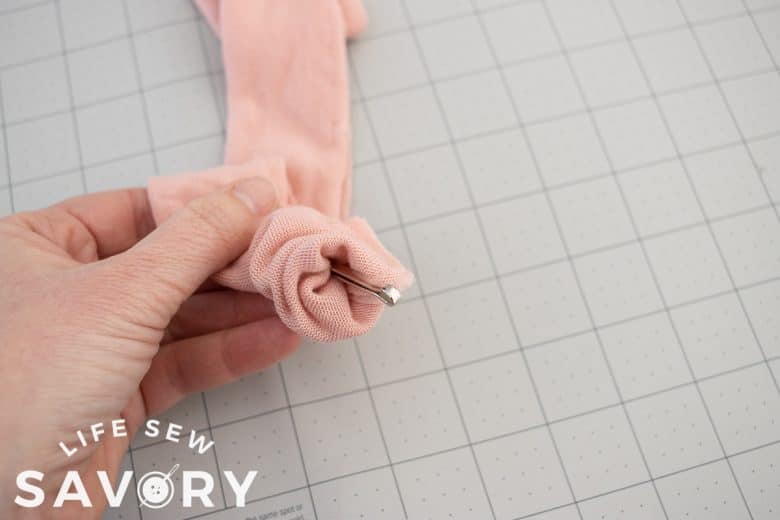
- Use the Bodkin to turn the fabric half way {like above} until the raw ends line up.
- Make sure the seams are lined up.
- Sew around the tiny circle to connect.
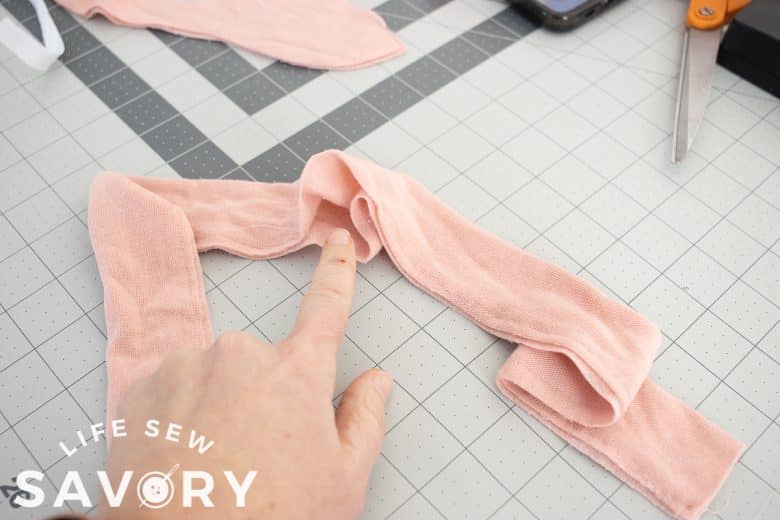
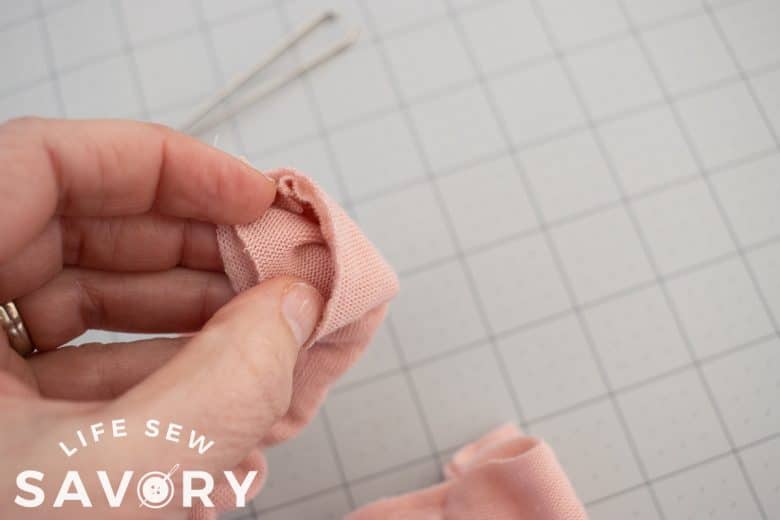
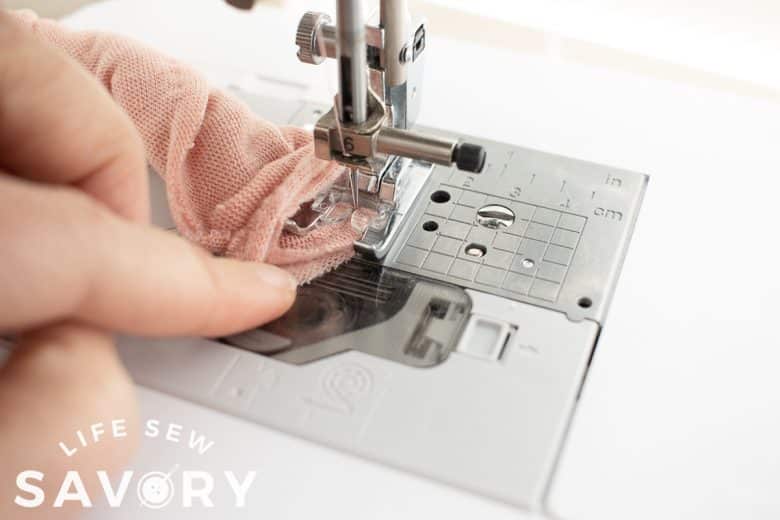
5. Pull the fabric through the turning hole.
6. Thread the elastic through the hole.
7. Sew the ends of the elastic together.
8. Fold in the raw edges of the turning hole and then sew this closed.
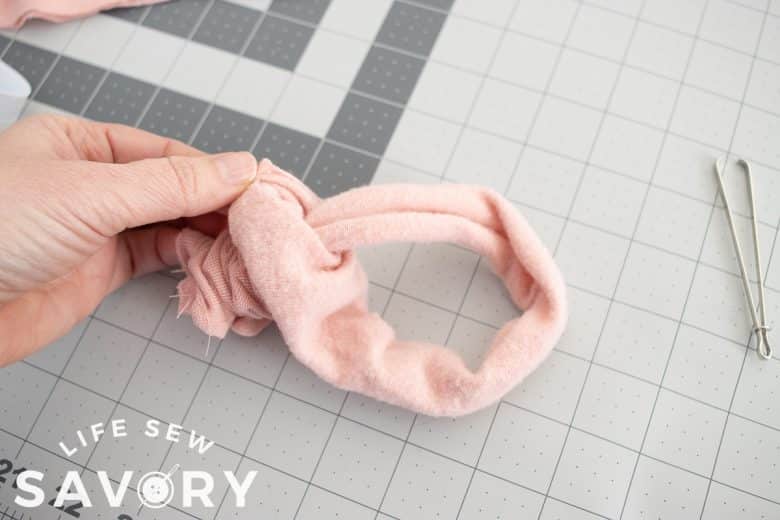
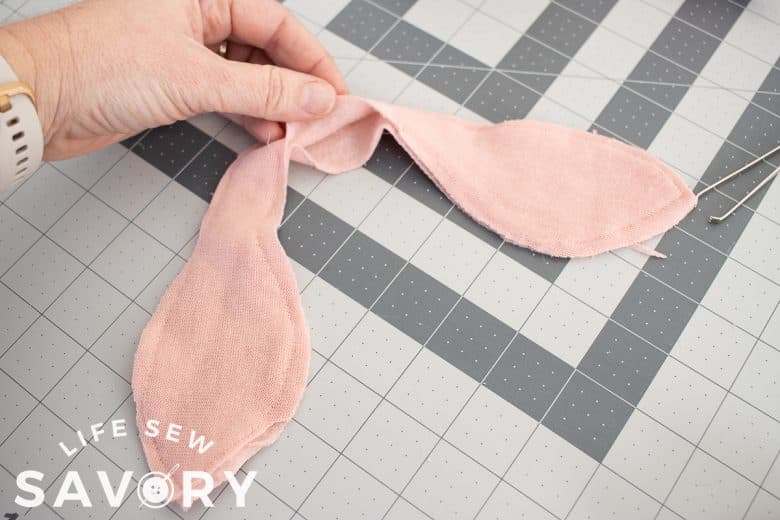
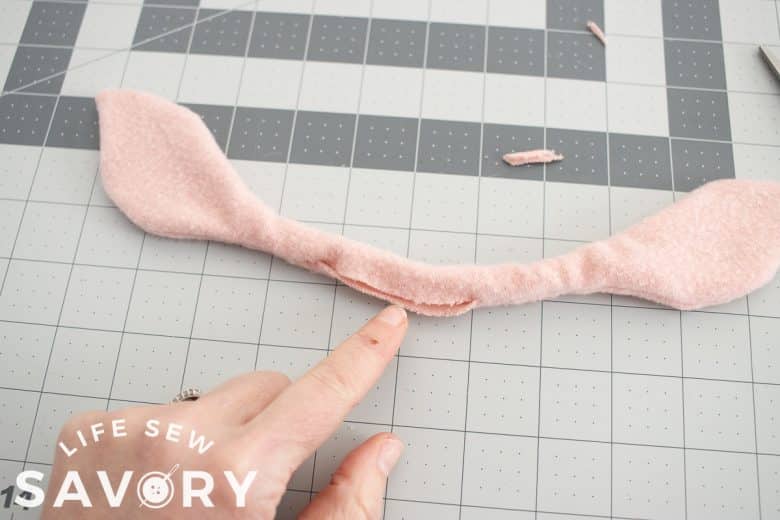
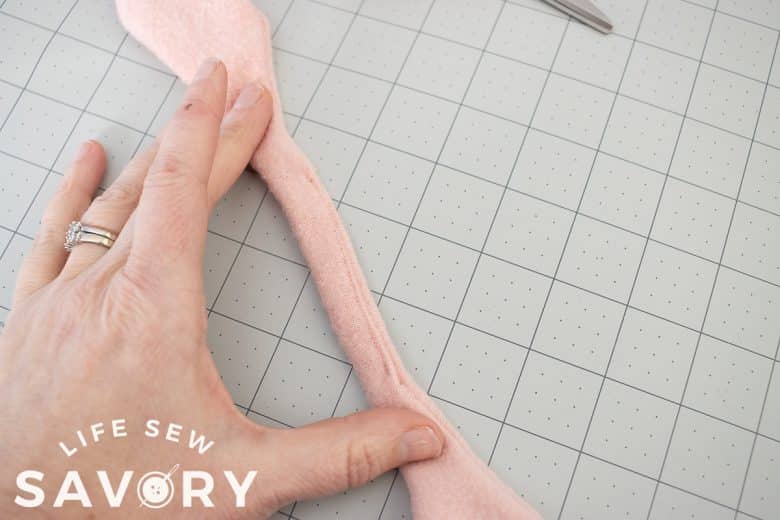
9. Sew all the way around the bunny ear tie, leaving a 2″ opening.
10. Fold in and sew the turning opening closed.
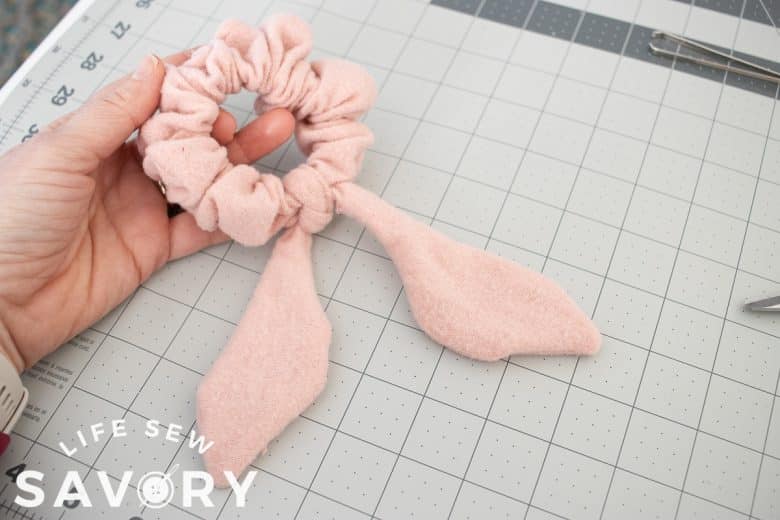
11. Tie around the seam of the scrunchie.
Ahhh they are all so cute! I just love them so so much, and look forward to sewing many many more of these. ENJOY!







Leave a Reply