inside: sew up some Easter bunny cinch bags for a cute treat holder. This Easter Bunny Cinch Bag sewing pattern is easy to sew and so cute to make. Sew up a whole bunch to hand out this Easter.
How cute are these treat bags??? They were so fun to sew as well, and I’m super excited to have another Easter option for treats. My kids are getting older, so this is also a perfect way to give them a gift card or too in their Easter Baskets. You can sew up a whole set of these in just a an afternoon and then enjoy handing them out.
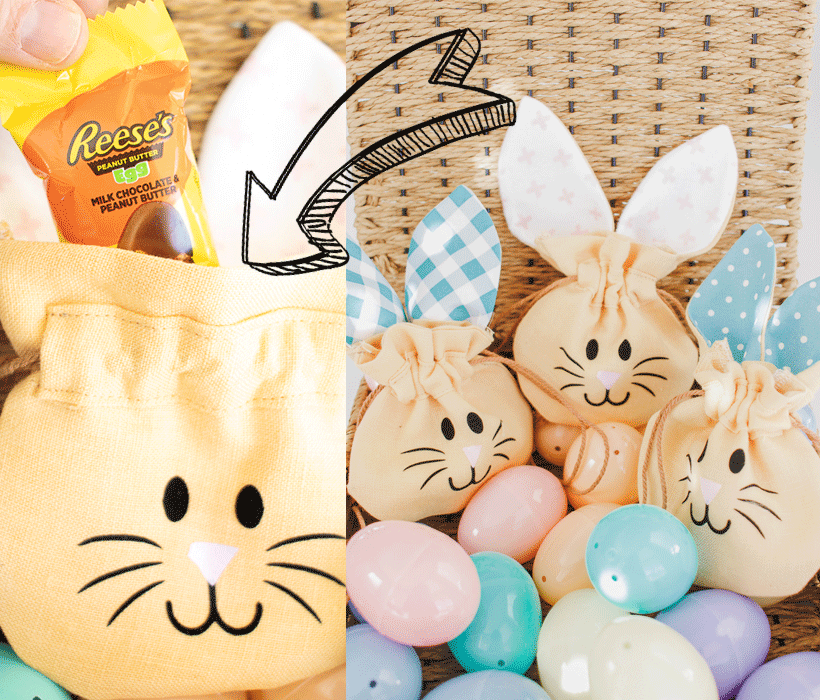
Easter Bunny Cinch Bag
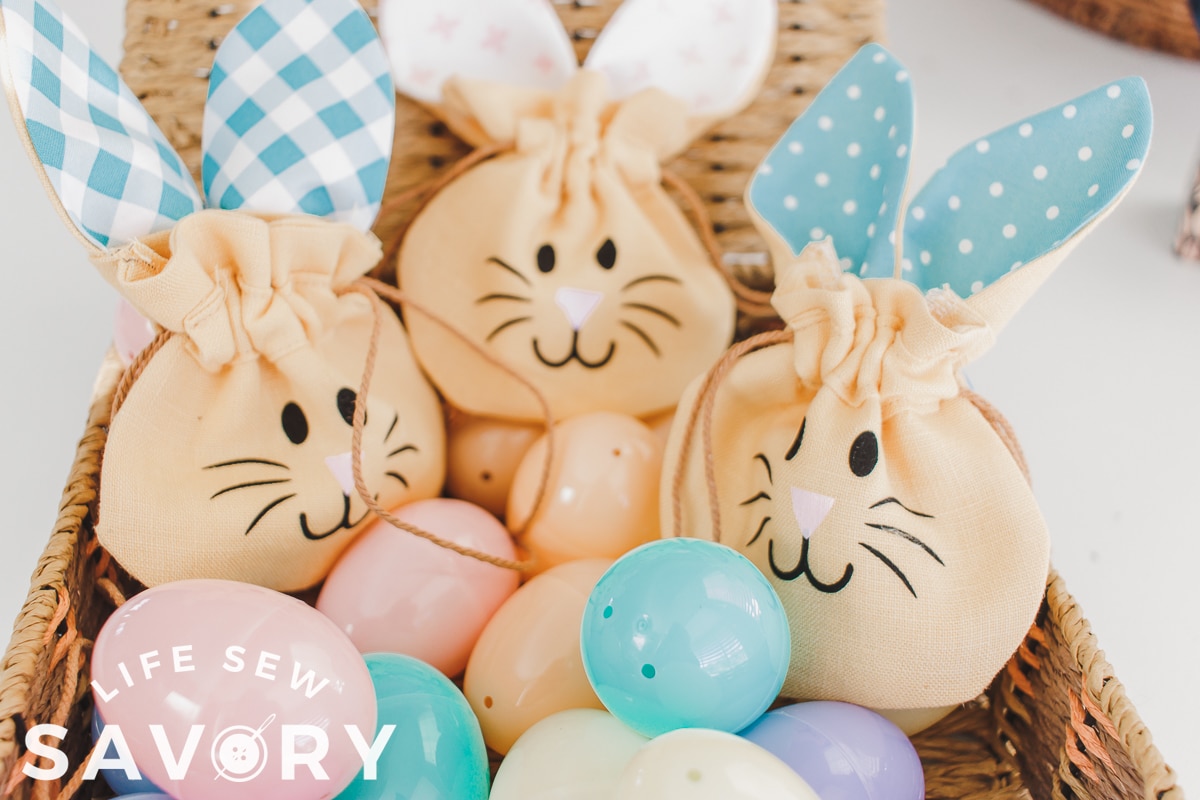
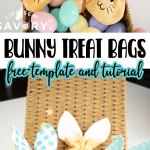
How cute are these bunny bags? I made these other felt bunny bags years ago, and they were perfect for egg collecting with the kids were tiny. Now that they are older these bunny bags are perfect for treats that don’t fit in Easter eggs.
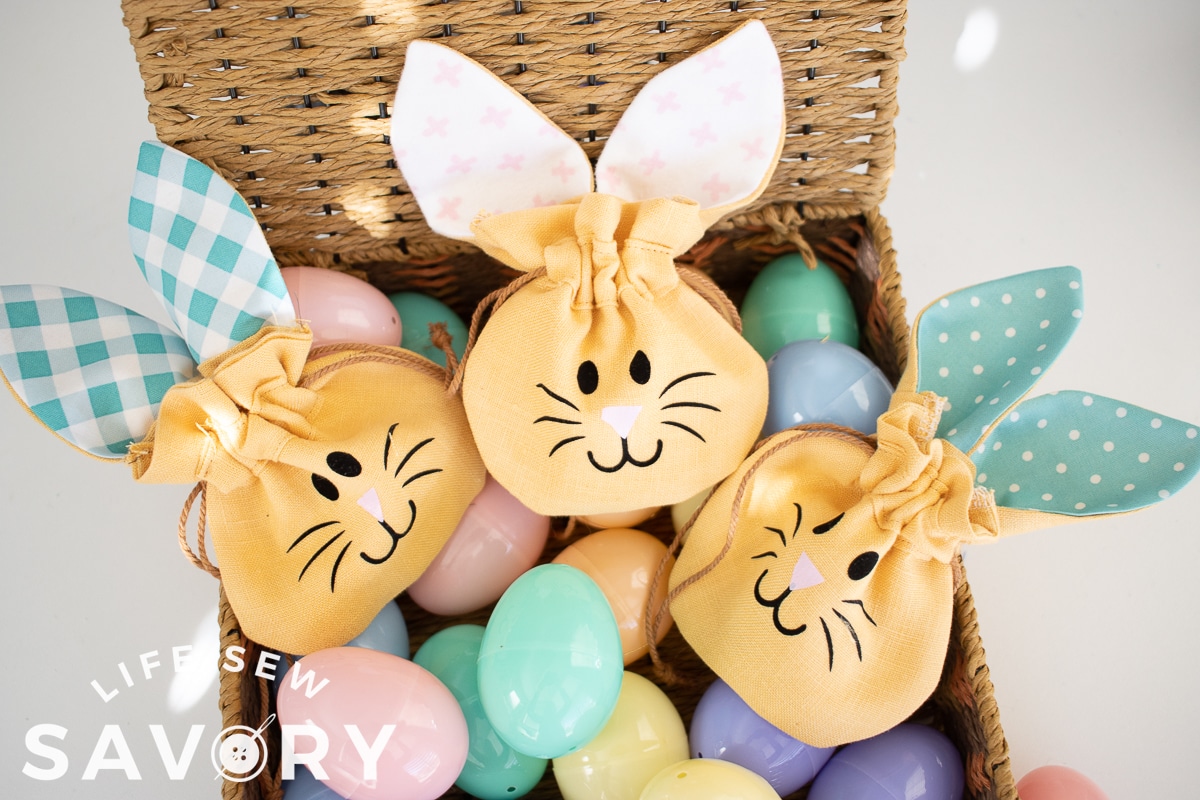
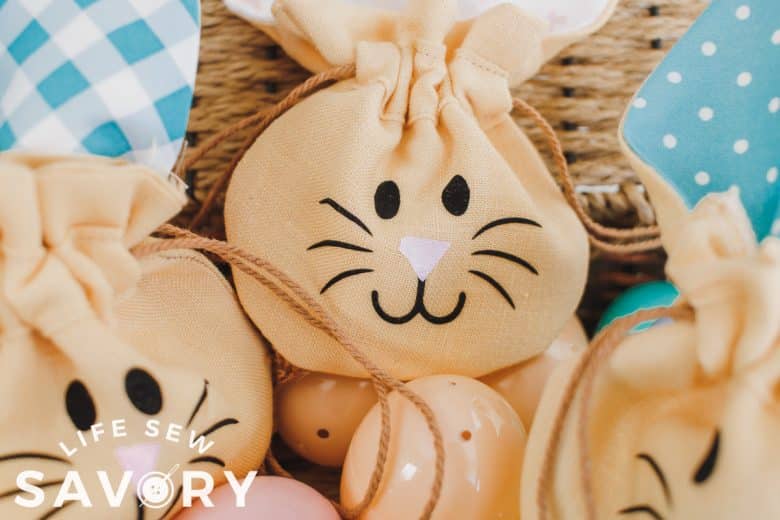
Larger candy or loose chocolate eggs are perfect in these linen bunny bags. They are still small enough to fit in an Easter basket, but large enough to hold some yummy treats or a gift card.
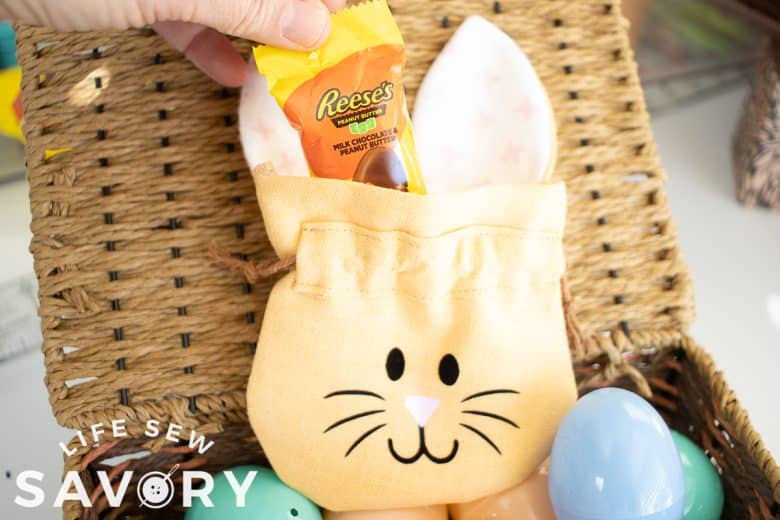
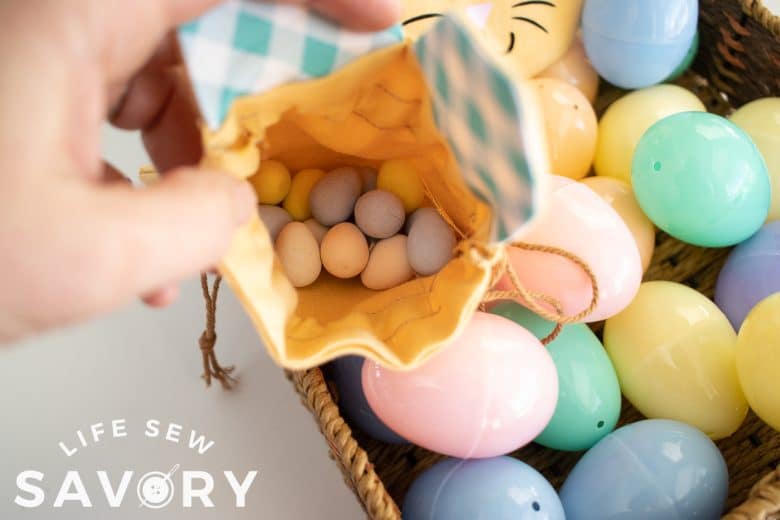
I love the accent fabric on the ears. Such a cute addition to the project.
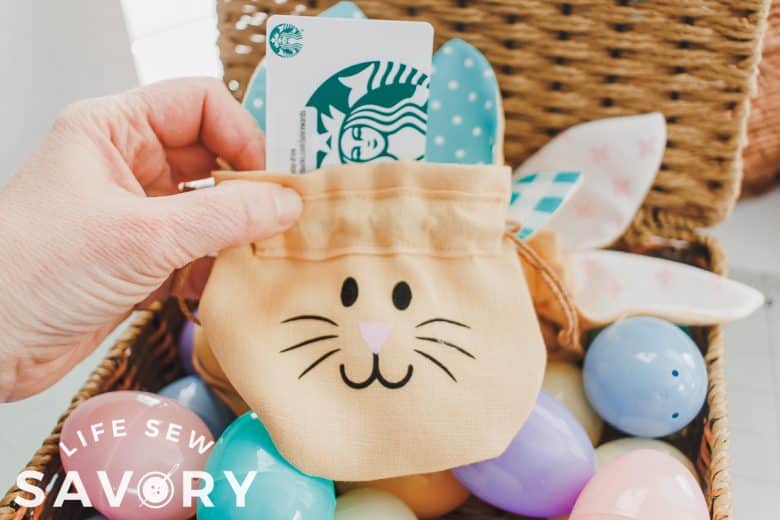
Place a gift card in one and hand out to a teen or adult for a fun Easter Bunny gift.
Free Easter Projects to Try:
Free bunny bag template-
You can download a zip file that contains the face SVG file {to cut on your cutting machine} and a PDF template for the bag pieces. Again this is a zip file, so after you download it you will need to upzip the file to access the two file.
Zip File Includes:
- SVG file of bunny face {isolate layers to cut pink nose and black lines}
- PDF file to print and then cut pieces for the cinch bags.
How to sew a bunny treat bag
OK! Let’s jump into the tutorial and get sewing! Grab some neutral fabric for the bag and a bit of accent fabric for the ears and let’s get started. **I used a 1/4″ seam allowance for all seams**
Supplies:
- Nuetral fabric for bag
- Cute fabric for inside ears
- string/twine for tie
- vinyl for bunny face {black and pink}
- Free file containing SVG of bunny face and PDF of pattern
- find this file using the button above.
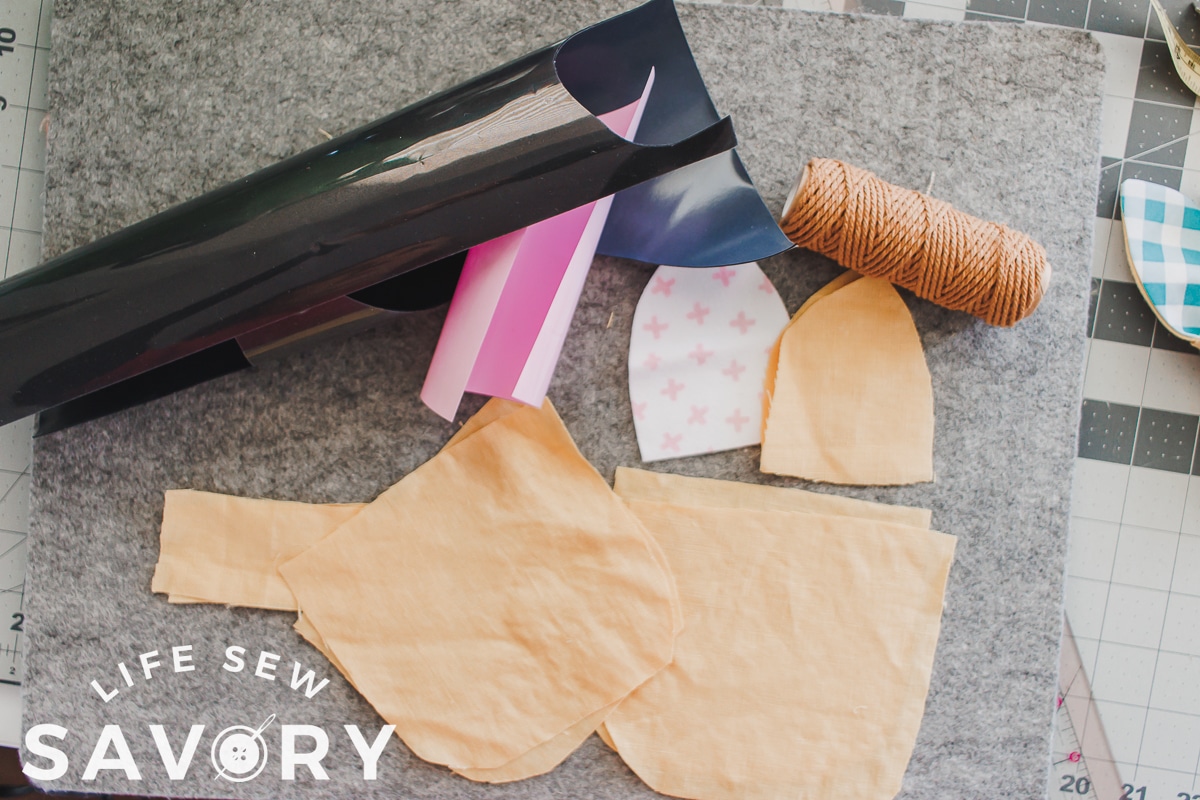
- Start by sewing the ears right sides together. One main fabric and one accent fabric. Trim seam allowance, turn right side out, then press flat.
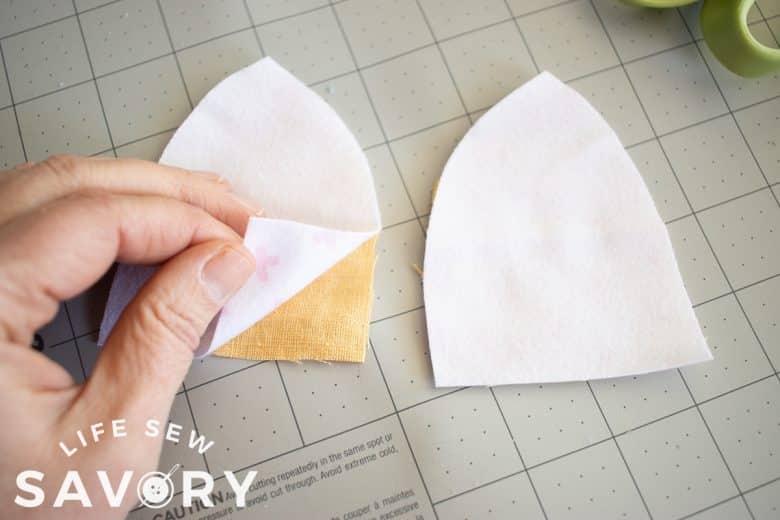
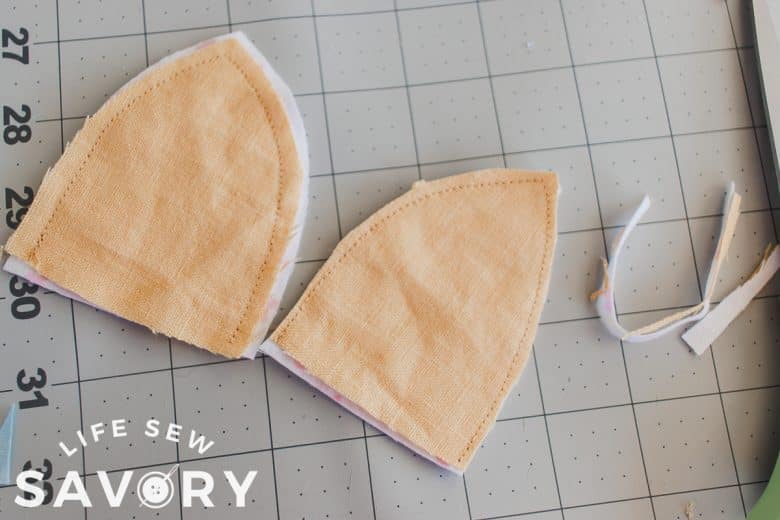
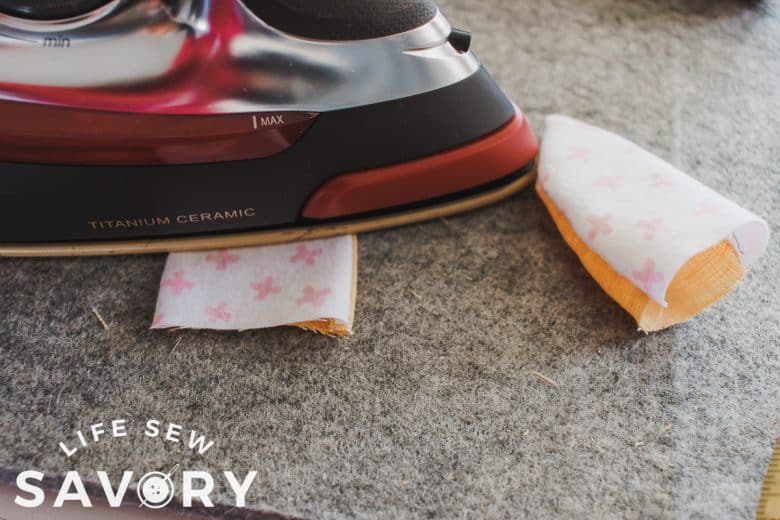
2. Place the ears color side up on one of the bag pieces. Place another bag piece on top of the ears. Pin or clip the top straight edge. Sew.
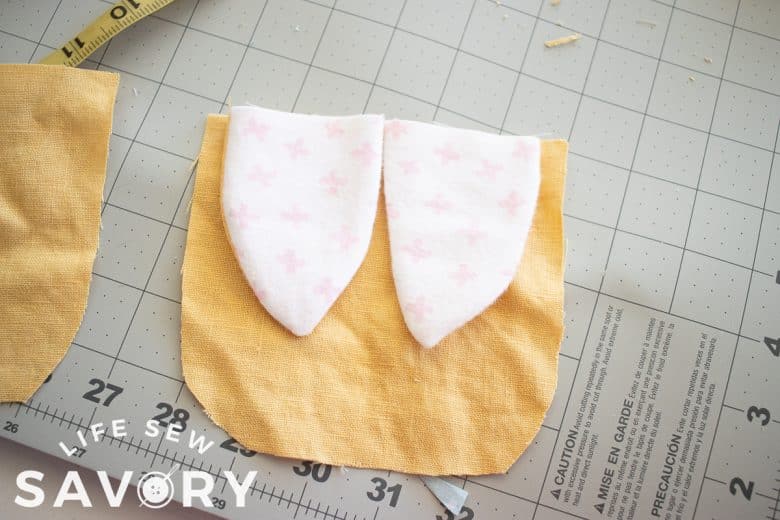
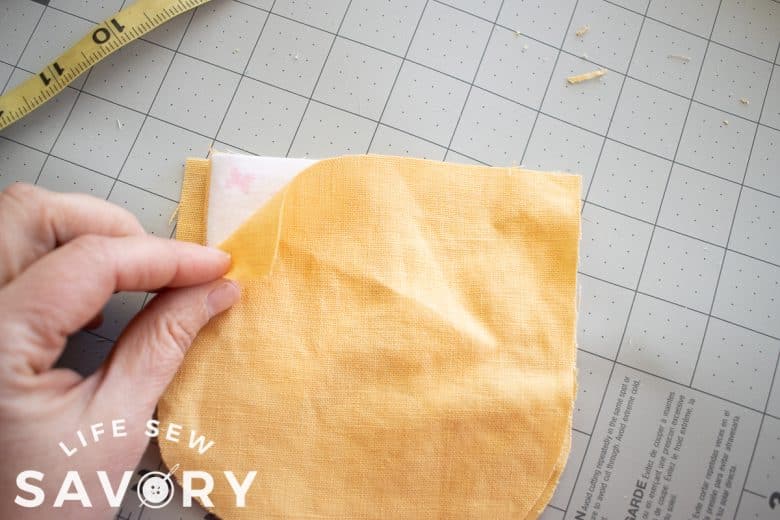
3. Repeat with the other two bag pieces only there are no ears inside this time. Flip the fabric out to the right side and press the seams.
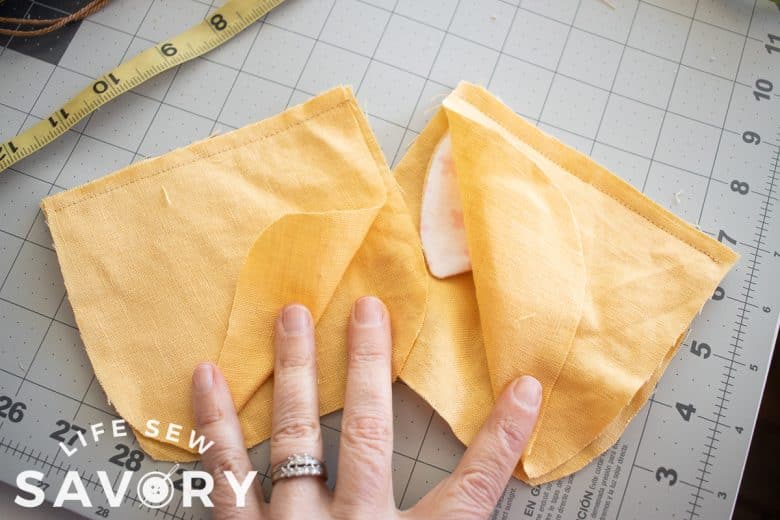
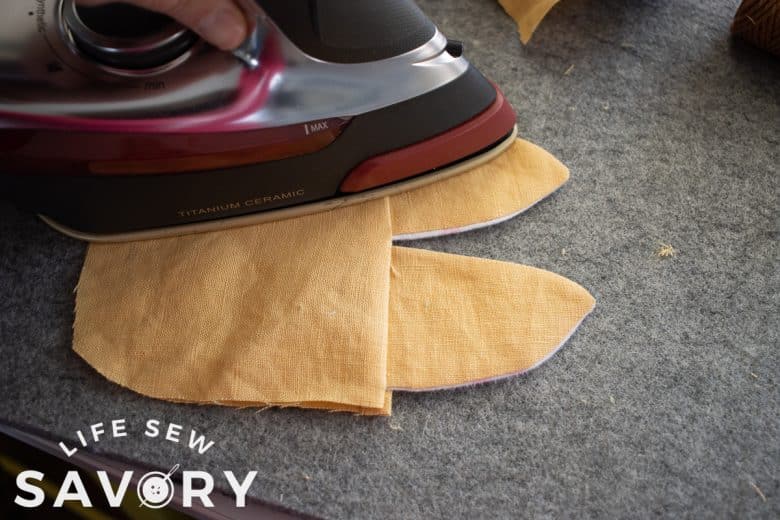
4. Press in a 3/8″ seam allowance on both long sides of the casing pieces. Fold the short ends in as well. Place 1/2″ down from from the top of the bag pieces and center. Pin. The casing should be on the side of the bag with the plain ears.
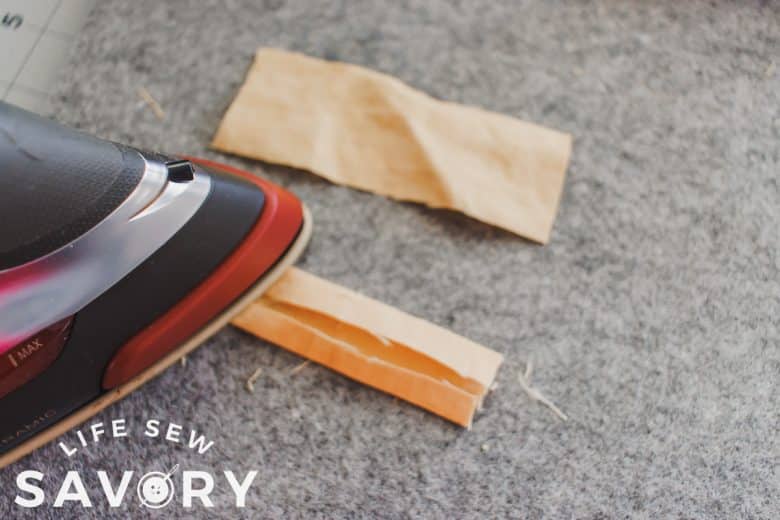
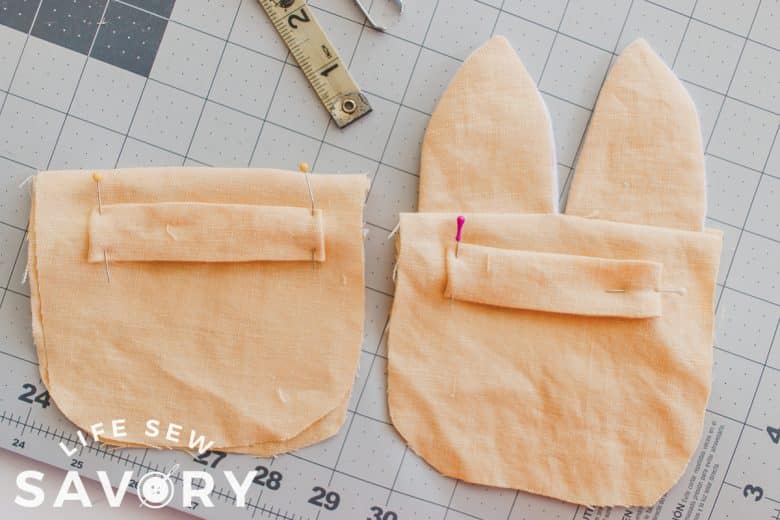
5. Sew the the two long sides of the casing, sew very close to the edge.
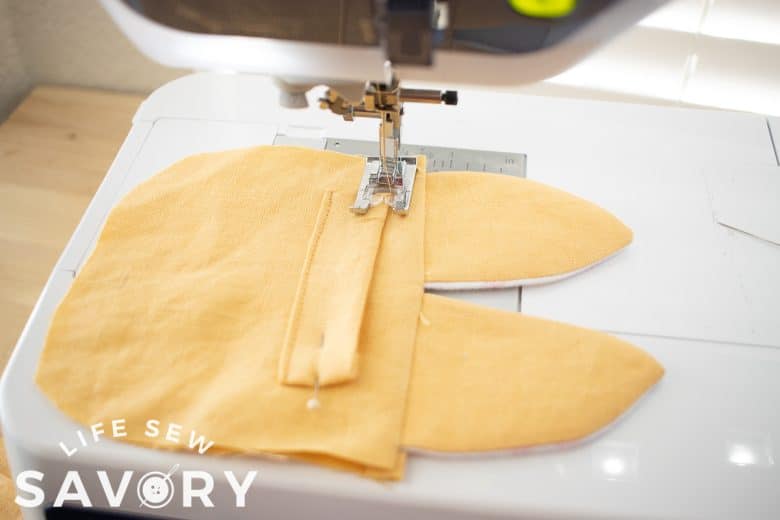
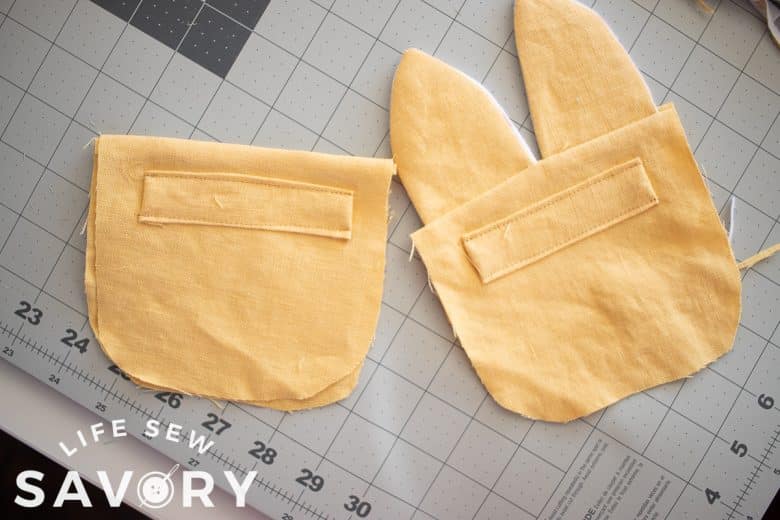
6. Place the two bag pieces together. The casing sides are the right side and now should face in. With right sides together sew the outside of the bag. You can use a zig-zag stitch or serger.
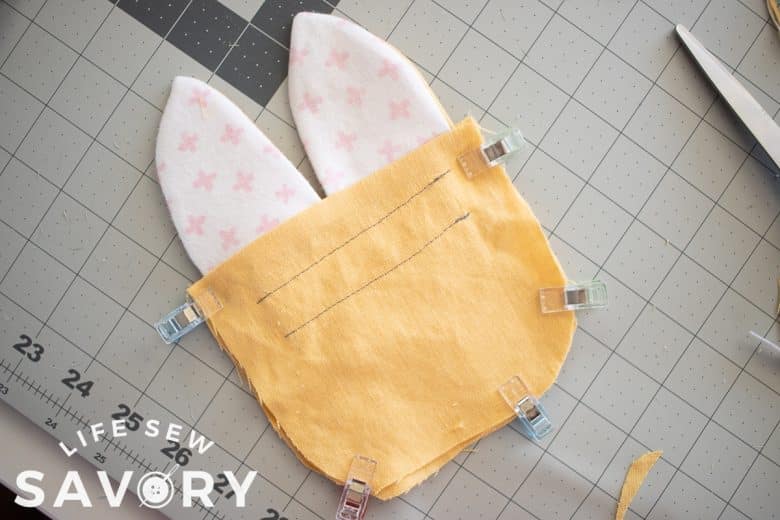
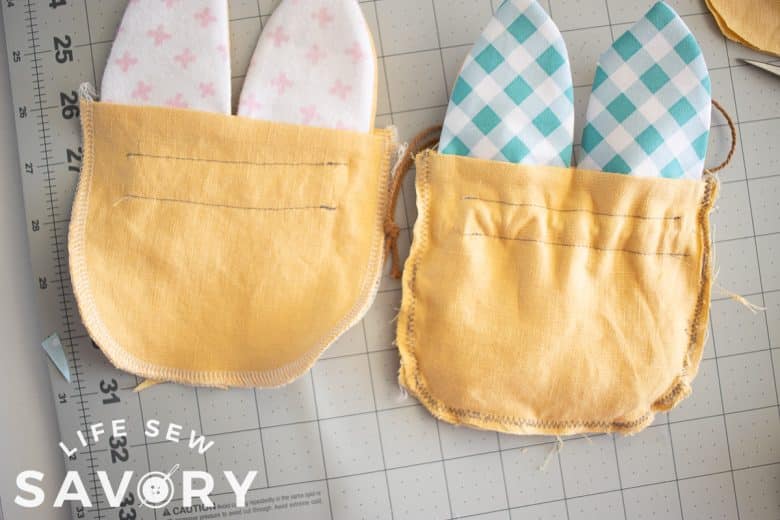
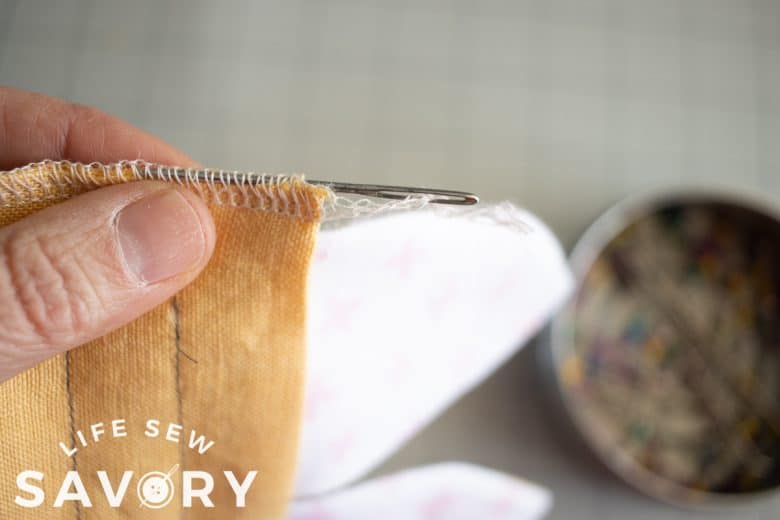
7. If you used a serger, finish the serger tails with a needle to pull the threads back through the stitches. Cut two 13″ pieces of twine/cord.
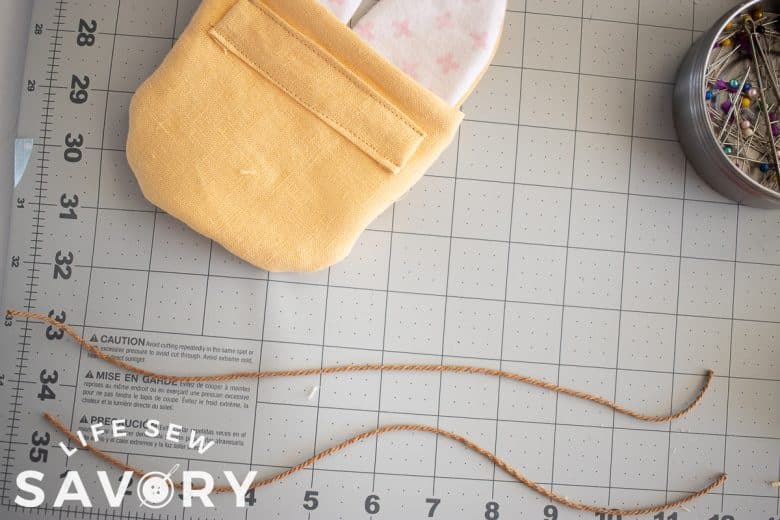
8. Thread the string through one side of the casing, around the side and then through the other side.
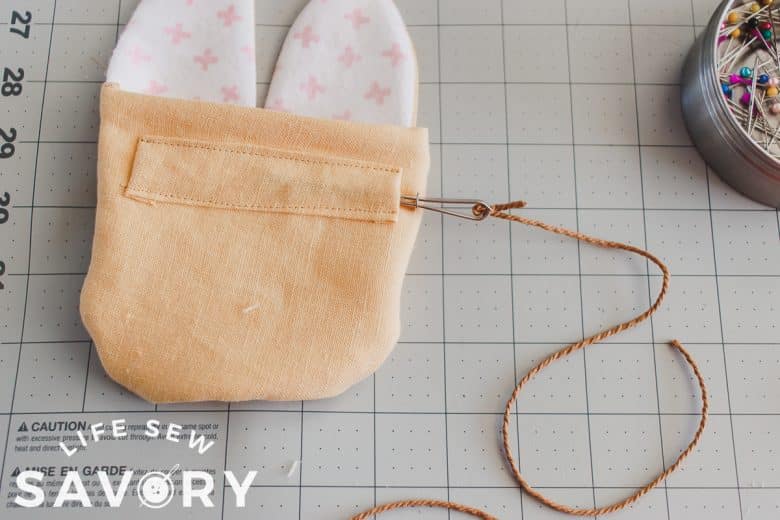
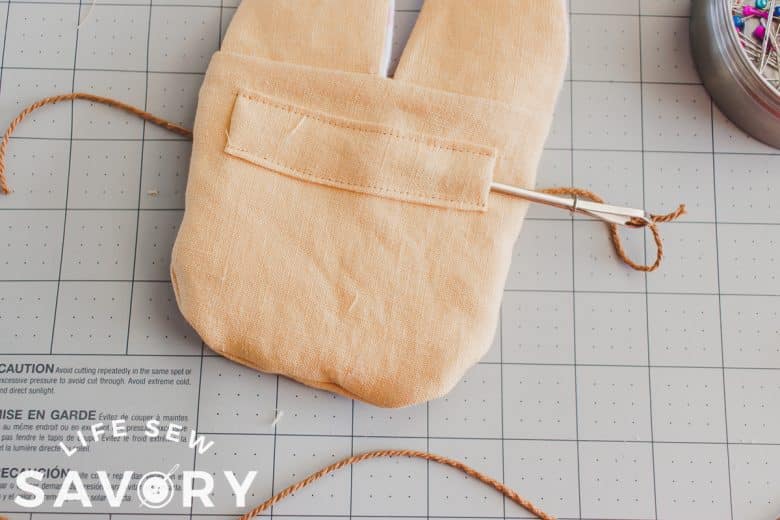
9. Tie a knot to keep the ends together. Repeat by threading the other string through the casings the opposite ways. Tie the ends together as well.
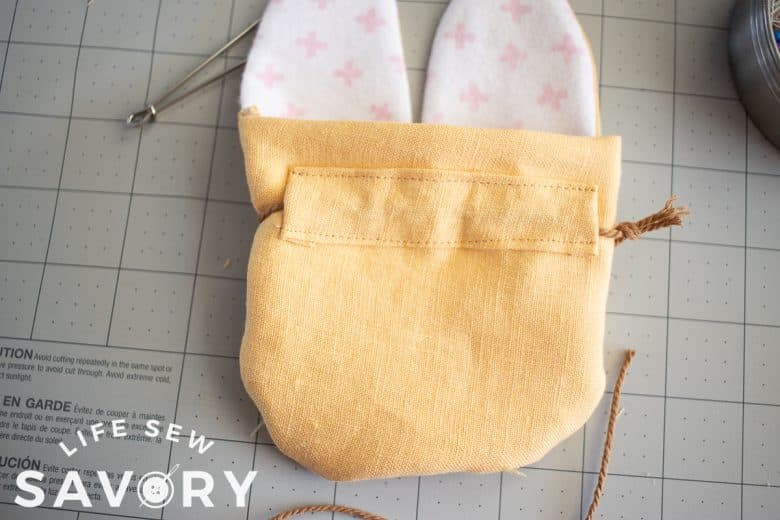
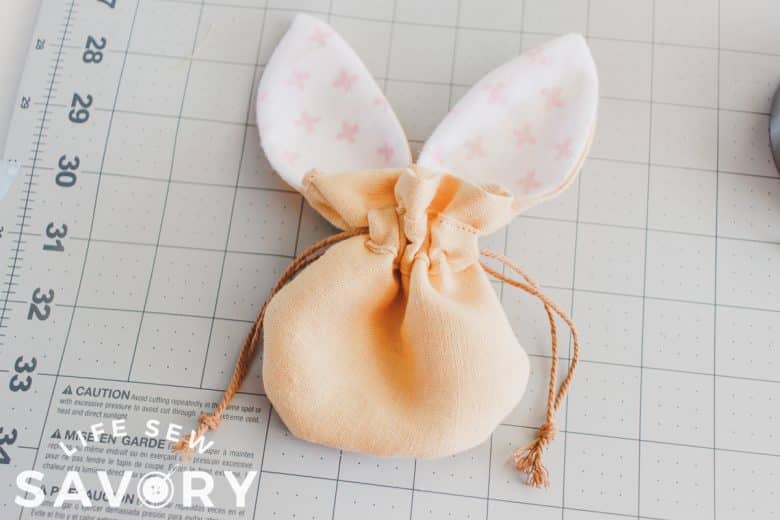
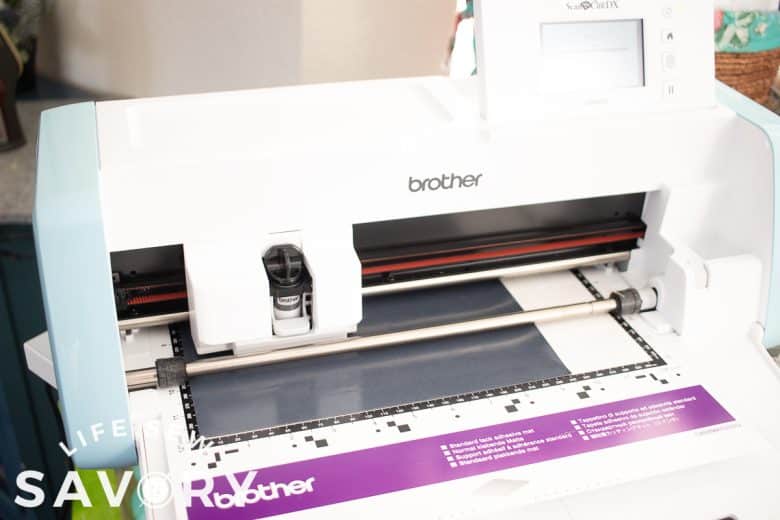
10. Transfer the face SVG to your cutting machine and turn off the nose layer. Cut the black part of the face first. You can cut more than one if making several bags. Need help with the vinyl? See my heat transfer vinyl tutorial here.
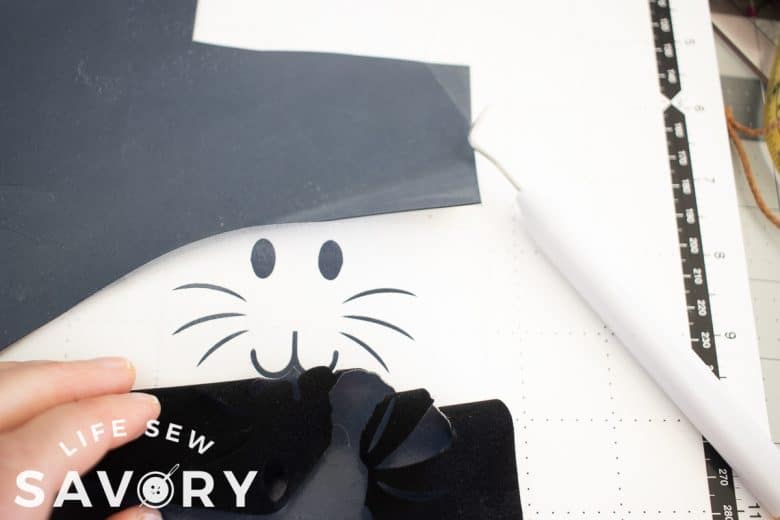
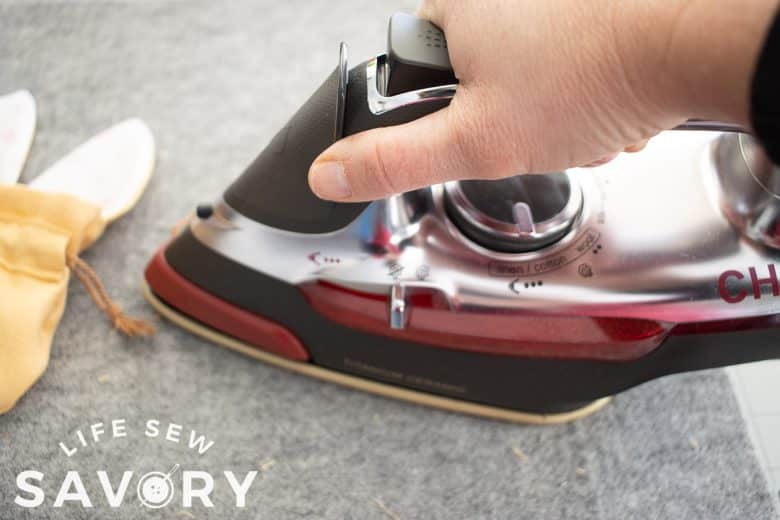
11. After you weed the black faces, iron to the bags. The lower the better so when you cinch it up the face is clear.
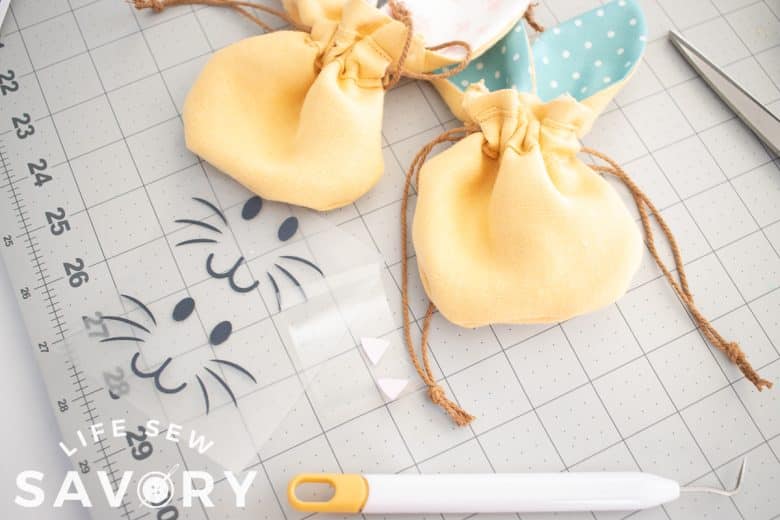
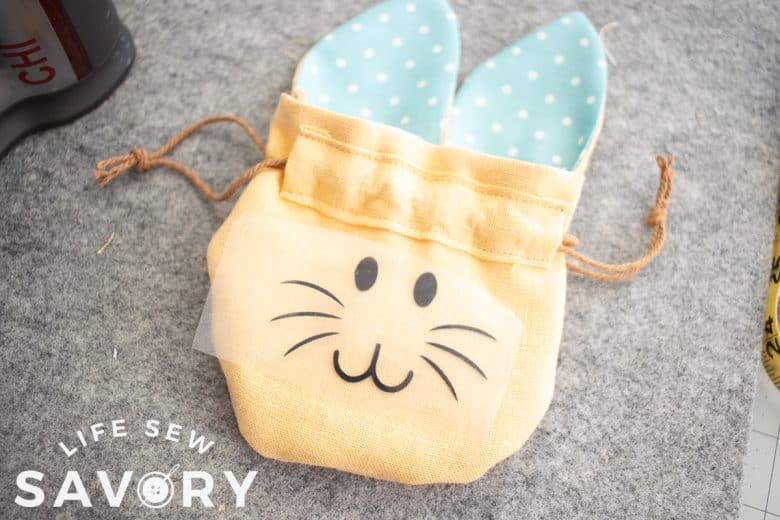
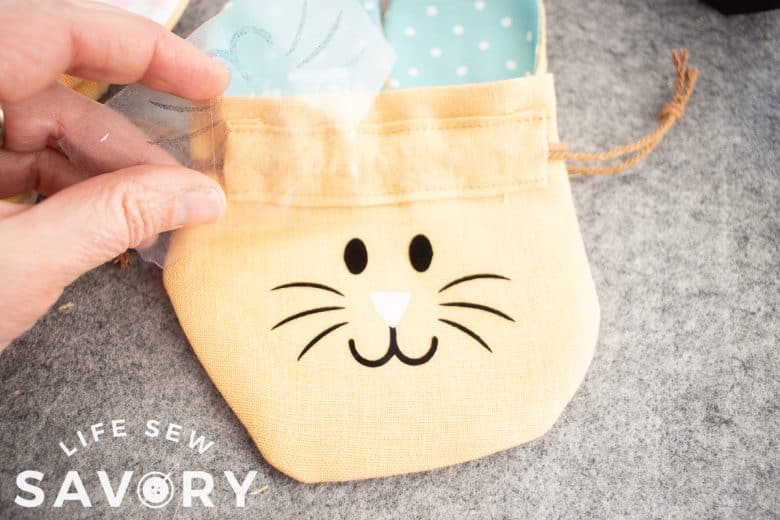
12. Cut the pink noses and press to the bag. Make sure to keep ALL the black vinyl covered when ironing the nose. Peel off the protective plastic and your bag is finished! Sew a few and enjoy!!









Chelcie says
This is really adorable! I’m hoping to make one of these and also one of your cute woven felt baskets for my sweet gran this Easter!