inside: Learn how to sew a tie back swimsuit with this sewing hack. Easy sewing hack to add to suit pattern for a cute tie back suit.
Getting ready for spring break I sewed Rose a few swimsuits. We were headed to the beach and she needed new suits for sure. In February she put on a suit and said she couldn’t breathe so I knew it was time to sew up a few more for her. I shared the two piece I made in my swim elastic tutorial and here is a cute one piece suit. This suit got a cute tie back feature and today I’m going to show you how to make one like this.

Tie Back Swimsuit Sewing Hack
Below I’m going to show you the details of how to sew this suit, but first let’s take a closer look at how this cute swimsuit turned out.
Rose is tall and thin so one piece suits are impossible to purchase for her. I’ve bought a few two piece suits for her that work, but sewing for her is the best option.

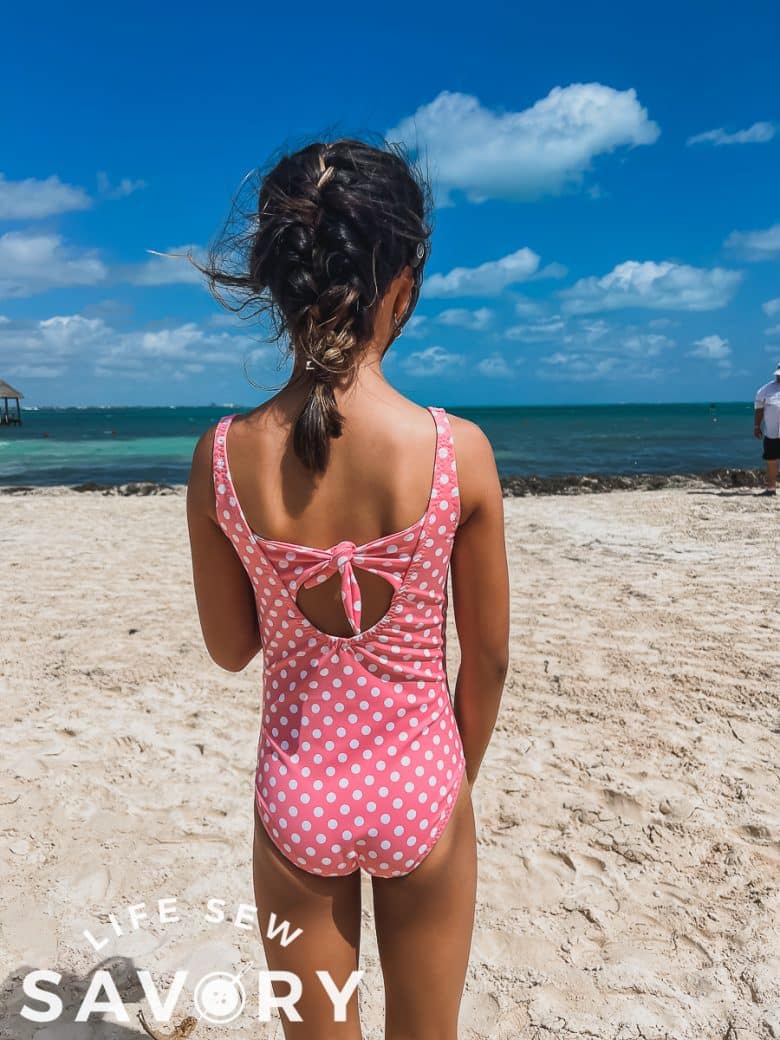
This suit using my girls basic swimsuit as the base and added the fun back ties. It’s an easy sewing tutorial and a fun detail to add to a swimsuit. You can add this to any basic scoop back suit and I’ll give you all the details below.


Fun Swim Pattern and Tutorials to Sew
- Girls Basic Swim Pattern
- Swim Elastic Tutorial
- Color Blocked Swim Suit
- Rash Guards {swim shirts} from a free pattern
- Free Toddler Suit
- Fold over elastic tutorial for swim
Sewing Hack – Tie Back Suit
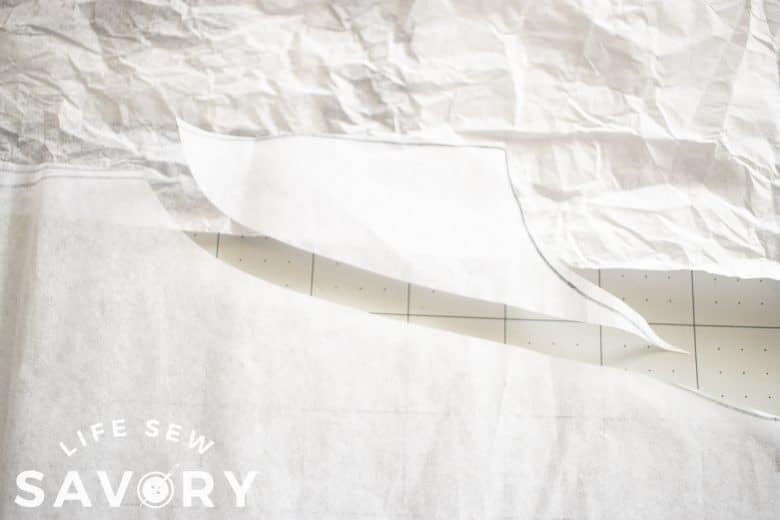
Ok! First up, let’s talk about the pattern modifications needed to make this suit. I decided to scoop the back of my suit pattern about another four inches. You can see that in the first photo. I used my tissue pattern and cut the back lower. Then I cut a 7″ long wedge that is the tie. The bottom edge of this should flare out and the top should come to a dull point.
For teen and adult sizes you will want to cut longer than 7″. I placed the tissue tie on the back of the suit to see how it would come together.
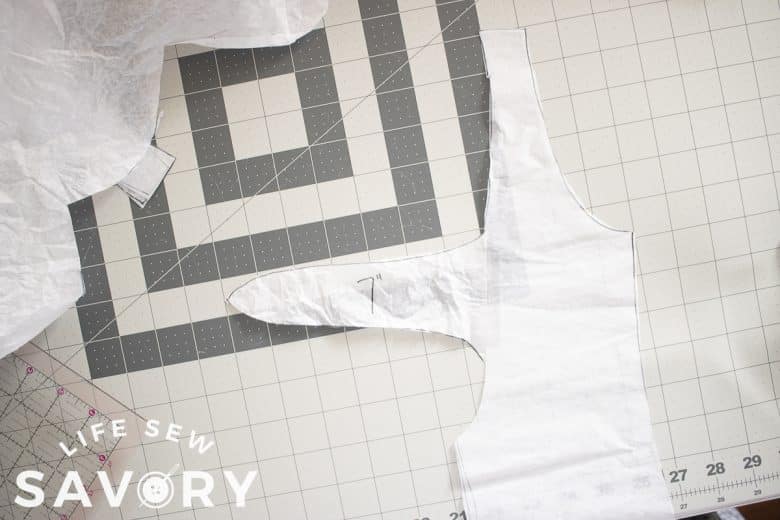
Cut out the suit as directed in the pattern and then cut four of the tie pieces. Sew two pairs together with right sides of fabric together. Turn right side out.
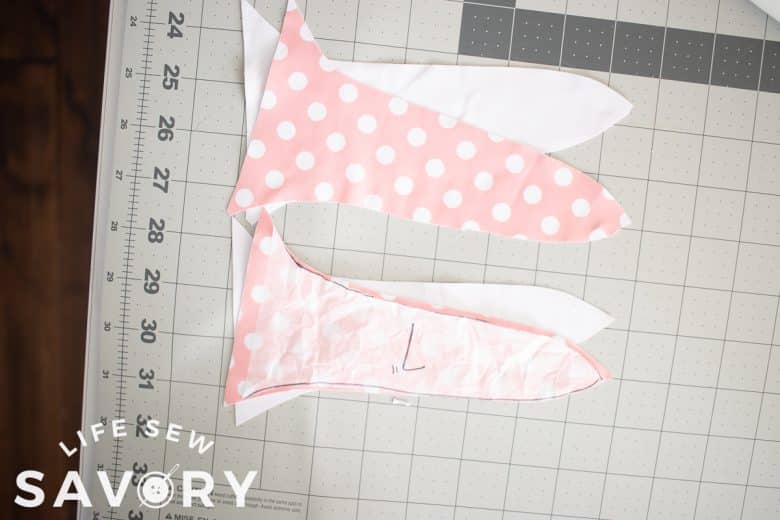
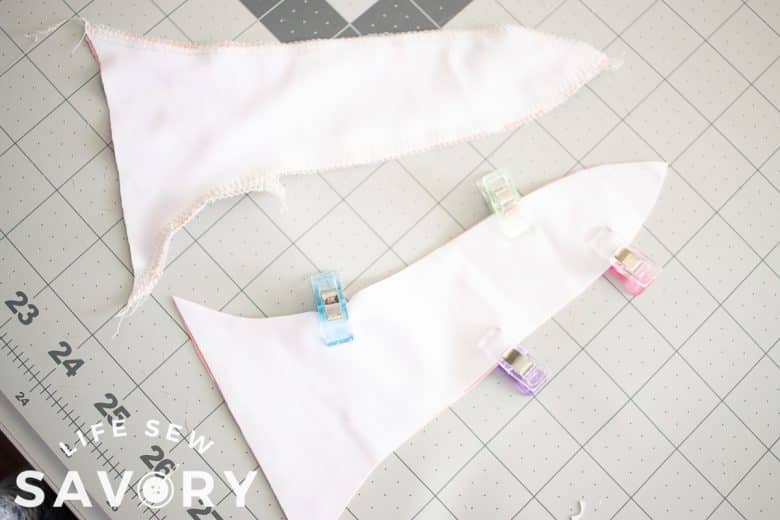
On the back of the suit place the ties a couple of inches above the bottom scoop on the sides of the back. Make sure the two pieces are at the same level on the back. Sew these two in place with a zig zag stitch.
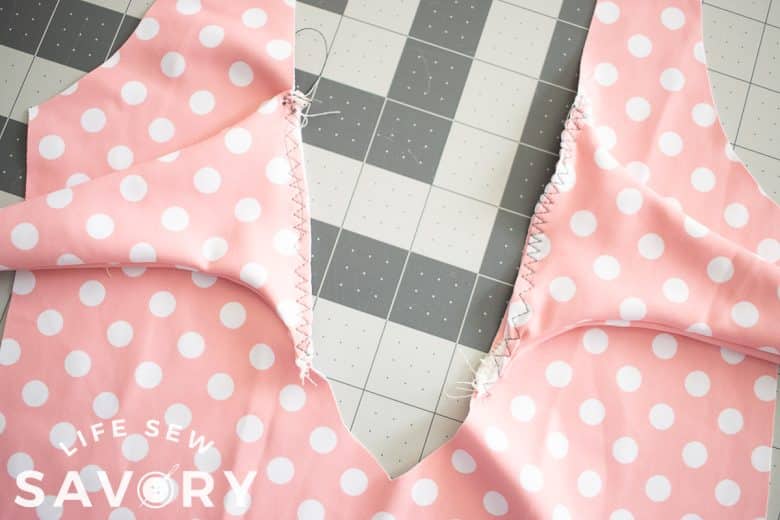
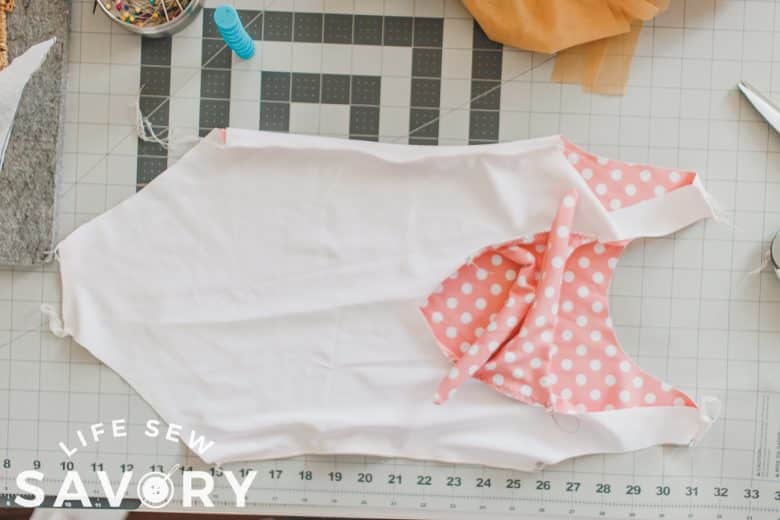
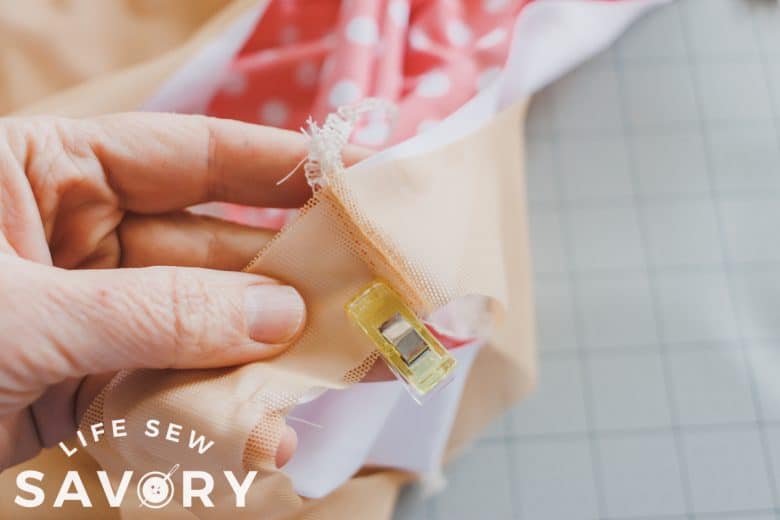
If using a lining, take the lining and suit and place wrong sides together. Line up all the raw edges and seams. Pin or clip it all in place.
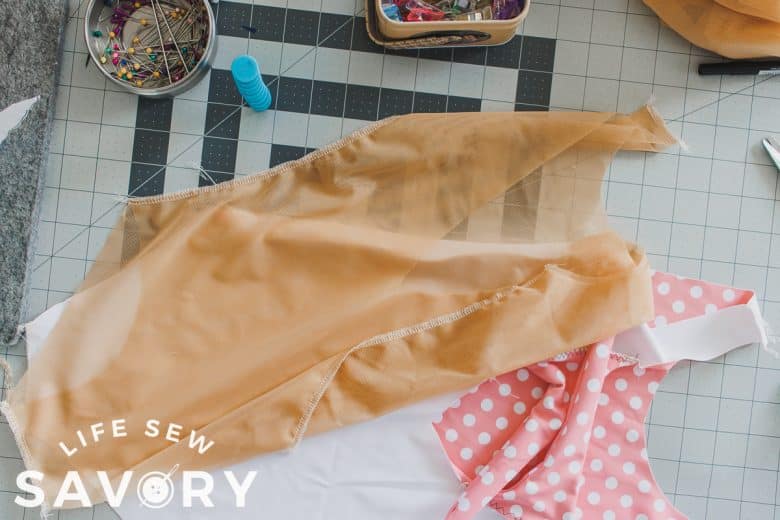
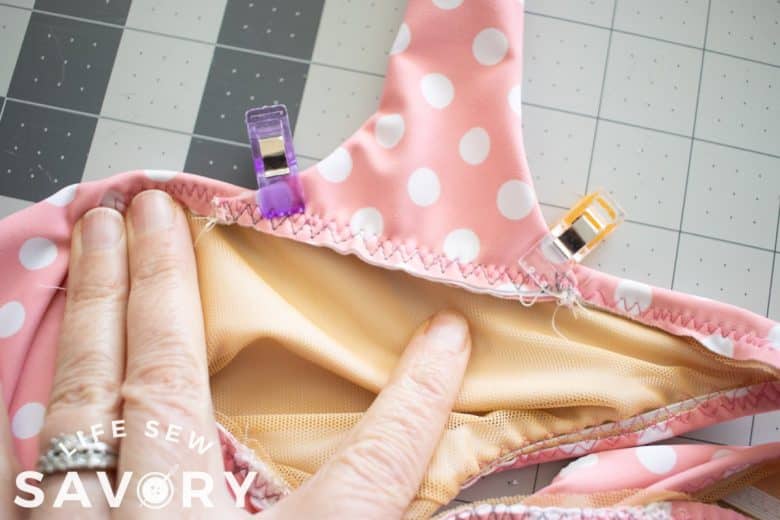
Now it’s time to add the back elastic {you need to add elastic to the whole thing, I’m just showing the back where the ties are} Cut the elastic according to you pattern. Mine about 90% of the neckline. Quarter the elastic and quarter the fabric then match those marks.
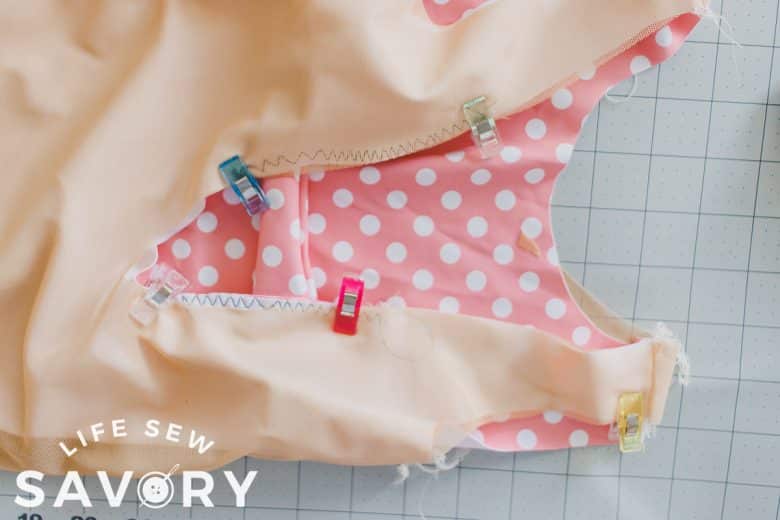
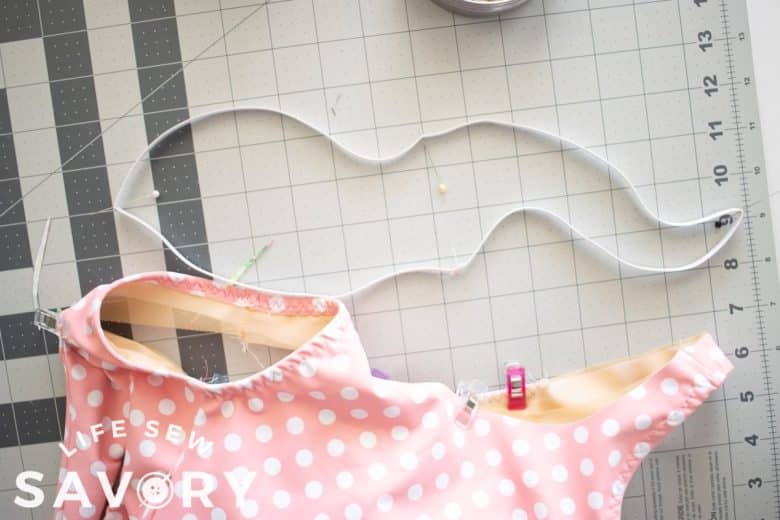
Pin or clip the elastic on the inside lining of the suit. You will want to sew it through both the lining and fabric.
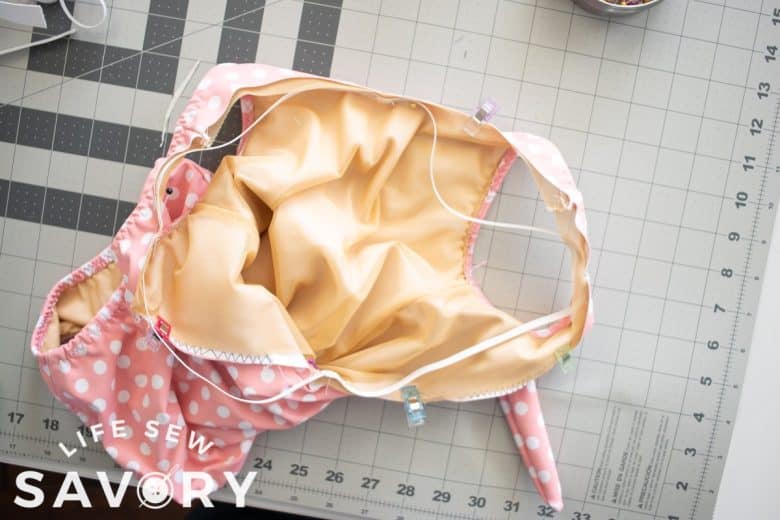
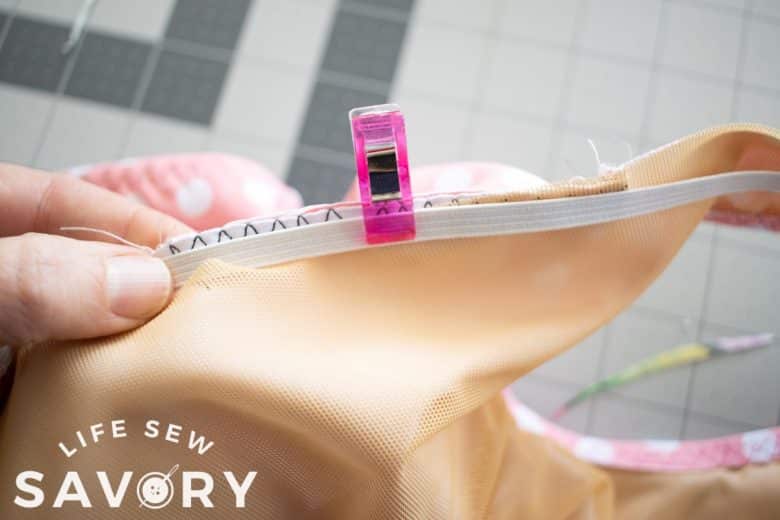
Sew elastic through both layers with zig zag stitch. Clip all long threads.
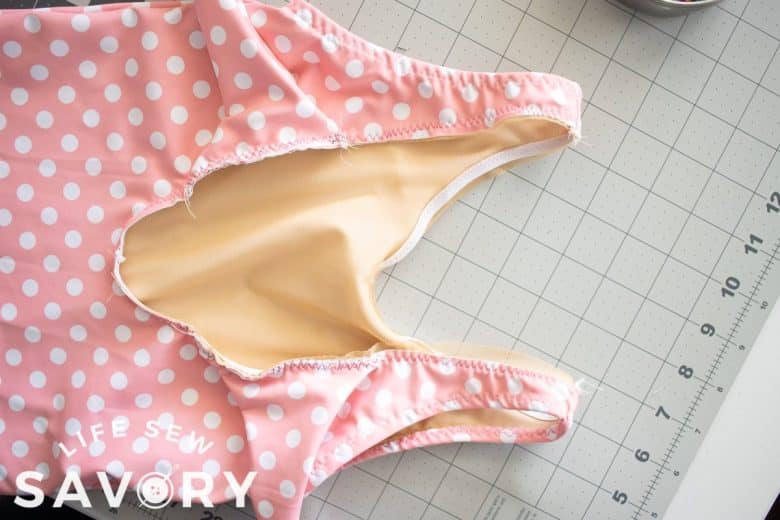
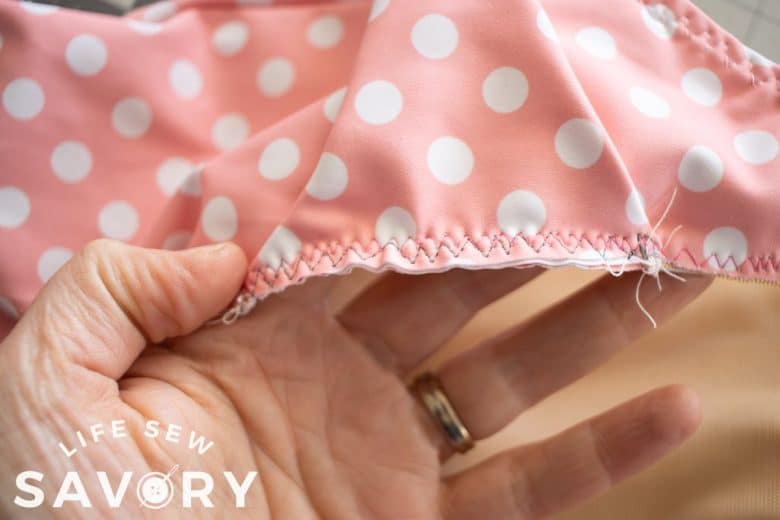
Now we will fold over the elastic one more time and topstitch in place. Here is how it looks by the back tie. Flip over so the ties are now facing in towards the center of the suit. I like to use a triple zig zag to sew this final step and also it looks nice. I sew on the RIGHT side of the suit so I can see that it’s even stitching.
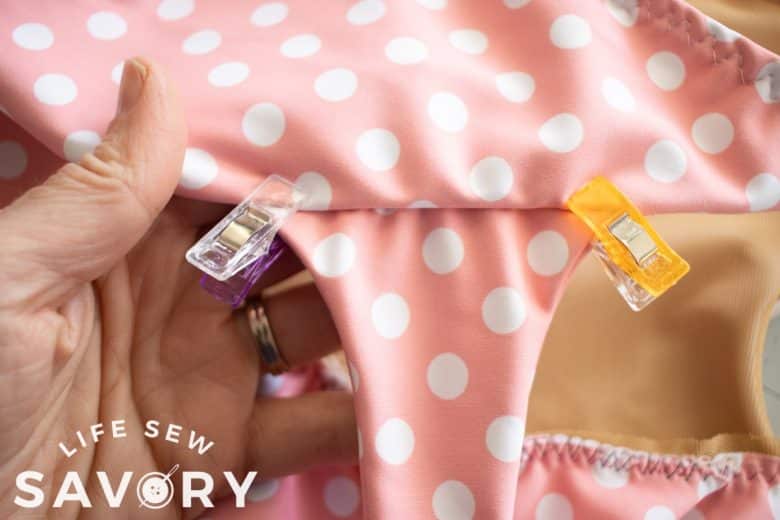
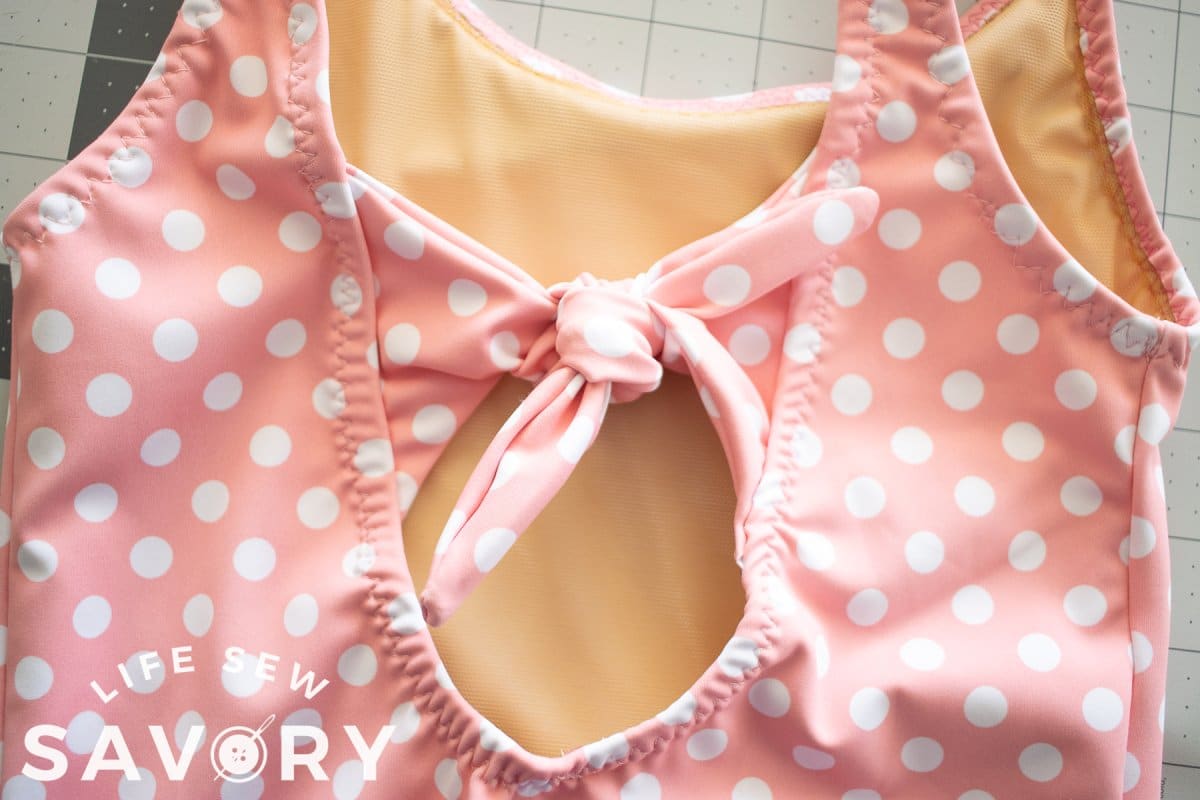
And you did it!! Look how cute this tie back swimsuit is… Depending on how low the back is and how tight you tie this, you can take the suit on and off without untying the knot.






uno online says
She has a pretty cute beach outfit!
Drive Mad says
Very cute. How cute is this lace-up swimsuit in the back. My baby can put on and take off the clothes without undoing the knot. Very convenient!
Lucy Chow says
The costumes are cute and the people are even cuter