I’m thrilled to have Heidi here today sharing an adorable Felt Pumpkin tutorial and template. Heidi’s site was one of the first I saw with felt food several years ago. My obsession with felt and felt food has continued since then!
Felt Pumpkin Tutorial and Template-
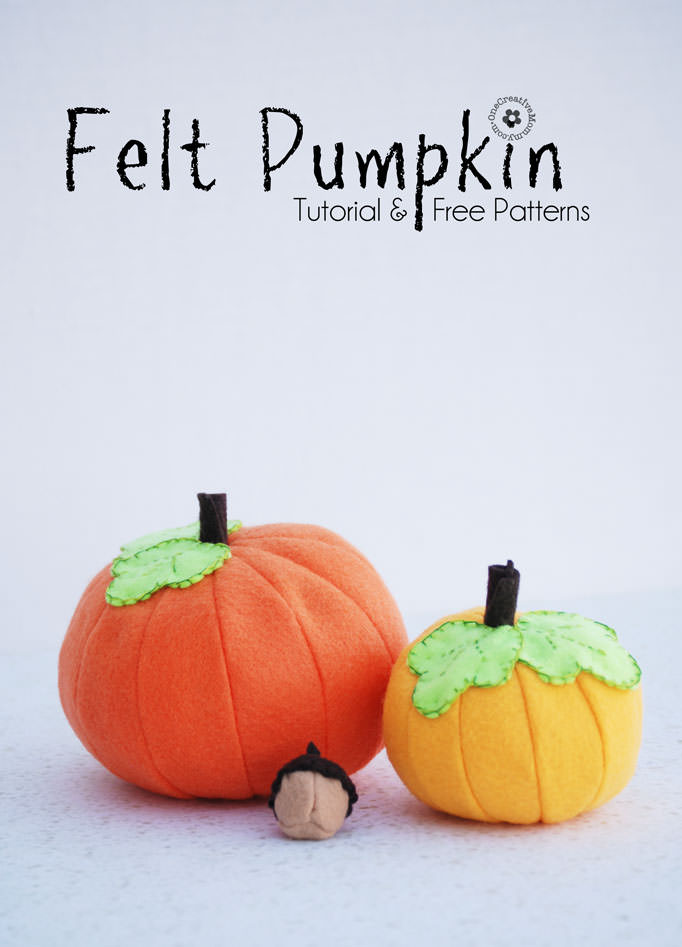
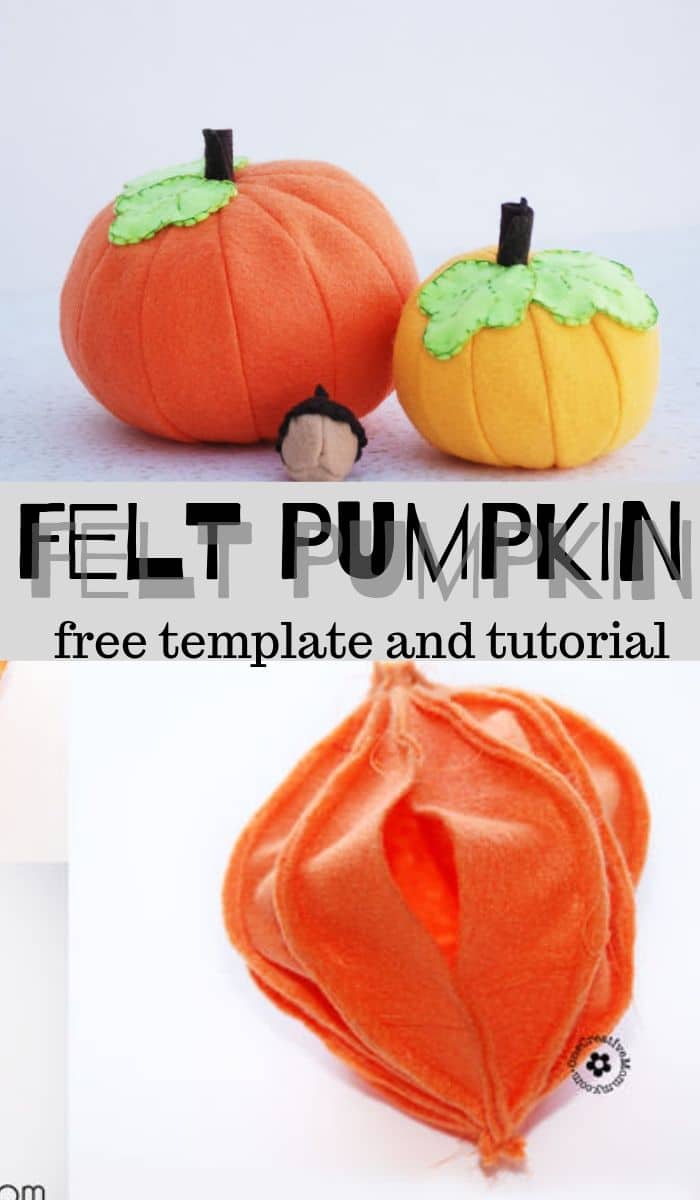
Hi, everyone. I’m Heidi, from One Creative Mommy. I’m thrilled to be part of Felt Week on Life Sew Savory! Making felt food is kind of an addiction with me, and I’m happy to share a little bit of that hobby with you today. Get your felt ready, because it’s time to make some felt pumpkin craft! Here’s how to make felt pumpkins.
How to make a Felt Pumpkin
Materials:
- Orange or yellow felt and matching thread
- Green felt (light or dark–you choose)
- Dark brown felt
- Stuffing material (I used felt scraps and left over odds and ends of fiber fill from blankets)
- Craft Glue
- Light and dark green embroidery floss (If you don’t have any, you can substitute several strands of thread)
- Felt Pumpkin Sewing Pattern Printable Patter (Click to download the free patterns from OneCreativeMommy.com)
Instructions:
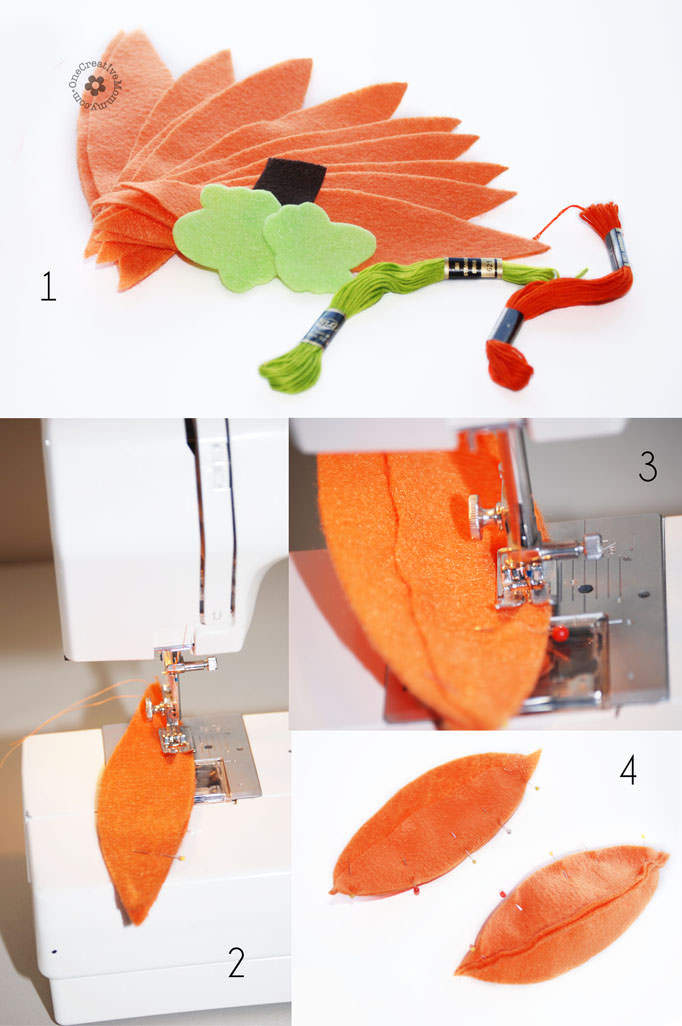
- Cut out the felt pumpkin sewing pattern, and then trace and cut them on the appropriate color of felt. (Trace the pumpkin piece 12 times for 12 pumpkin segments.) Save your scraps to use for stuffing.
- Pin two pumpkin pieces along one edge and sew along that egde. (I use just inside the presser foot as my seam allowance.)
- Open your 2-section pumpkin and add another section–pinning along the edge where the new section meets the one of the original two. If felt had a right side, I’d say to pin the right sides together. It doesn’t, so you’ll have to be careful to make sure your seams always stay on the same side when you unfold. Sew along your newly pinned edge.
- Repeat until you have sewn a four-section piece.
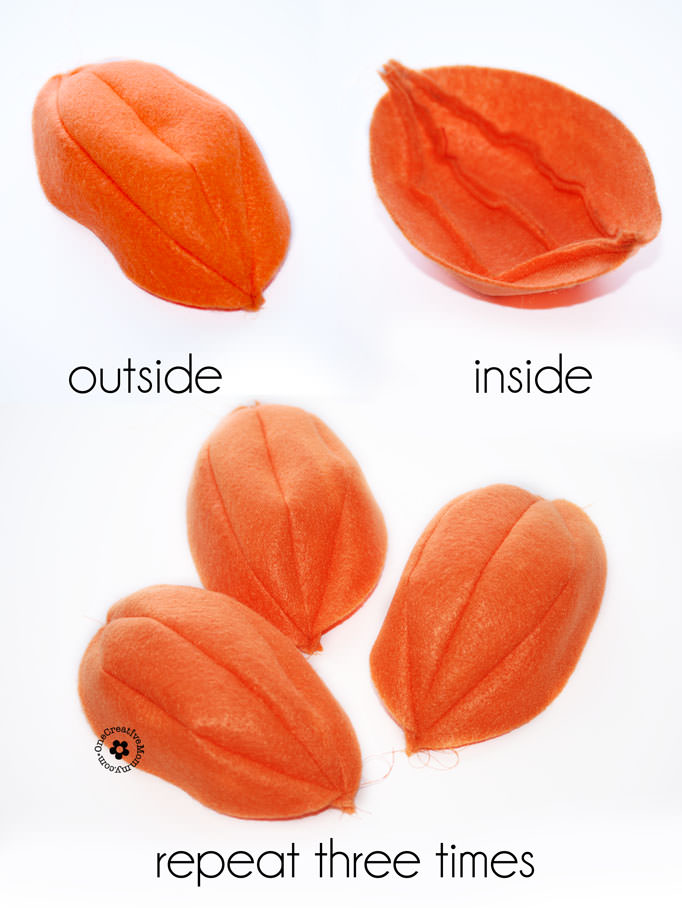
- Check with the image above to make sure you have done it correctly, and then repeat the same steps until you have created three 4-segment sections of pumpkin.
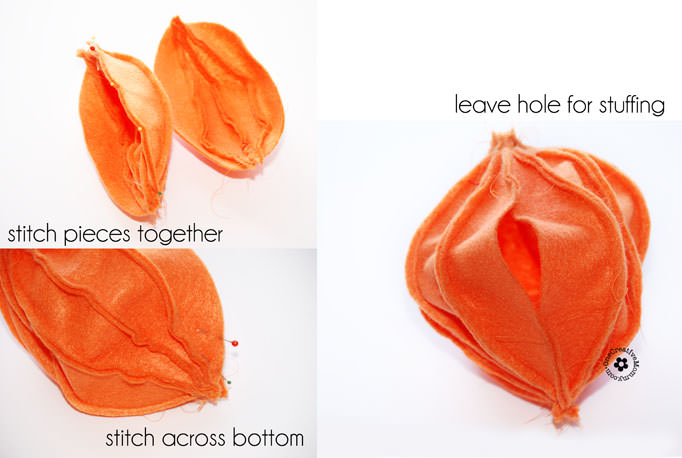
- The next step is to stitch the three sections together. Paying careful attention to the seams, pin two sections together along one seam. Stitch across the seam. Do the same with the third section.
- Now you should have one open side of the pumpkin left. You will not stitch this entire seam closed. Choose a side of the pumpkin to be the “bottom,” and carefully smooth and spread out the pieces so that you can sew along the bottom edge and across part of the open side. Pin and stitch.
- Do the same with the top of the pumpkin — EXCEPT — do not stitch across the top. Stitch down part of the open side, but leave a little open spot at the top. You will glue the stem into that hole.
- Now you should have a complete pumpkin with a two or three inch hole in the seam for stuffing.
Now’s the fun part!
- Turn the pumpkin right side out.
- Stuff it with felt scraps, fiber fill, or fabric batting.
- Hand stitch closed the open seam.
- Roll your stem piece into a tube and attach it to the top of the pumpkin. (Put some craft glue in the hole and on the bottom of the stem, and then stuff it into the hole.)
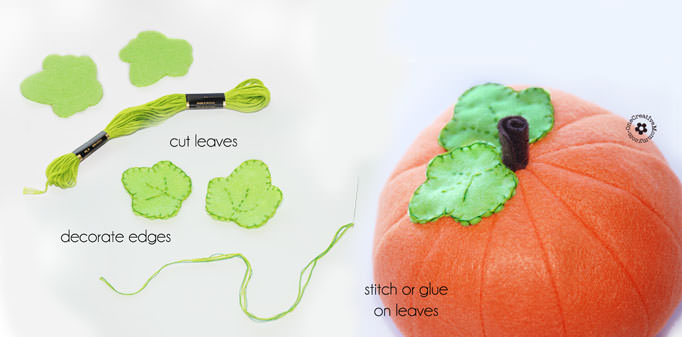
You’re almost done! Now it’s time for the leaves.
- Blanket or whip stitch around the edges of the leaves using two or three strands of light green embroidery floss and one strand of dark green. (If you don’t have embroidery floss, you can cheat by laying long strands of regular thread together. I’m all for using up what you have on hand!)
- Add some leaf vein designs inside the leaves.
- Glue or stitch the leaves to the pumpkin, and you’re done!
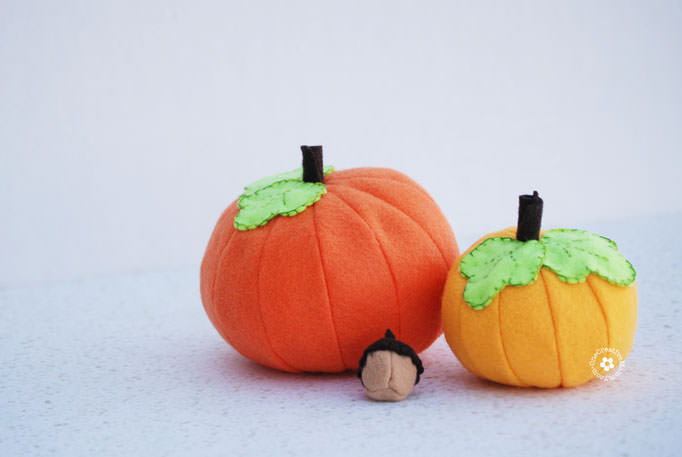
As for the little acorn in the picture (which turned out to be my kiddo’s favorite part), I’m sorry I don’t have a pattern for that. I just stitched a few scraps together, and it miraculously worked! (Once in a while things I create do actually turn out the first time. But only once in a while!)
There you have it! I hope you have as much fun creating these pumpkins as I did. I can’t decide whether to let the kids keep them in their felt food stash, or to steal them and add them to my Fall decorations!
More FALL projects to try!
{click the image to open a new post}





Marilyn says
These pumpkins are awesome! I LOVE them…..I think I’ll stop by JoAnn’s and get some felt today!
Heidi @ One Creative Mommy says
Thanks so much, Marilyn. Have fun! If you get lucky, it will all be on sale.