inside: learn how to sublimate on glass cups. Create trendy custom drinking glasses with your sublimation printer for gifting or your own use.
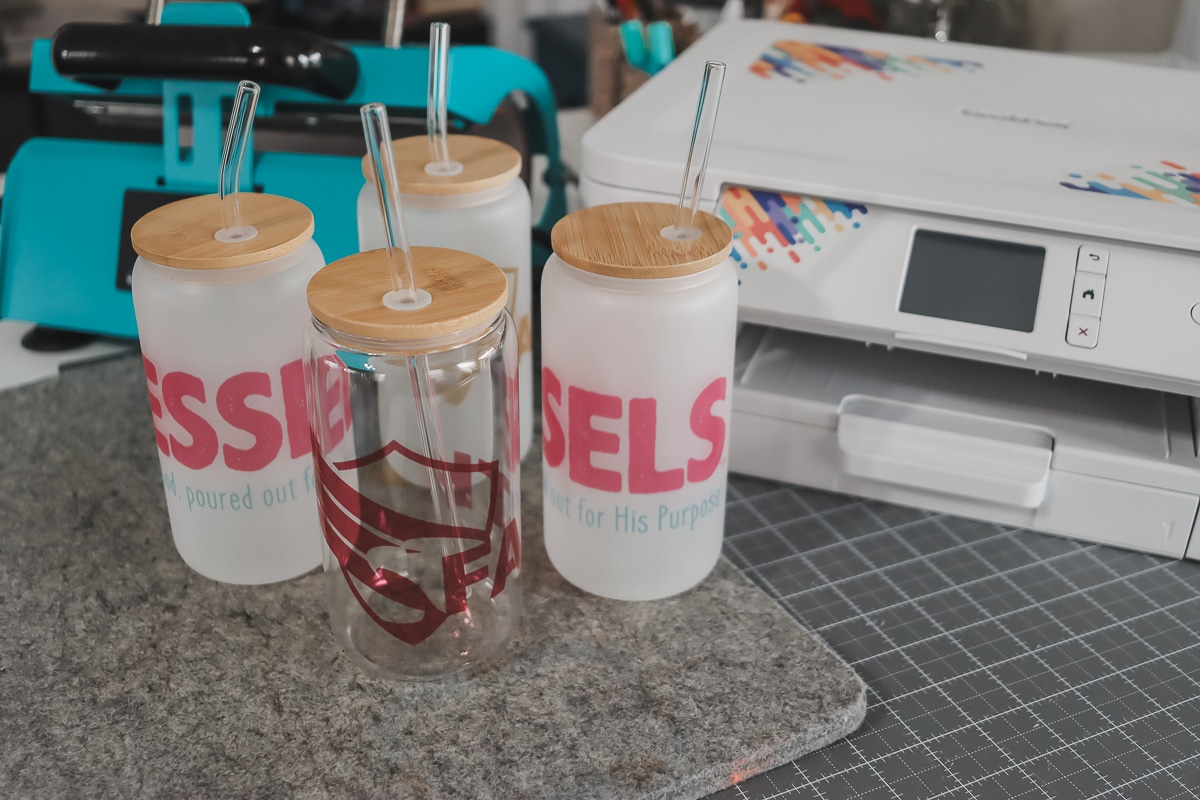
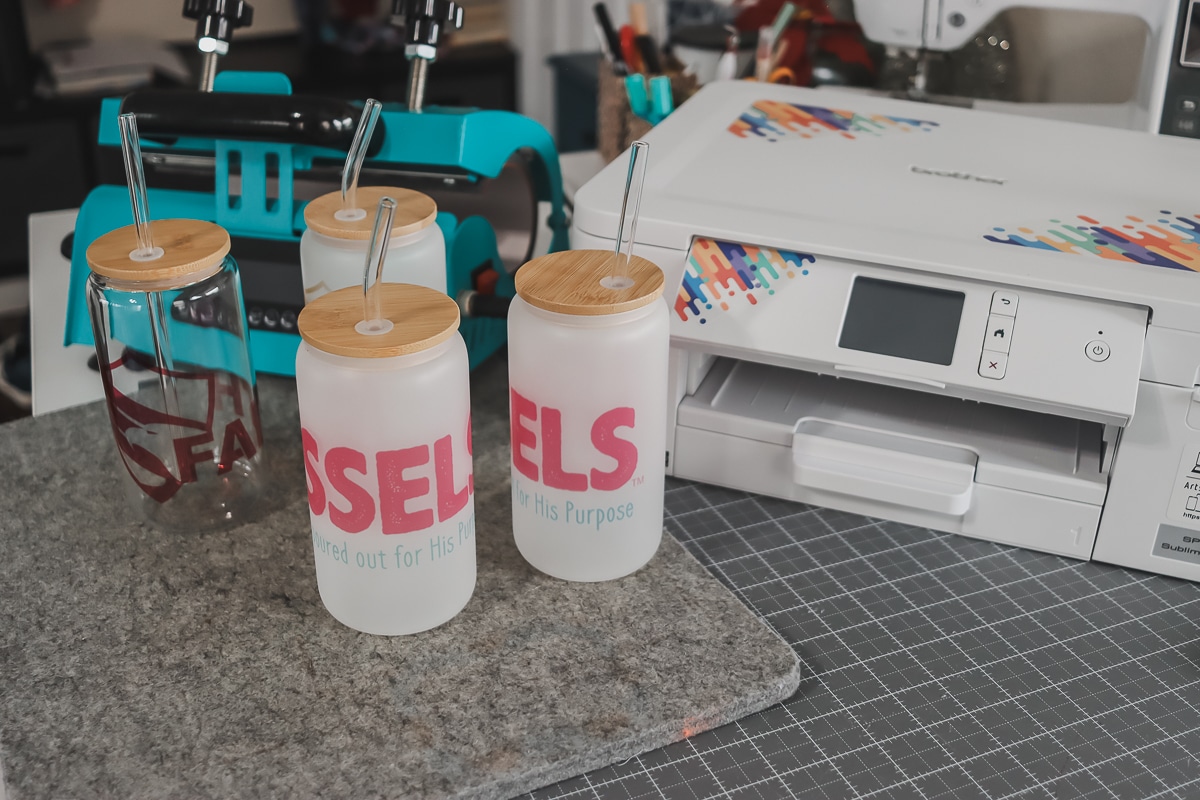
You all know I’m obsessed with my new{ish} sublimation printer from Brother. I was busy all December creating gifts and home decor with sublimation and I’m excited to be back today with another crafty sublimation project. I made these trendy glass cups as part of my teacher gifts, but these are also fun for summer or making for yourself.
sublimation on glass cups
I’m including a full length, step-by-step video in this post. It is inserted right below this text in the post, but sometimes it moves as you scroll. Check the sidebar if you don’t see the video. Also, you may not see it if you are running an ad-blocker.
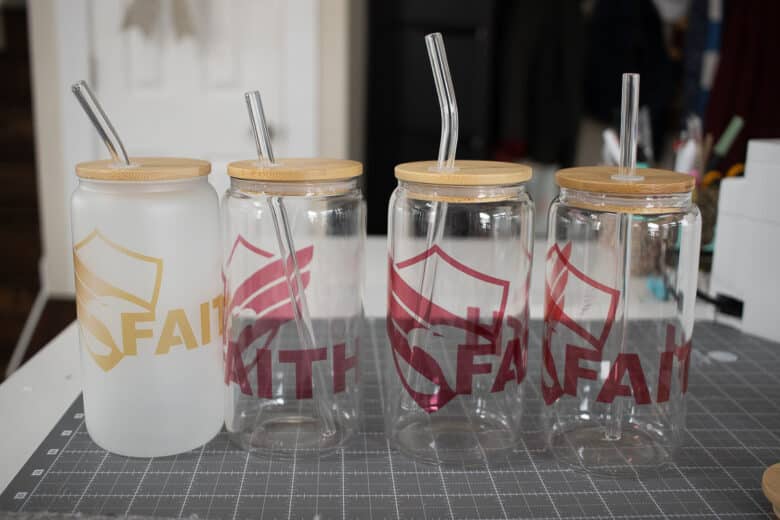
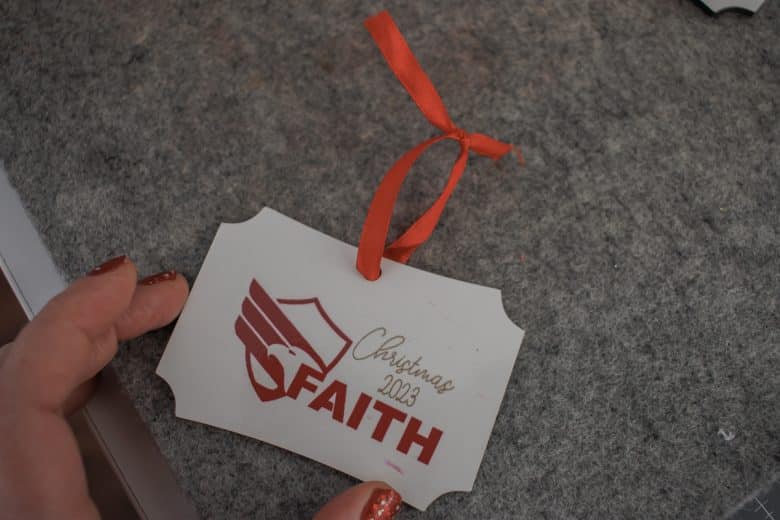
I created custom drinking cups for some teachers and some club leaders as Christmas gifts and today I’m going to walk you through the quick process of creating these fun and unique cups. All the supplies used are linked below.
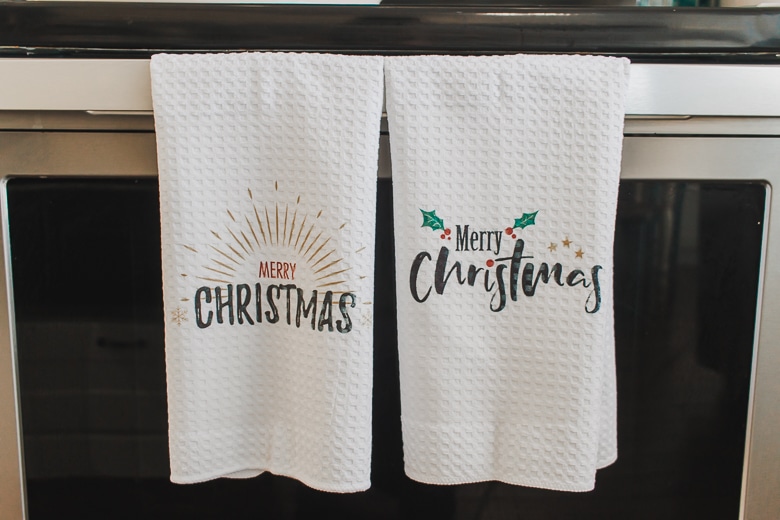
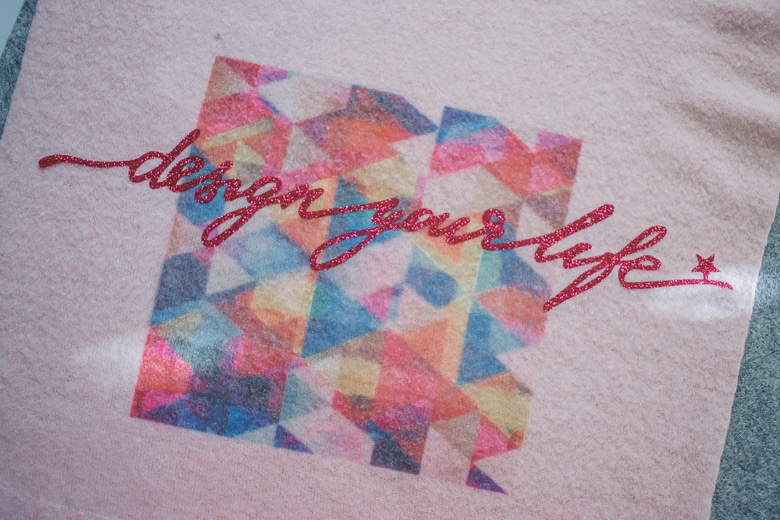
Amazing sublimation projects to make:
can you sublimation on class cups
Yes! You can use sublimation on so many surfaces! Just head to amazon and do a search for sublimation blanks and your mind will be blown with all the possibilities. You will find a complete list of the supplies I used in this project in the nest section.
Here are some tips to keep in mind when sublimating on glass drinking glasses.
- Make sure your image is reversed before printing
- Trim down the extra paper around the design for easier positioning and easier use.
- Tape the sublimation paper down securely to your glass.
- For a full wrap design you will press, then rotate and press again -see below
- Make sure your drinking glass is a sublimation blank, it needs a special coating on the outside.
- Read the information on your tumbler press and sublimation blanks to make sure you are press for the correct time/temperture.
- Make sure the glass fits snug in the heat press.
- Use lots of heat resistant tape to keep your designs in place while pressing.
Check out the tutorial below and then come back and check out this list again before you get started.
how to sublimate on glass cups
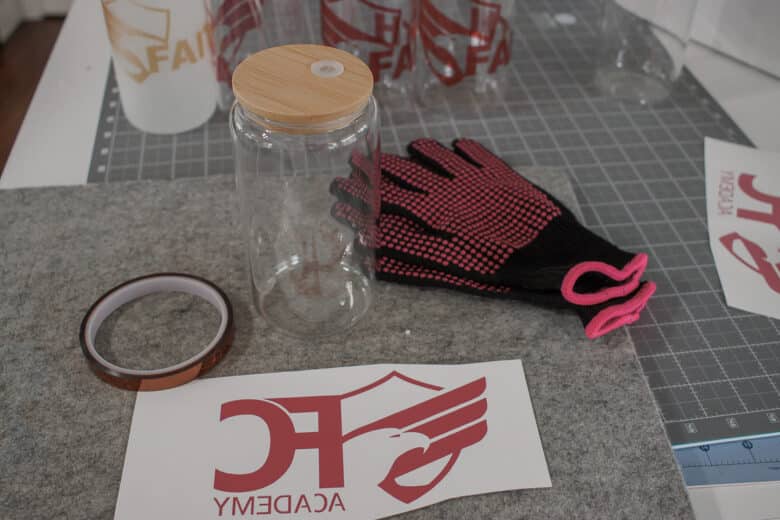
Let’s jump into this fun and easy sublimation project. Gather your supplies before getting started.
- Brother Sublimation printer
- Tumbler/mug/glass heat press
- sublimation paper {some should come with your printer or heat press}
- Drinking glasses {can order a set or clear or frosted or mixed}
- Heat resistant tape
- heat gloves
- heat mat
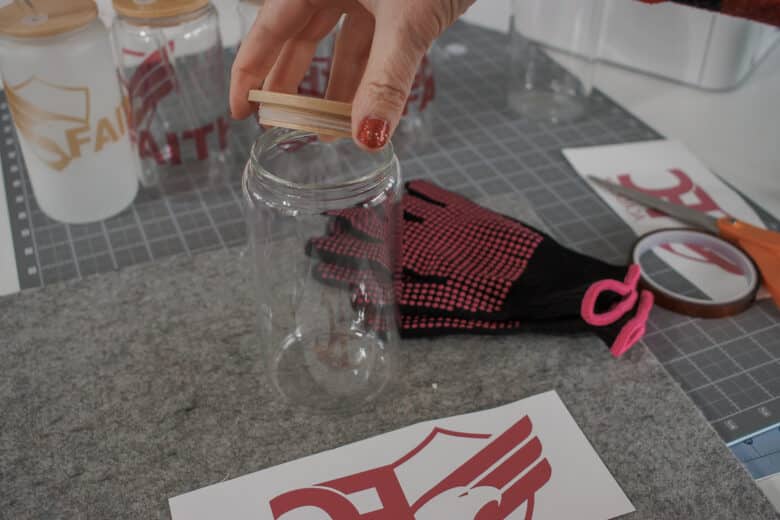
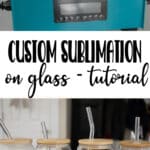
After gathering my supplies, the first thing I like to do is remove the lids, so it isn’t in the way and I don’t forget to take it off later. I love these mugs as they come with a cute bamboo lid and two straws per glass. Perfect for gifting!
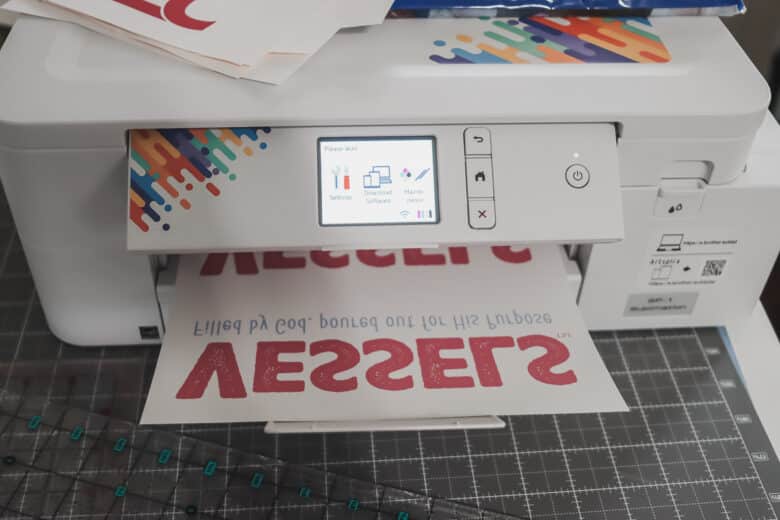
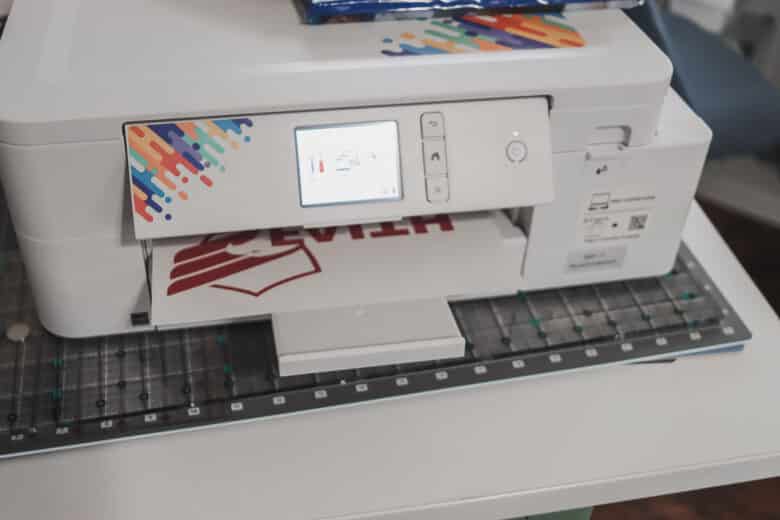
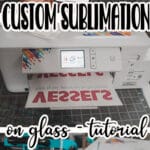
If you haven’t already, create or transfer your design. I transferred the design to my phone, then use the Artspira app to resize, mirror and transfer to the printer. You can also connect this printer to your computer via a cord for transfer. If you want to create a design you can use the editor right in the app to do so.
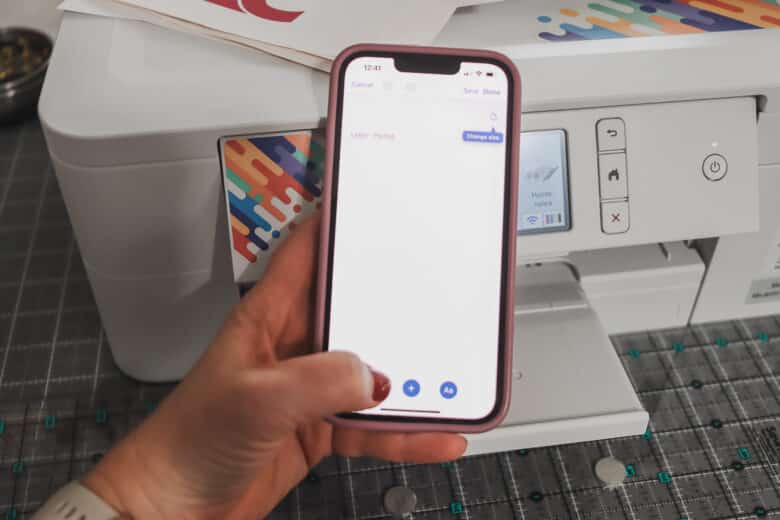
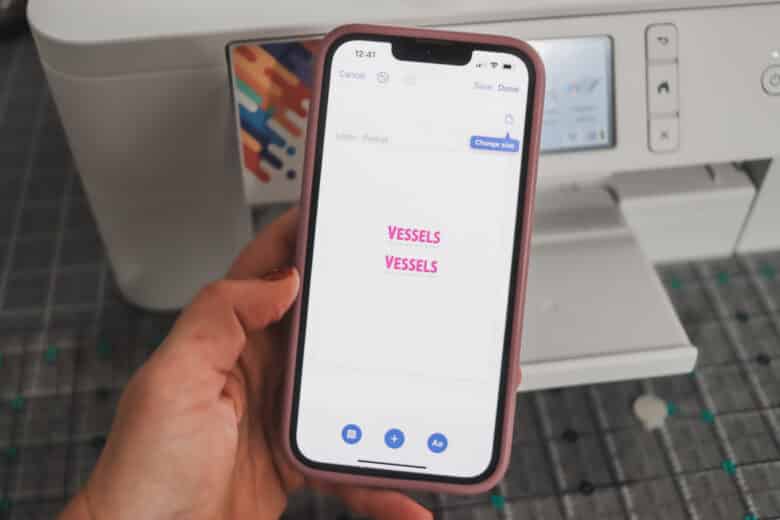
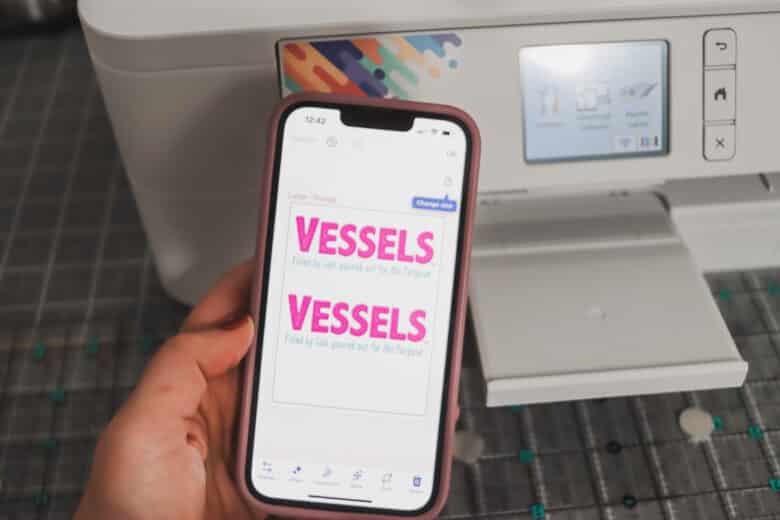
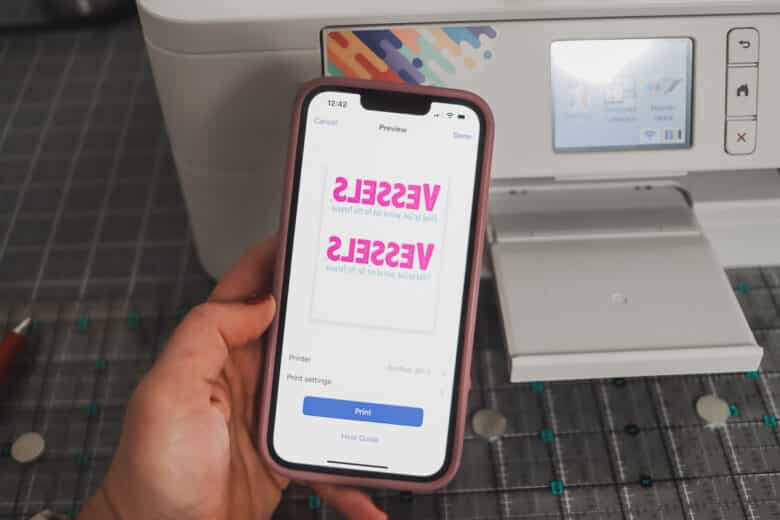
I love that it automatically mirrors this image {you can change back if needed} But I don’t have to think about it to mirror. My designs did not wrap all the way around the glass, so I was able to put three on a sheet. You will have to print the design the long way for a full wrap. If making a tall tumbler you can only print one design per sheet.
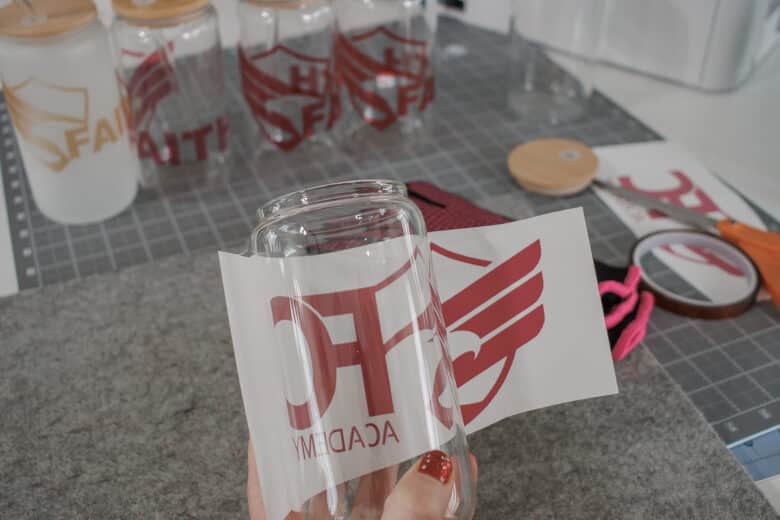
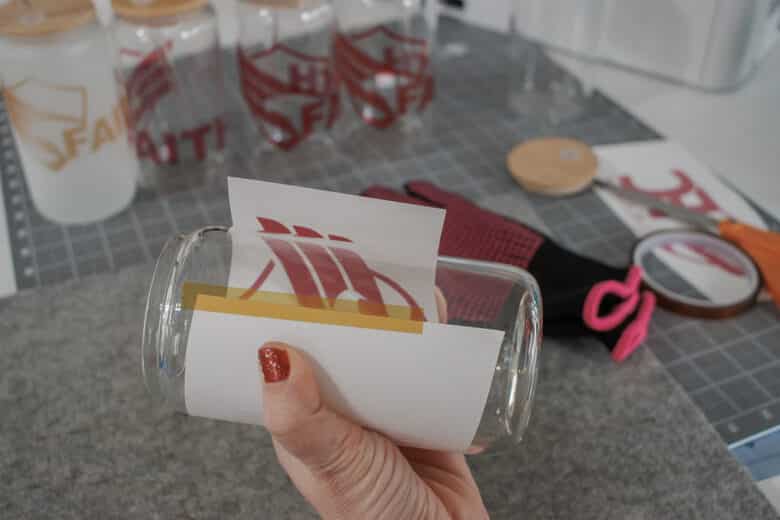
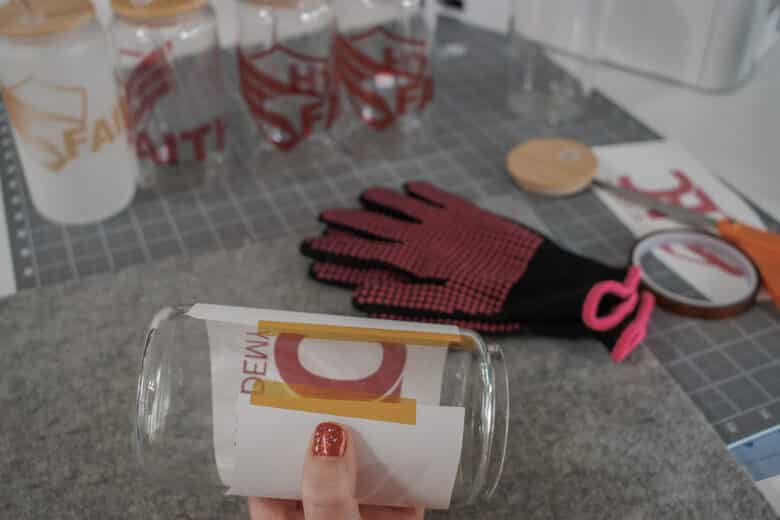
Trim the paper design and wrap around a glass. I like the clear ones as it’s easy to see the designs from the backside for placement. Use heat resistant tape to secure both sides of the paper. On a full wrap you can tape the paper to itself and then use some tape on the top and bottom to anchor to the glass. Make sure its very secure to prevent sliding.
How to use a Tumbler Heat Press
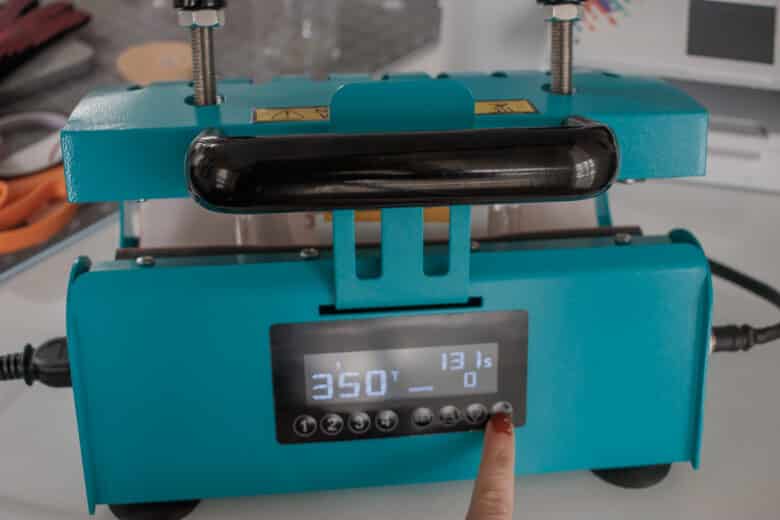
Now it’s time for the heat press! I decided on this press as it can to these glasses, as well as tumblers and mugs {more on those come later} Follow the directions on your actual press, but for this one, you put the glass in before turning on. Place the glass in the press, turn the knobs to tighten or loosen, then turn on.
This heat press has four programmable buttons. I made number 1 the settings for this project. 350 degrees and 130 seconds. Check your press and/or glasses for timing and heat settings.
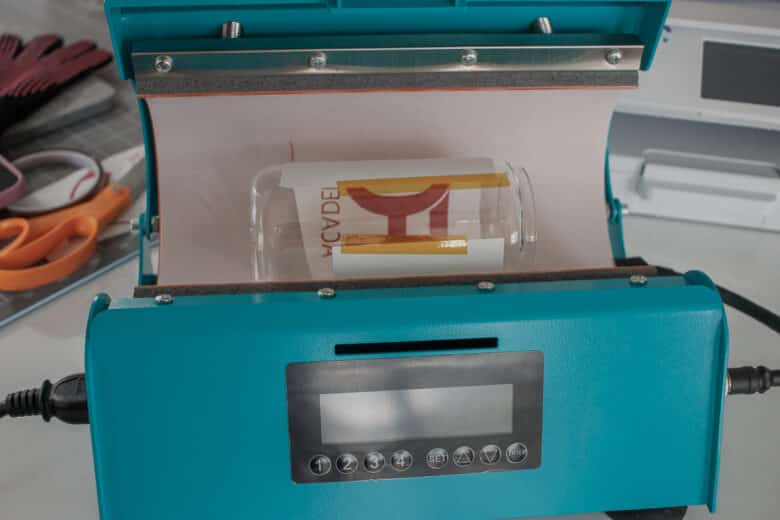
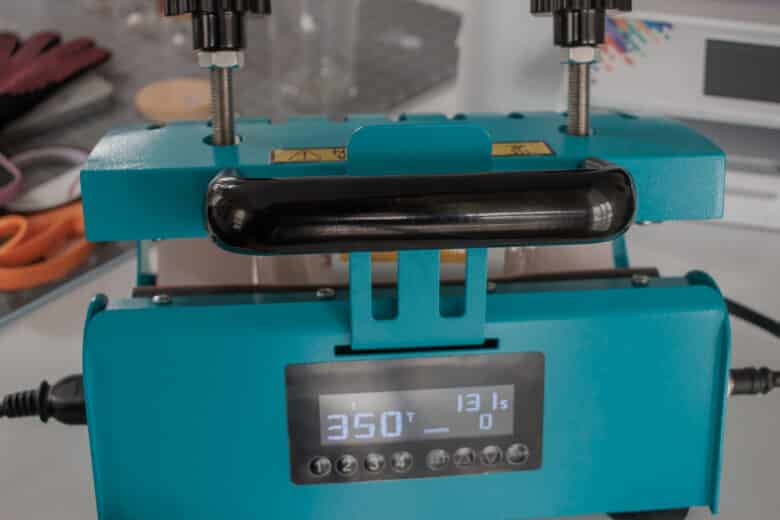
The glass should be snug in the press. Not too tight and not loose. Wait for the tumbler press to heat up, then press start on the time. If you are creating a full wrap, rotate after the first time is up, then repeat again for 1/2 the time at the same temperature.
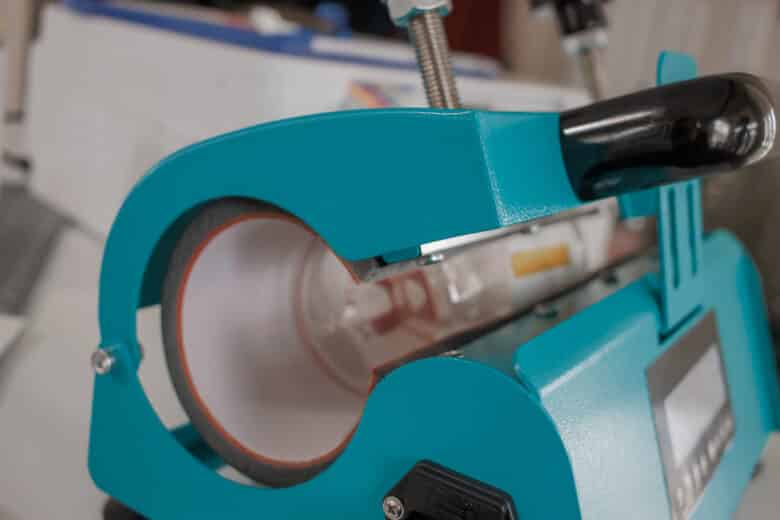
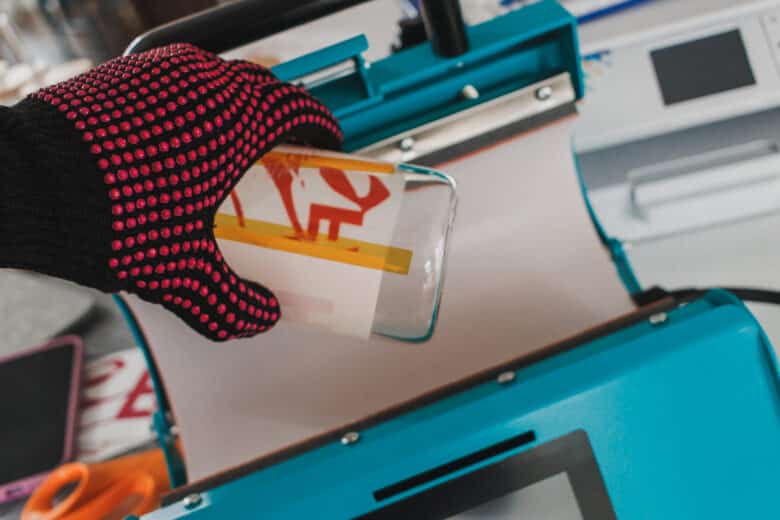
Turn off the press, and use your heat gloves to remove the glass. Place it on a heat resistant mat.
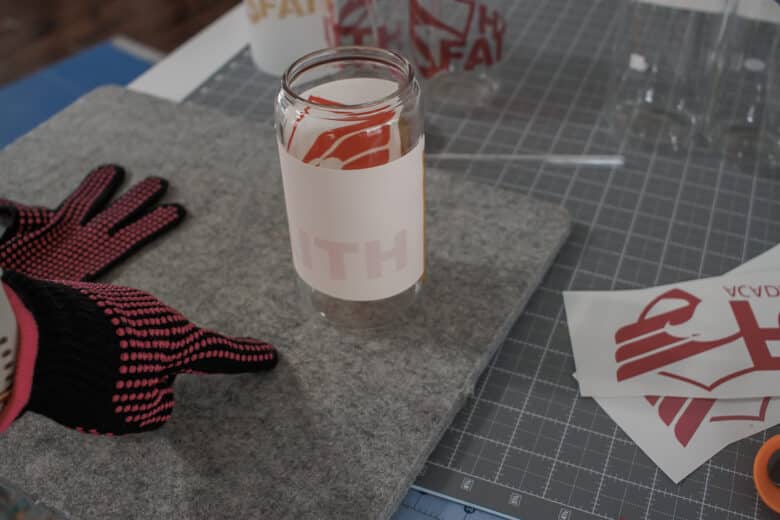
Once cooled a bit you can peel off the paper to reveal the design. You should be able to visibly see that the color has left the paper and is now on your drinking glass.
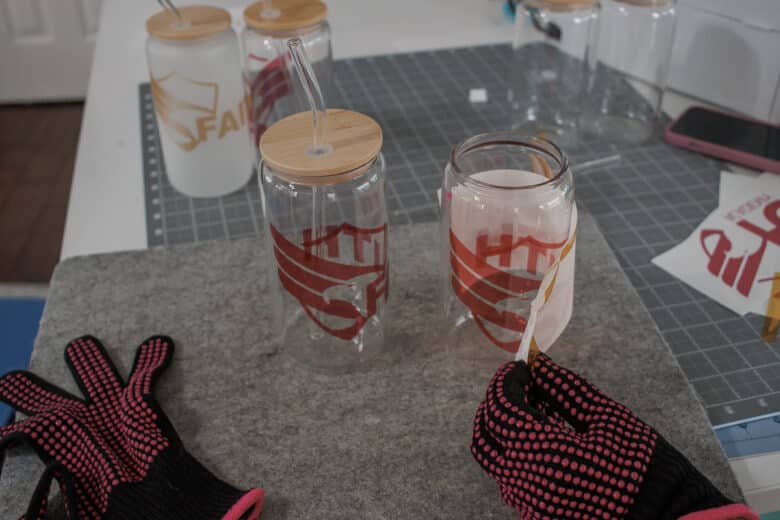
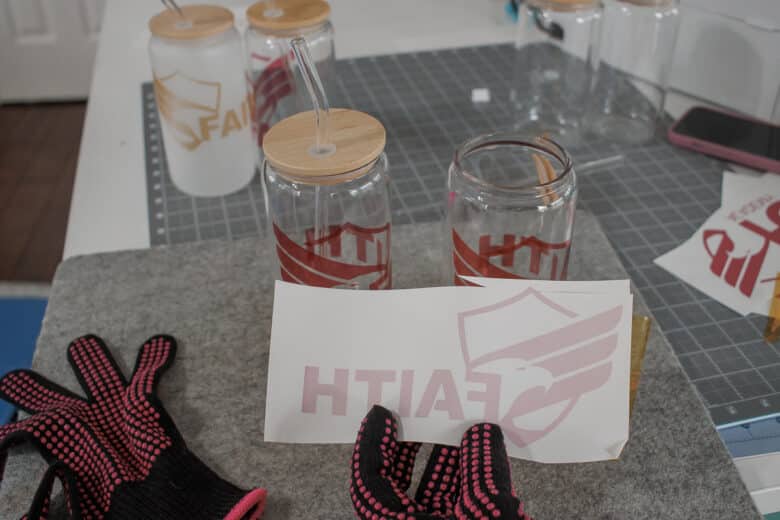
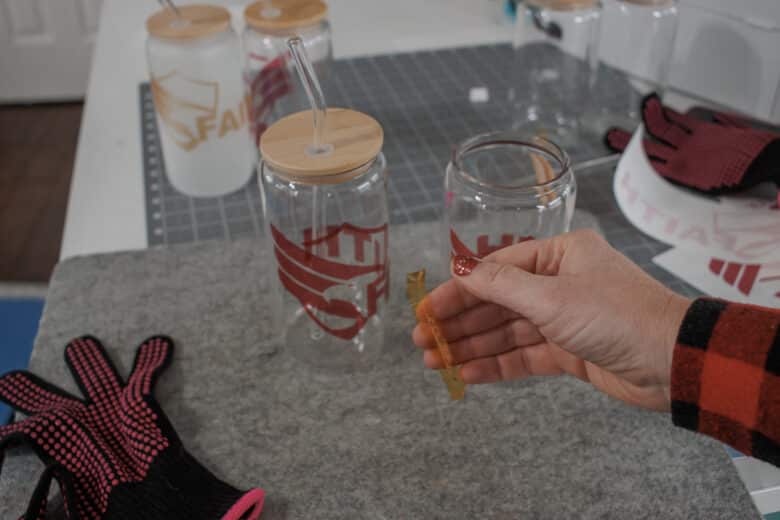
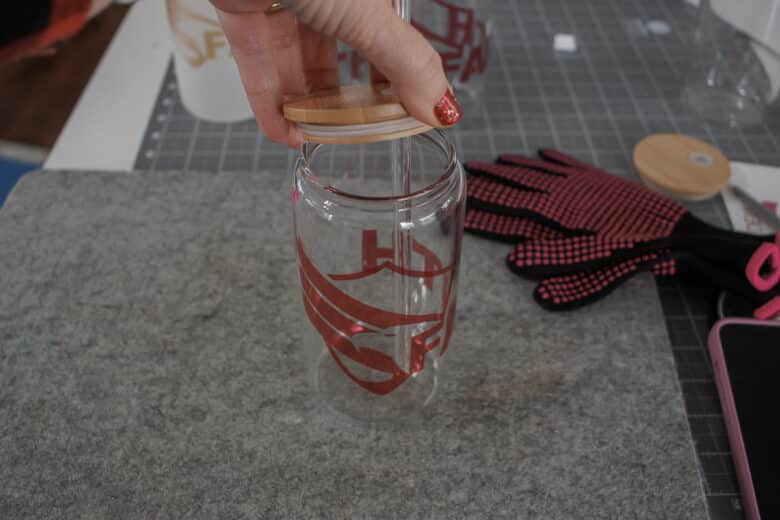
I like to try and save the tape and use it for a few mugs before tossing. Replace the lids, add a straw and you are ready to go. You can get a good assembly line going and make a bunch of these in an afternoon.





Leave a Reply