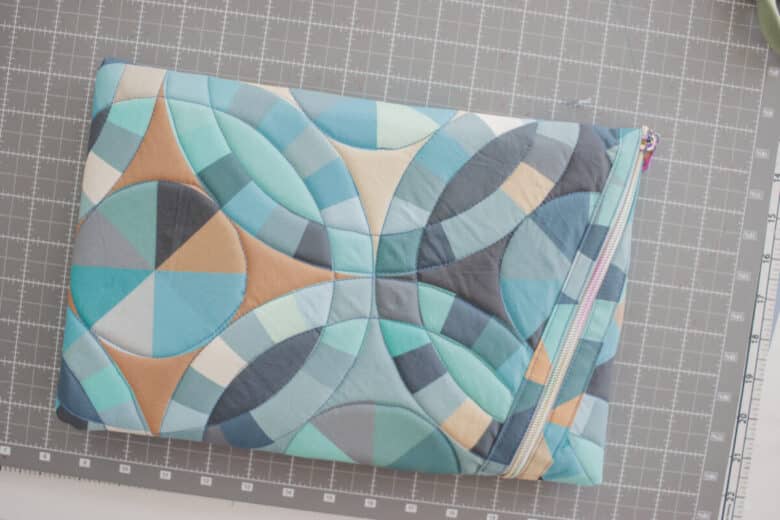
inside: learn how fun it is to sew a diagonal zipper pouch with this sewing tutorial. Sewing a diagonal zipper pouch is easier than you think! Use this sewing tutorial to sew fun diagonal pouches in all size.
How cute are these zip pouches? I’ve been obsessed with zip pouches lately {I even put together a huge list of patterns} Find that list of zip pouches here. This diagonal zipper pouch tutorial is perfect for sewing fun zip pouches in any size and these pouches work well for flat items that need storage – laptops, kindles, phones, etc.
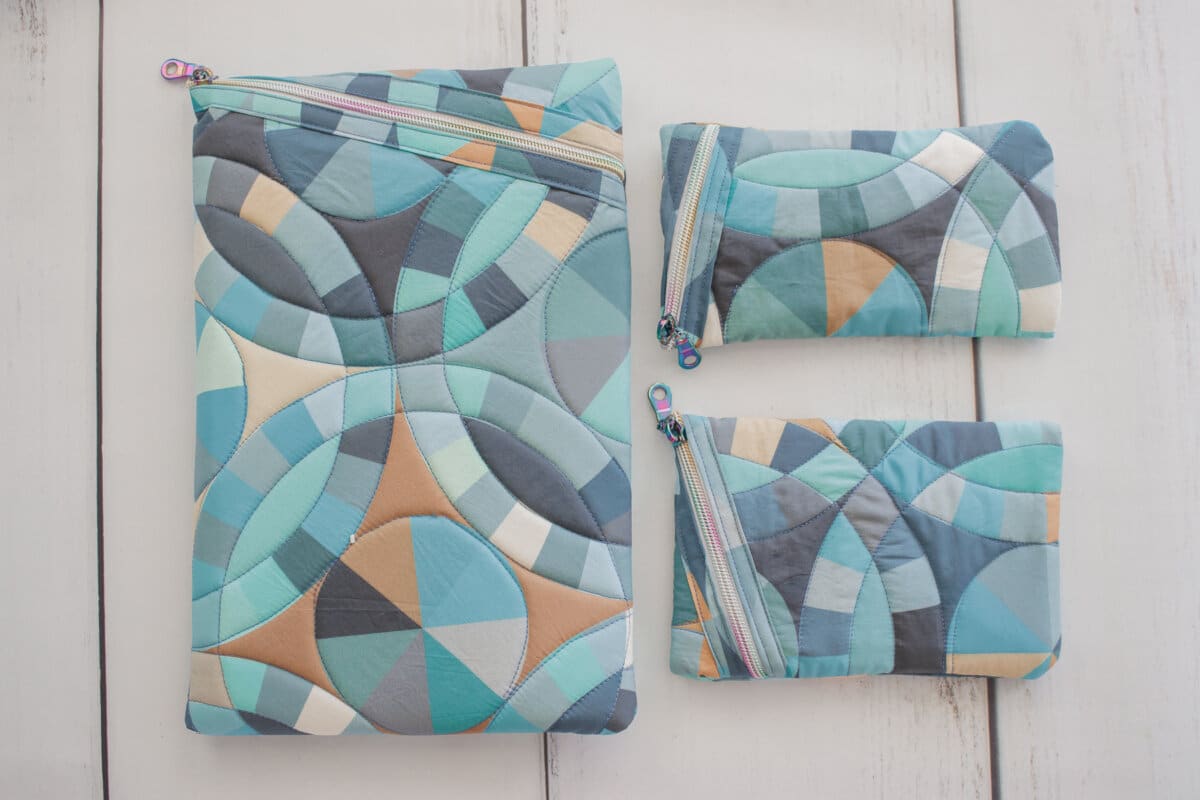
Diagonal Zip Pouch
I’ve been seeing photos for a pouch similar to this on Instagram. {Note – the photos are of a pattern that’s for sale, I have not purchased the pattern or seen any details – I’ve just seen photos and was inspired. This tutorial is a general instruction guide, if you prefer an exact printable pattern, search and buy the pattern from the other designer.}
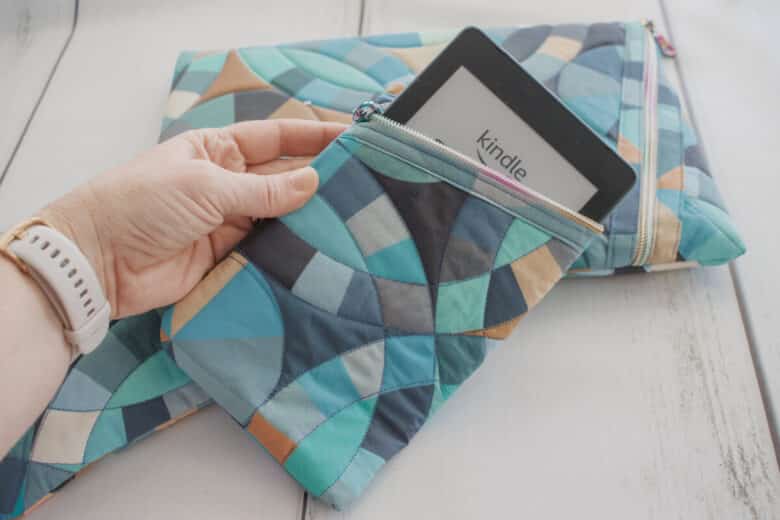

My tutorial will walk you through creating this zip pouch in any size you want to. I sewed up a custom pouch for my laptop, kindle and phone. I will note that it easier to sew this for a larger device {like a laptop} and due to the design and sewing process, it’s harder for the smaller sizes.
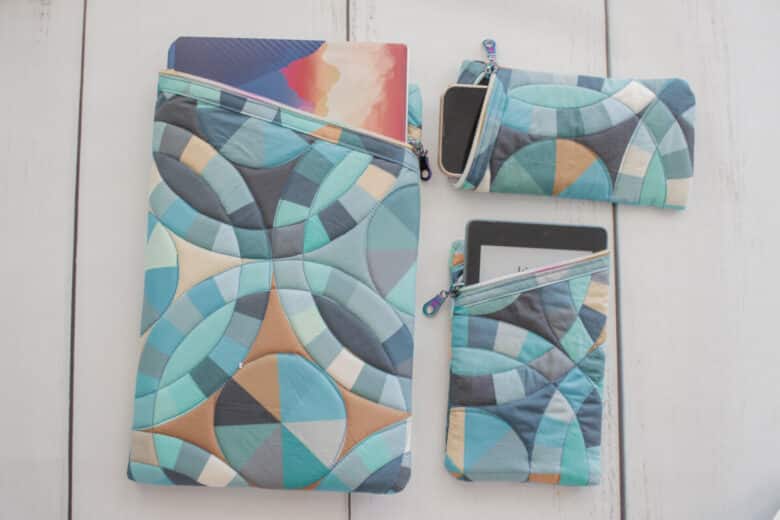
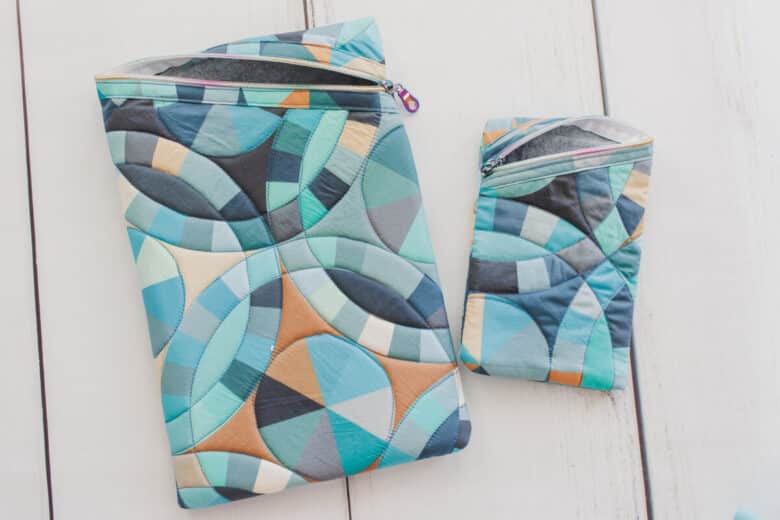
I made mine with two different types of padding as well. The foam looks amazing, but is a bit thicker. I’ll go through all options below for sewing these zip pouches.
Supplies for Zip Pouch
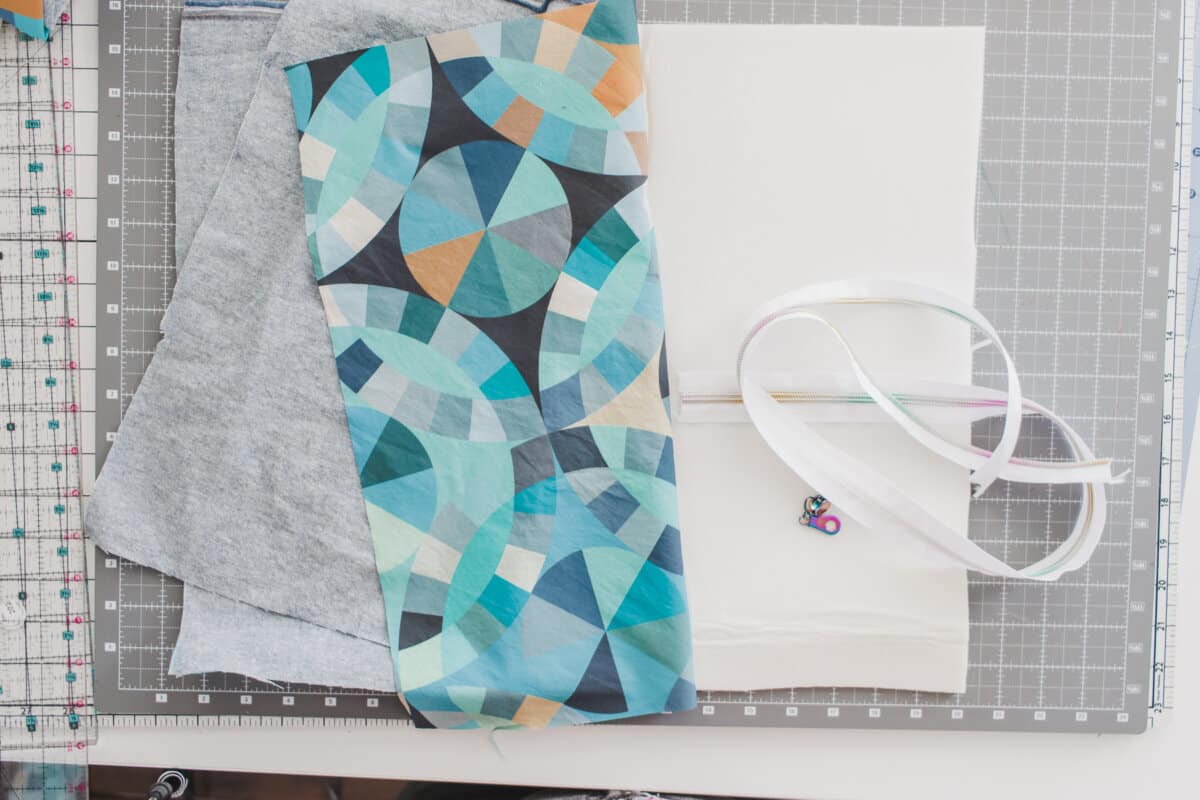
Here’s what you will need to gather for this sewing project.
- Fun fabric – this project is perfect for scraps, fat quarters and other leftovers. My fabric is from Spoonflower
- Sewing machine. See here or here.
- Quilt Batting OR Fusible Foam
- Fun separating zipper
- 1″ bias tape {bought or made}
How to sew a diagonal zip pouch
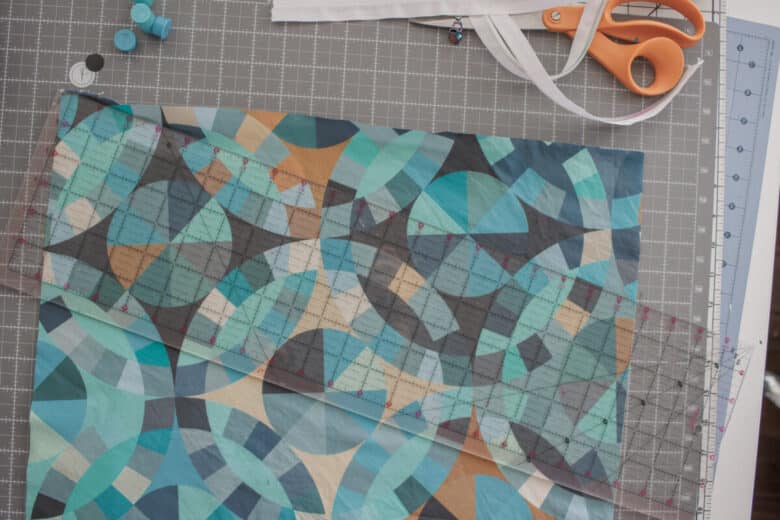
Begin by measuring your device or just deciding the size of the rectangle you want to make. For example my computer is 9″ x 12.5″, double the width and add 1″ for seam allowance. Add 4″ to the top height measurement, so my rectangle of fabric is 19″ wide and 16.5″ tall.
Going from side to side cut diagonally along the top edge. Start at one top corner and the other side go 5″ down. For a smaller case make the angle smaller. {for the phone case I angled down 3″} Cut TWO pieces of fabric, a lining and outer.
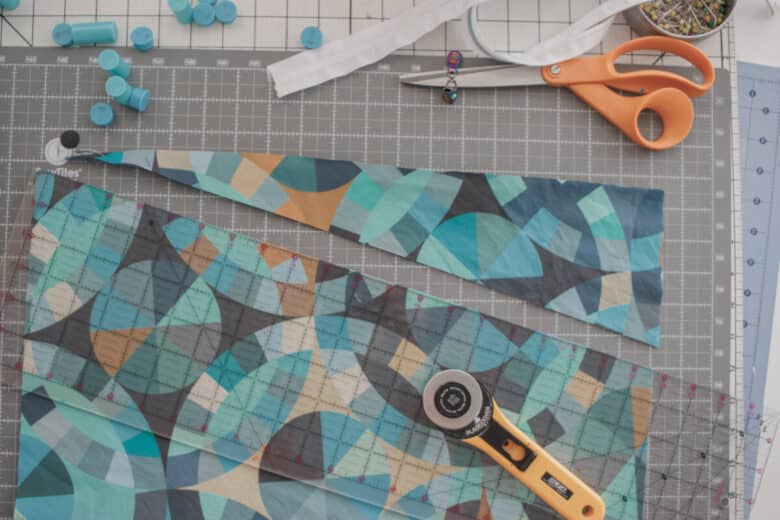
Cut a piece of fusible foam or quilt batting about a quarter inch smaller on all sides than your fabric.
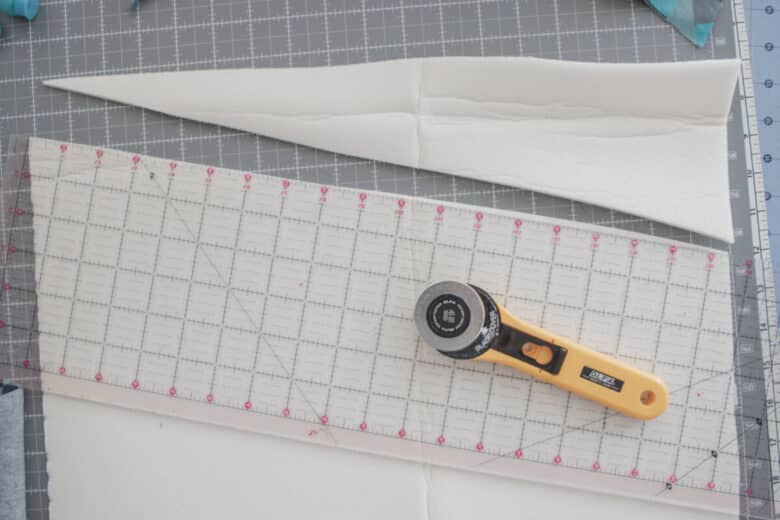
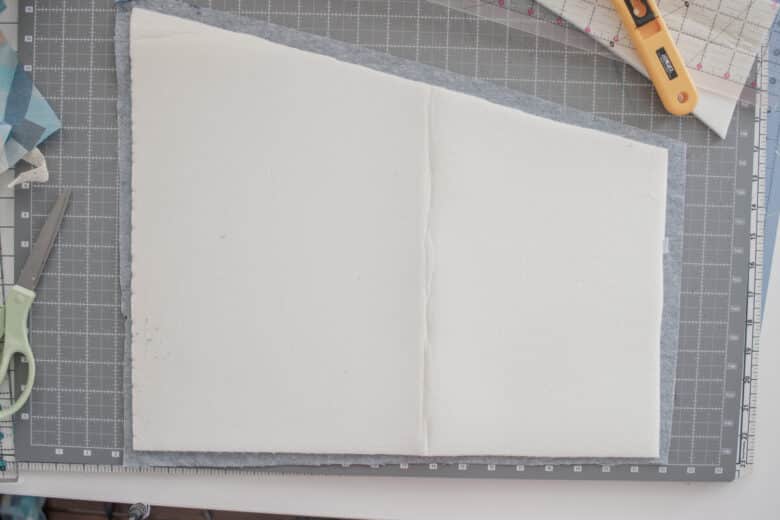
If using fusible foam, fuse lining fabric to your foam. Then pin the outer fabric on the other side of the foam. Add some sort of embroidery or quilting to hold the layers of fabric and foam/batting together.
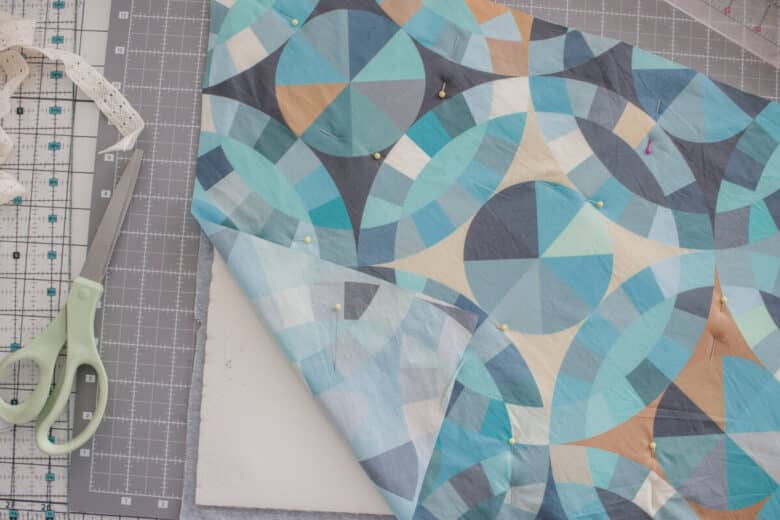
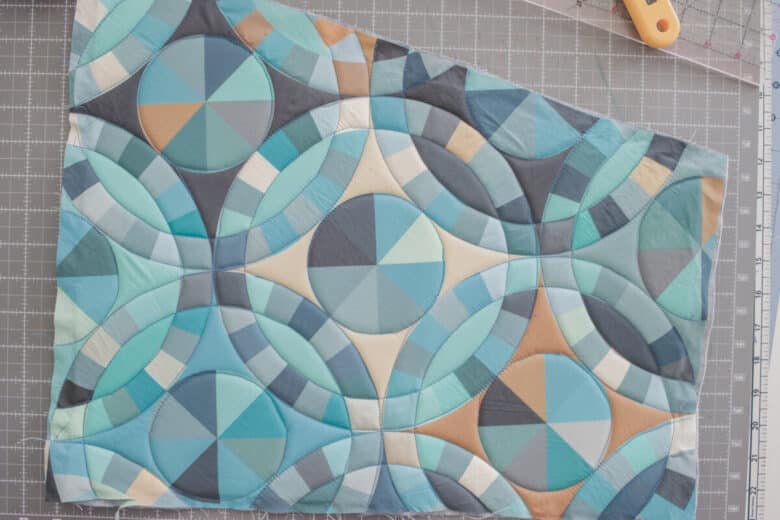
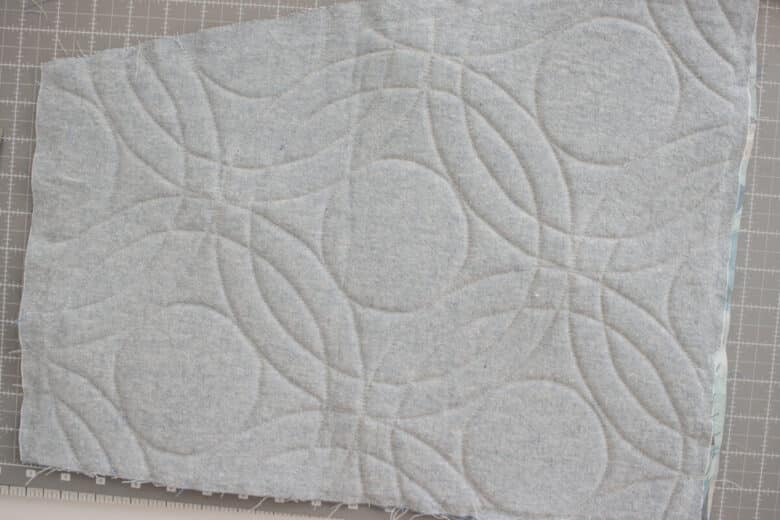
I loved using the circle shapes on my fabric for stitching.
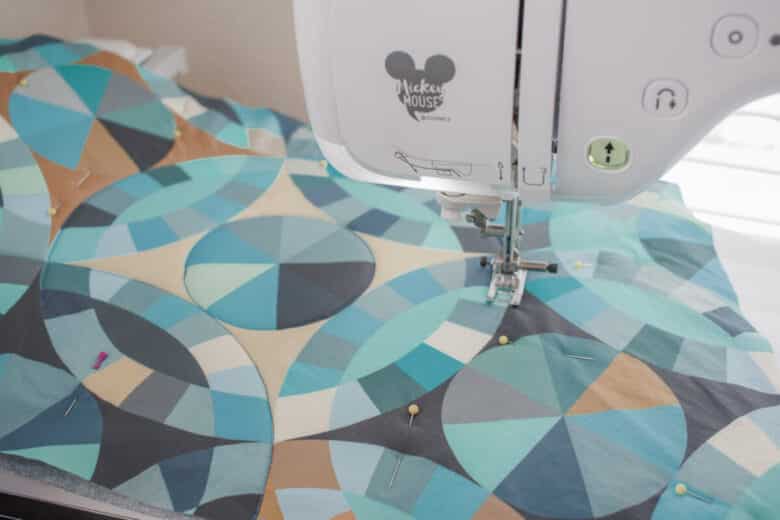
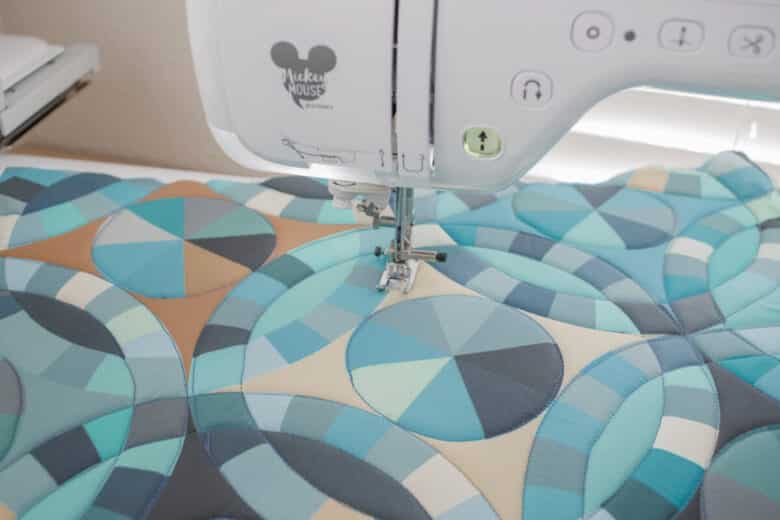
The circle pattern quilted very nicely.
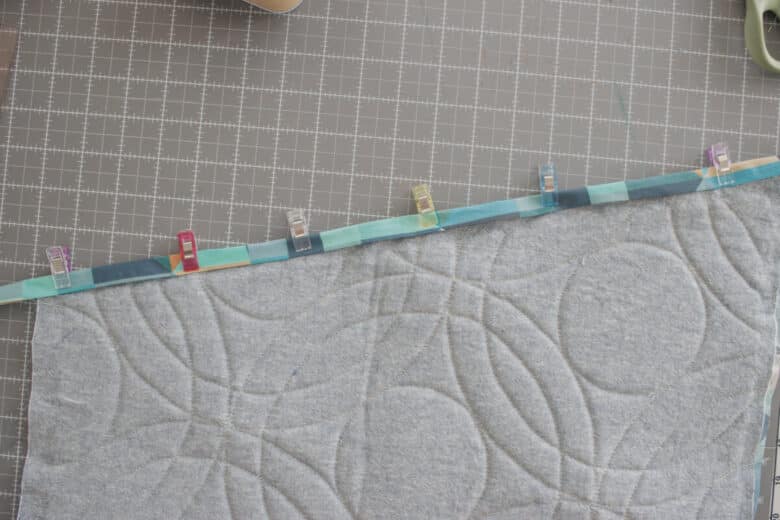
At this point I cut some 2″ pieces of fabric, then ironed them into bias tape. Need help making your own bias tape. Check out this bias tape tutorial here. We will finished the top diagonal edge first. With the right side of the fabrics together, open up the bias tape and place one long edge along top edge of the quilted fabric.
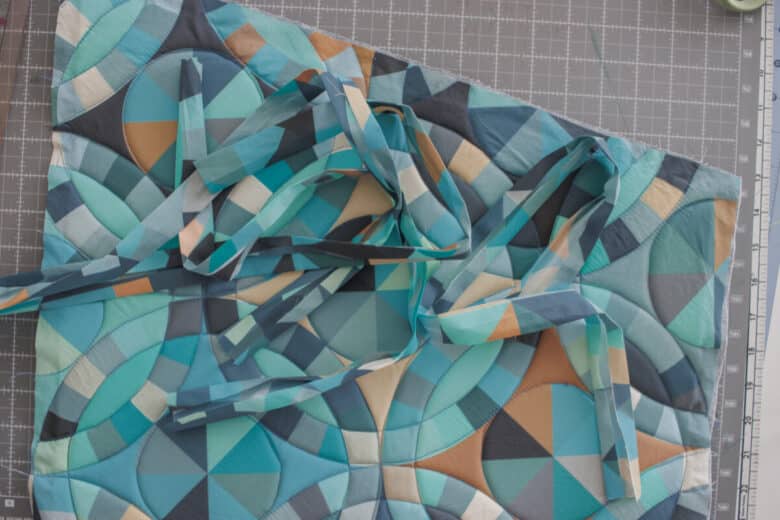
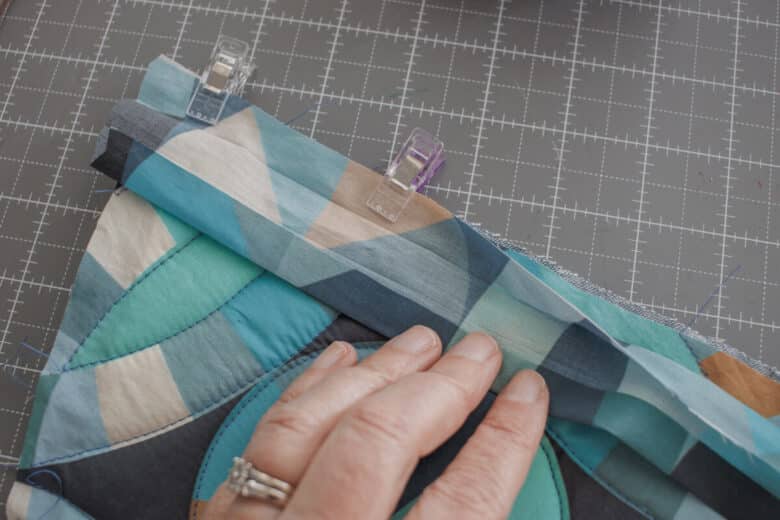
Sew the bias tape to the quilted piece with a straight stitch. Sew along the fold in the fabric on the bias tape.
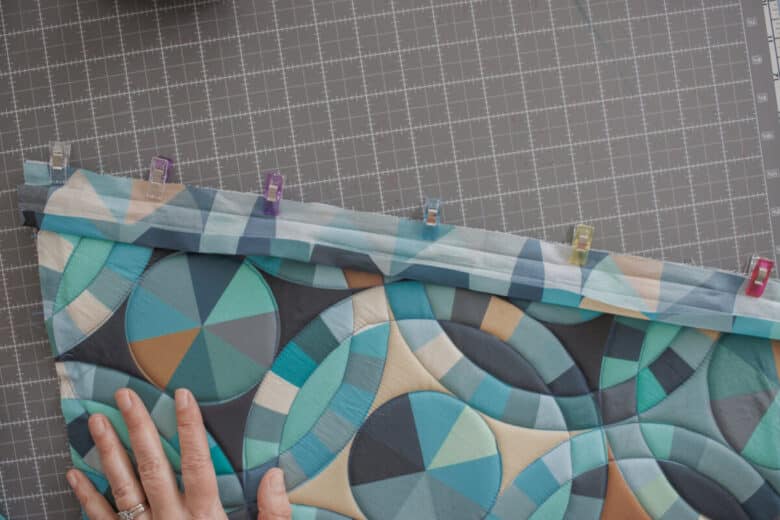
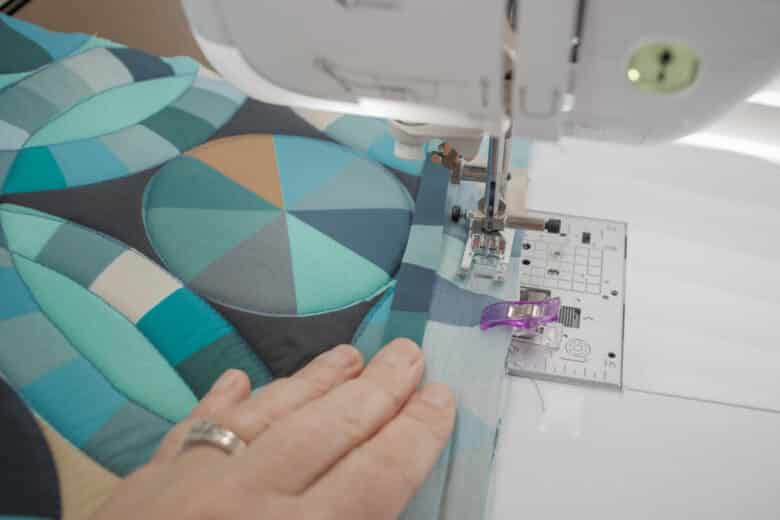
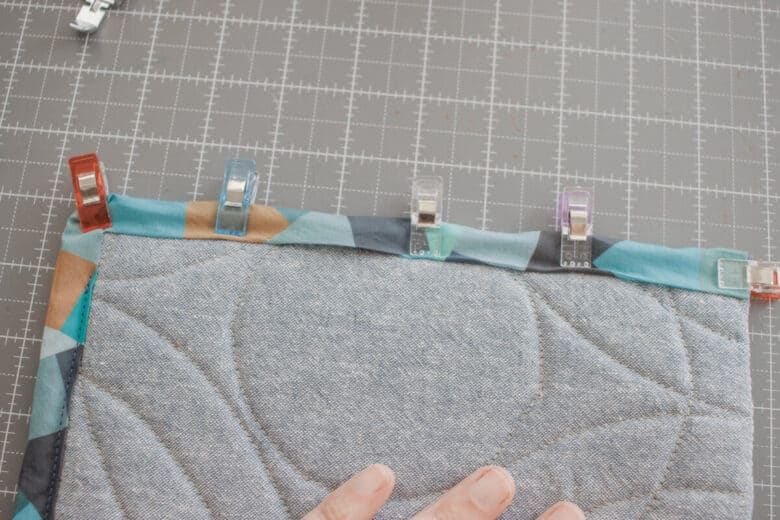
On the back side, fold the bias tape over to the back and pin or clip. Sew along the inner side of the bias table to secure to fabric.
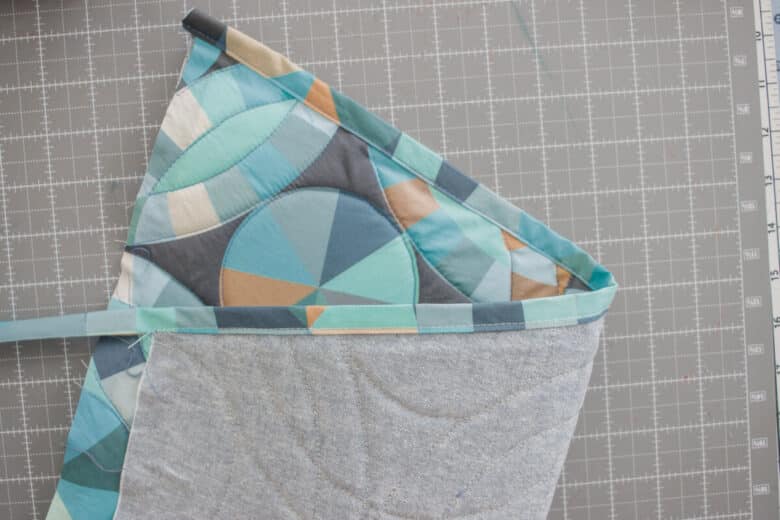
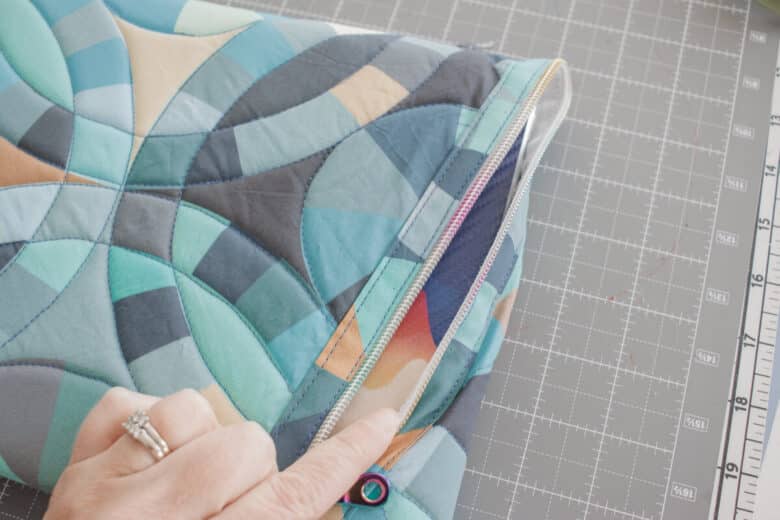
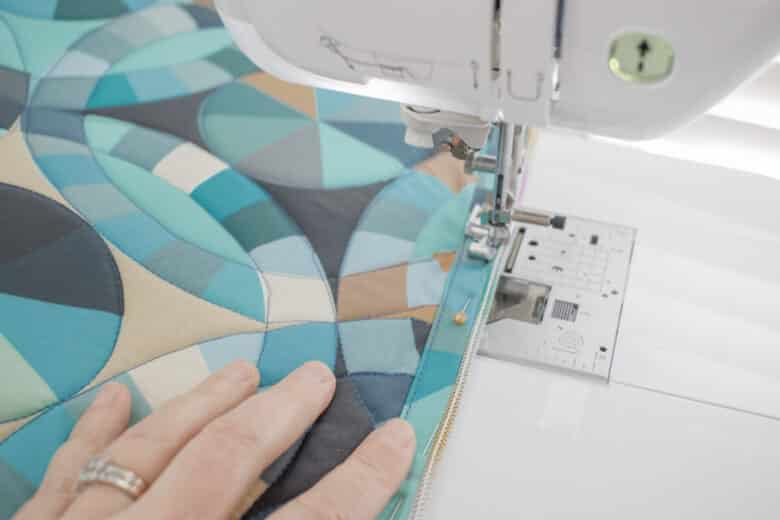
Cut a piece of zipper about 5″ longer than the diagonal edge. Open up the zipper and pull off one side so you have just a single side of the zipper. Pin the zipper to the diagonal edge of the fabric. The right side of the zipper and the right side of the fabric should be up.
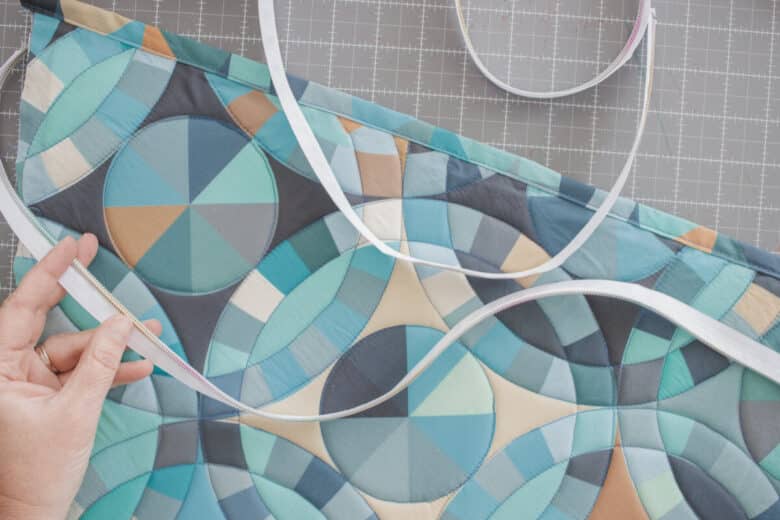
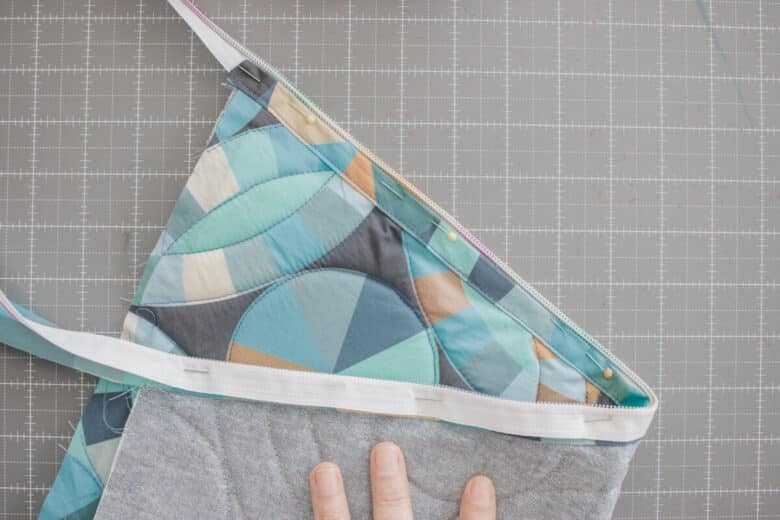
Sew along the bias tape close to the zipper side to secure it in place.
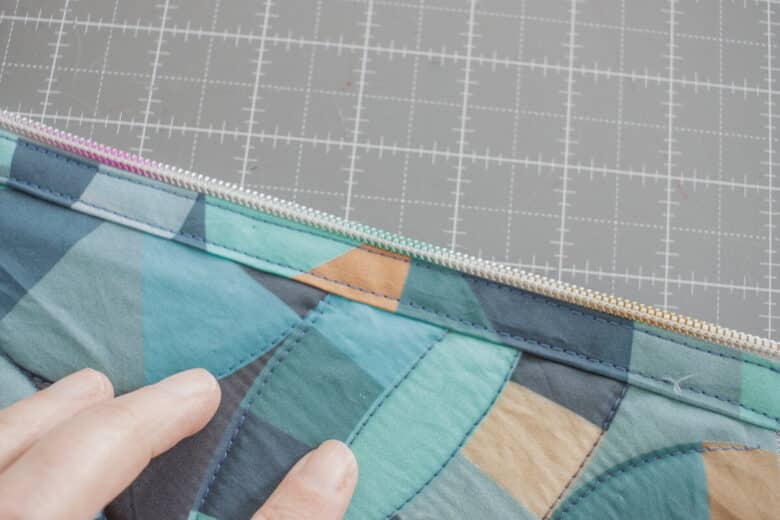
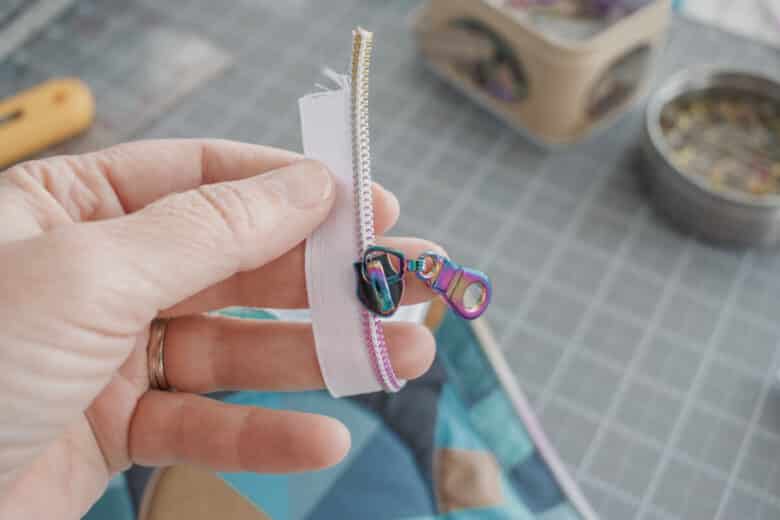
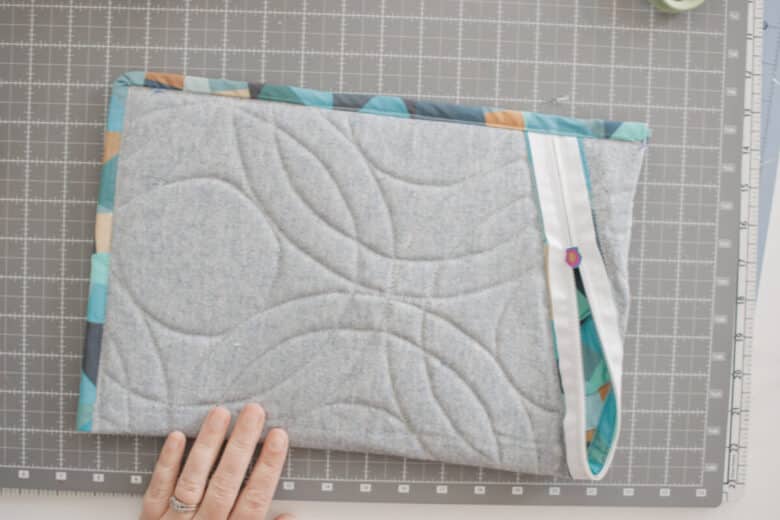
Fold the ends of the zipper tape together so the fabric sides of the pouch line up. Place the zipper pull on the tape and complete the zipper. {tip – I cut off the tape part of the zipper – see middle photo} this helps me to push the zipper tab onto both sides of the zipper easily. You may need a couple tries to get the sides of the main pouch lined up.
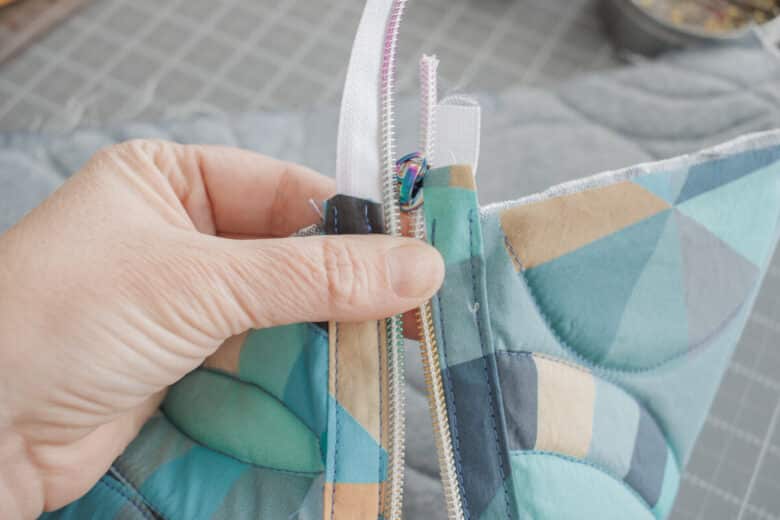
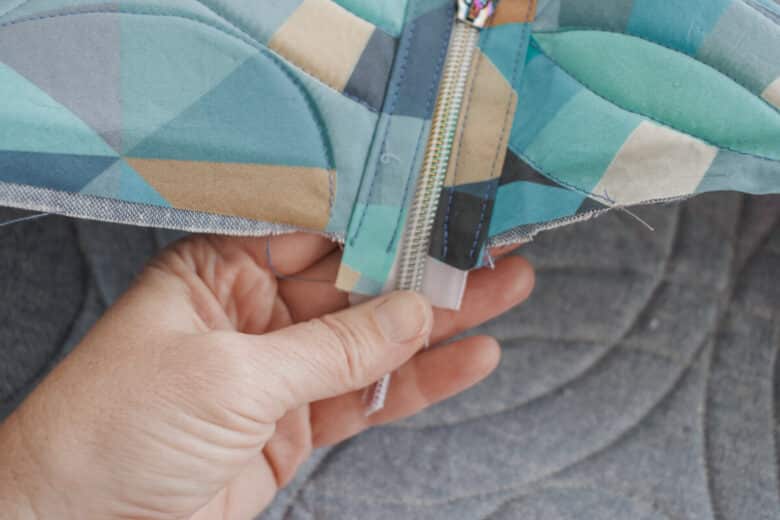
Fold the rectangle so that the sides and bottom of the pouch are lined up. Trim any extra fabric as needed.
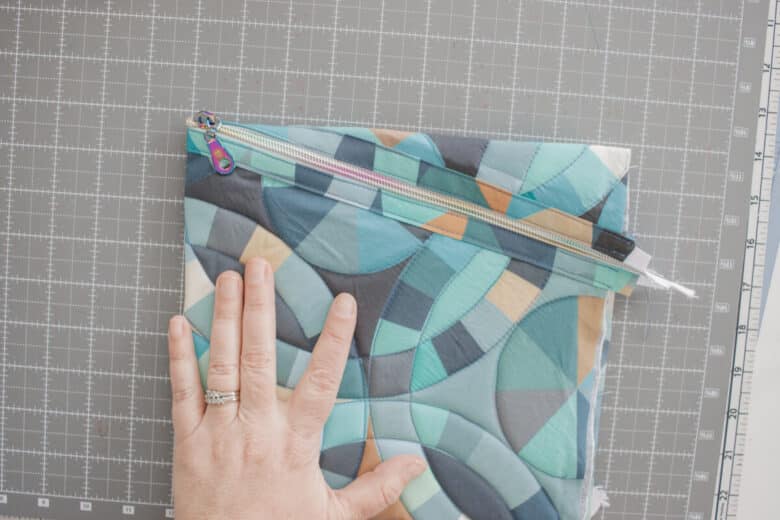
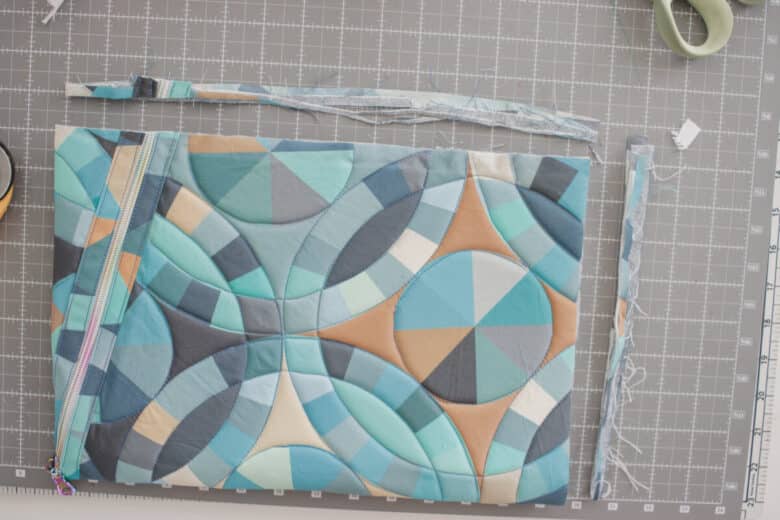
At this point I checked that it was still big enough for my laptop, it’s looking perfect! Unzip the zipper at least half way and turn the pouch wrong side out.
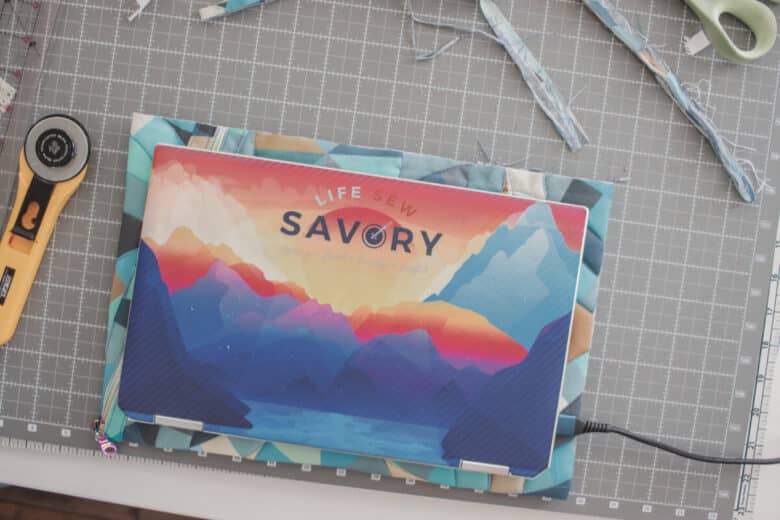
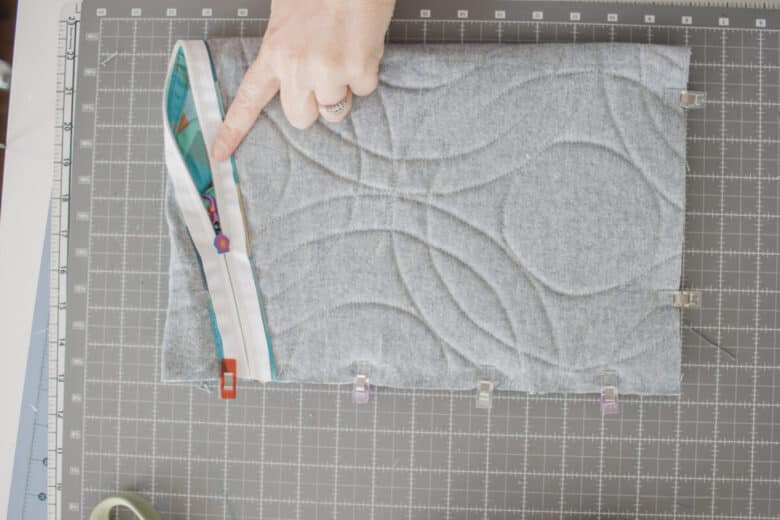
Finish the side and bottom with another strip of bias tape. Repeat the process you used for the diagonal edge. Open up the bias tape and place along the edge of the pouch. I folded the ends of bias in so they were finished edges. Sew along the fold.
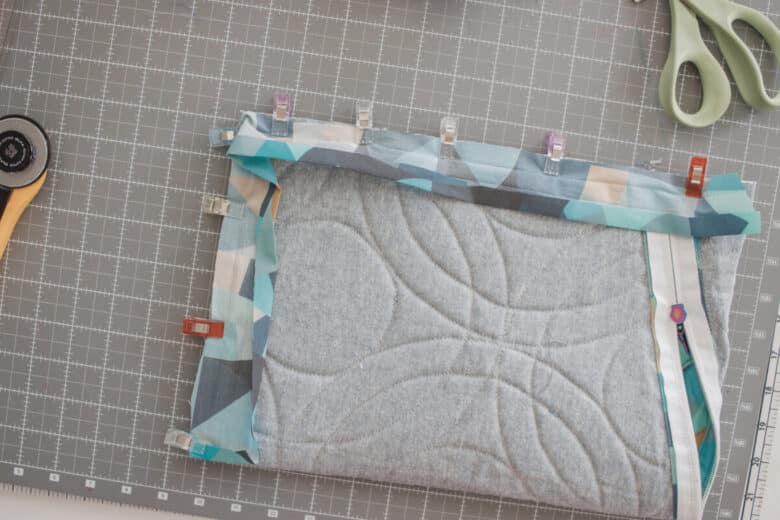
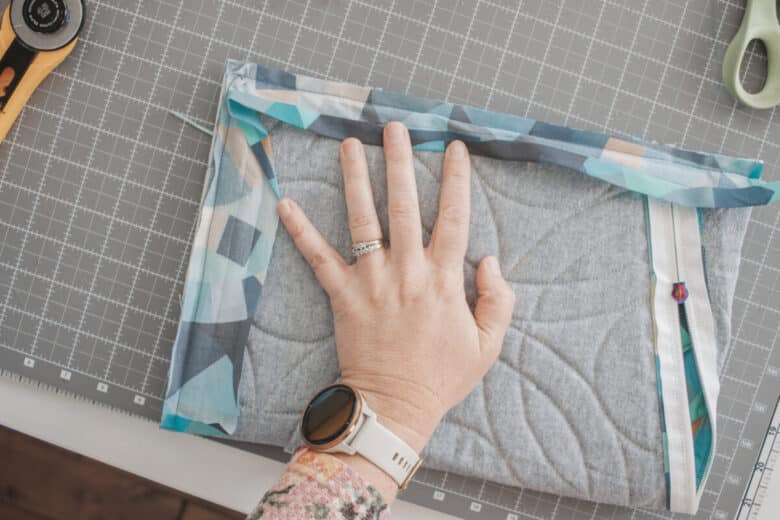
On the other side flip and fold the bias tape to the back and pin or clip along the edge. Sew again to finish the edge.
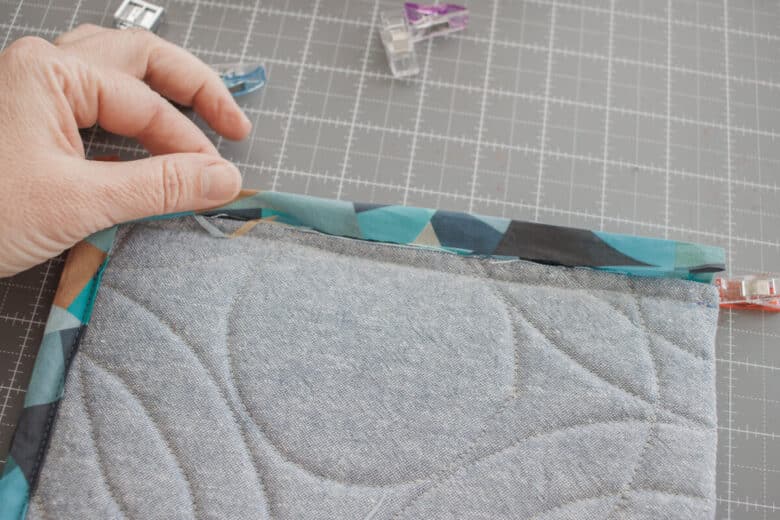
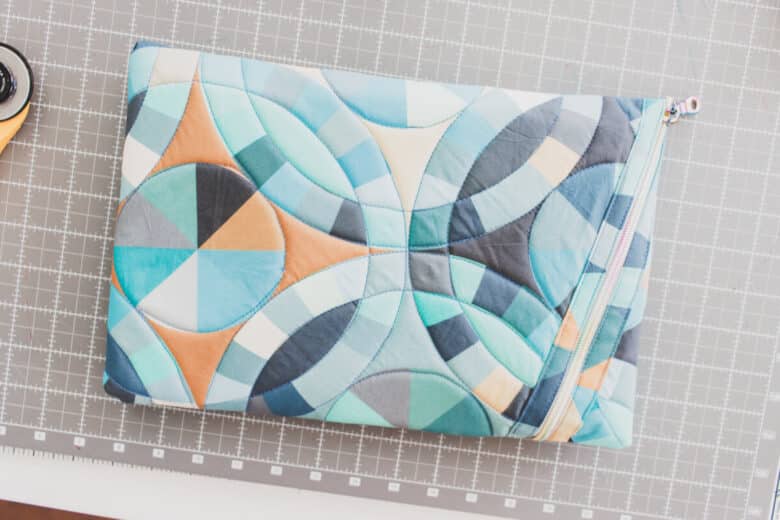
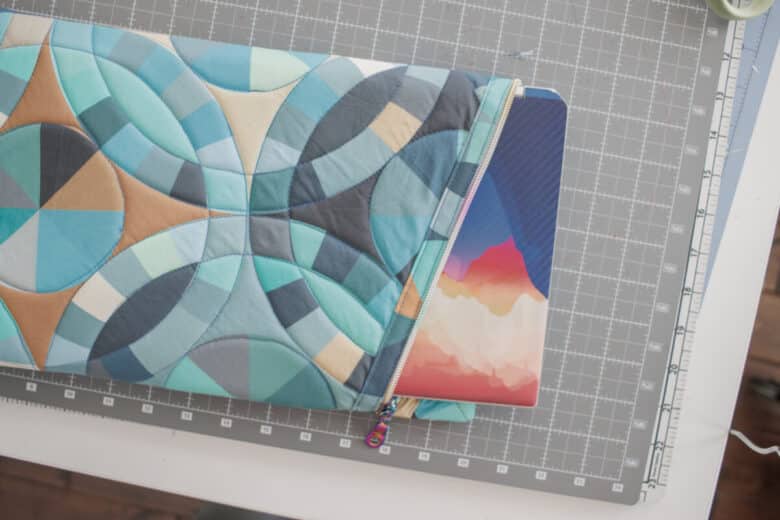
Turn right side out and your diagonal zipper pouch is finished! I love it and was so happy with how they all turned out.





Leave a Reply