inside: Sew a tote bag from nylon webbing with this sewing tutorial. Create a unique bag with this fun sewing tutorial.
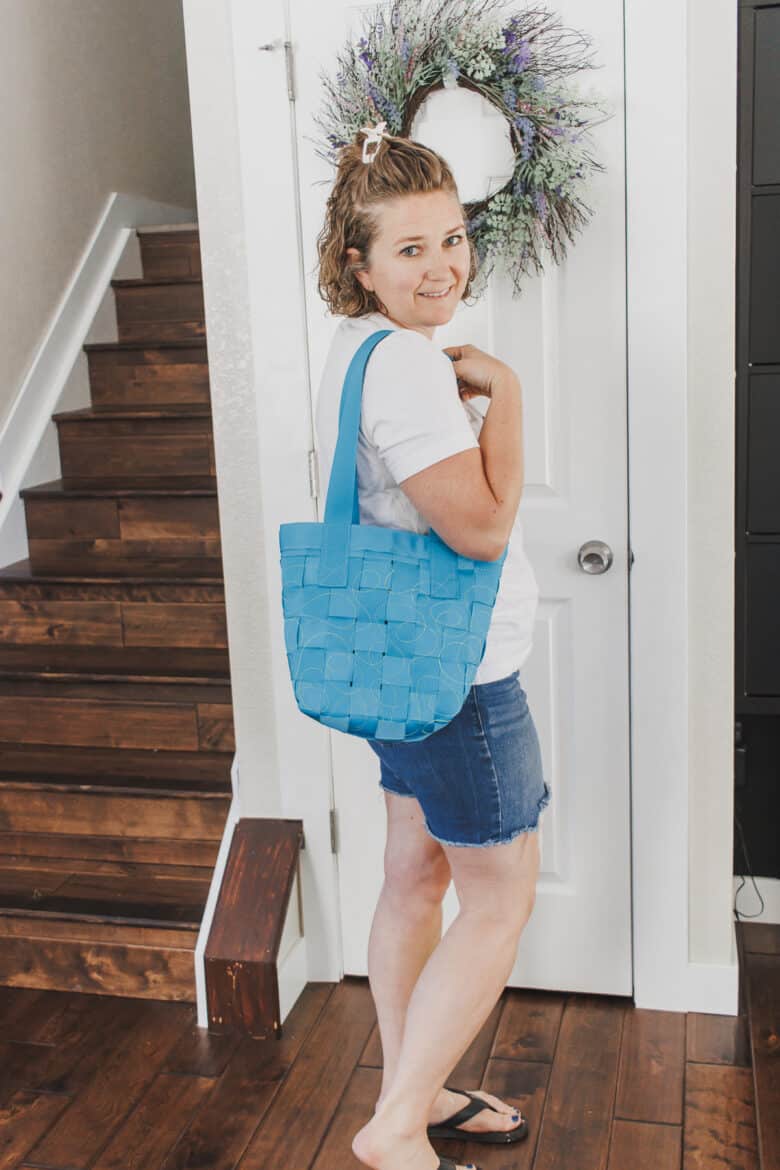
I’m so excited about this new summer tote bag. It’s made from nylon webbing and it’s the perfect size for carrying my daily items. Nylon webbing comes in so many colors, so you can literally sew this bag in any color you want.
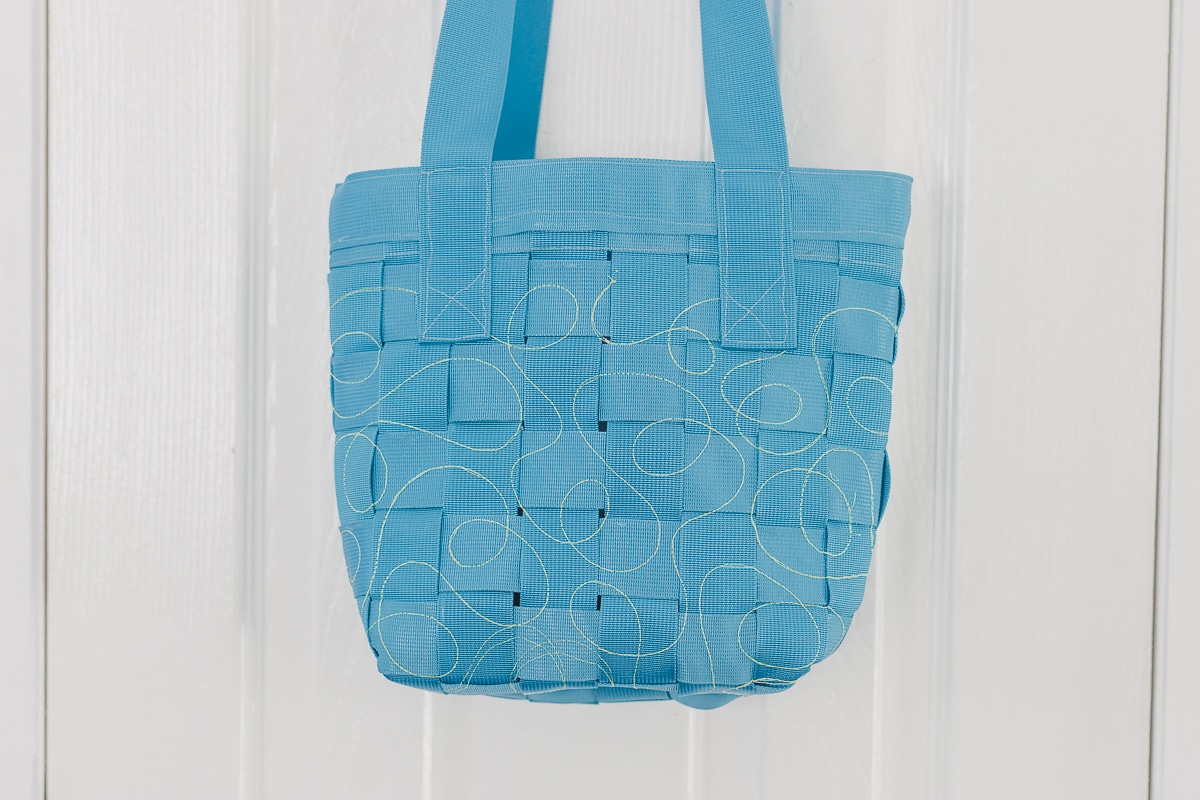
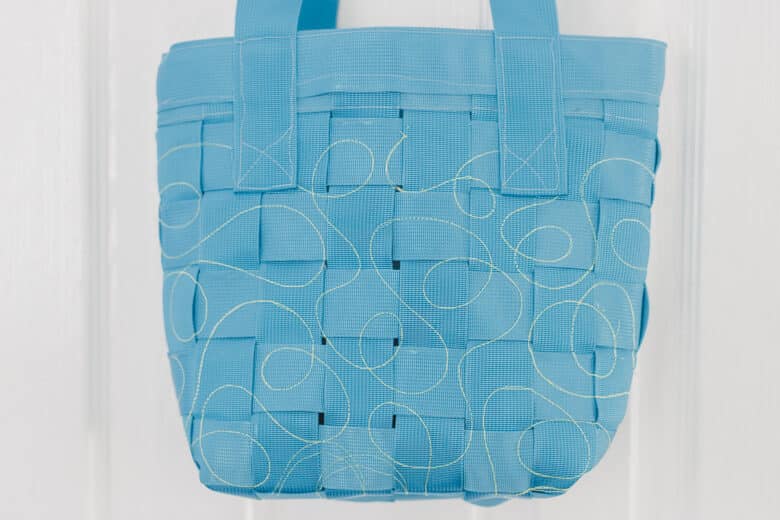
Tote bag made from webbing
Now that I’ve made one of these bags I have lots of ideas for future versions. I realized it would be super easy to line this tote, and I also want to make a basket version with a bit stiffer webbing.
I’ve created a video tutorial that’s embedded in this post. It should show up on the sidebar as you scroll. If you don’t see it, please try disabling any ad blockers or try a different browser. It’s a narrated tutorial of what I will put in the photo tutorial below. Sometimes seeing the video footage is helpful when you are stuck.
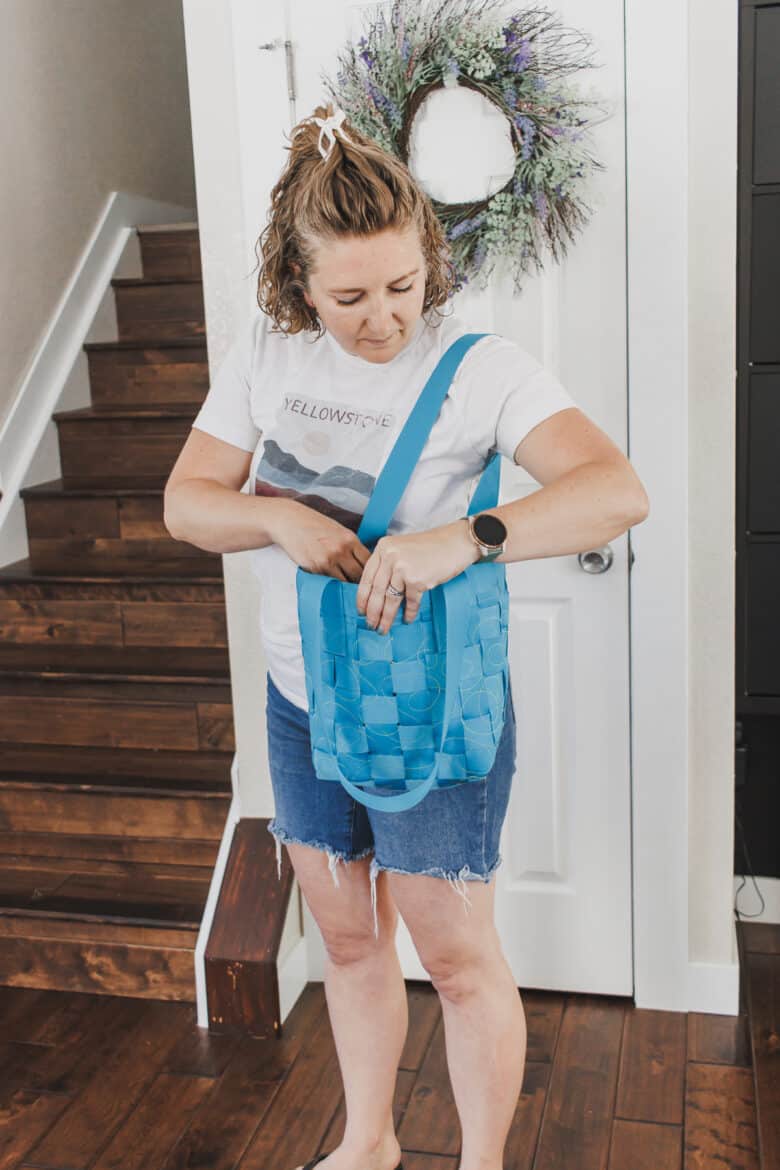
In the sewing tutorial below I will give you the dimensions to make this size bag. It’s 14″ wide, 11″ tall and 6″ wide, it’s a great size for carrying around my daily necessities. You could easily make it bigger, this is just the size I made this bag.
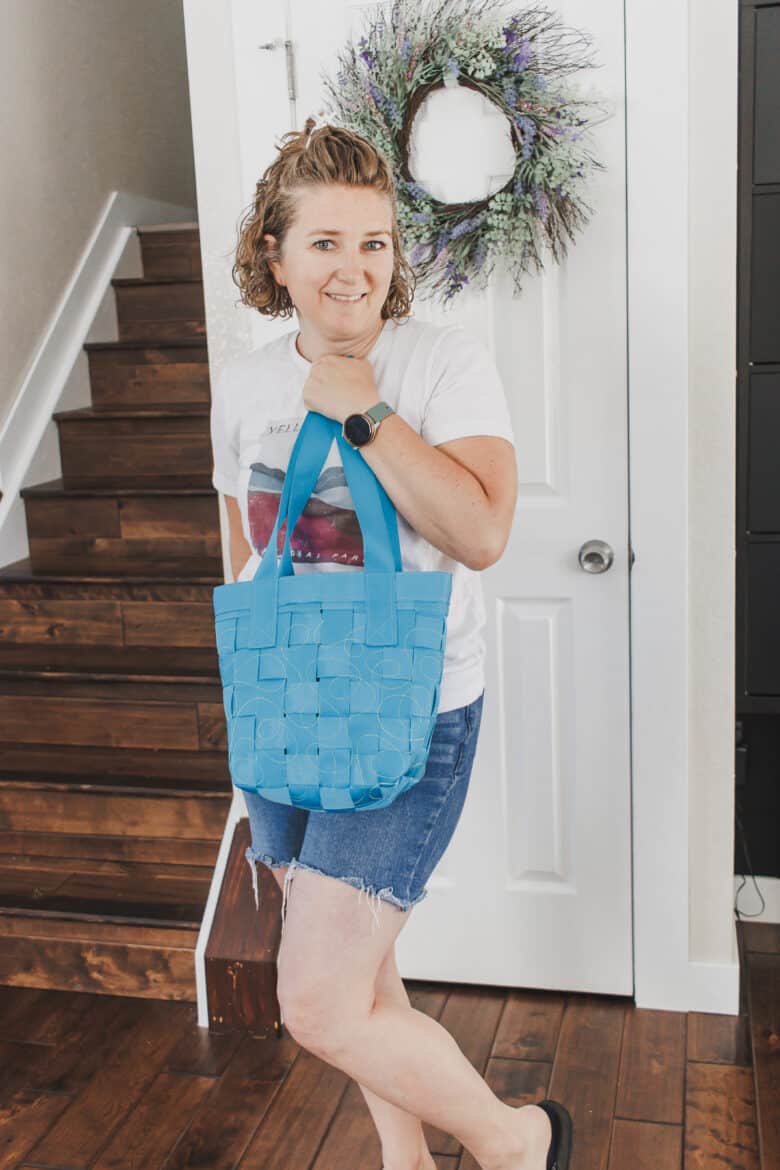
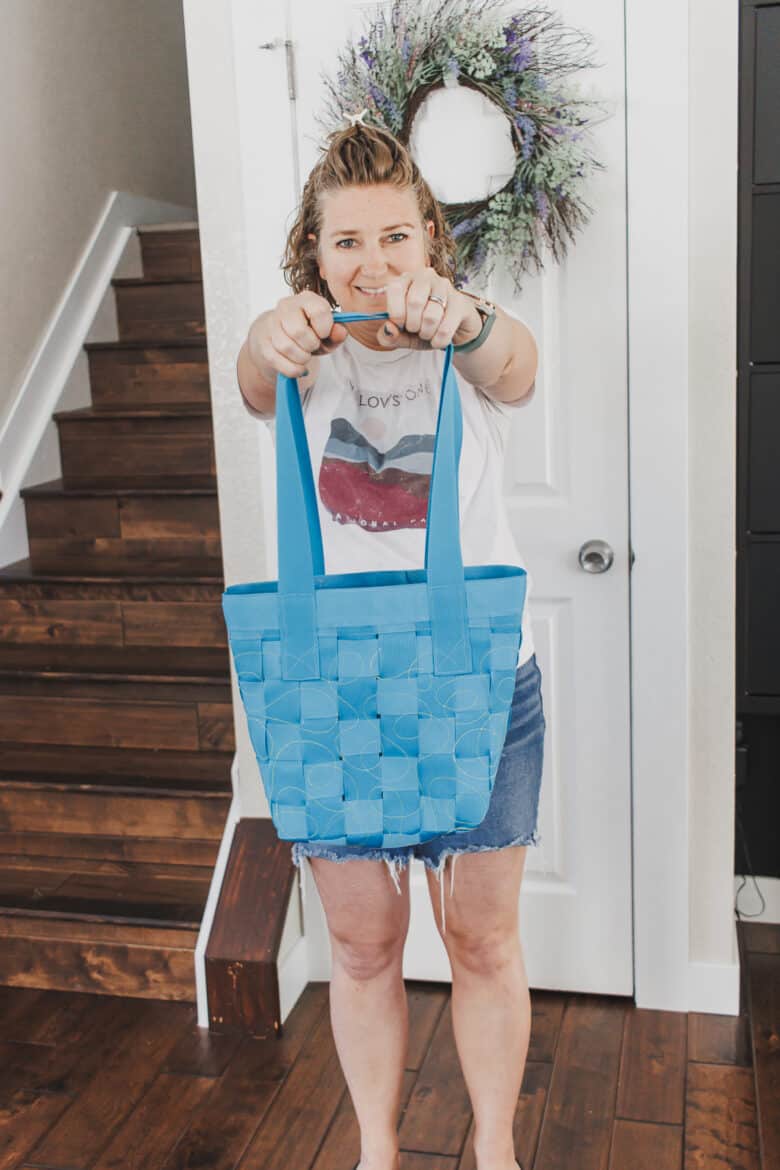
I put some decorative stitching {embroidery} on the side of my bag to hold the webbing together, but you could also just do rows of stitching on your sewing machine. In the supply list below I’ve listed an embroidery machine as optional for this reason.
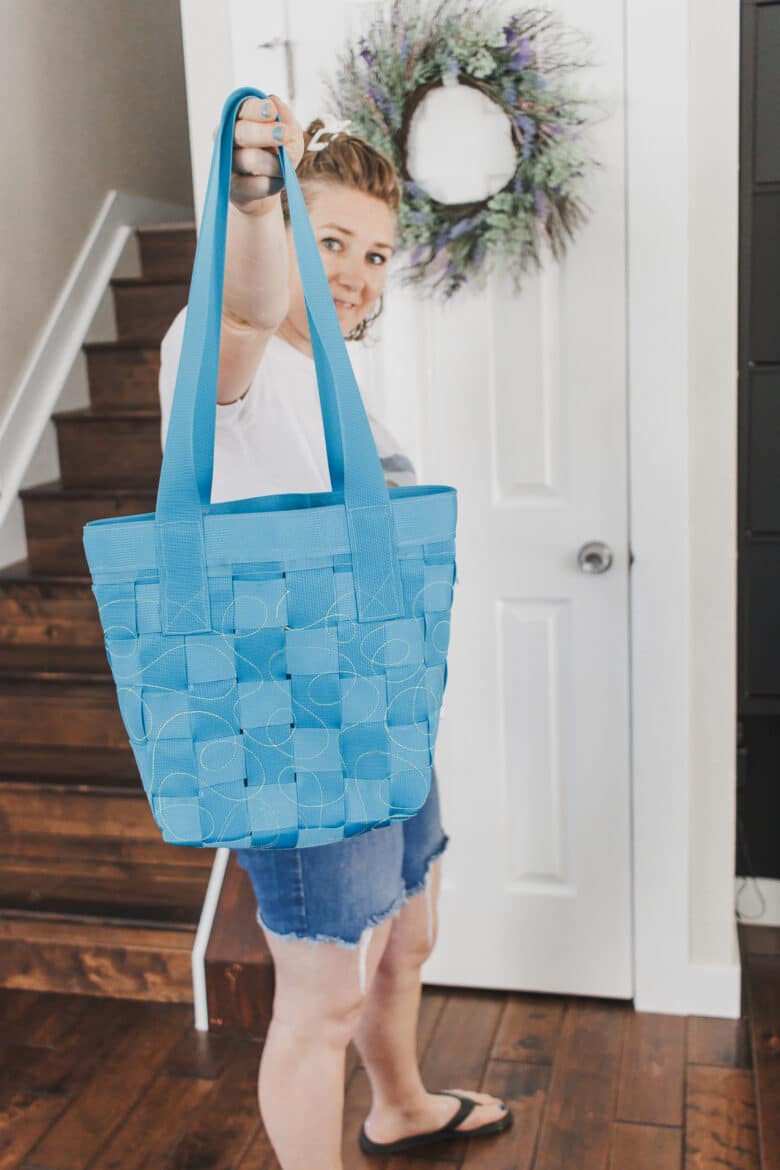
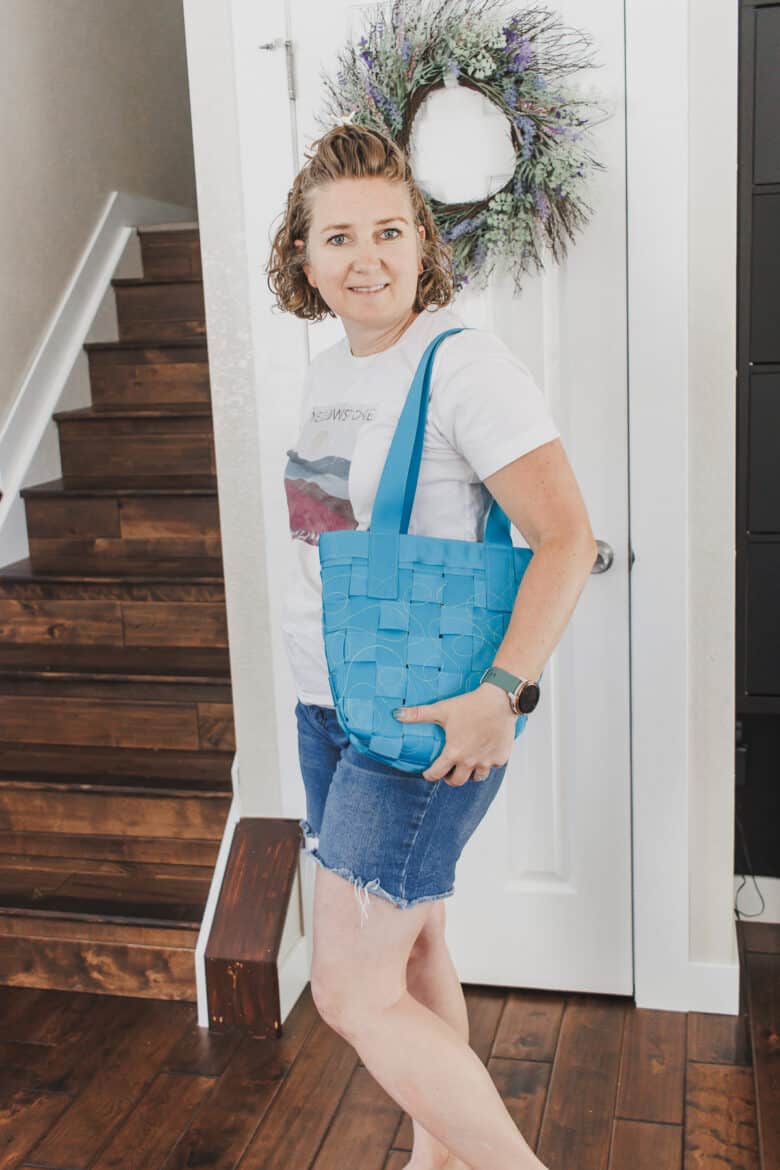
The straps can also be adjusted to any length for whatever you plan to use the bag for. I’ll give the strap length I used below, but adjust as you need.
Other free bags to sew
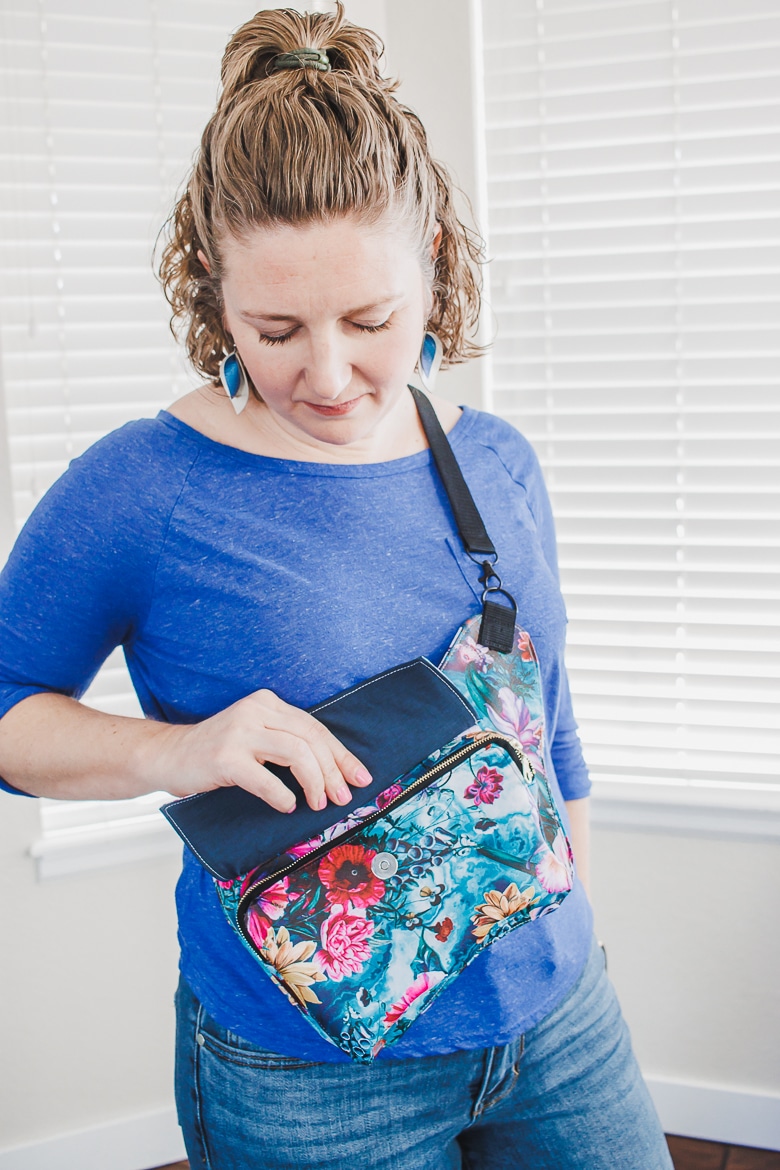
You know I love a good free bag pattern! This tote bag sewn from nylon webbing is just the most recent in a long line of free bag pattern and tutorials I have shared. Here’s a few links, but if you search free bag patterns or look in the home decor and accessories category of my site you will find lots more.
Supplies for a webbing tote bag
Here’s what you will need to create this webbing tote bag.
- Nylon Webbing {I used two rolls of this exact one.} If you don’t buy this one you will need approx 20 yards.
- I like this webbing as it’s light weight and also comes in a TON OF COLORS.
- Sewing Machine
- Optional- embroidery machine
- optional – embroidery design – I used one from the Artpsira App
- If using embroidery you will also need some sticky stabilizer and embroidery thread.
How to sew a tote bag from nylon webbing
Alright! I think we are ready to jump into the tutorial. I’ve listed the supplies above. These are to make the size bag I mentioned. Start by cutting the webbing to make the woven fabric.
- 15.5″ long – cut 16
- 13.5″ long – cut 20
- 35″ long – cut 2 for straps
- the leftovers will be used to finish the top edge of the tote. Save the leftover length until later in the process.
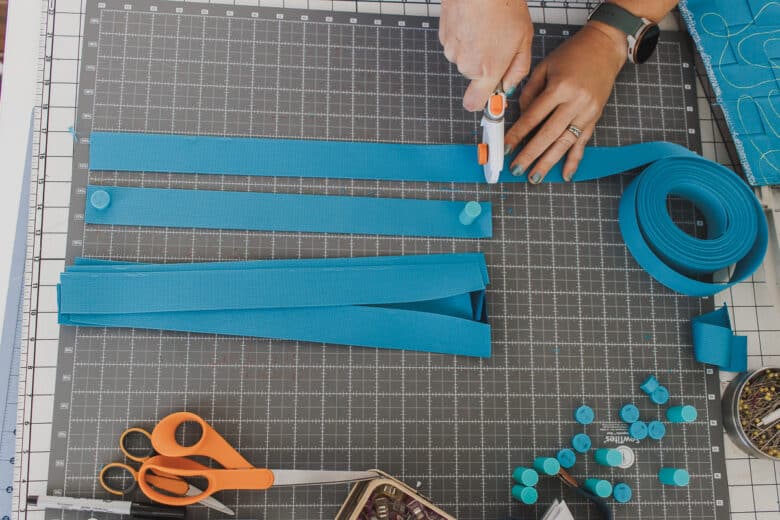
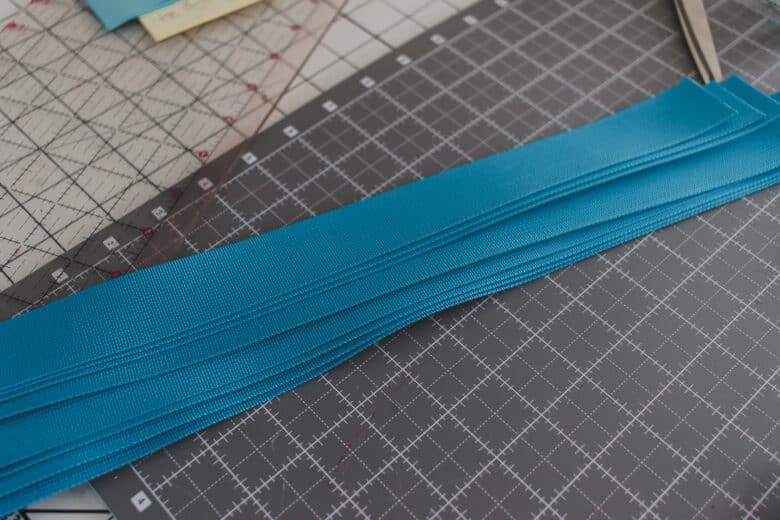
Take 10 of the shorter webbing pieces and lay them side by side. You want them to be almost touching. I used magnets to help hold everything in place, but you could also use pattern weights, pins or clips to help hold it all together. With one of the longer pieces, weave over under and place that piece right at the bottom of the piece. Secure.
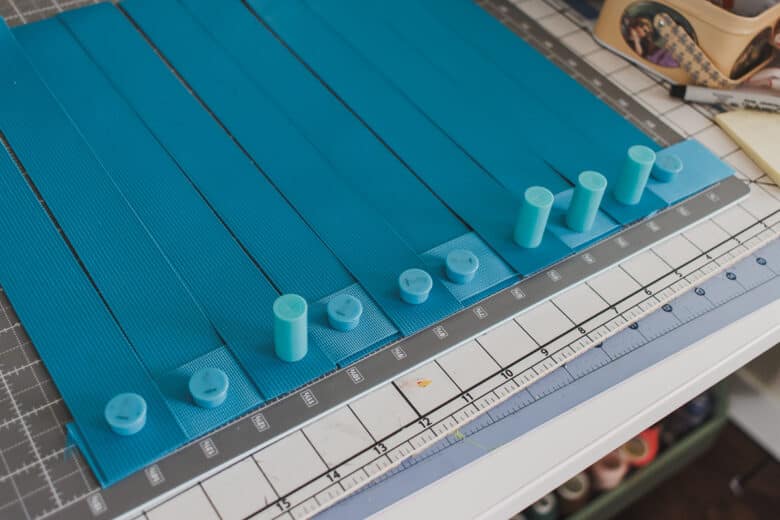
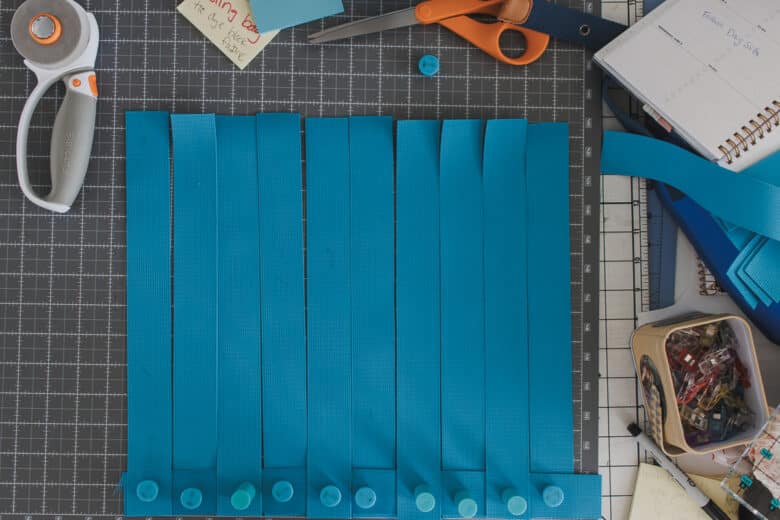
Continue using the longer pieces and weave the next piece over, under- opposite of the first piece.
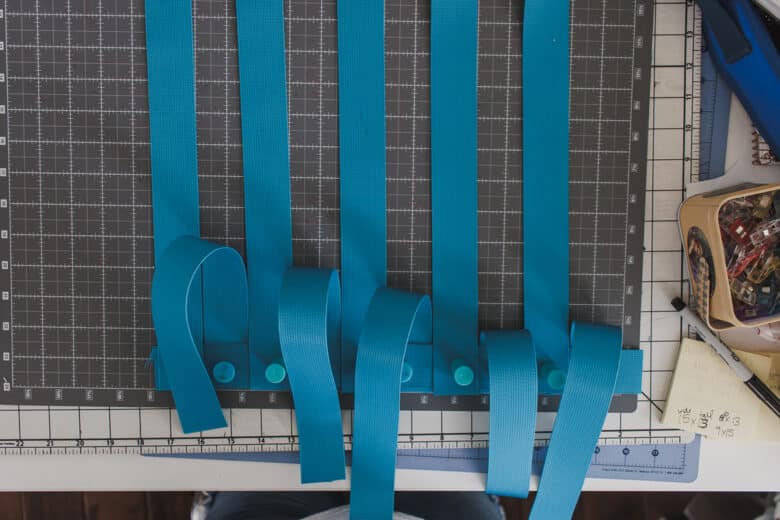
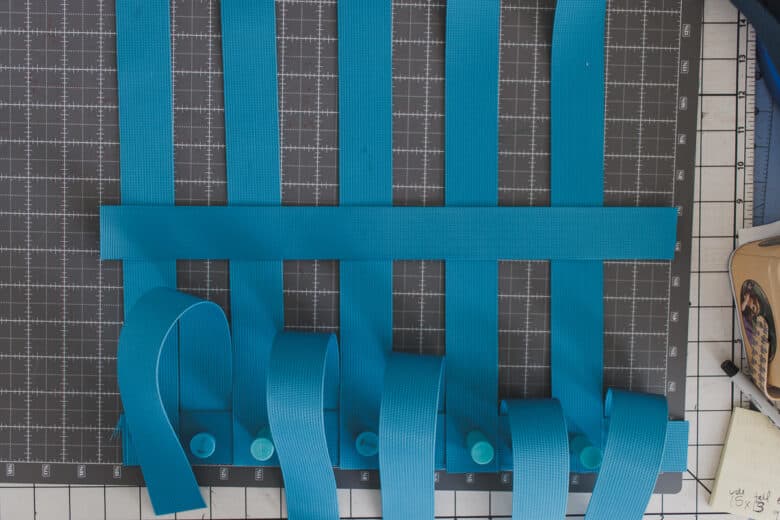
Slide it all the way down to touch the first woven piece.
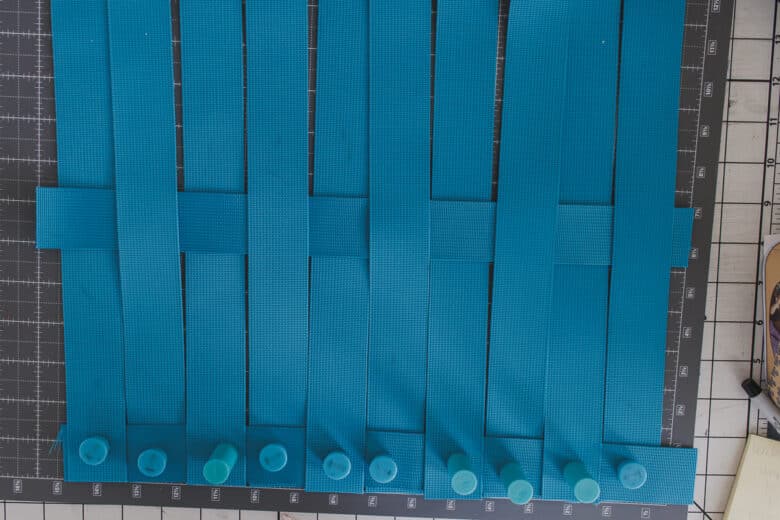
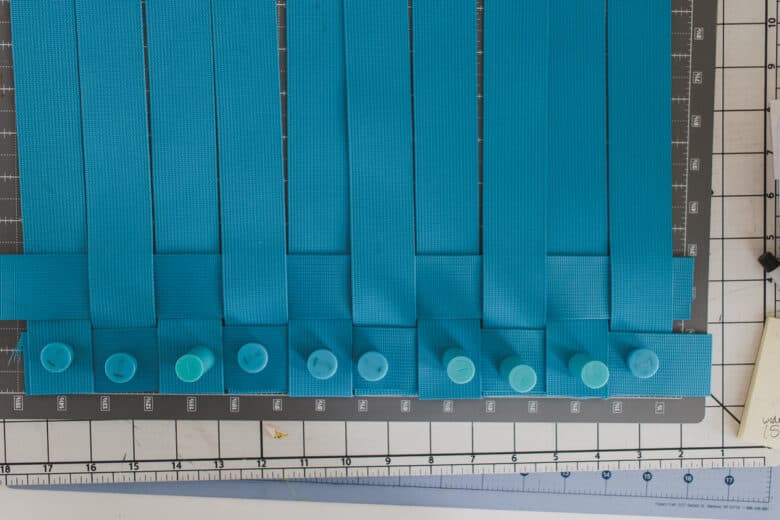
Continue until you have used 8 longer pieces. Now pin or clip all the way around the outside to secure together.
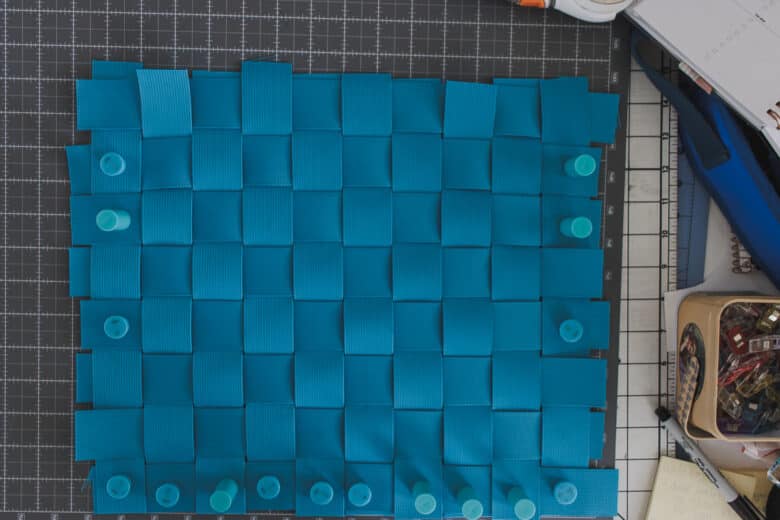
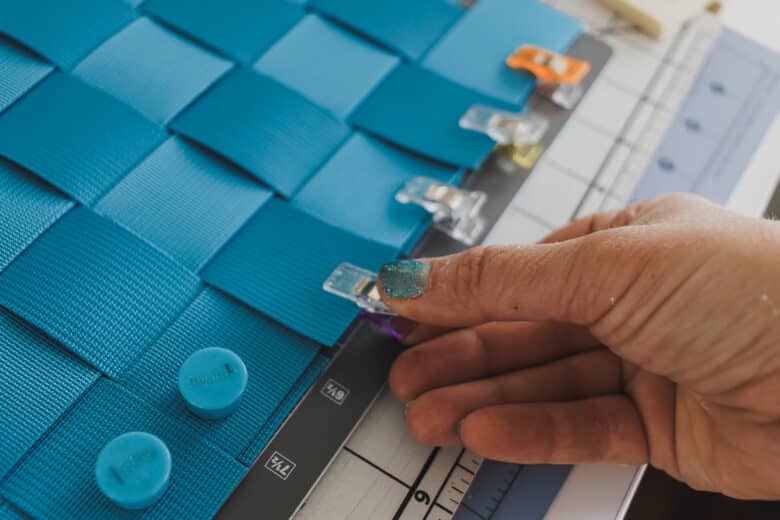
You may have to trim some straps a bit {extra was included for this purpose!}
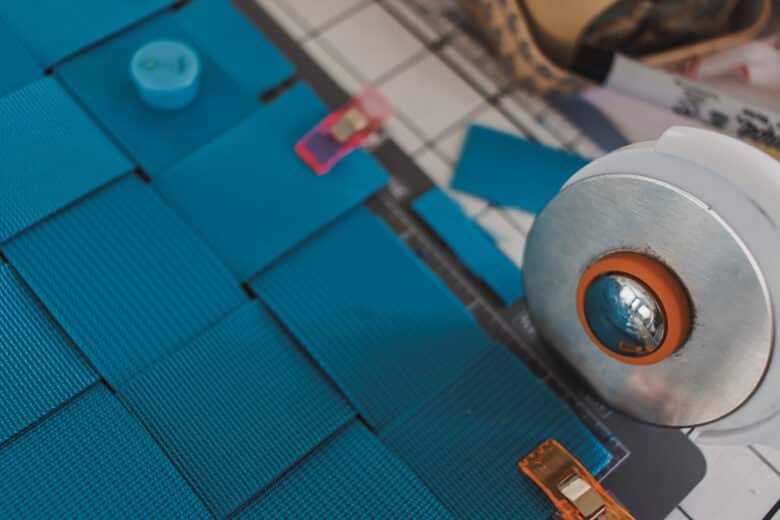
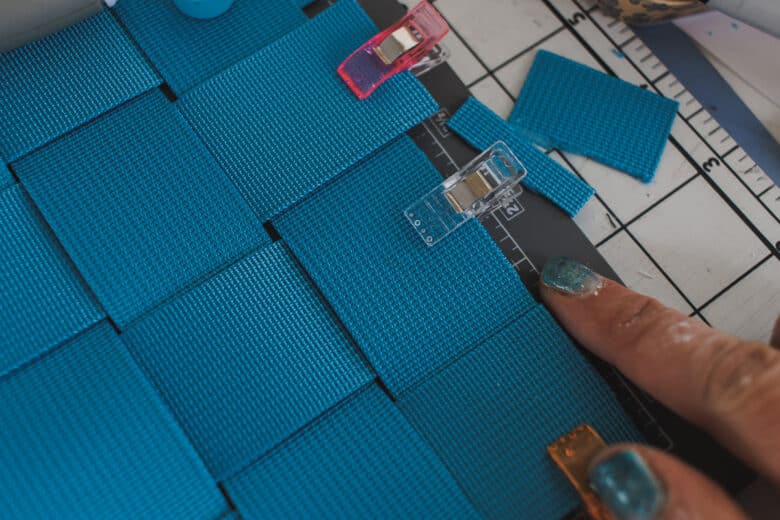
Place several pins in the middle as well to hold it all together while you are sewing. With a straight stitch, sew all the way around the outside of the rectangle. Do this again to create the second side of the bag.
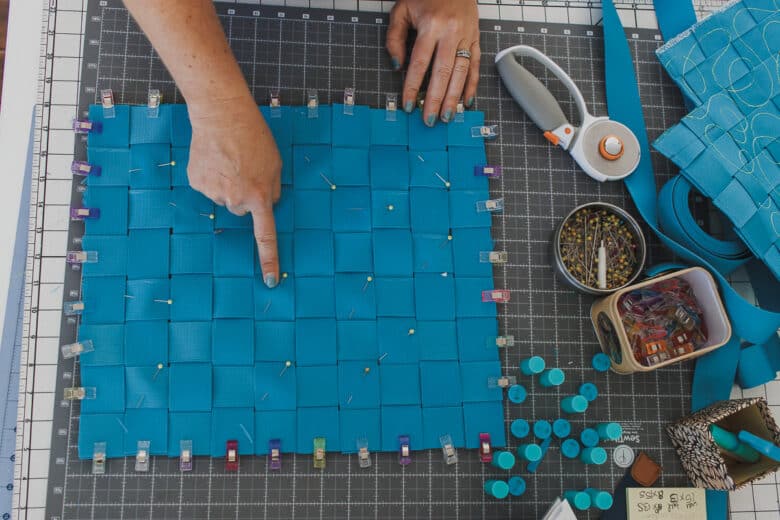
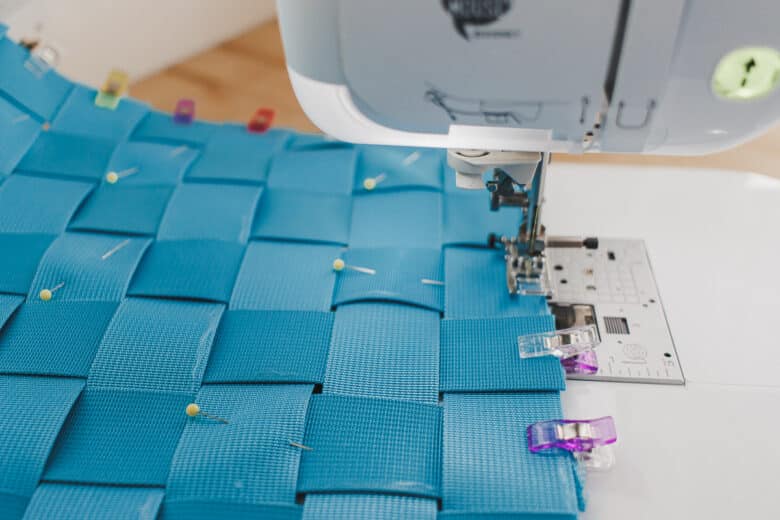
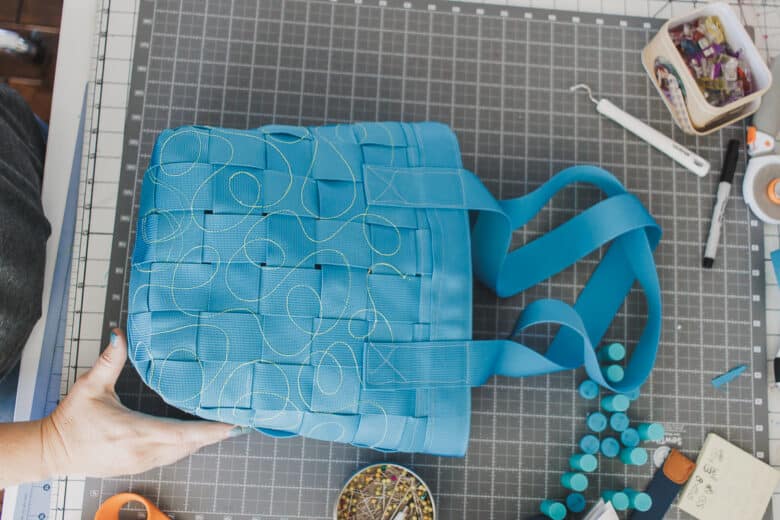
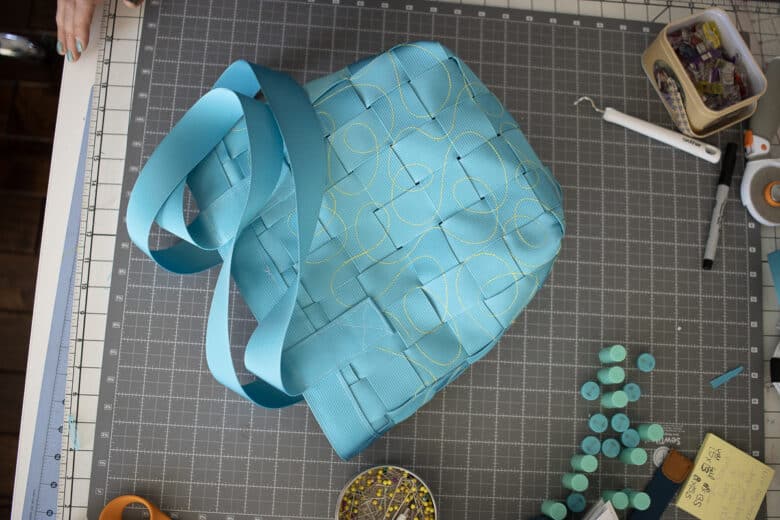
At this point you also want to hold all the straps together so it creates a solid piece of fabric. You can do this with embroidery {shown here} or you can do this by sewing straight lines along the straps to “quilt” it.
Use sticky stabilizer to help hoop the “fabric”. If you have a smaller hoop you may have to do this in sections. I centered my piece in the hoop. This is the 9.5″ x 14″ that goes with my Stellaire2 machine.
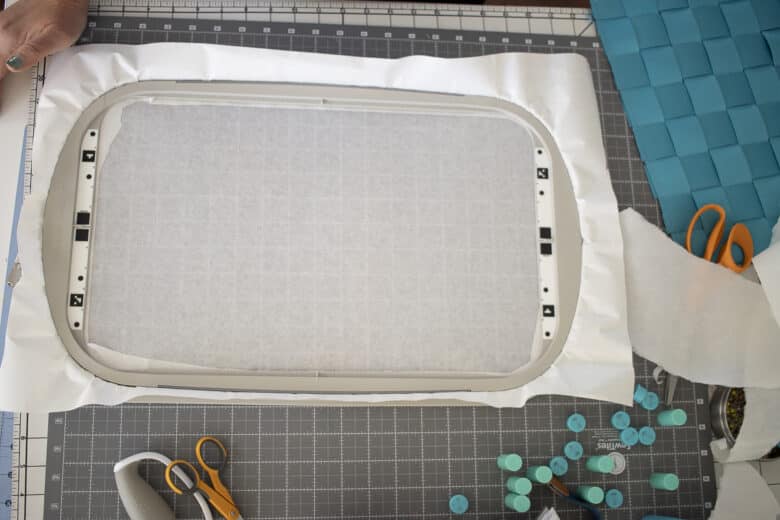
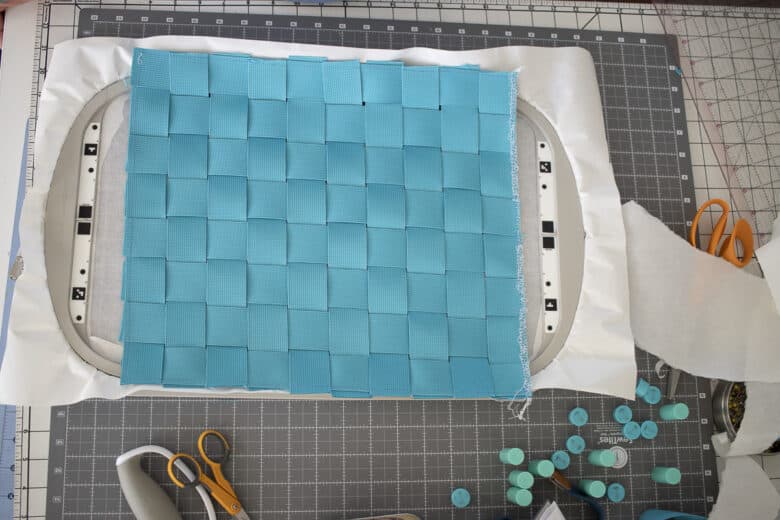
I used one of the free Stellaire designs in the Artspira app for this embroidery. Use the transfer button to send it to your machine, then retrieve it from the cloud pocket on the machine. I was able to enlarge it to completely fill the hoop.
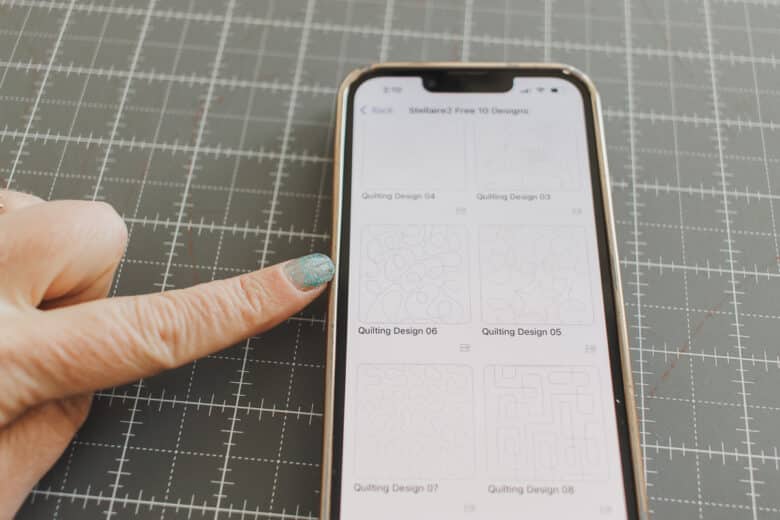
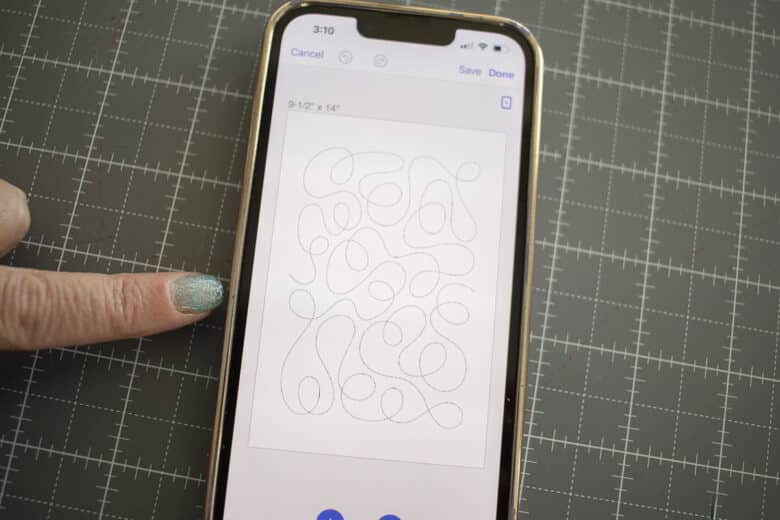
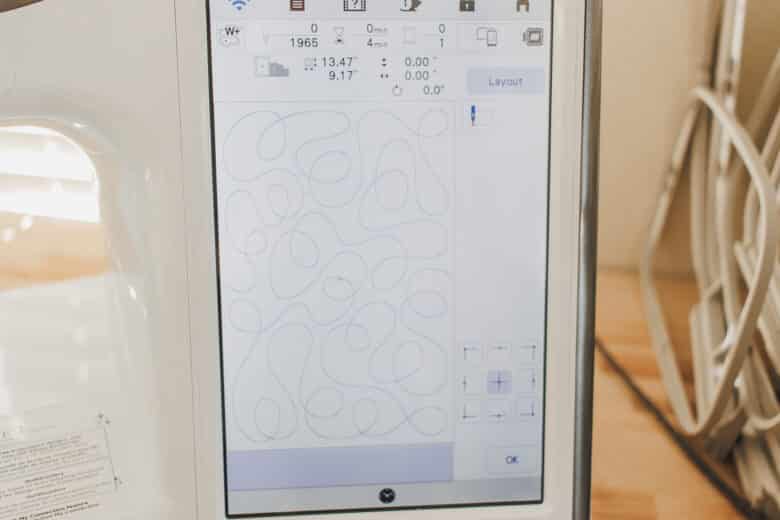
Load the hoop onto the machine and begin embroidery.
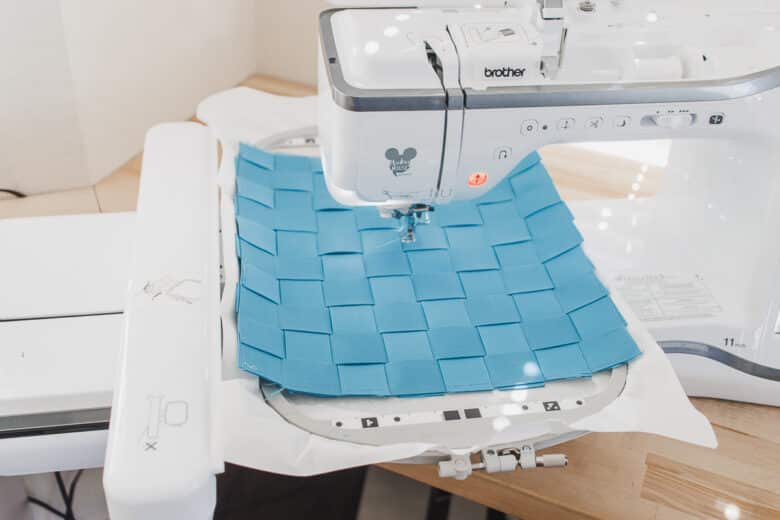
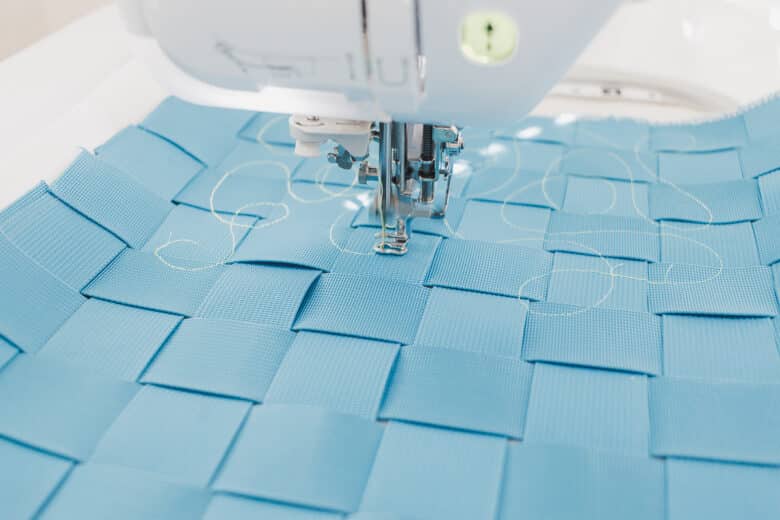
NOTE: this didn’t happen at all with my first piece, but on my second piece I think my weaving was a bit looser and my embroidery foot got stuck/caught under some of the straps. I had to sit by the machine and keep all the straps pushed down.
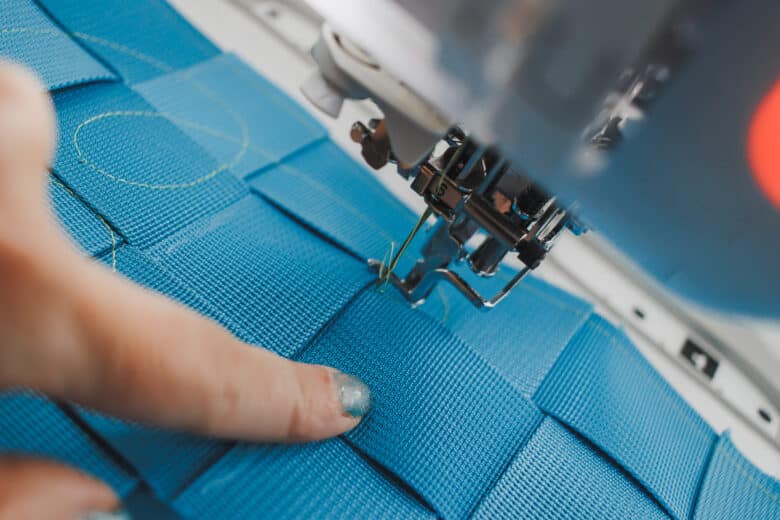
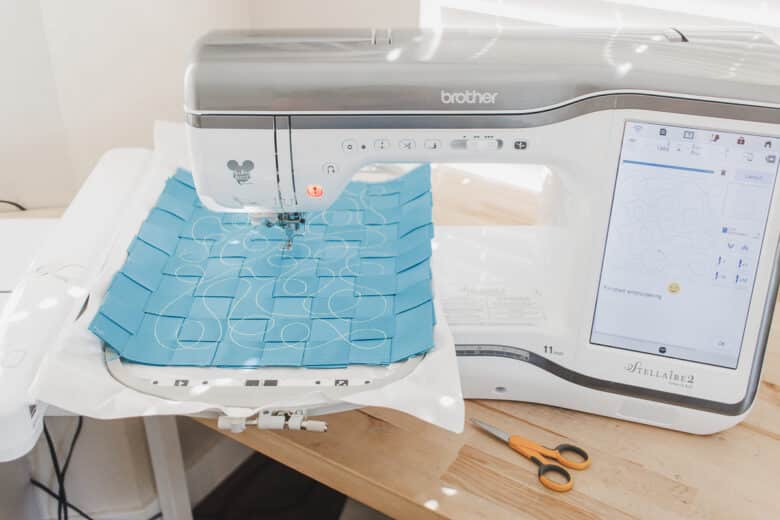
After the embroidery finishes, remove the sticky backing.
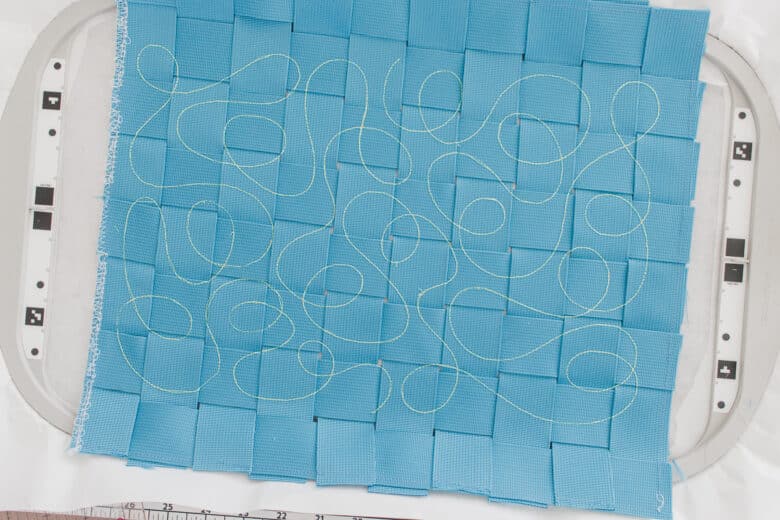
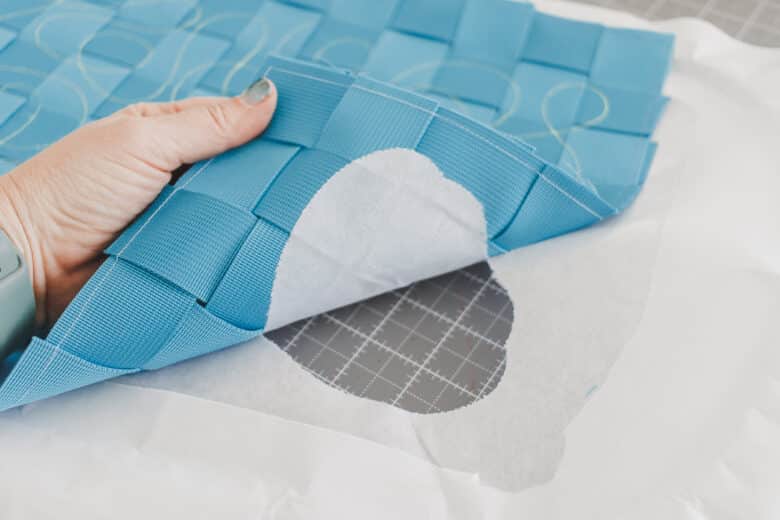
Lay the fabric with the longer direction going side to side. This is how the side of the bag will look. Measure a 3″ x 3″ square on the bottom of each corner. Mark this square. Back at the sewing machine, sew along the lines you marked to secure this edge.
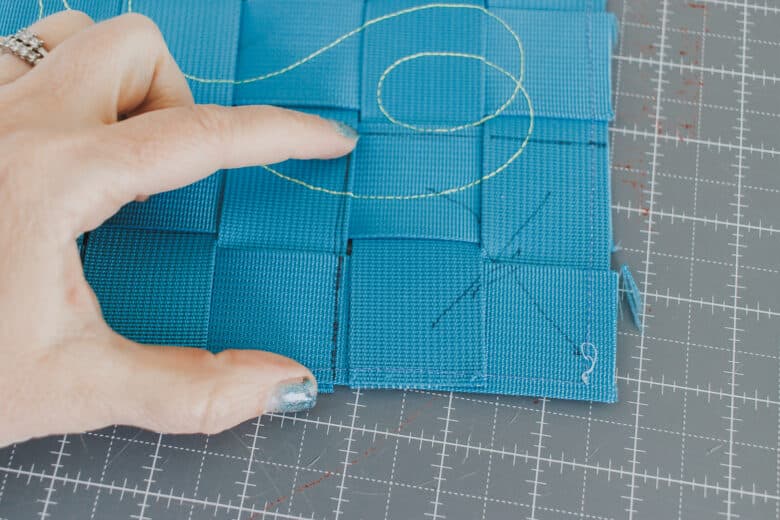
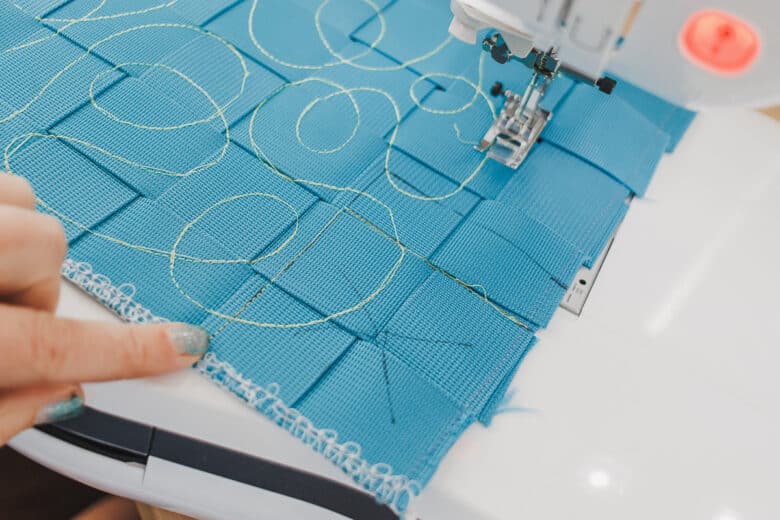
Cut out the square, leaving the stitches in place. Melt the raw edges again to finish. Repeat with the other piece.
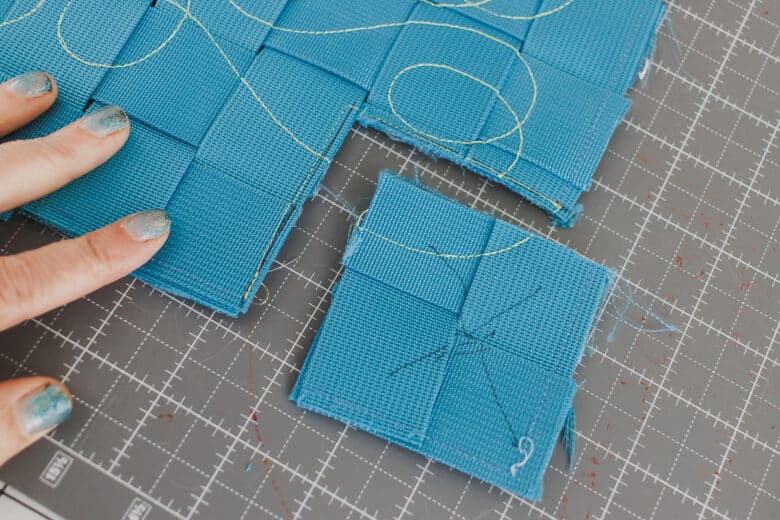
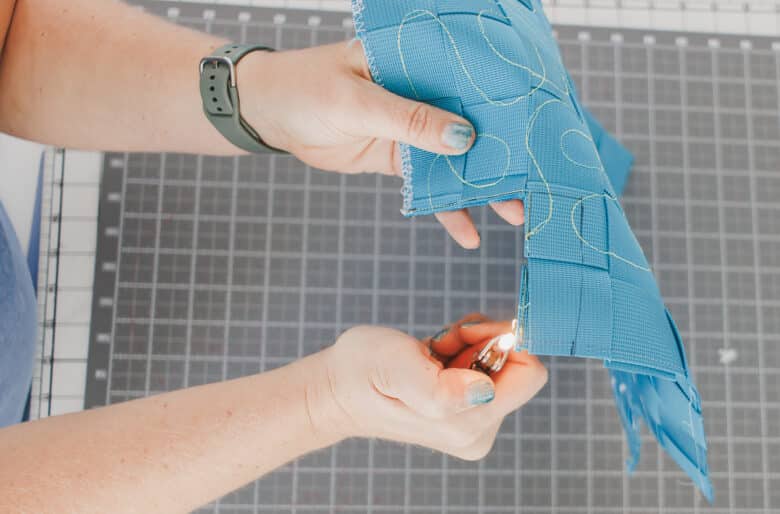
My embroidery pattern did not go all the way to the edge, so I also added a row or two of stitching at the top and bottom where the embroidery did not go. Place the two pieces of woven webbing together with right sides touching and pin or clip the sides and bottom. SEW – I used the triple stitch.
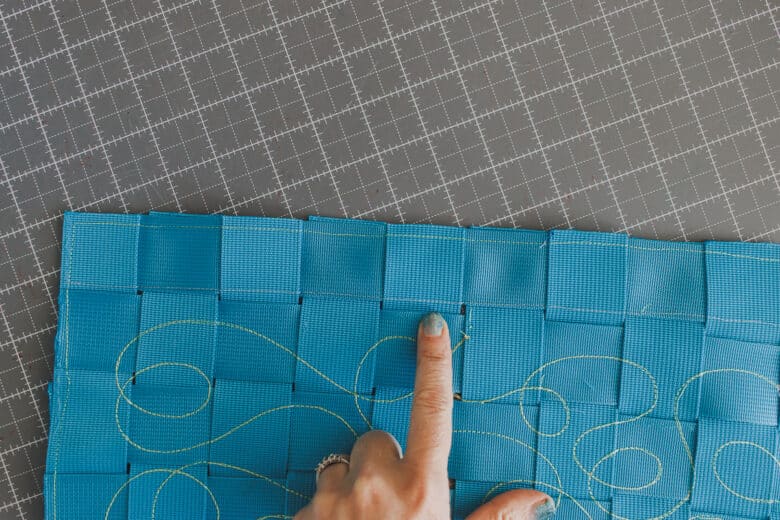
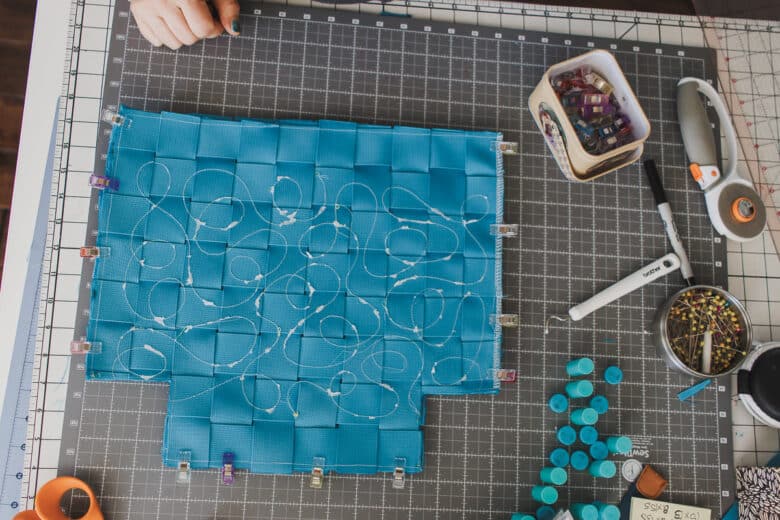
Then open up the bottom squares and line up the side and bottom seam. Pin or clip to hold, SEW. Again I used the triple stitch for strength.
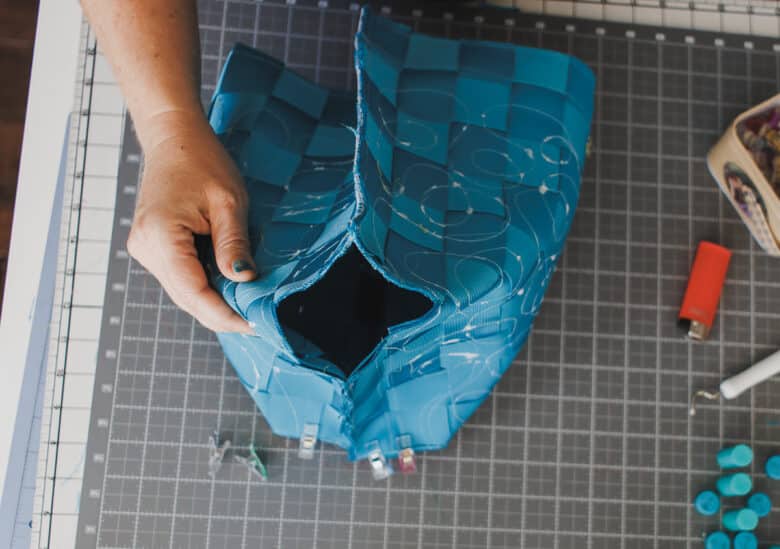
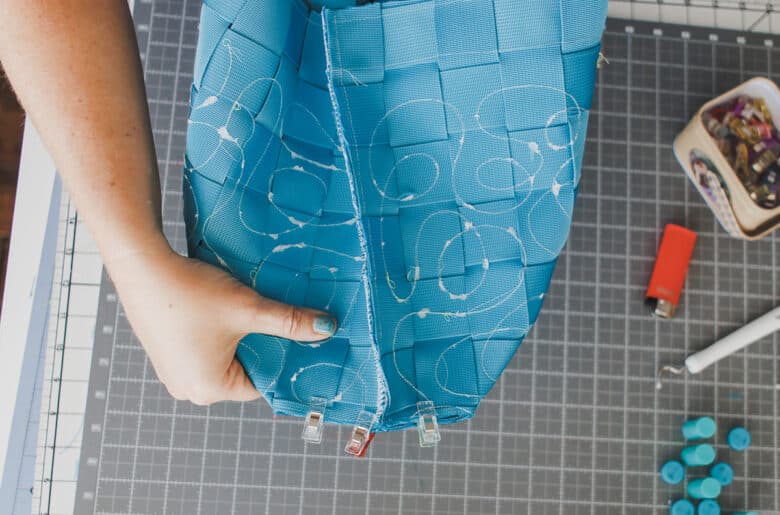
After you have sewed both bottom sides, turn the bag right side out and press out the corners.
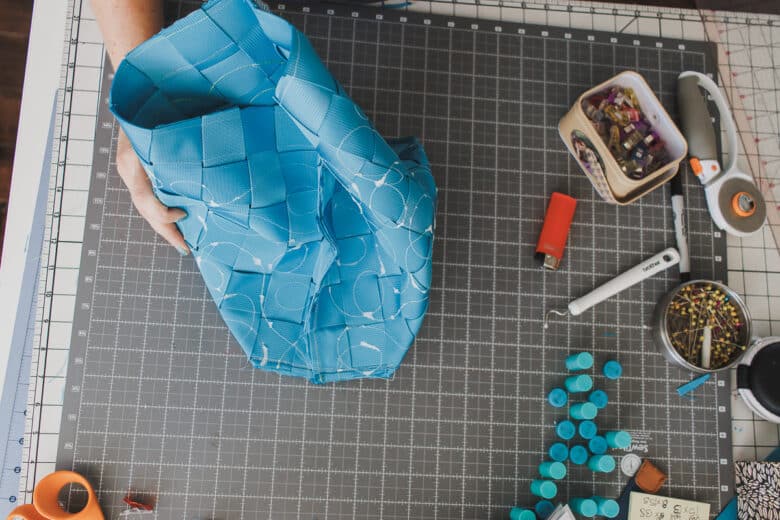
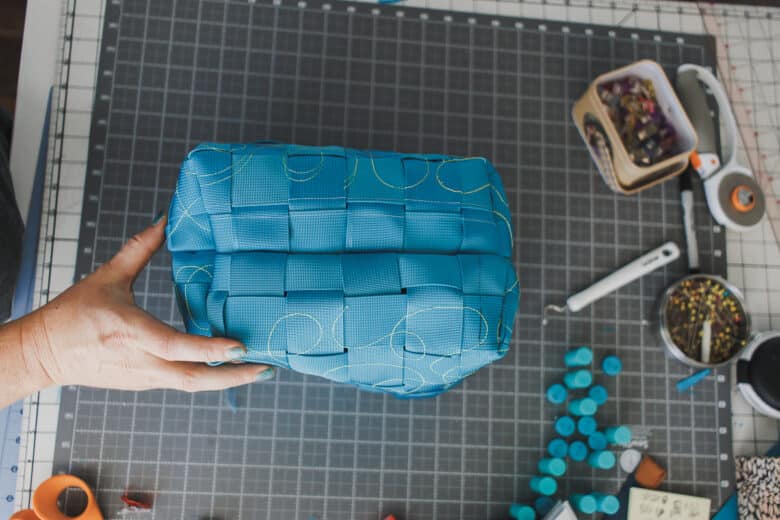
Measure around the top of the bag. {This can be slightly different bag to bag, so I did not include a measurement} Take the measurement of the bag and add 1/4″ seam allowance. Cut 2. Overlap the the ends slightly and sew with a zig-zag to secure. Use the most matching color thread you have.
After you have two rings of webbing, place them together with the wrong sides touching and sew all the way around the top of the circles. You are sewing on the right side of the strapping.
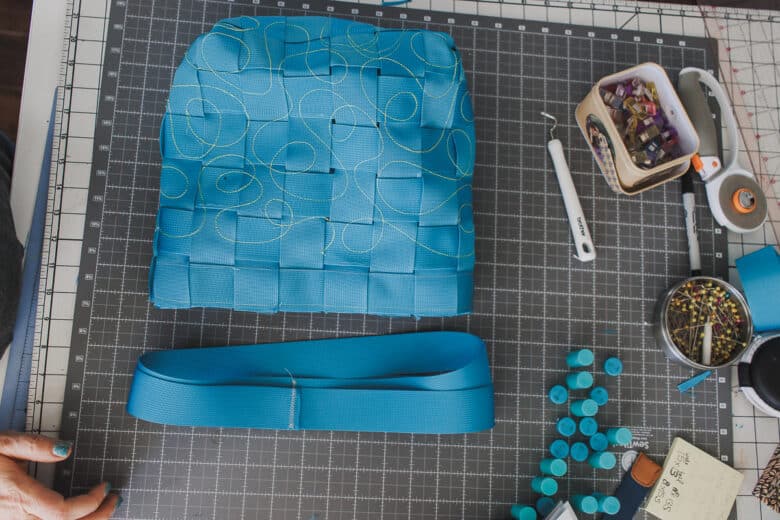
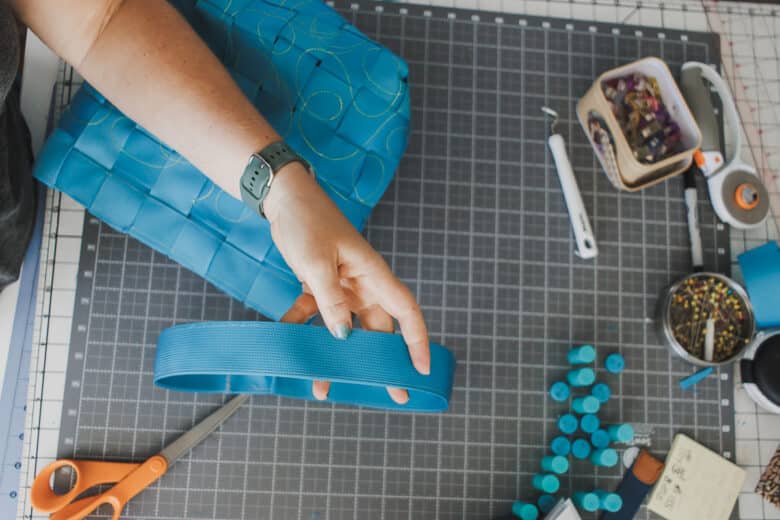
Open up the bottom of the webbing and place this over the top edge of the tote. NOTE: This would be a perfect time to add a lining if you want. Sew a lining piece from fabric and baste the top edge to the top edge of the bag. Then when you sew on this web binding it will all be covered and attached.
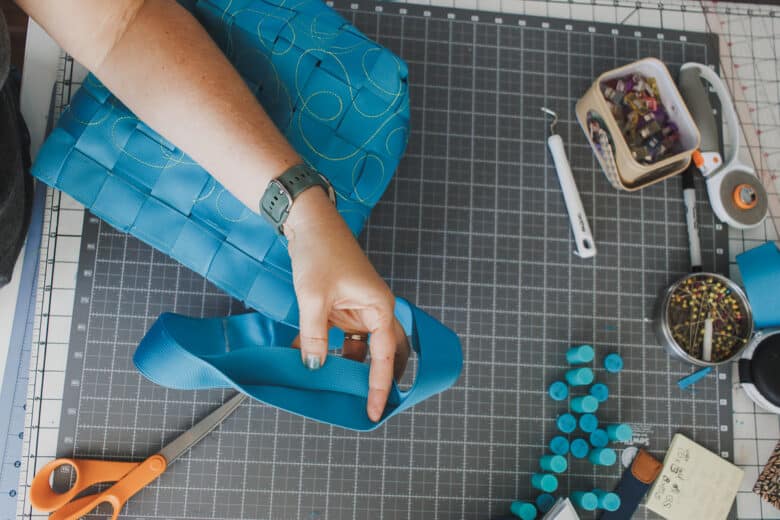
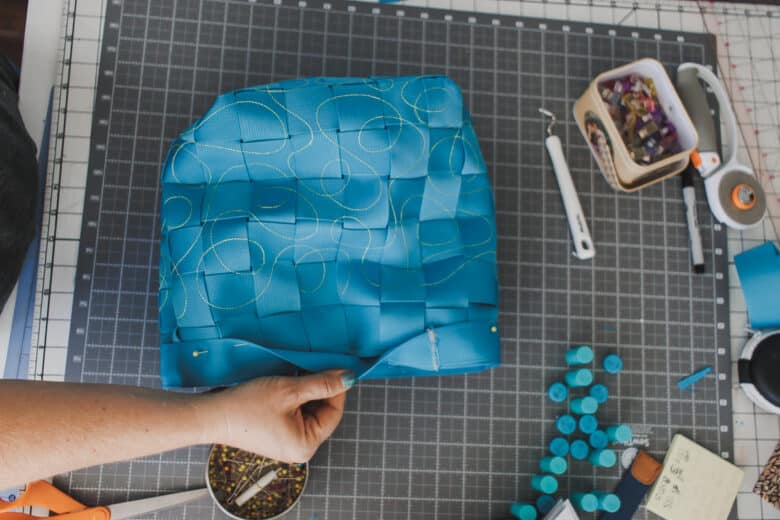
Pin this biding all the way around the top edge of the bag. Push it down as far as it will go over the top edge of the tote and the webbing pieces. Sew on the bottom inside edge of web binding. I sewed on the inside of the bag as shown. You could also remover your machine arm and sew like a hem. {in retrospect this is what I should have done} haha.
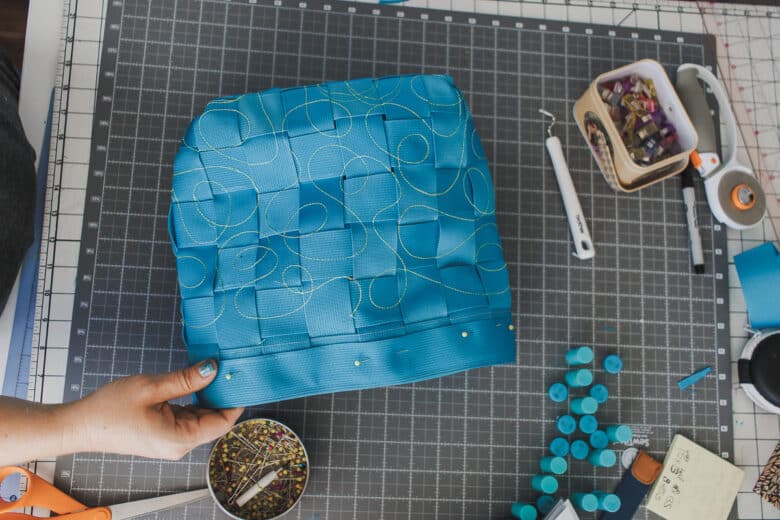
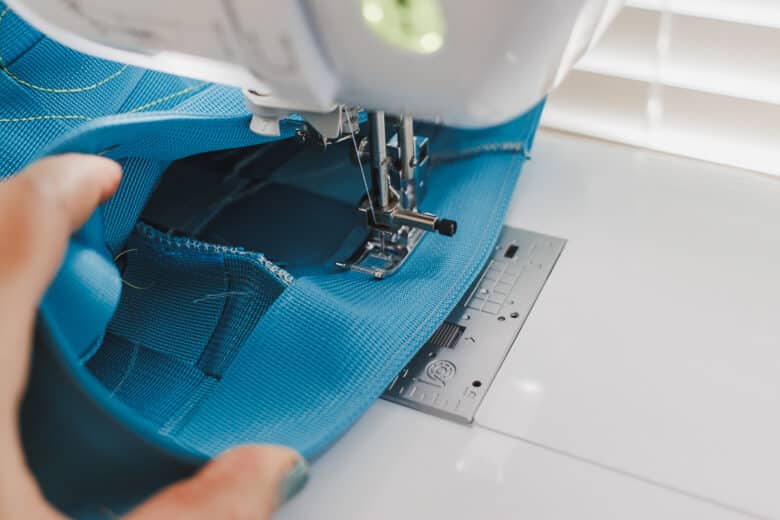
Fold over 3/4″ inch on the bottom of one strap and place it two squares down on the left side of the bag. Pin in place.
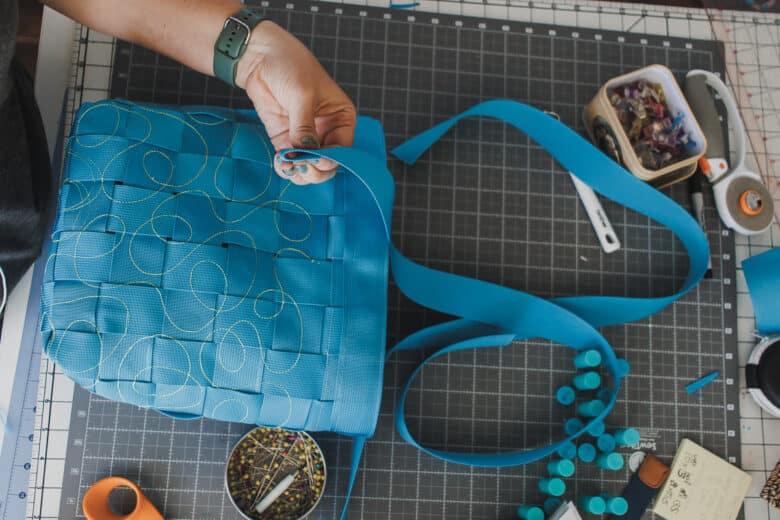
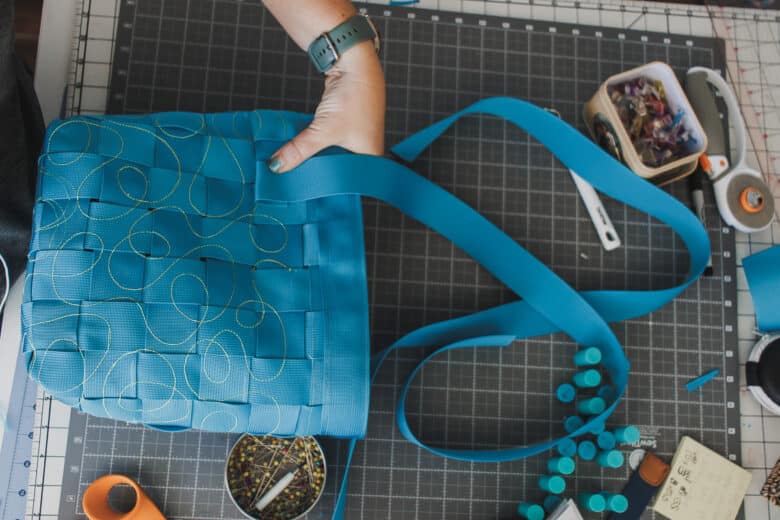
Do the same for the other side of the strap, keeping the straps evenly spaced on the side of the bag. I did sew the straps with the machine arm removed for better access.
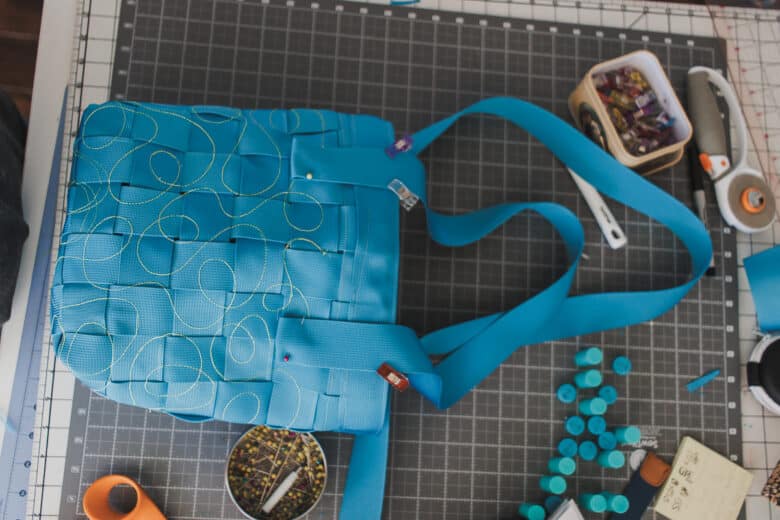
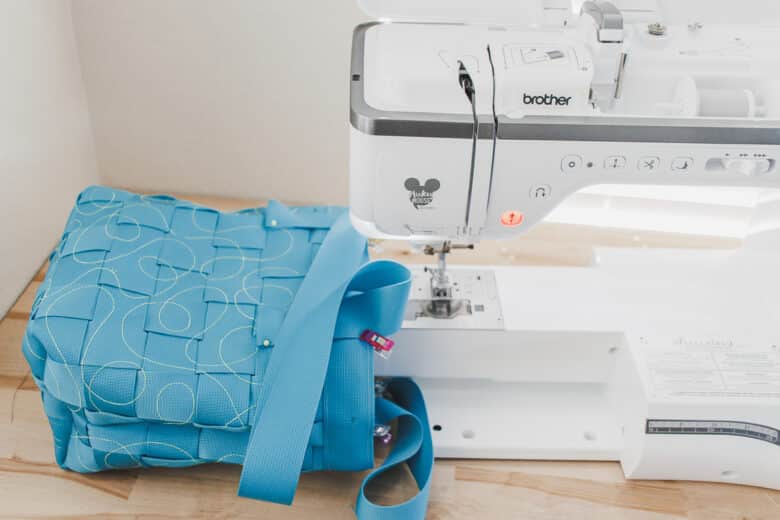
Now you have just completed your new favorite tote bag for summer!! Make sure you tag me on social media @lifesewsavory when you sew your very own version of this bag.




Leave a Reply