inside: learn how to create mini hoop ornaments with your embroidery machine. Design adorable Christmas ornaments for mini hoops with fun text and designs with machine embroidery.
This was my final Christmas project of the year and it was too cute not to share! The Brother Artspira app has new text wrapping features for embroidery and it was the perfect tool to create these mini hoop ornaments. Of course you can create mini hoop ornaments with any embroidery machine, but I’ll show you the process using the Brother app and embroidery machine.
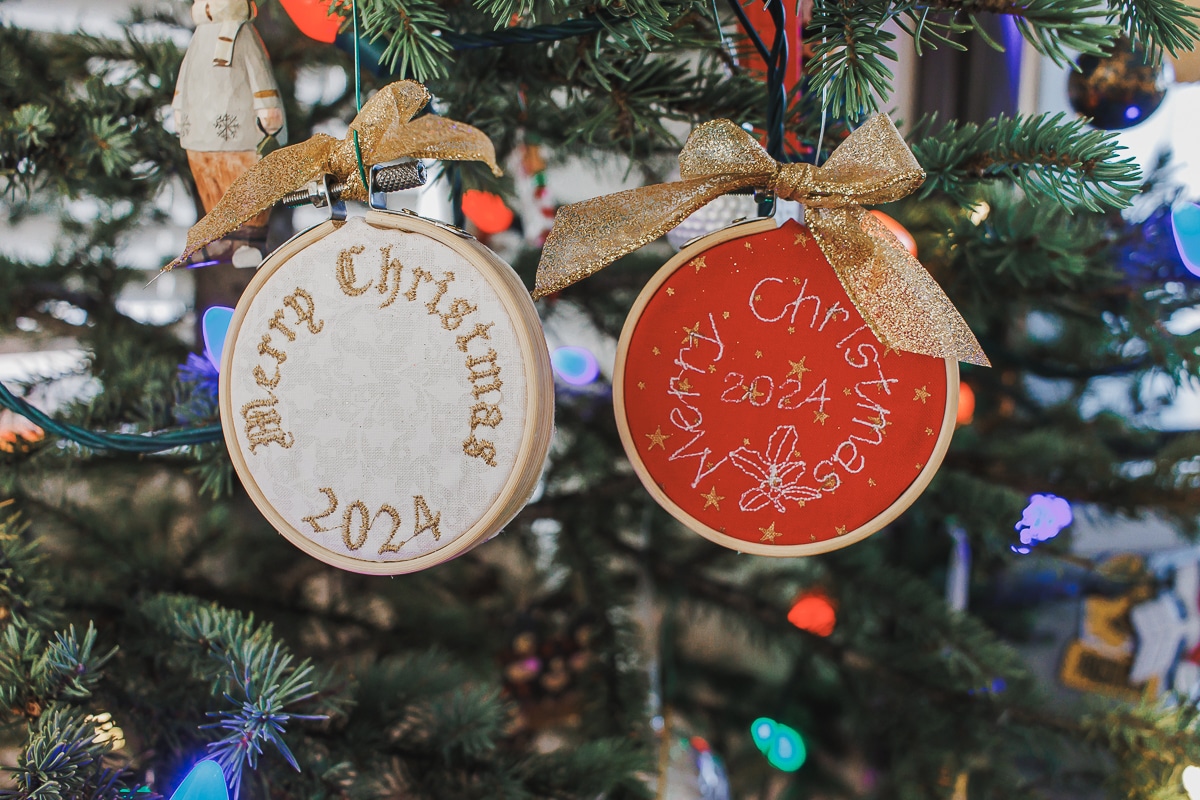
Christmas ornaments in mini hoops
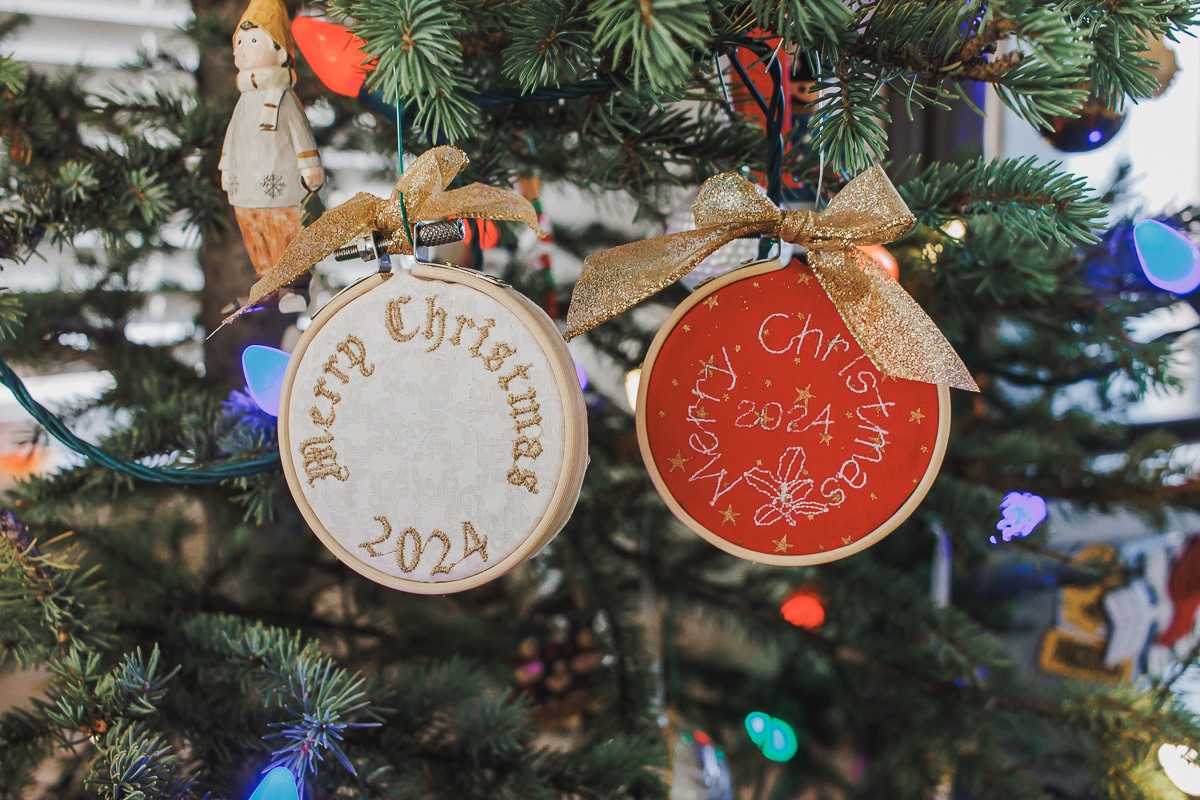
I was asked to do an hour long social media live show for Sewing Machines Plus and my plan was to create several different ornaments. This mini hoop ornament was one that I made before the show and then during the show as well. They turned out so cute I wanted to share a quick tutorial so you can make your own version of this.
A few years ago I made mini hoop ornaments with vinyl and glitter cut outs and they were so cute! You an see that mini hoop tutorial here.
Christmas ornaments to make
Ornaments are one of my very favorite crafts to make and I’ve created many of them over the years. Here are some fun ones and you can find these tutorial by clicking the text below.
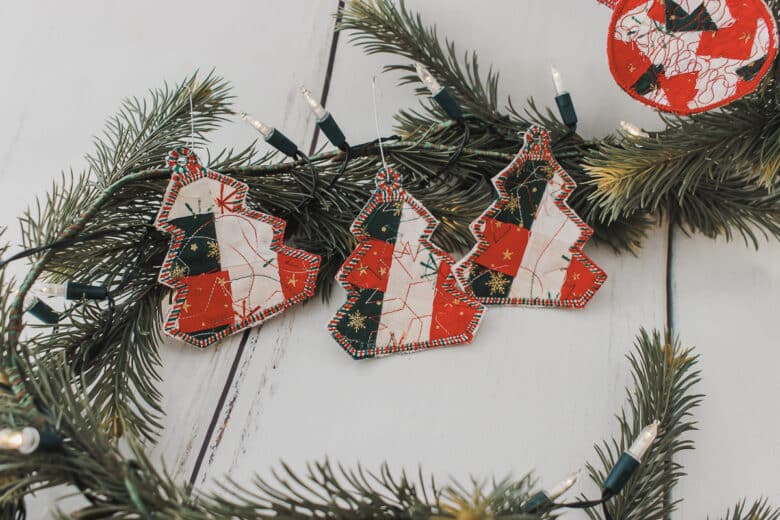
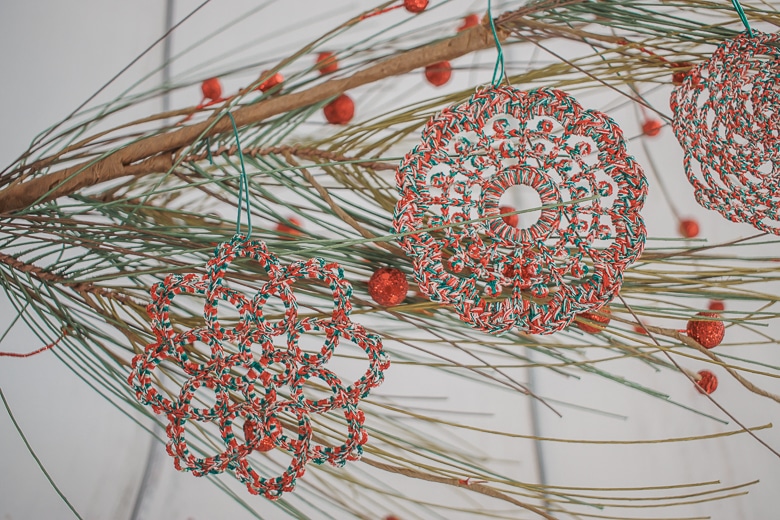


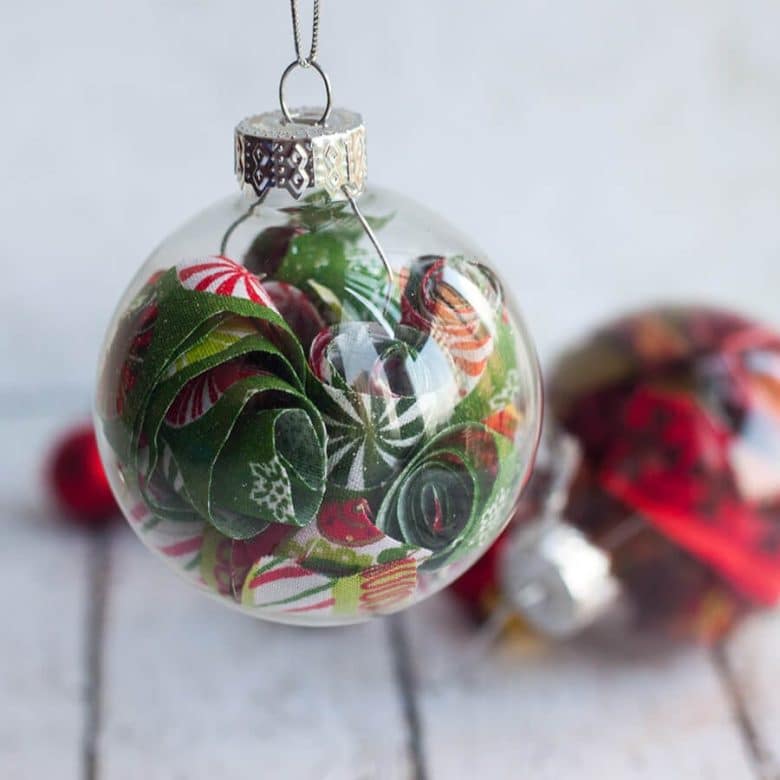
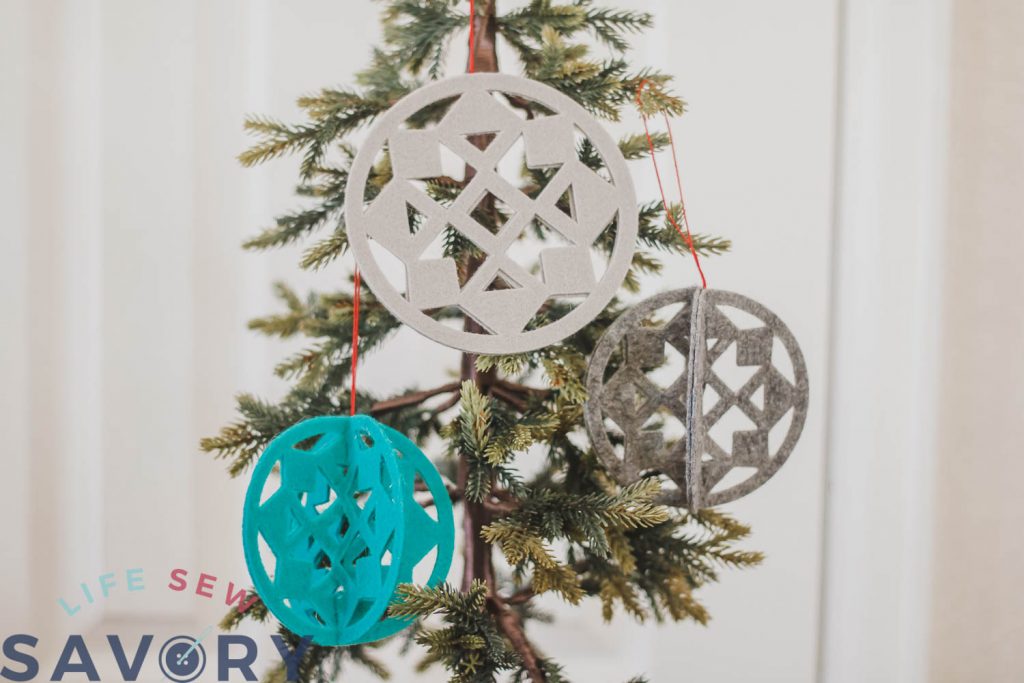
- Scrappy Fabric Ornaments
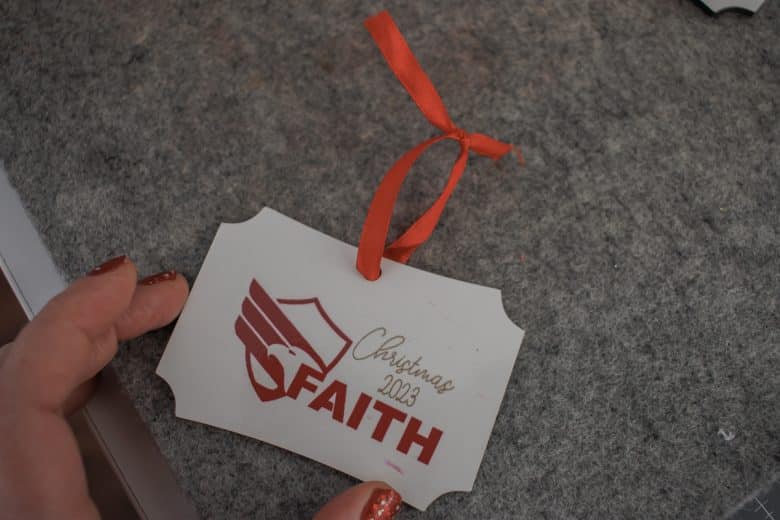
- Easy Sublimation ornaments
- Machine Embroidery Crochet ornaments
- Hot Chocolate Ornaments
- Felt Cookie Ornaments
- Fabric Scrap glass ornament
- Felt Cut ornament
How to make a mini hoop ornament
ok! Time to jump into making some cute ornaments! As mentioned I’ll be using the Brother Artspira app to create the designs and send to my machine, but you can use any cute Christmas designs you have access to for embroidery.
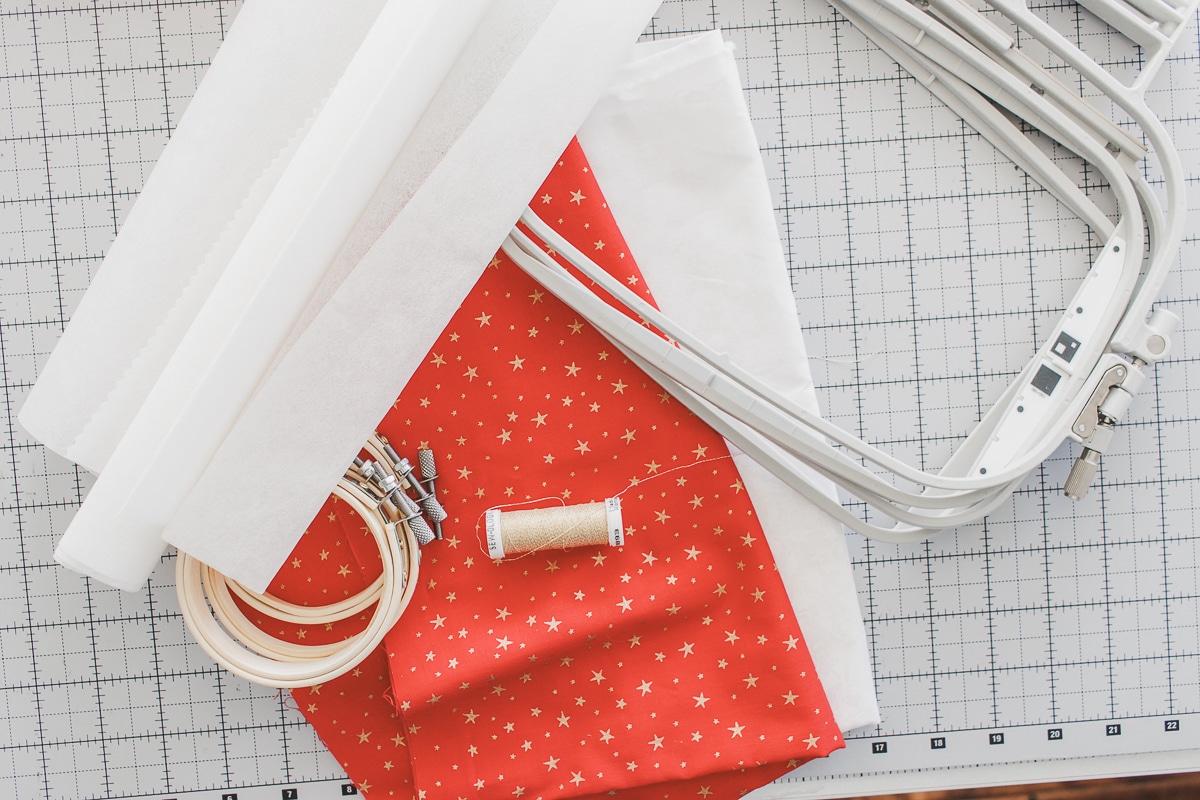
Grab some fabric, stabilizer, mini hoops and thread and let’s get started!
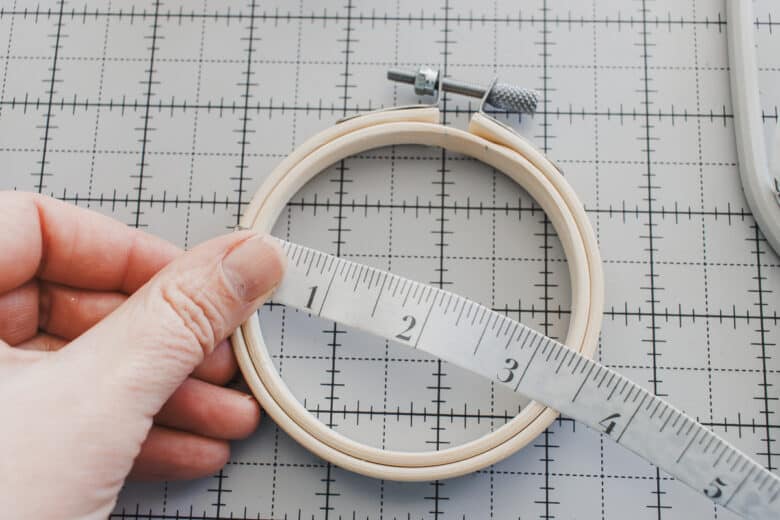
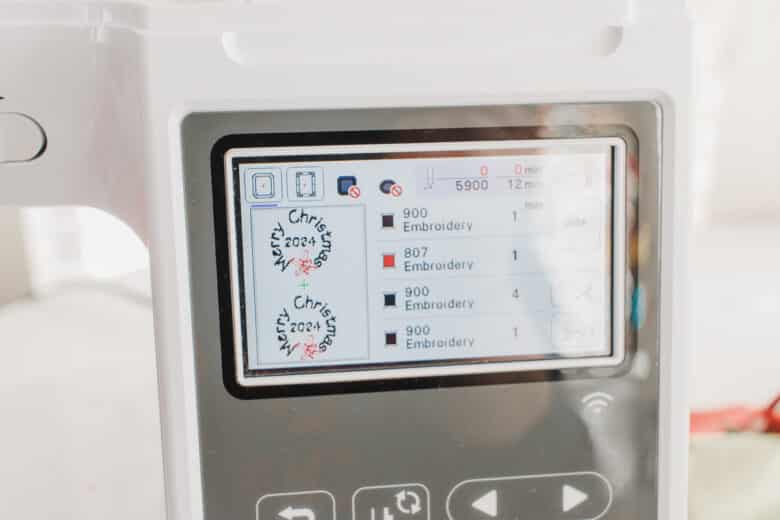
First measure the size of your mini hoop, this will give you the size you need for your design. I used the text wrapping feature to create my text in Artspira, then transferred to my SE2000 machine. I made sure to check the size after transfer to make sure it was small enough for my hoop.
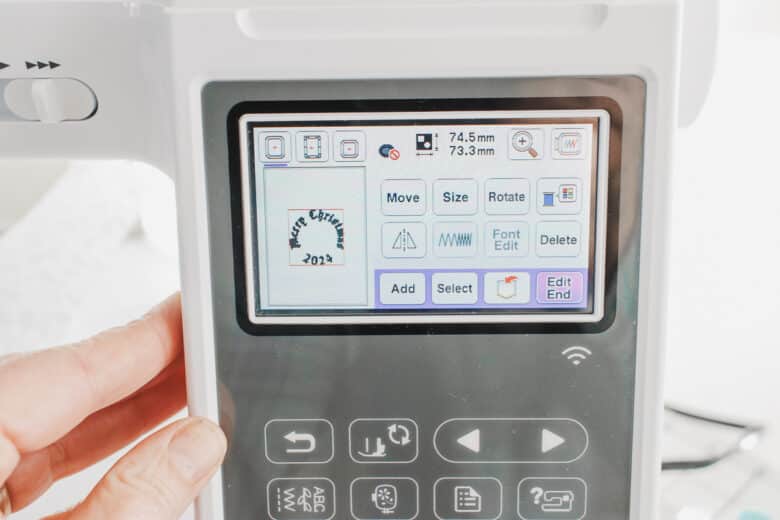
Using a 4 x 4″ hoop you can stitch out one design at a time. Make sure there is at least 1″ margin around all sides of your design so you have some fabric to work with to finish this project.
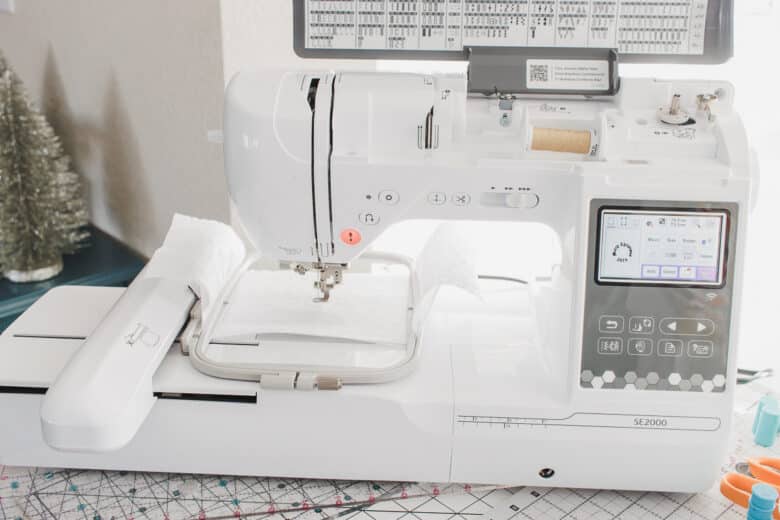
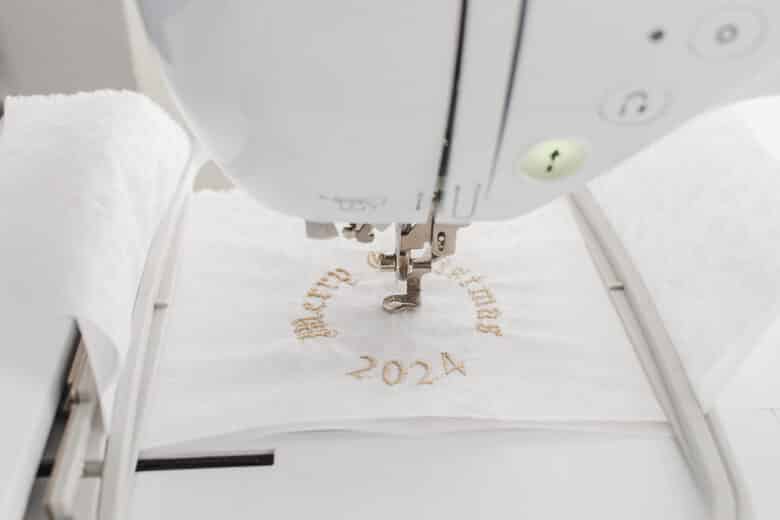
Or if your machine has a larger hoop {5 x 7″ seen here} you can stitch out two at a time.
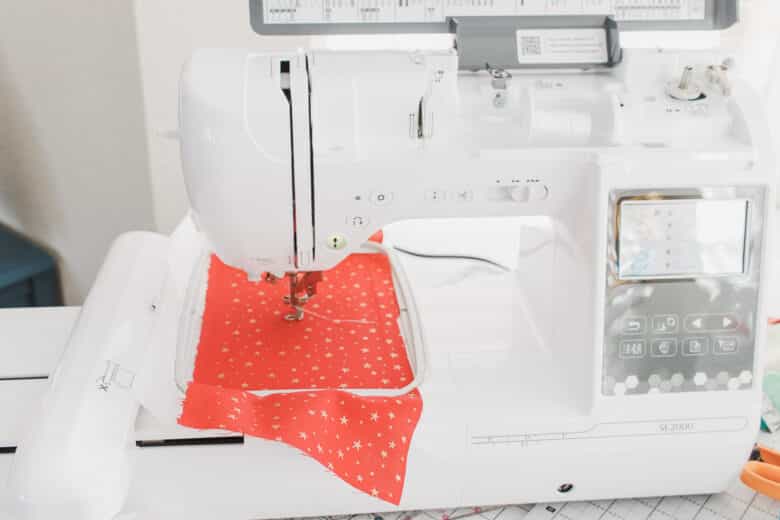
Remove from the hoop and tear/cut away most of the stabilizer. You do not have to remove all the bits, as you won’t see the back of the stitching.
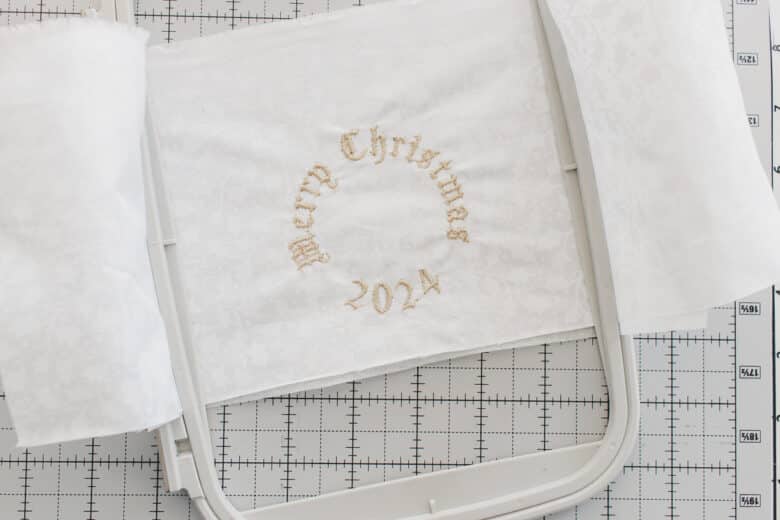
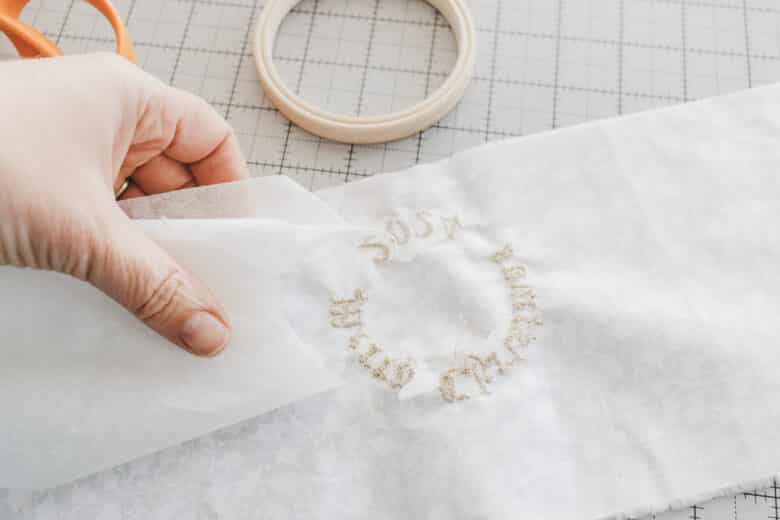
Grab the smaller back of the hoop and place your design over it. Center the design as best as you can.
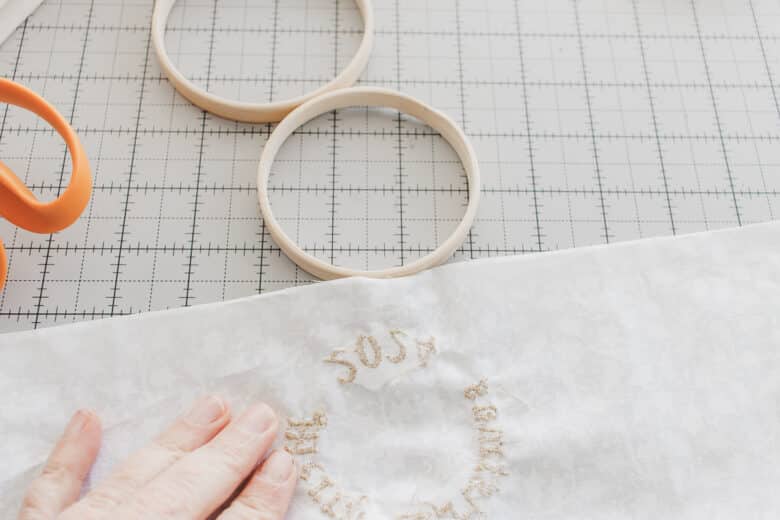
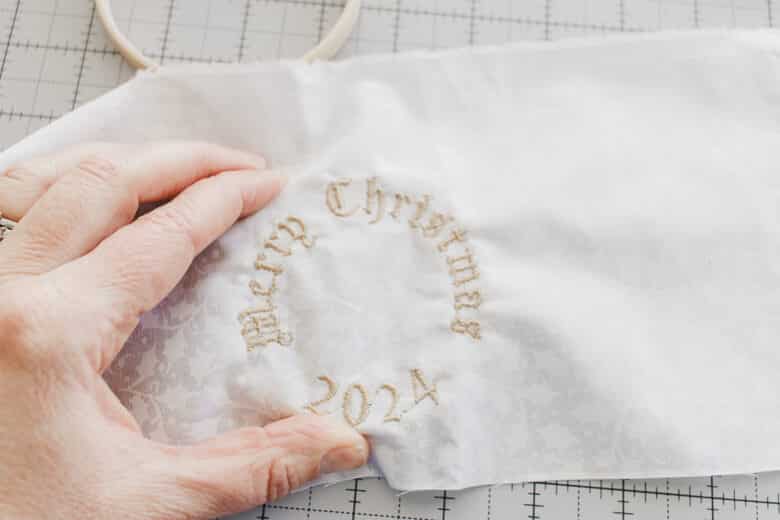
Place the top of the hoop over the fabric and tighten the top screw. Adjust/pull fabric to get a good fit.
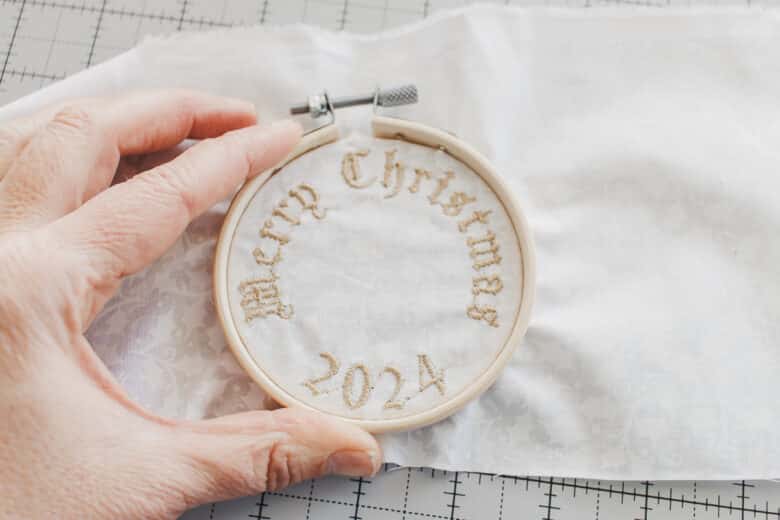
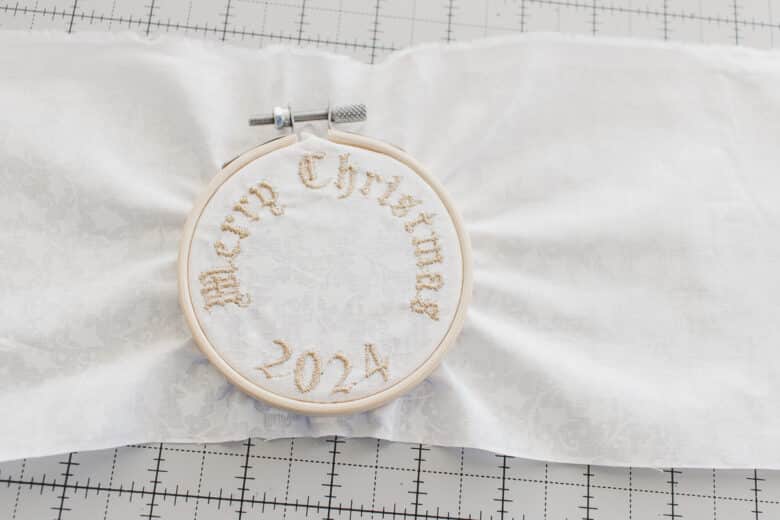
Trim excess fabric off the back and leave around 1/2″ of fabric. Trace the hoops onto felt to create a backing for the ornament.
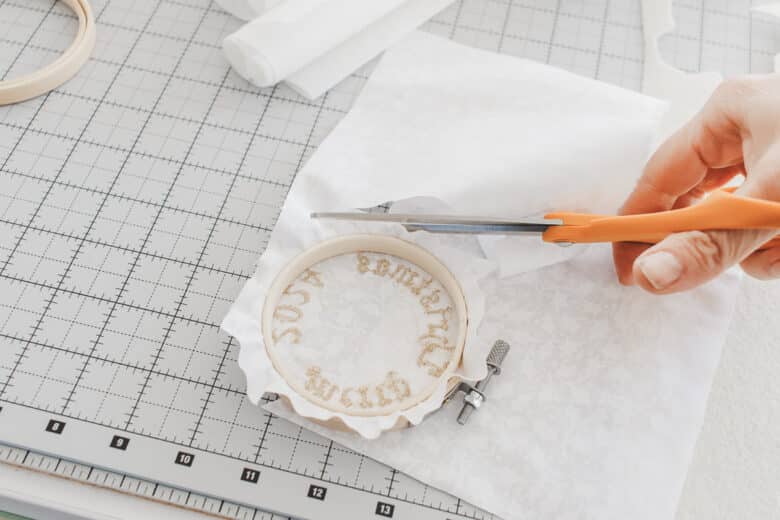
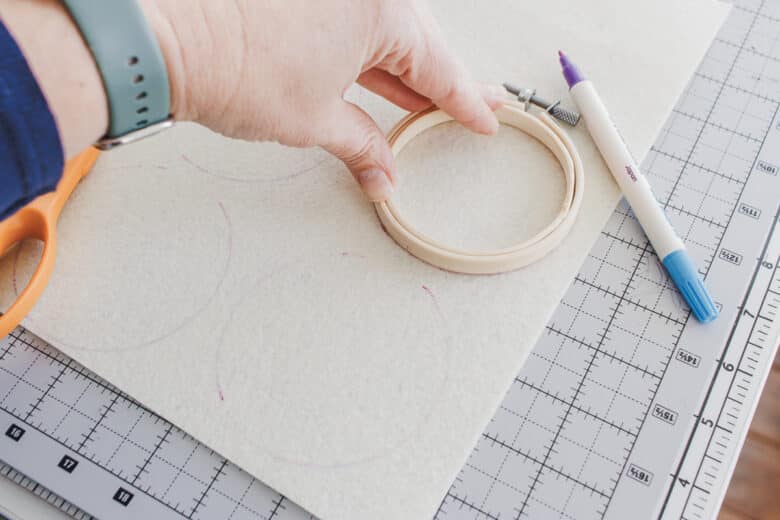
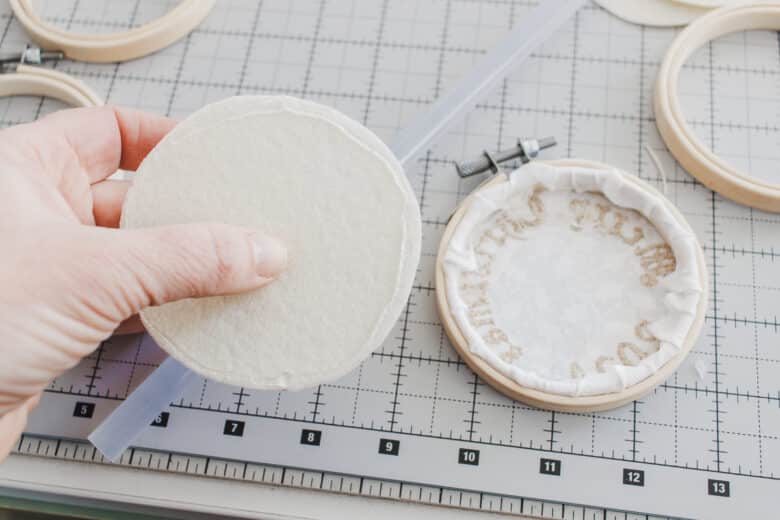
Use hot glue to fold the extra fabric over and secure to the inside of the hoop.
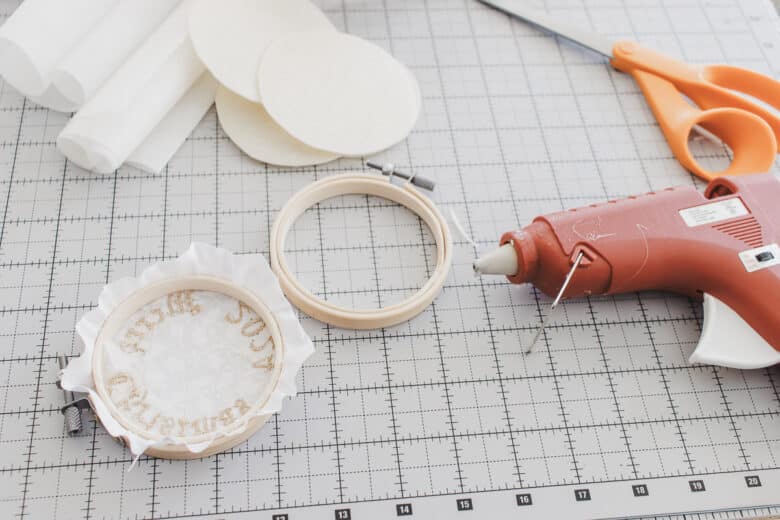
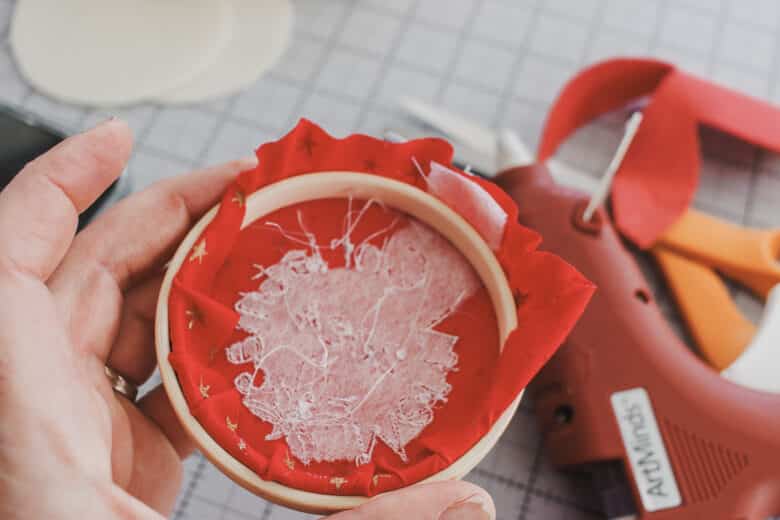
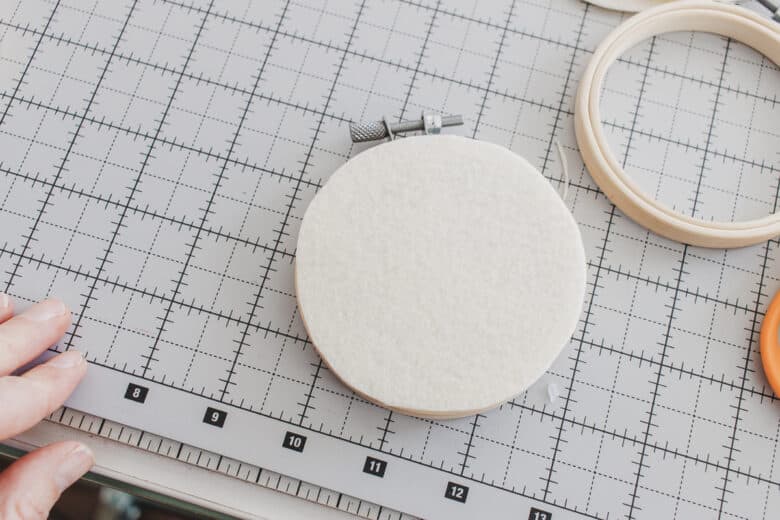
Place a bead of hot glue all the way around the felt circle, then stick to the back of the hoop. Add ribbon for a hanger and your ornament is finished. Sew up several with different designs and fabric and enjoy!!





Leave a Reply