
inside: learn how to embroider a logo above a pocket to create a custom work shirt. Also tips for creating a custom logo through digitalization. Pocket logo embroidery can elevate any shirt.
I recently took an order of adding a custom logo to shirt pockets with my embroidery machines. Since I was repeating this process 50 times, I thought I would share a quick tutorial with some things I learned along the way in hopes of helping someone else out who wants to do some logo embroidery.
How to create a logo embroidery file
The first step in this process is to make sure you have the logo as an embroidery file. Maybe you already do, or the company you are working for already has their logo as an embroidery file. This is great and eliminates the first step.
I didn’t have this logo as a PES file {the embroidery file my Brother machines use}. I requested a vector image from the company I was working with, then use this Etsy Shop to create a custom embroidery file to use. New York Digitizing was fast, easy and cost effective to you. Email them with the file you want to embroider and any information you have, then they reply with a quote. Buy it on Etsy and you design will arrive in 1-2 days. I even had no problem getting the design in two colors, so I could easily break it up while sewing.
Some of the shirts needed one color and some two, but having the design in two colors allowed me to easily switch if needed.

Other beautiful embroidery projects to make –
- Double layer vinyl embroidery
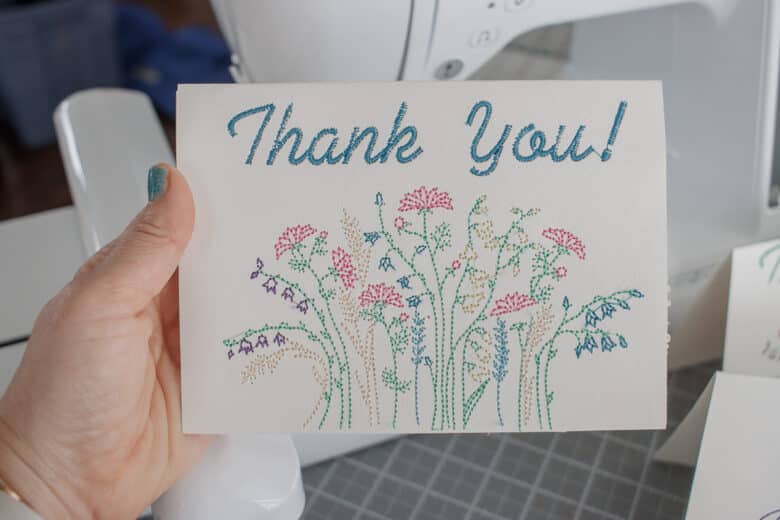
- Embroidery on paper for cards
- Embroidery and couching on a sweatshirt
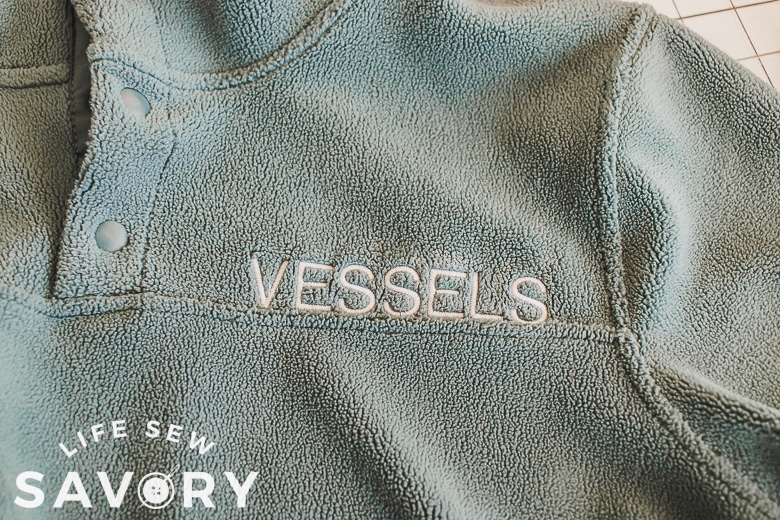
- How to embroider on fleece
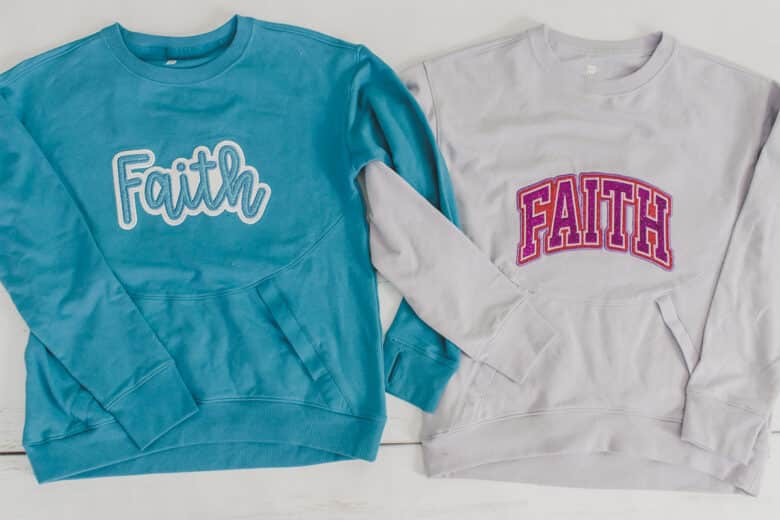
- Create custom clothing with embroidery
- How to fix a hole with embroidery

How to embroider on a shirt pocket
Ok! Let’s gather your supplies.
- Logo as embroidery file {described above}
- Embroidery Machine with 4 x 4 hoop. I used both the Brother LB5000 and my Stellaire 2 for this project.
- Embroidery thread
- Stabilizer {and I used some adhesive as well}
- Embroidery Needles {for fine fabric, use a smaller needle}

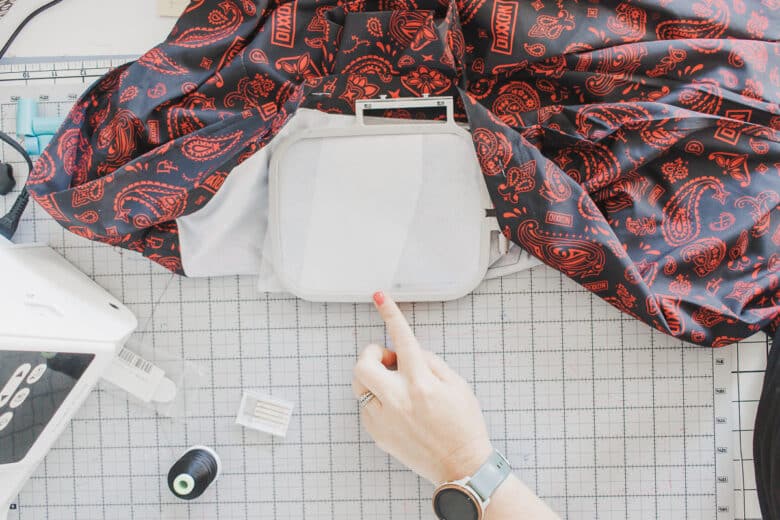
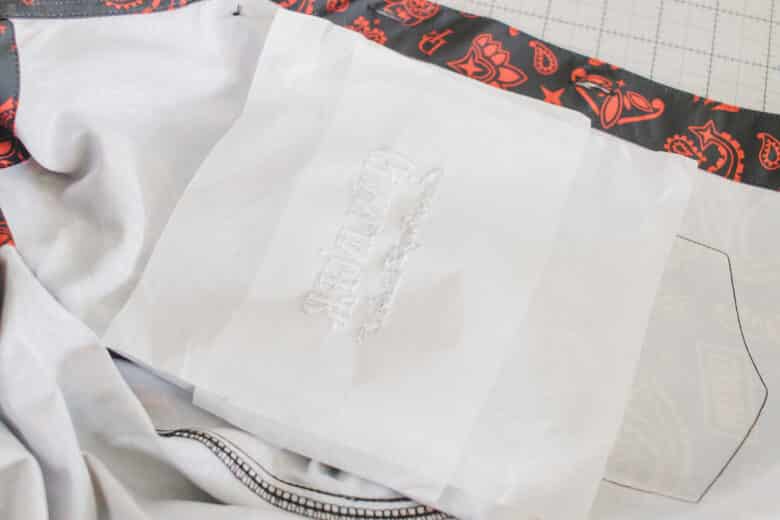
Depending on your fabric you will need to double layer the stabilizer. For thick cotton or flannel, one layer is fine. Several of these shirts that I was working with were more of a thin, silky fabric, so had had to layer the stabilizer. I was trying to conserve, so I just used a small strip of adhesive stabilizer for my second layer. I was able to stick it to the first full layer.
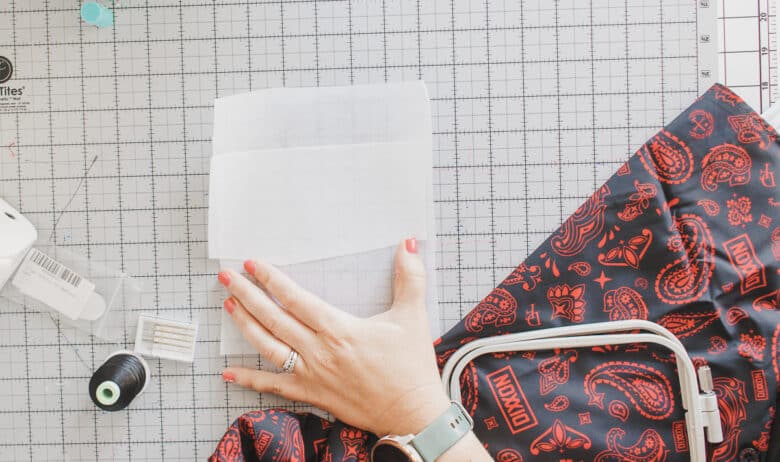
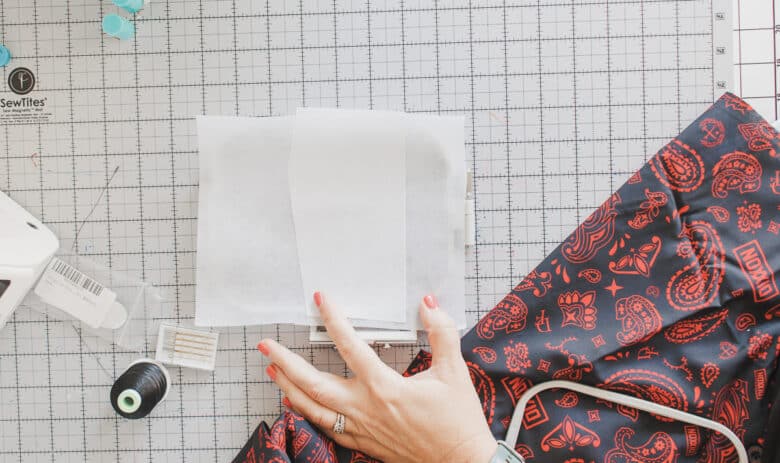
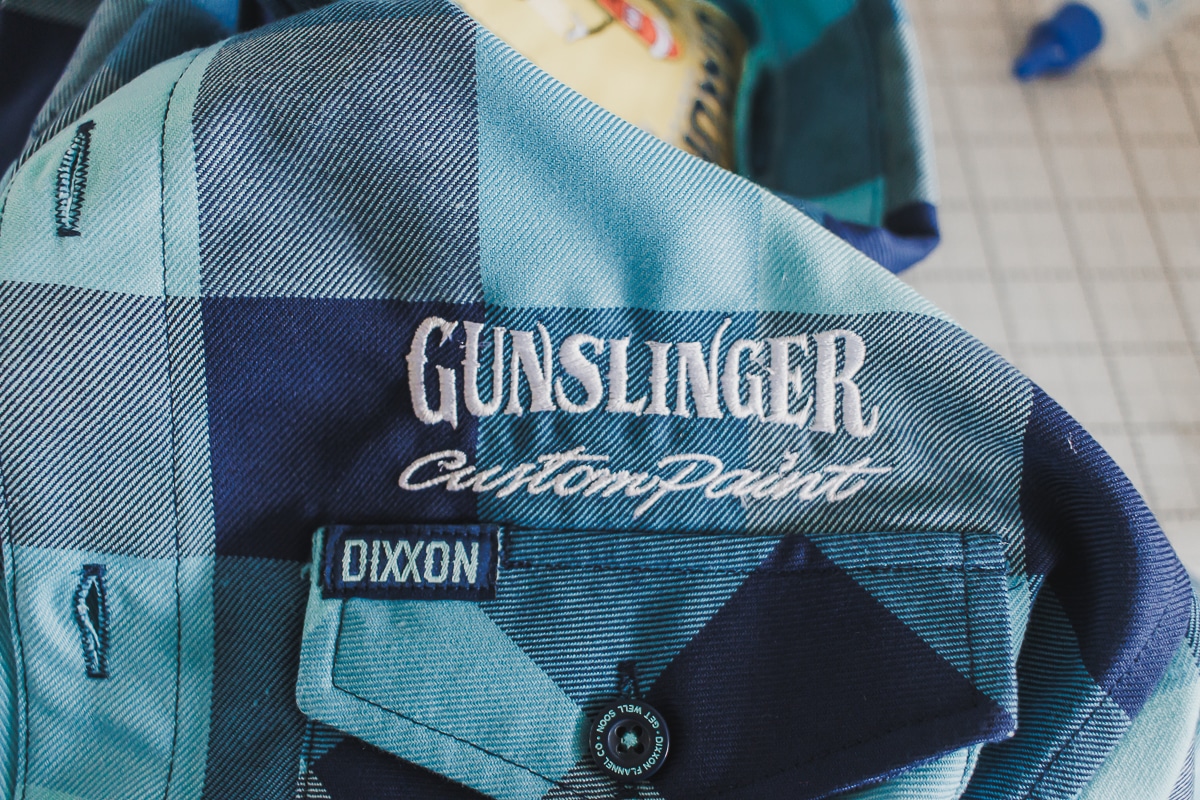
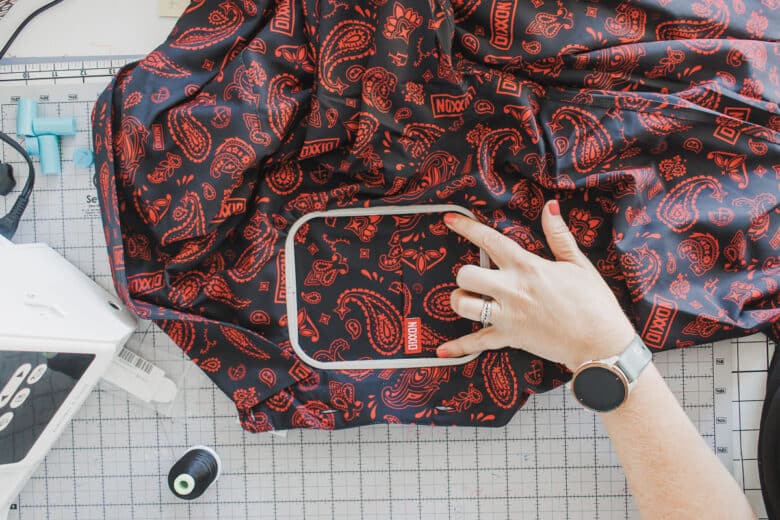
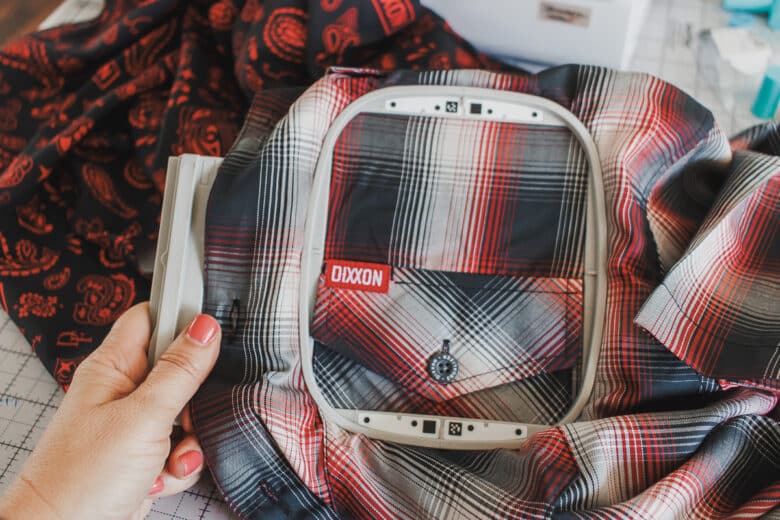
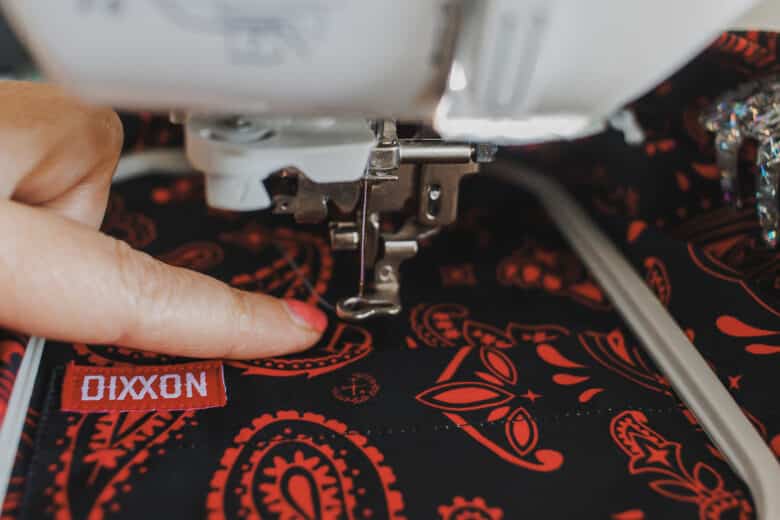
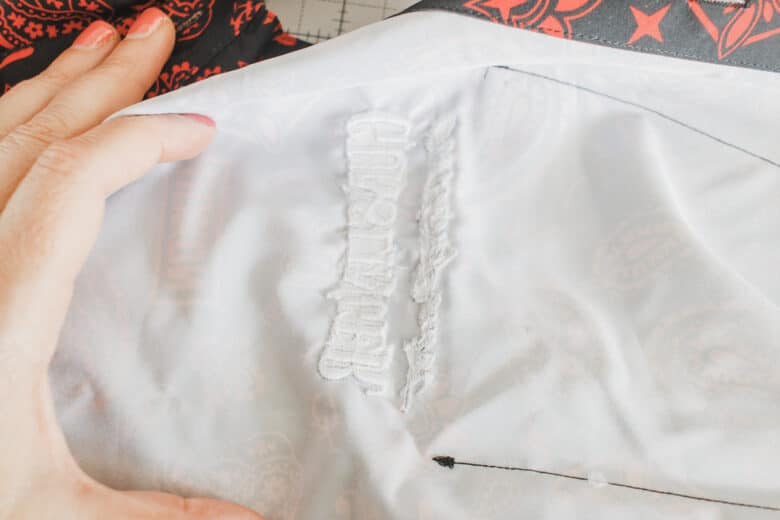
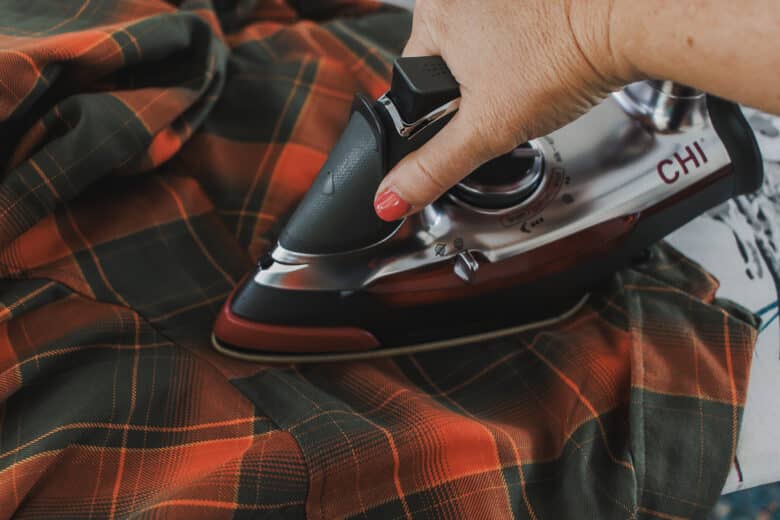
Then place the stabilizer on top of the bottom hoop and place the shirt over top. I like to put the top of the pocket just below the half marking on the hoop. The photo below with my thumb shows were the top of the pocket falls. Use the markings on the embroidery hoop to make sure that the shirt/pocket is placed squarely in the hoop as well.
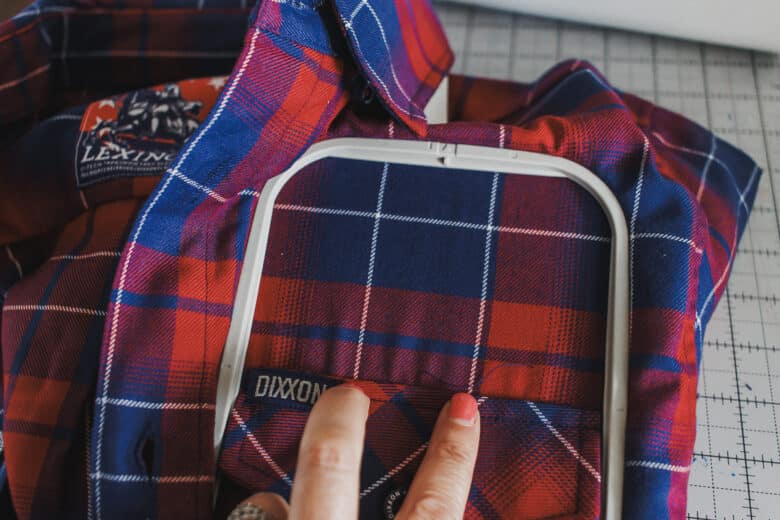
If your fabric is checkered or plaid {or any lines or squares} make sure the fabric is pulled tights, but not distorted when placed in the hoop. From the backside you will want to make sure that the double layer of stabilizer is in the location where you will actually be embroidering.
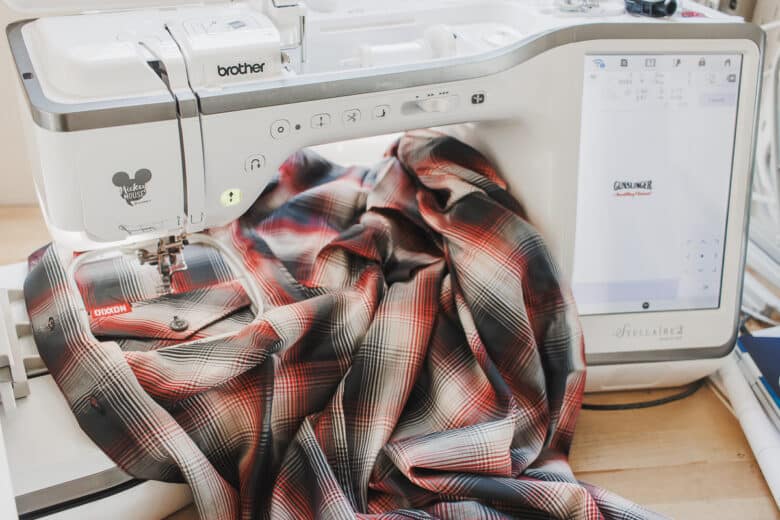
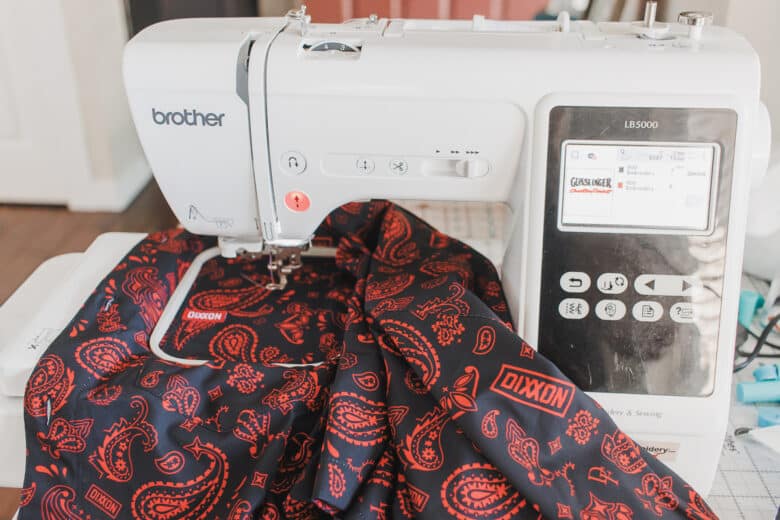
Place the hoop in your embroidery machine, and transfer the logo design to your machine.
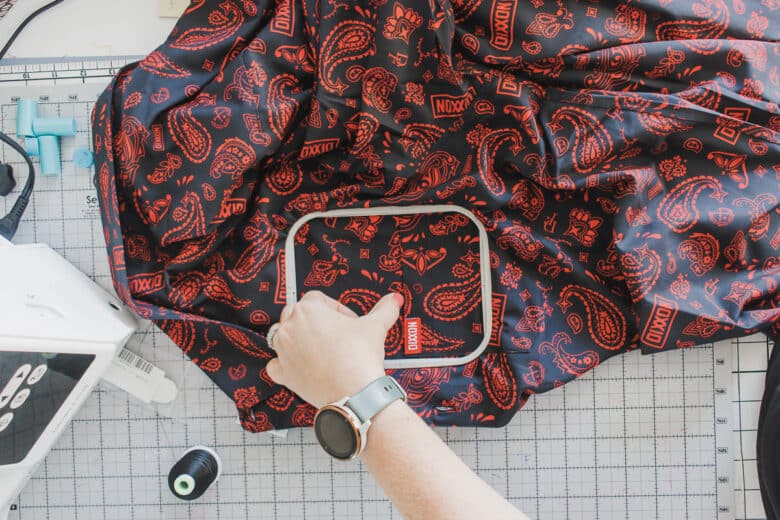
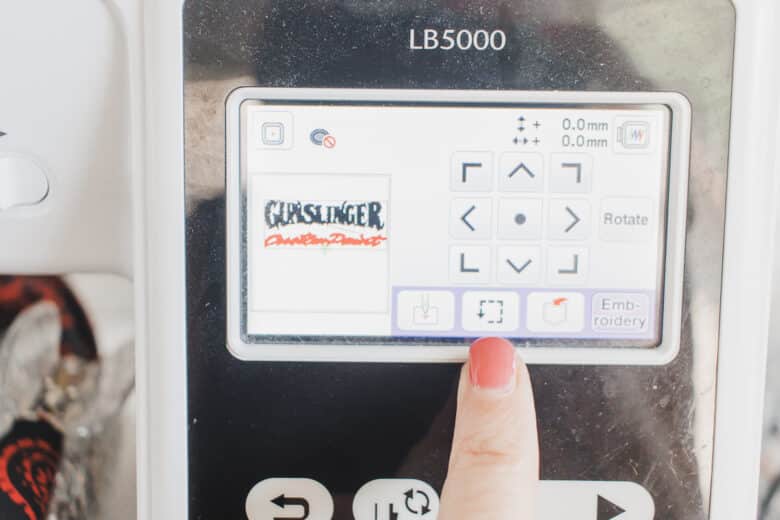
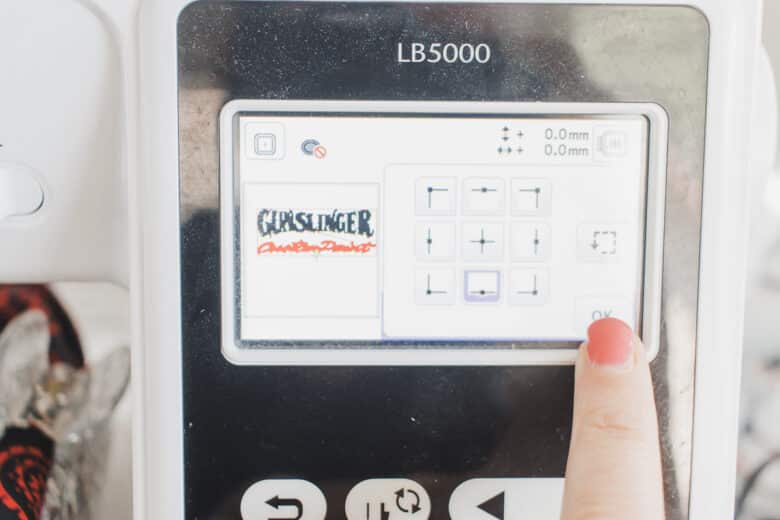
Once the design is open on your machine, use the placement buttons to help place the logo design directly above the pocket. You can check the placement by pushing the dotted line square button as shown here. Put the cross hairs at the bottom center of your design, then move until this part of the design is centered and just above the pocket.
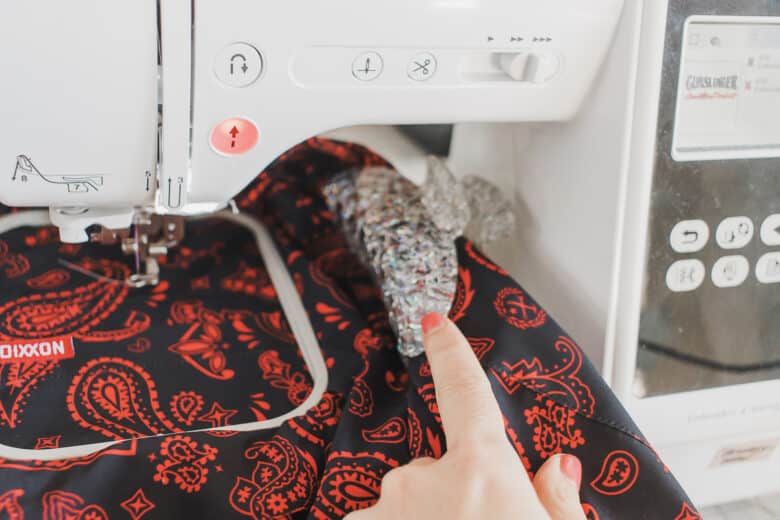
Here’s where I like the placement to be, just above the pocket. I also like to use a claw clip to keep the extra shirt fabric out of the way while stitching.
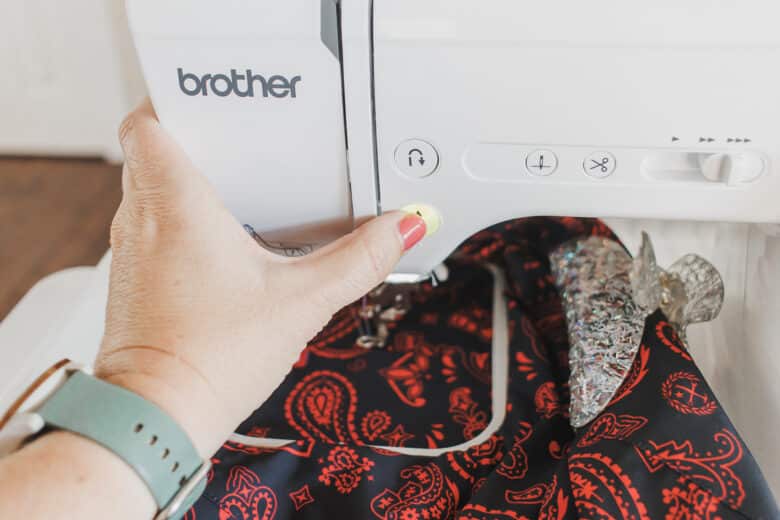
Start the stitch out and switch colors if needed when the machine stops.
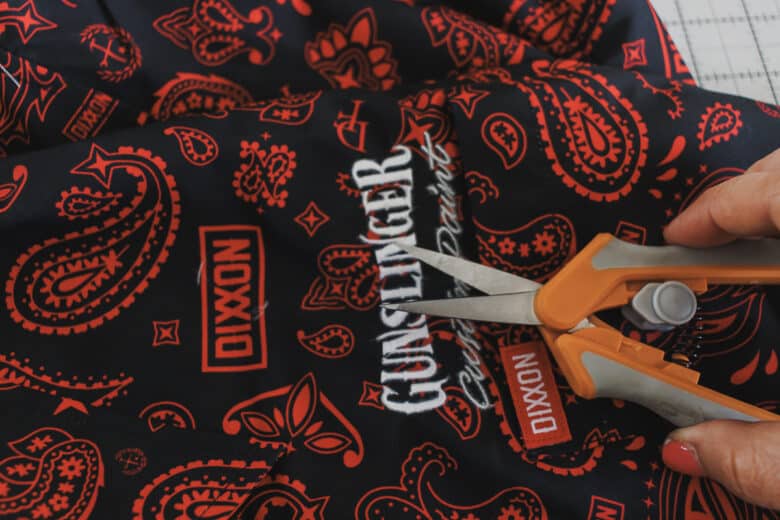
When finished, remove the shirt from the hoop and and remove the stabilizer backing. Clip all the loose threads.
Turn over and clip the threads from the front as well.
I like to steam both sides of the stitches to smooth out an puckers or wrinkles.
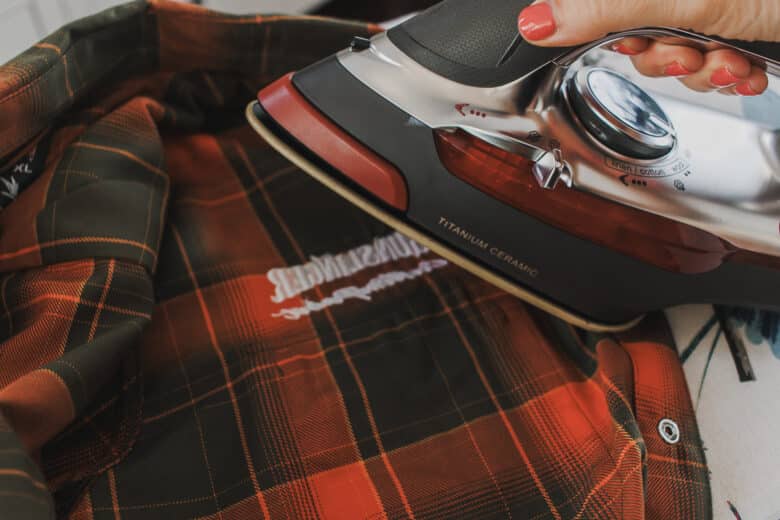
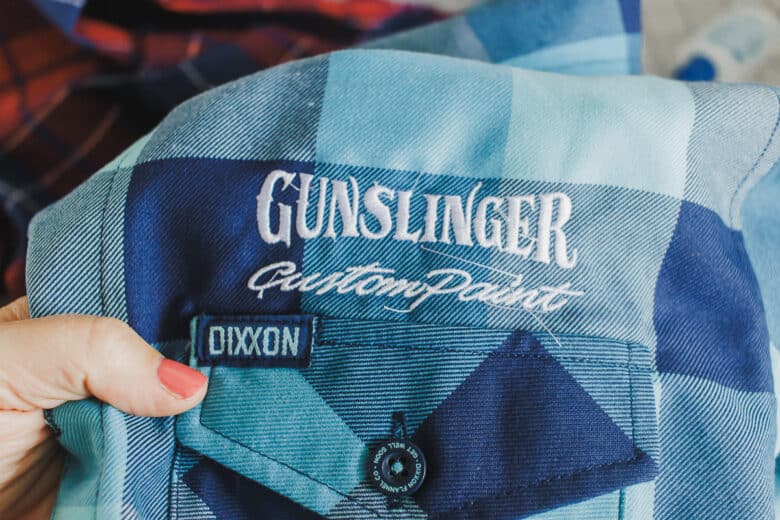
And there you have it! A beautiful custom logo above the pocket.


Dr. Jeri says
Emily, this is the best post I have received from you as it suits what I love to sew. Thank you for all the tips and especially the Artspira one. I haven’t used the Artspira App, although I am a little familiar with it. Your designs are crisp and clean and instructions great too. I’m going to create a few new cards for my collection using Artspira. I found that making cards requiring gluing a back on, the glue can make the card look wavy if not careful. Thank you again for this fun information.