


inside: learn how to sew a boxy side zip pouch with this tutorial. Cute boxy sides and a great shape, this zip pouch is adorable and functional. Simple sewing tutorial and easy zipper sewing.
Did you see the cute tote bag I shared last week? I figured if I could do the boxy corners on the tote bag, I could do the same with zip pouches. I adore sewing zip pouches, they are quick and fun and so useful!! I’m so pleased with how these turned out and I hope you will also fund them easy to sew.
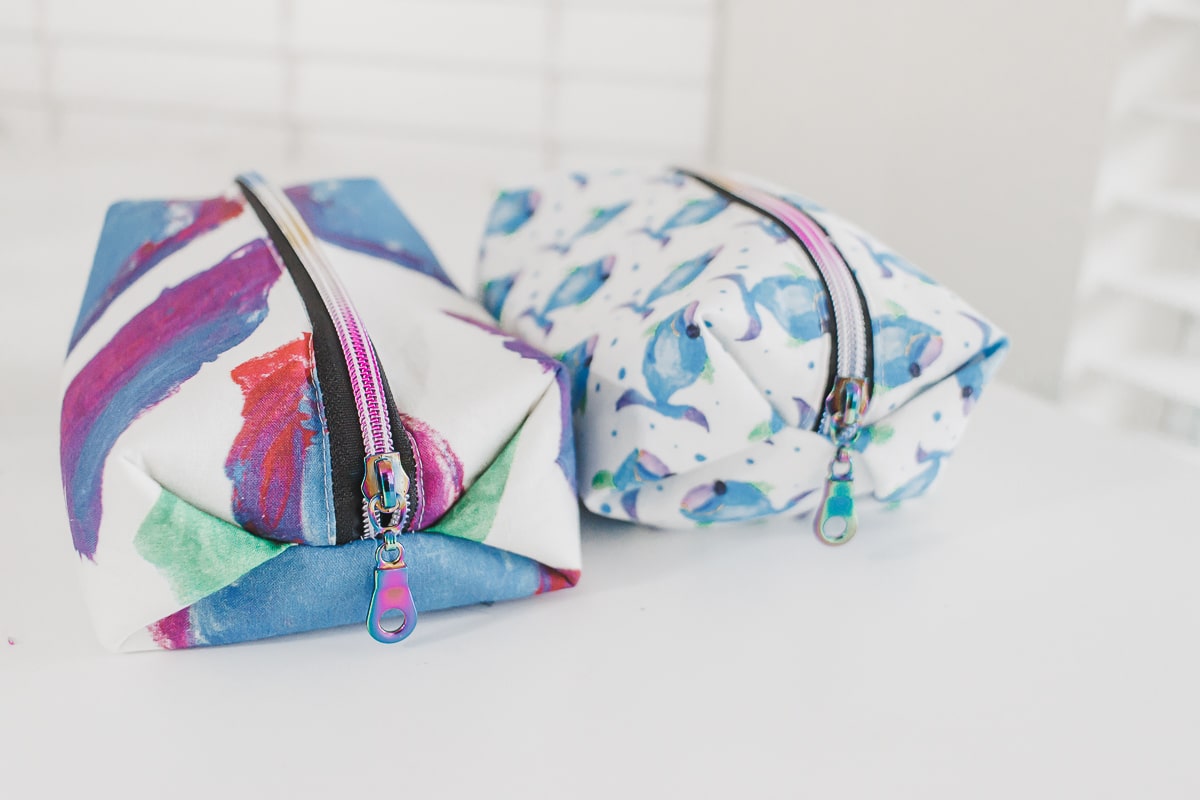
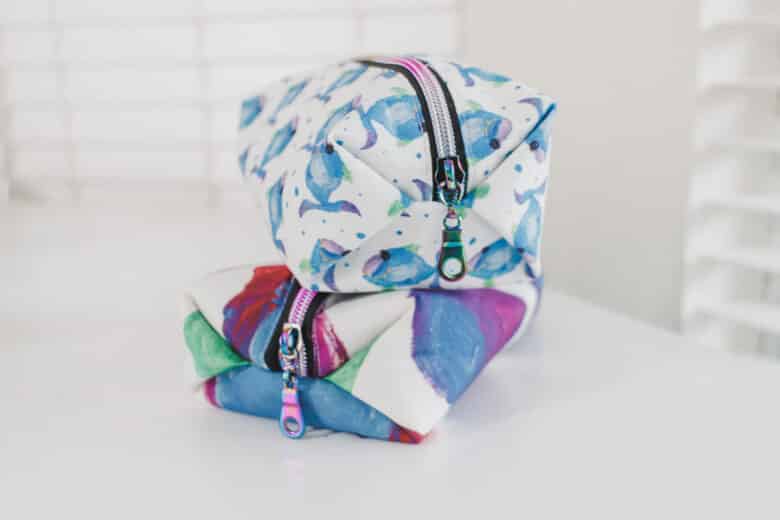
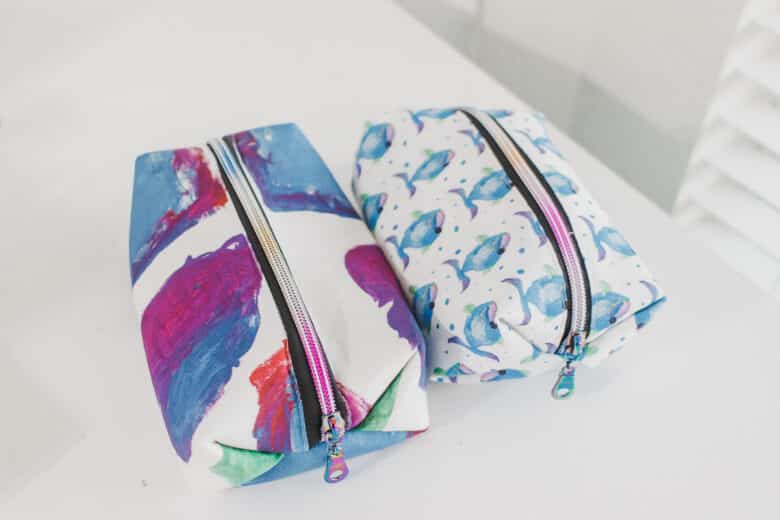
Boxy side zip pouch
This is such a fast sewing project! Once I had everything cut out, it took about 10 min to sew each pouch. I think these would make fun party favors or gifts and it would be so simple to sew several in an afternoon.
I had this black rainbow zipper by the yard, so that’s what I used. It doesn’t match as well as I would like, but for this method of a assembly you need a zipper that comes apart, so I used what I had.
Other amazing zipper pouch tutorials to try-
How to sew a boxy zip pouch
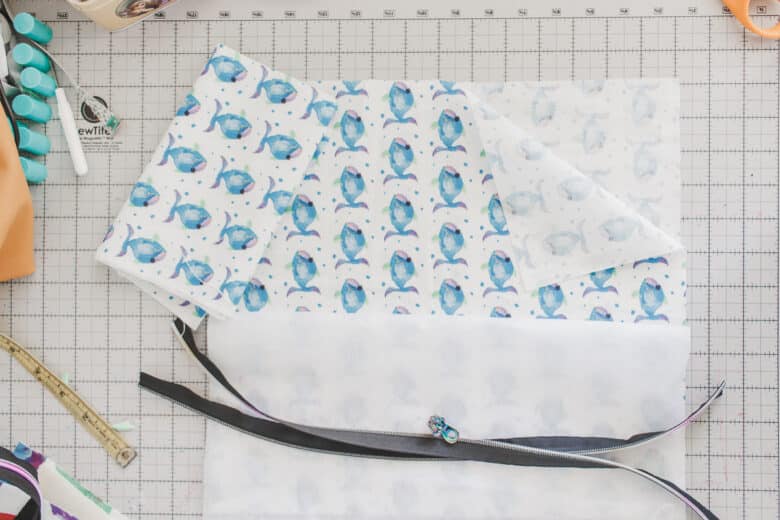
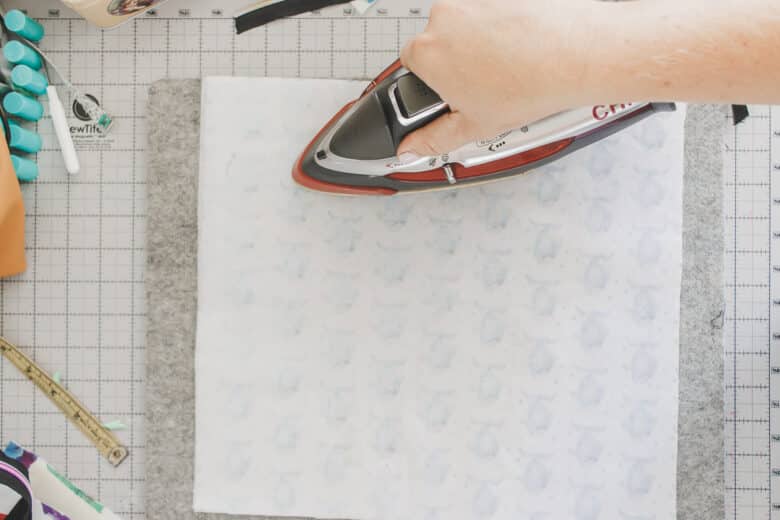
Time to get sewing! I used supplies I had on hand and ended up using two different kinds of interfacing. I used a fusible foam for one and a stiff fusible for the other. It took a bit to get the size and dimensions how I wanted them, but I’ll share the sizes I ended up using and liking.
Supplies for a boxy zip pouch-
- cotton fabric {or other}
- Fusible interfacing {foam or fleece}
- Separating zipper and zipper pulls
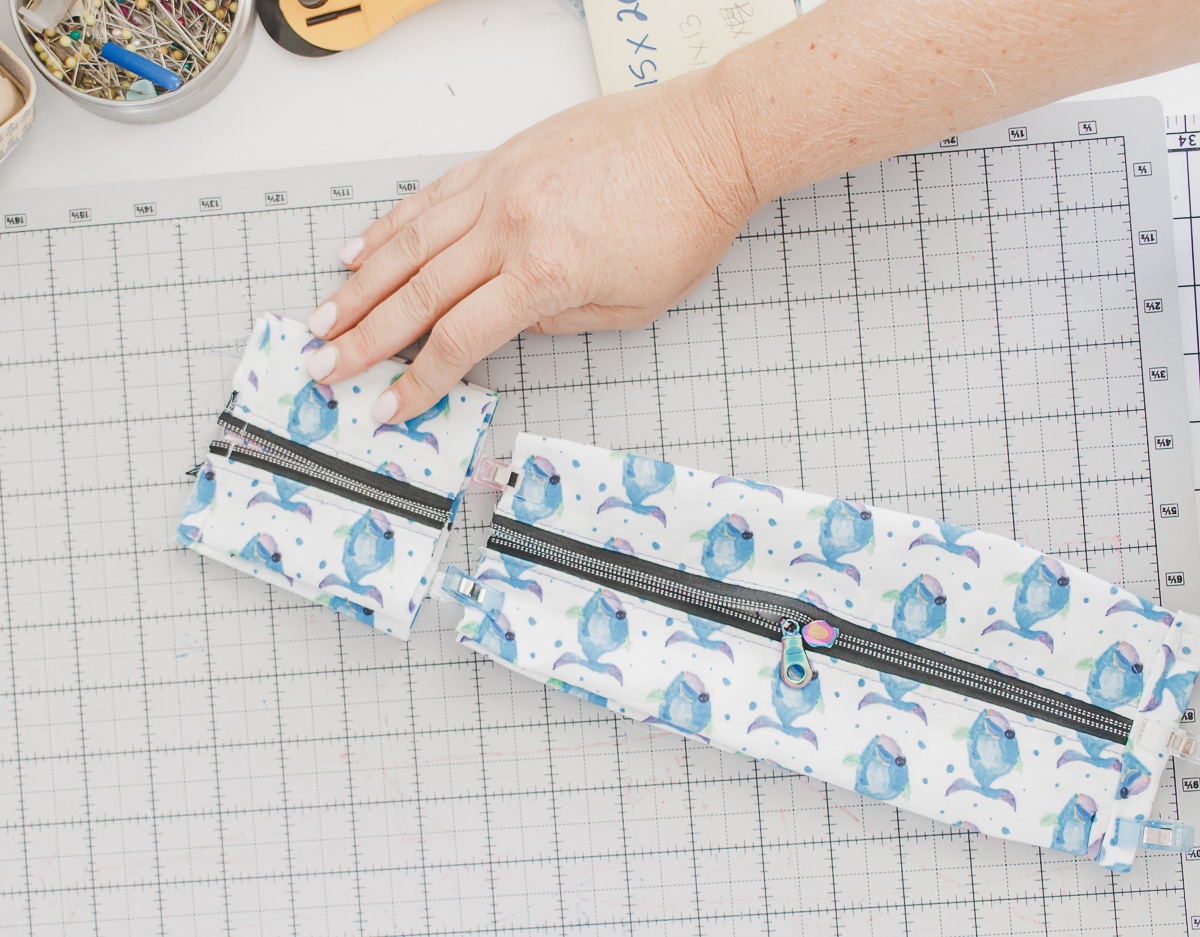
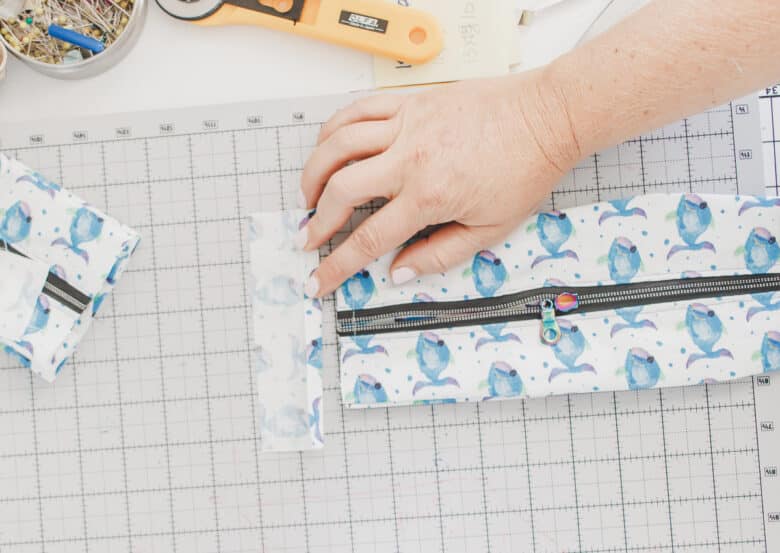
Begin by cutting fabric in a slight rectangle. You can really use any size you like, but for the two shown here I used a 11 x 13″ and 10 x 13″, so very similar sizes. You will also need some scraps for binding the inside seam later.
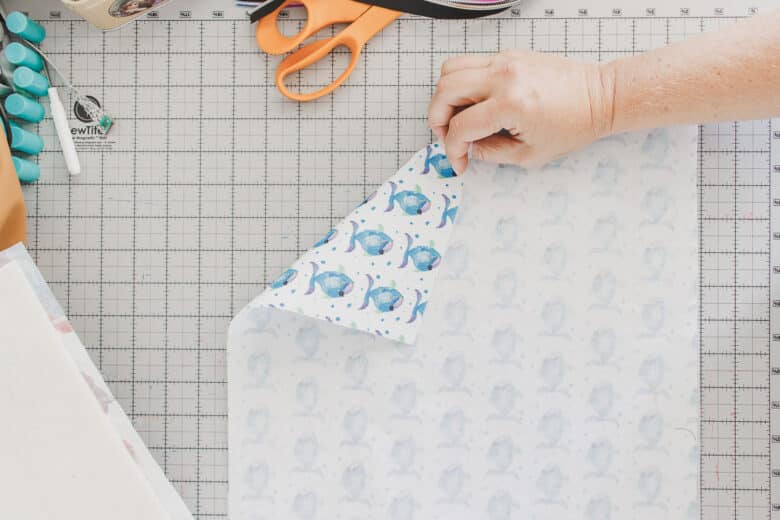
Fuse the interfacing to the back side of one piece of fabric.
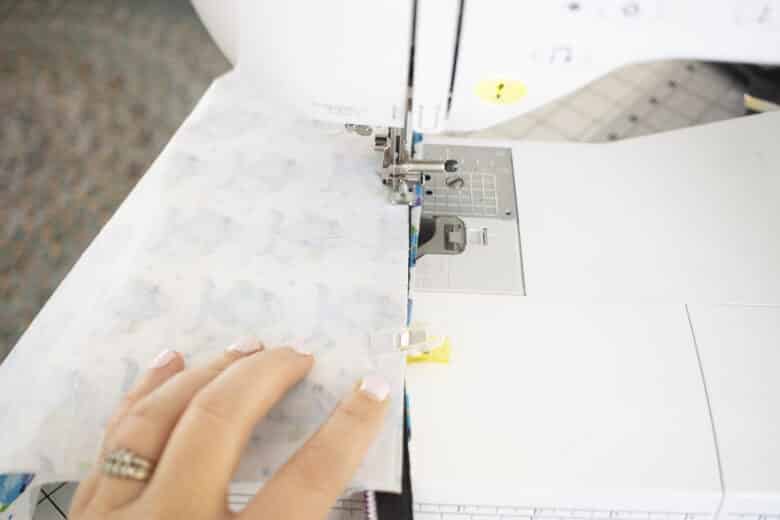
Place the right side of the fabric up. Cut the zipper a few inches longer than the fabric. You will be putting the zipper on the SHORTER sides of the rectangle. Place the zipper piece right side down towards the fabric with the teeth facing in. Pin or clip.
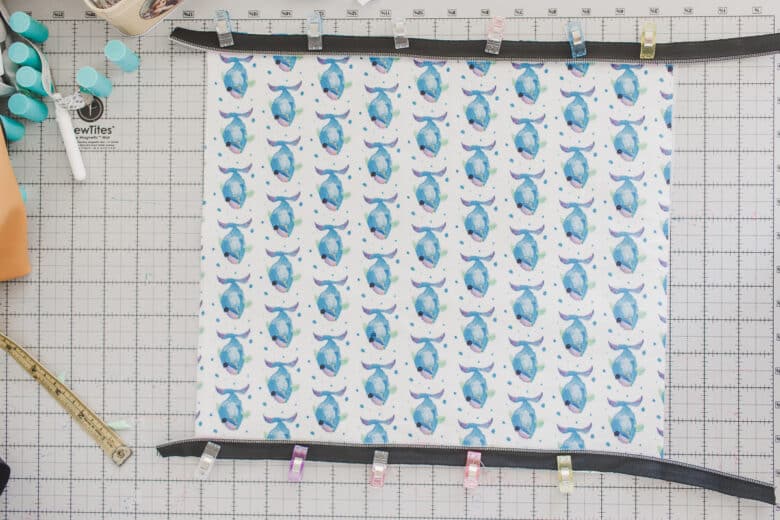
Add the second side of the fabric, right side down and re-pin or clip for all three layers. With a zipper foot on your machine, stitch in the middle of the zipper tape down both sides.
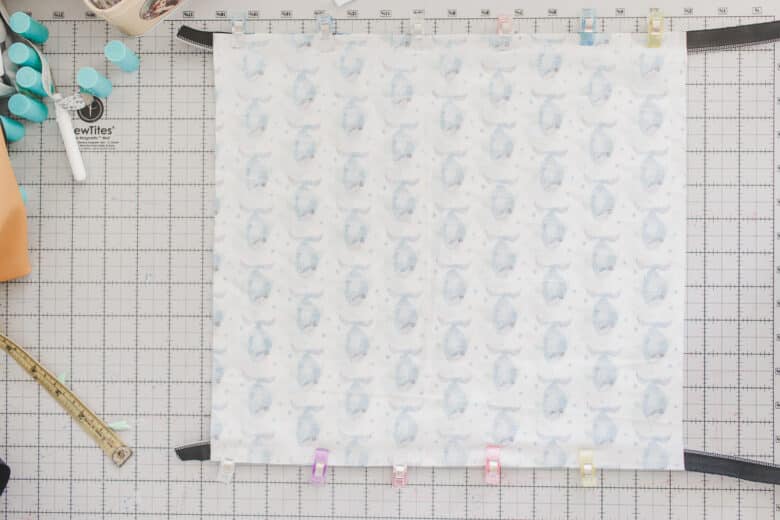
Turn the fabric right side out and the zippers should now be on both sides. Top-stitch the fabric by the zipper to make everything lay nicely.
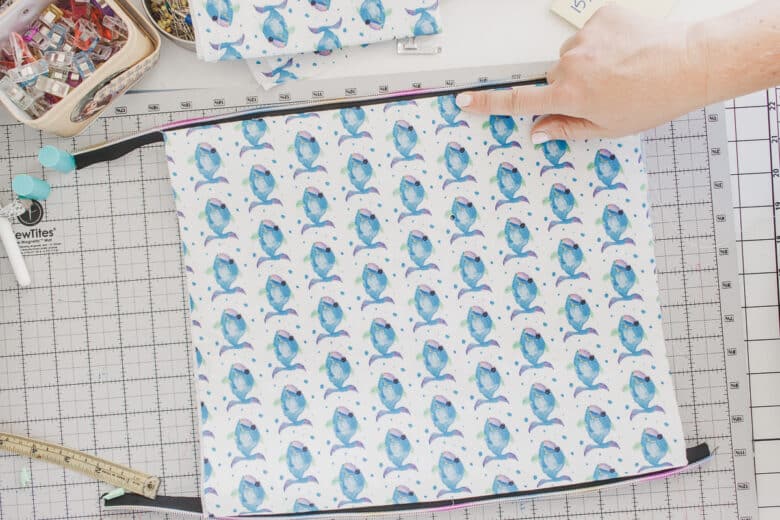
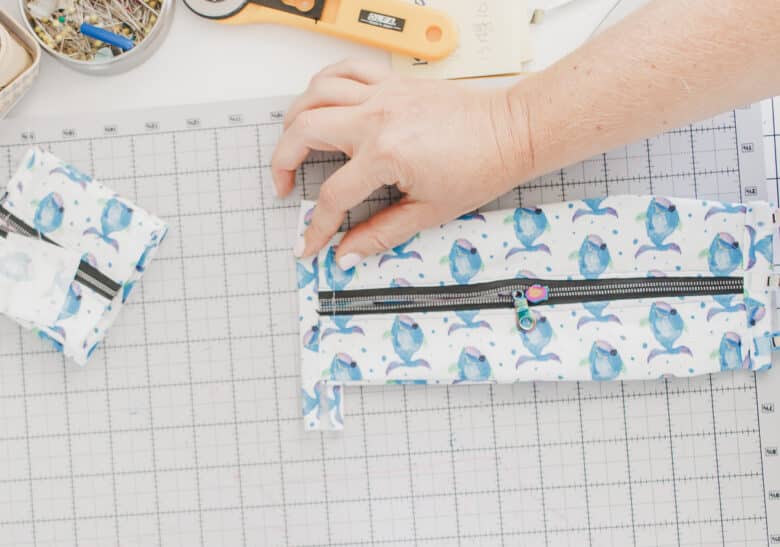
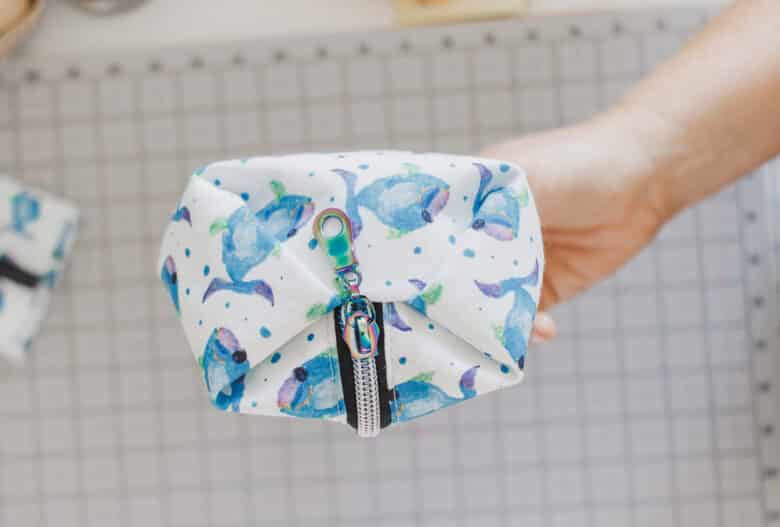
Fold the fabric sides in as shown so the top of the zipper is now facing up towards you. Thread on the zipper pull at this point.
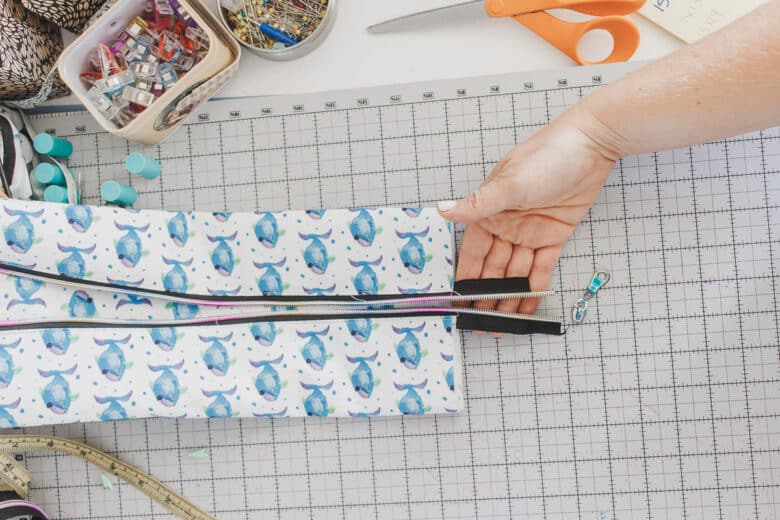
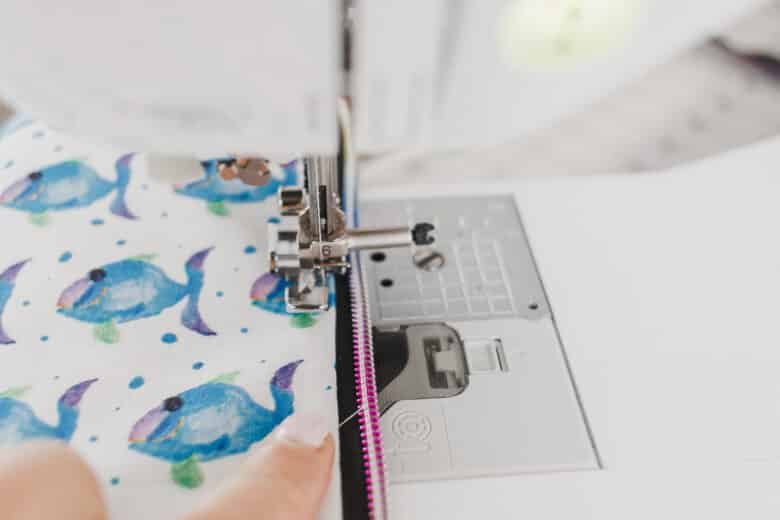
Zip the zipper up half way only. Turn the pouch inside out. Now you should be looking at the inside of the bag.
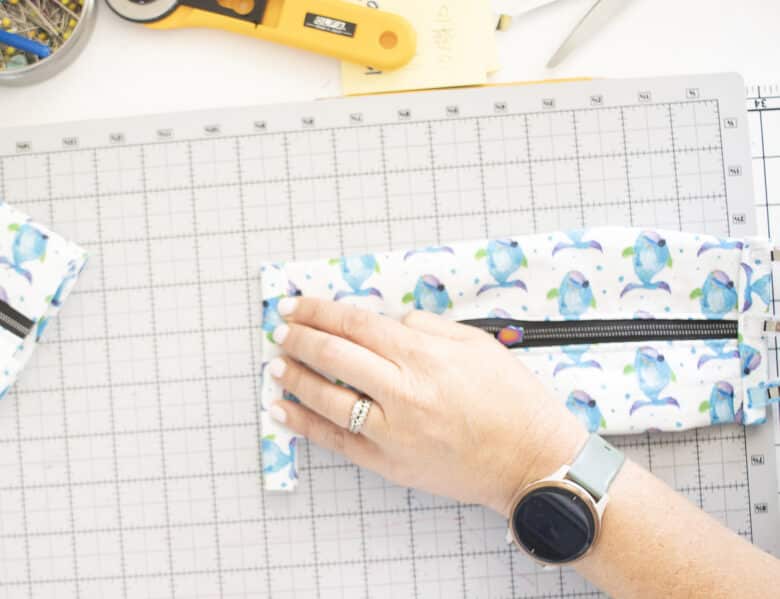
Press the fabric flat with the zipper in the middle. Take one edge and fold the side fold into the middle.
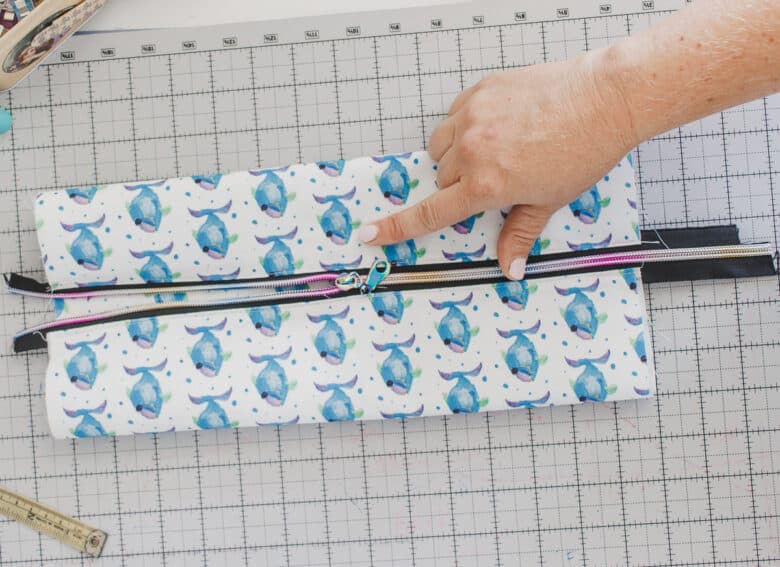
Then fold the edges over again. This should create a pleat on the side of the zipper. Repeat with the other side.
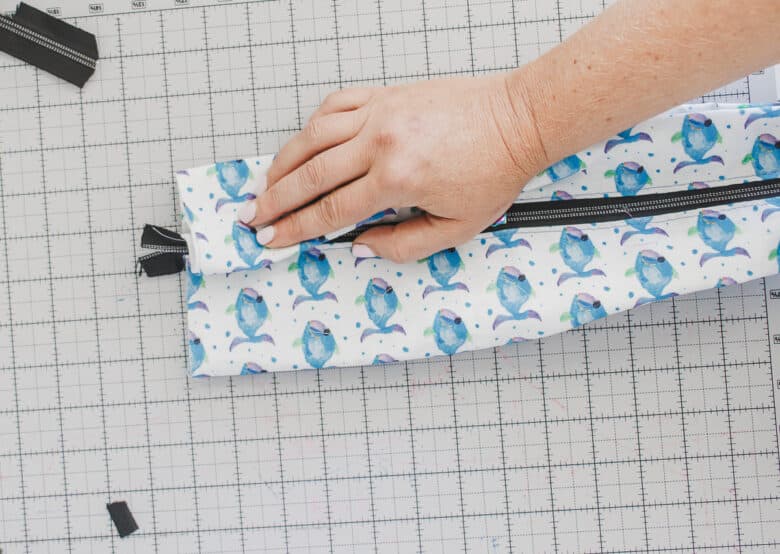
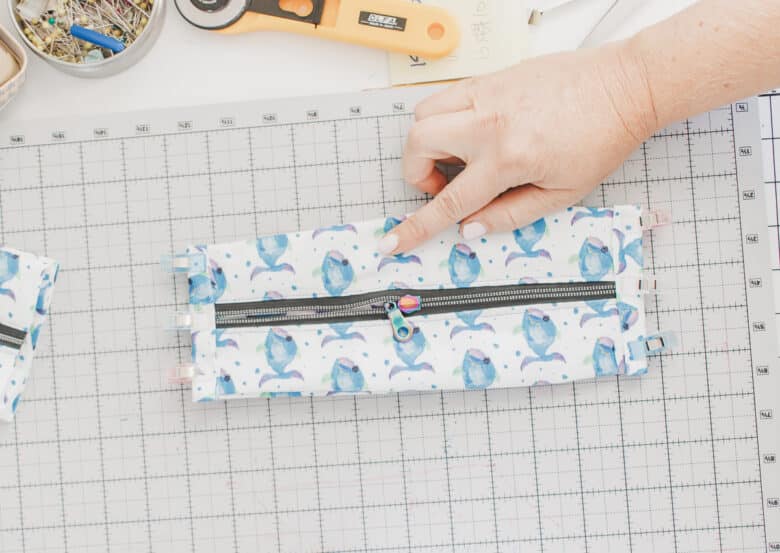
With a 1/2″ seam allowance, so this end and all the layers. Make sure to catch all the layers or the box pleat won’t work.

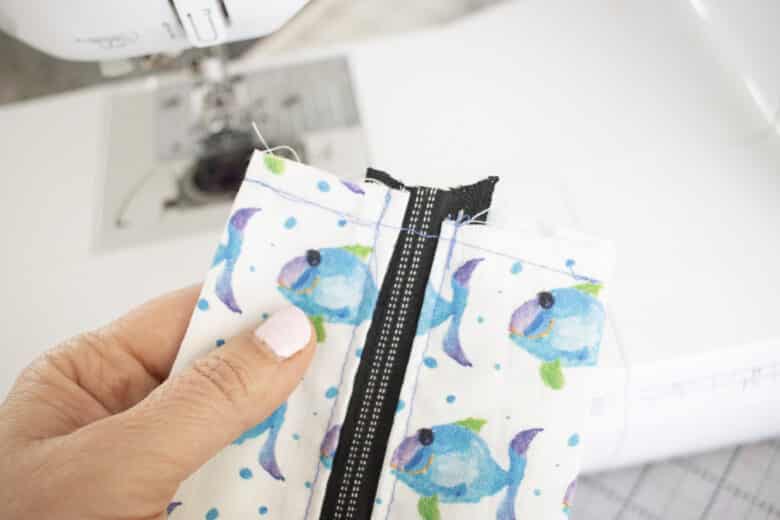
I had originally cut this fabric much longer than 10″ and at this point decided that it was going to be too long and skinny, so I shortened it. If you have played around with size, make sure you like it before you sew the second end.
Add the pleats on the sides of the zipper. Sew.
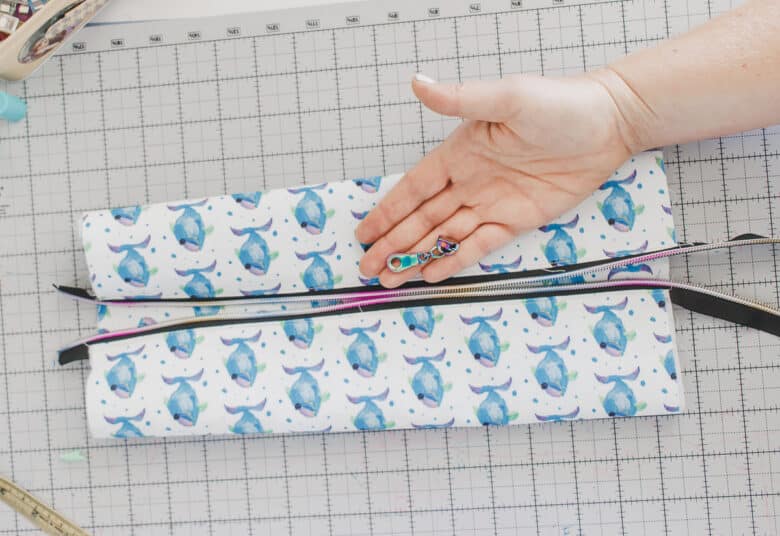
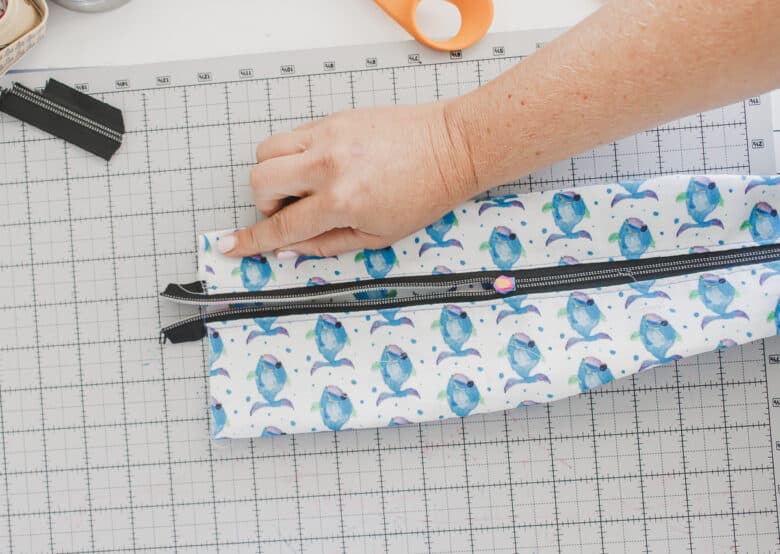
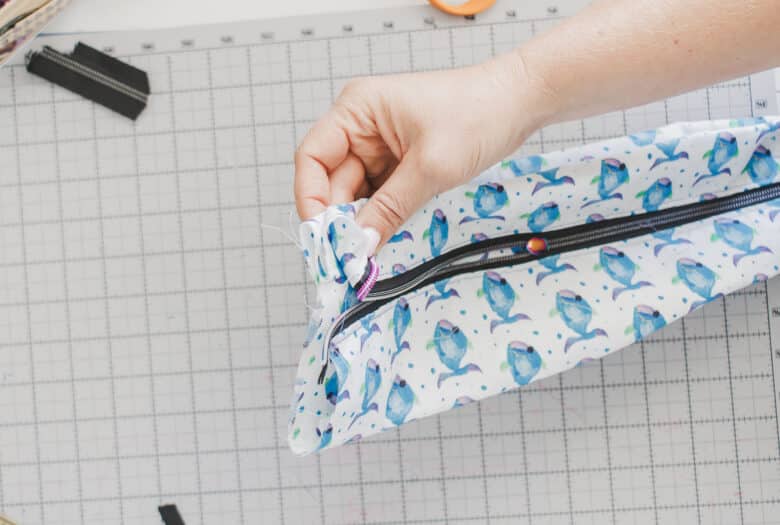
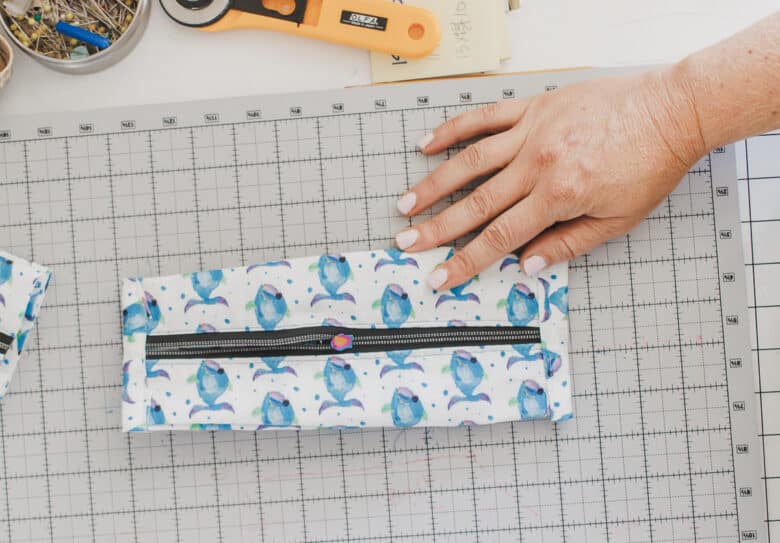
Trim any extra zipper or fabric that is sticking out. Cut a scrap of fabric 2″ wide and a bit longer than the end of the pouch. Fold over a 1/4″ on one long side and place the end of the pouch over the fold. Fold over 1/4″ on the other side of the scrap then enclose the end of the pouch.
Fold in the ends and pin or clip it all in place.
Sew on the inside folded edge of the binding. Stitch both ends.

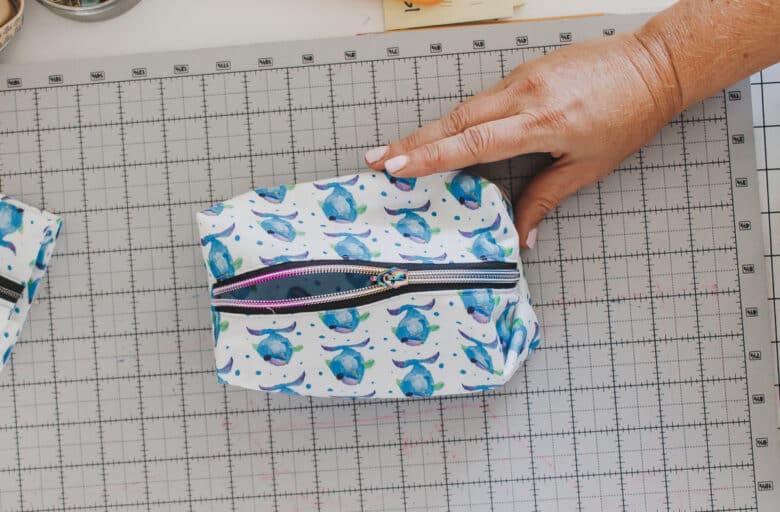
Now flip the pouch right side out, push out the box pleat, fill and enjoy!! I love this zip pouch so much!!


Leave a Reply