Inside: Learn how to sew an adorable and very useful DIY school supplies tote. No matter what school looks like for you this storage caddy is great for organization. Free printable pattern.
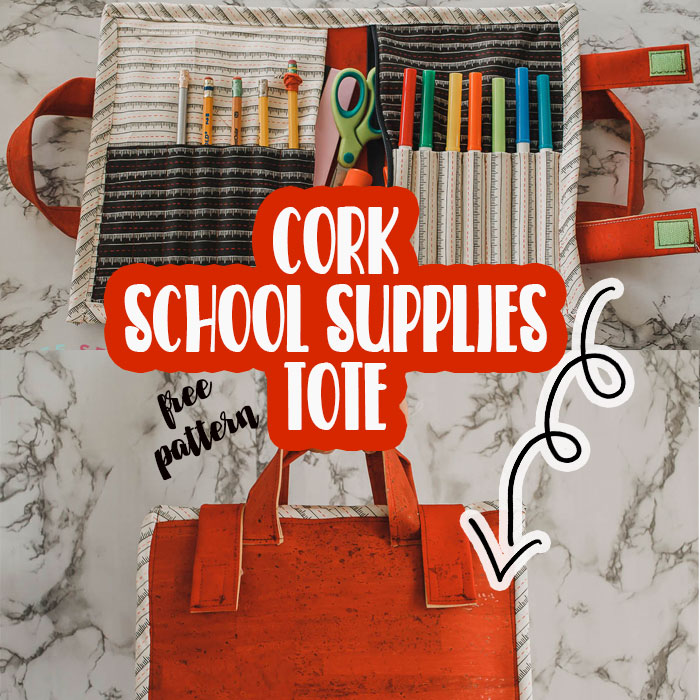
I’m so excited to share this new version of the school supplies tote with you today. Just in time for back to school {mine head back next week} I’ve adapted the original supply tote for cork fabric. There are just a couple of simple changes for the fabric change and I think overall this version of the school tote is better than ever.

Cork Fabric School Tote
First, have you seen the original version? You can find the full tote sewing tutorial and the pattern download using the buttons below.
I’ve included a video in this post highlighting some of the differences in construction of this bag, and I will also walk you through it below. You will need to download the tote pdf no matter which kind of bag you are making.
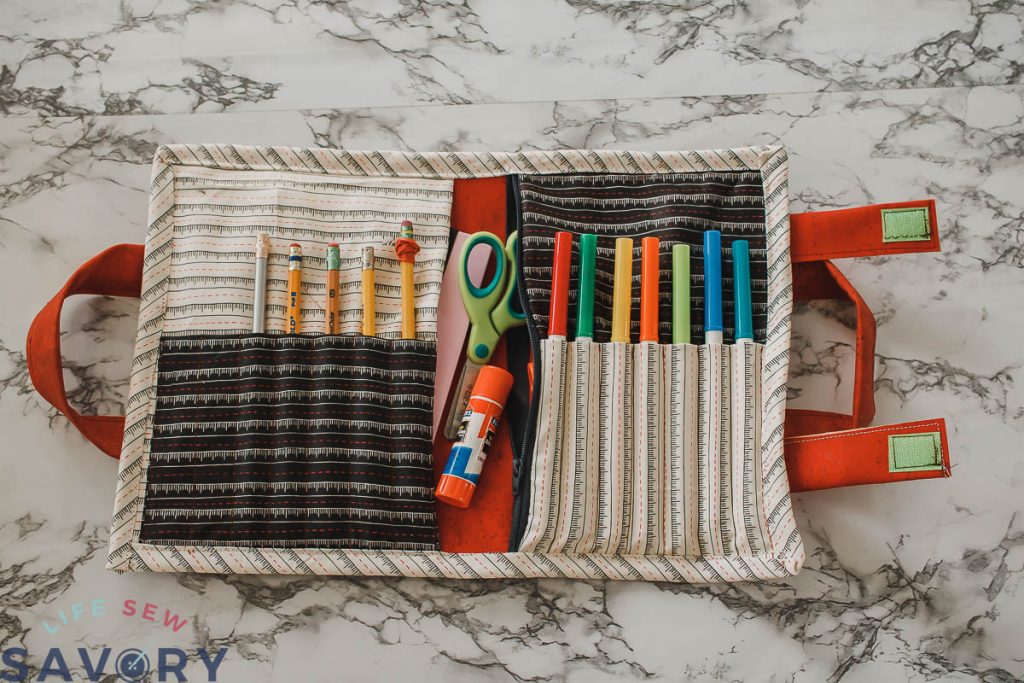
This cork version has great stability and shape and is still the great size and storage capacity of the original. The sewing tutorial below will walk you through a few of the modifications needed for using cork fabric.

Other Fun Items to Sew for School
How to sew a supplies tote
First gather your supplies:
- Cork Fabric 1/2 yard Or various pieces
- Quilting cotton 1/2 yard
- Printable Pattern
- 1 zipper
- hook and loop closure
- CLIPS are great for sewing thick fabrics.
Remember to also check out the original tote tutorial for full steps. I’m just going to be showing the modifications.
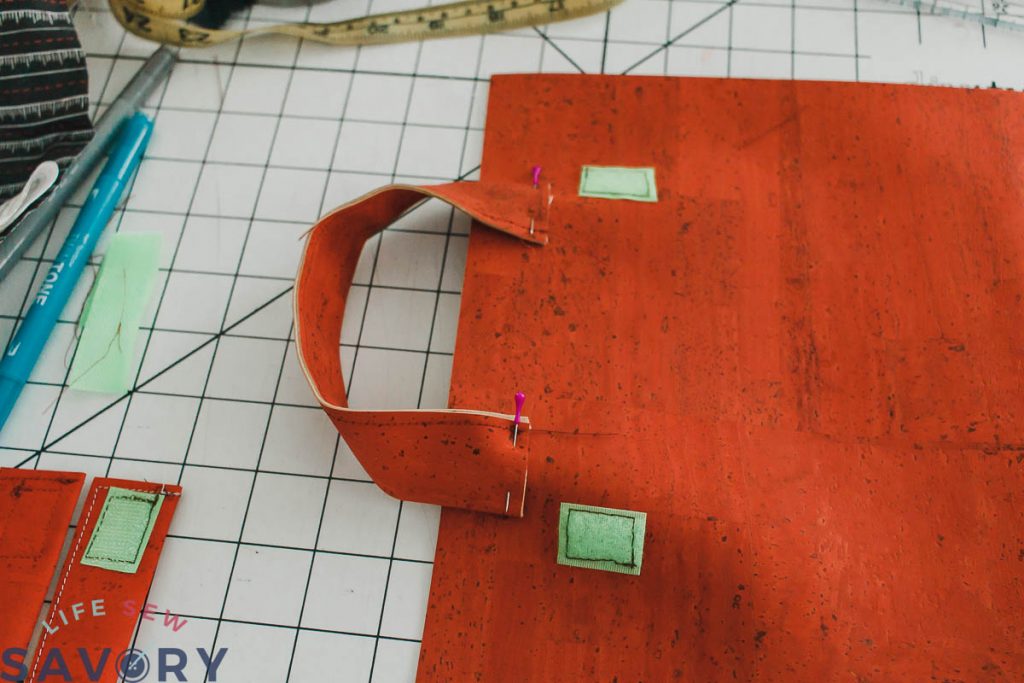
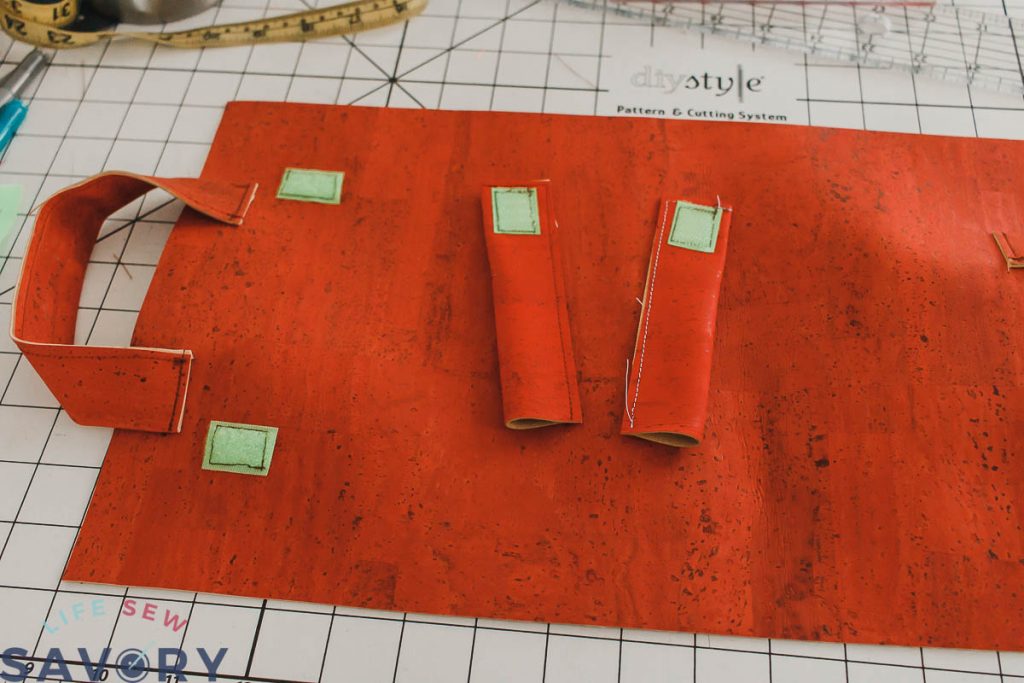
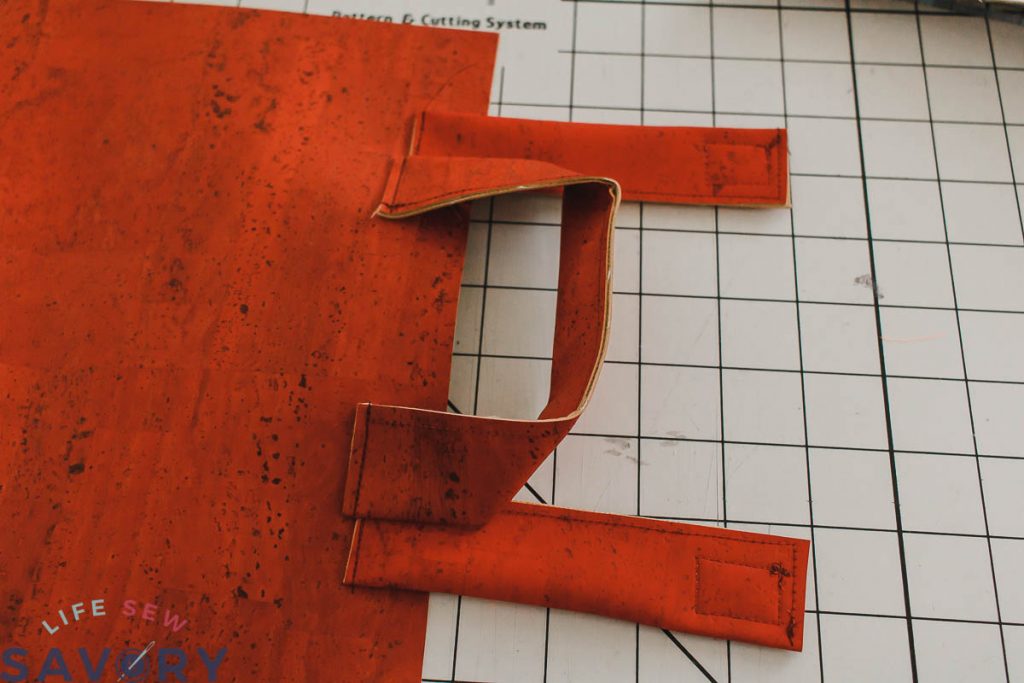
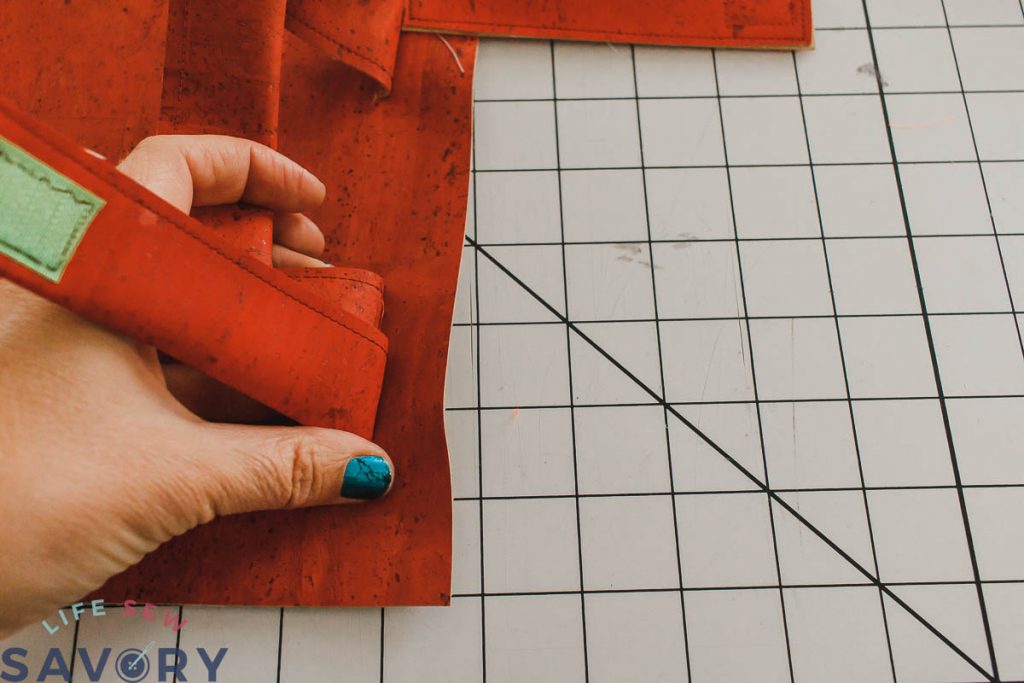
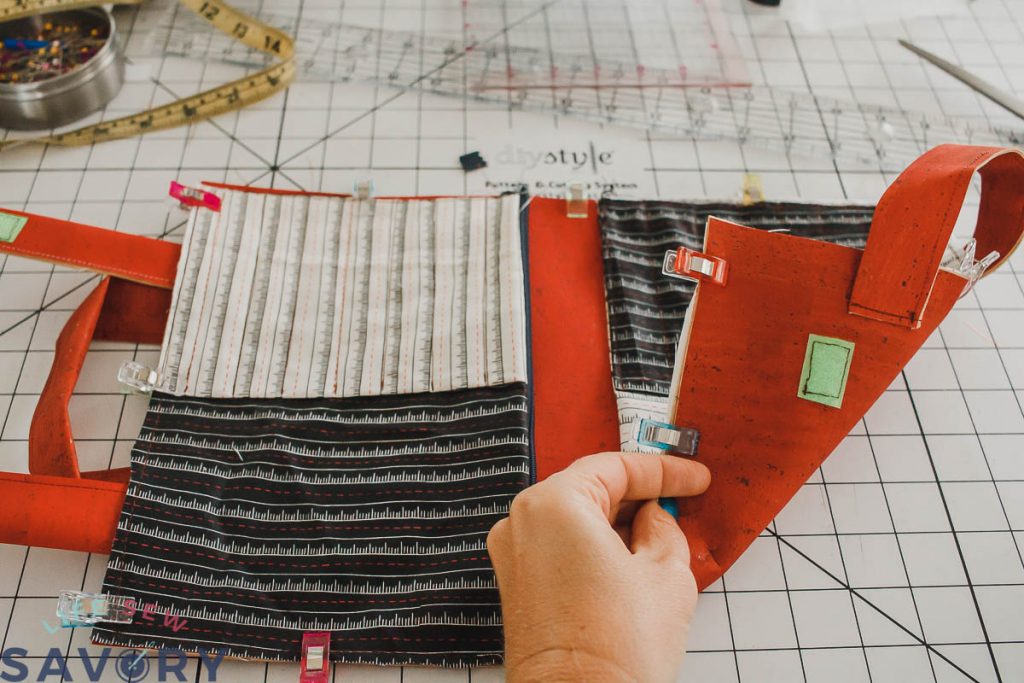
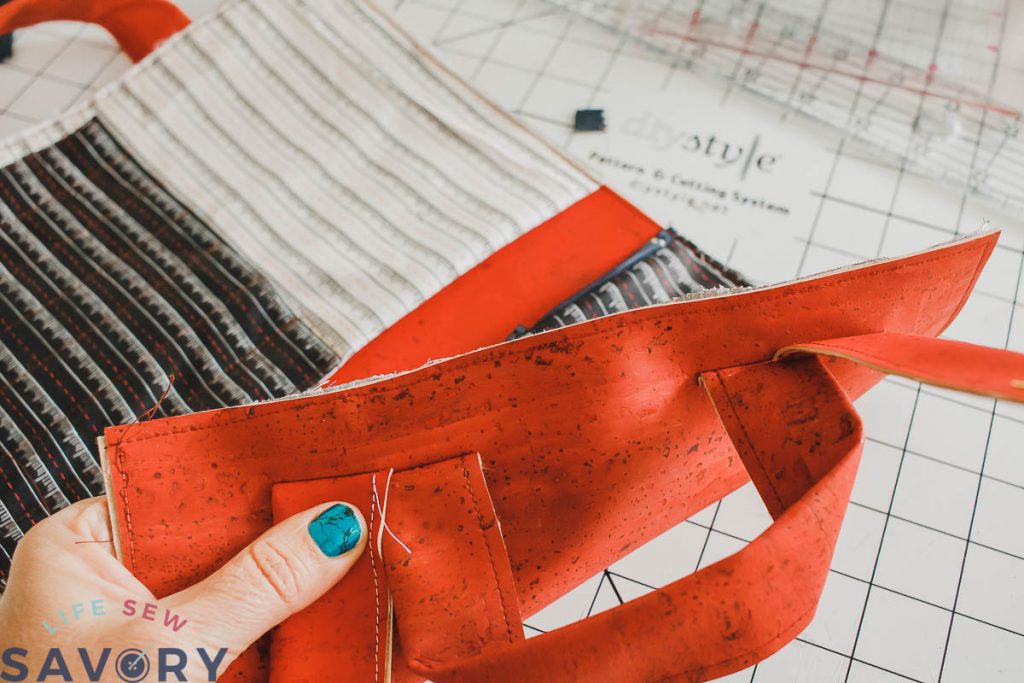
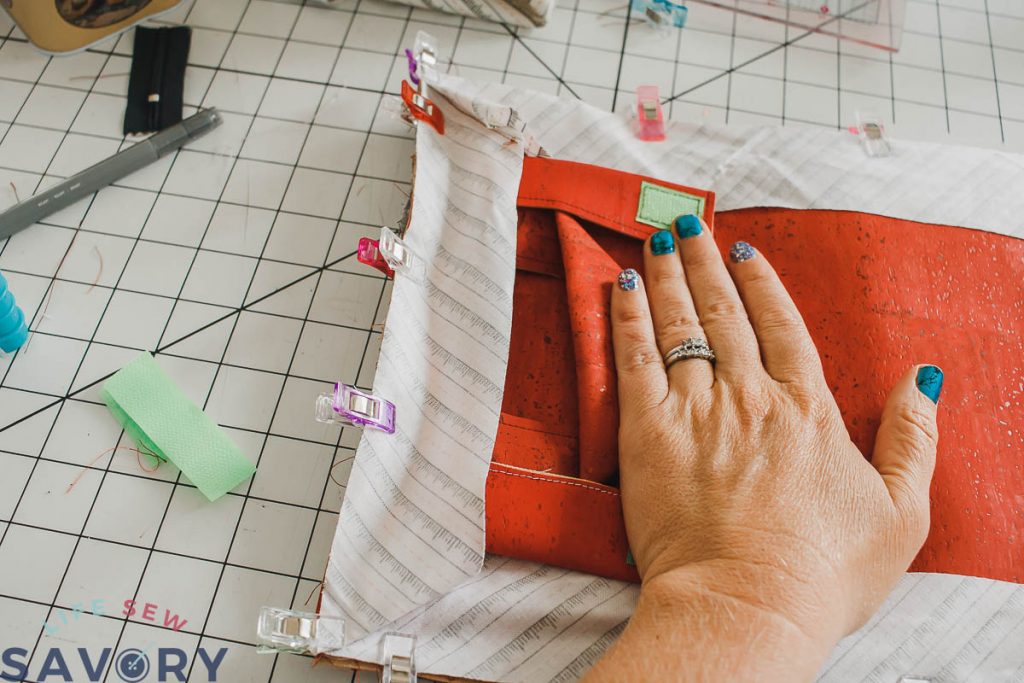
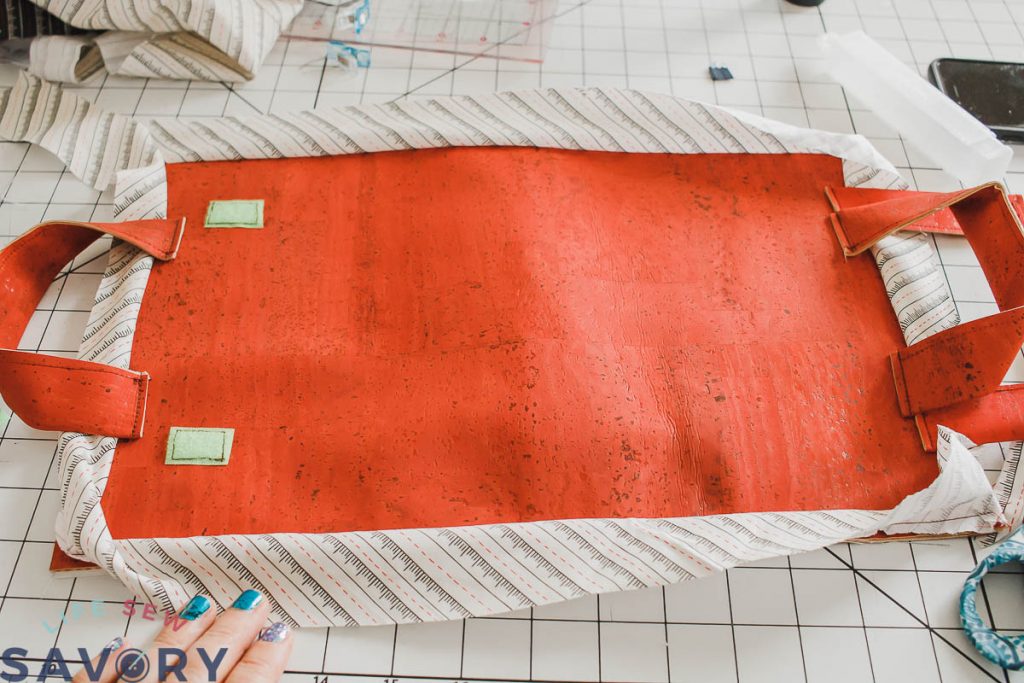
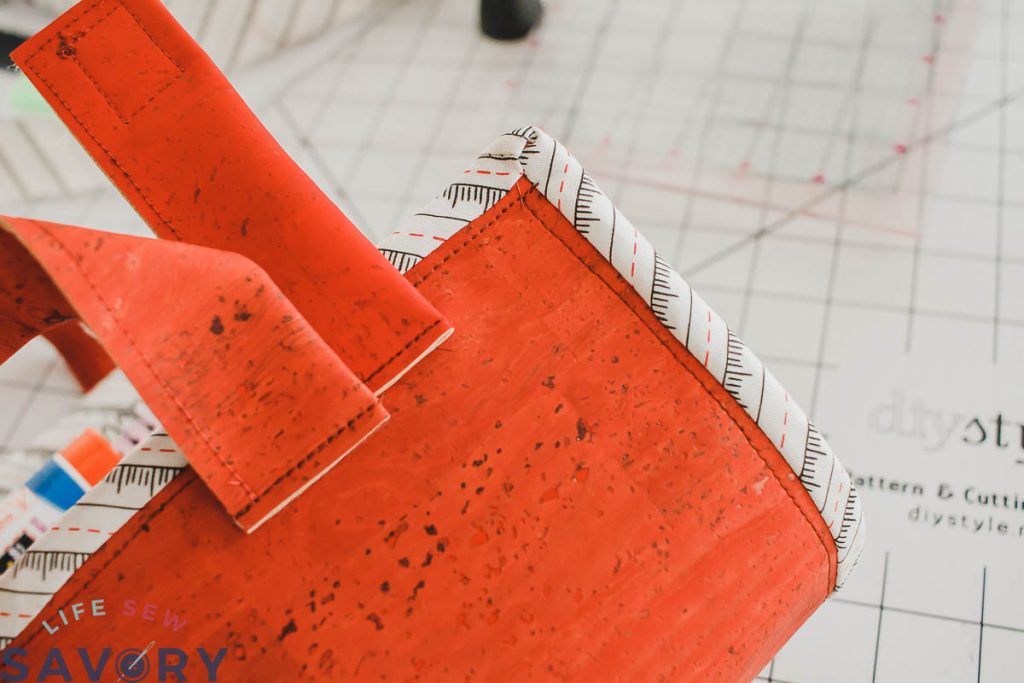
For the handle and velcro… On the original we sewed these into the side seam. BUT, on this version you will sew the velcro 2″ in and 2″ down on either side of one tote edge. Then position the handle between the velcor. Make sure that when you sew the handle that you have at least 1/2″ from the edge of tote for binding.
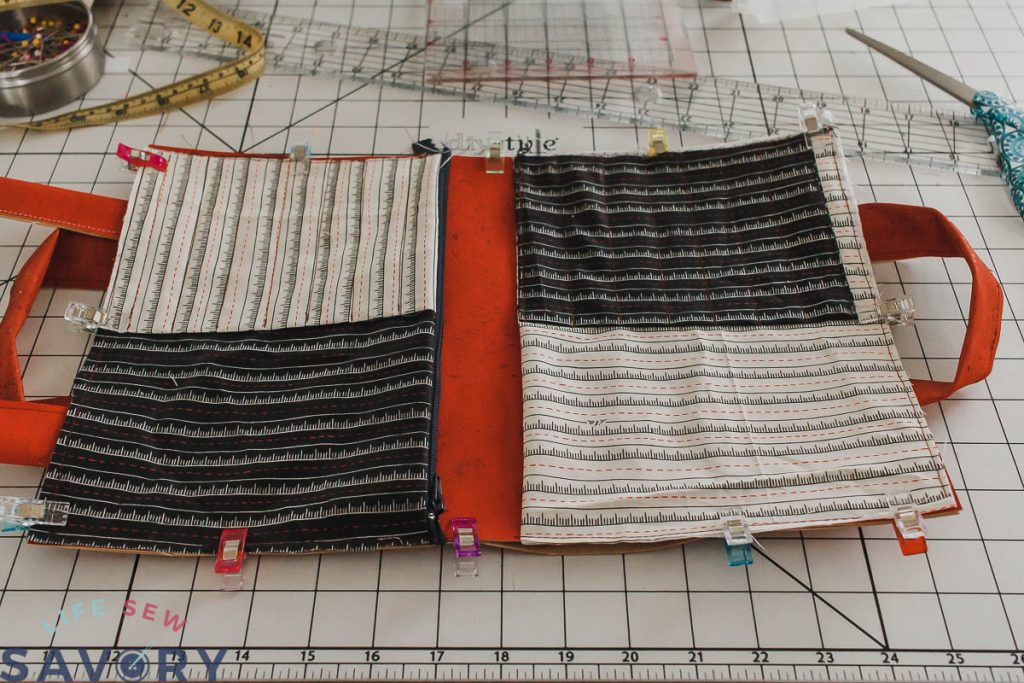
Prepare the inside of the tote as shown in the original directions… THEN place with the right side of the inside up and the right side of the outside down… so the tote layers are WRONG sides together. We aren’t going to sew and flip right side out like the original, so you want to baste the inside and outside together as shown. Sew all the way around the outside of the tote. Move handles out of the way when sewing.
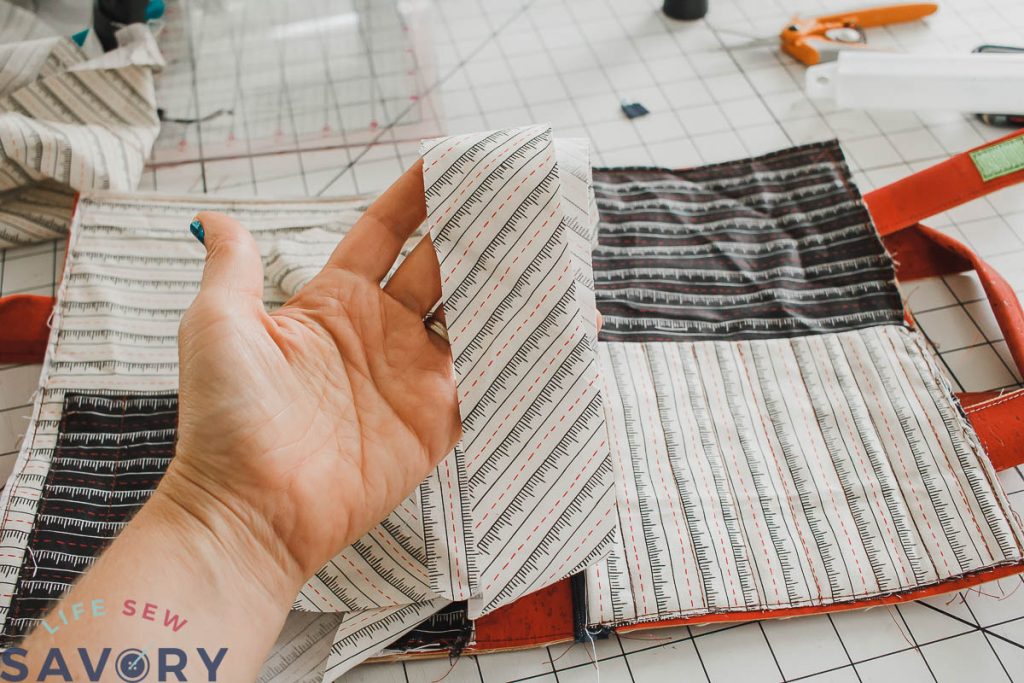
Cut 2″ wide strips of fabric on the bias for binding or use ready made wide bias tape. Sew right side of bias tape to right side of tote outside. Move the handles and velcro tabs out of the way. Stitch with a 1/2 seam allowance all the way around. Want nice corners? I just wing mine, but here is how to do an actual miter corner.
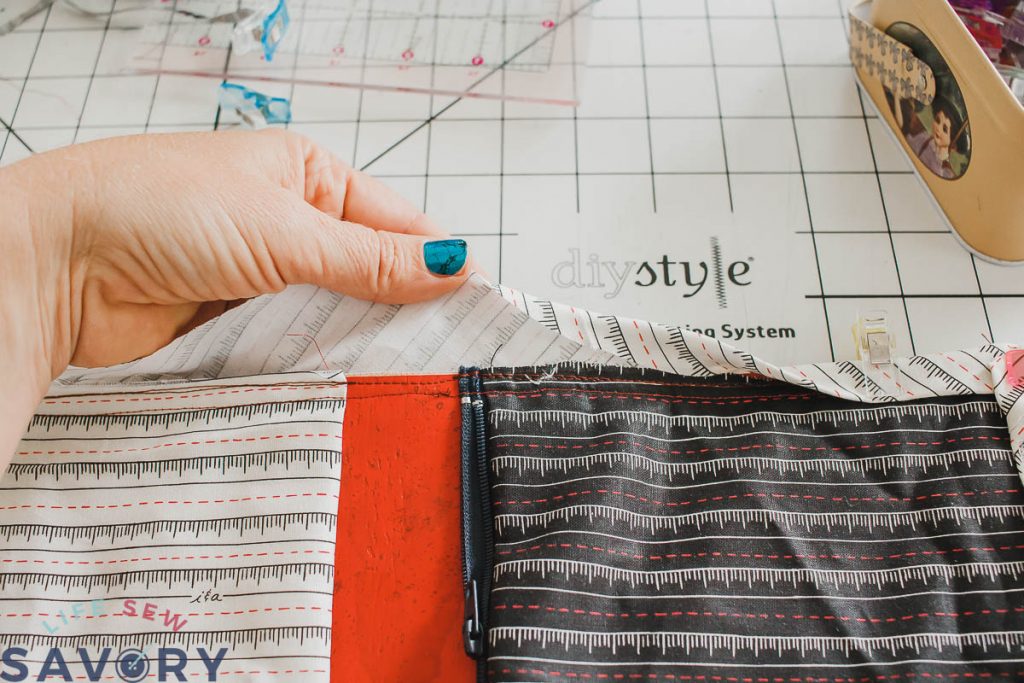
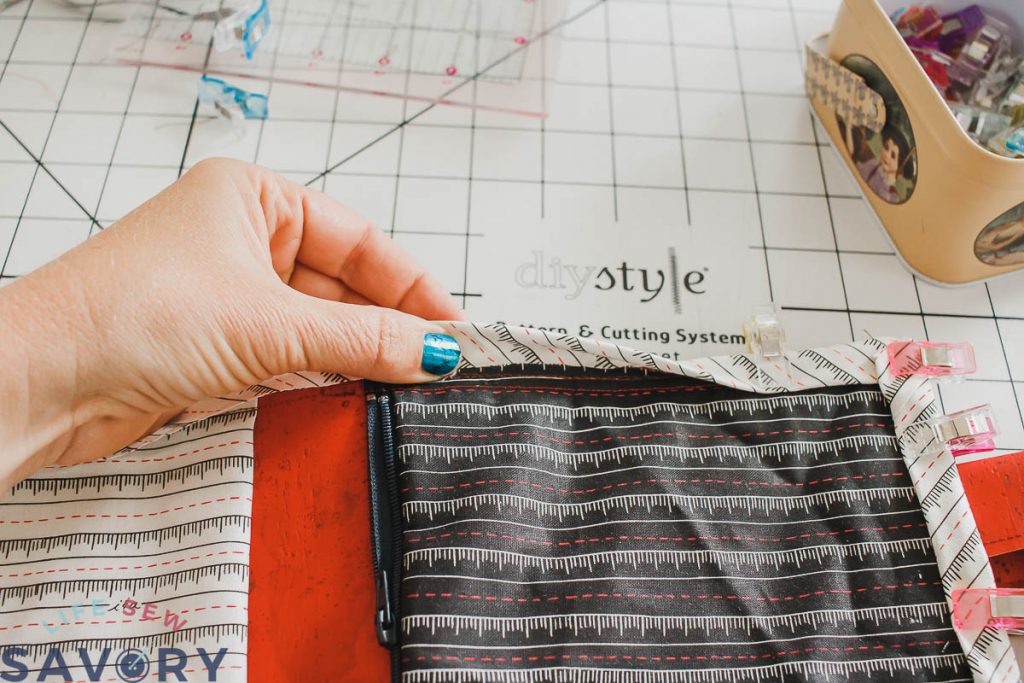
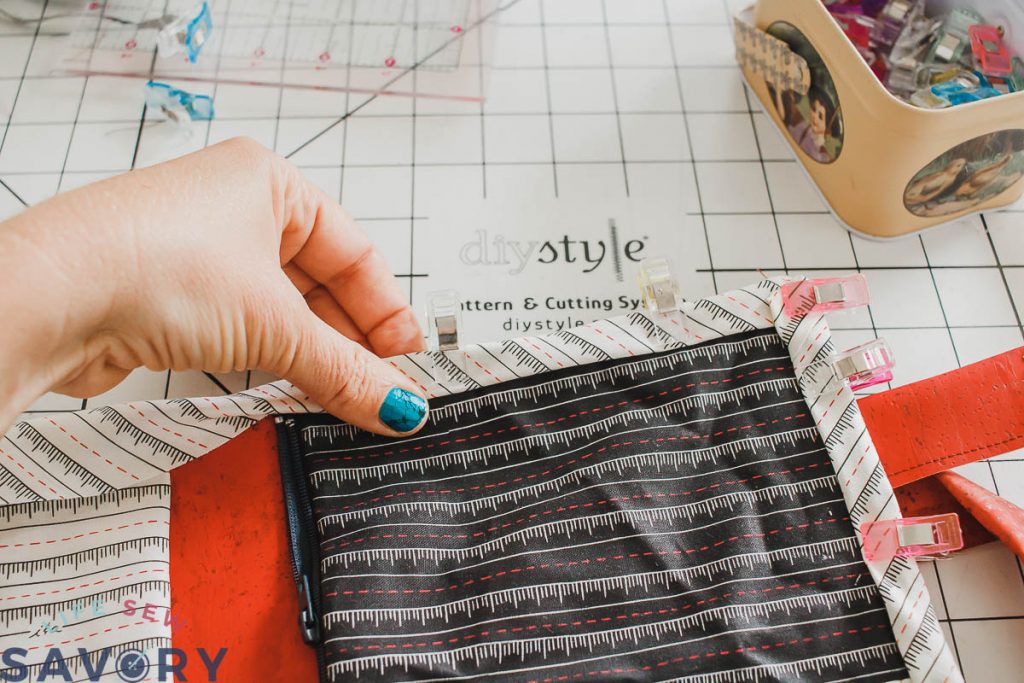
Turn your tote over to the inside and fold the fabric to the middle, then again over to enclose the edge. This is how we are finishing the raw cork sides of the tote. Pin or clip all the way around then sew with the inside of the tote facing you can coordinating thread in your machine so you can’t see your stitching. Sew carefully over zipper edges.
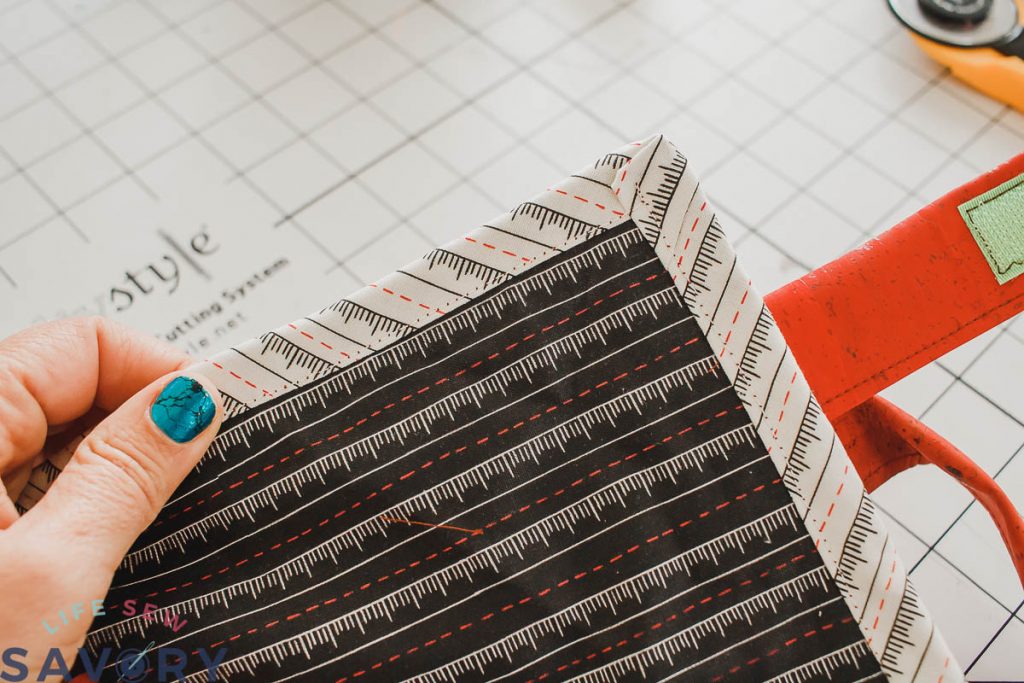
My finished edges. Both the inside and the outside are finished beautifully.
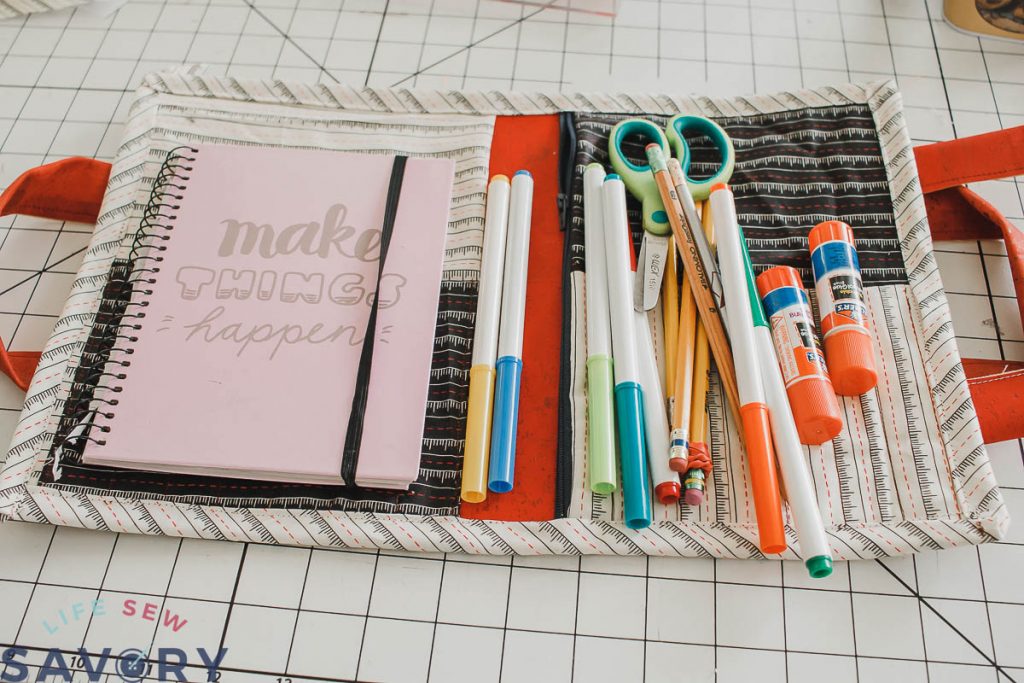
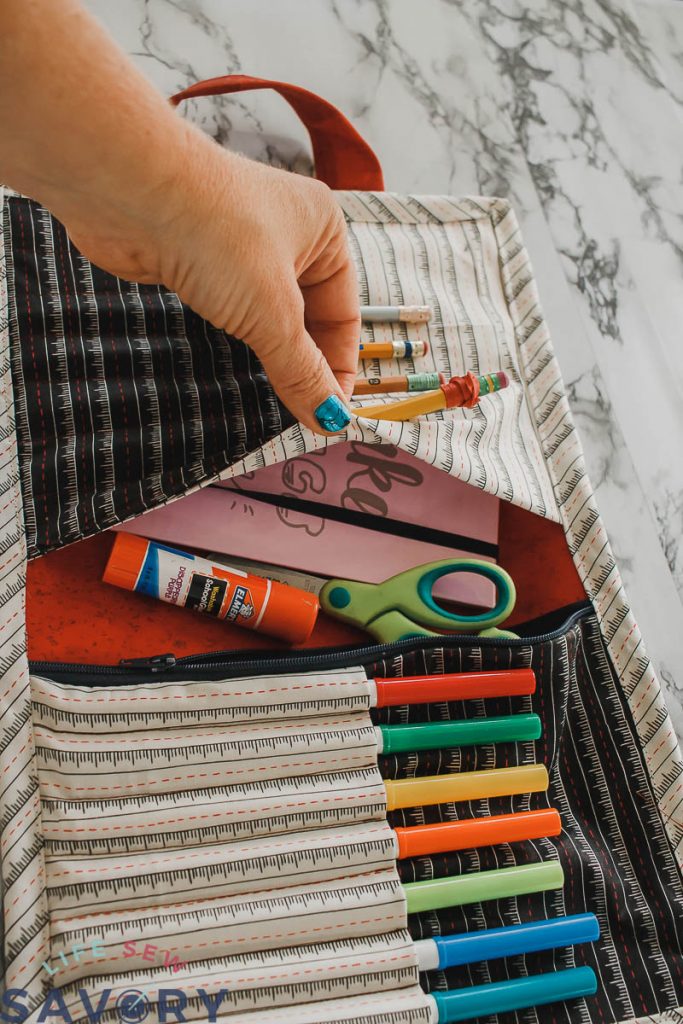
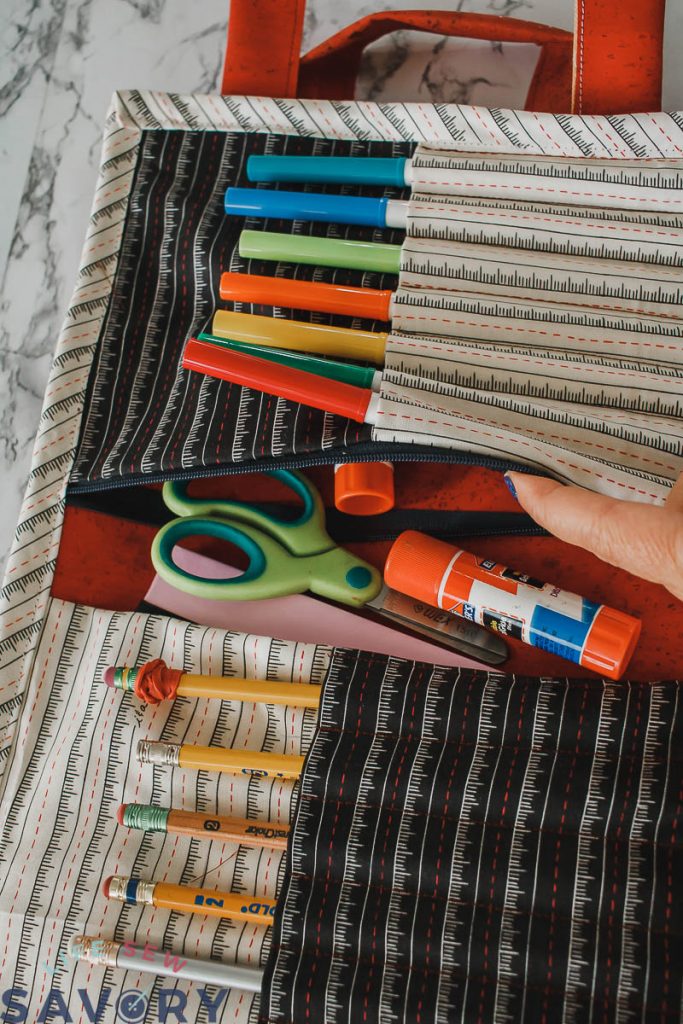
And now the best part… you can load up your new tote with lots of supplies. This would also be a fun knitting supplies tote or crochet tote. Cork makes for a beautiful and versatile case.




Leave a Reply