Inside: Use this adjustable waistband tutorial to add a waistband that can adjust to any pants/shorts/skirt that you are sewing . Tips for an easy button elastic waistband for any bottoms pattern.
original post from 2015 – updated 10/2020
If you have kids you know how important adjustable waistbands are. Kids are often not a standard size and being able to adjust the waist helps things fit. I love when my kids ready to wear clothes have adjustable waistbands already built it. What about when you are sewing? This adjustable waistband tutorial will give you the tips you need to add this concept to AND bottoms you are sewing.
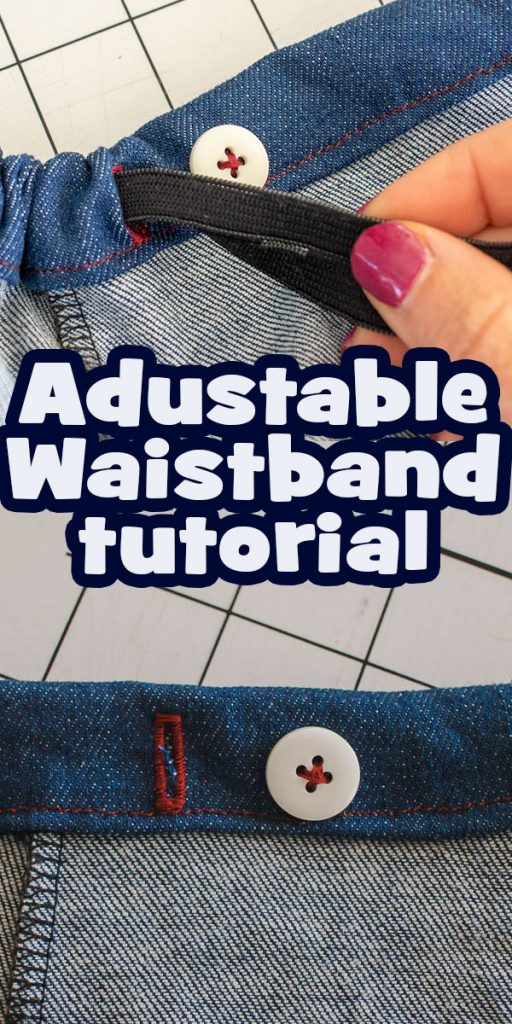
Adjustable Waistband tutorial –
originally I had planned on redoing this whole tutorial, but when I sat down to take a look at it, not much needed changing.. I’ve added some new photos {of the skirt} and a video.. but otherwise I’m just adding a bit here and there.
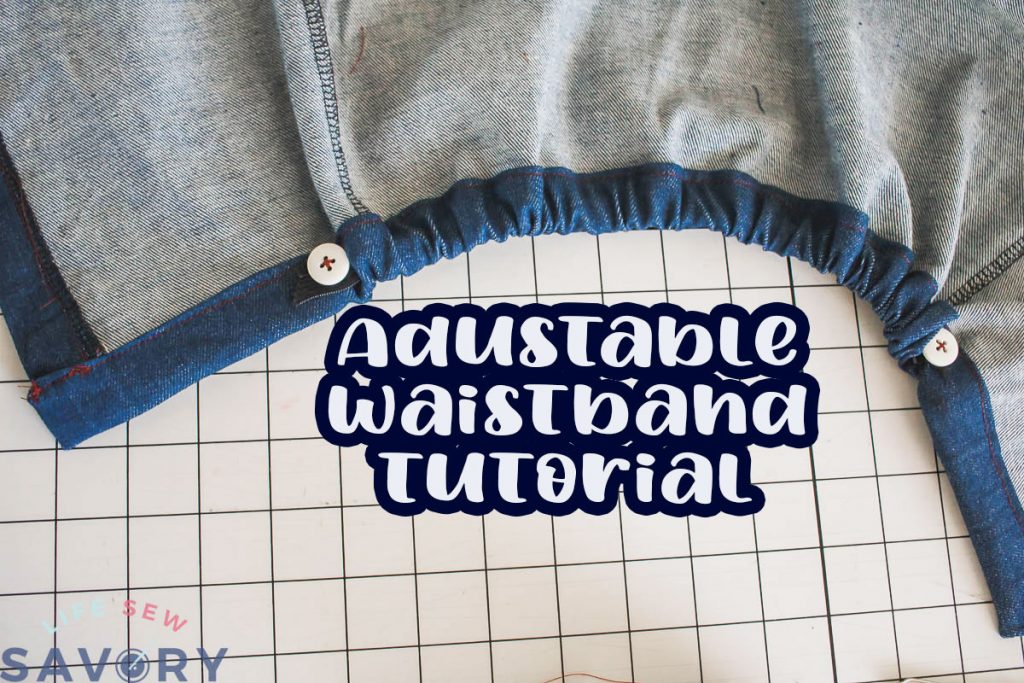
My big winter project has been sewing nine formal outfits for the little ones on my side of the family to wear at my brother’s wedding this summer. Six dresses and three little man outfits have been sewn, check! I can’t wait to see them on all the kiddos and show you more photos. For the boys’ shorts I added a adjustable waistband with button elastic, so today I thought I would share this adjustable waistband tutorial.
This is super helpful when you are sewing for kids that aren’t with you like I was when sewing these clothes for the wedding.
You can use this tutorial with any pants/shorts pattern that has a waistband. You could even add it to my new board short pattern. You can also add a waistband to a shorts pattern that doesn’t have a waistband by trimming the top 1″ off the pattern piece, then cutting a strip 2.75″ x the width of shorts top.
The skirt shown in the video/photos is my new button down skirt pattern.
How to sew an adjustable waistband –
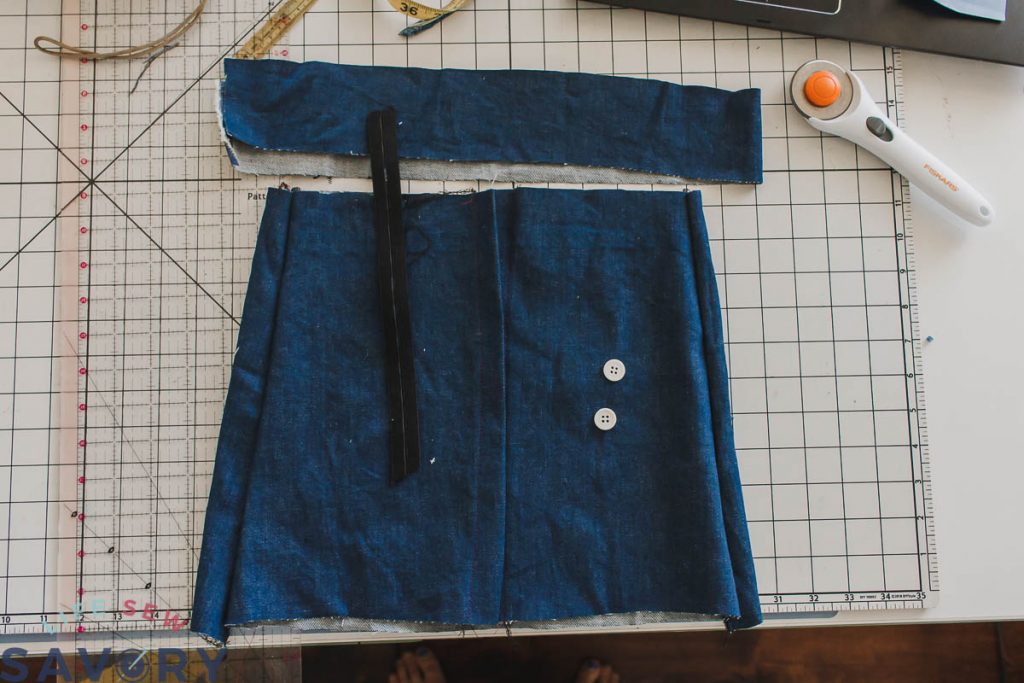
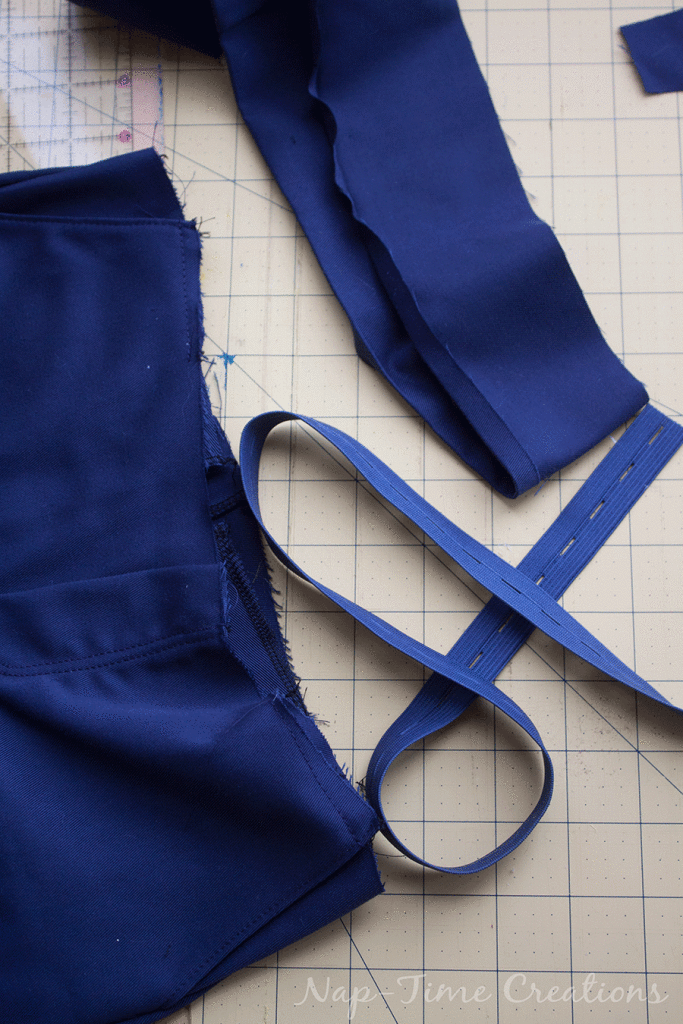
This is where we will start the tutorial. I’ve sewn my shorts to the point where I will be attaching the waistband. I’ve got a faux fly going on the shorts. You will also need to prepare 15″ of button hole elastic and 2 buttons that fit the holes.
If your pattern doesn’t have a waistband piece, measure the length of the top, plus seam allowances and cut.
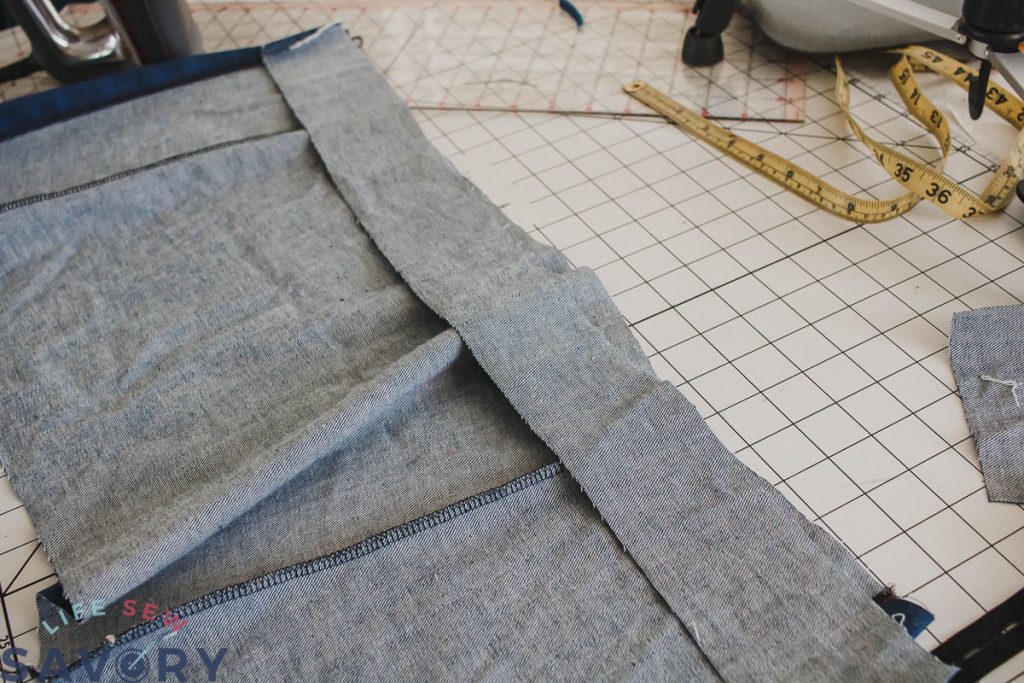
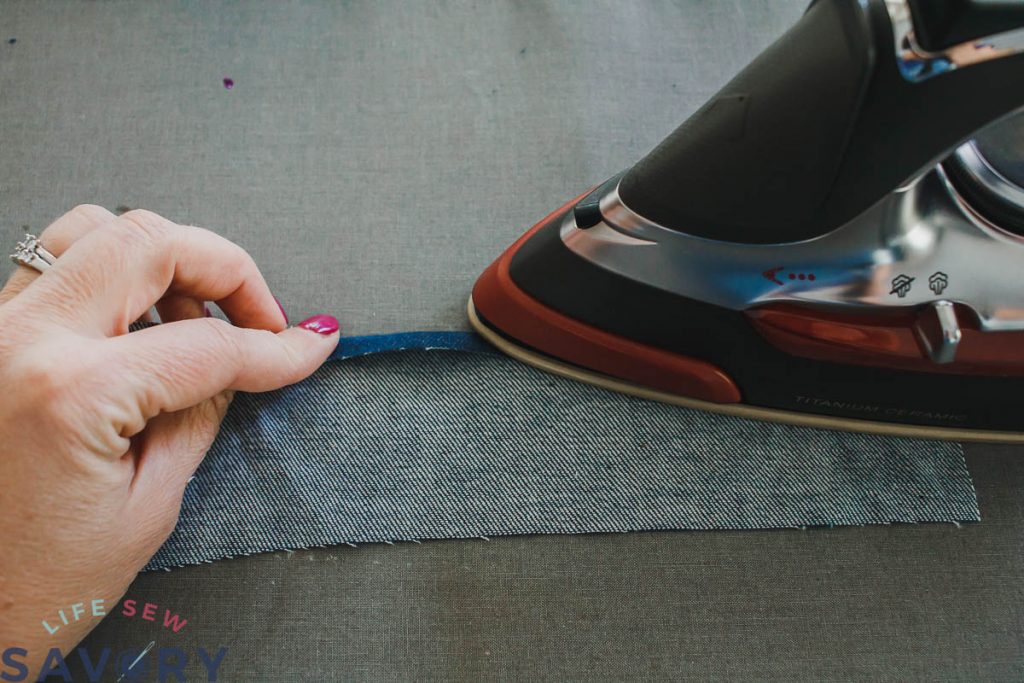
Press under 1/4″ seam allowance on one long side of the waistband.
With right sides together sew the short ends of the waistband together.
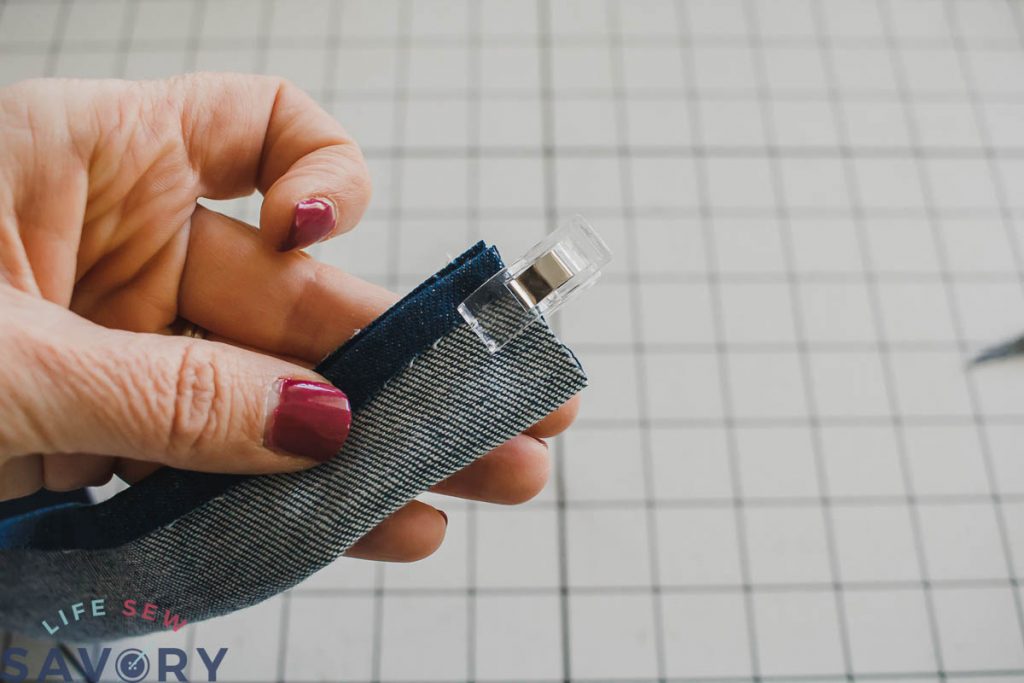
Sew on the waistband RST {right sides together} on the side of the band that is not ironed. You can also do this with a continuous circular flat front waistband.. where you don’t have any fly opening in the waistband.
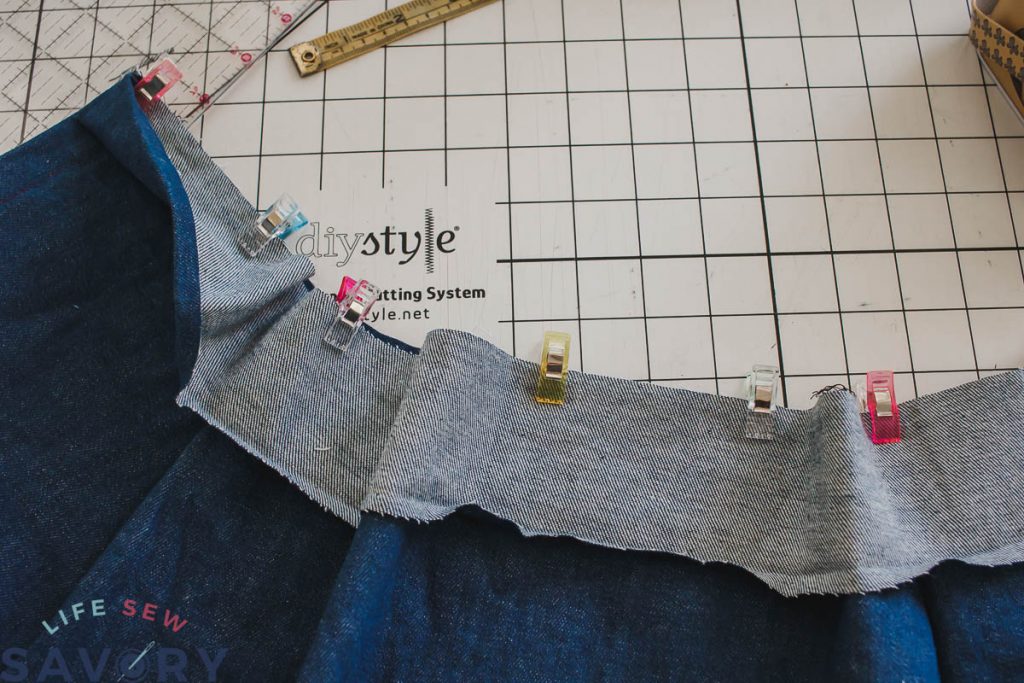
Iron the waistband seam allowance up towards the waistband and press seam flat.
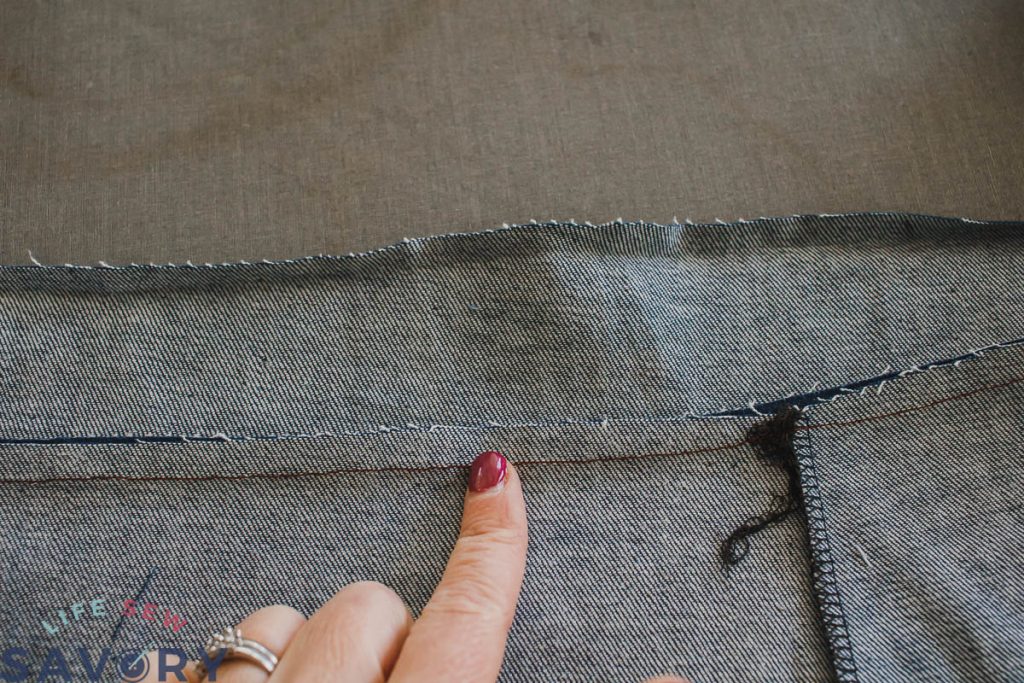
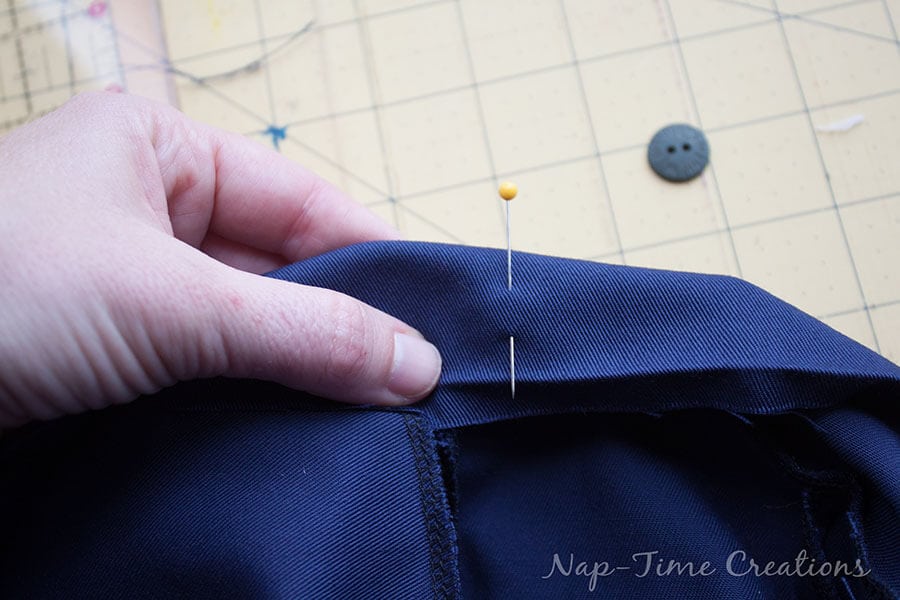
Turn your shorts to the right side and locate the sides seam of the shorts. This is where you will begin. Fold the waistband to the bad {like you will sew it later} mark about 1″ to the front of the side seam. Mark int he middle of the folded band to show where you will create a button hole.
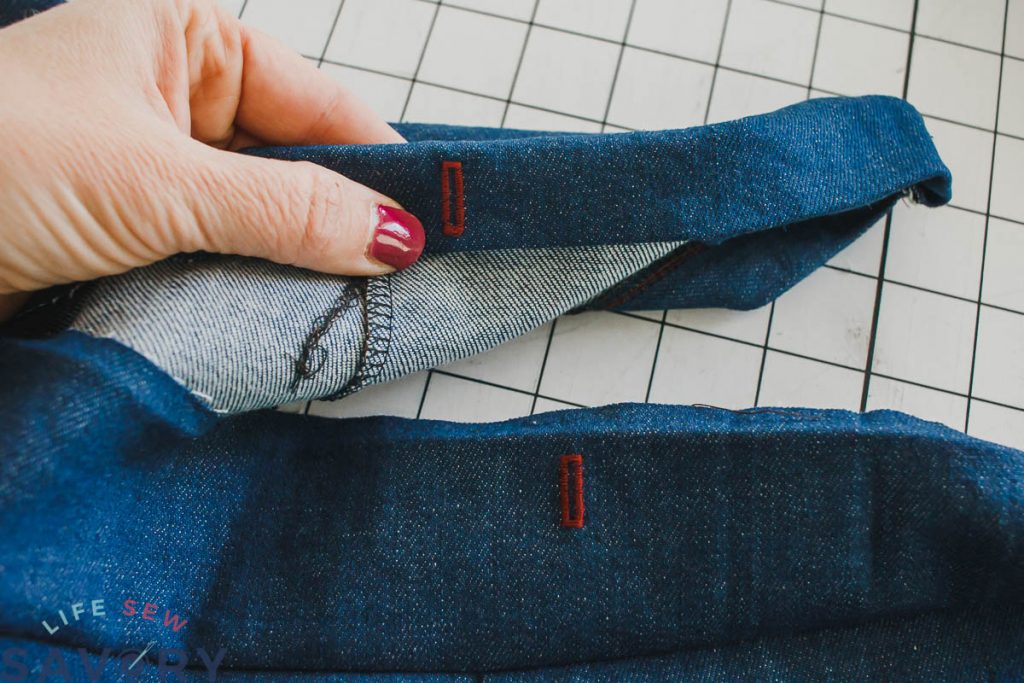
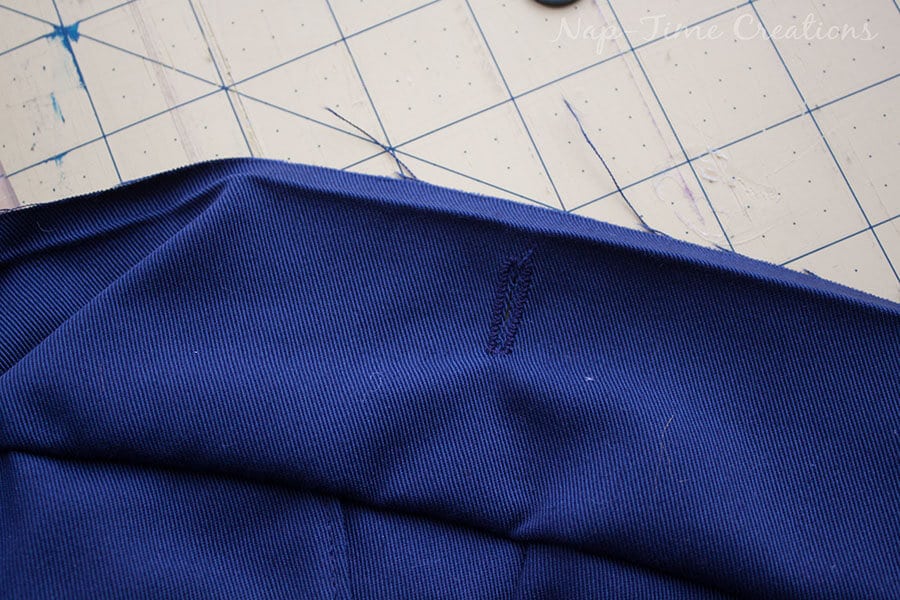
Unfold and put a button hole where you pin mark was. Do the same on the other side of the waistband as well.
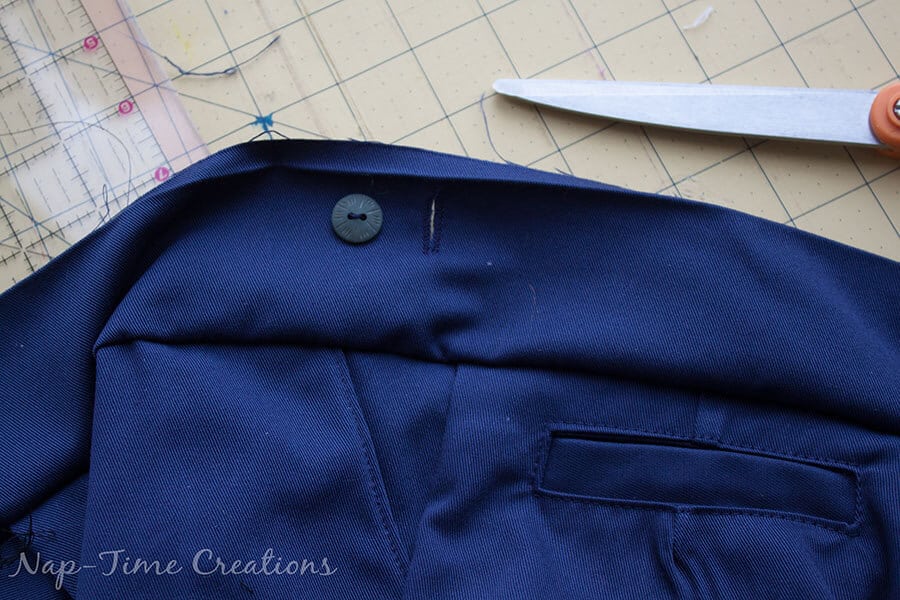
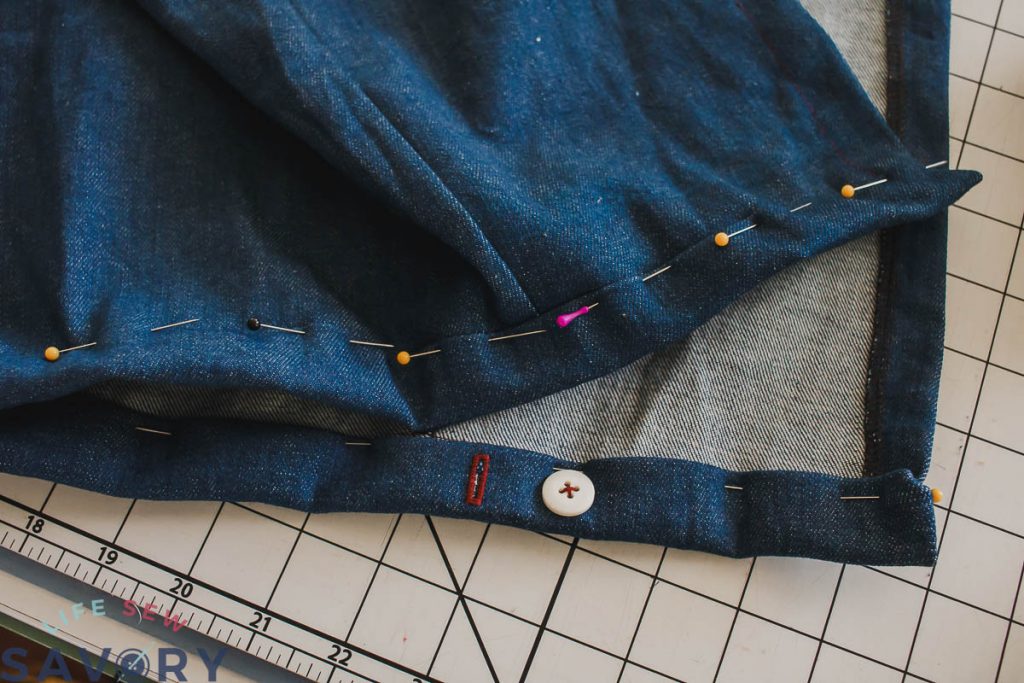
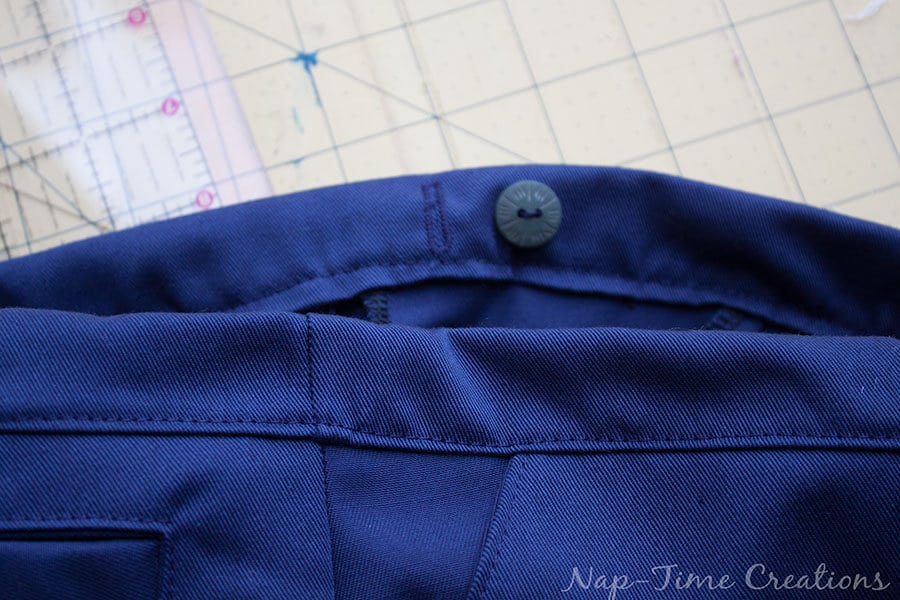
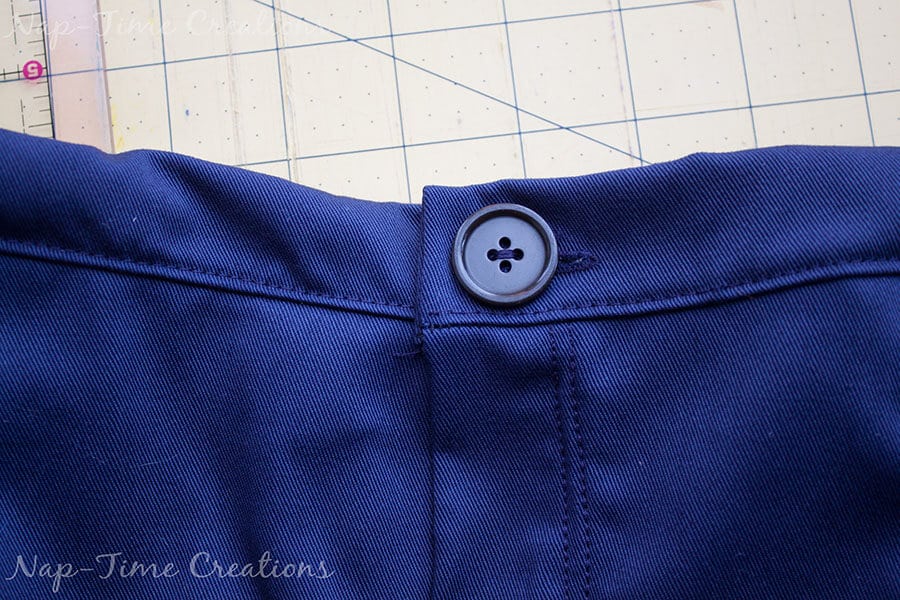
Now sew your button 1 inch to the FRONT of the pants/shorts. The button hole should be over the side seam and the button towards the front of the hole.
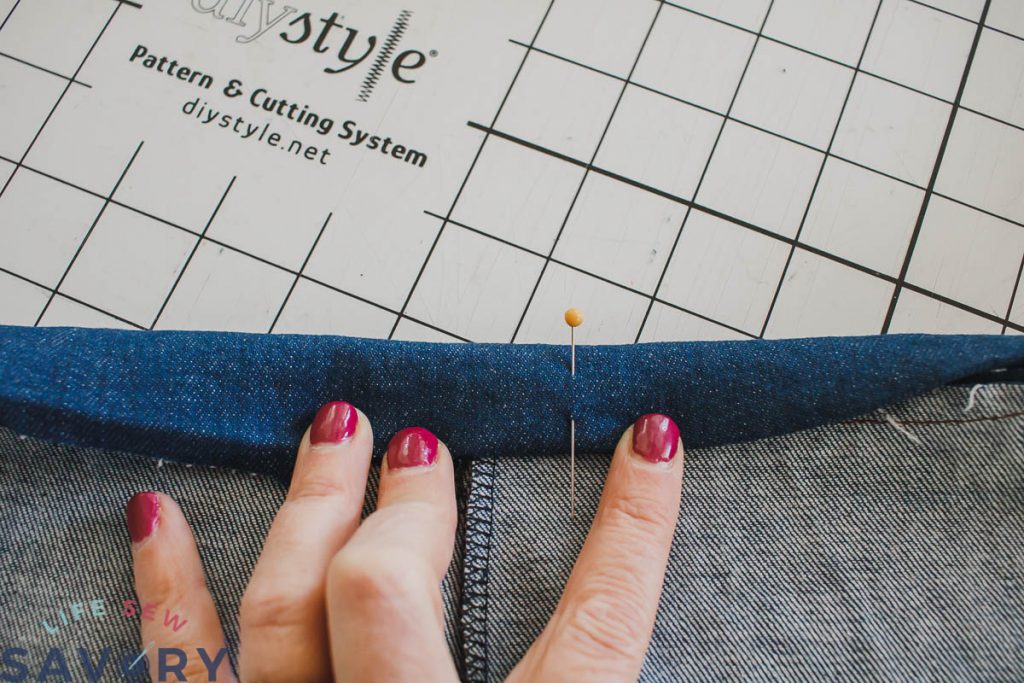
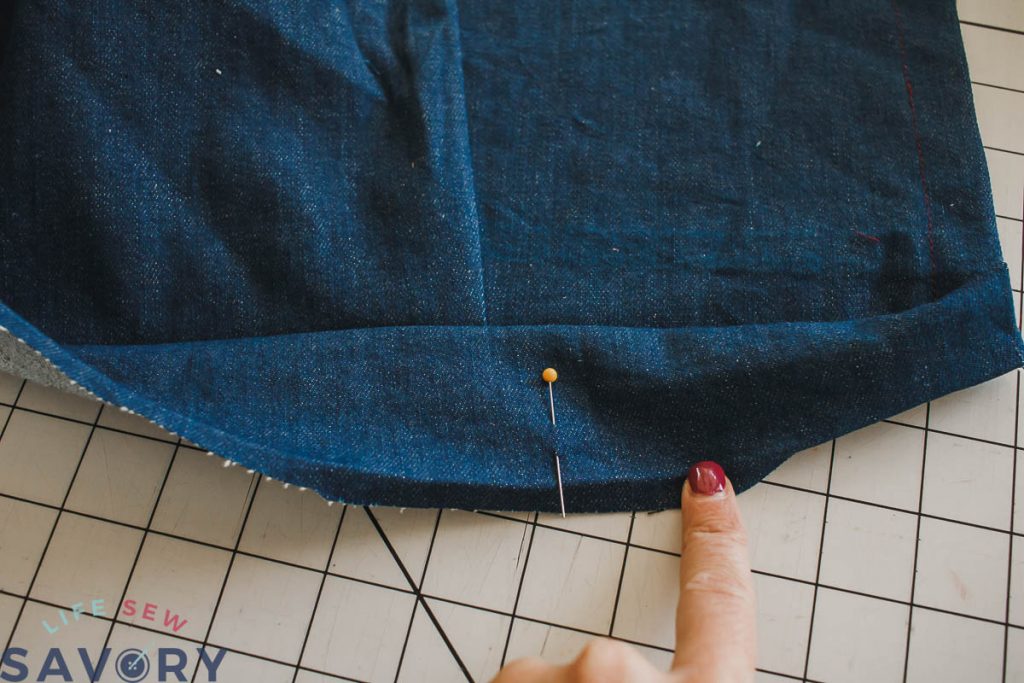
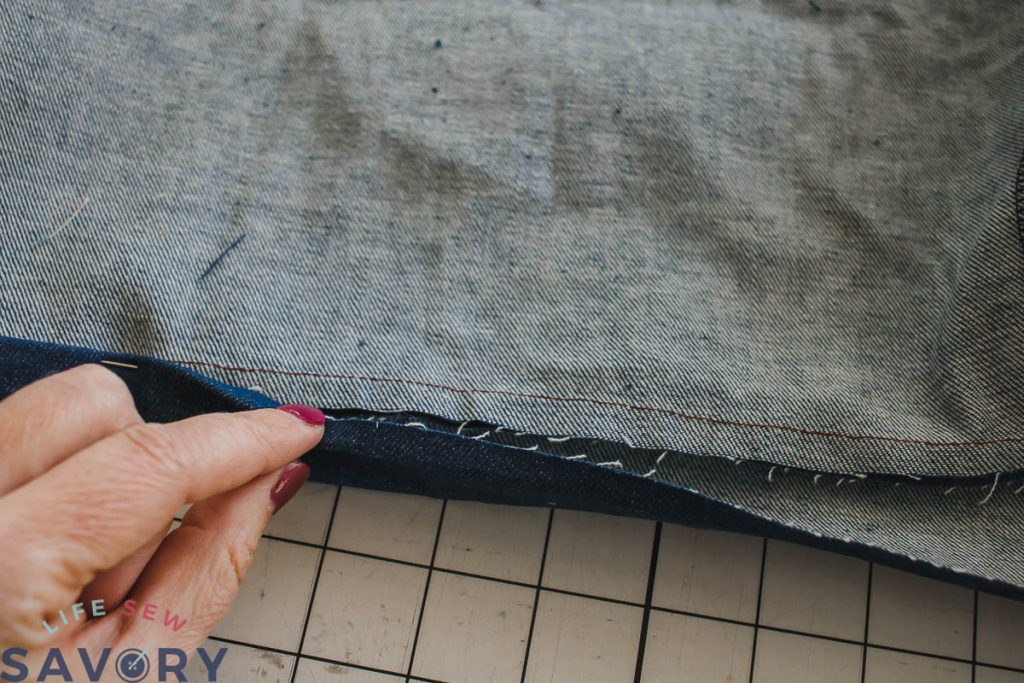
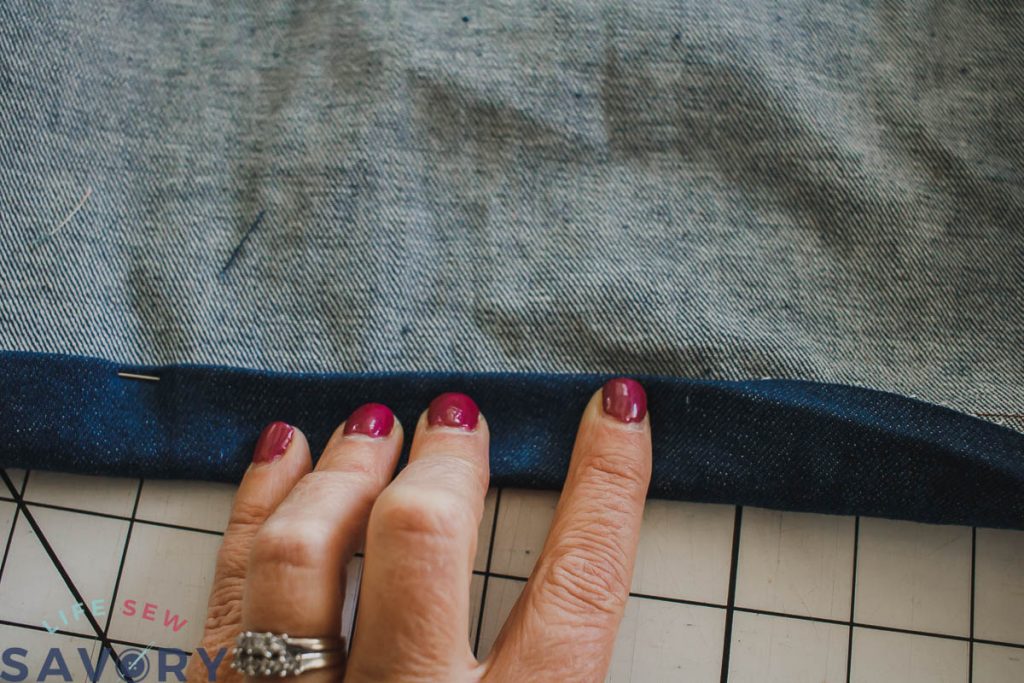
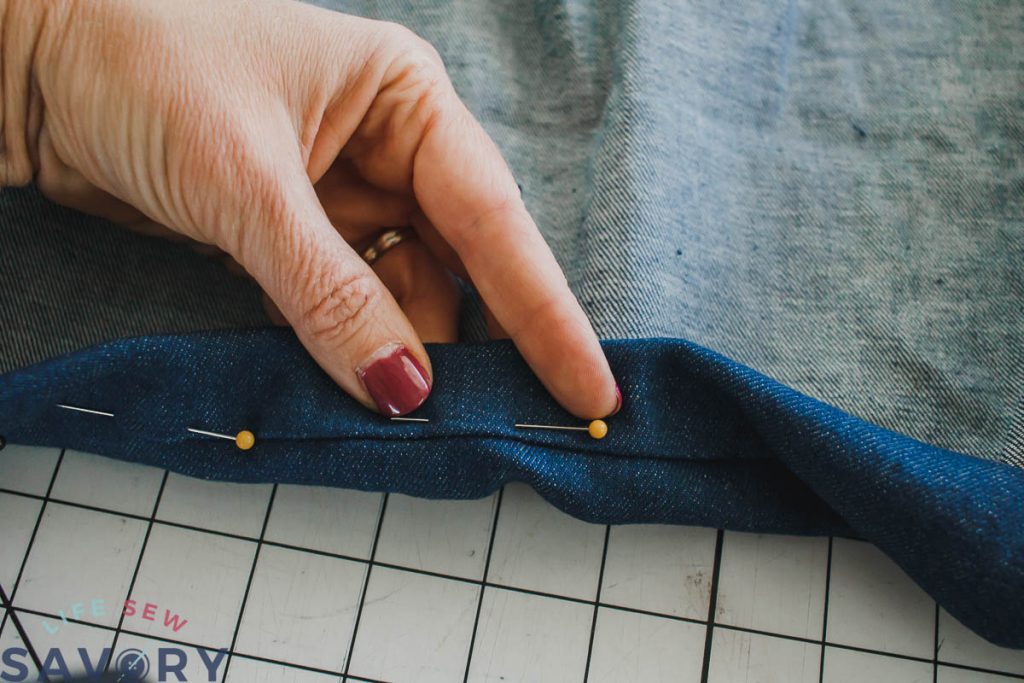
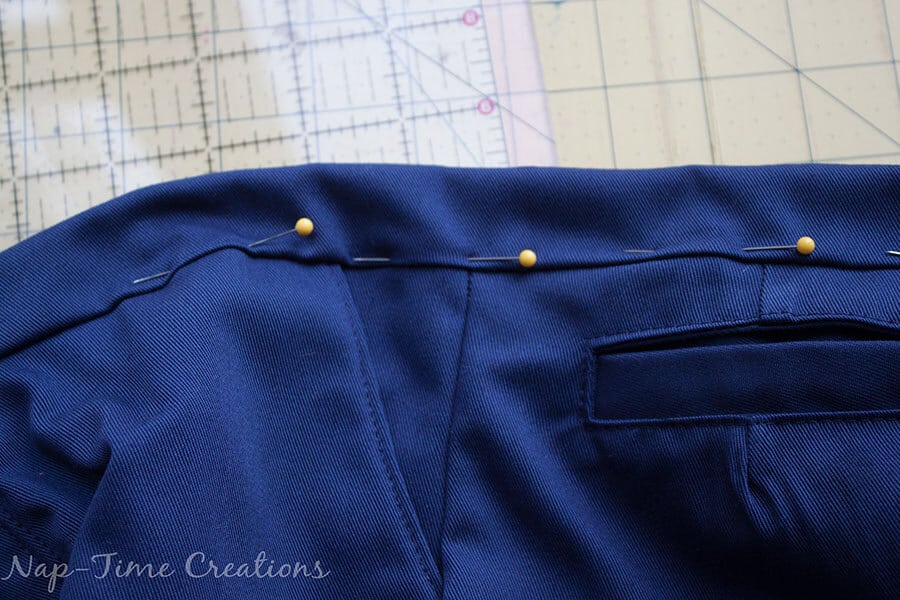
We will be sewing the waistband lower edge. Pin the ironed seam allowance so it covers the seam where the shorts and band meet. Fold over to the back, but then pin on the front.
I like to place the pins on the outside and sew on this side as well, so my stitches can be neat and even from the outside.
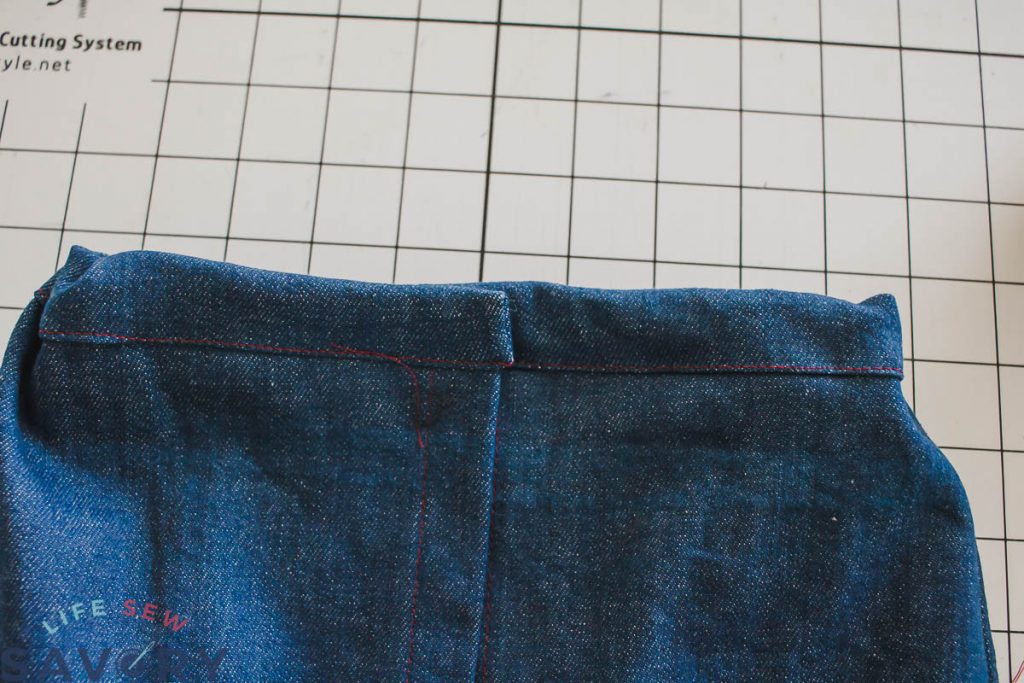
Sew from end to end of waistband. You may have to maneuver around the button depending on your machine… Here is what it will look like with the waistband sewn down.
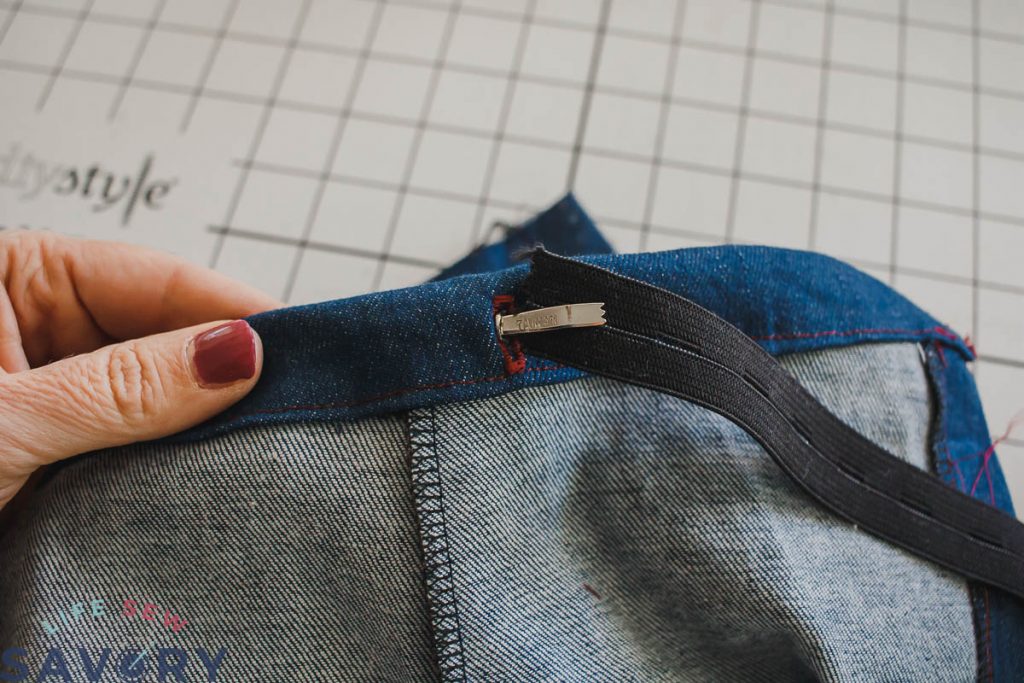
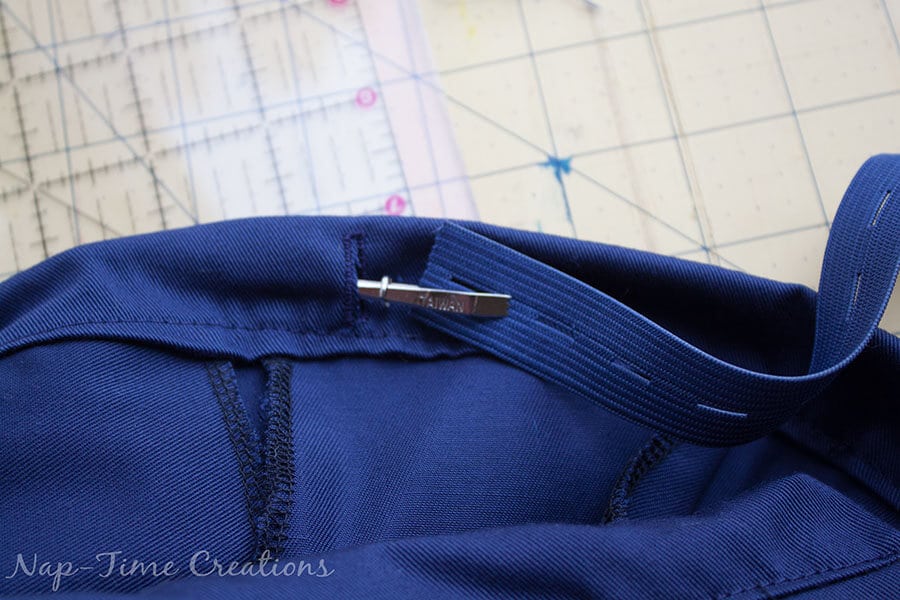
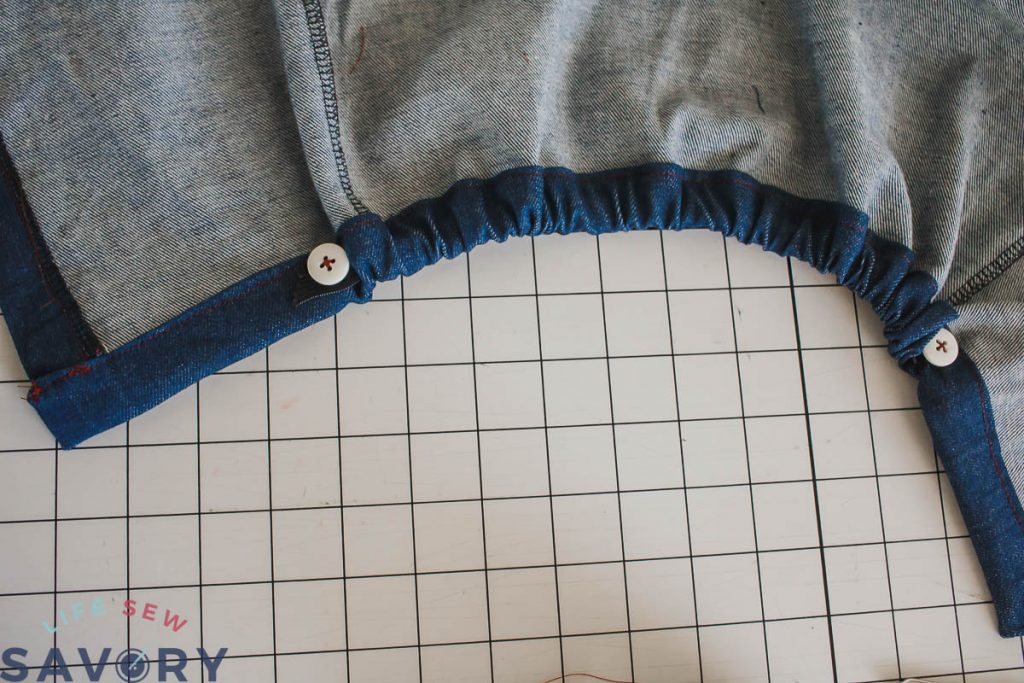
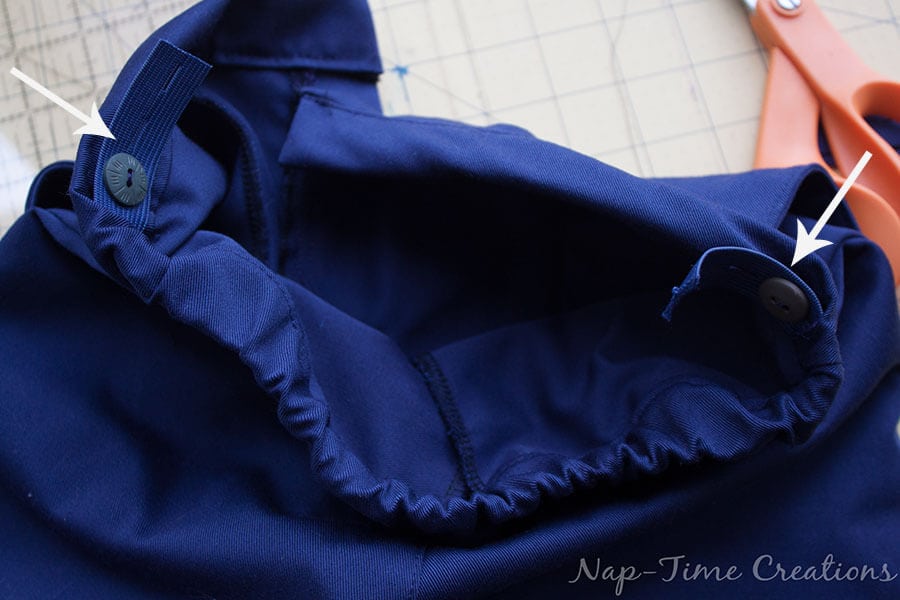
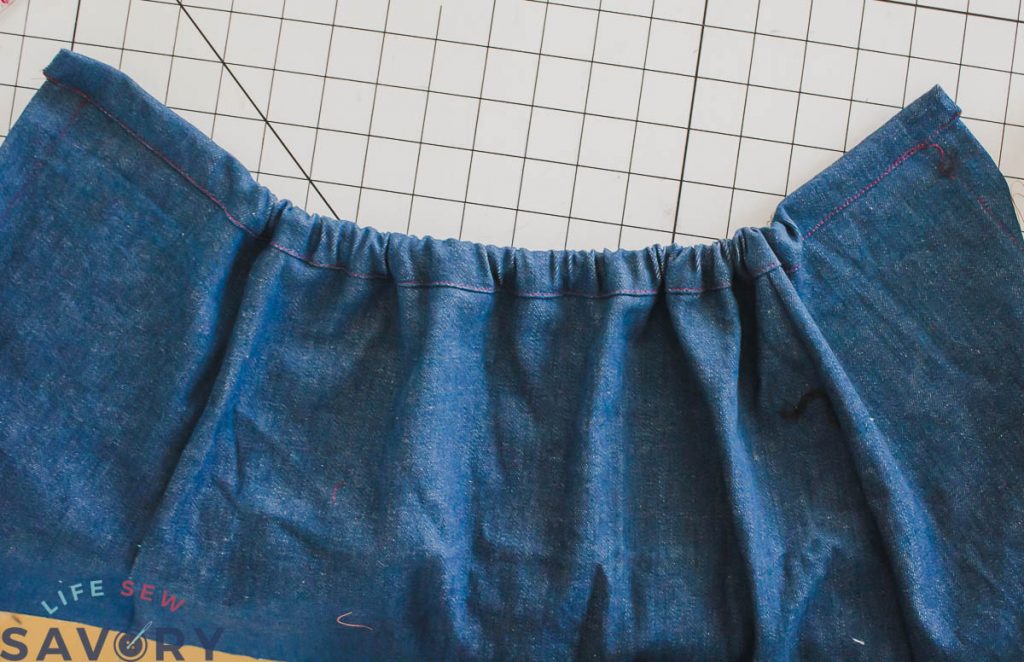
Now we need to thread the elastic through the back of the shorts to adjust the size. Thread the elastic through the button hole with a safety pin or elastic threader.. Make sure to button the other end as you pull through so you don’t pull it too far.
You can use and needle and thread and hand-sew the end of the elastic if you want to attach it to your waistband. I just leave the end loose… I don’t think it will be a problem. You can sew it to the waistband or finish the end with a zig zag if it starts to fray.
Here is how your waistband should look… tighten and trim the elastic as desired.
Then finish the fly area as desired… You’re done!! Let me know if you have any tips for adjustable waistband making… I do love that this allows my boys room to grow!
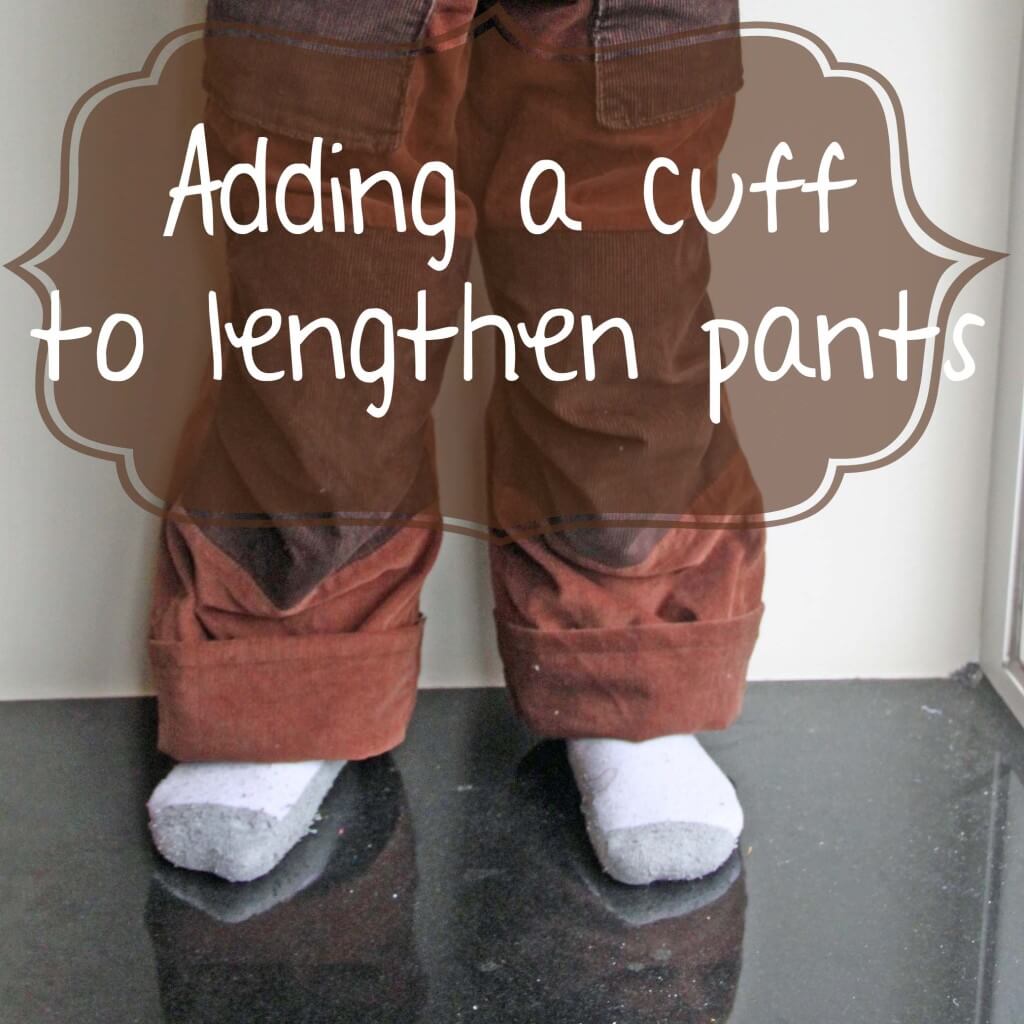
Another way to get more wear from your pants.. add a cuff.. you can check out this tutorial.
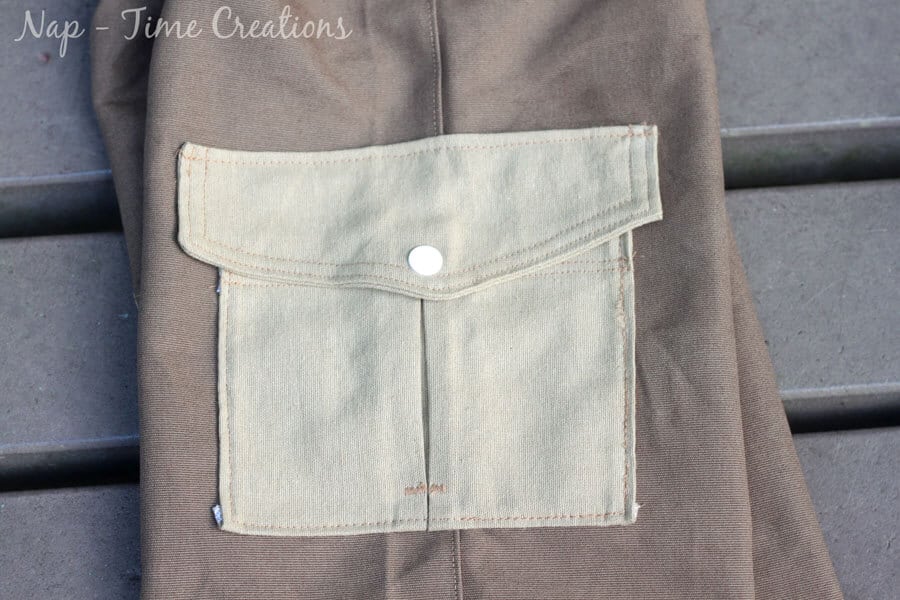
Here’s another tutorial for adding cargo pockets to any pants pattern, pocket pattern pieces included.








Kristina & Millie says
all three are great tutes! love this adjustable waistband though – so useful for those inbetween sized kids and adults or just when you want a bit of give for those days when you need it (if you know what I mean lol). I have to check out the hem one next! Thanks for sharing with snickerdoodle sunday!
Bonnie says
I never sewed an adjustable waist but I sure did appreciate them when my son was little. He was always too tall and too skinny for pants so we only bought pants that were adjustable. This is a great tutorial!
Rachel says
Adjustable waistbands have been a life-saver for my boys. Thanks for sharing your tutorial on the Small Victories Sunday link up.
Kimberly says
Great tutorial! Looks so good. Pinned and tweeted. I hope to see you on Monday at 7, we can’t wait to party with you! Lou Lou Girls
jamie says
Love this, Pinned! Thanks for linking up over at Inspiration Monday!
~Jamie
Jennifer | The Deliberate Mom says
I’ve often commented that all pants should have adjustable waistbands! This is such a fabulous tutorial! I’ve scheduled a pin of it to my Deliberate SEWING board.
Thanks for sharing (and for linking up to the #SHINEbloghop).
Wishing you a lovely day.
xoxo
Cathy says
Thank you so much for the wonderful tutorial. Pinning this to use when I need an adjustable waistband again. Thank you for sharing at Share It One More Time. Cathy
Jeanette says
This is brilliant. I’m going to use it for mermaid tails we are making for a show so we don’t have to custom make them everyone can just adjust to their comfort!
Sheila Robson says
You said you’d be interested to know how other people tackle the button hole elastic. This was my take on it,
https://newgrandmawantstosew.blogspot.com/2017/04/adjustable-elastic-for-maternity.html
Lianne Brown says
Hi, Thank you so much for your valuable articles & tutorials. How would you keep the elastic from slipping into the channel if it had to slip off the button in the wash or precious kiddo fiddles & doesn’t hook it up on the button again?
Kind Regards, Lianne
Sue says
Thanks for all of the great ideas on your knee patch roundup and this tutorial for the adjustable waistband. You may want to clarify this sentence in your opening paragraph:
This adjustable waistband tutorial will give you the tips you need to add this concept to AND bottoms you are sewing.
Bill says
Handy but I was looking for the method used on mens bought trousers where elastic is encased in material at sides to adjust itself when required if body ads a little more weight. Do you know this method as hard to find on net for some reason.
Girls Gammy says
Bought my granddaughters jeggings with this elastic waist adjuster and button. They complain that the button bothers them. Is there any way to fix this problem without getting rid of the elastic waist adjuster. Maybe a replacement for the button itself? Any help is greatly appreciated.