Inside: Free sewing pattern for slim fit athletic pants for kids. Sew up comfy sports pants with this easy sewing tutorial. Also includes pocket and side stripe hacks.
My kids mesh pants pattern has been around for years and years. I thought about redoing the pattern for a slimmer fit, but in the end decided to add another pattern instead of remaking the original. So now you have a choice of straight leg or slim fit Athletic pants patterns for kids.
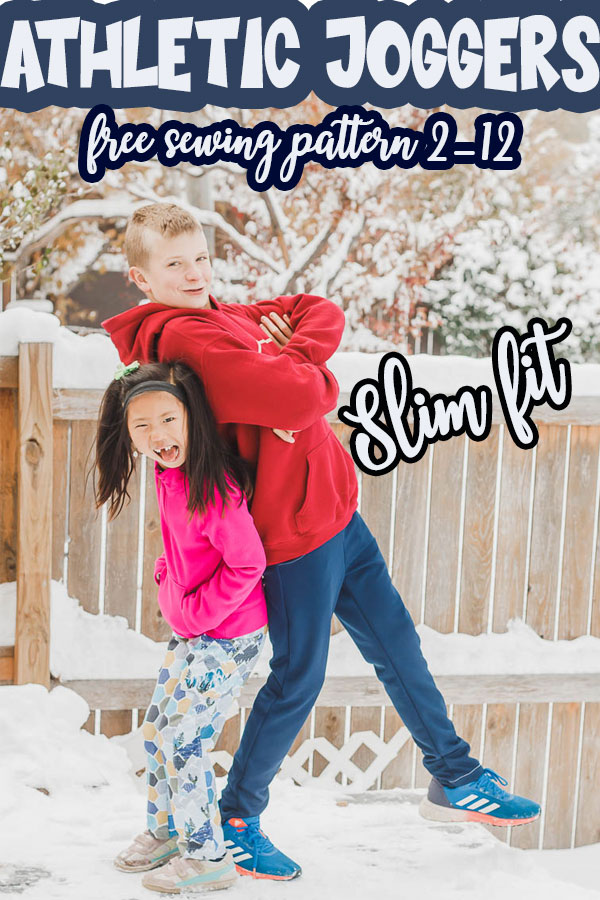
Slim Fit Athletic Pants Pattern
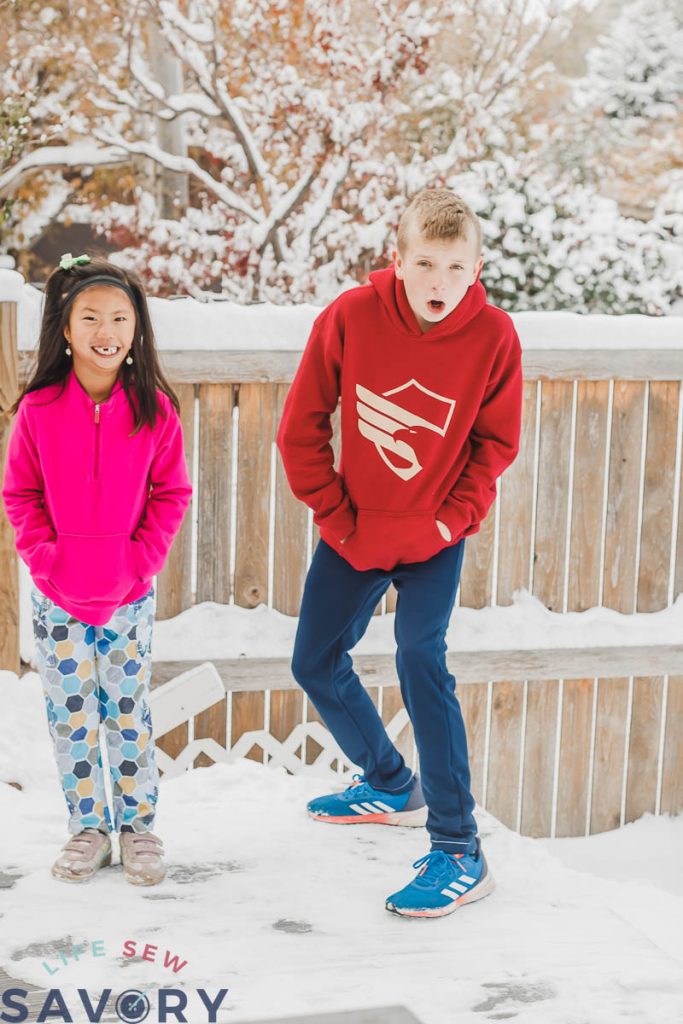
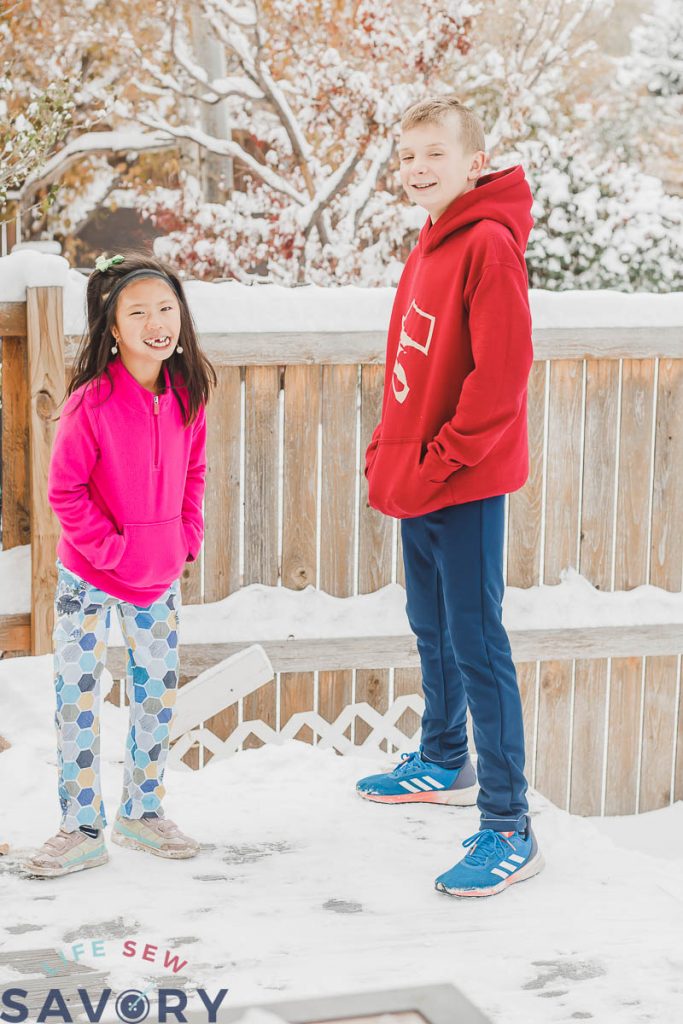
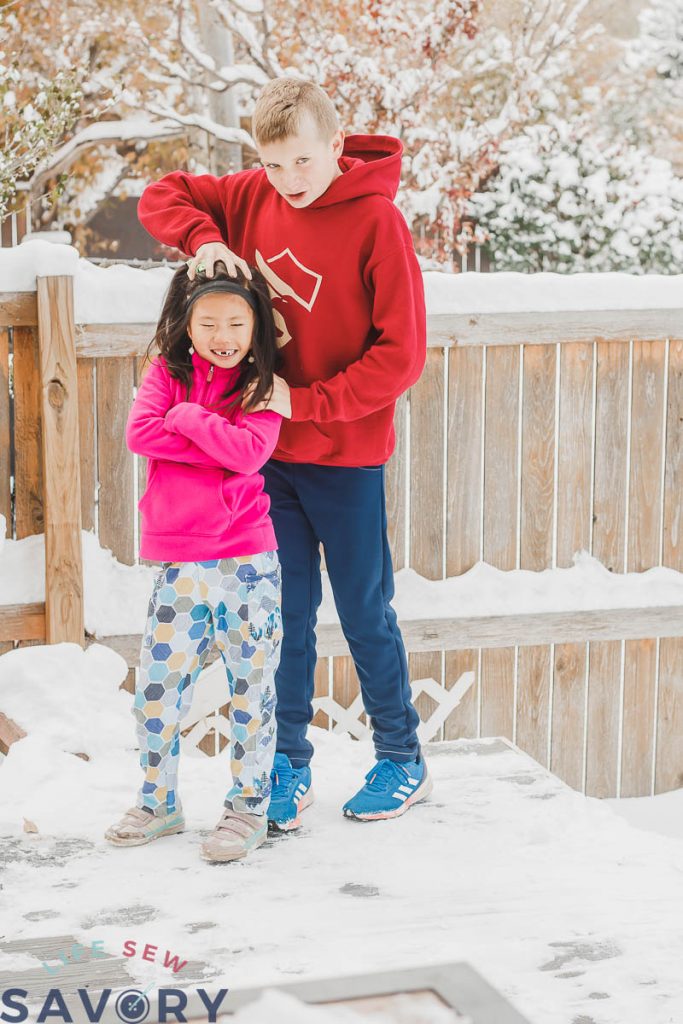
I’ve redone the fit a bit {from the straight leg version}, added a size and trimmed up the legs a bit. I also sewed up a pair for my daughter to show these work for boys and girls… I will say that honestly the fit will probably not work as well on older girls unless you want to tweak the pattern. But, for younger kids it should work great for both boys and girls!
If you do sew some for older girls I’d love to know what you think. I know they work for boys as I’ve sewn the larger sizes for my own boys. Here are a few fun photos before we jump into the sewing tutorial and hacks.
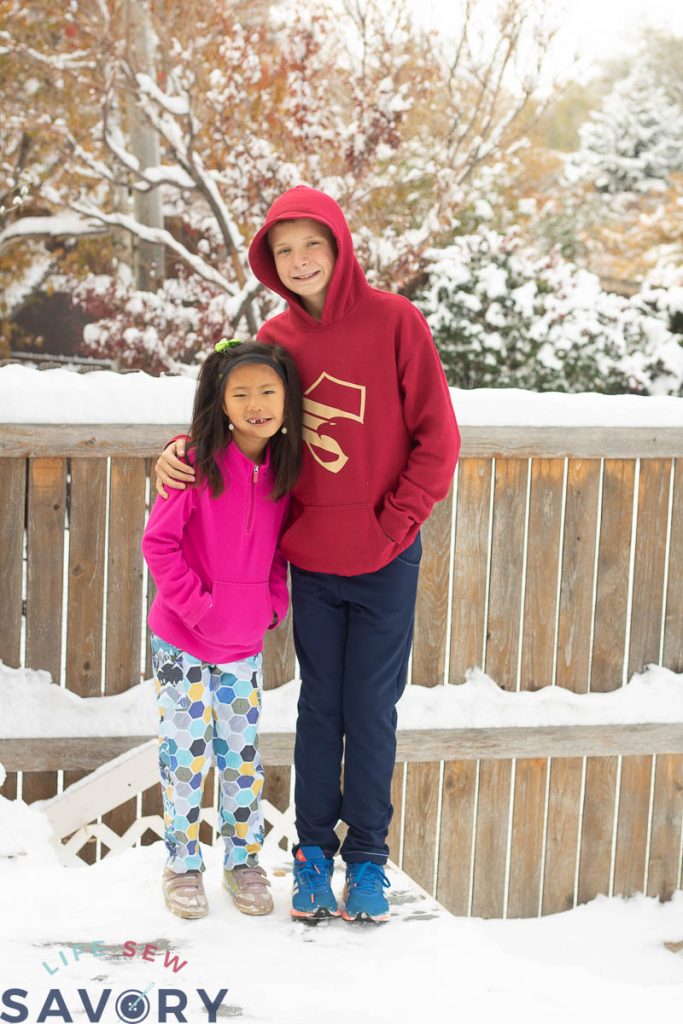
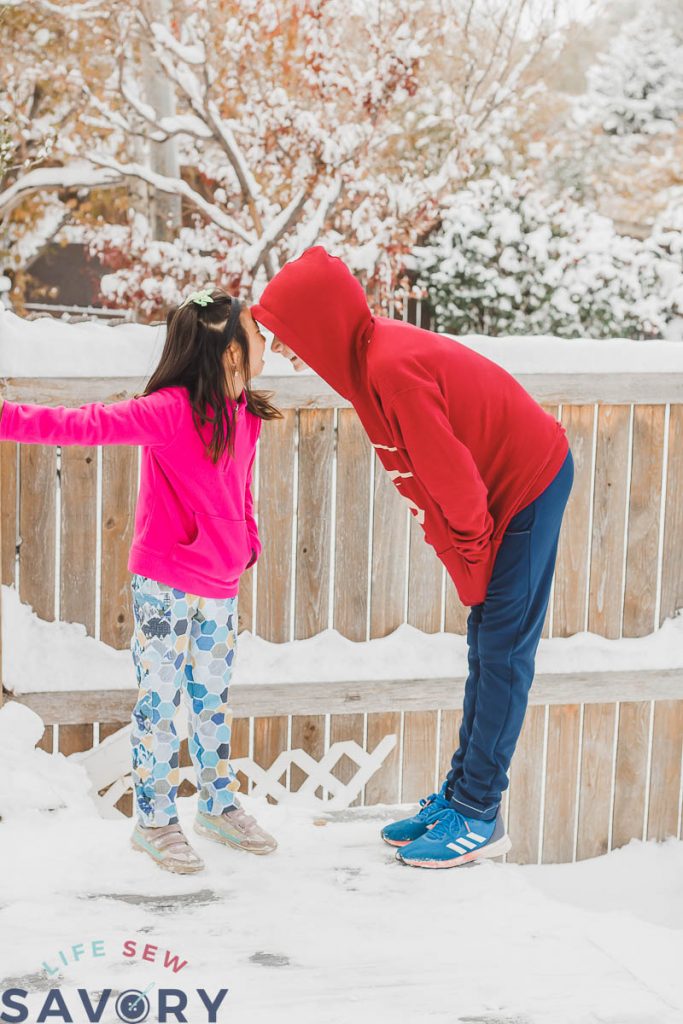
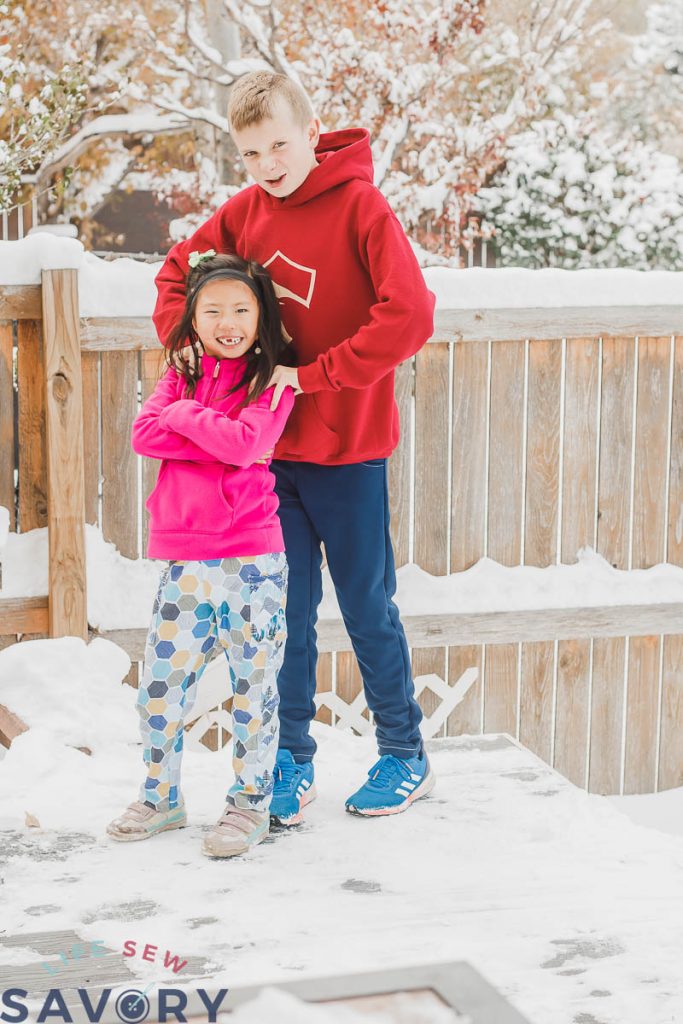
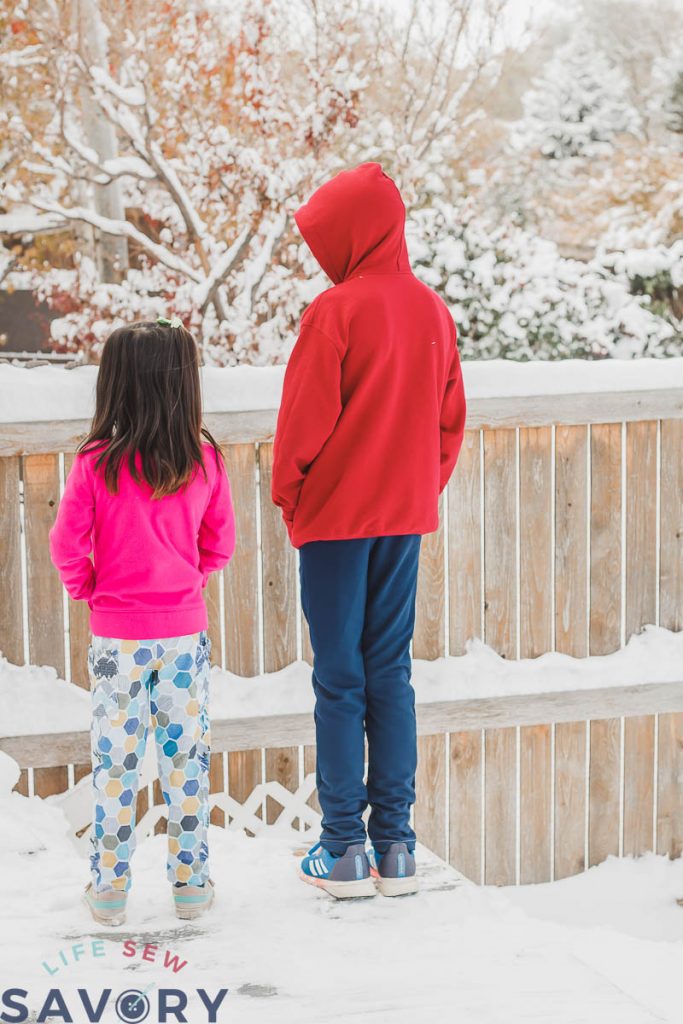
We had an early snowstorm this week and these two in the snow was a fun time. haha…
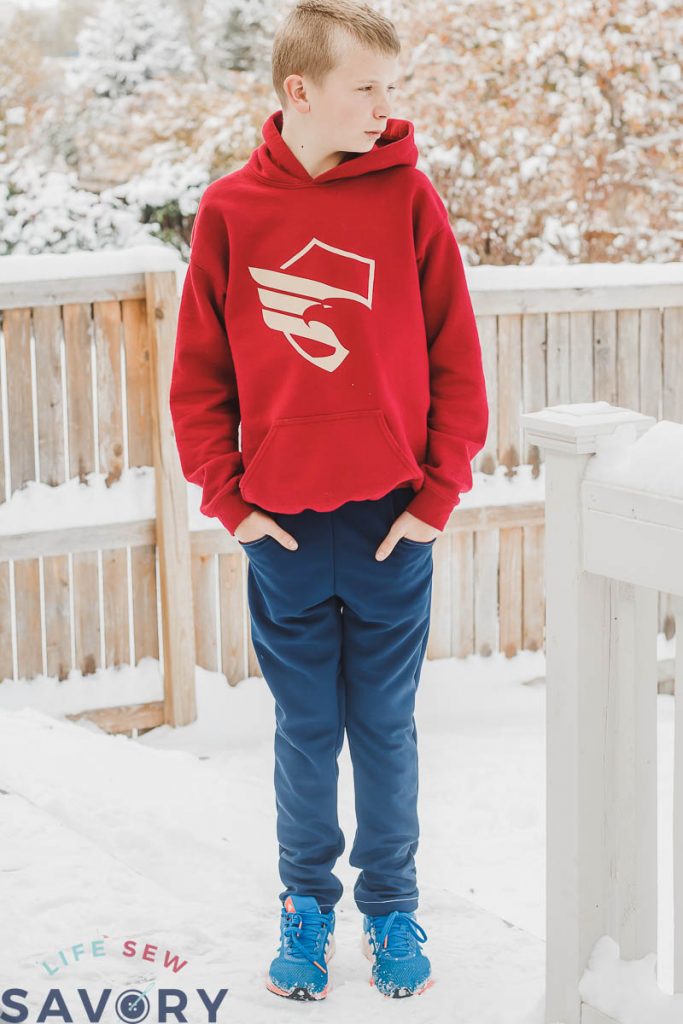
Rose’s pants have a side stripe and side pocket hack. Jacks pants have a front pouch pocket added. Both hacks are in this post below the pants tutorial.
If you check out the original kids sports pattern HERE. You will find information on the wider leg version, the pattern download AND how to line your pants. Here’s a peak of our mesh pants photos from YEARS ago.. with my tiny boys.. but it’s a great pattern… another one to check out in addition to the new version here. {look at my tiny boys!!!}
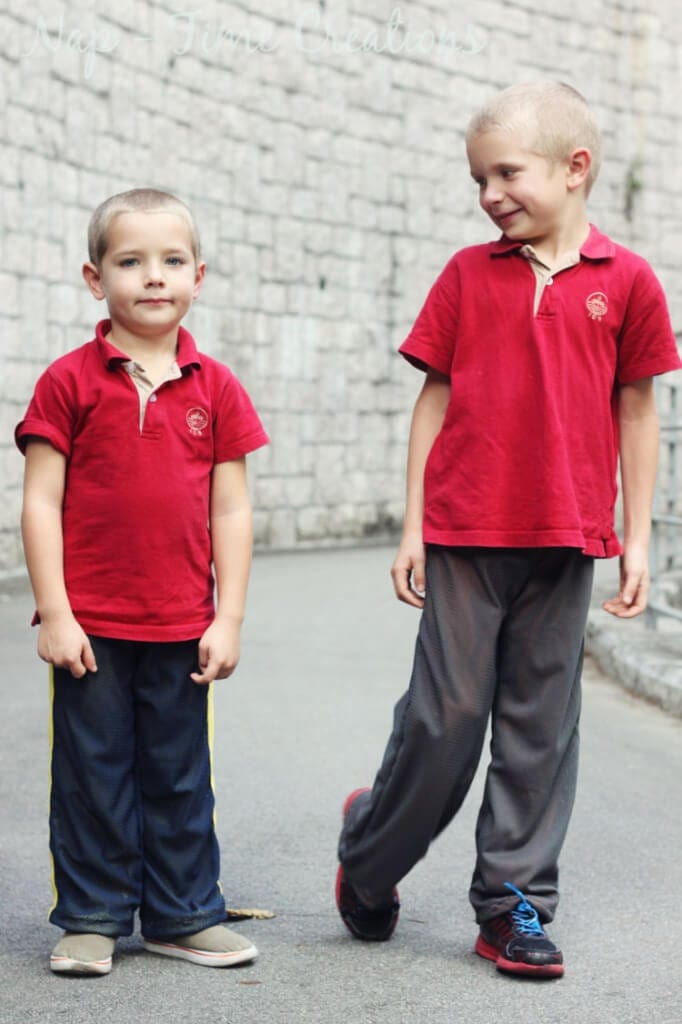
Sibling photos are the best!! But the pants are pretty sweet, so just focus on those!! Let’s dive into sewing!!
Other great kids pants/shorts to sew
Kids Sporty Pants supplies-
- Sporty fabric.. here are my picks
- French Terry
- Double Knit 100% Poly-Sportswear, and Dimple Mesh/Bird’s Eye Light 100% Poly-Sportswear. I’ve bought it from Ronittextle.
- Any other comfy fabric with a bit of stretch that your kids like.
- You will need 1 yard for all sizes… you may also need contrasting fabric for some of the hacks. As long at its 60″ wide or close to this…
- 1″ Elastic
- Print the free pattern {button below}
Kids Joggers Sewing tutorial
Ok… so you’ve downloaded the Slim fit Athletic Pants pattern. It’s time to choose the size that you need to sew. Assemble the pattern using this as your guide..
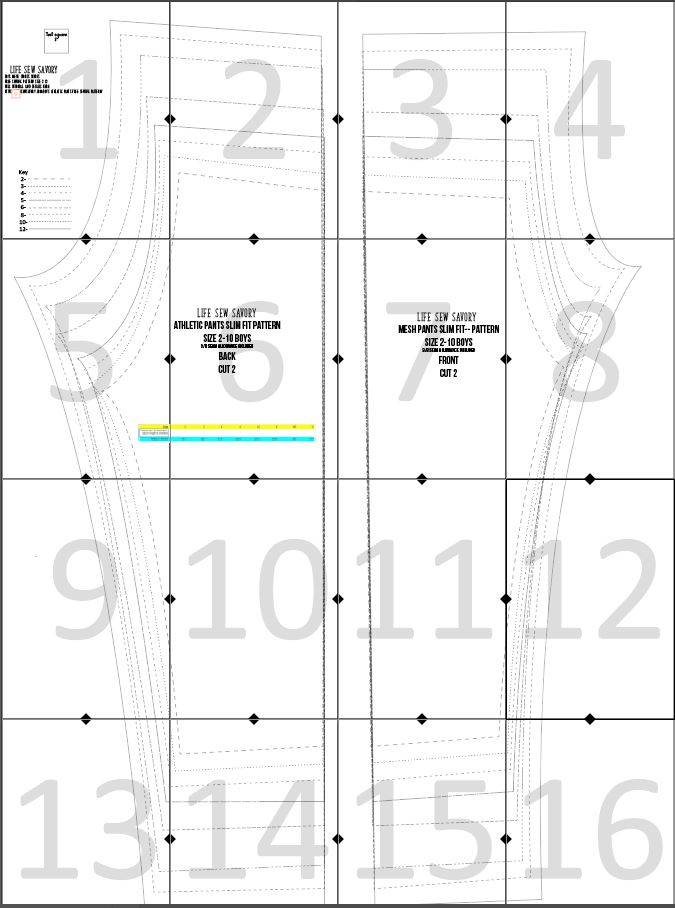
Then… take a look at the size chart {its the same at my other mesh pants and shorts and choose the size for your child.} I would go by waist measurement and then adjust the length as needed. You can blend sizes to get the fit you need.
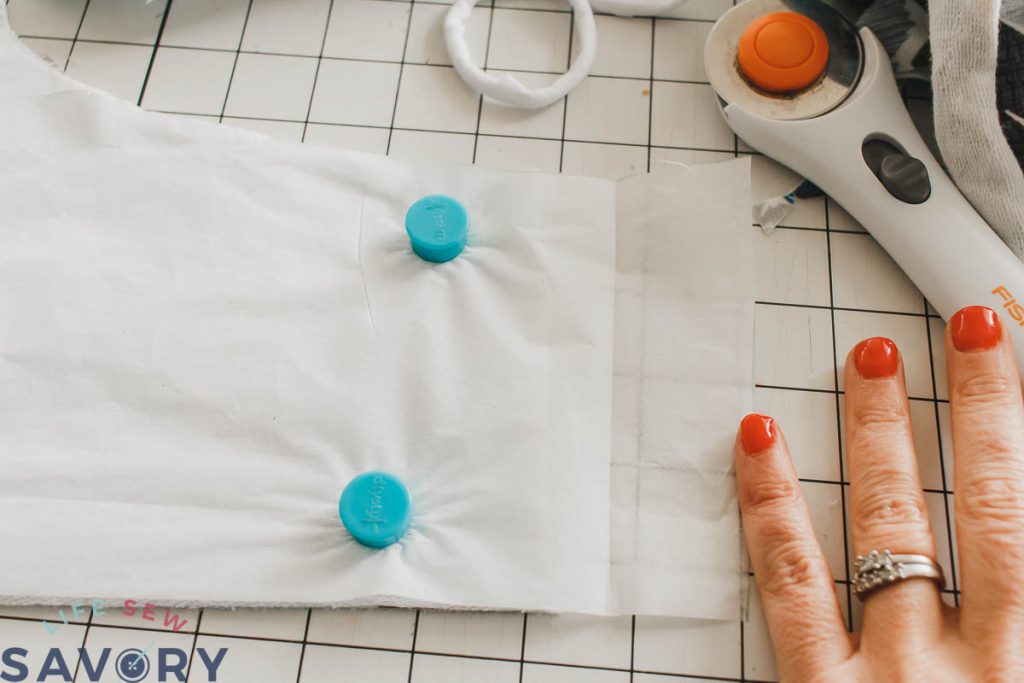
NOTE: if you don’t have enough length of your fabric, take 1.5 inches off the top and add a waistband {tutorial below} I did this for the blue pair, because I was squeezing the pants out of fabric from another project. here is my folded over pattern piece to remove length for the waistband.
Another link to download the free pattern.

Before you begin, think about what kind of pants you want to make. Is your mesh see through? Line them with this tutorial. Want to add a side stripe? Scroll all the way down in this post for details. I will also show how to add pockets in this tutorial. BUT… if you are looking for more pocket options and information you can check out this pocket tutorial and this pocket tutorial.
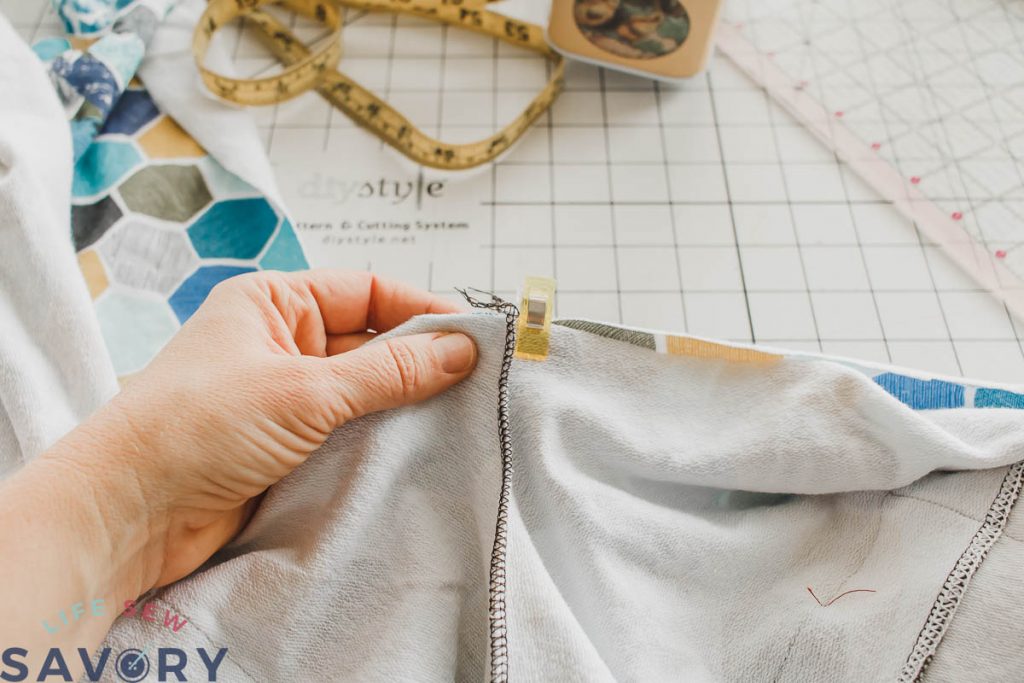
Start by placing the fabric right sides together and sew the front and back curved seam – fronts together and backs together.
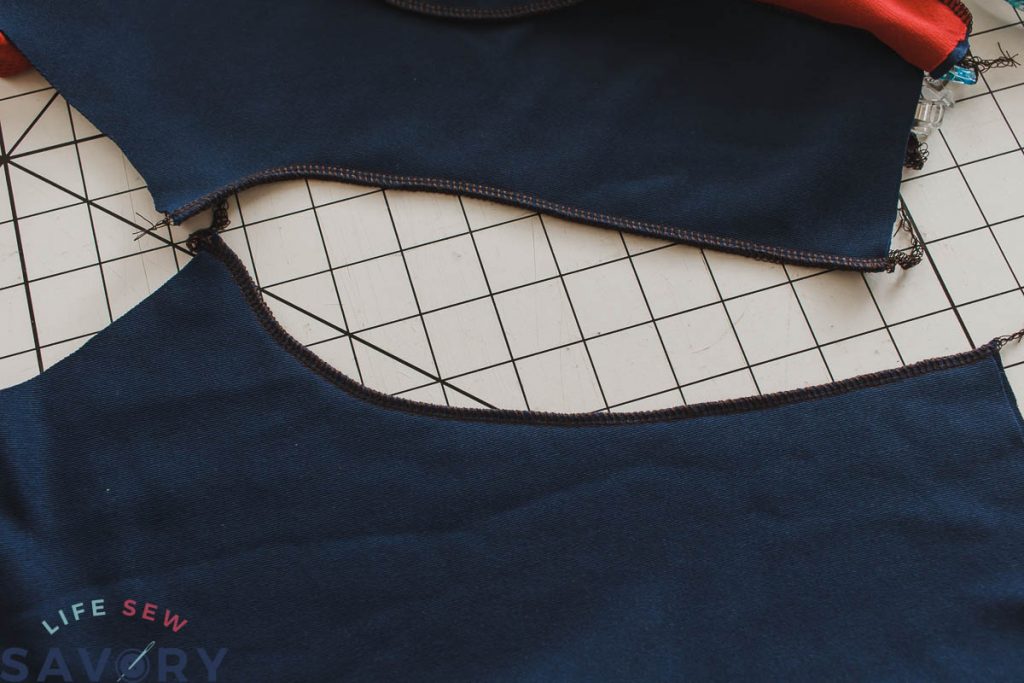
Open up the front and back and line up the side seams. Sew from top to bottom with right sides together.
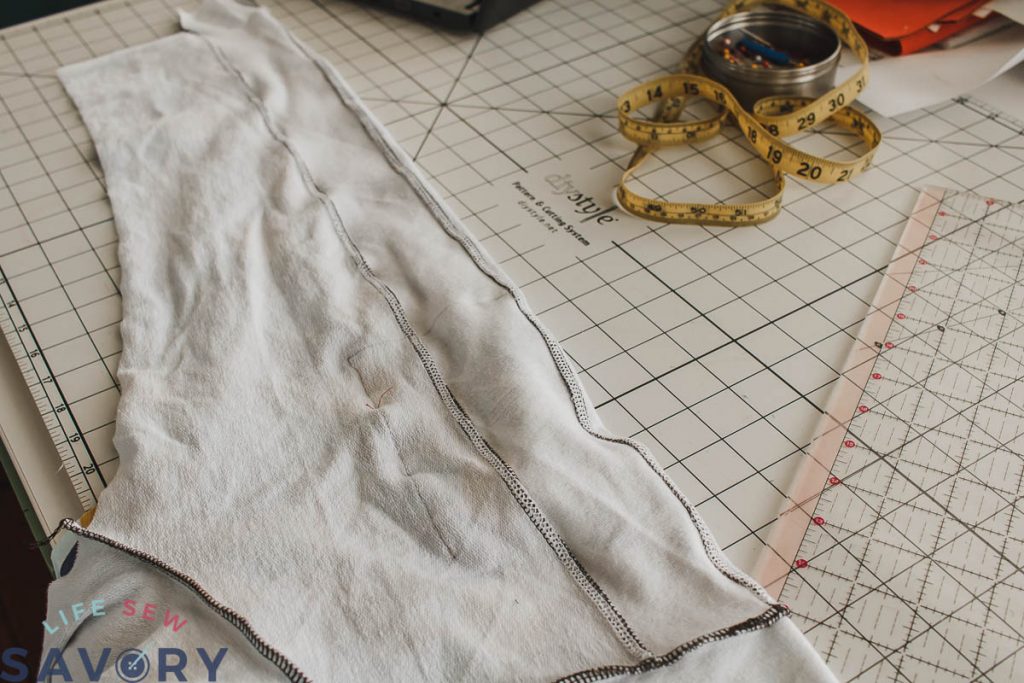
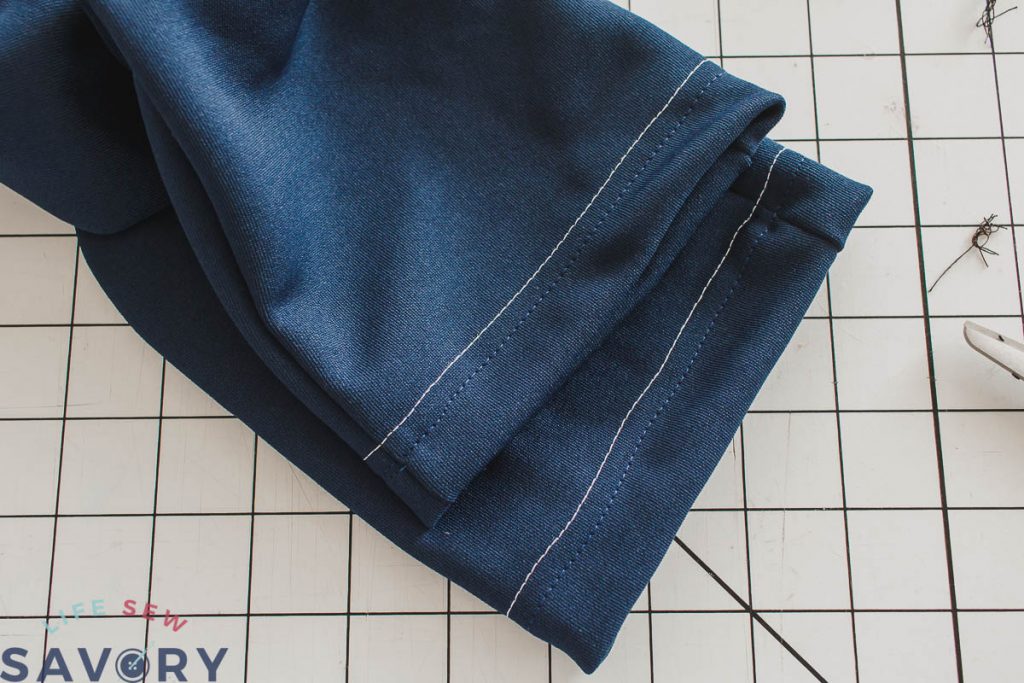
You can either hem your pants now with a flat hem as show… or in a round hem {shown below}
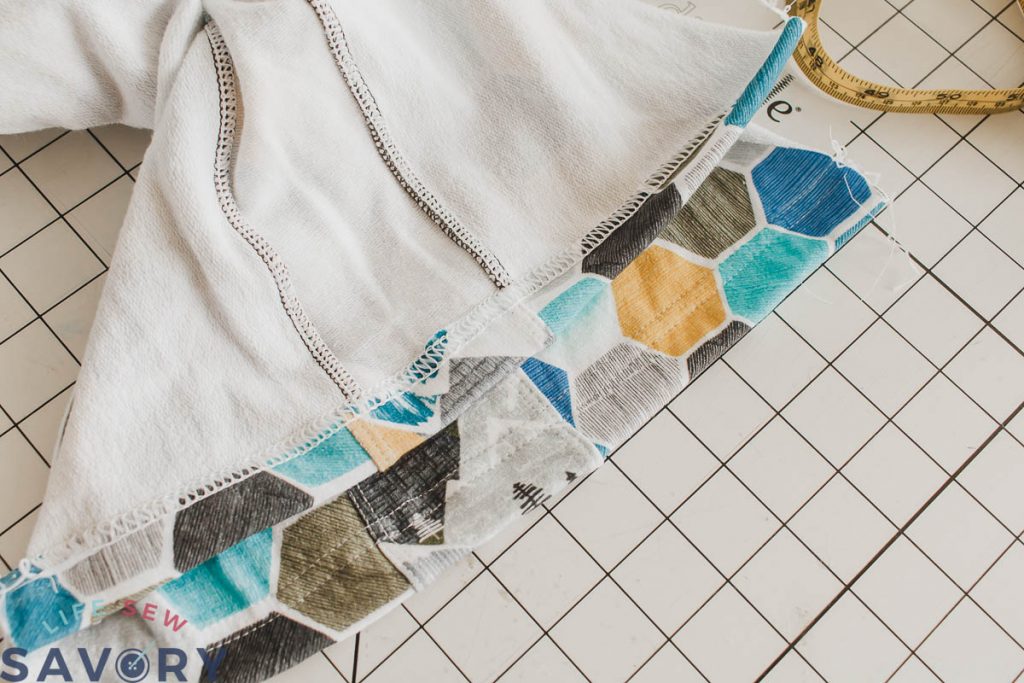
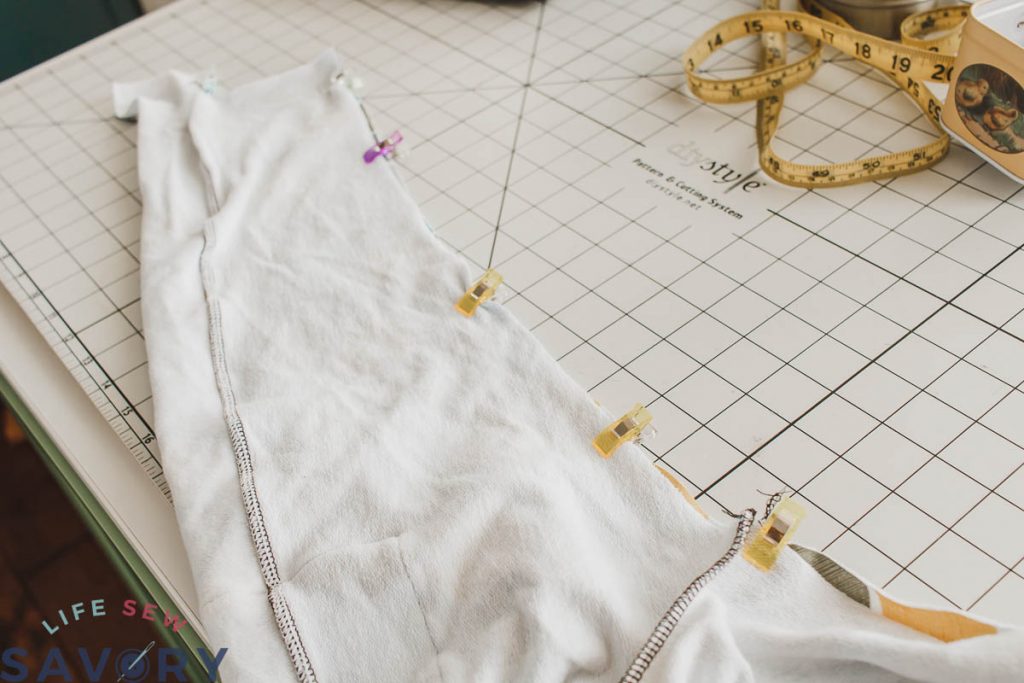
Sew the inseam. Match the center crotch seams, then pin or clip down each leg from the center. If the bottoms don’t match exactly you can trim to match.
If you didn’t hem the open leg, hem the pants now.
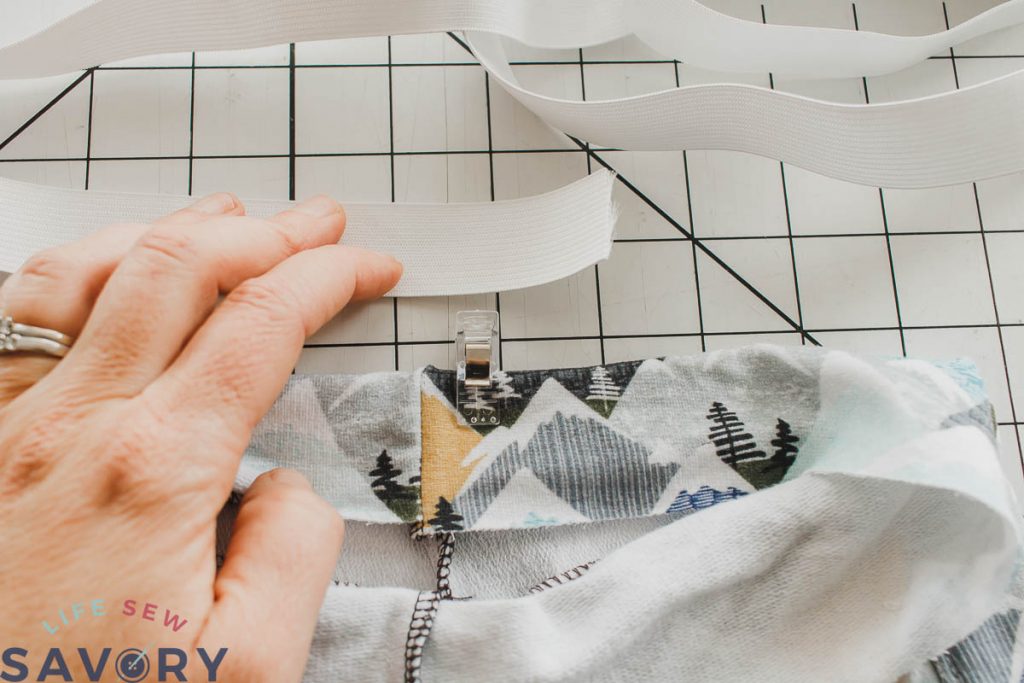
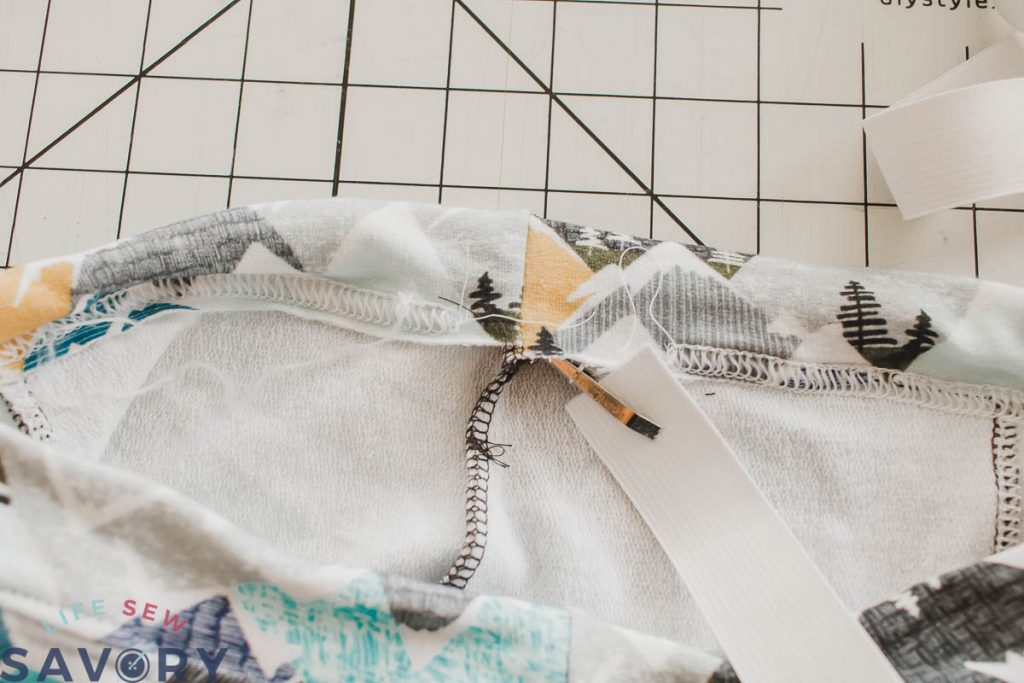
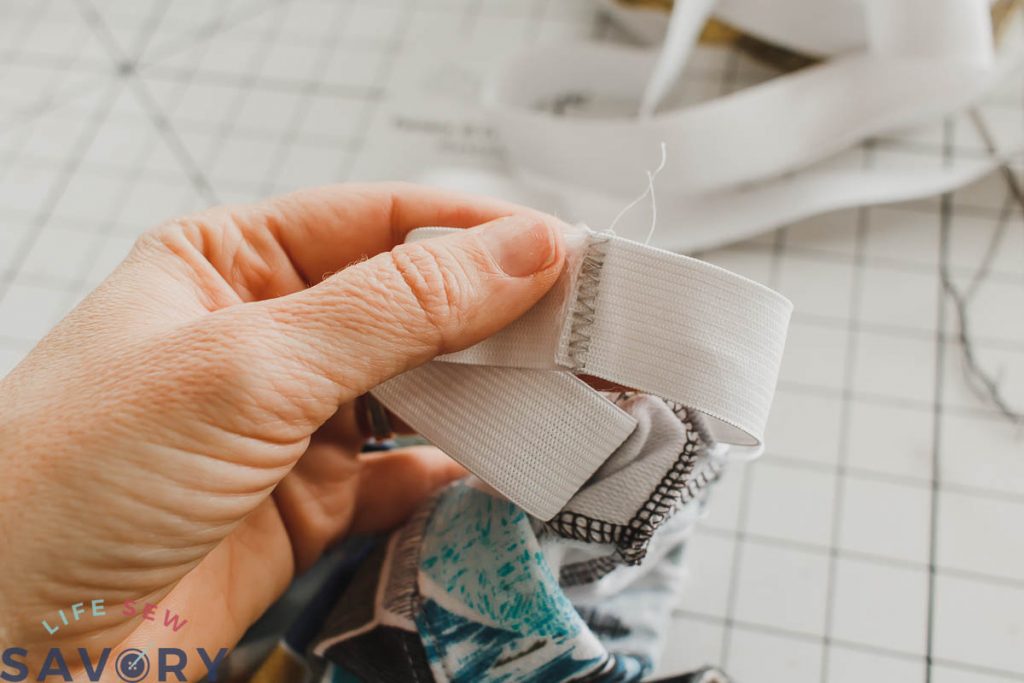
If you are using the pattern as original with the built in waist band, fold over the top 1.25″ and clip around. Sew the bottom edge of the fabric to create the waistband casing. Leave a 2″ opening for elastic threading. Thread the 1″ elastic through the casing and sew the ends together to create a circle. Sew the opening closed. I like to sew the waistband in place on the back and sides to prevent twisting.
If you trimmed the pattern and need a waist band added cut a 2.75″ wide piece of fabric for the waistband now.
Cut it the same length as the top of the pants. Sew the short ends of the waistband to create a circle.
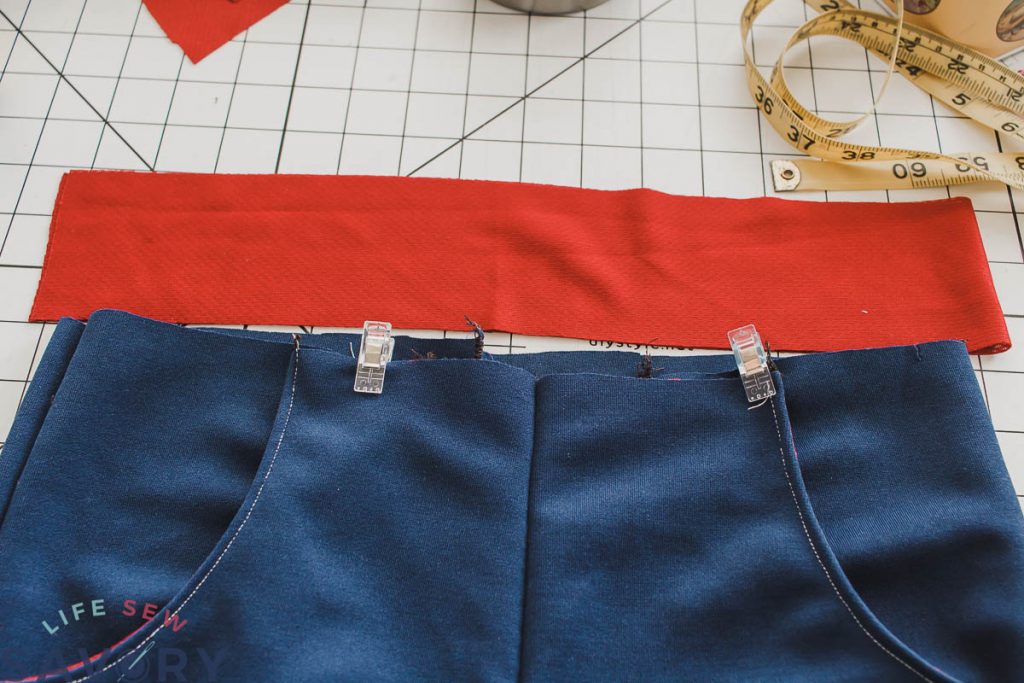
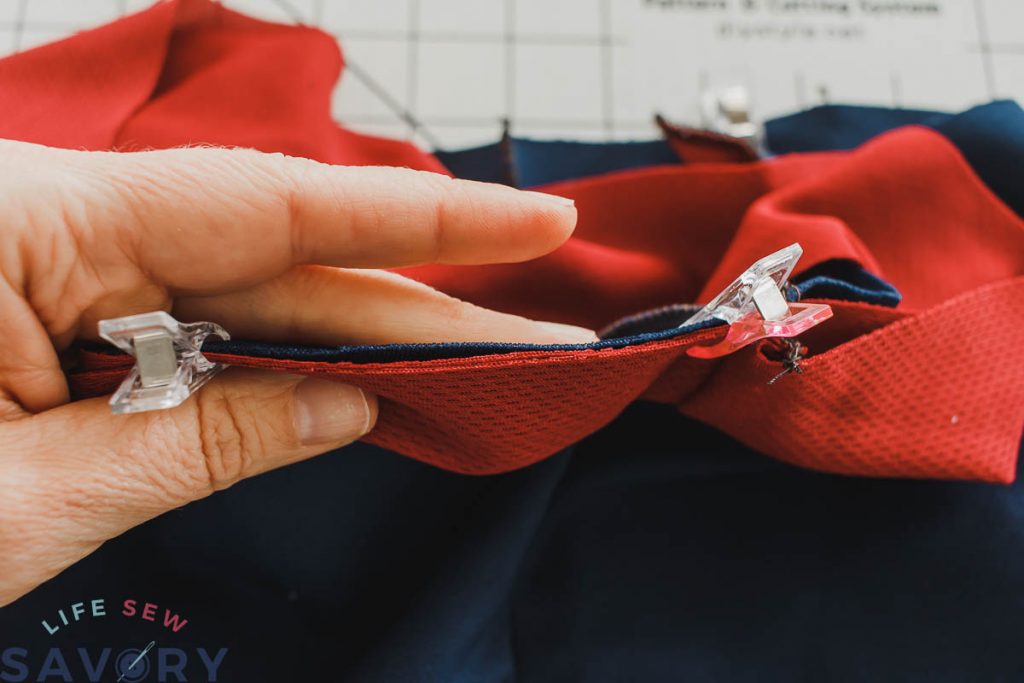
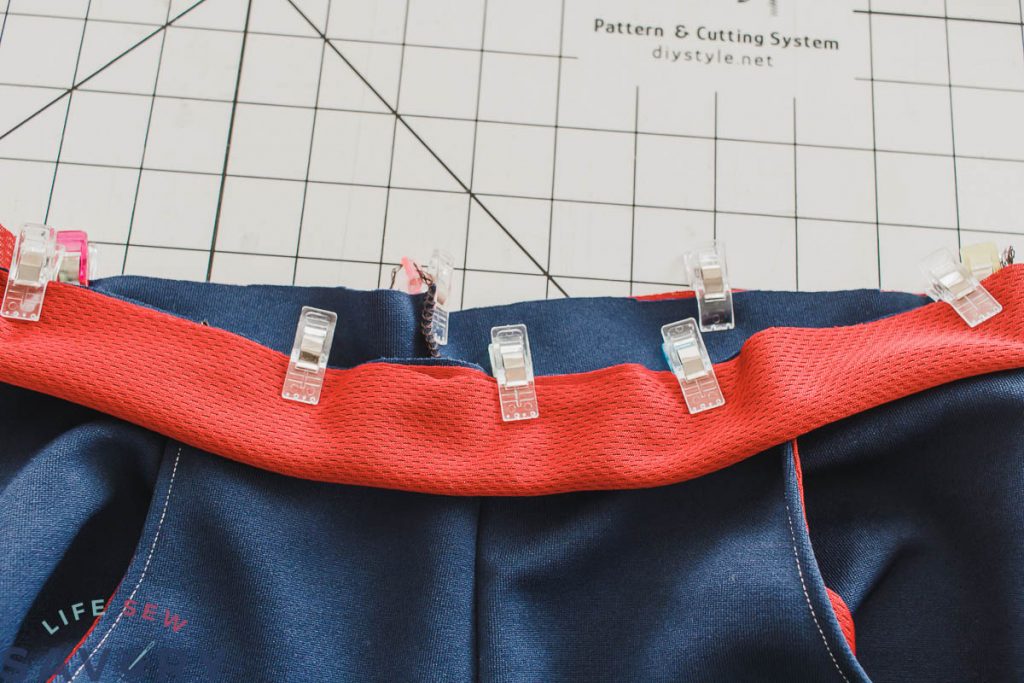
Quarter the waistband and quarter the pants and pin the raw edges together. You will have three layers of fabric. Sew around and leave a 2″ opening for elastic. Thread the 1″ elastic through the casing and then sew the opening closed. Secure elastic with stitches and add a tag if desired on the back.
Now you have sewn the basic pants shape. Here are a couple of hacks to add details and/or pockets.
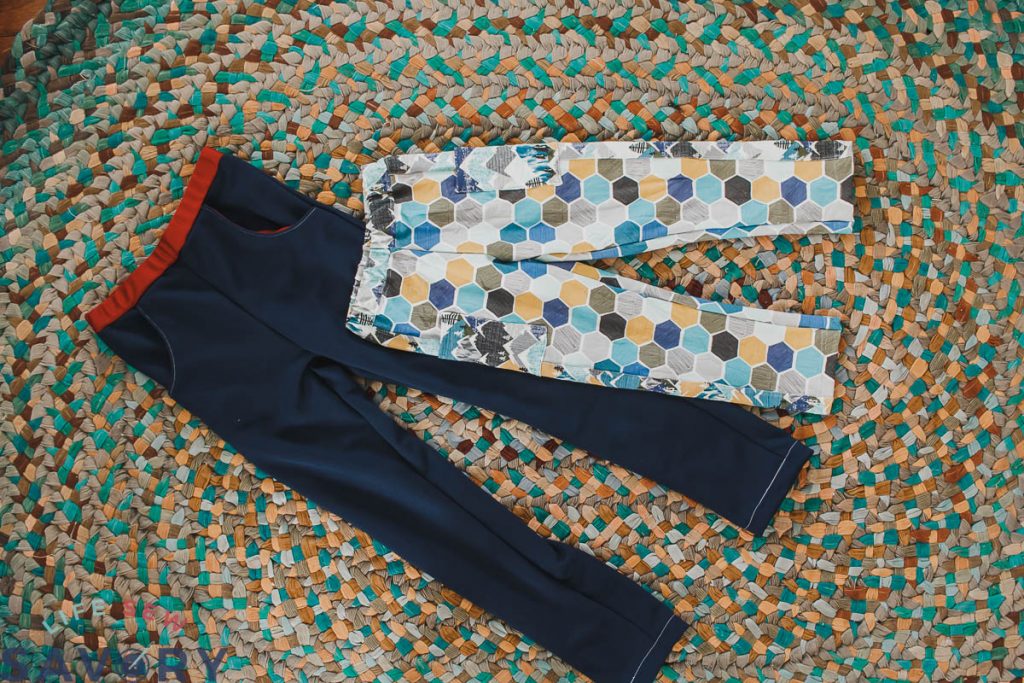
Side Stripe hack {with side pockets}
I’m going to show both the stripe and the pockets on these pants, but you can make just one option if you want.
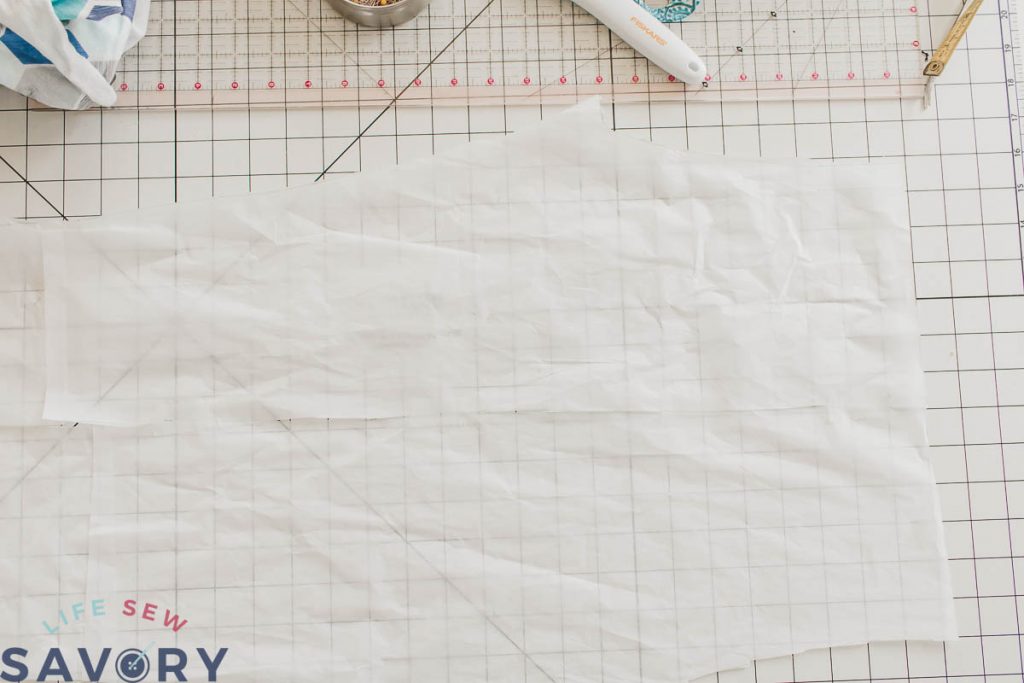
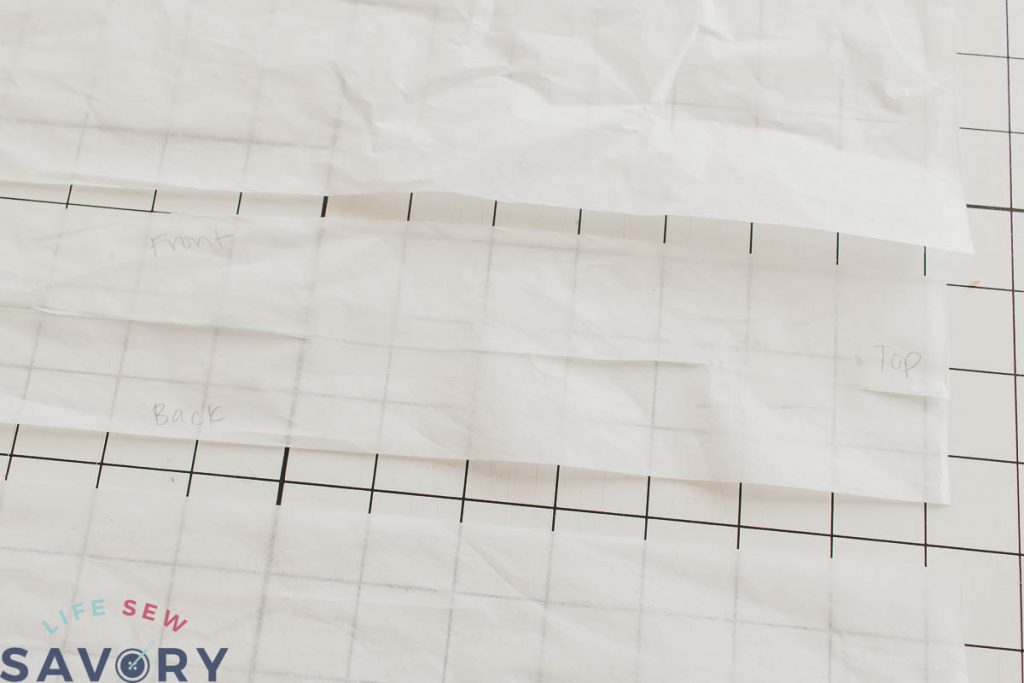
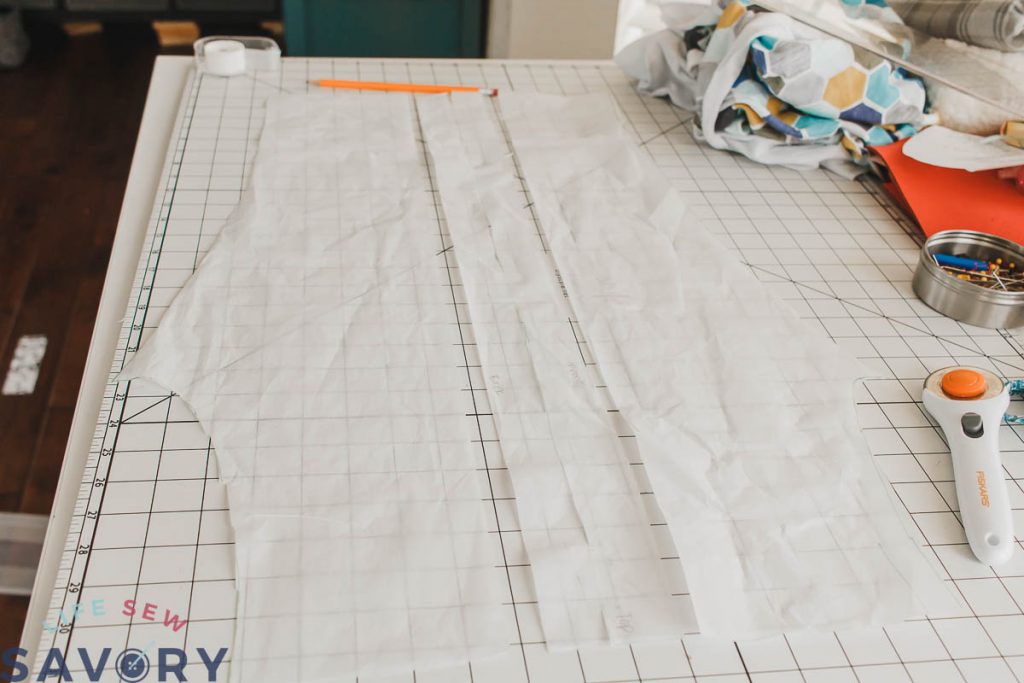
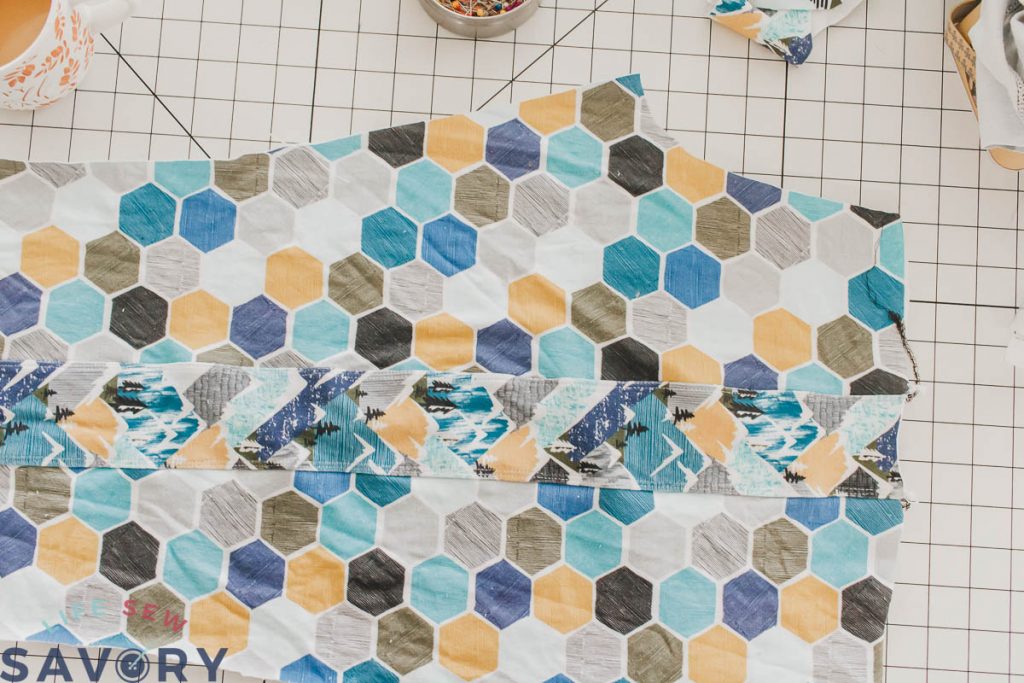
Begin by taping the side seams of the pattern together. I have traced my size on tissue paper and then taped together to create one large piece. Cut 1.5″ on either side of the taped line down the pants. {make narrower or wider as desired} Cut the pattern apart into three pieces.
Cut from fabric and sew just as directed above, only you have two side seams to sew. I like to top-stitch after sewing as well.
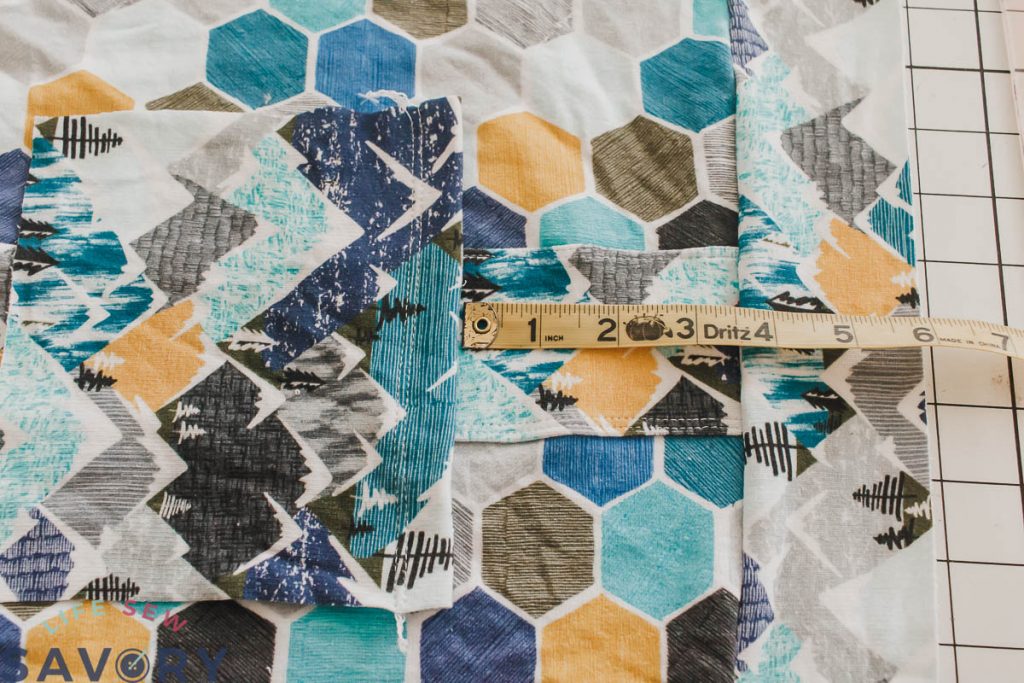
To add side pockets, cut two squares. Size will depend on pants size. Measure the side of the pants to see what a good size will be. Hem over the top edge of the pocket .5″. Pocket should be placed about 6″ from the top edge of the pants.
Pin to side of the pants, 6″ down from the top. You can either leave the raw edges showing or fold under a seam allowance before pinning and sewing. Sew the three sides of the pocket in place to secure. Easy and fun side pockets!
Pocket hack and tutorial
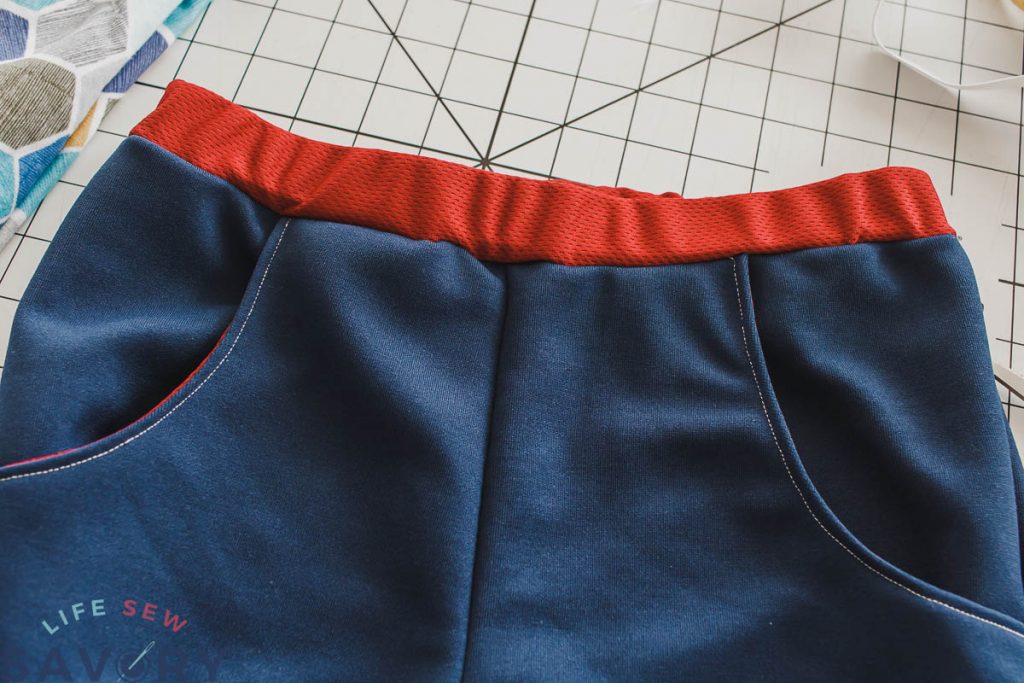
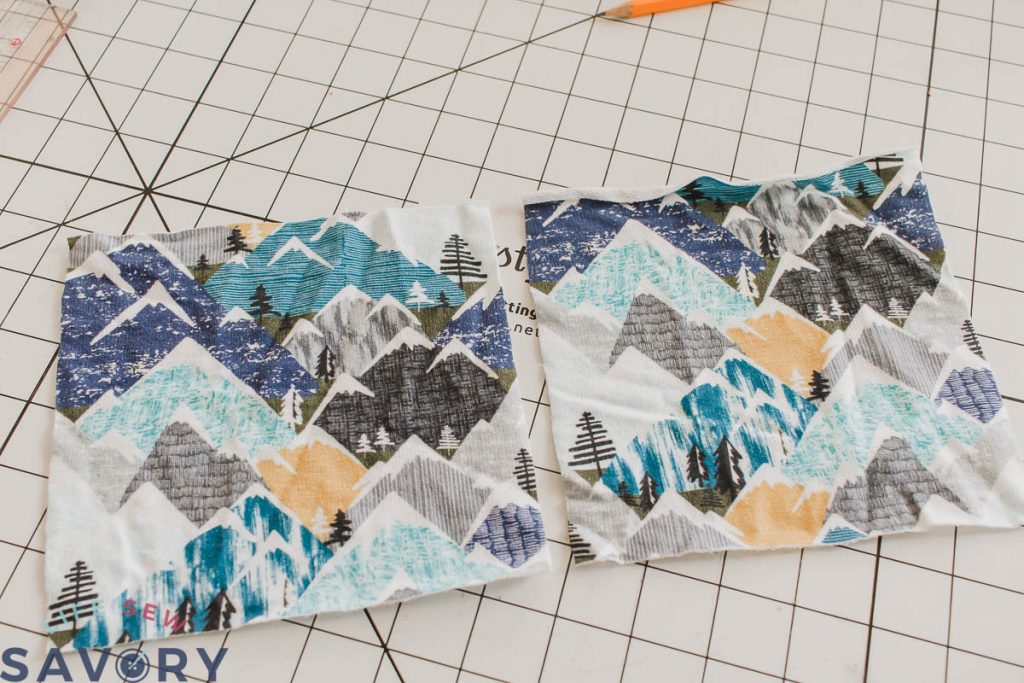
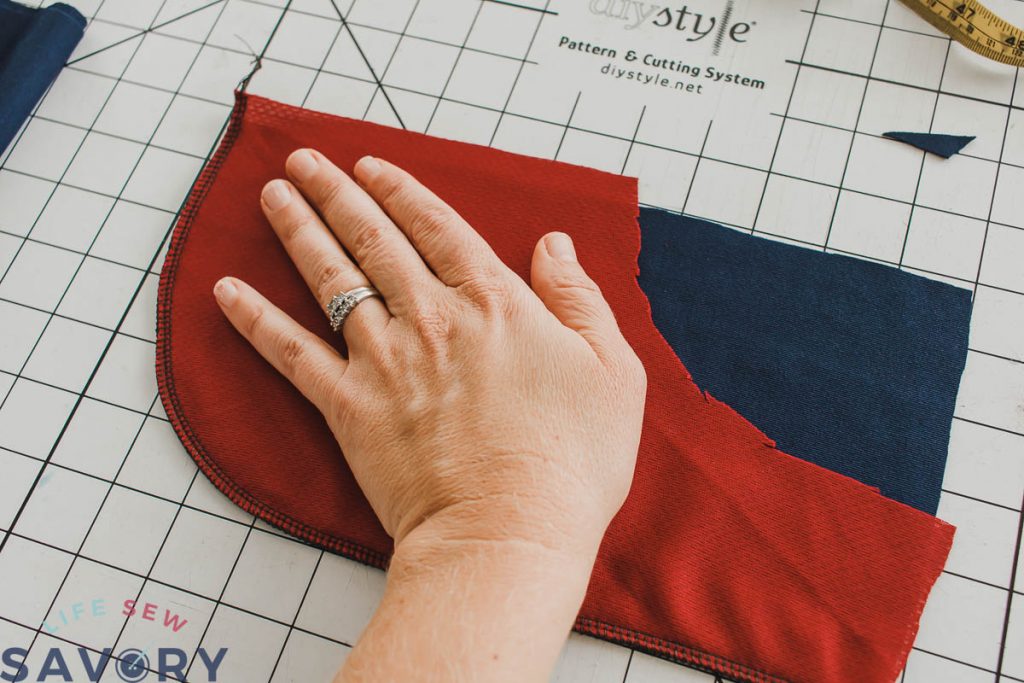
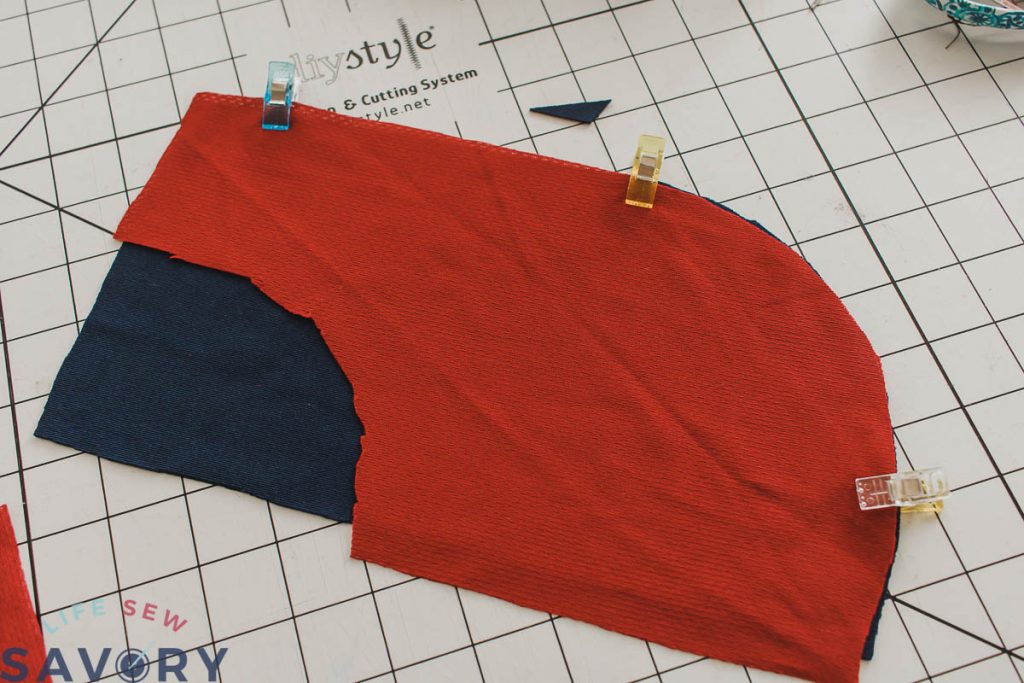
Here is how I created the pockets on the blue pants. Cut a scoop shape on the front pieces {I lay and cut them together} on the outside edge {opposite the crotch curve} On the size 10 you can see my scoop is about 7.5″ deep and 3.5″ wide. I’ve shown what this would look like with the shortened fronts {add a waistband} or with the full front {built in band} BUT, this style of pockets is usually made with a separate waistband so I suggest that.
Next cut 2 pockets and two pocket pouches. Mine are 6″ wide and about 11″ tall {they would be taller if making the built in waistband} Make sure a hand can fit in the pouch. Cut a matching curve to the pants on two of the pieces. Make sure to have two lefts and two rights. One of each kind.
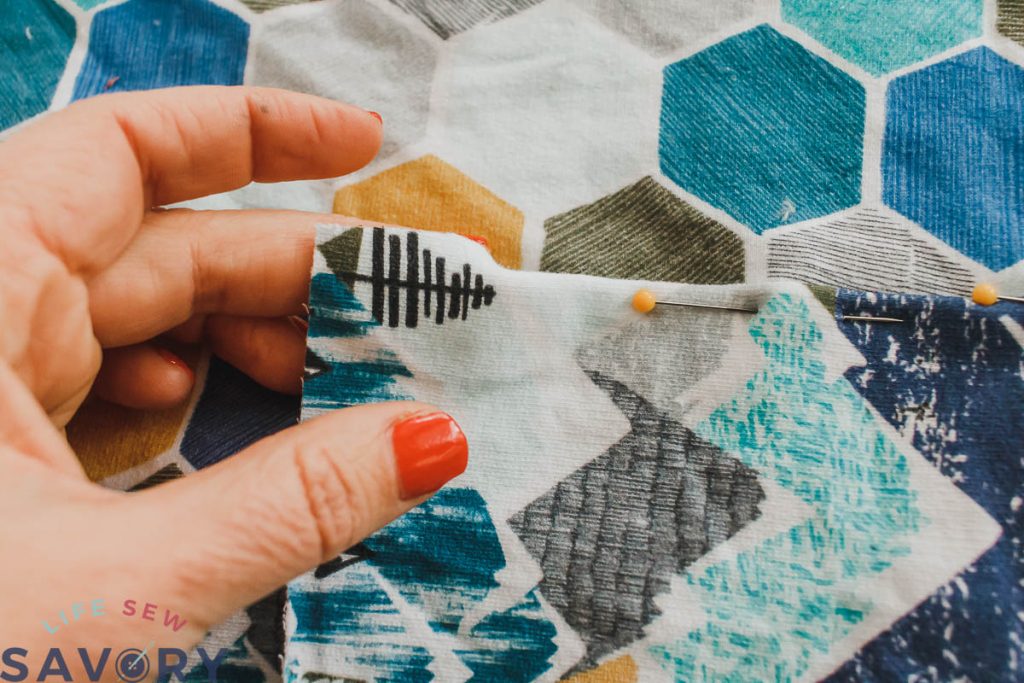
Pin the pocket together right sides touching and sew the curved outer edge. Then pin the small curve to the curve on the pants right sides together and sew. Flip the pocket to the back side and top-stitch. Pin the sides and top of pocket in place and finish sewing the pants as directed above.
All finished! Enjoy your new Slim fit Athletic Pants – joggers in whatever style to choose to sew them in. ALSO, share photos in our facebook group!!










Regina Fliehs says
Thank you for the pattern. I was just looking for something like this to make my granddaughter happy. The slim fit makes the pants suitable as leggings and she loves leggings under a dress.
mary says
With regard to the pocket of the blue trousers, I notice that you sew the pocket first and then attach it to the pants. All of the instructions I have read, say to pin and sew the small curve to the pants first, flip it over and then sew the two sides together. I will try your method as I always have problem sewing the sides together and my pockets always end up a lot smaller than they should and mismatched.
Emily says
There are a few ways to sew pockets.. I like to do this way, but you can sew however you like.
Brenda Schuette says
Just wanted to thank you for the slim fit pants pattern. Made a pair for my grandson in size 2 with size 10 length and they fit perfect. Just can’t find anything in the store that fits him. He loved them.
N Nossal says
what seam allowance do you use with this pattern?
Haydee Muir says
Hi, My mistake! I made the error of making it in 100% cotton jersey (T Shirt Knit with 20% stretch). Then made the mistake of cutting out 4 fronts!
So I had little choice but to cut the back pieces out of the 2x front pieces I had just cut. So the width of the leg was identical front and back. This also meant I had to recut the top of the pants pattern, front and back; to include a separate waistband. My waistband was 3″ folded in half lengthwise. I dropped the front rise by 1/2″.
As I had essentially cut off at least 1/2″ of the width of the back pattern piece, I elected to use 1/4″ seams, instead of 3/8″. I think I may have also slimmed down the upper thigh a little. I may have made other changes, that I don’t remember.
To my surprise, the pants actually fitted. They fitted more like pajama pants, as I had widened the lower leg a touch; I needn’t have done that. I also threaded elastic through the ankle seam. Great for a boy with short legs, and it has built in growing room, ( You just remove the leg elastic once the pants start to get too short).
My advice: Dont use a thinner fabric than specified, otherwise you will find yourself altering the pattern to fit. However the boy was very happy to have some comfy knit pants for spring and summer. Thanks so much!
Haydee Muir says
Just a note: I made size 8
Janice belcuore says
Made these for myself in largest size. At 5 foot three and 95 pounds they are the perfect fit fit
Emily says
How fun is this!!! Would love to see a photo!