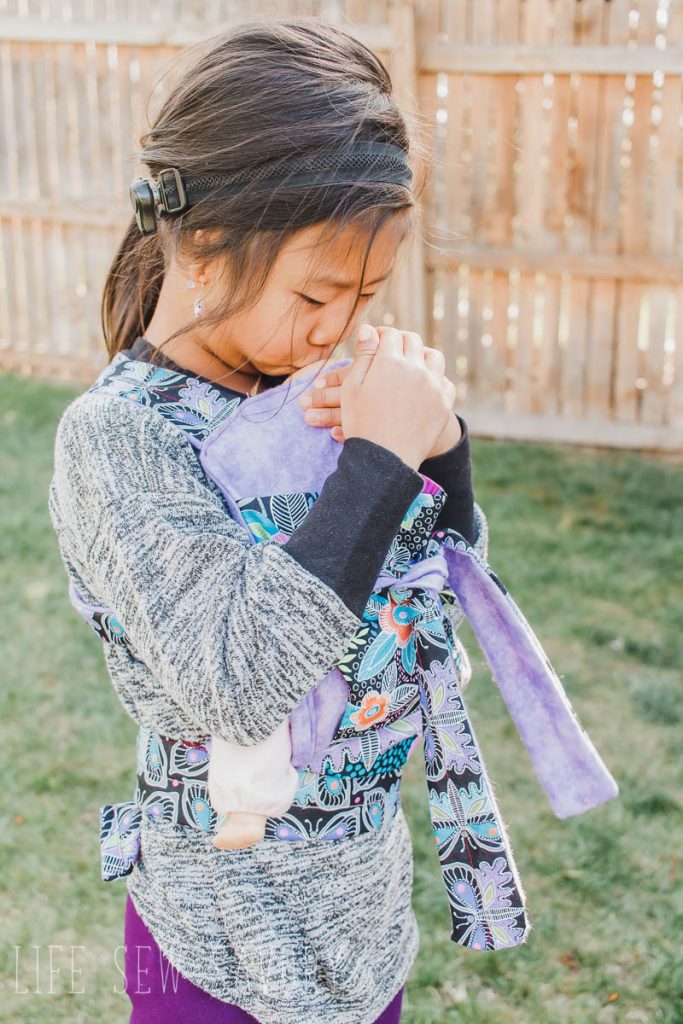
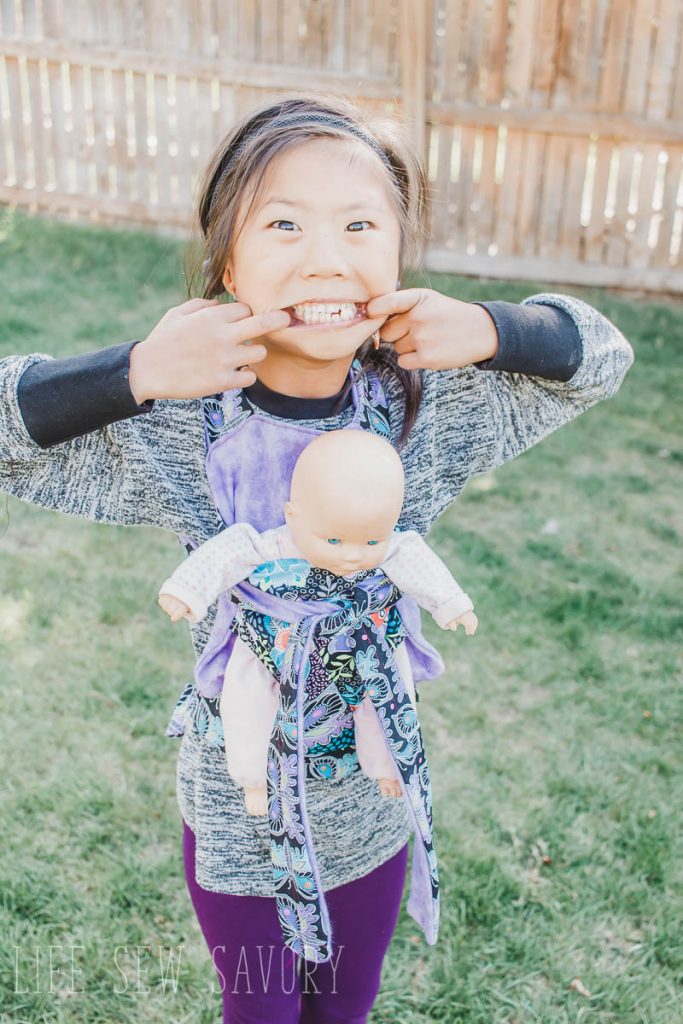
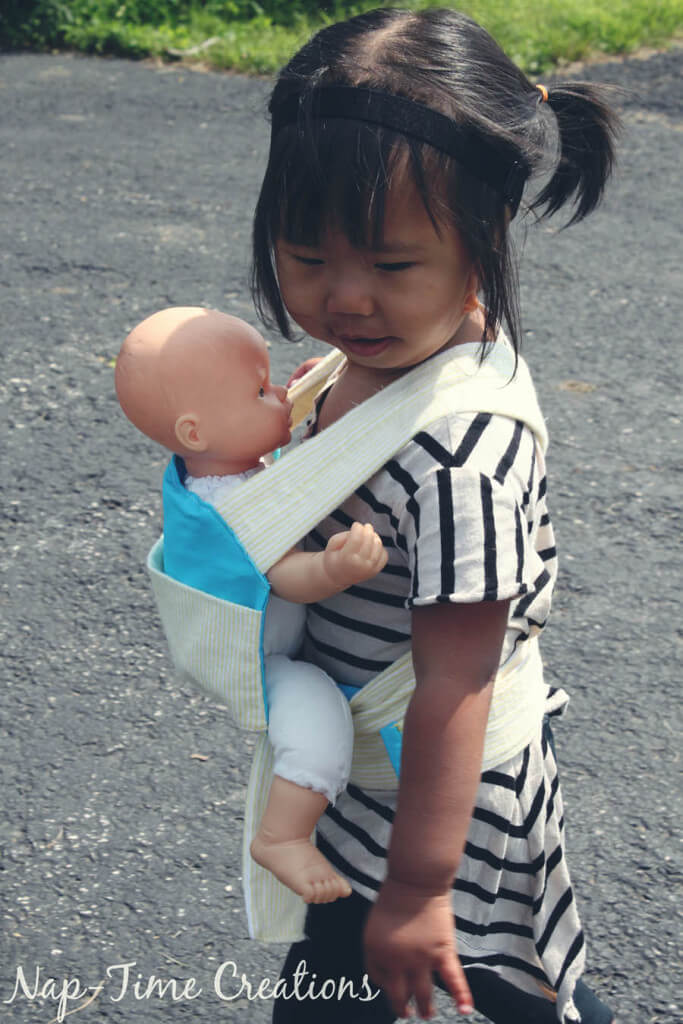
inside: a baby doll carrier free pattern in two sizes. Your kids can wear their baby dolls or animals tow ways – facing in or facing out for fun play.
{this post has been updated May 2020 with some new {clearer} instructions, more photos and TWO sizes of doll carrier for you to sew. Original post below}
We’ve had our girl home for over a month now and it’s been an amazing and wild ride. There are things that have been so much easier that I anticipated and some things that are much harder. Overall we are just so in love with this little one! While we were waiting for approval to travel I kept myself busy with sewing, and one of those projects was this baby doll carrier free pattern and tutorial that I’m sharing with you today.
Join the Life Sew Savory Pattern Group for support on this pattern!
Featured on All Free Sewing in this post of Free Doll Clothes and Accessories.
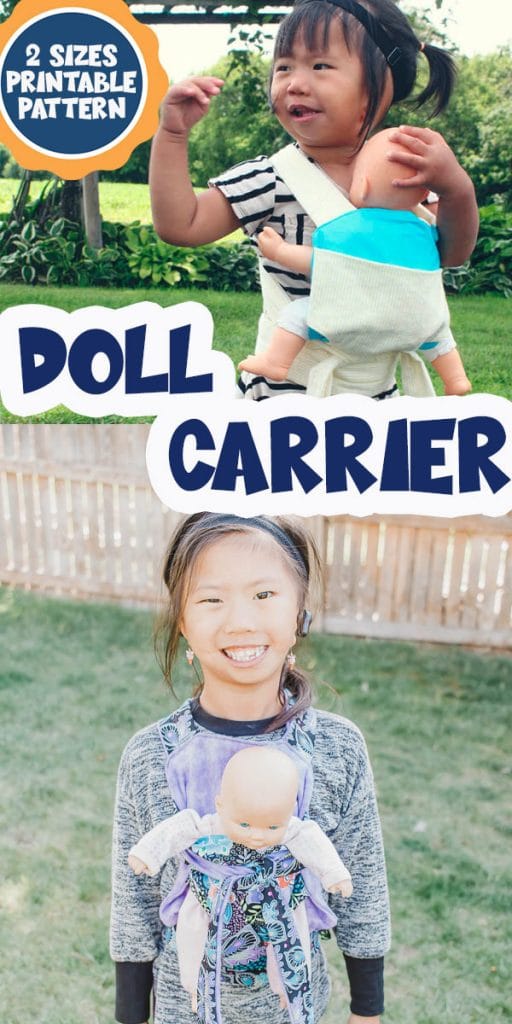
Doll carrier free sewing pattern –
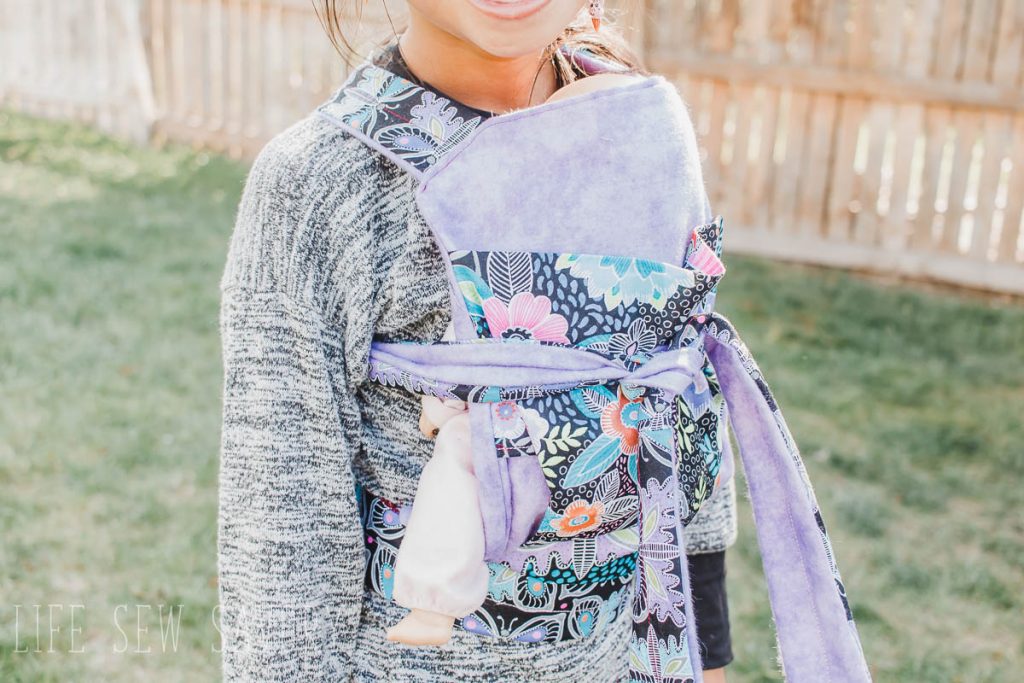
This doll carrier has a velcro waist and a cross back – tie in front shoulder strap. Little ones may need a bit of help putting on the carrier, but they should be able to take it off by their self when done playing.
The waist is adjustable so great for different ages to play, or for your little one to grow. NEW- the pattern now comes in TWO sizes. Toddler {1-3} and Kid {4-7}
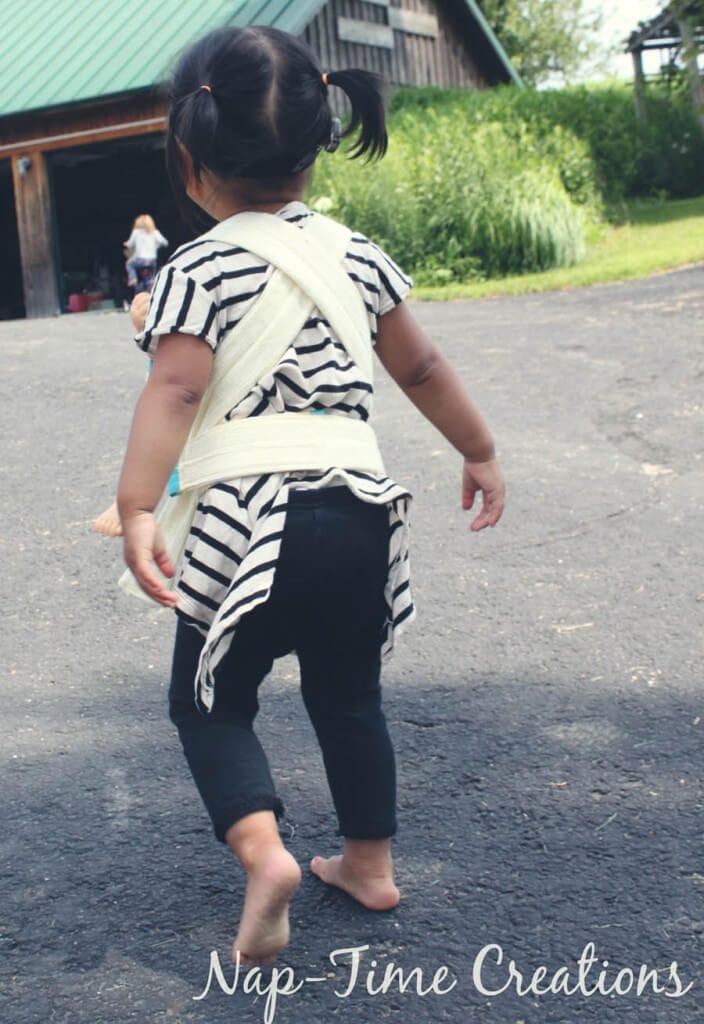
You can also wear your baby doll facing out!
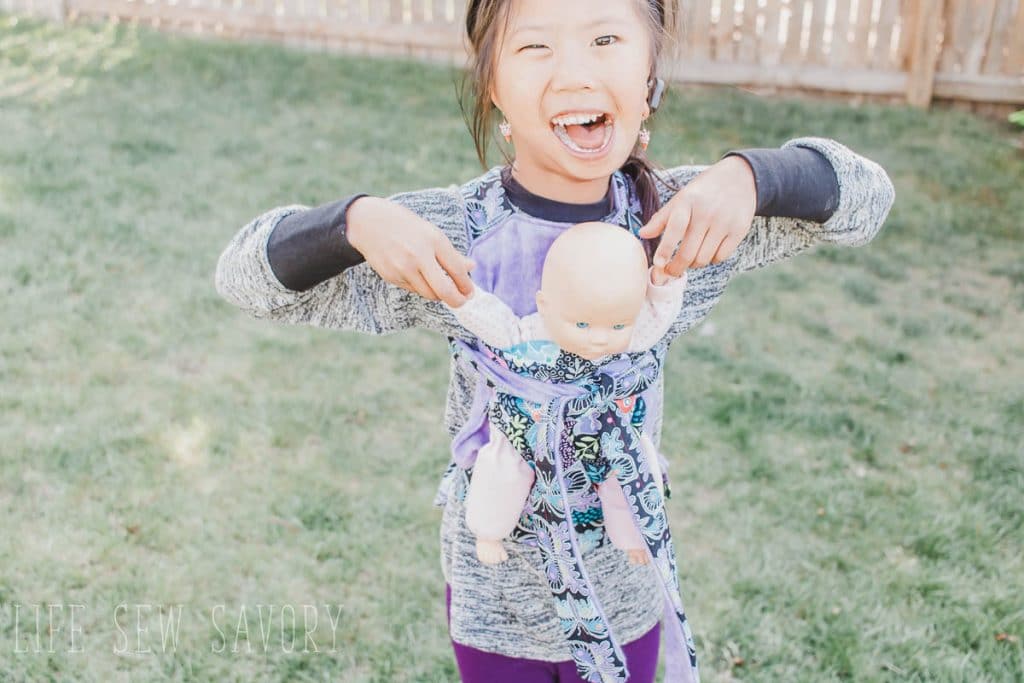
I love when my kids {boys or girls} play with babies/animals and nurture them in a way that gives me a glimpse of them loving their own kids someday. Here are some other fun free sewing patterns for dolls:
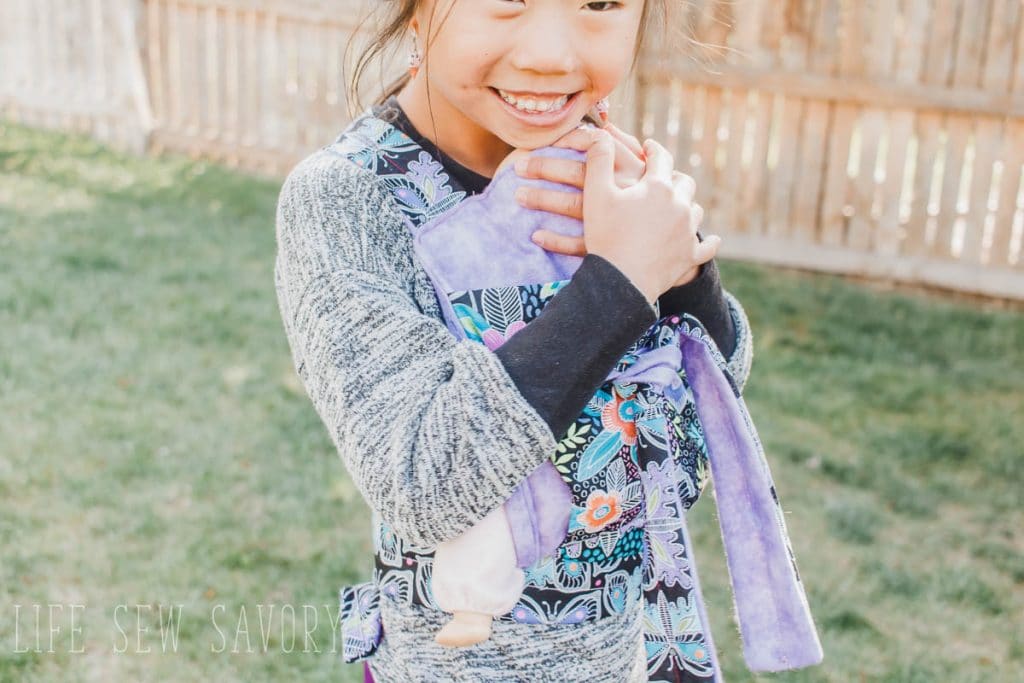
NEW the pattern now includes TWO sizes so bigger kids can play as well. ALSO – the file you will download as a SVG file if you want to cut the fabric on your Scan N Cut or other electronic cutting machine.
Alright! Ready to go?
Down load the pattern in my site shop HERE.
Want a printable pattern of the whole thing? You can purchase the free download AND a ad free printable version of the tutorial HERE for $2.00.
Need help downloading, printing or assembling your pattern? Check out my All About PDF’s post here.
Supplies:
- Printable pattern {links above}
- ¾ yard fabric {can mix and match a few colors}
- ¼ yard fusible fleece or thin batting
- 1” Hook and loop ½ yard length
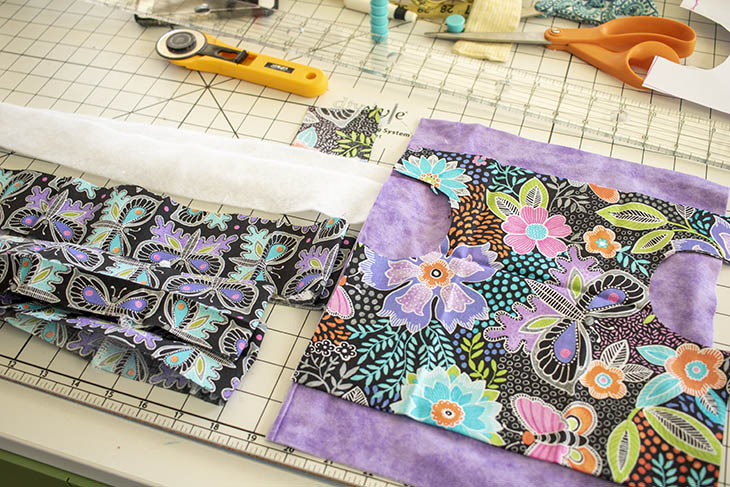
Here are all my cut out pieces. I cut the template and straps from the same fabric and the main and tabs from another. Use a 3/8″ {1 cm} seam allowance throughout.
You should have:
- 1 of template of fold
- 2 carrier main
- 4 straps
- 2 of batting/fusible fleece
- 2 waistband
- 1 of batting/fusible fleece
- 2 end tabs from pattern square
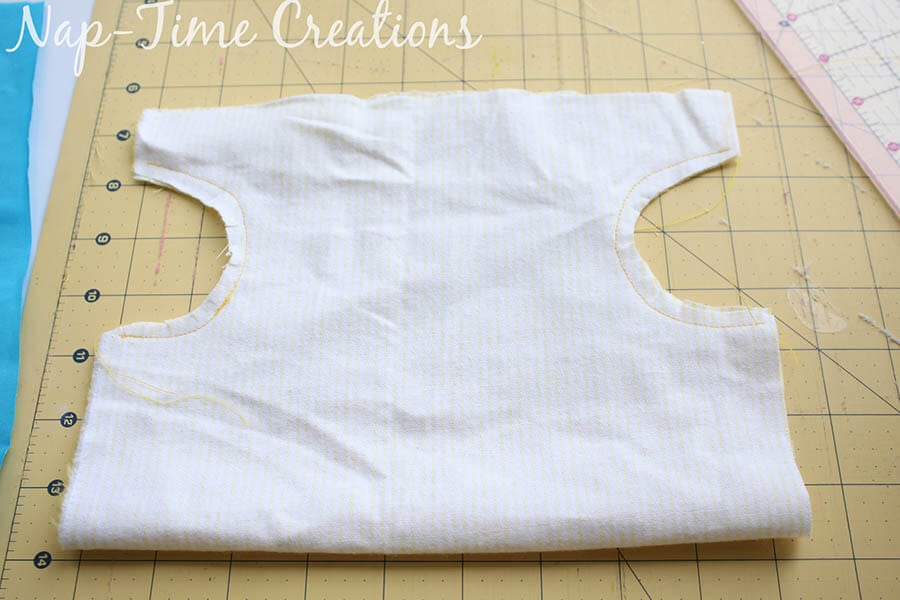
Fold the template piece right sides together and sew the curved half circles. Clip the seam allowance.
Turn right side out, iron, and top-stitch the curve.

Now we will work on the waist strap. With right sides together sew one long side of the two waist strap pieces.
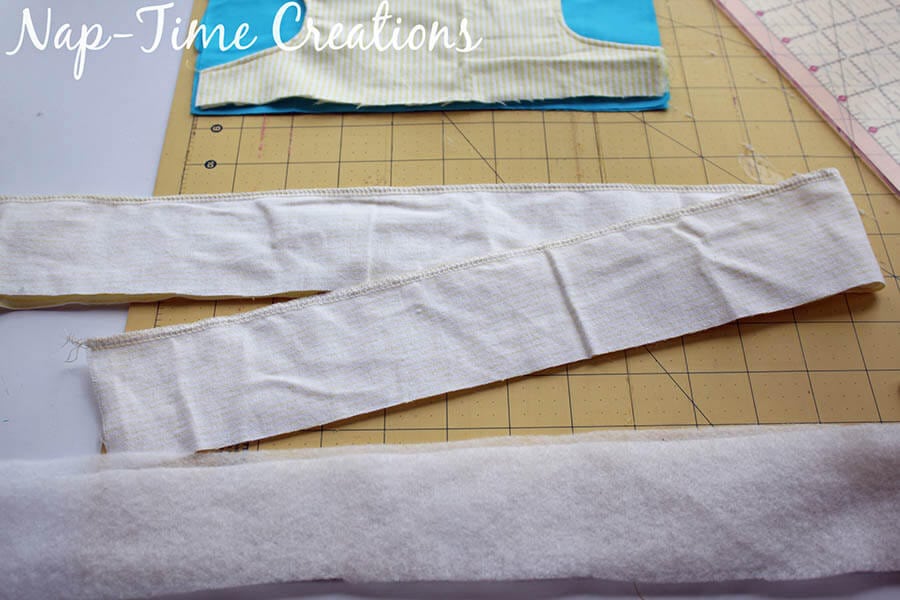
The original waist strap directions were a bit confusing and I can’t even remember why I wrote them like that so here are the new version.
Center the waist fusible fleece in the middle of one side of the waist band. Fuse to the fabric.
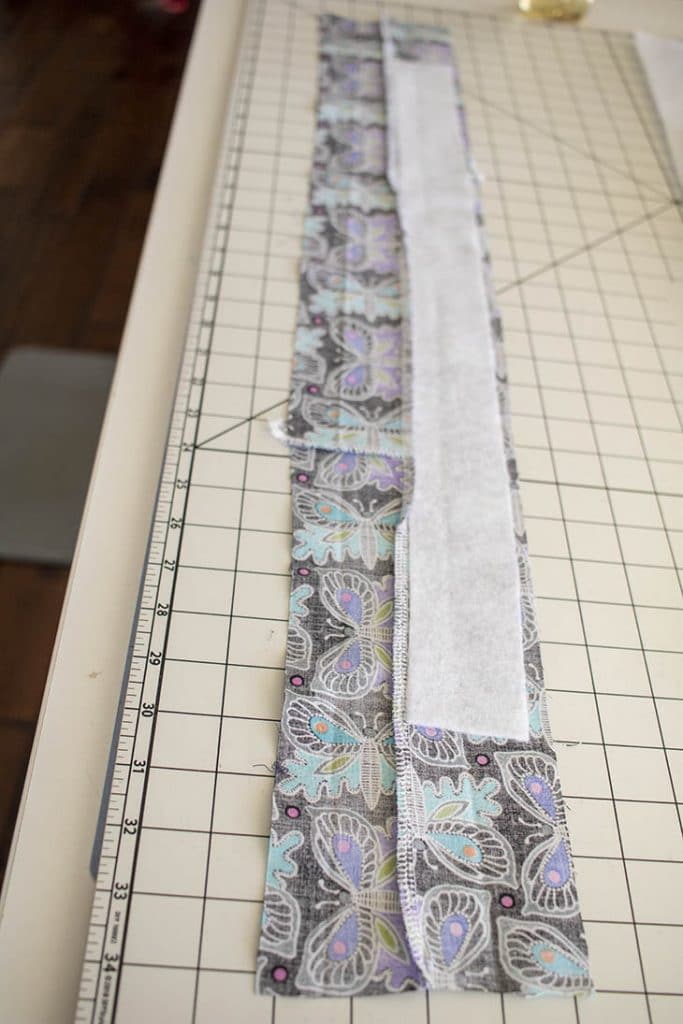 Fold so the right side is out, with the batting inside and sew down the middle to hold together. You still have one long side open.
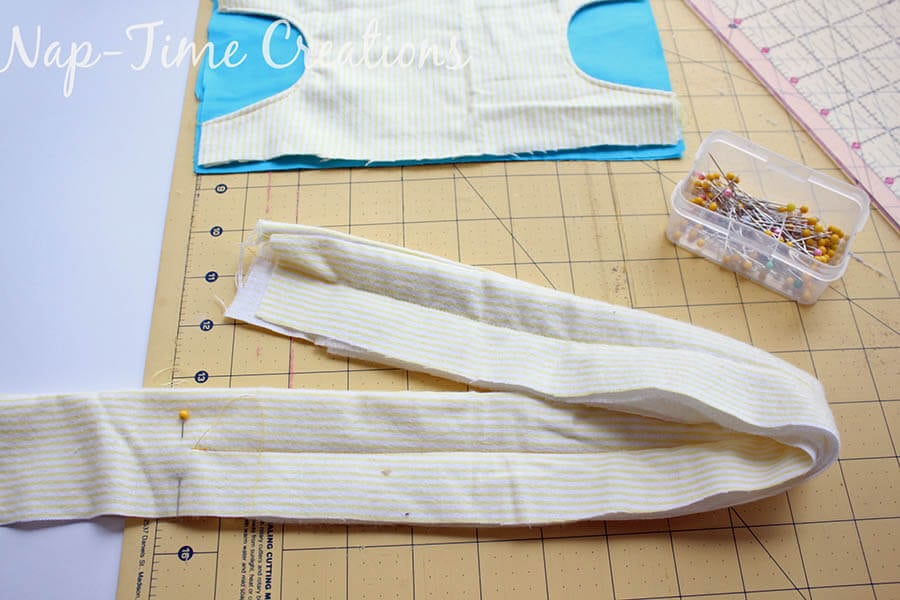
Place one of the main pieces right side up and put the template piece on top. Line up the bottoms.
Now, find the center of the waist band and the center of the carrier piece. The carrier template piece should have the fold UP and the unfinished edges down. The raw edges should match up.
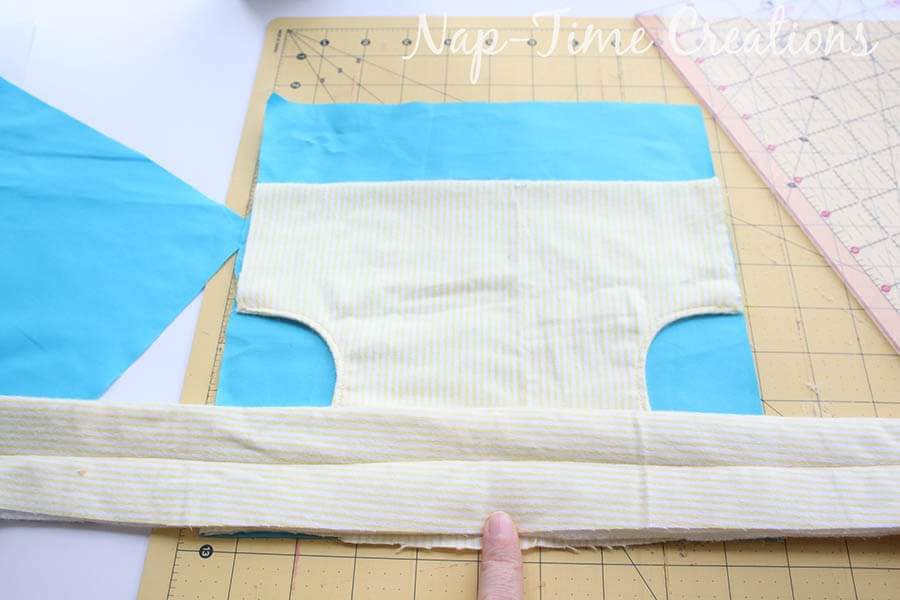
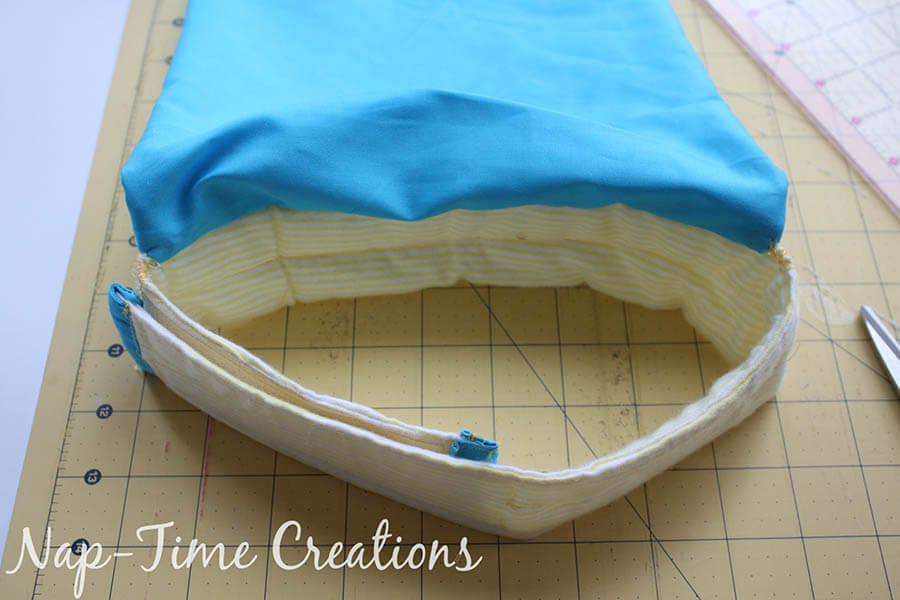
Place the other main piece, right side down, over the other one. Match up the top and sides. Pin and sew along the bottom, catching all the layers. Do not sew all the way across – see photo below.
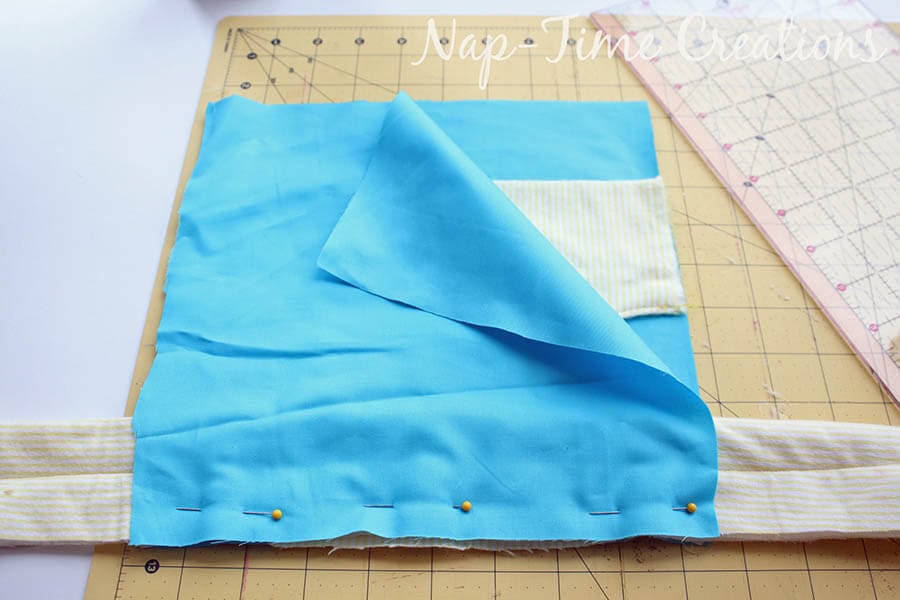
Leave 1/2″ on either side not sewn.
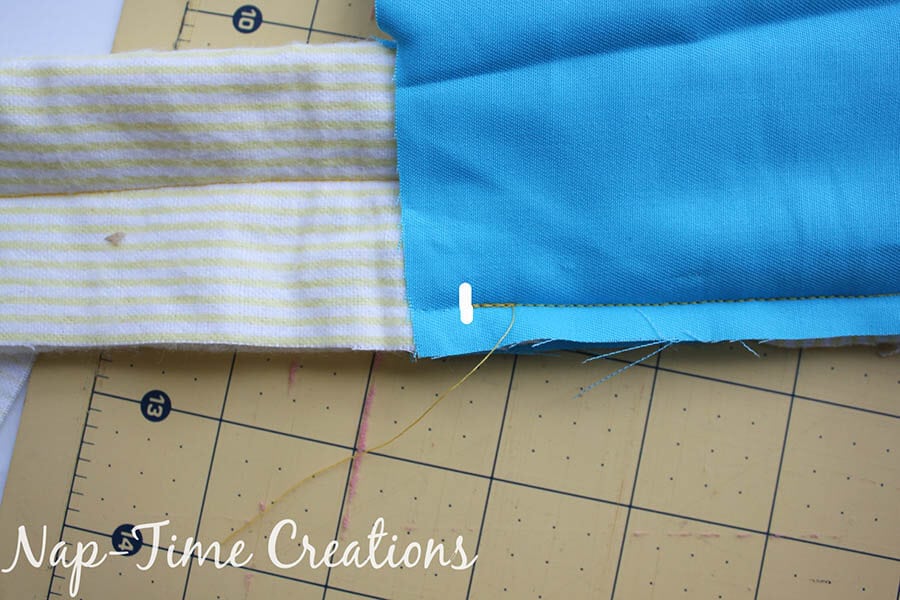
When you open it up, you should see this…
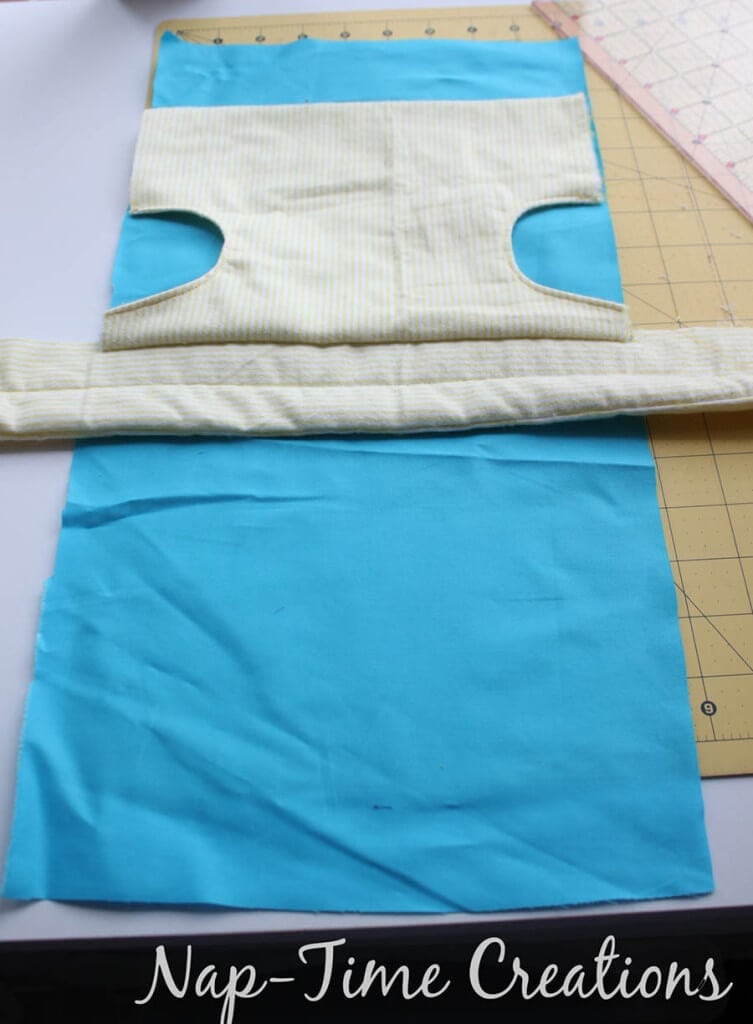
Now, fold in the waist straps on both sides and bring the carrier main piece over the top. 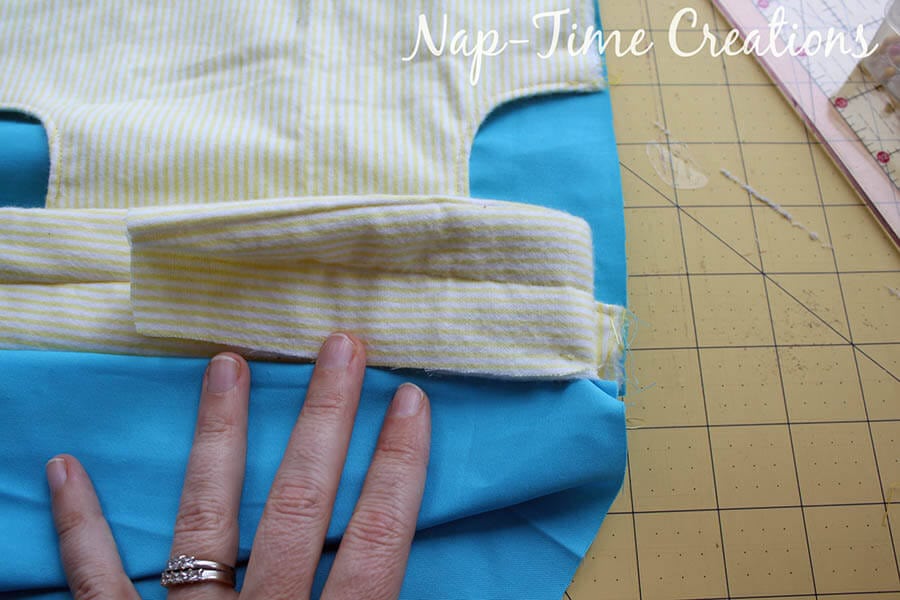
Pin each side and sew. Catch the template piece when you sew up the sides. DO NOT sew the top. {yet}
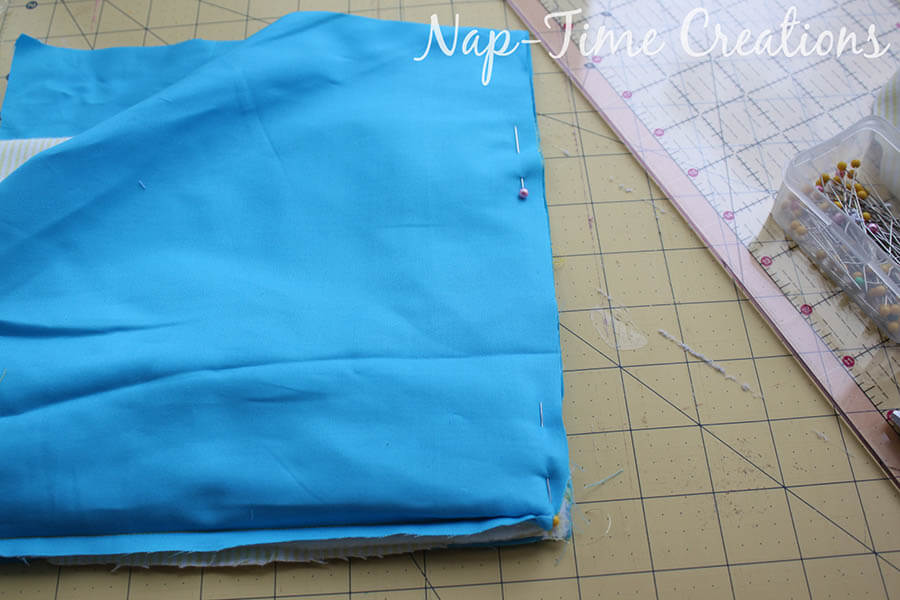
Turn right side out. You should have sewn the side seams and enclosed the waistband.

The top of the waistband are still open. Fold under 1/4″ and sew. 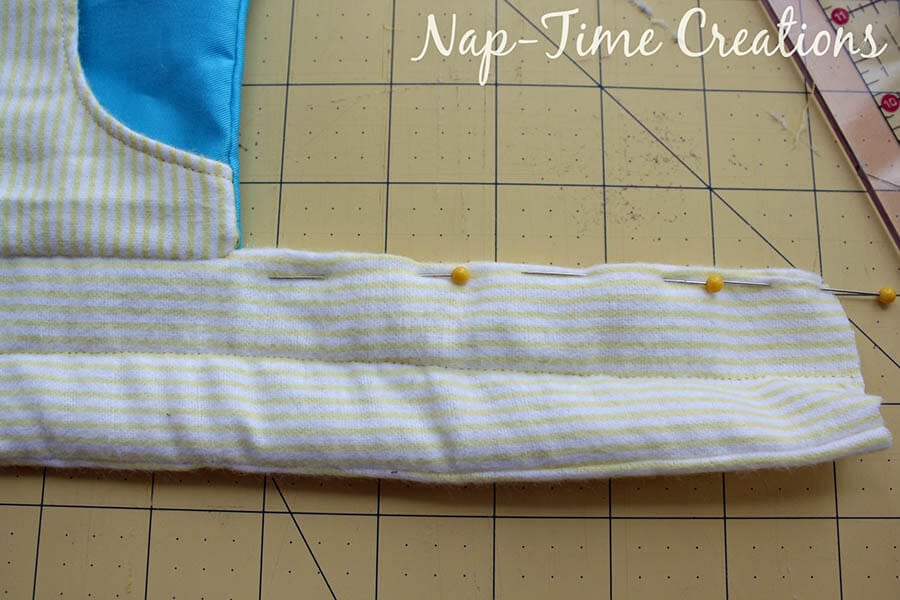
Fold the strap tab in half and sew one short side and the long side. Turn. Fold in the open side and top stitch.
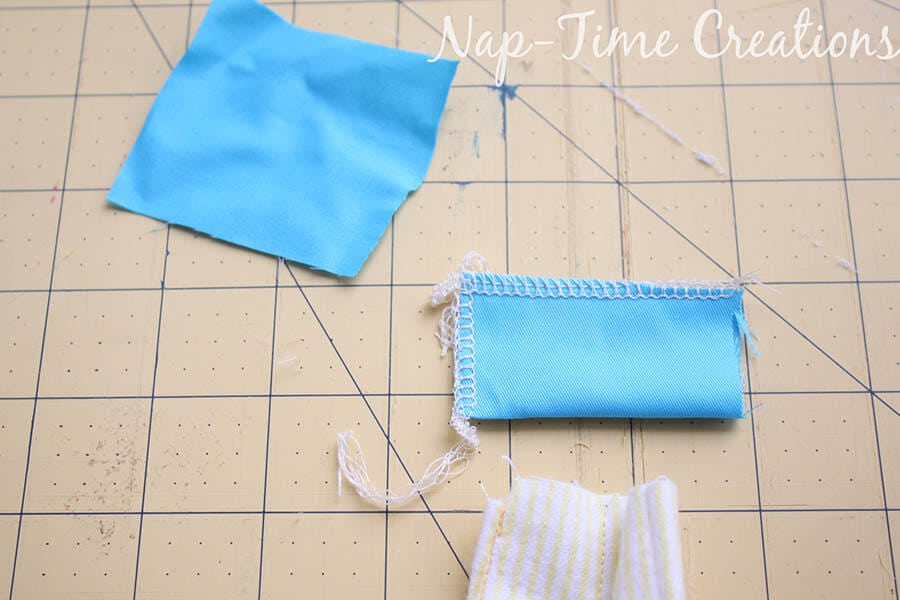
Sew to the short end of the waistband by folding over the top and stitching.
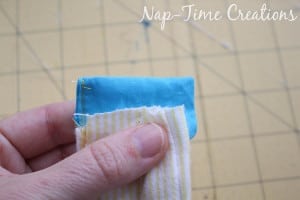
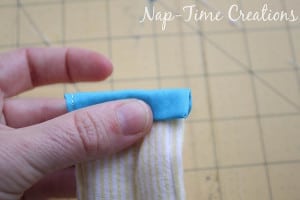
Finish both ends of the waist band like this.

Sew your 1″ velcro strips to the waistband. The velcro should be cut to 6″. Sew two strips to the front and 2 to the back. The velcro will overlap more on smaller kids and less when someone with a bigger waist wears the same carrier. It also allows your little one to grow. 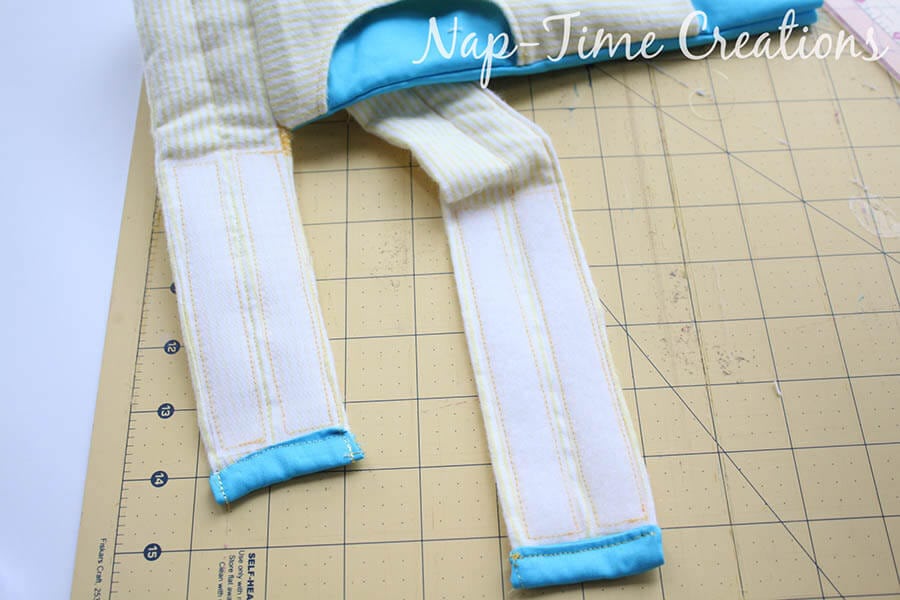
here is what it should look like when the waistband is on… The new version has the waistband the same on both sides, so they will overlap at the back middle.
Ok, let’s finish up! Take two strap pieces and one strap batting. Fuse the fleece/batting to one side of the straps, leaving 1″ at the top – there will be more without fleece at the other end. Place straps right sides together and sew.
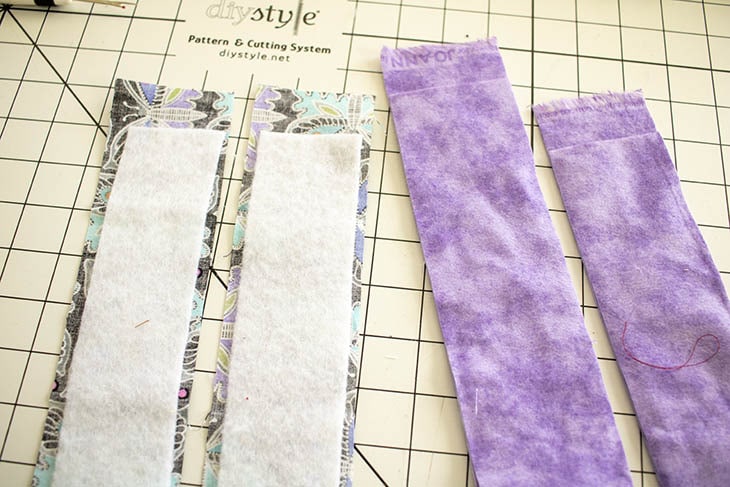
Sew the short side that doesn’t have the batting anywhere near the end and sew both long sides. The end with the 1″ then fleece should be open to turn.
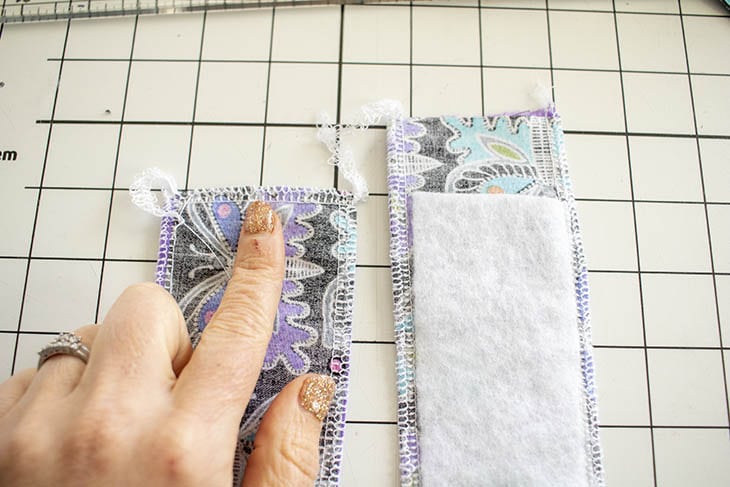
Turn to right sides out. Top-stitch down the center to hold it all together. Repeat with other strap.
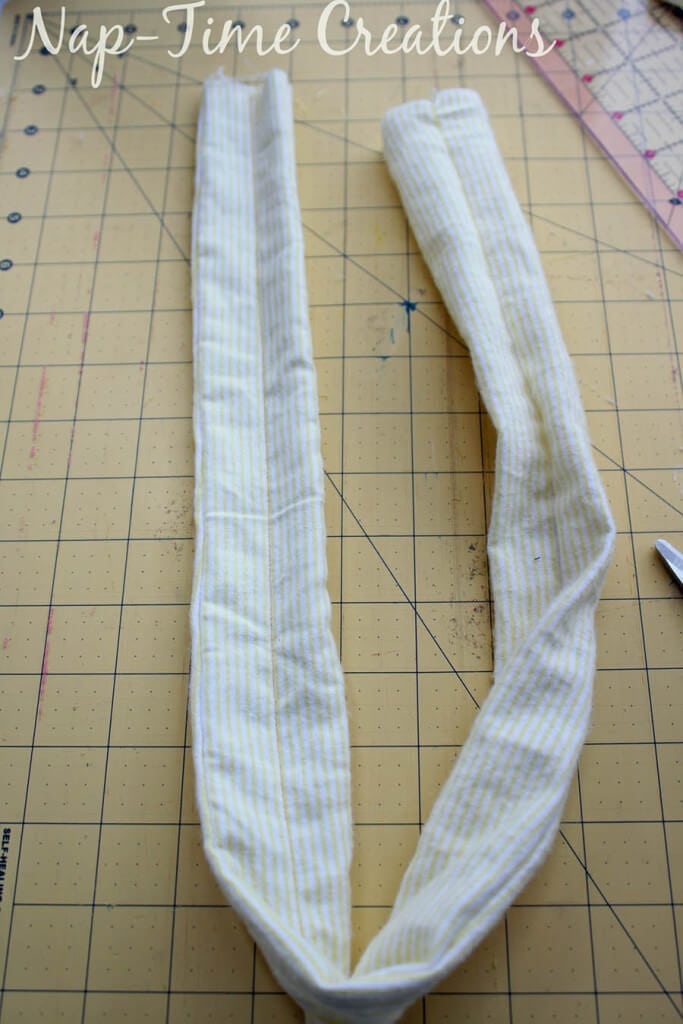
Place the carrier right side up {with the template piece up} Separate the front and back main pieces, pin one end of the strap to the top corner at an angle as shown. You will pin and sew.
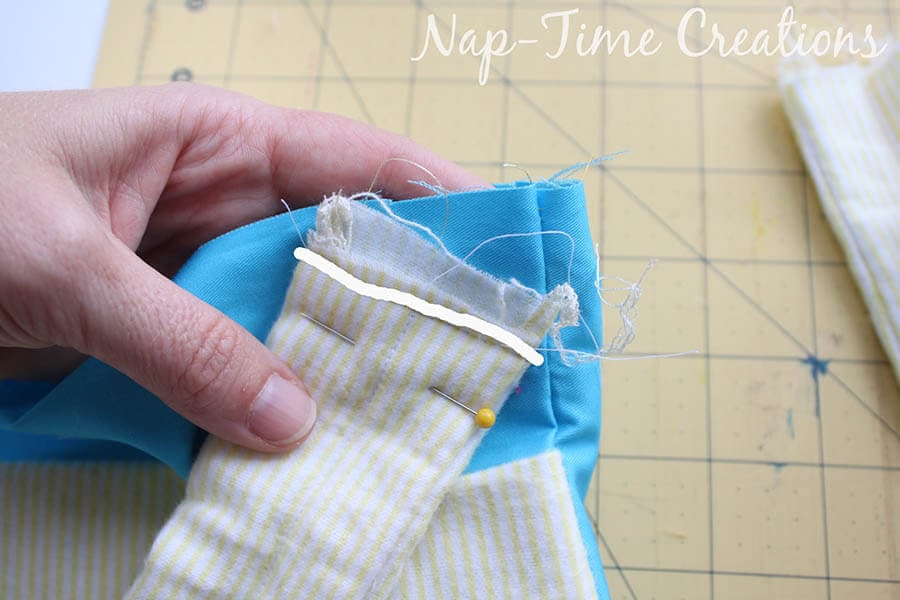
Remember to sew only to the FRONT piece. You should have two straps sewn like this.
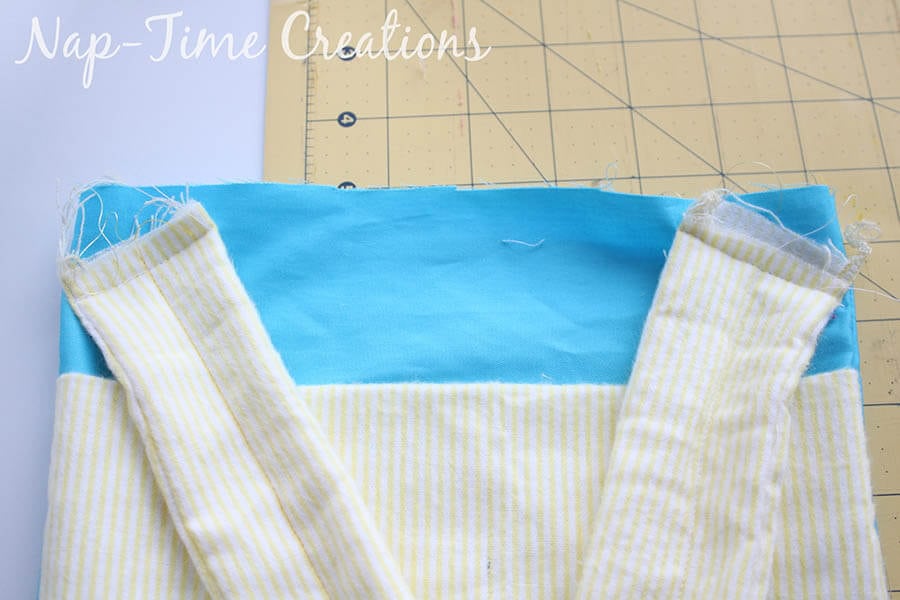
Now, fold UP the strap to create and angled corner.
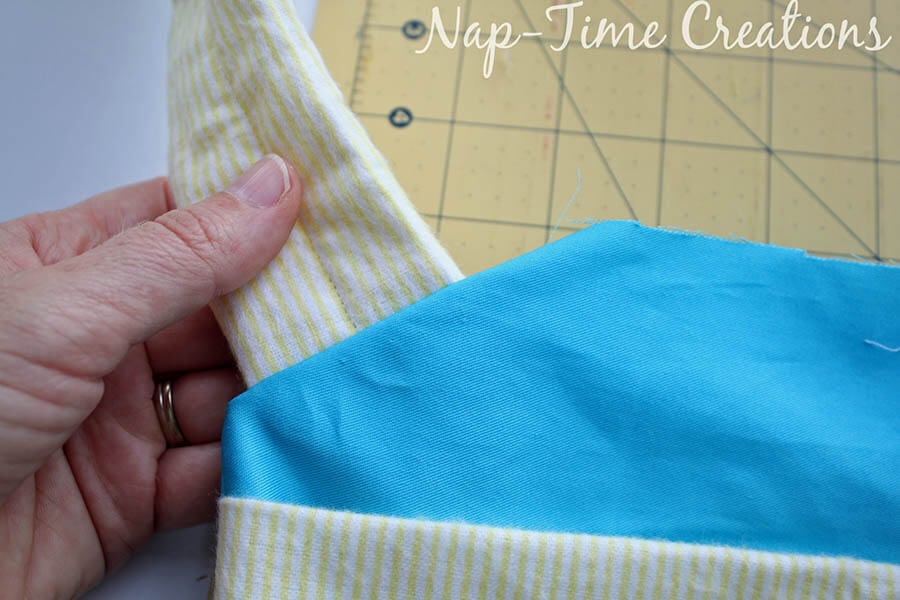
Fold IN the main piece as you flip the strap up.
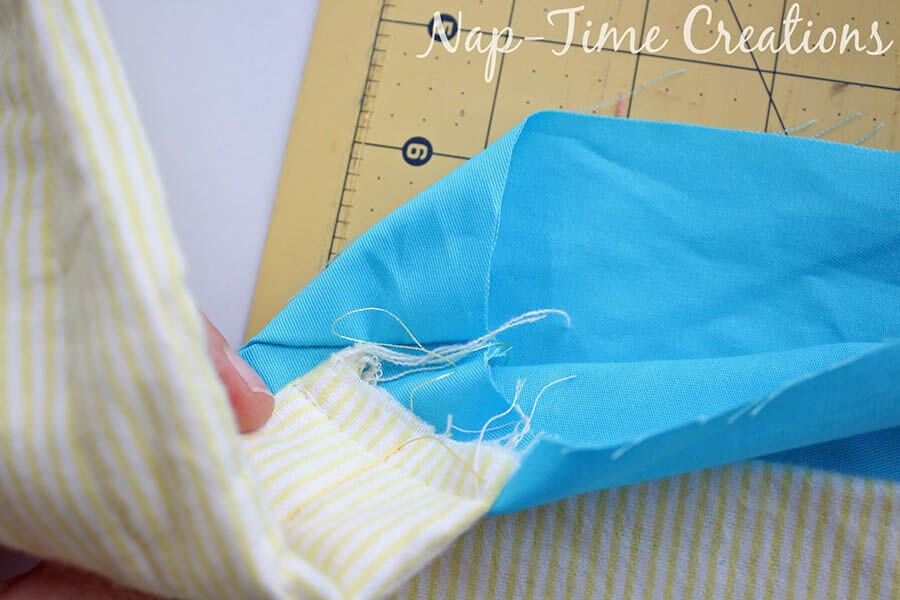
Pin and top stitch the top edge.

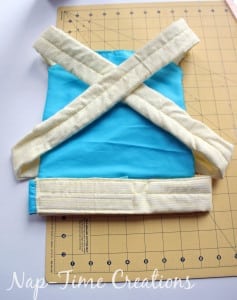
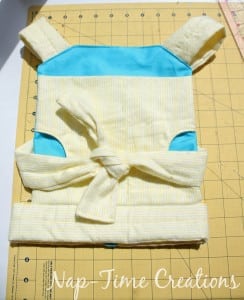
Here is what the finished back and front should look like.
Strap on your baby {doll} and get playing!
Here’s the link to the free pattern again if you need it. Please let me know if you have any questions while making this.. I’m happy to help!
Also the simple pdf printable of these instructions can be found here.






Jasmine Martin says
Great tutorial! How do I adjust it for a bigger kid (age 8)? Just the length of the straps or the actual pattern enlarged, and if so by how much?
Congrats on your adoption! We adopted 2 siblings via foster care at age 1 1/2 and 4 after adoption from Russia closed on USA.
neeltje says
The links doesn’t work. Can you help me please? The pattern was just were I was looking for!
tanks
Emily says
try this link… it works for me https://shop.mybluprint.com/sewing/patterns/baby-doll-carrier-free-pattern/254940
tricia hamilton says
Hi!
When I download the pattern to print I don’t see the template for the straps. Just the main part. Am I missing something?
tricia hamilton says
LOL! Never mind!! I figured it out!
Carol Shaver says
Is this for a 14″ doll, or bigger? It looks GREAT! Congratulations on your daughter!
Rachel says
How do I attach the 2 shoulder straps at the bottom? It looks like it’s in the sides at the bottom above the waistband but I’ve already sewn that up?
sewbiz says
not getting this at ALL?! super confusing
Franziska says
very lovely post. enjoyed reading it.
xoxo
franzi from powder brows
Donna says
Help!! I can’t find the pattern!! It says that Blueprint no longer supports this pattern! How do I print it then??
Emily says
Hi! the links have been updated so the patterns are now in my site shop.
Fran says
Thanks for creating and sharing this pattern. I found it a bit tricky and had to work a few things out myself but the end result has worked out very nicely. Note that the pattern template template says only one waistband strap is required when it should say two.
Jessi Jansen says
Halfway through sewing and my templates dont match the picture. I’ve measured and measured and it’s matched your description
Finding the instructions super confusing. Especially.in the pictures when you have different fabrics..
Mariah Maki says
I am so excited to make this, but after looking over and over, I cannot seem to find where the pattern pieces for the main piece, straps, or waistband are. Am I missing something? Thanks you!
Talya says
I’ve been planning to make this, but one question.
Do I cut according to the template or add the seam allowance before cutting and see along the template lines?
Thank you.
Emily says
seam allowance is included
Kimberly Ward says
Thanks for the pattern and the instructions. They were easy to follow and my carrier for my grandson turned out so cute. I will be giving it to him when his new baby brother arrives.