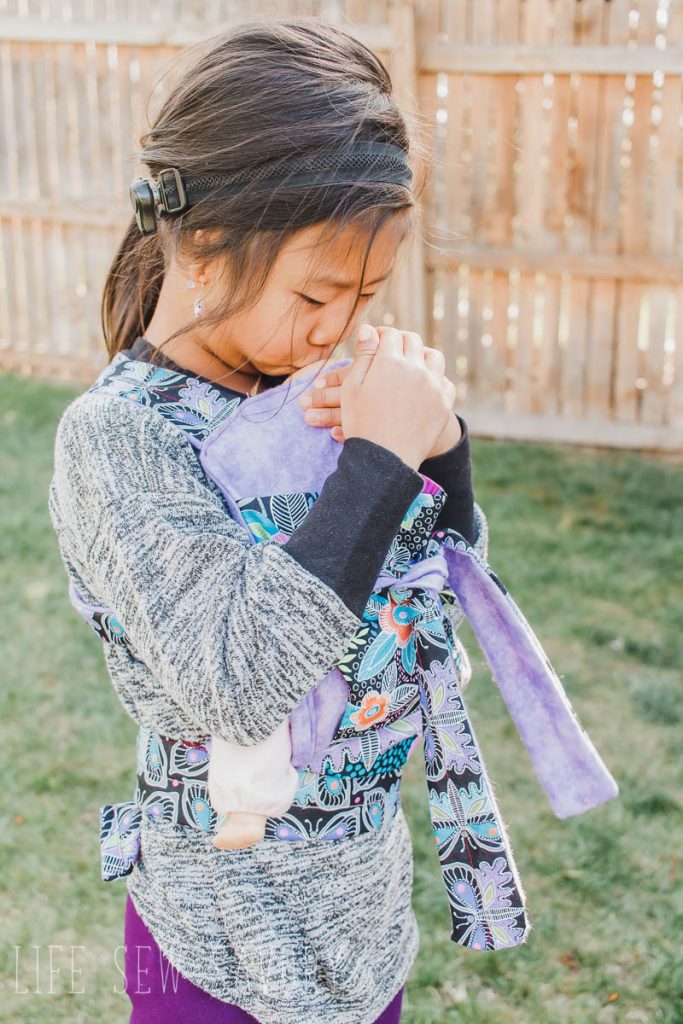
inside: a baby doll carrier free pattern in two sizes. Your kids can wear their baby dolls or animals tow ways – facing in or facing out for fun play.
{this post has been updated May 2020 with some new {clearer} instructions, more photos and TWO sizes of doll carrier for you to sew. Original post below}
We’ve had our girl home for over a month now and it’s been an amazing and wild ride. There are things that have been so much easier that I anticipated and some things that are much harder. Overall we are just so in love with this little one! While we were waiting for approval to travel I kept myself busy with sewing, and one of those projects was this baby doll carrier free pattern and tutorial that I’m sharing with you today.
Join the Life Sew Savory Pattern Group for support on this pattern!
Featured on All Free Sewing in this post of Free Doll Clothes and Accessories.
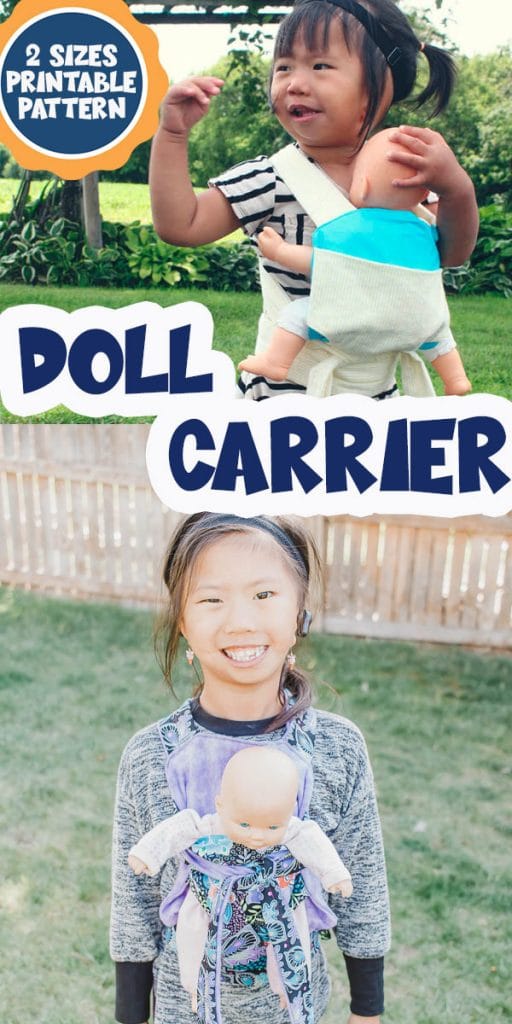
Doll carrier free sewing pattern –
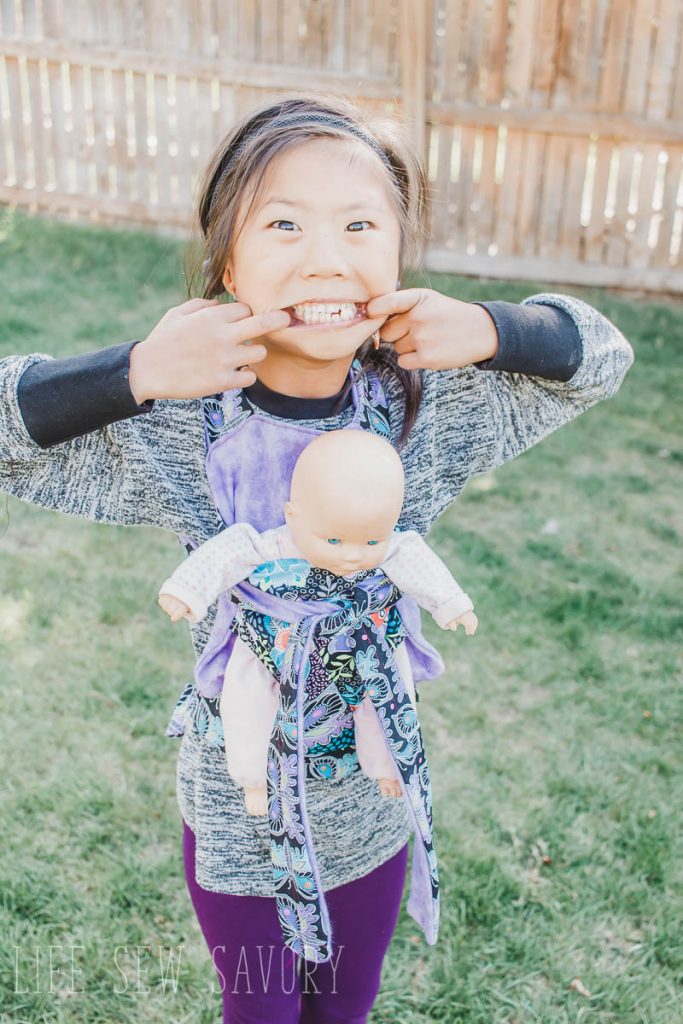
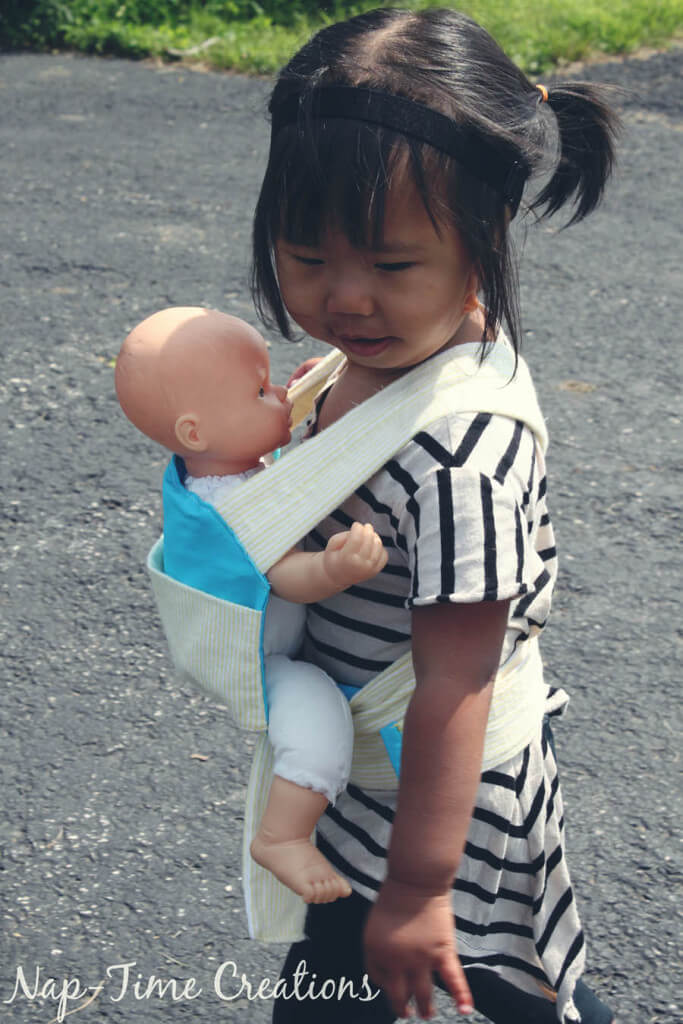
This doll carrier has a velcro waist and a cross back – tie in front shoulder strap. Little ones may need a bit of help putting on the carrier, but they should be able to take it off by their self when done playing.
The waist is adjustable so great for different ages to play, or for your little one to grow. NEW- the pattern now comes in TWO sizes. Toddler {1-3} and Kid {4-7}
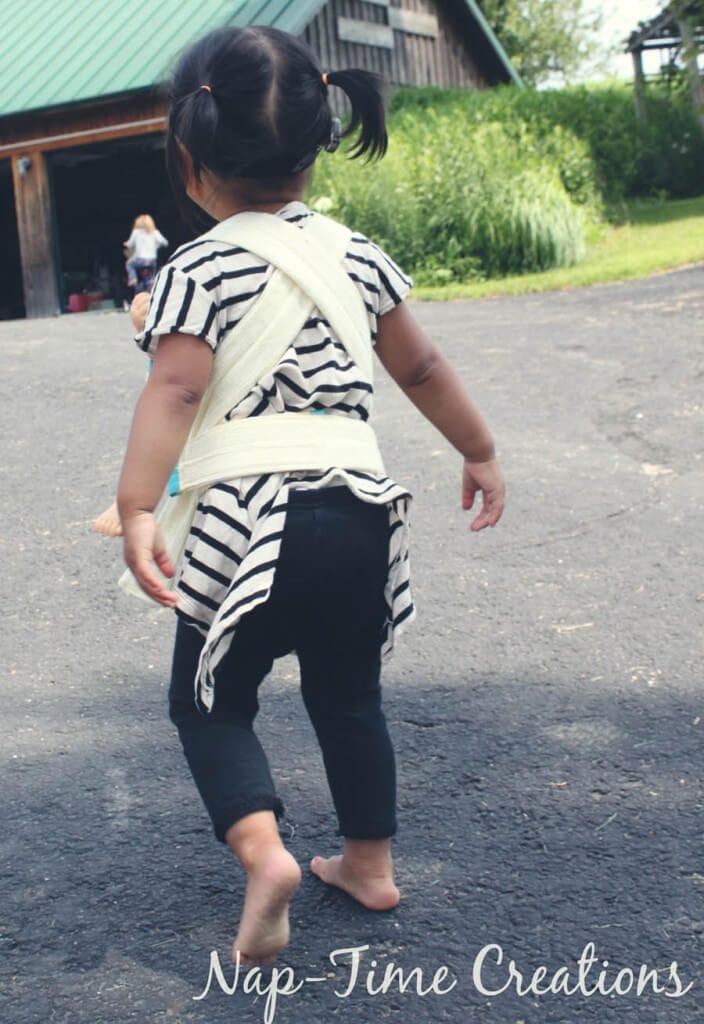
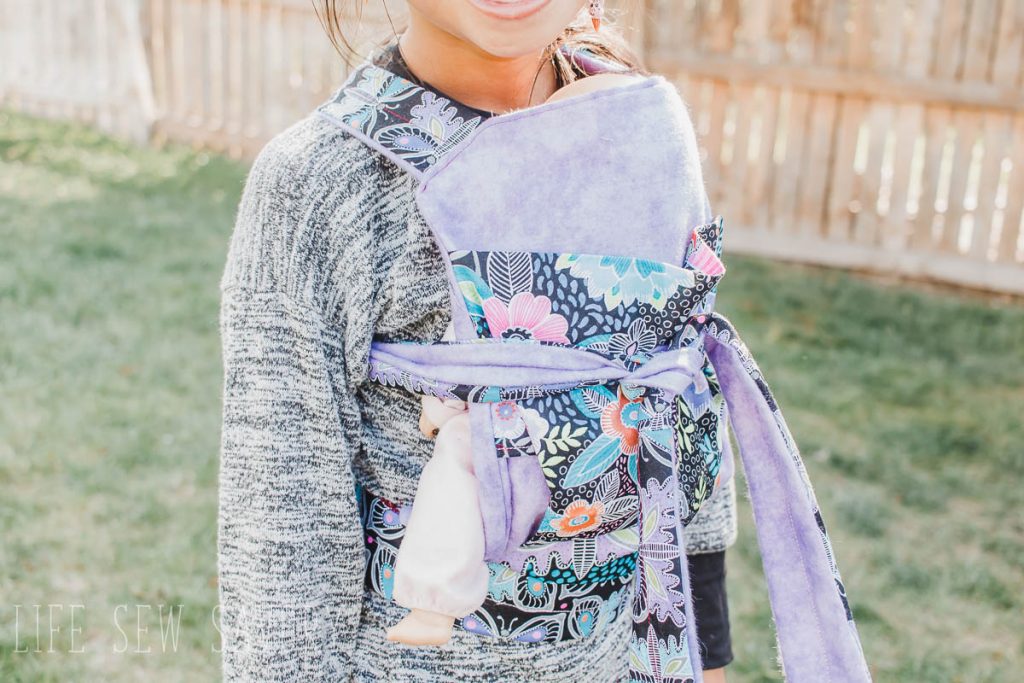
You can also wear your baby doll facing out!
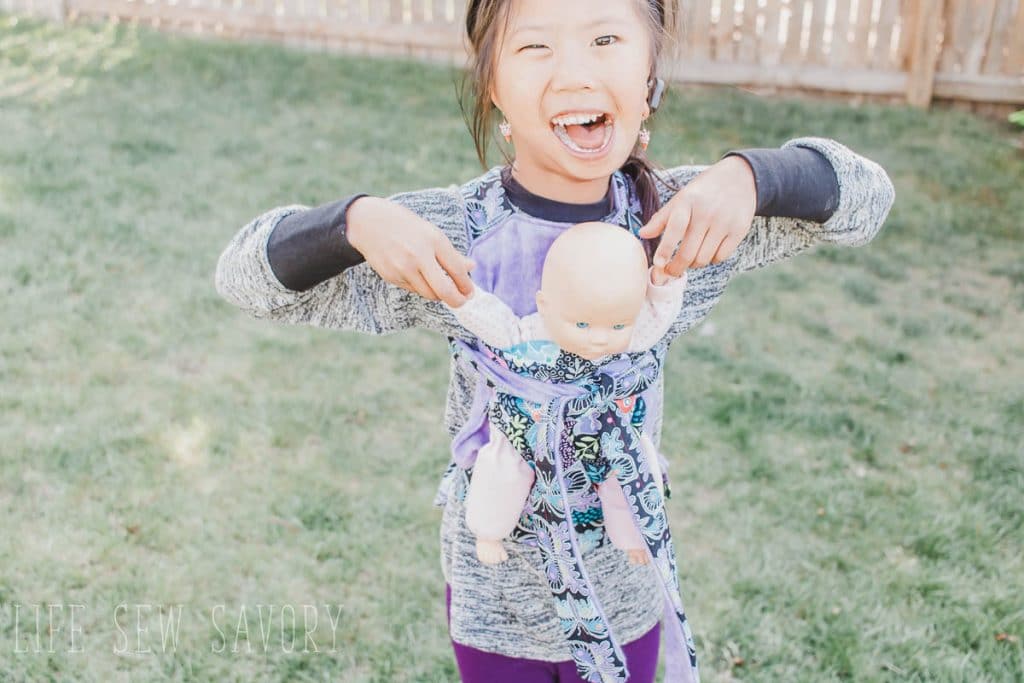
I love when my kids {boys or girls} play with babies/animals and nurture them in a way that gives me a glimpse of them loving their own kids someday. Here are some other fun free sewing patterns for dolls:
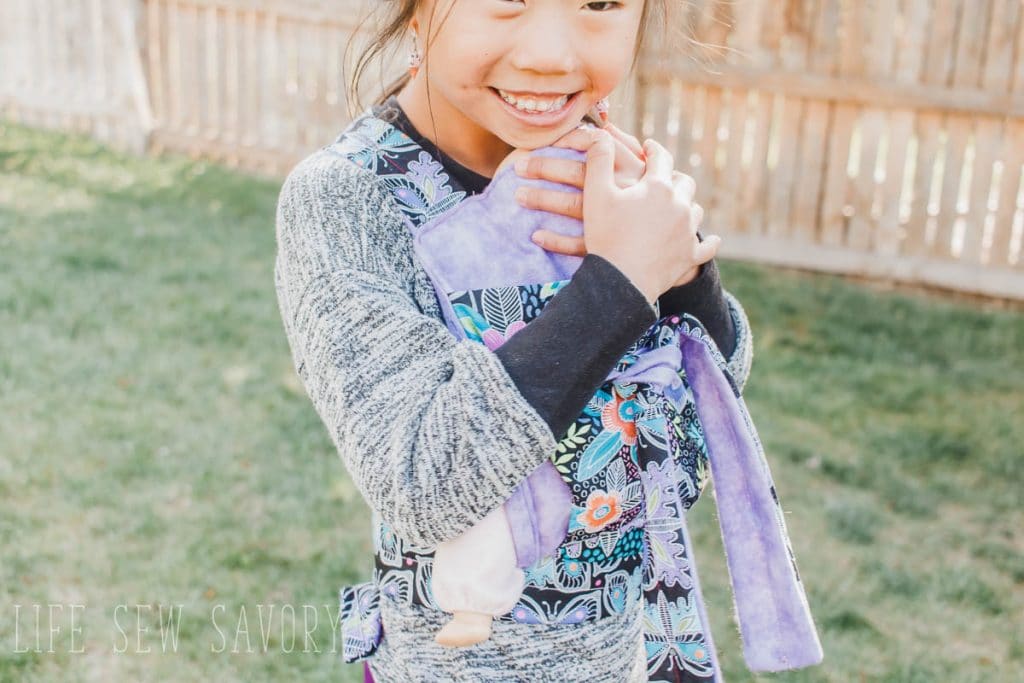
NEW the pattern now includes TWO sizes so bigger kids can play as well. ALSO – the file you will download as a SVG file if you want to cut the fabric on your Scan N Cut or other electronic cutting machine.
Alright! Ready to go?
Down load the pattern in my site shop HERE.
Want a printable pattern of the whole thing? You can purchase the free download AND a ad free printable version of the tutorial HERE for $2.00.
Need help downloading, printing or assembling your pattern? Check out my All About PDF’s post here.
Supplies:
- Printable pattern {links above}
- ¾ yard fabric {can mix and match a few colors}
- ¼ yard fusible fleece or thin batting
- 1” Hook and loop ½ yard length
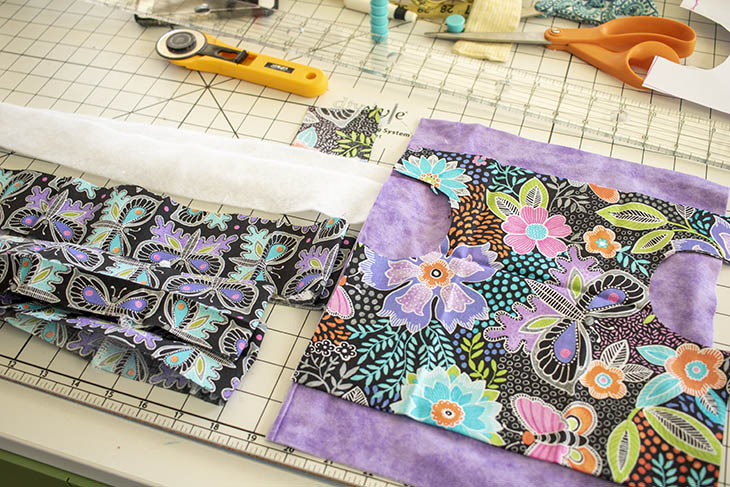
Here are all my cut out pieces. I cut the template and straps from the same fabric and the main and tabs from another. Use a 3/8″ {1 cm} seam allowance throughout.
You should have:
- 1 of template of fold
- 2 carrier main
- 4 straps
- 2 of batting/fusible fleece
- 2 waistband
- 1 of batting/fusible fleece
- 2 end tabs from pattern square
Fold the template piece right sides together and sew the curved half circles. Clip the seam allowance.
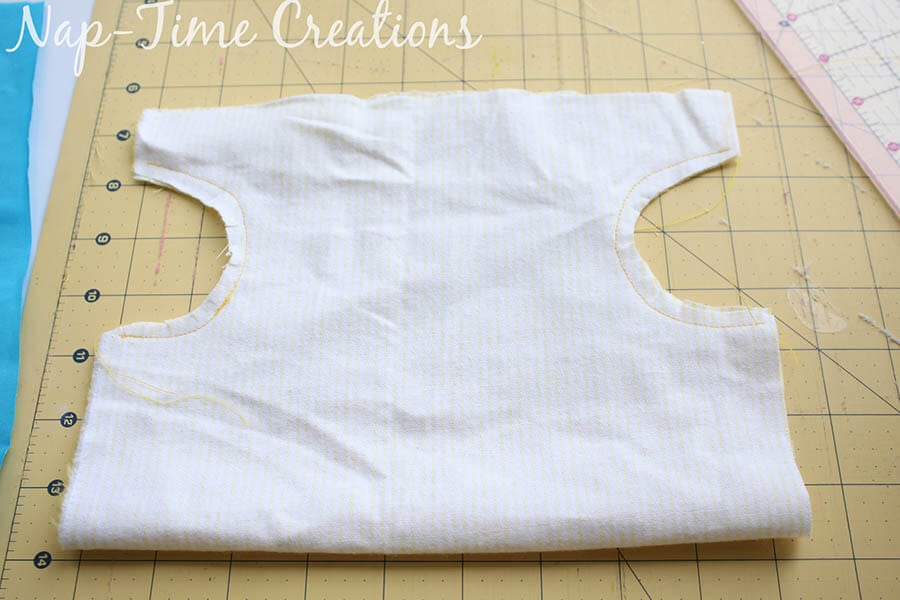
Turn right side out, iron, and top-stitch the curve.

Now we will work on the waist strap. With right sides together sew one long side of the two waist strap pieces.
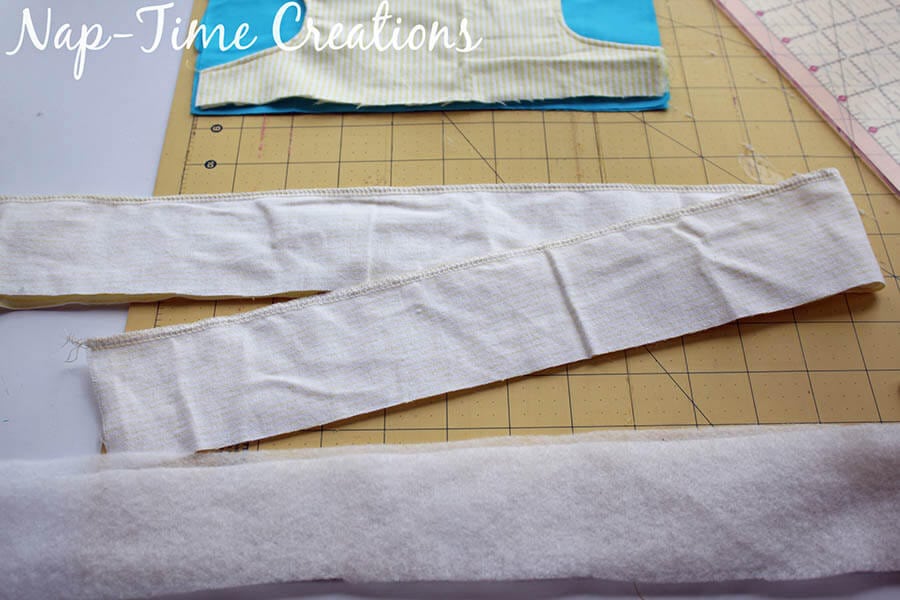
The original waist strap directions were a bit confusing and I can’t even remember why I wrote them like that so here are the new version.
Center the waist fusible fleece in the middle of one side of the waist band. Fuse to the fabric.
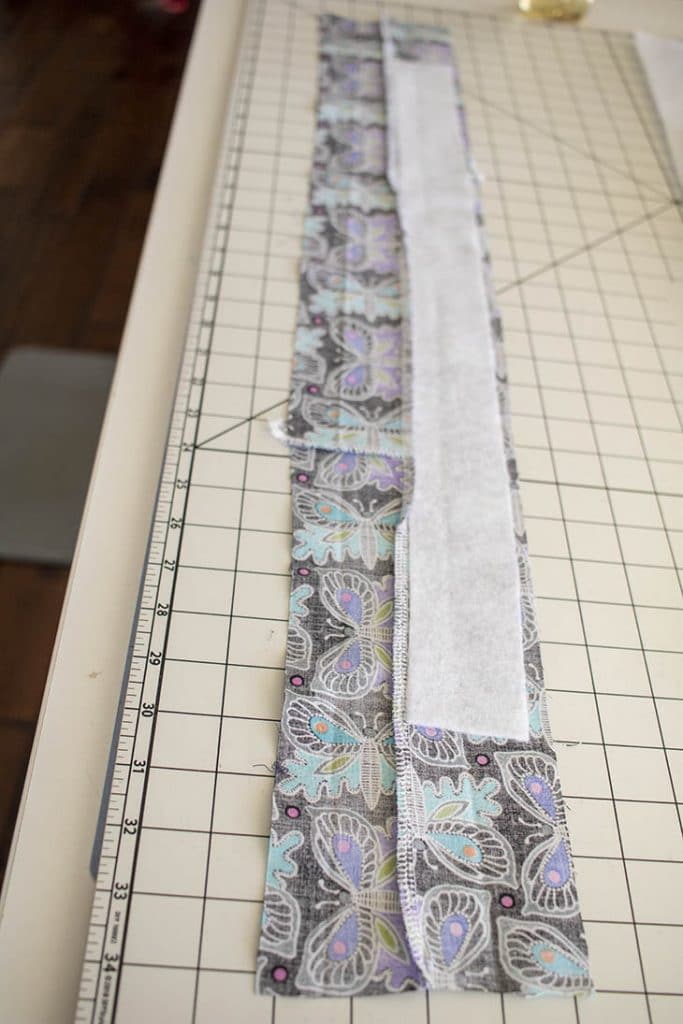 Fold so the right side is out, with the batting inside and sew down the middle to hold together. You still have one long side open.
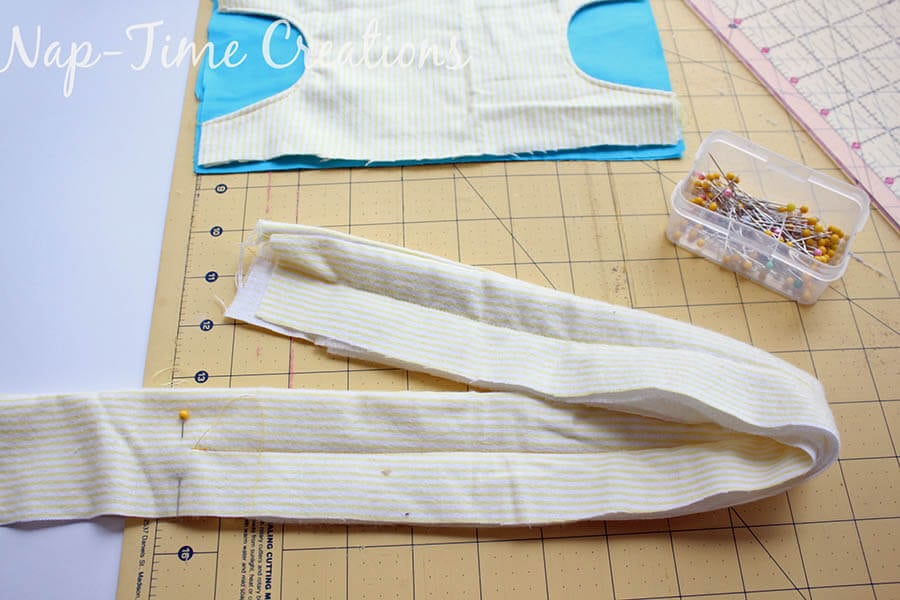
Place one of the main pieces right side up and put the template piece on top. Line up the bottoms.
Now, find the center of the waist band and the center of the carrier piece. The carrier template piece should have the fold UP and the unfinished edges down. The raw edges should match up.
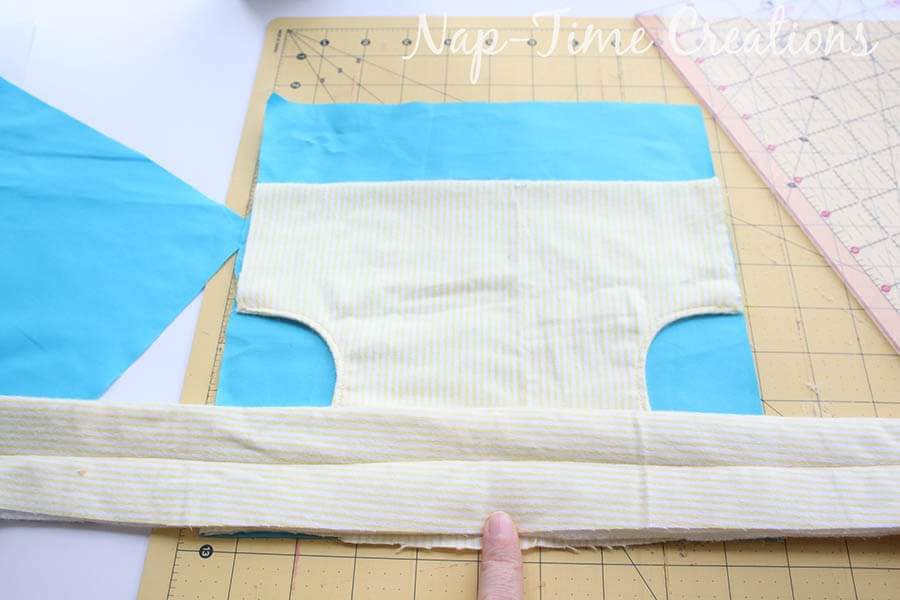
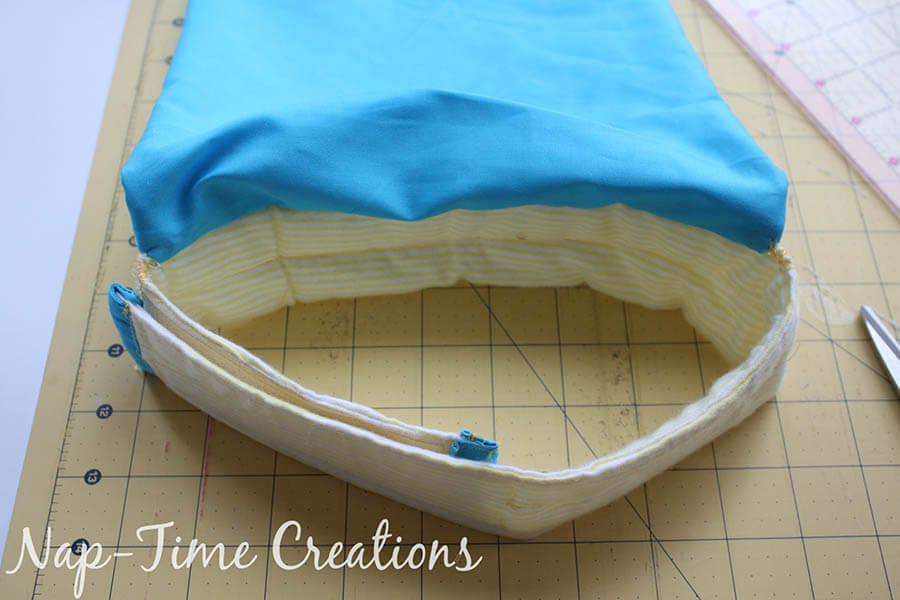
Place the other main piece, right side down, over the other one. Match up the top and sides. Pin and sew along the bottom, catching all the layers. Do not sew all the way across – see photo below.
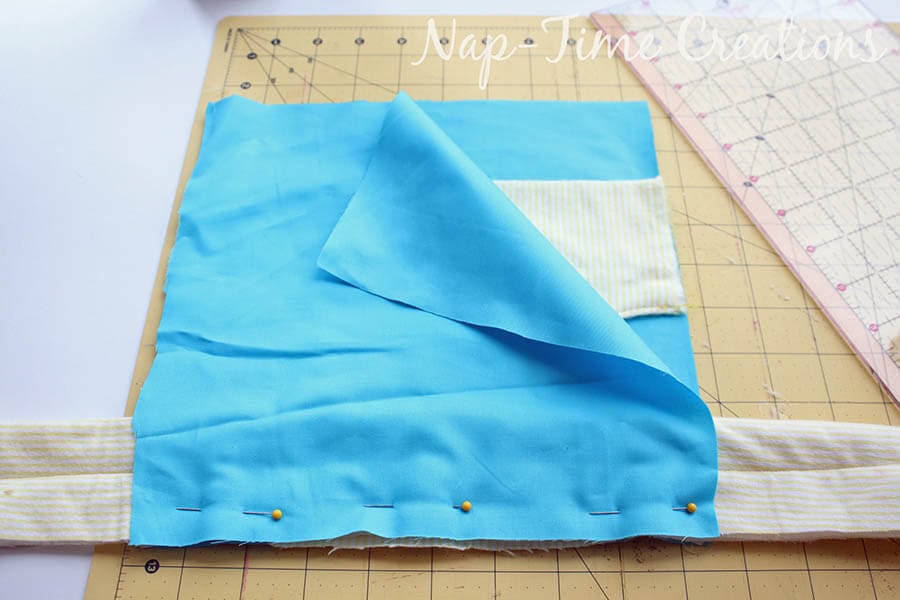
Leave 1/2″ on either side not sewn.
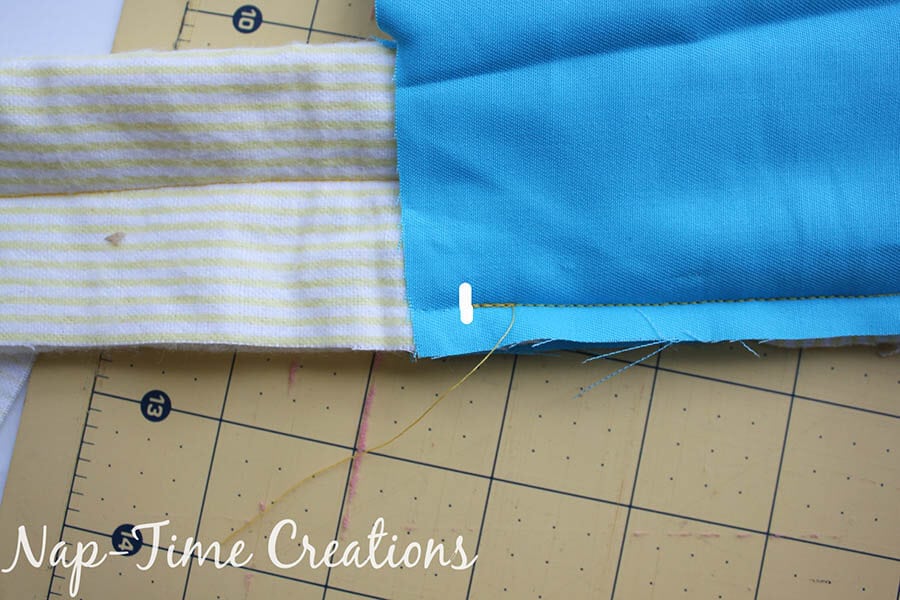
When you open it up, you should see this…
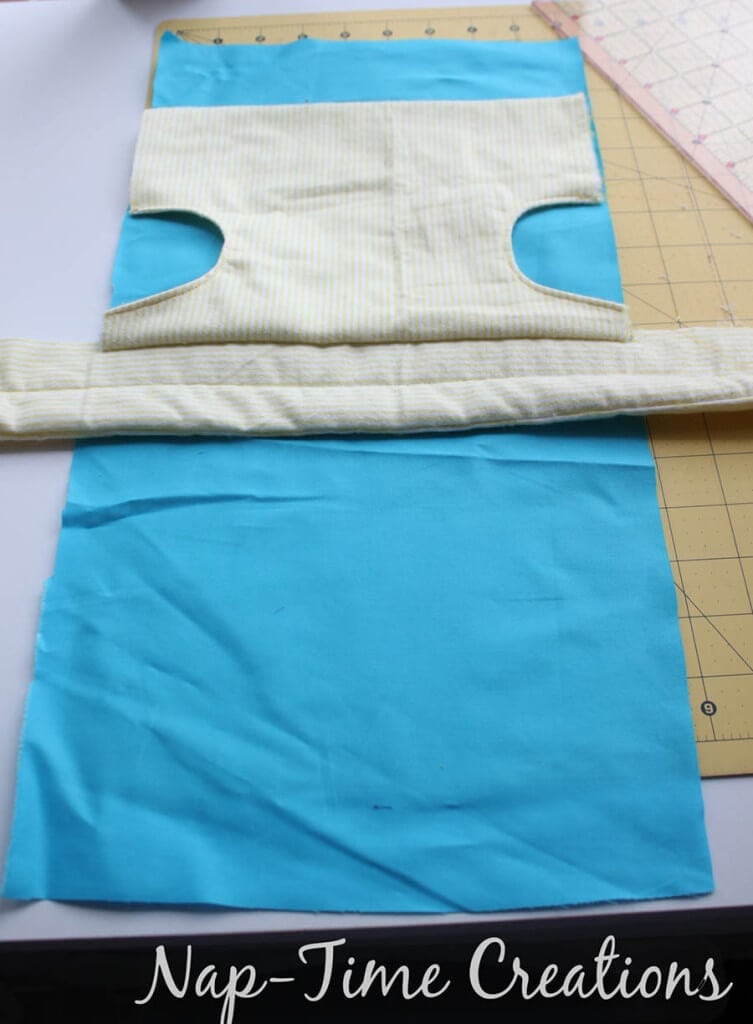
Now, fold in the waist straps on both sides and bring the carrier main piece over the top. 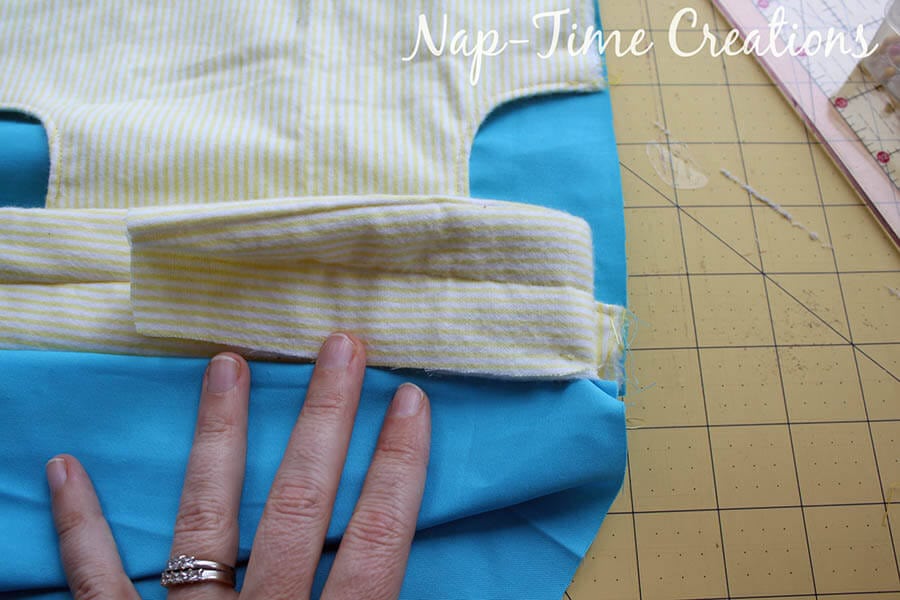
Pin each side and sew. Catch the template piece when you sew up the sides. DO NOT sew the top. {yet}
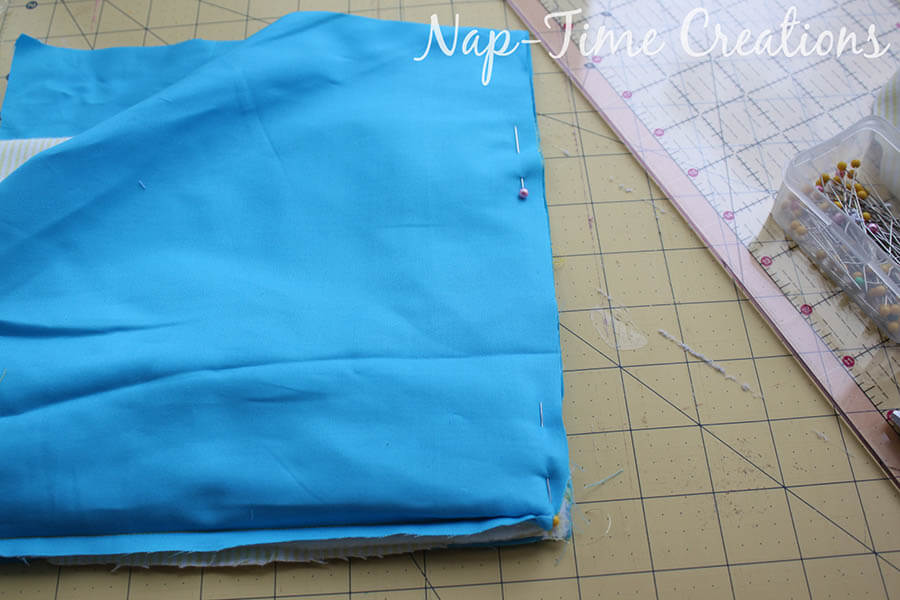
Turn right side out. You should have sewn the side seams and enclosed the waistband.

The top of the waistband are still open. Fold under 1/4″ and sew. 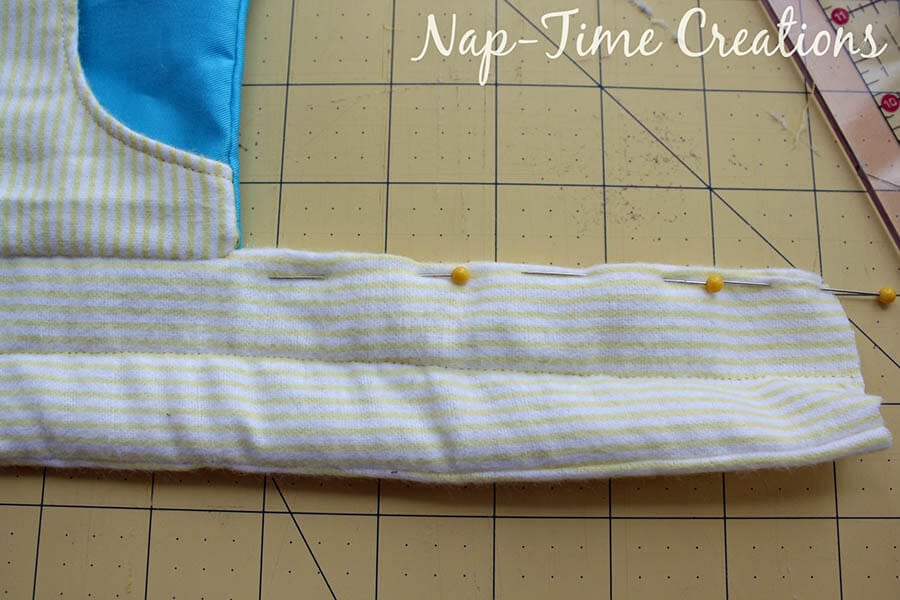
Fold the strap tab in half and sew one short side and the long side. Turn. Fold in the open side and top stitch.
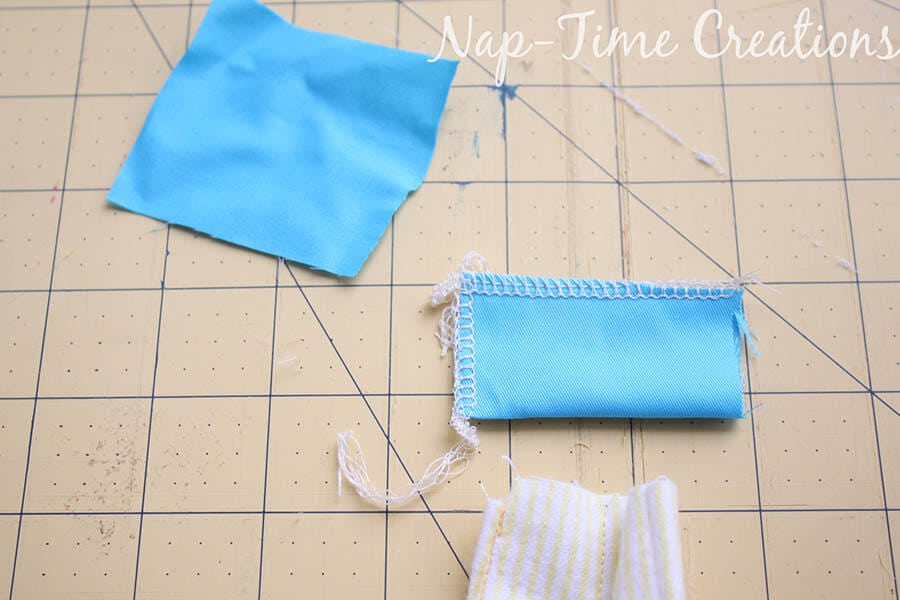
Sew to the short end of the waistband by folding over the top and stitching.
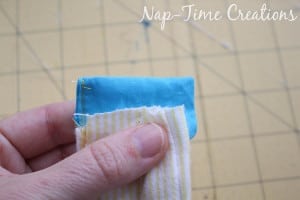
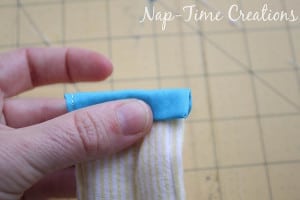
Finish both ends of the waist band like this.

Sew your 1″ velcro strips to the waistband. The velcro should be cut to 6″. Sew two strips to the front and 2 to the back. The velcro will overlap more on smaller kids and less when someone with a bigger waist wears the same carrier. It also allows your little one to grow. 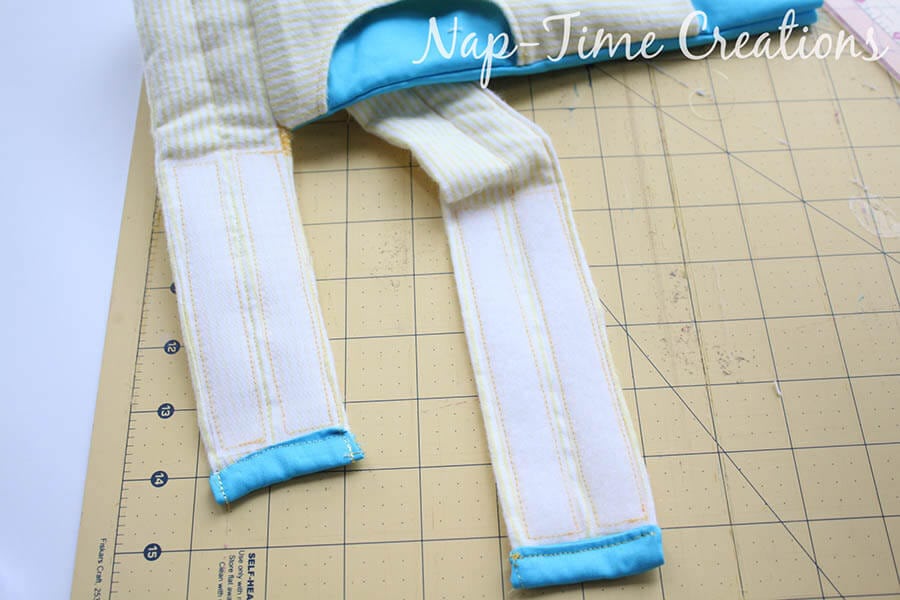
here is what it should look like when the waistband is on… The new version has the waistband the same on both sides, so they will overlap at the back middle.
Ok, let’s finish up! Take two strap pieces and one strap batting. Fuse the fleece/batting to one side of the straps, leaving 1″ at the top – there will be more without fleece at the other end. Place straps right sides together and sew.
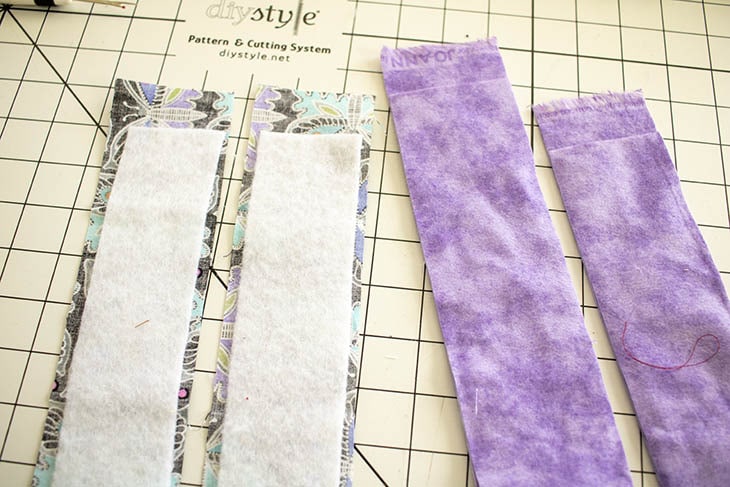
Sew the short side that doesn’t have the batting anywhere near the end and sew both long sides. The end with the 1″ then fleece should be open to turn.
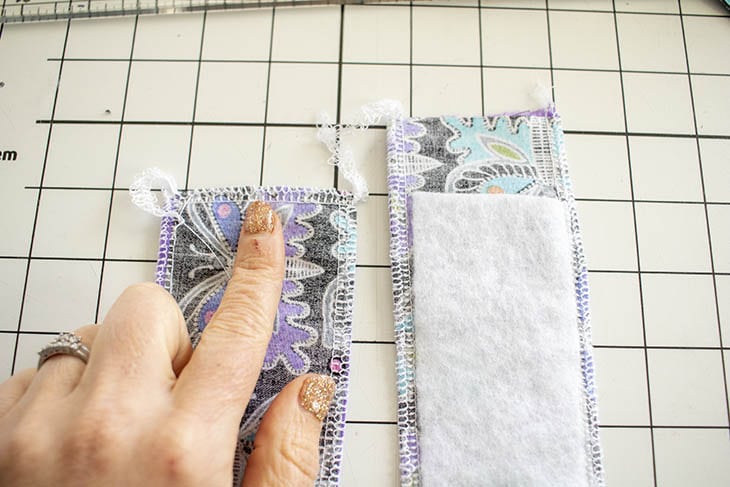
Turn to right sides out. Top-stitch down the center to hold it all together. Repeat with other strap.
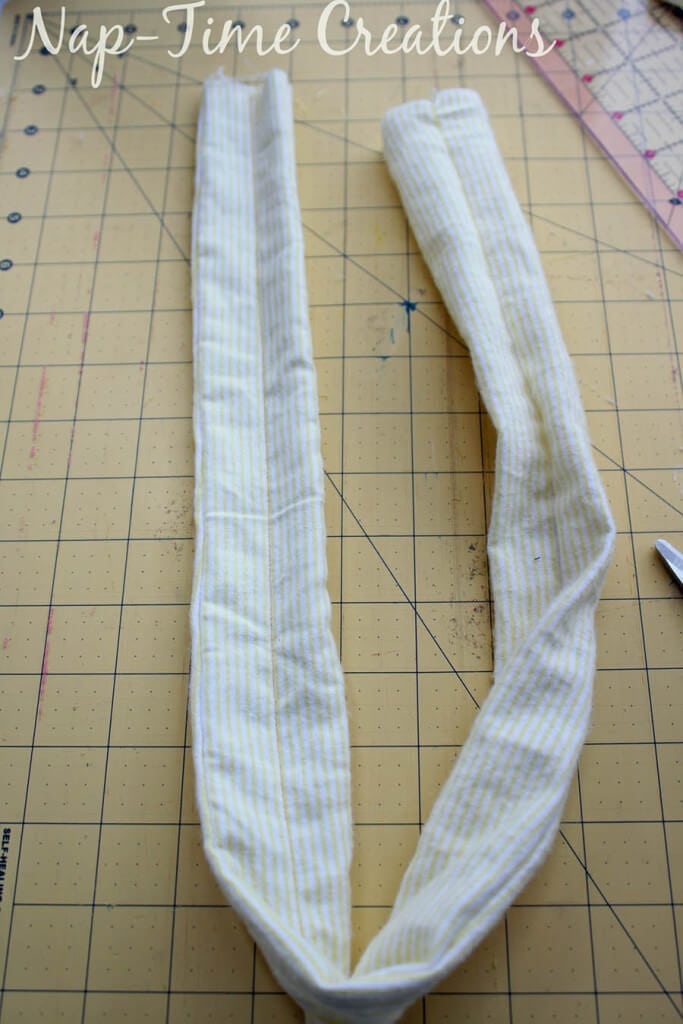
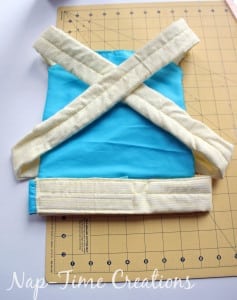
Place the carrier right side up {with the template piece up} Separate the front and back main pieces, pin one end of the strap to the top corner at an angle as shown. You will pin and sew.
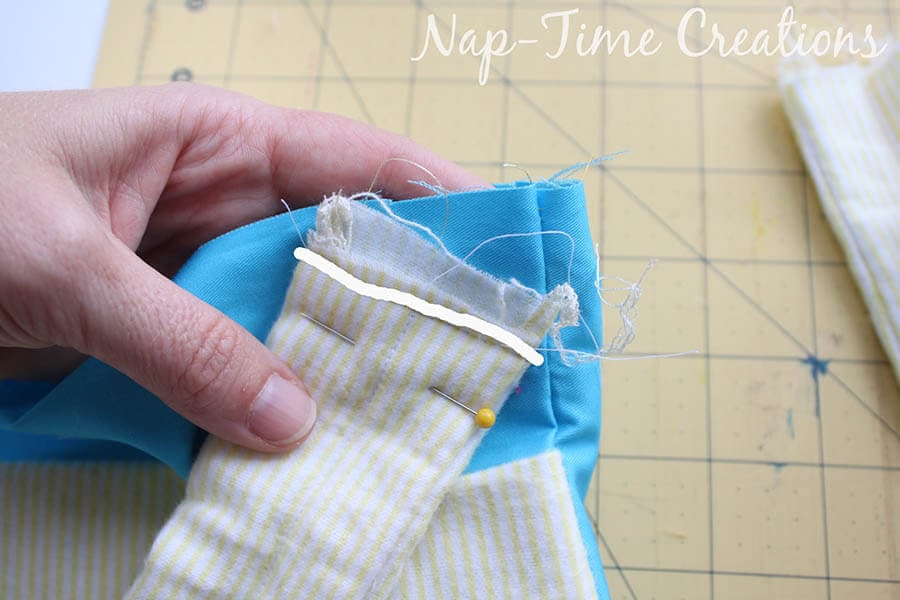
Remember to sew only to the FRONT piece. You should have two straps sewn like this.
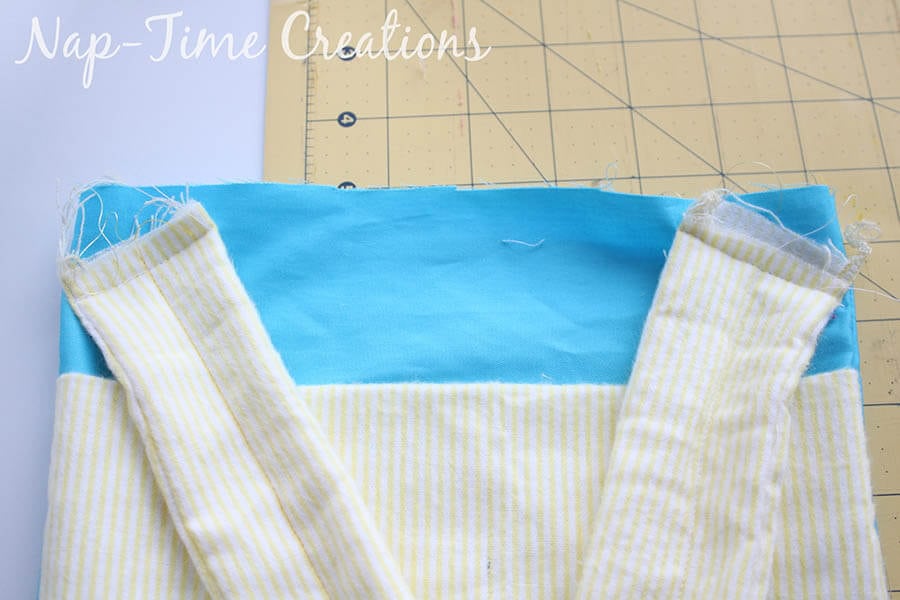
Now, fold UP the strap to create and angled corner.
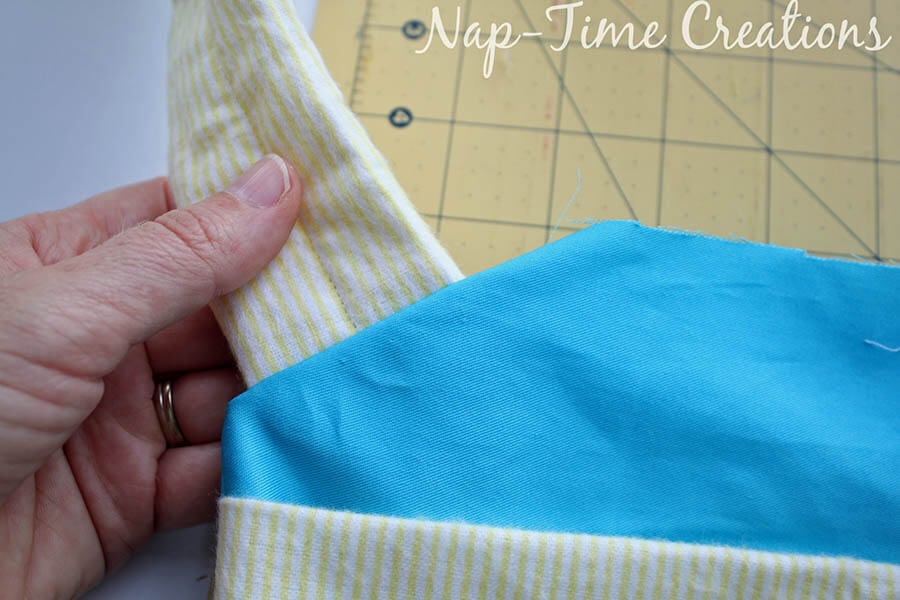
Fold IN the main piece as you flip the strap up.
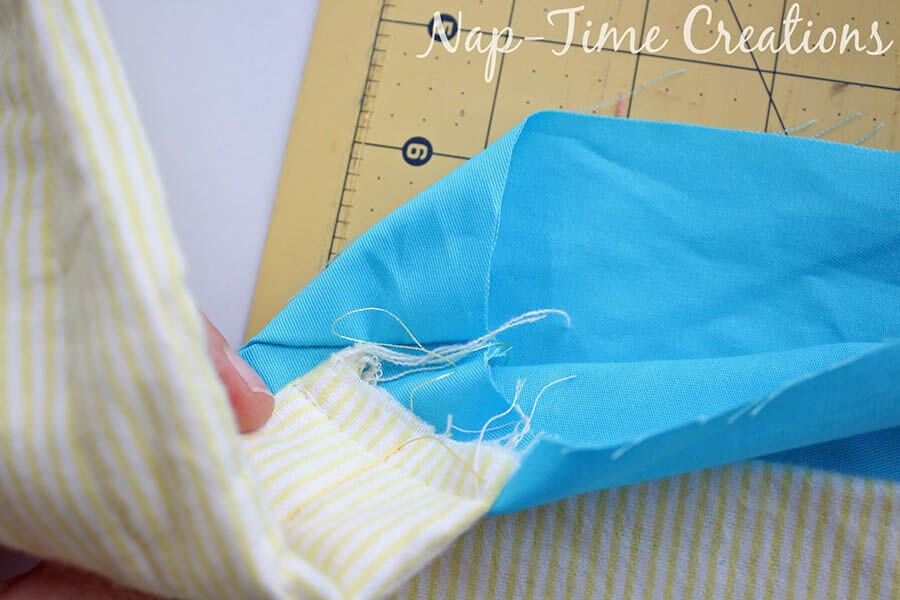
Pin and top stitch the top edge.

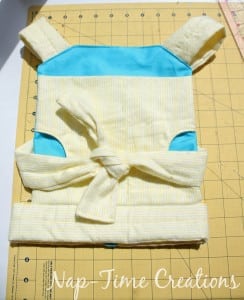
Here is what the finished back and front should look like.
Strap on your baby {doll} and get playing!
Here’s the link to the free pattern again if you need it. Please let me know if you have any questions while making this.. I’m happy to help!
Also the simple pdf printable of these instructions can be found here.






Kristi Andres says
I have made something similar for my girls. Those are fun. I’m glad she seems to be settling in to your family. We had a few bumps (mostly with potty accidents after having been trained) with Sam, but nothing too major.
I have now made a pair of the swim shorts with your pattern and another pair of sweat shorts with the same pattern. It was brilliant to use up some left over bits of sweats material. I will try to take some pictures and put them up on the blog.
Emily says
ooo I would love to see photos of the shorts!! The settling in has been easier in some areas.. and harder in others than I thought ;o)
Kristi Andres says
Here’s the blog link for the shorts I made with your pattern! 🙂 thanks so much for making it.
https://kopykatkidz.wordpress.com/2015/07/16/cool-dude-board-shorts/
Ruth Meaney says
This is brilliant! Fantastic 🙂 Pinning now!
Beverly says
How fun! Thanks for sharing your pattern on Snickerdoodle Sunday.
Lisa @ Fun Money Mom says
This is such a cute idea (and your little girl is adorable)! My daughter would love it if I made one of these for her dolls! Thanks so much for sharing at Share The Wealth Sunday!
xoxo
Lisa
Kristina & Millie says
what a cutie Emily! and the doll carrier is such an awesome idea! looks great and thanks for sharing the pattern with us all!
Pam@over50feeling40 says
So sweet…thanks for sharing your ideas and talents with the Thursday Blog Hop!
Rhonda Gales says
This is one of the most adorable pictures that I’ve seen. What a cute idea, and the carrier looks perfect on her. Thanks for sharing on Sunday’s Best linkup.
Katherines Corner says
This is adorable, and your little model is a cutie pie! Thank you for sharing at the Thursday Favorite Things blog hop. Watch for your feature on Monday. xo
Mert says
I think that is the most adorable craft. Especially if mommy is pregnant or just delivered so big sister can mime her.
Such a gift of love.
Heather @GeminiRed Creations says
This is just too darn adorable! What a perfect way to let your daughter be “just like mommy”. Thanks for sharing with #SmallVictoriesSundayLinkup 7/19/15
Kimberly says
Oh my! Super cute! Pinned and tweeted. Please join us tonight at 7 pm, and party with us. I can’t wait to see your new masterpieces or amazing classics! Lou Lou Girls
Diana Rambles says
This is just too precious!! Love it. Pinned!
Amy Irving says
I am in the middle of sewing this pattern for my son, he has been asking all day for it! On the pattern itself it says to cut one waist strap, but in the directions it says there are two waist strap pieces. I can only assume the pattern itself should have said 2 pieces that were 2.5″ x 28″? I hope I’m right!
Emily says
yes two!! i need to make that change on the pattern!!
Barb Borkenhagen says
I just finished making this Baby Doll Carrier. Thank you so much for the pattern and directions! This is going to make one little girl sooooo happy at Christmas! She loves her babies!
Ann says
Thanks so much for this wonderful pattern. I have made four of the little carriers now, three being for my granddaughters. I have one suggestion. One of the fabrics my granddaughters picked out has elephants on it and I used the given fold to cut out the template piece. In. my haste to finish (I was making two carriers simultaneously) I didn’t realize until I was finished that the little elephants were running vertically instead of horizontally. I doubt my little granddaughter will notice though. To do over, I would make a new fold running at a 90 degree angle from the given fold.
Much appreciated.
Emily says
Yeah!! SO glad it works for you!!
Glenda says
Site won’t open for free doll carrier pattern. Do I need to go to another site?