I gave my sister this casserole carrier for Christmas, and so today I’ve got a great sewing tutorial for you! I searched everywhere for a casserole carrier with zipper tutorial, but couldn’t find one, so… of course.. I made my own! {ha!} I LOVE how it turned out. This casserole dish is not going anywhere!! Make sure to check out all my Free sewing patterns here.
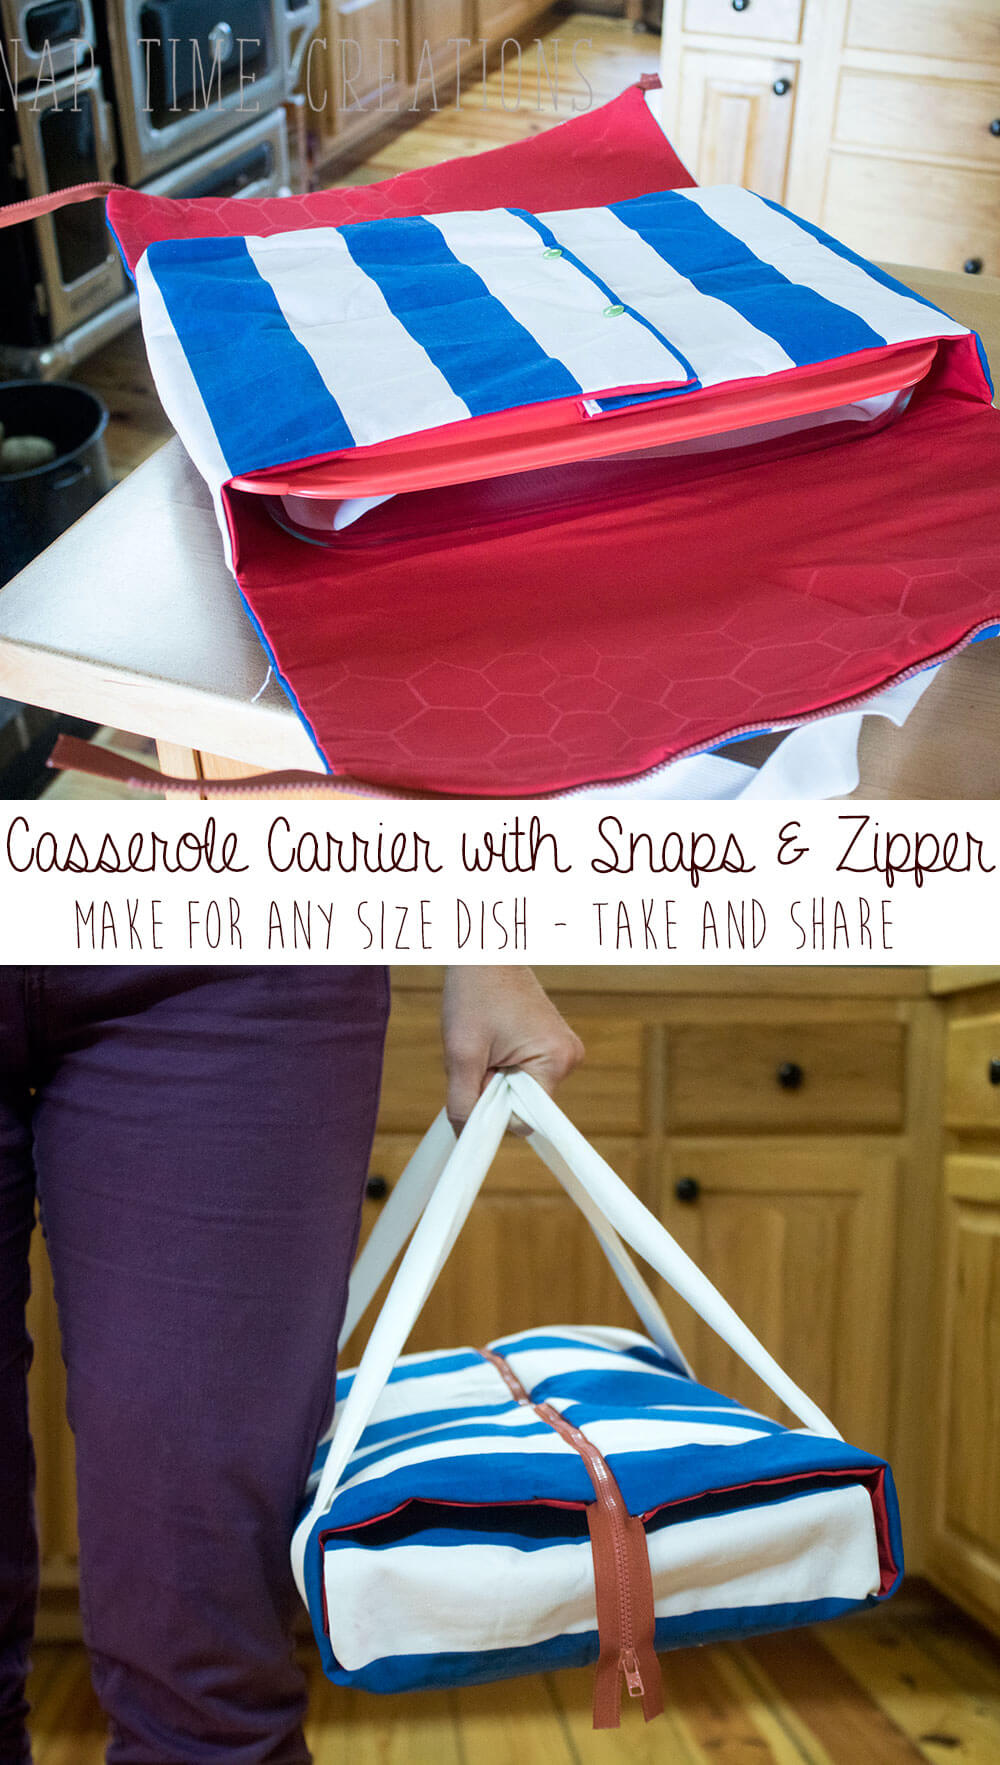
The directions and measurements for this casserole carrier with zipper tutorial is going to be based off this Pyrex dish from Amazon, but you can easily put in the dimensions for any dish. I’ll walk you through how I made this one and you just change the measurements if you need to. This dish is longer than any I had in my home. I bought my sister-in-law the new dish to go with the carrier for her gift. I love this particular dish because it has a lid for even better take and go action!
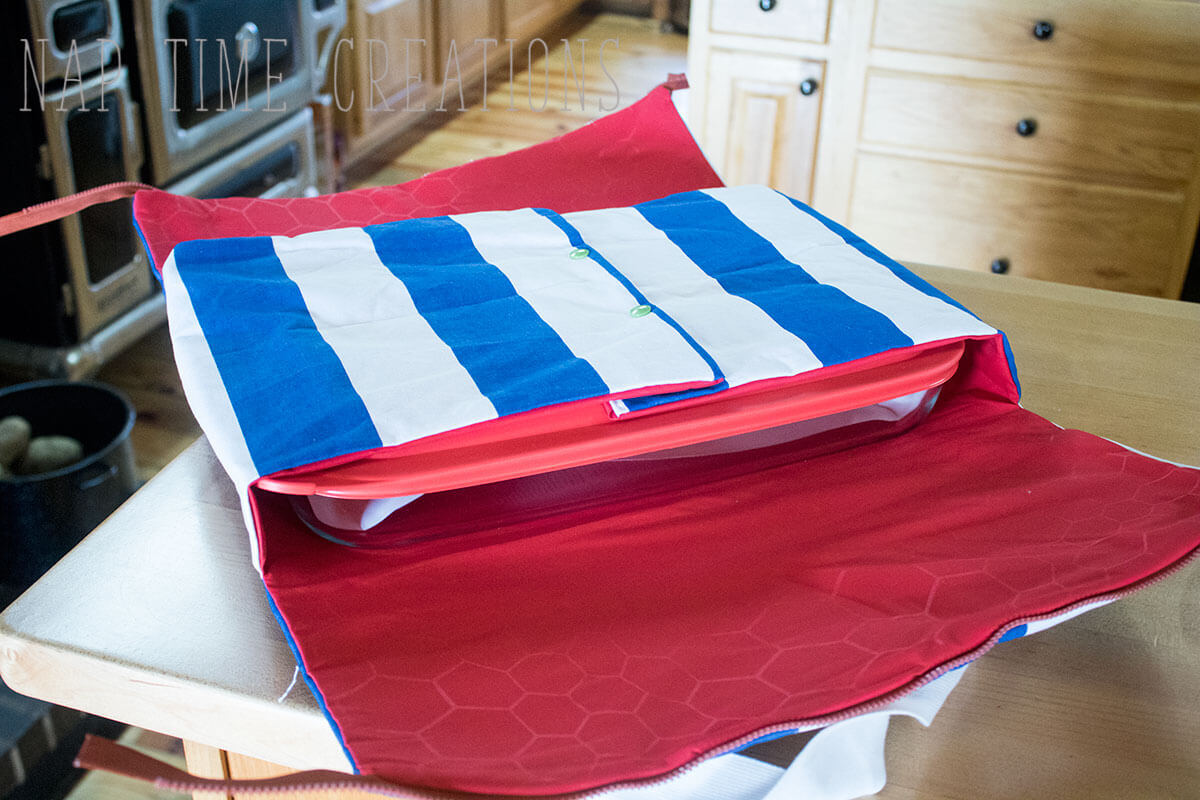
This carrier will hold your dish AND keep it warm. It’s made with snaps, zipper and has foam interfacing as insulation.
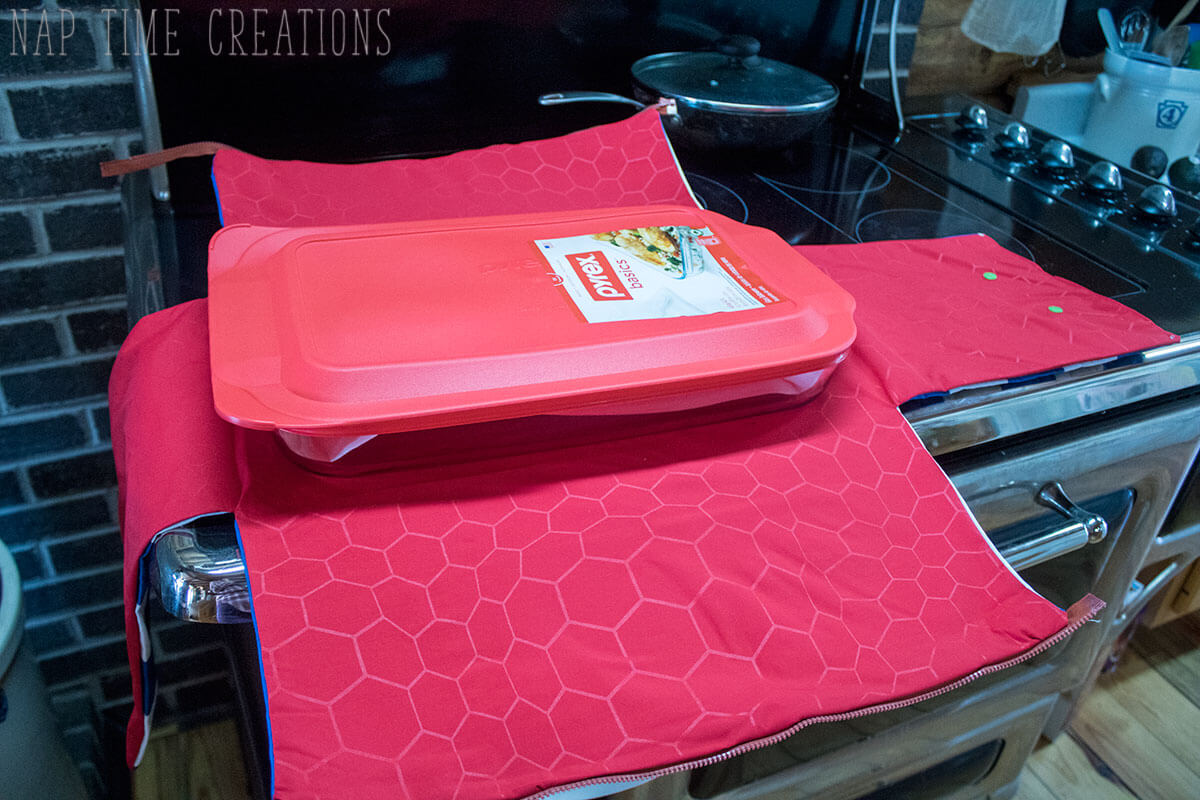
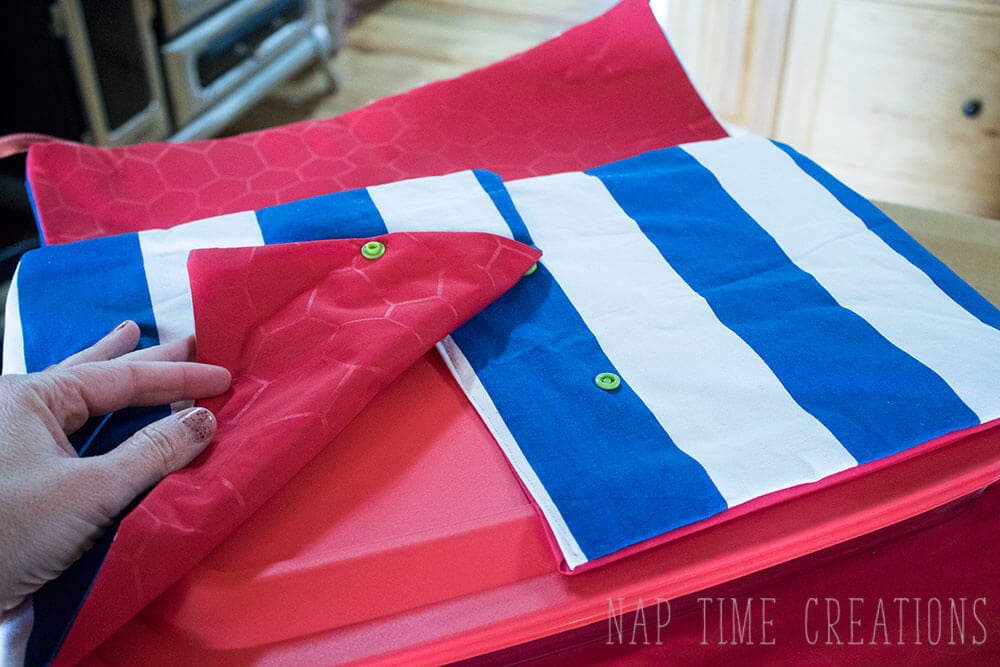
After you place the dish in the middle, fold in the ends and snap.
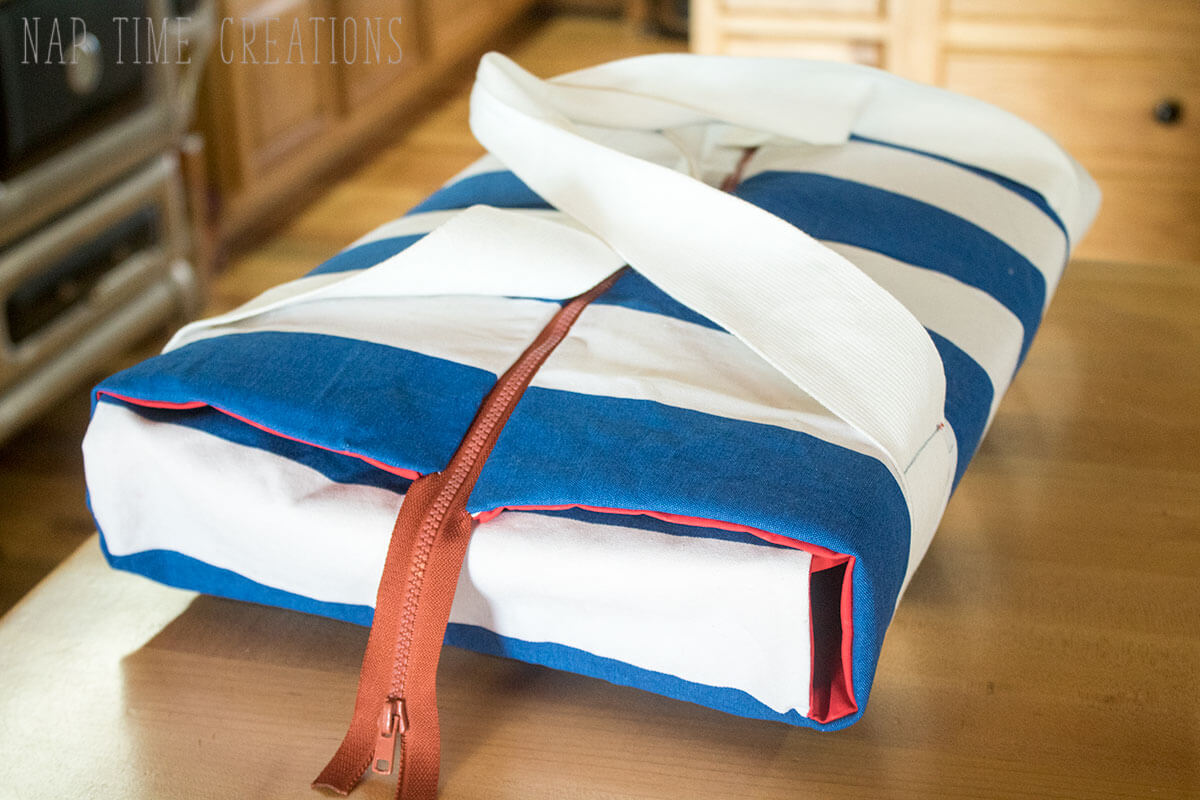
Then the other two sides fold in and zip closed.
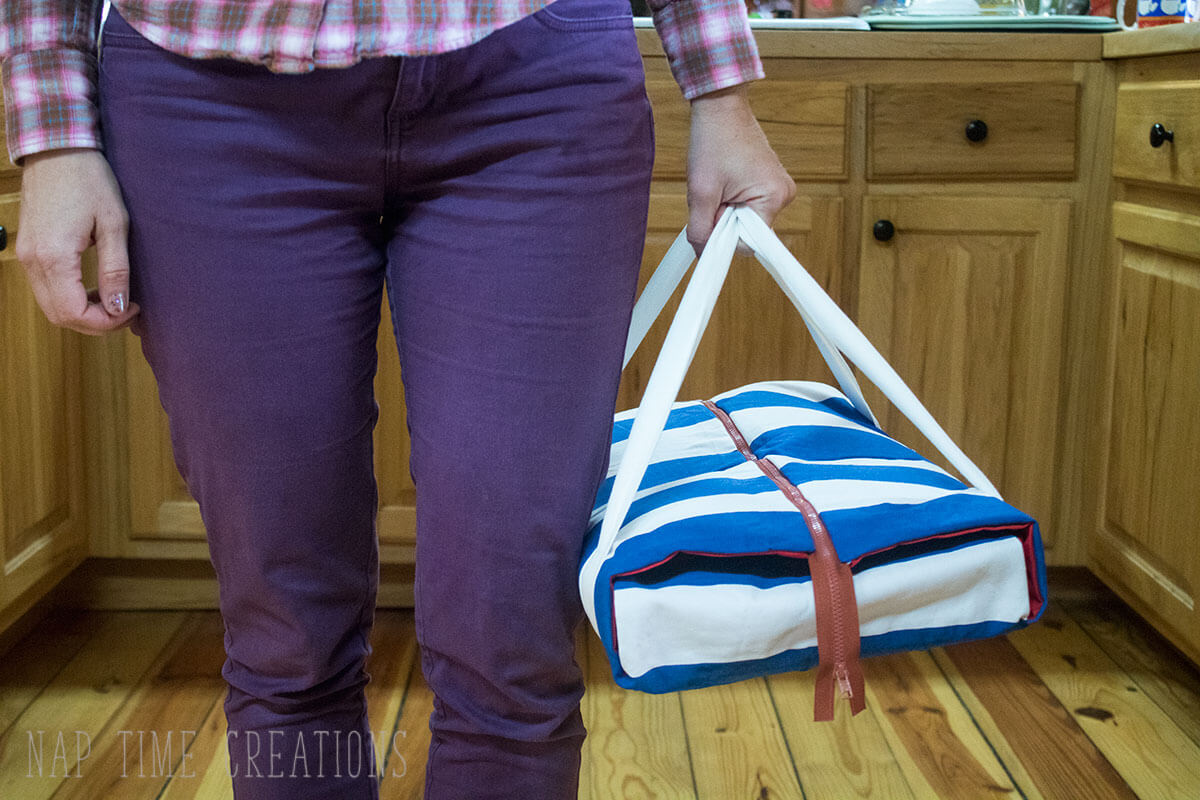
Grab the handles and GO! Whatever delicious dish you have made will arrive at your destination warm and safe. Want to make one of these awesome carriers? Click the link below to find the full tutorial AND a free pattern for this particular size!
get the full casserole carrier with zipper tutorial by clicking the box here:
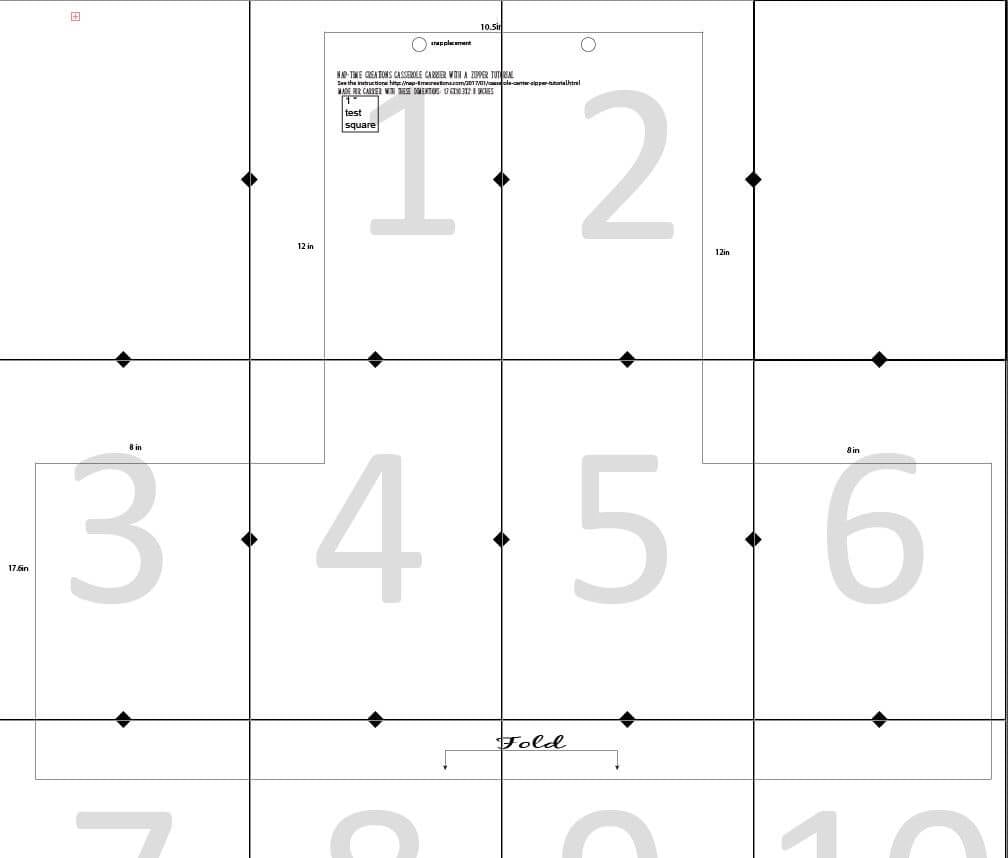
Ok! Ready to make your own carrier!! Go grab the free pattern HERE, or follow my tutorial to make a carrier for the dimensions of your Pyrex dish. My Pattern DOES NOT include seam allowance. See the diagram below for example and exchange your measurements into the pattern if your dish is a different size.
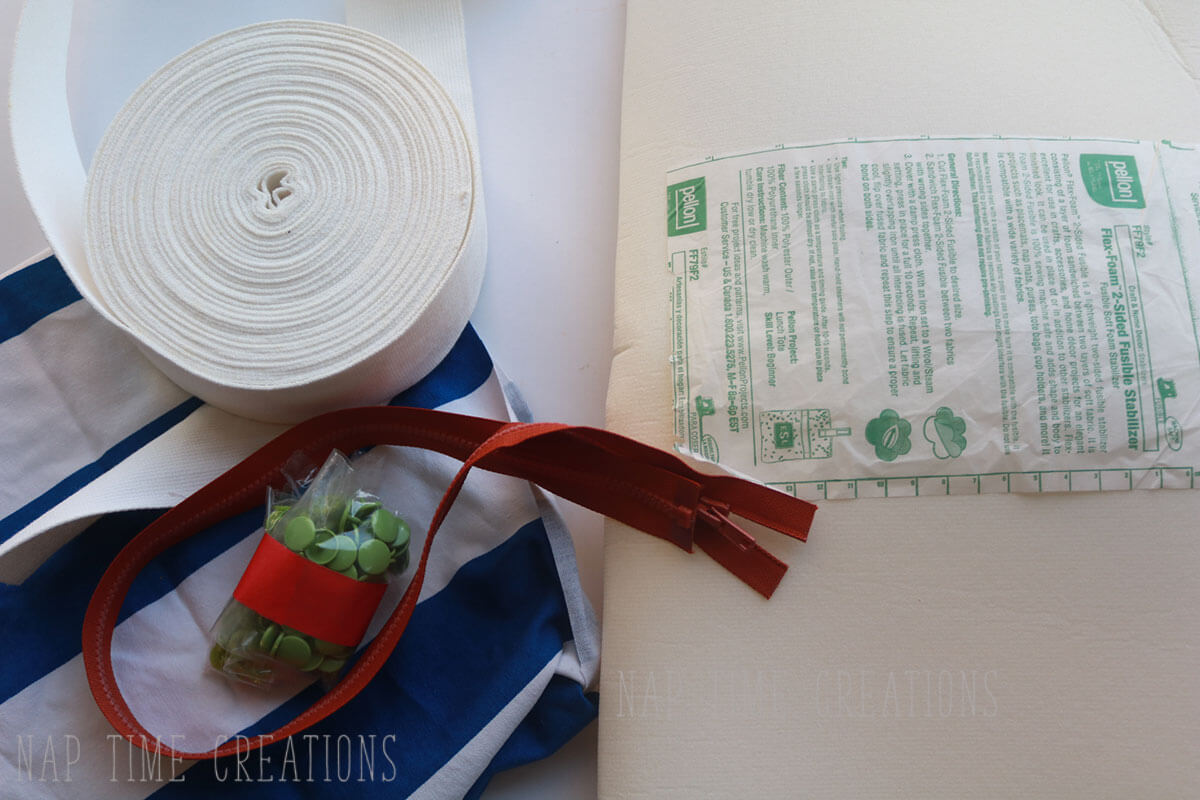
For this carrier you will need: 1.25 yards fabric – x 2 fabrics so 2.5 yards total. 8 ft of strapping {bought or made}, 1/2 yard Pellon Flex-Foam 2 Sided Fusible Stabilizer, 2 snaps and a separating zipper at least 18 inches long {mine was longer and I liked the look}.
The pattern DOES NOT include seam allowance so make sure that you add one when you cut. Cut one of main piece from outer fabric and one of inner fabric. 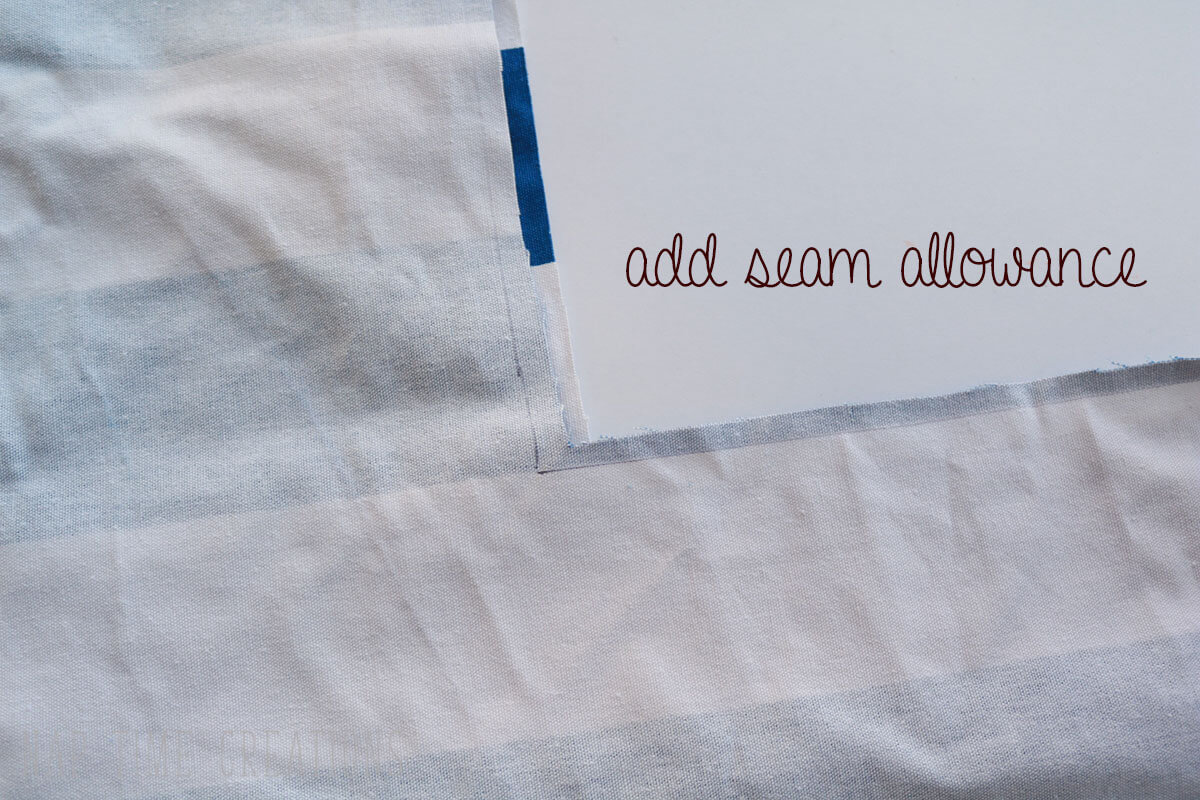
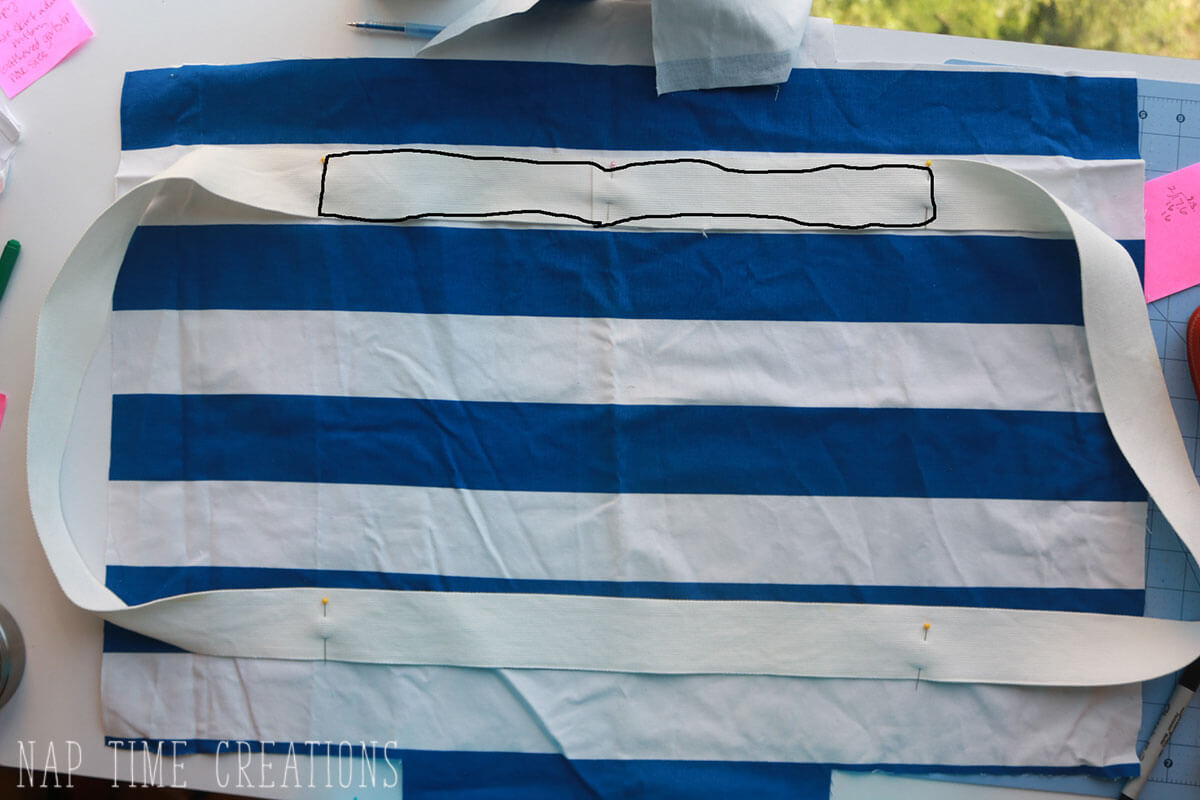
Start by taking the outer fabric and opening up the two shorter “wings” Find the center 2/3 inches from the wing top edge and pin the strapping. Lay the strap going towards the end of the wing, put a pin 5″ from the wing edge, then lay out 23″ curved and loose for the handle. Bend the strap and start pinning at the bottom part of the wing, continue until 5″ from the other wing and pin again. Repeat the 23″ handle, then pin the strap back to the wing and continue until the ends of the strap meet. SEW the edges of the strapping from pin to pin leaving the handles loose as shown here.
Now we are going to put the zipper on the end of the “wings” that have the straps… With right side of zipper facing towards the right side of the fabric, lay the zipper along one end of the wing.
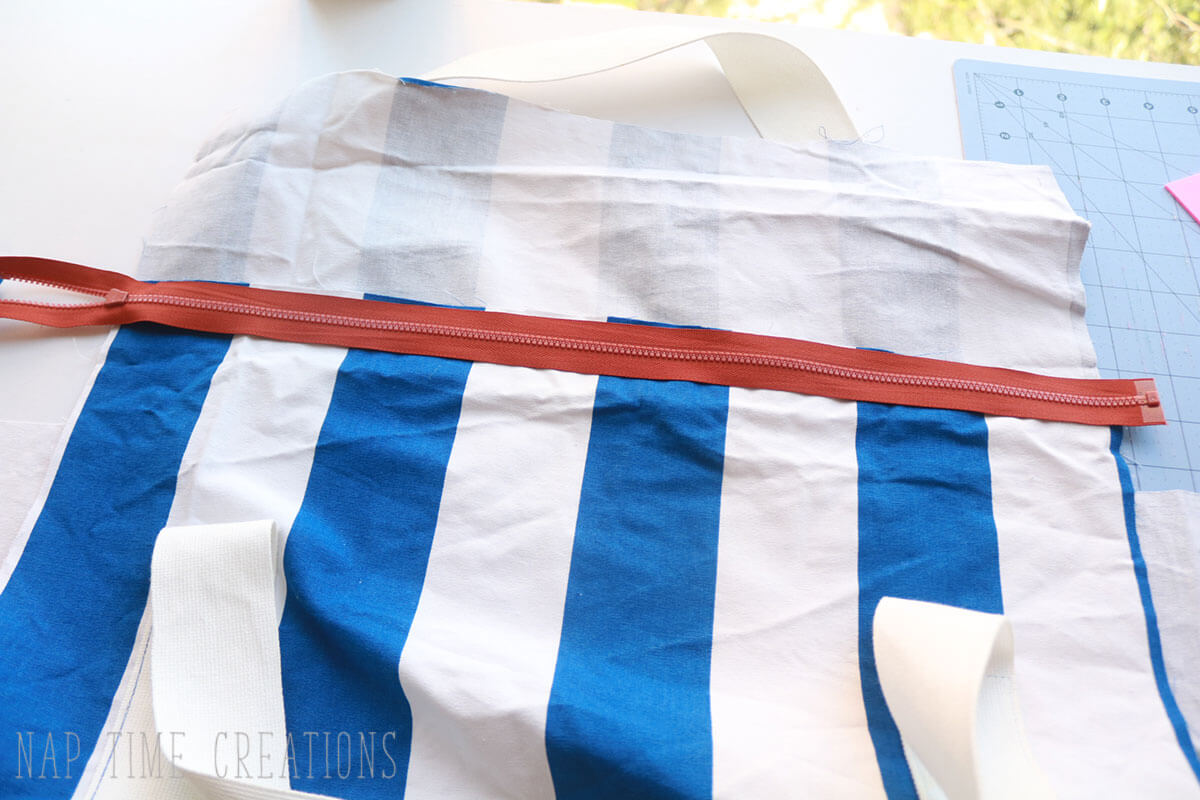
Lay the corresponding side of the lining fabric right side down, making a zipper sandwich… main, zipper, lining..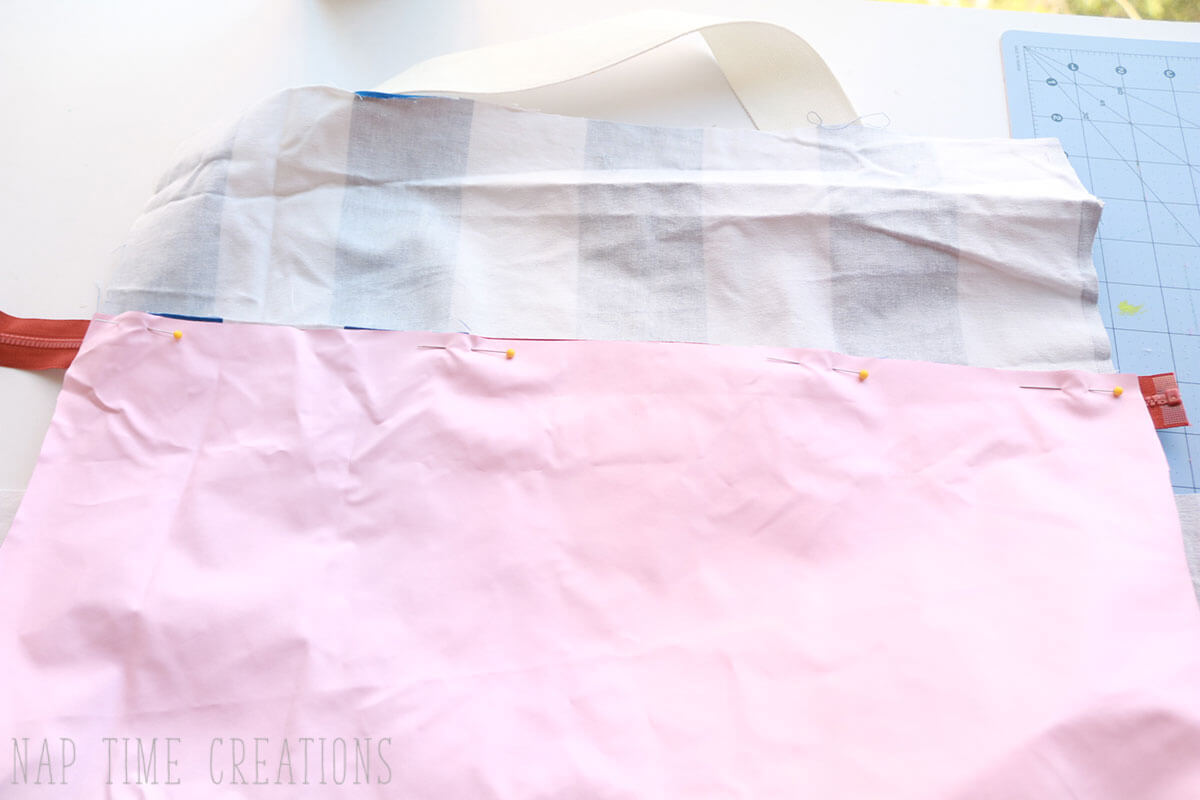
Sew and open up.. it should look like this.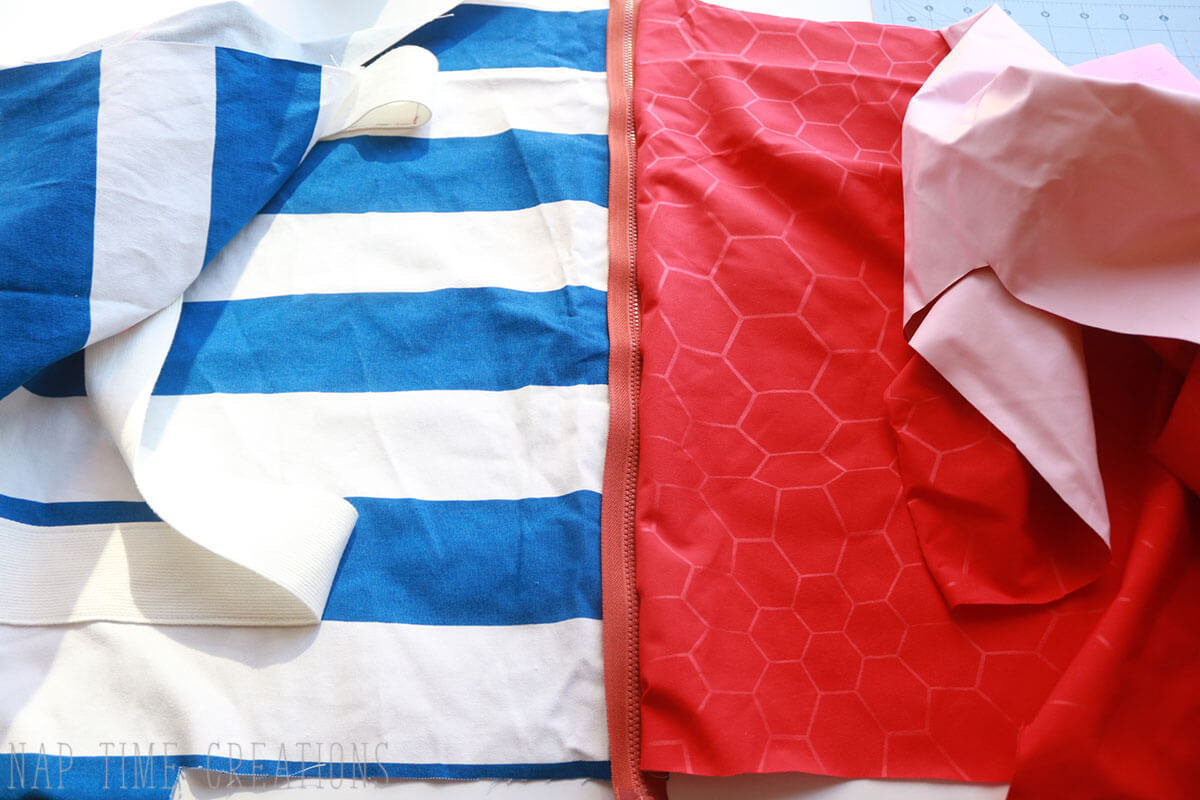
Open up the zipper and lay it right sides together on the opposite side. 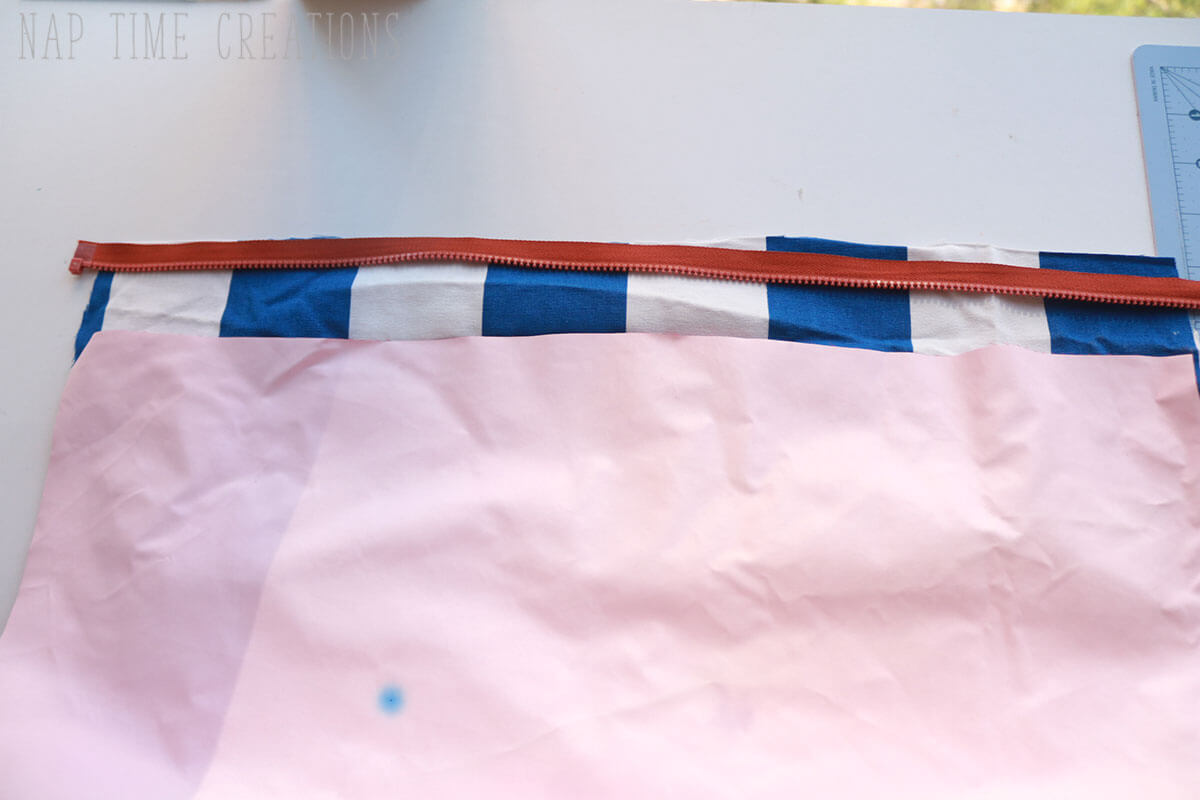
Add your lining fabric on top. Make sure the zipper is lined up on both side. {the overhang should be equal!} Sew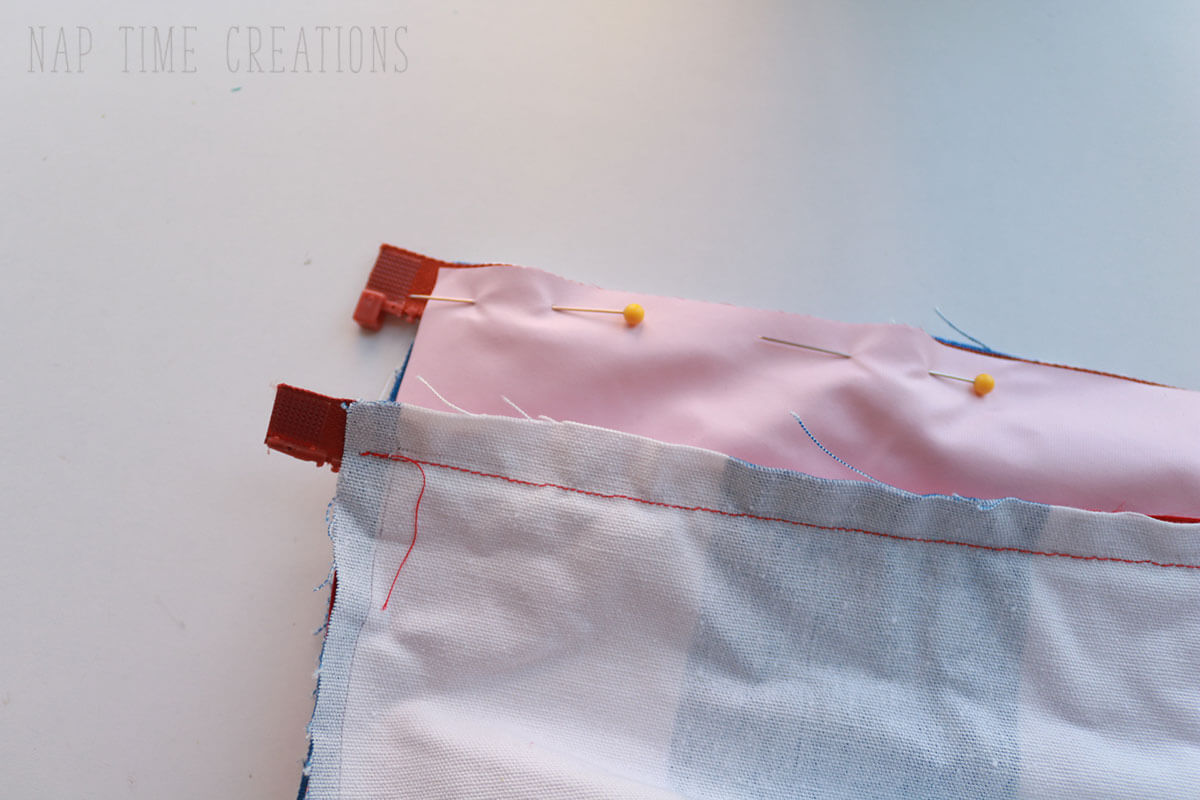
Lay the foam on top and cut a piece the same size as the center of the carrier. From zipper to zipper on the sides. It should be a rectangle like this.
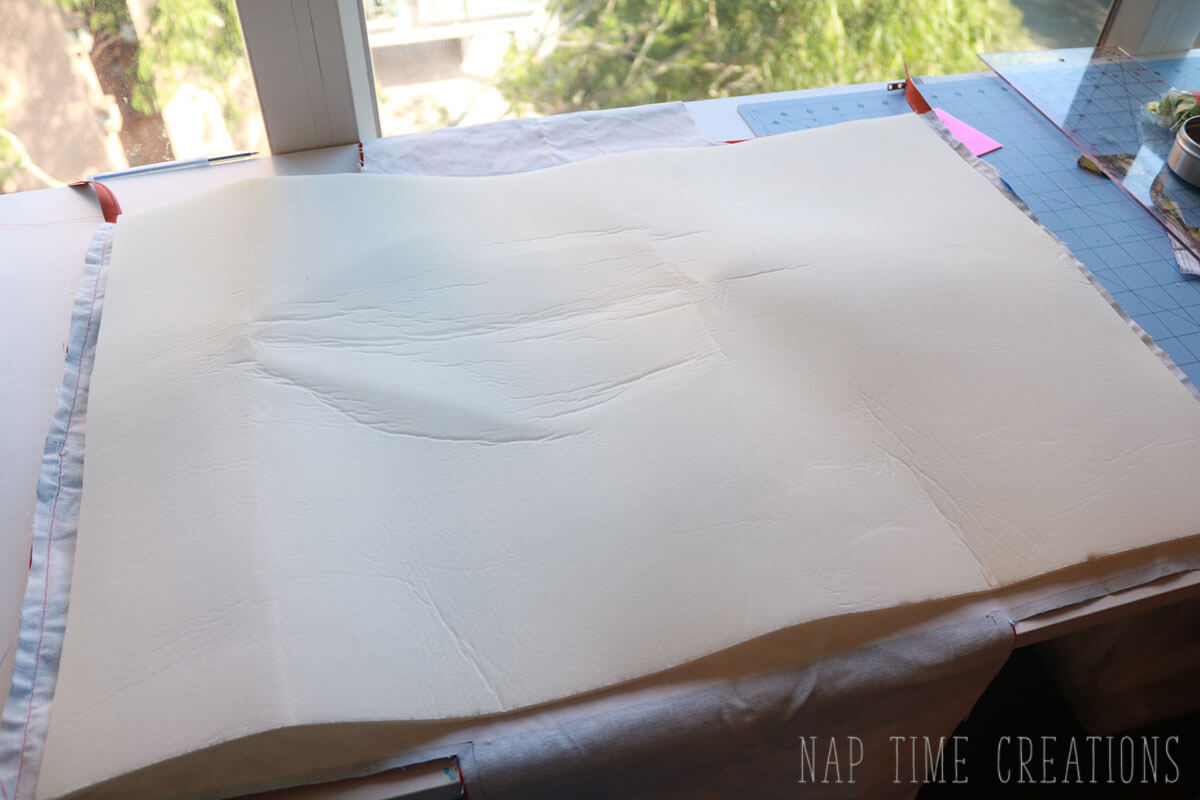
Sew from the end of one zipper around the sides to the other zipper end.
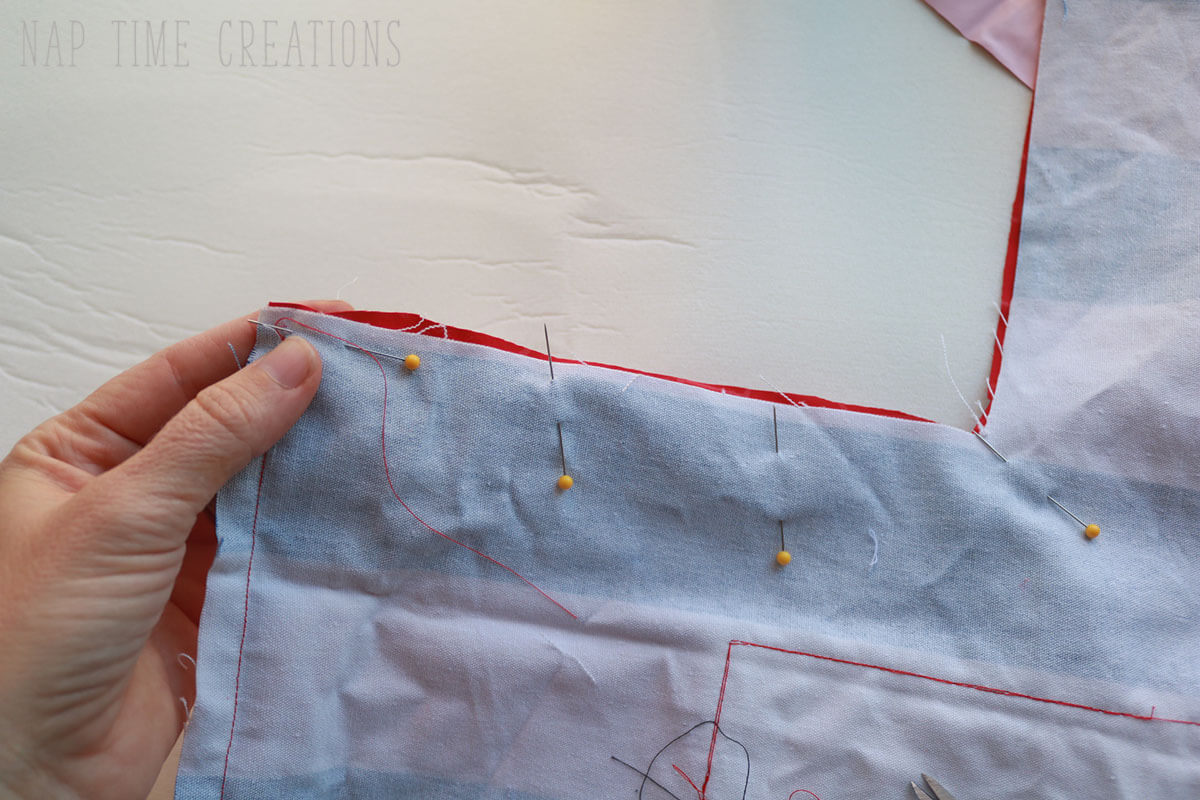
Clip the corners. 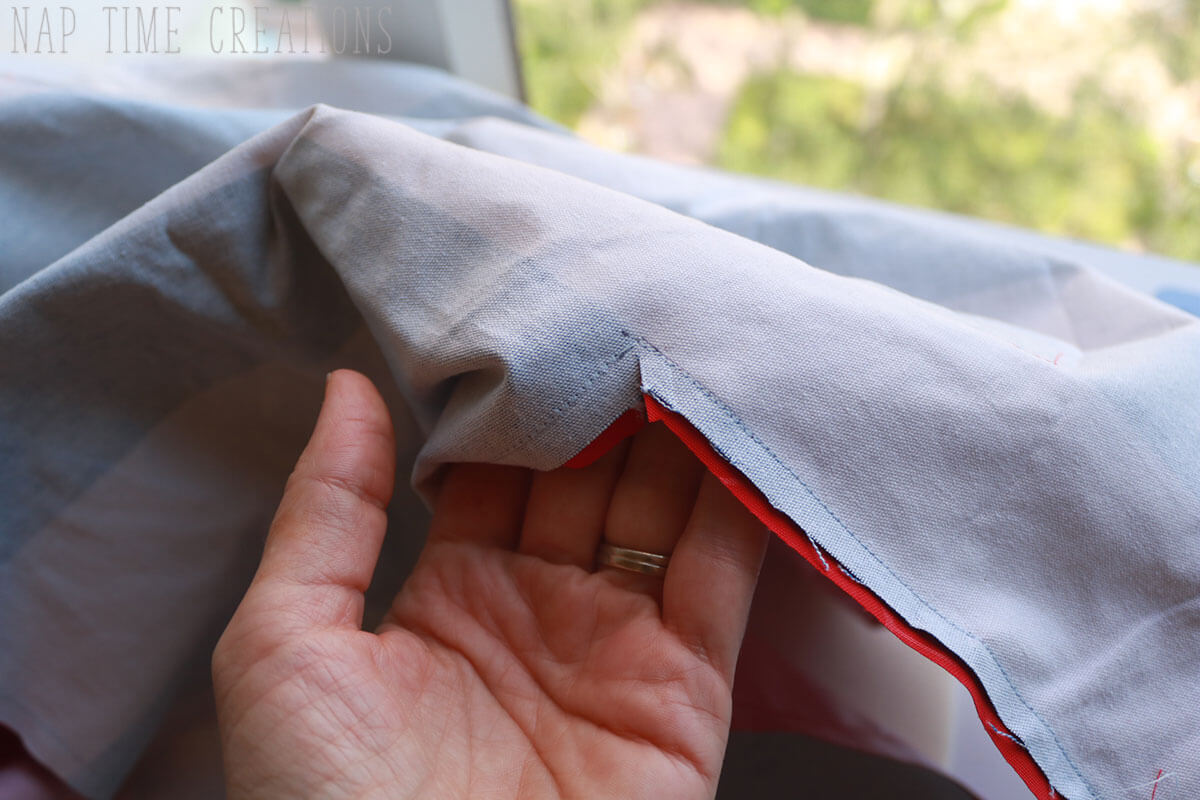
On the other side of the carrier, sew the sides, but leave the short end of the snap wing open. Turn the carrier through this opening.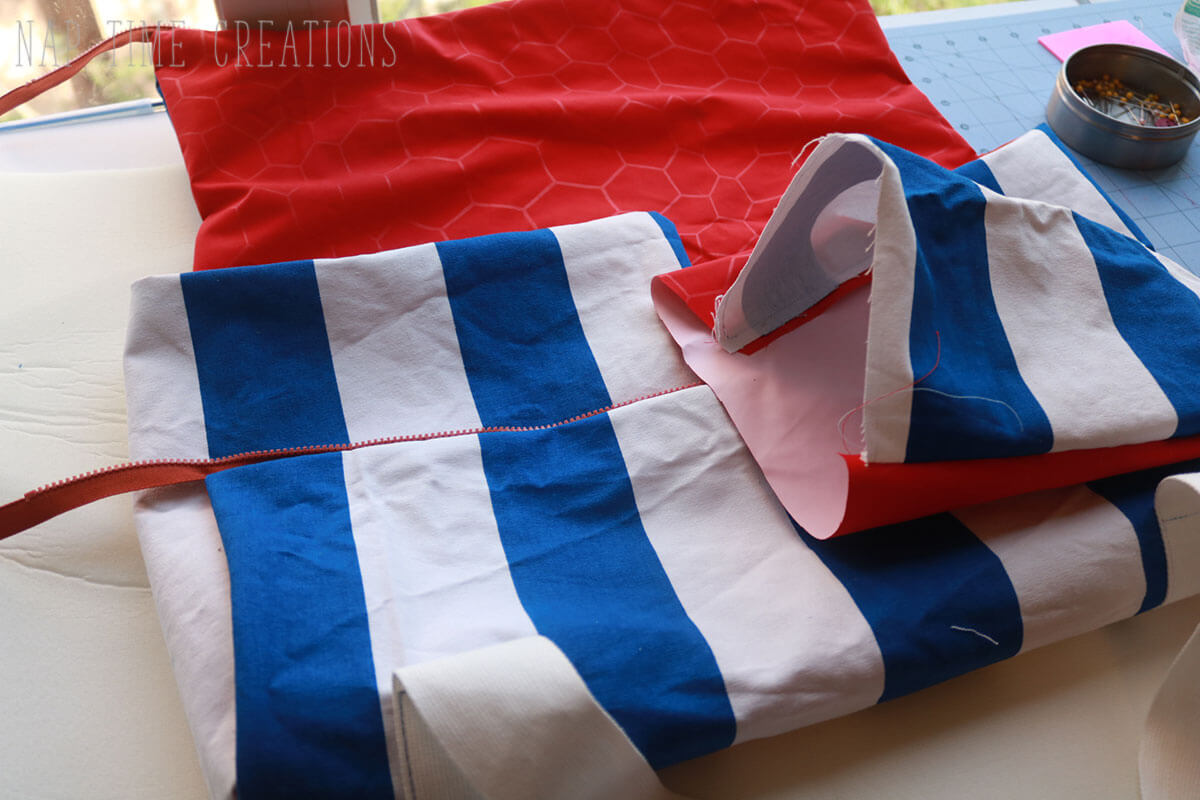
Roll the foam and place inside the carrier. When you get to the center, unroll and tuck into the corners. Smooth flat. 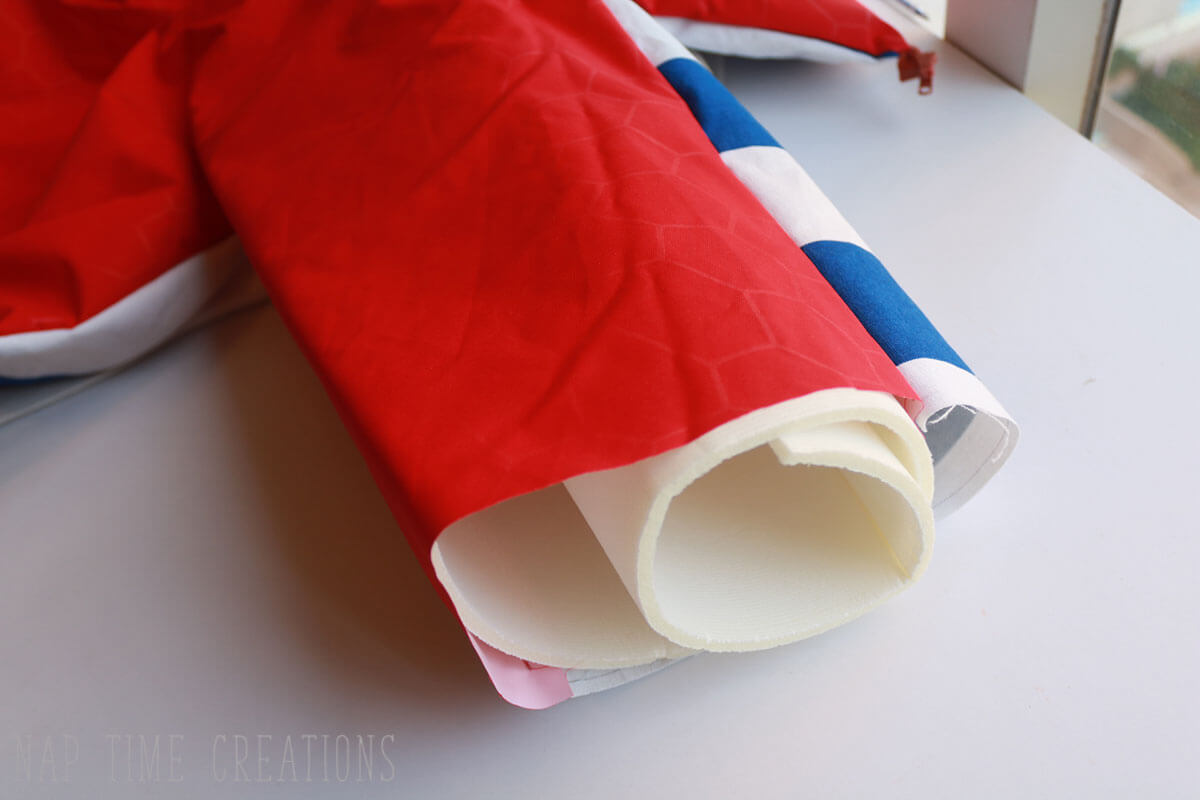
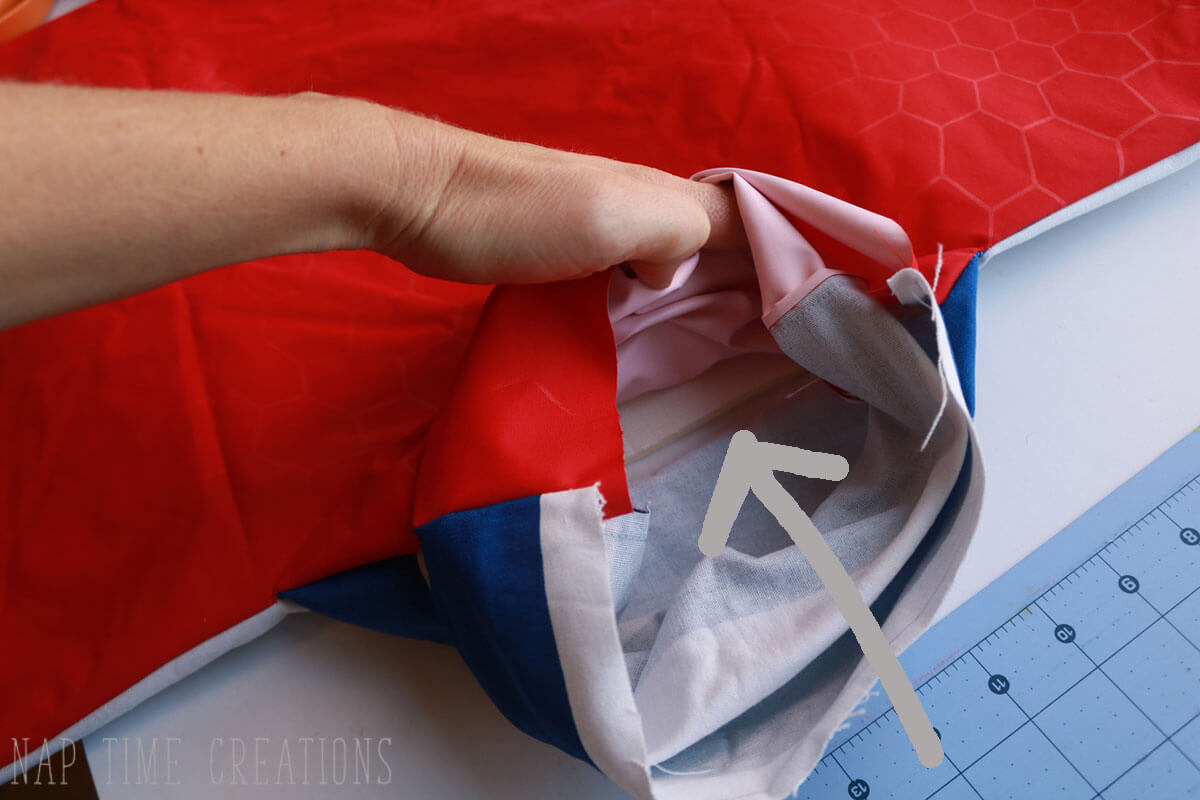 Now the large middle section of the carrier should be padded. My foam was fusible, so I ironed bother sides of the carrier to fuse the interfacing to the fabric.
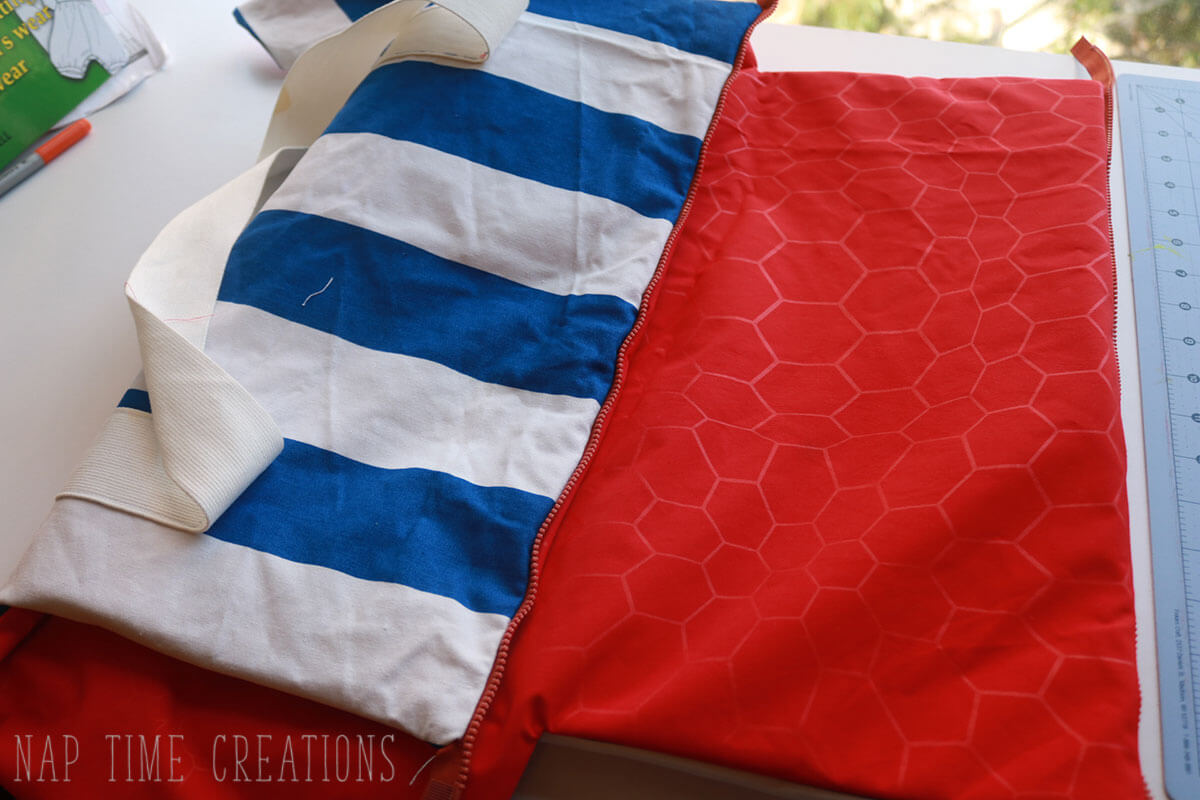
Tuck the edges of the open side in and sew across. 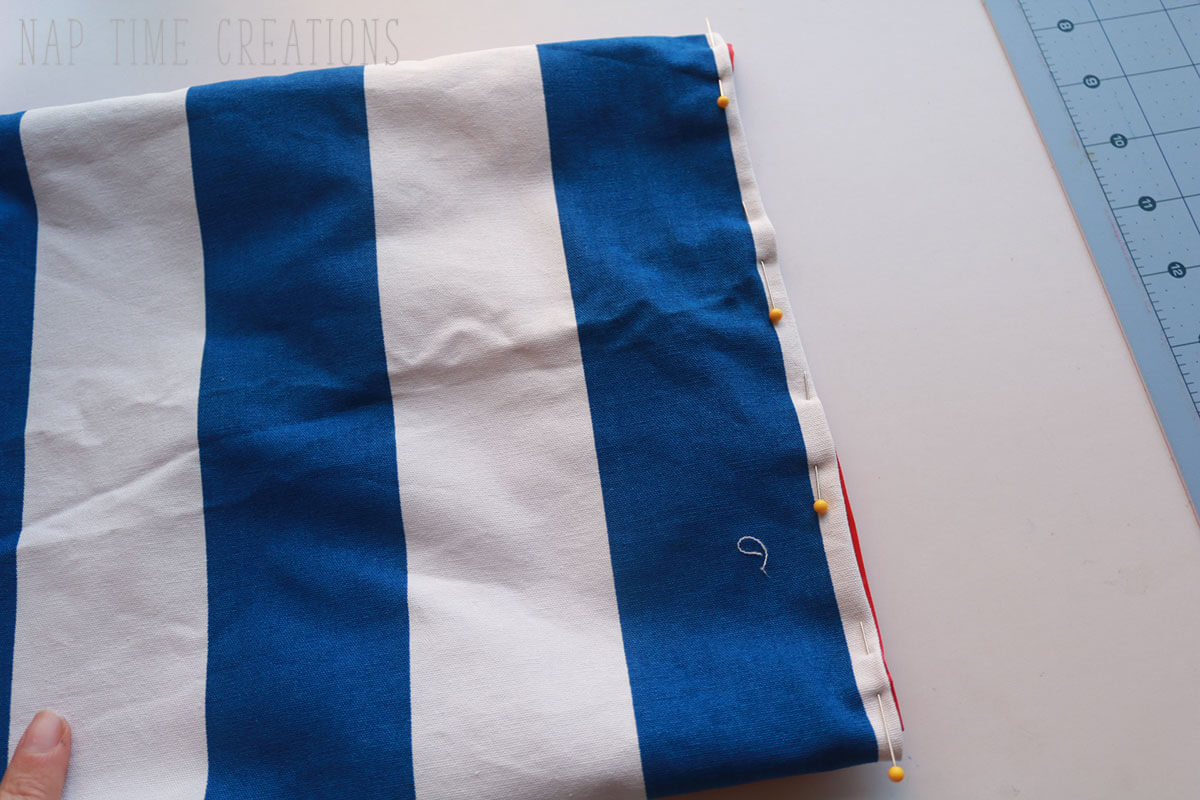
Place the dish in the carrier and mark exactly where to put the snaps. You could also use velrco here if that’s better for you. You want the ends to be snug, so mark your fastening with the dish in the carrier. 
Then fold up the other two side, zipper and go! A super safe and secure way to transport your delicious food to your next gathering. And one more LINK to Grab the FREE PATTERN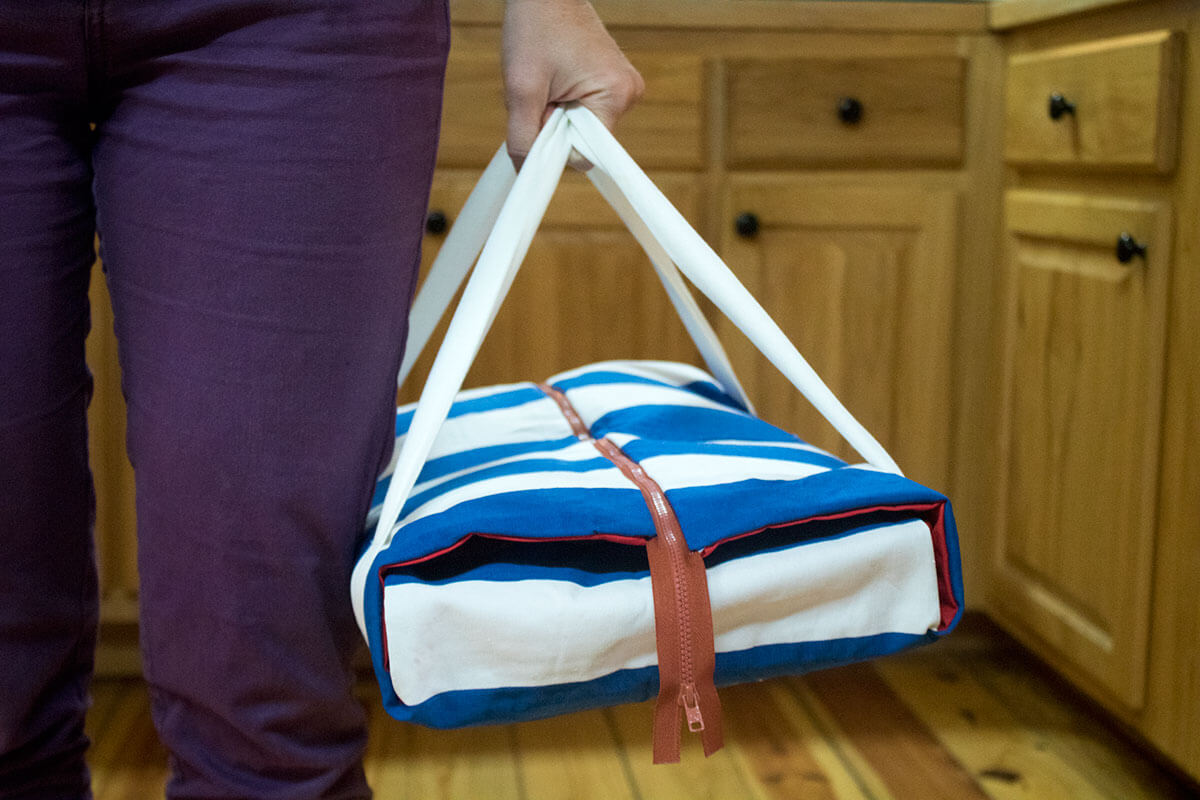



Pam @Threading My Way says
I’ve been meaning to make one of these for ages. The zipper is a handy addition.
Emily says
yes! It feel so secure in there with the zipper! I need to make one for me now!
Charlotte Burkholder says
Casserole carriers are handy. Great job on making your own. Thanks for sharing with us at Family Joy Blog linkup.
shelley says
This is such a great idea! Thanks for sharing at Over the Moon.
Christine says
Such a great idea especially during winter here in my area! Thanks for sharing this at the DI & DI Link Party.
angie says
I love casserole carriers but never thought of making my own. Thanks so much for sharing how tos
come see us at http://shopannies.blogspot.com
Julie says
OH! I need one! Thanks for sharing this amazing and helpful creatiion!
Lauren says
Love this idea! Thanks for sharing!
Angie ~ ambient wares says
This is a great gift idea! Pinning & sharing 😉
Joyce @ My Stay At Home Adventures says
Oh I want one! This is pretty clever and thank you for sharing it with us at #FuntasticFriday
Phyllis Smith says
How do you fasten the snaps if you have a hot casserole and no lid for the dish? Perhaps one could use velcro as well?? Love the zip. I’ve never made a casserole carrier, and now the church we attend doesn’t really do hot dish carry in’s–mostly sandwiches and finger foods. So I may wait awhile longer to make this. But I love it and will make it someday!!
Emily says
yes, velcro would work just fine!
Rogene says
For the church that no longer brings hot dishes then use the carrier for the sandwiches placed inside your dish. Nicee way to just place your serving dish on a table and tuck the fabric sides under neath your dish or the carier under the table. .. Maybe cutr a pice of cardboard or to fit the dish top and cover it with something easily washable like a gallon zip lock bag or washelbe fabric or cut a silicome cutting board sheet to fit. as a cover add some gross grain webbing to go aroudn the dish to secure. for a washable lid..
Trisha says
Love casserole holders, but haven’t seen one in a while. Another great project for my to do list. Thanks!
Theresa says
I would love to try making this, thanks for the tutorial. &Thanks for sharing at the Inspiration Spotlight party. Pinned & sharing.