There are so many art projects that use this DIY colored sand, it’s a great base for many many projects. You won’t believe how easy it is to color your own sand… either buy it or just get from your sandbox, you will love this easy project.
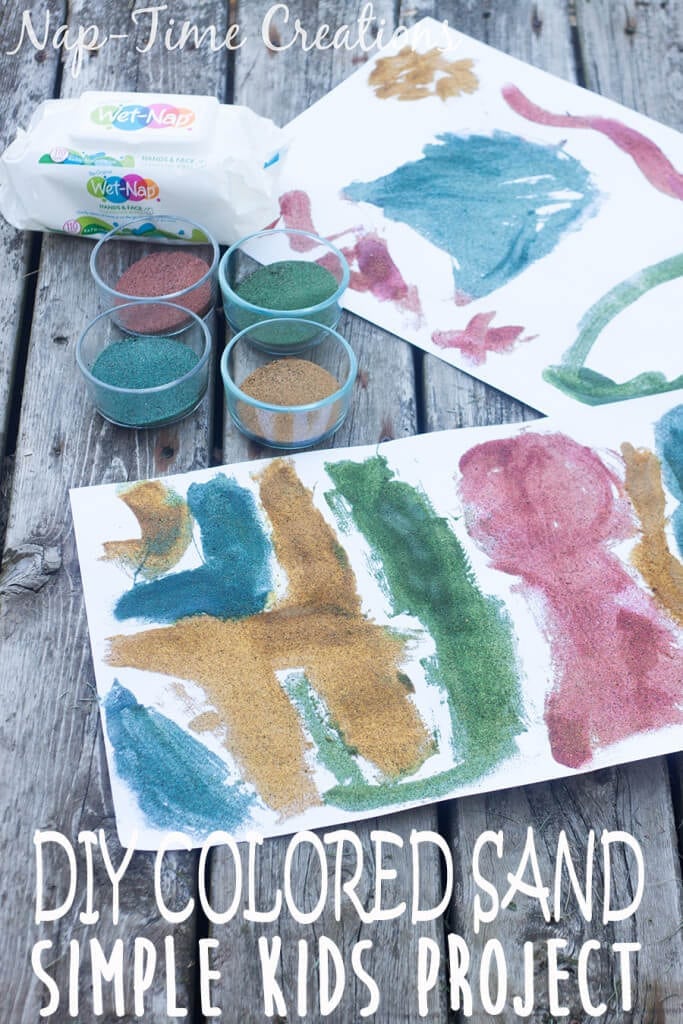
When my kids want to get crafty with me, the first thing I often think about is the mess afterwards… we do a 10 min. project, but then I spend 20 cleaning it all up {ha!} So.. when we tried this perfect summer project with DIY colored sand and and the clean up was super fast and easy I was so excited. This quick tutorial will walk you through coloring sand and what we did with it.
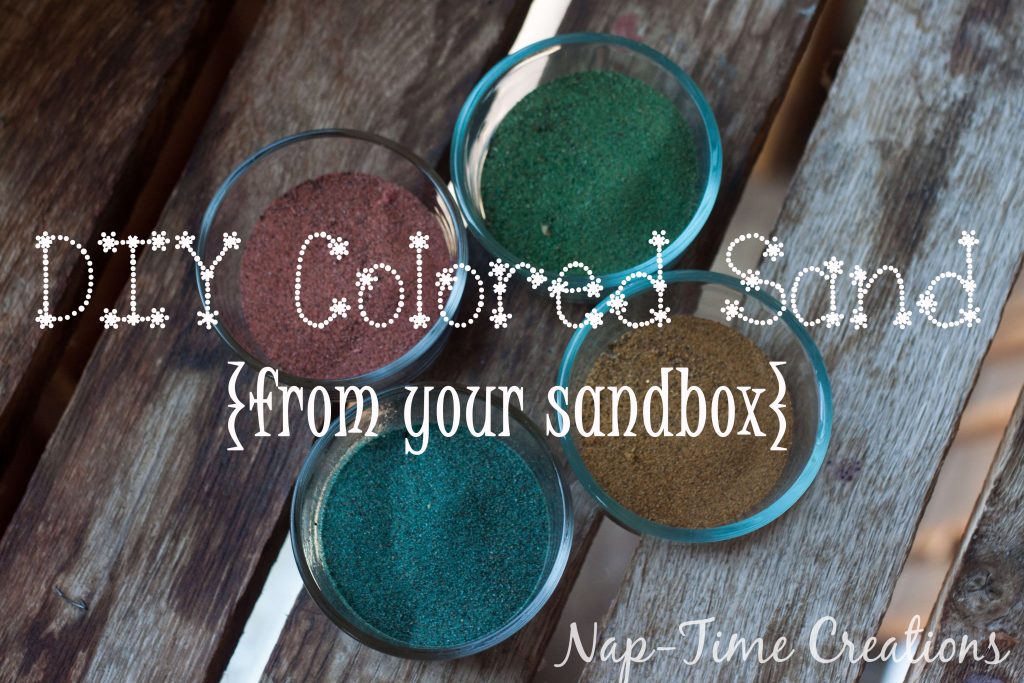
Let’s start this project off by coloring some sand!! I just used sand straight from the sandbox and added normal liquid food coloring. NOT the gel kind… Here’s a quick video to show you the DIY coloring process. Add as much dye as you want to get the color desired. After you dye the sand, spread out on a paper plate and let sit overnight to dry. You can also buy fine sand here.
Ok, now that you have beautiful colored sand, let’s get crafty! You will need the sand, glue, paintbrushes, and poster board. I also found a few paper plates, cups and a bowl for the glue to be helpful. 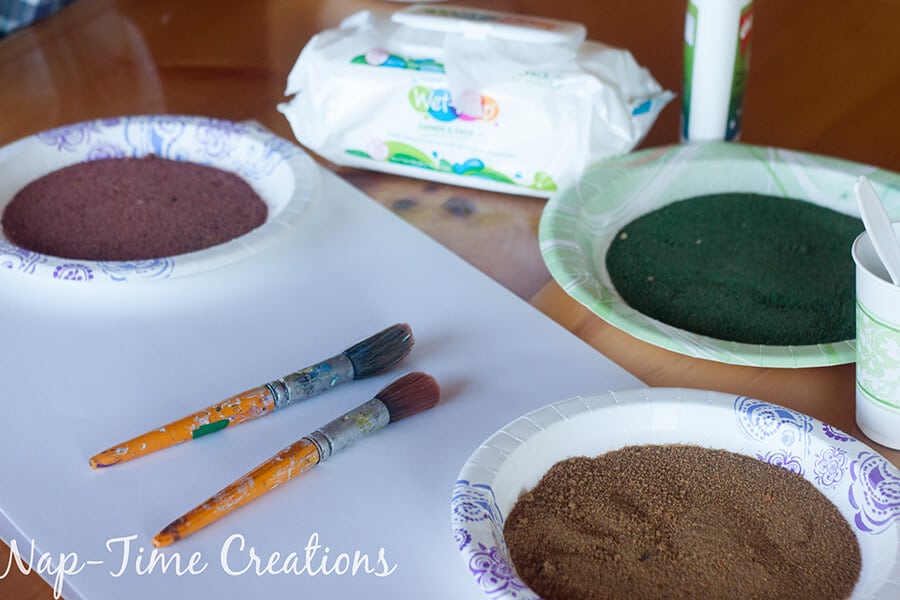
Give each kid a piece of poster board and a paint brush. Start by painting the design you want for your first sand color.
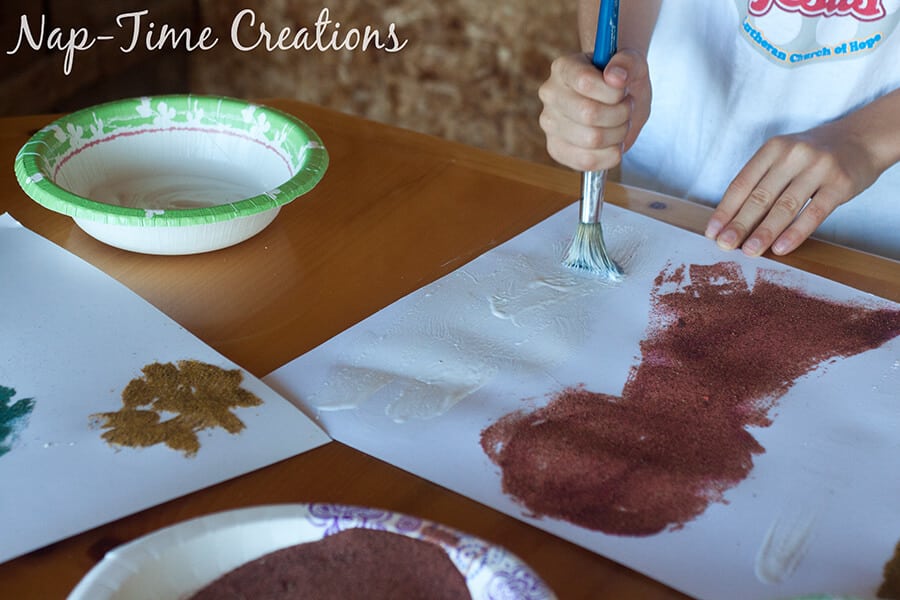
Then pour sand over the wet glue.

Use your fingers to spread out the sand so it covers all the glue. 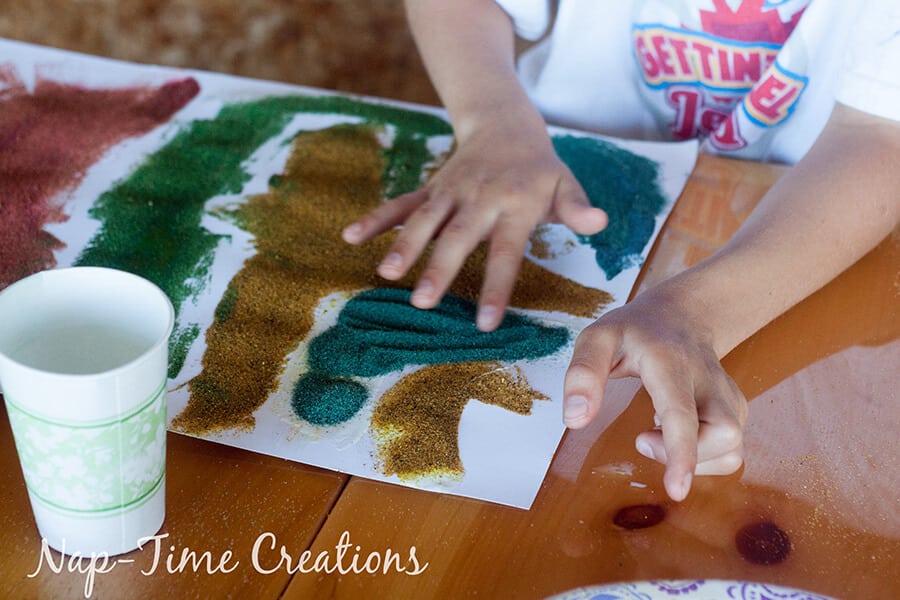
After a few seconds tip the poster board over a paper plate and pour off the excess sand. Pour this back in the cup and then use again.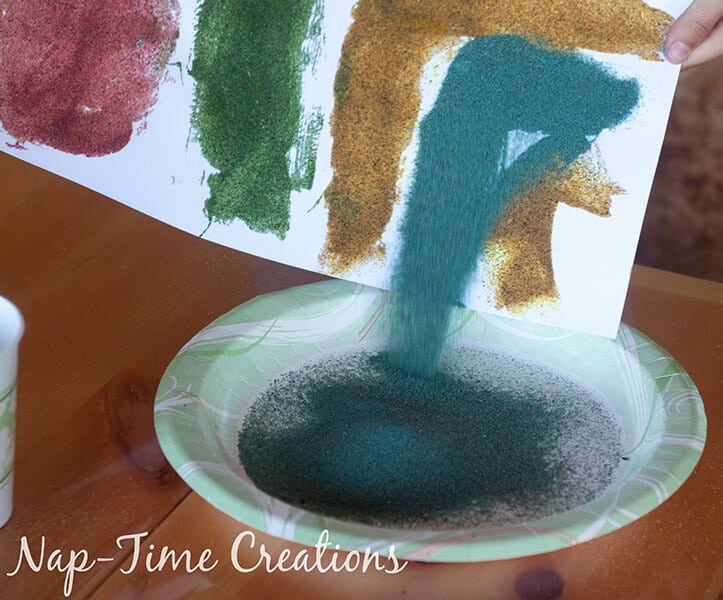
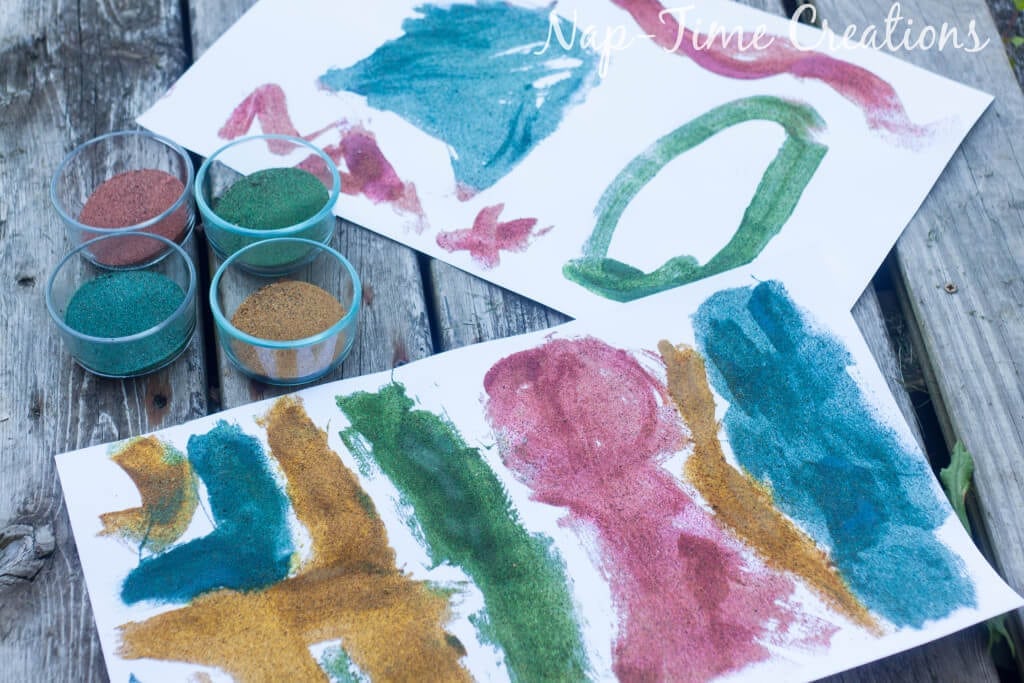
The sand sticks to the glue and the extra just pours off. Paint the glue for another color and repeat until your masterpiece is finished!

What project can you think of with colored sand? I want to try those fun sand jars like I made at summer camp MANY years ago.. I think my boys would have fun with those too!
Check out my other fun ideas for kids projects and activities here.





divya sharma says
Jealous over this. It’s really really nice.Thanks for sharing.