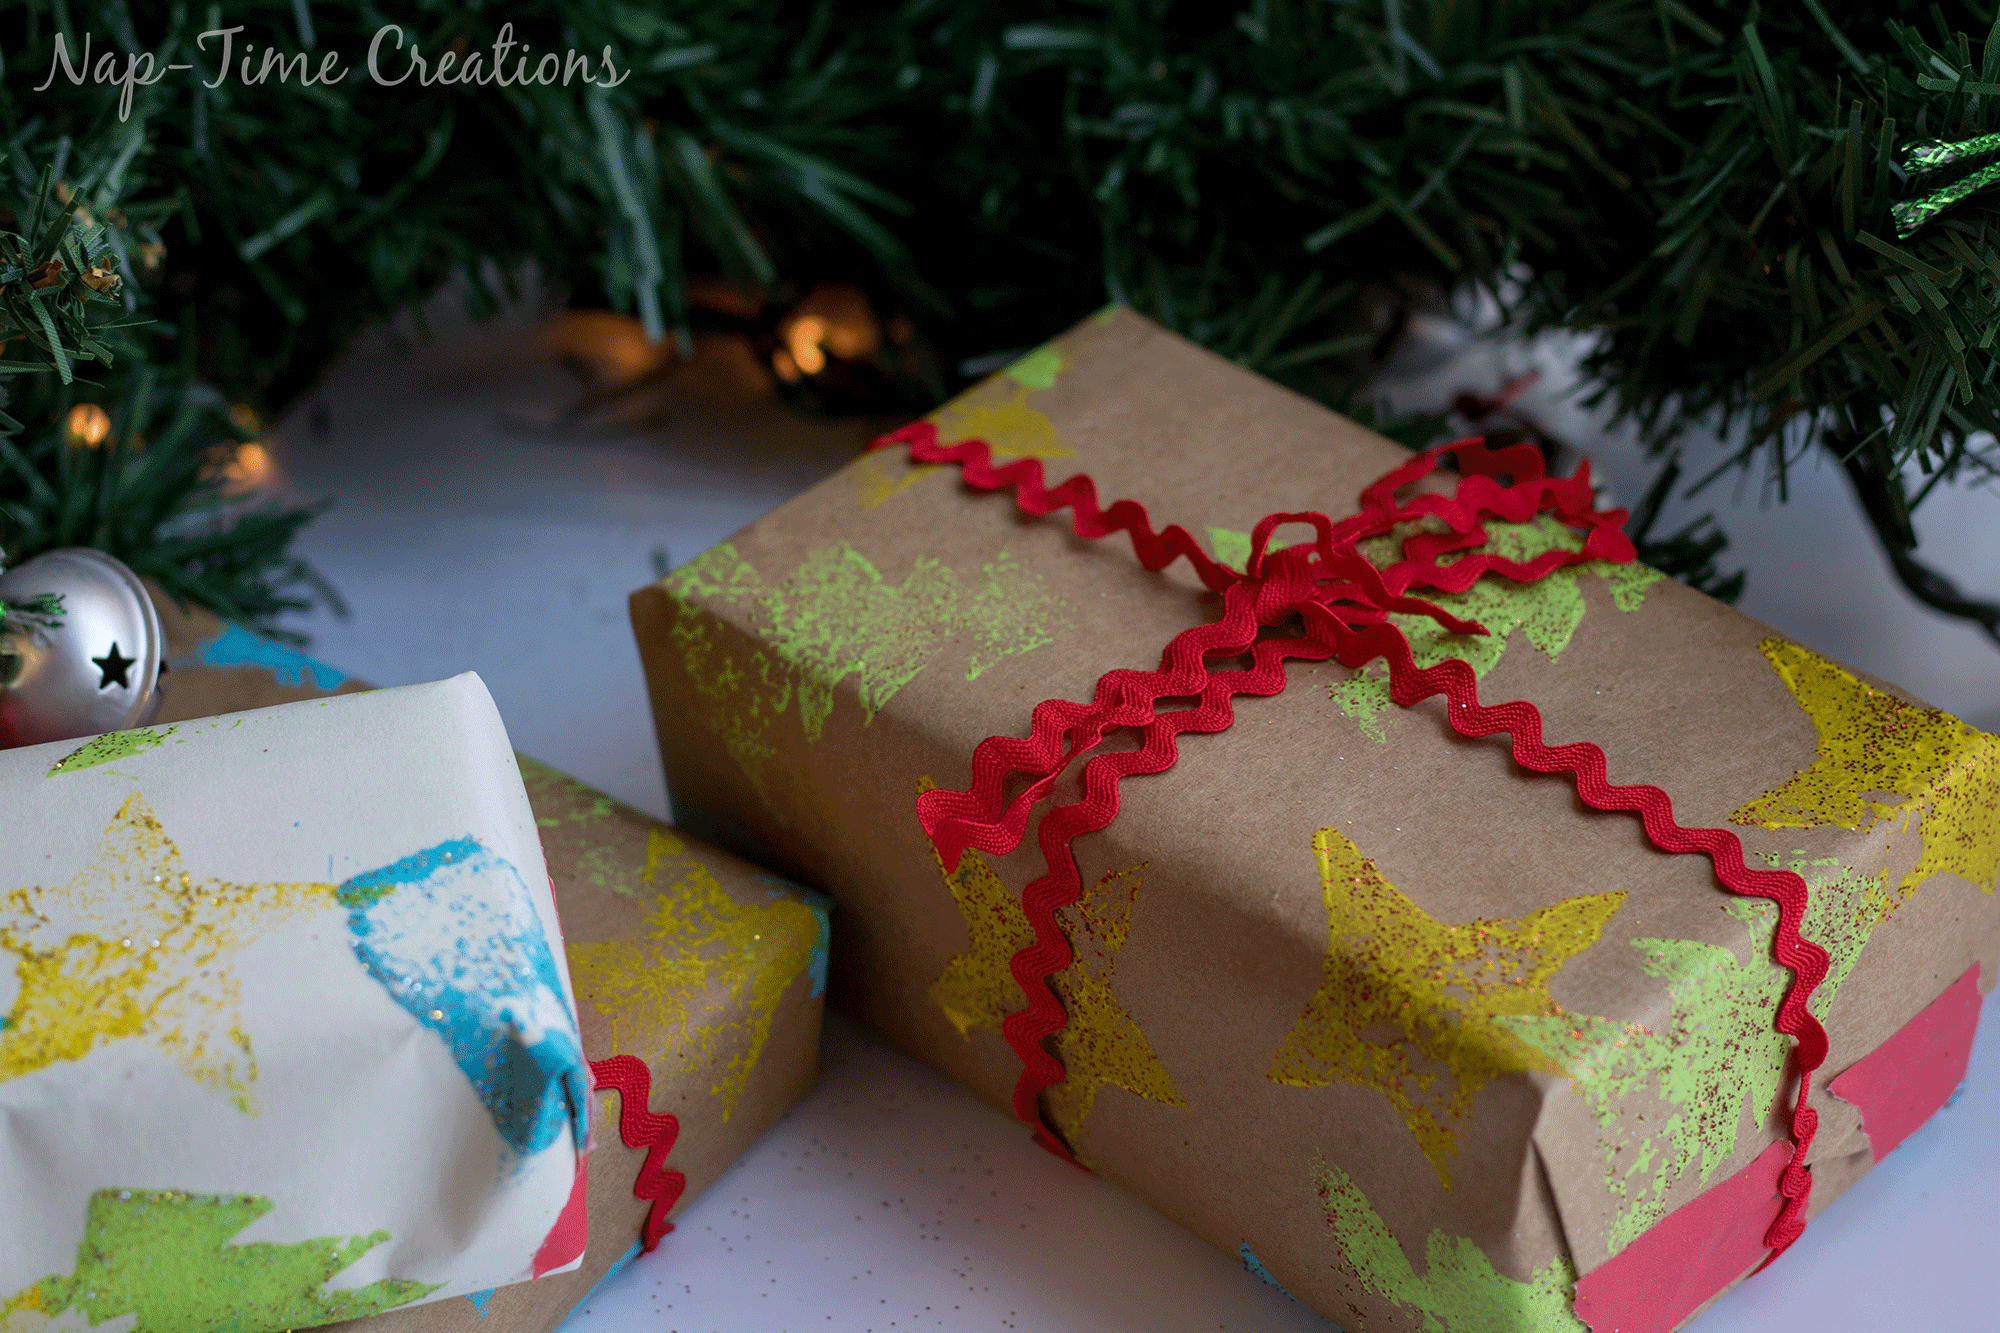
DIY felt stamps – so fun! Every year I like to share a new handmade wrapping paper idea. This year I’m getting mine out early, and I hope you’ll be inspired to make something like this. For this project I made DIY felt stamps in Christmas shapes and then used them to make this hand stamped paper – that turned out great! The great things is that once you make the stamps, your kids can get in on the wrapping paper making too! Its a fun and easy DIY that could be used for any season.. I love the Christmas wrapping made from my DIY felt stamps though!
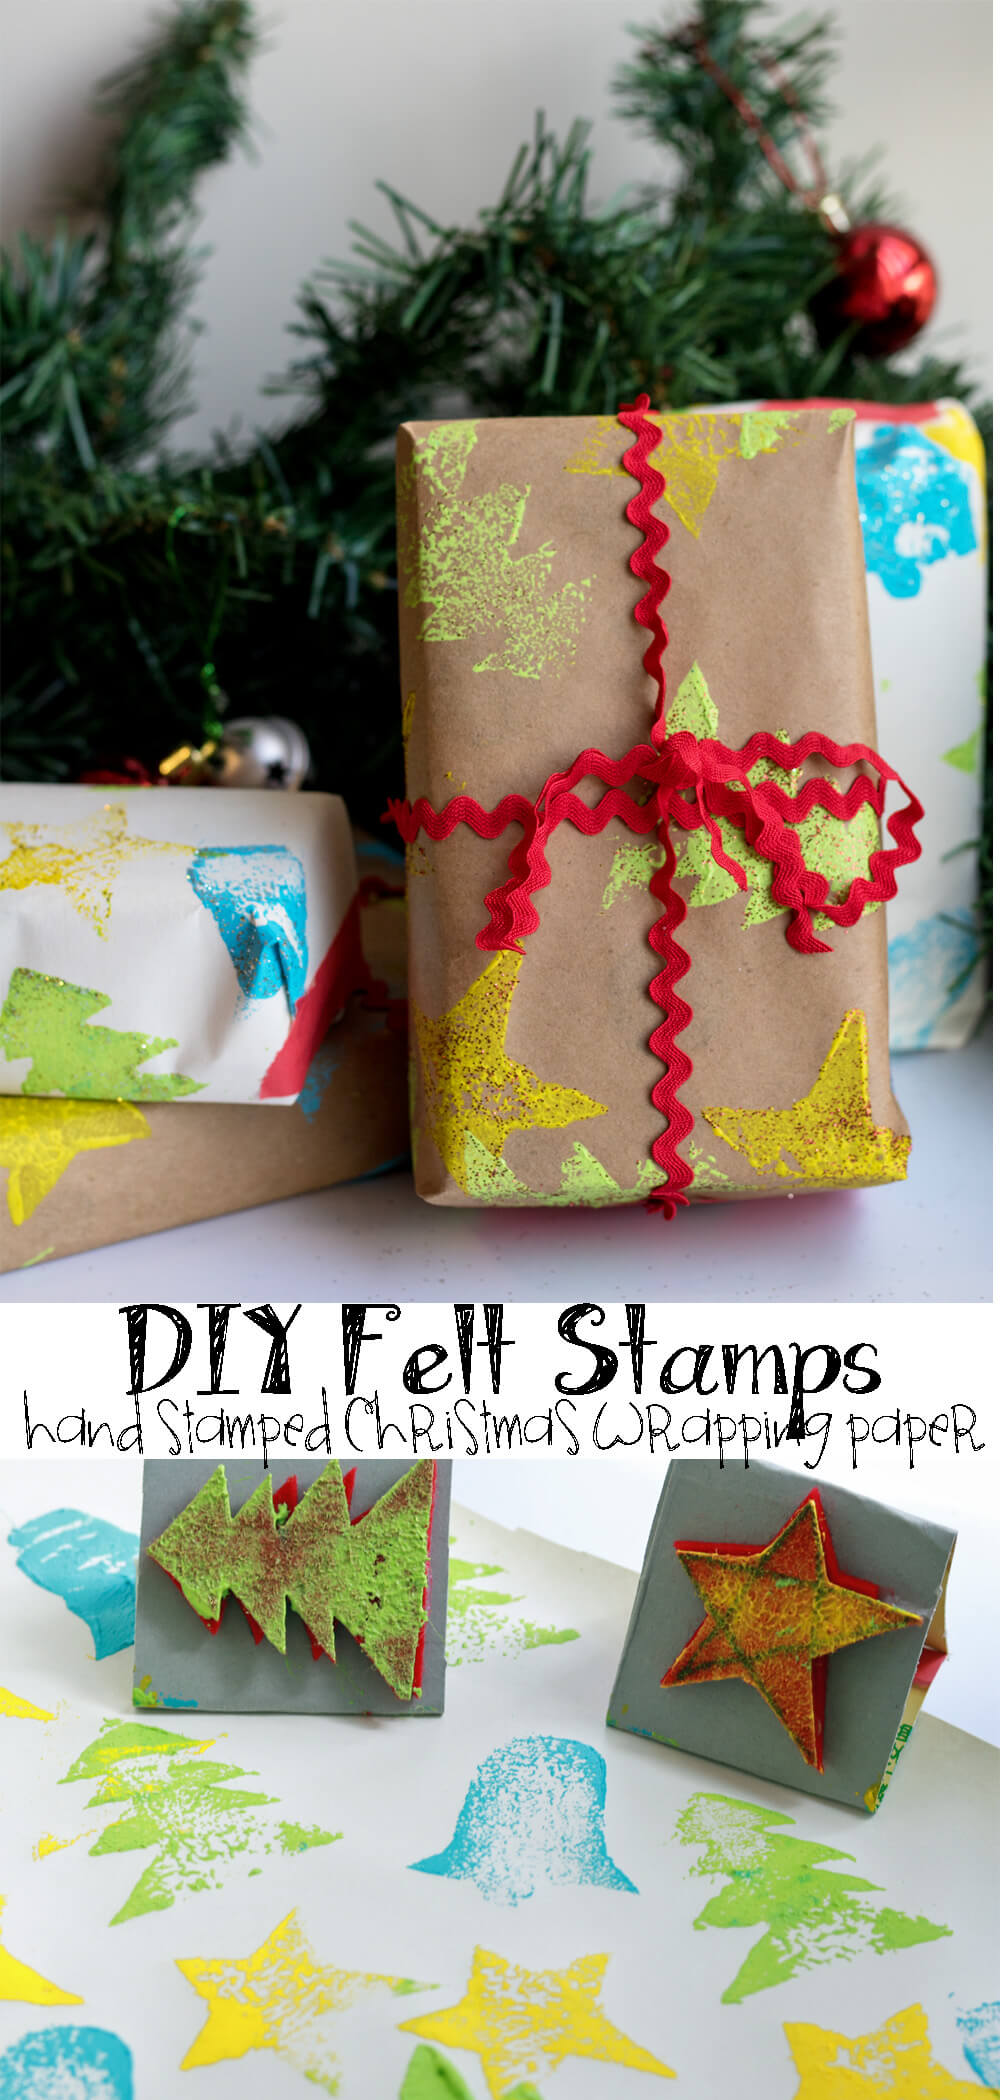
DIY Felt Stamps
Today I’m part of a Craft Lightening series… which means 15 min crafts… And you can make a lot of wrapping paper in 15 min! Click the button below to find LOTS and LOTS of other great crafts and ideas shared in the series! Okay, let’s get to the DIY felt stamp making… keep reading..
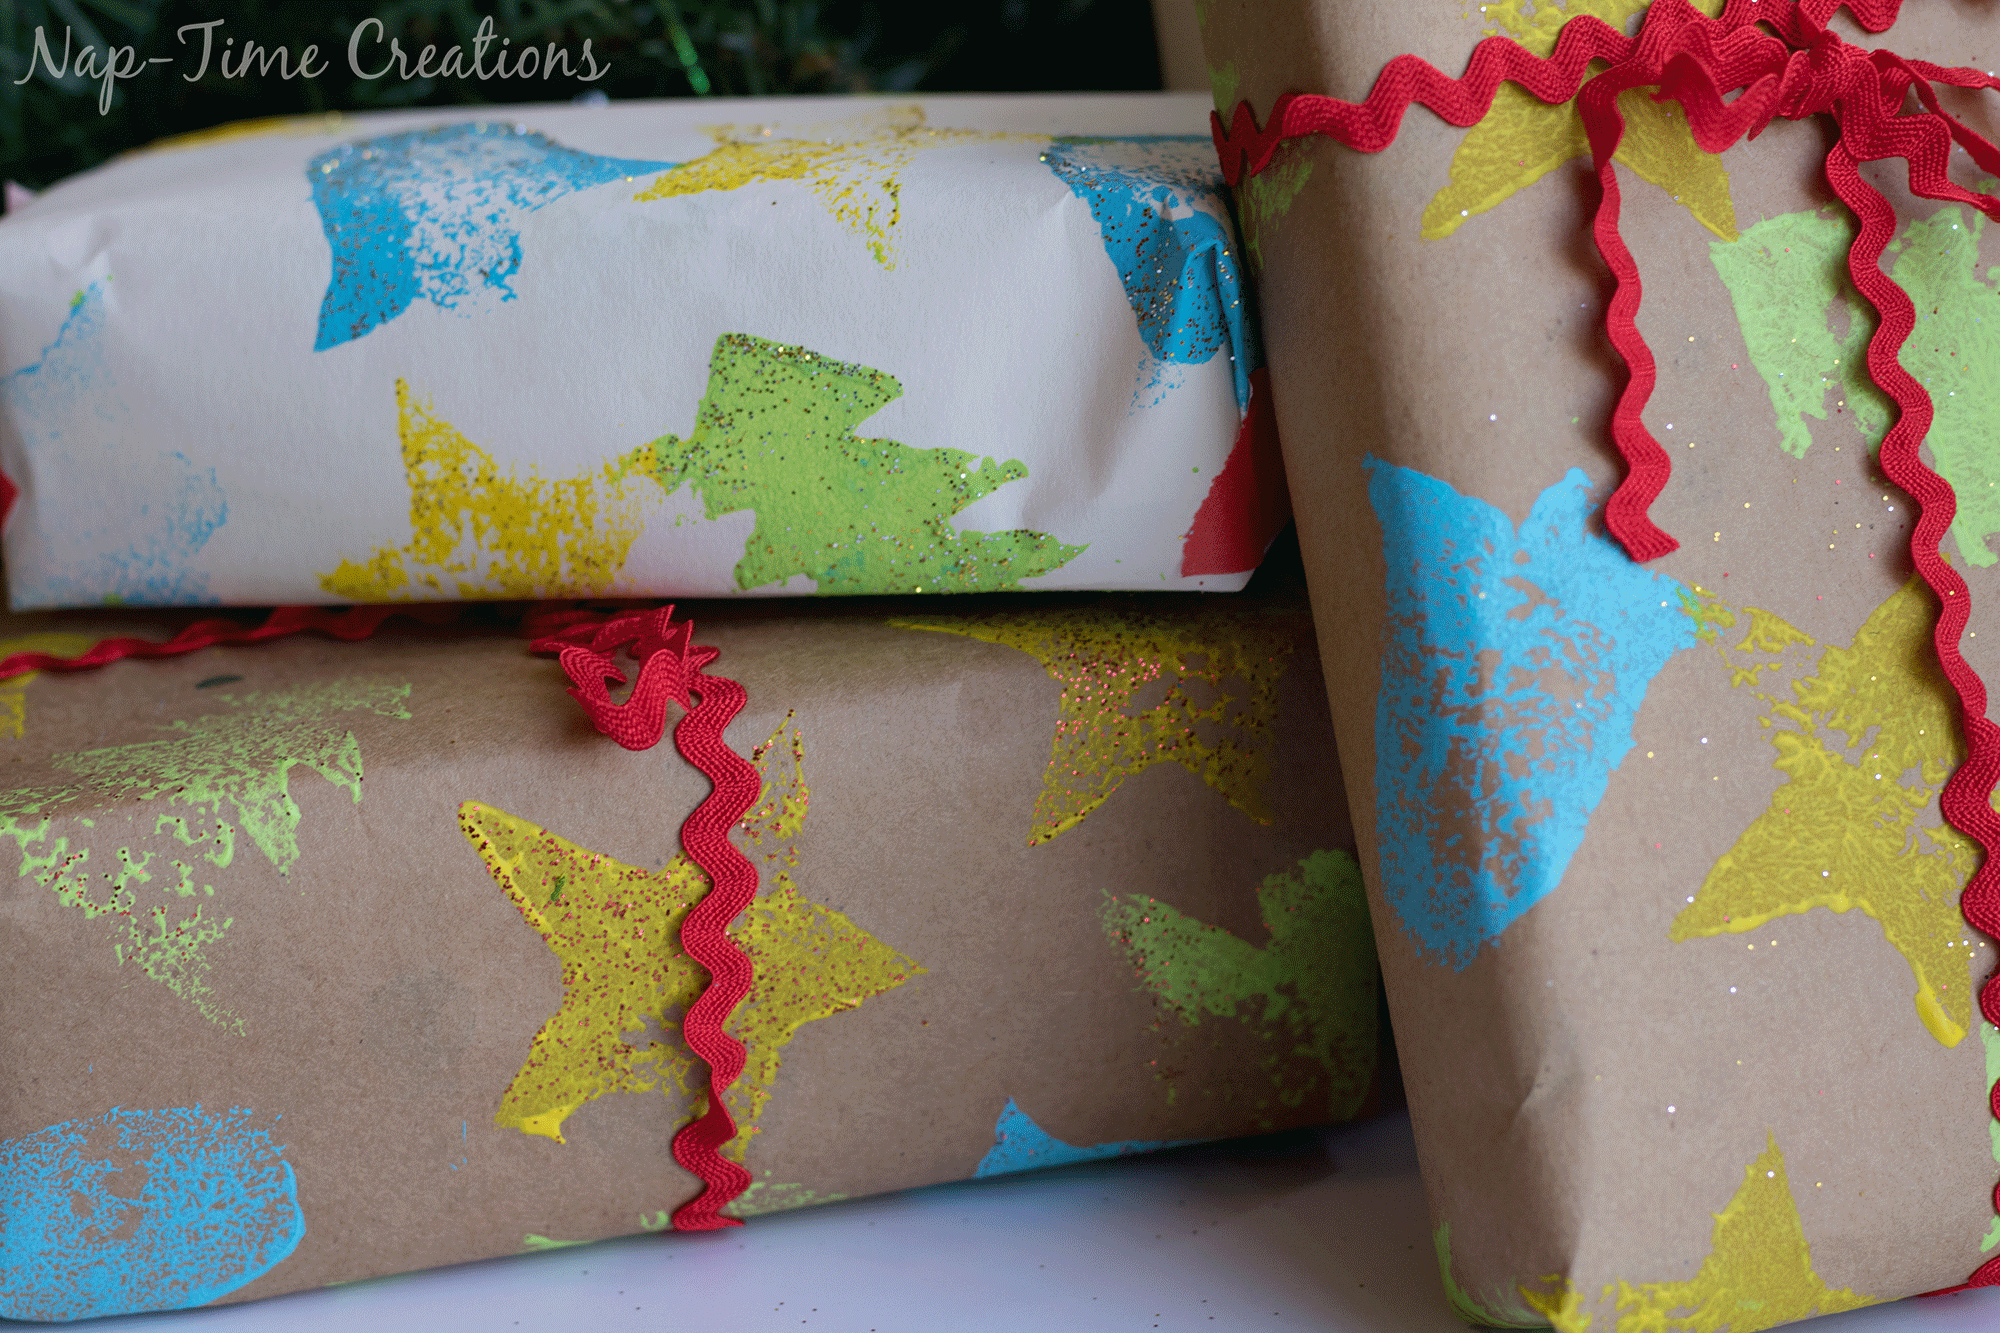
My wrapping paper turned out so cute! By making your own stamps you can also create any shapes you want! next time I’m going to make holly leaves…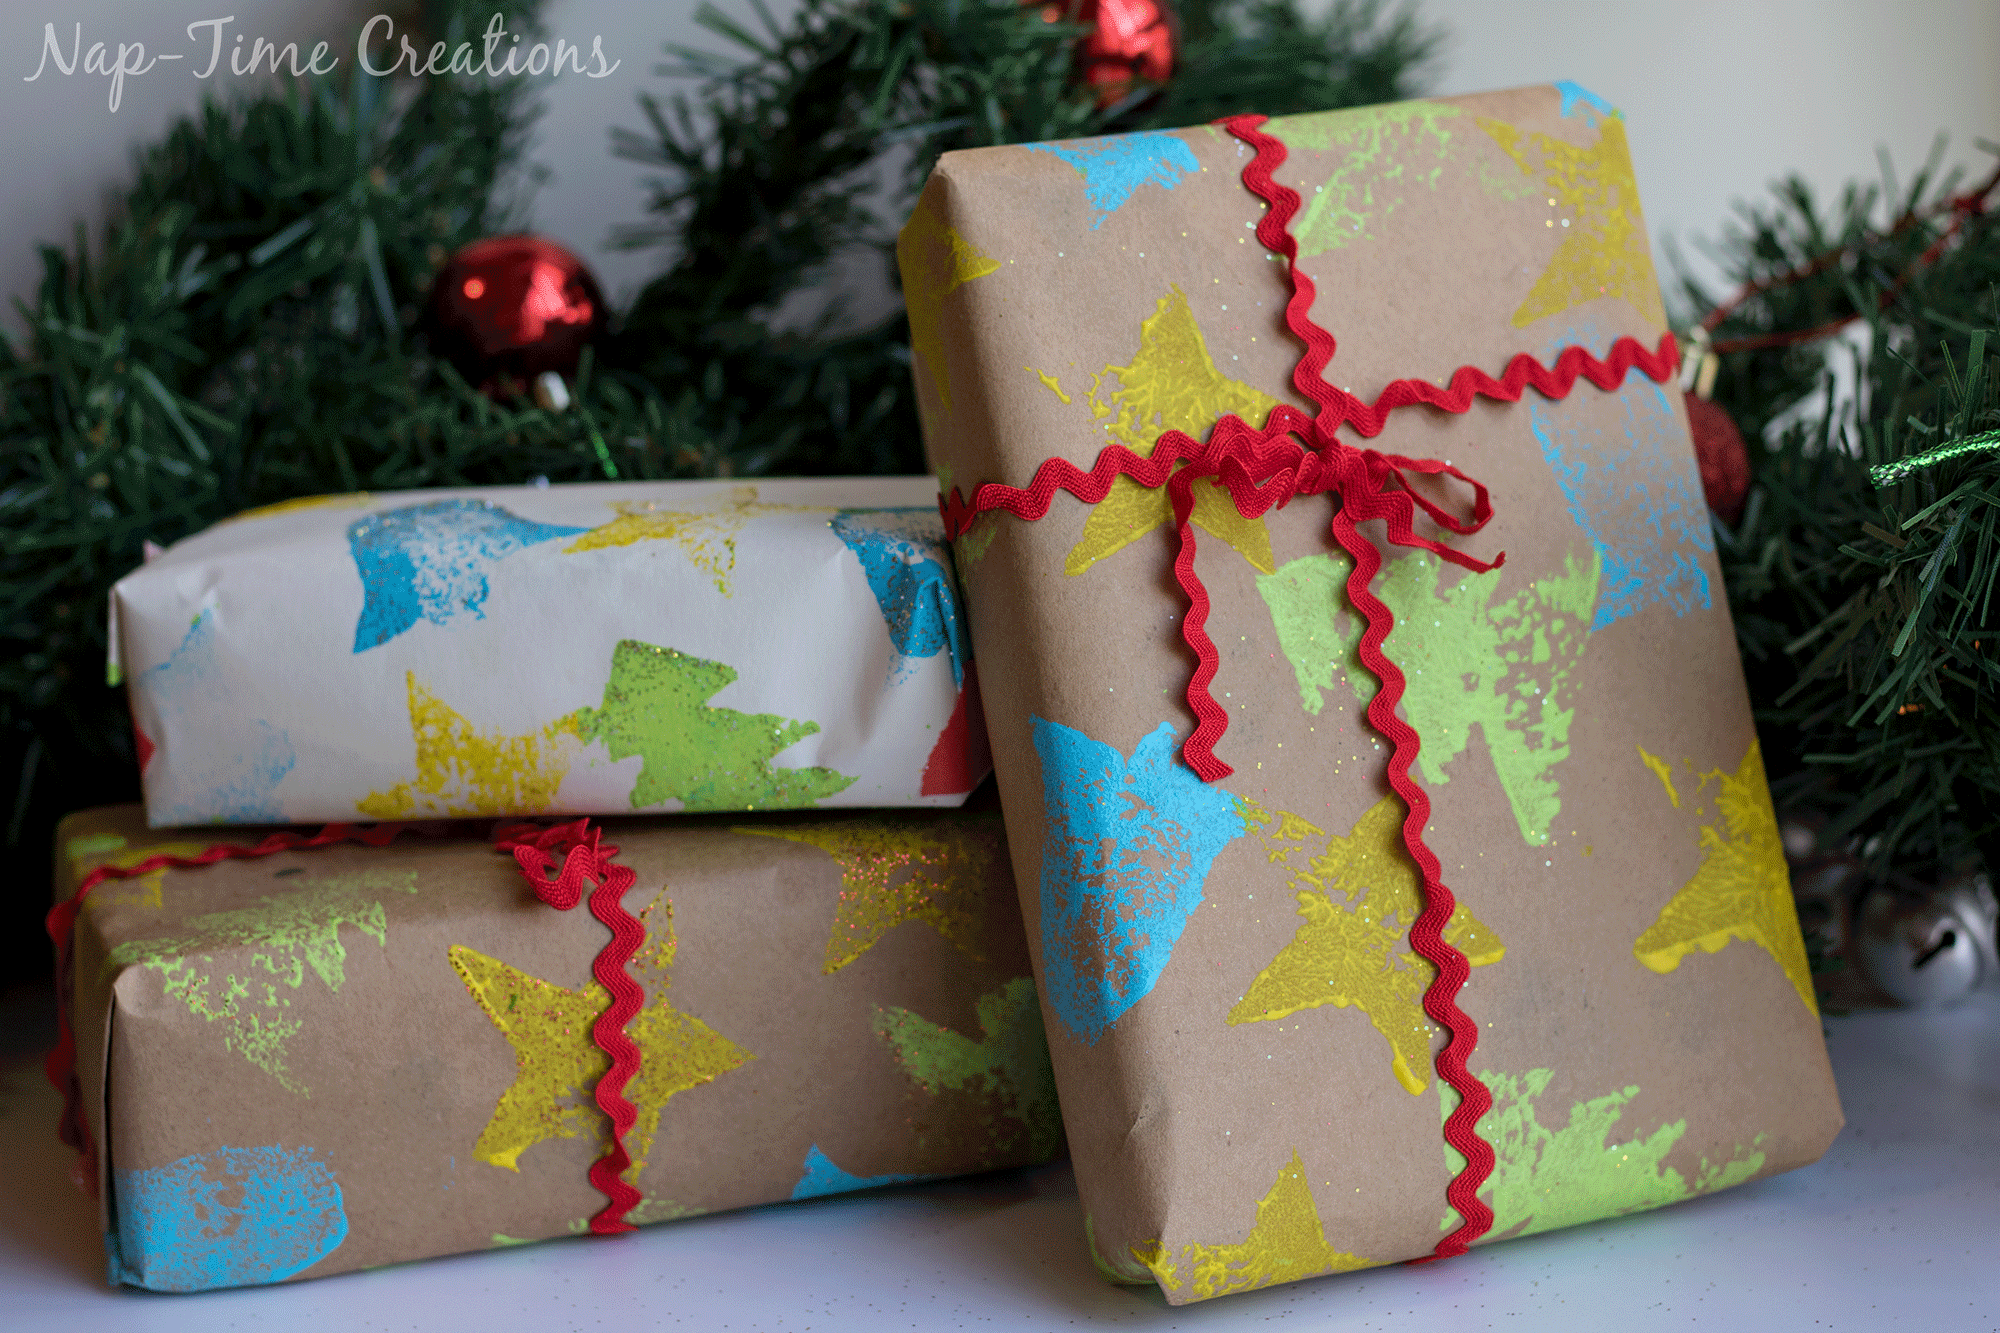
I added a bit of glitter while the paint was wet for extra glam {some might say extra mess! HA!} But since I didn’t have red paint, I love the red glitter on my wrapping.
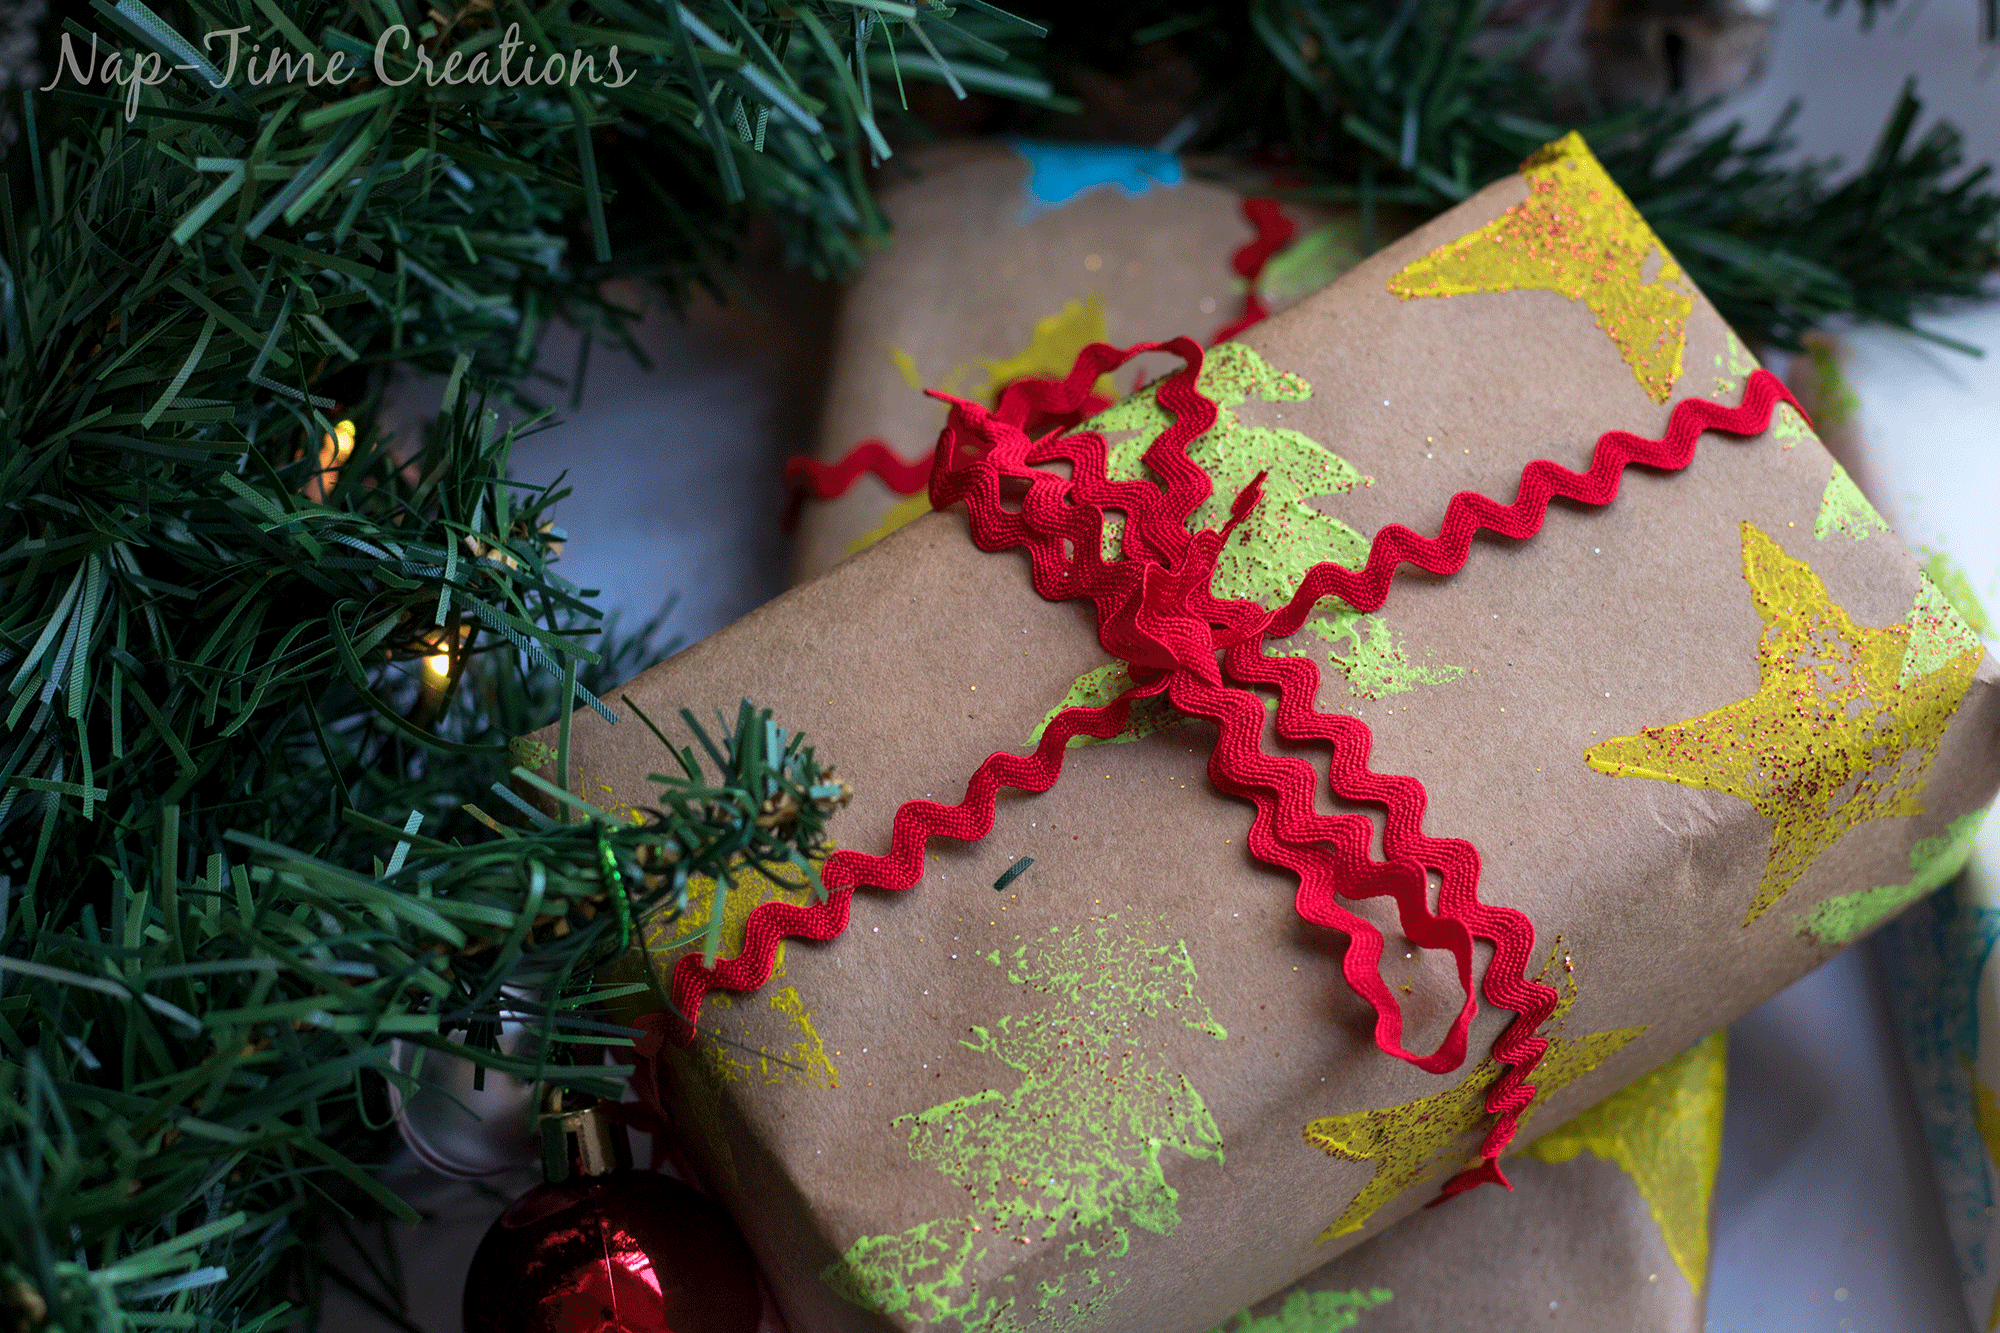
Okay, let’s make some DIY felt stamps! Here’s what you need:
THICK Felt {or many layers of thin felt}
Cardboard and scissors
Glitter {optional}
Roll of Brown paper or white paper
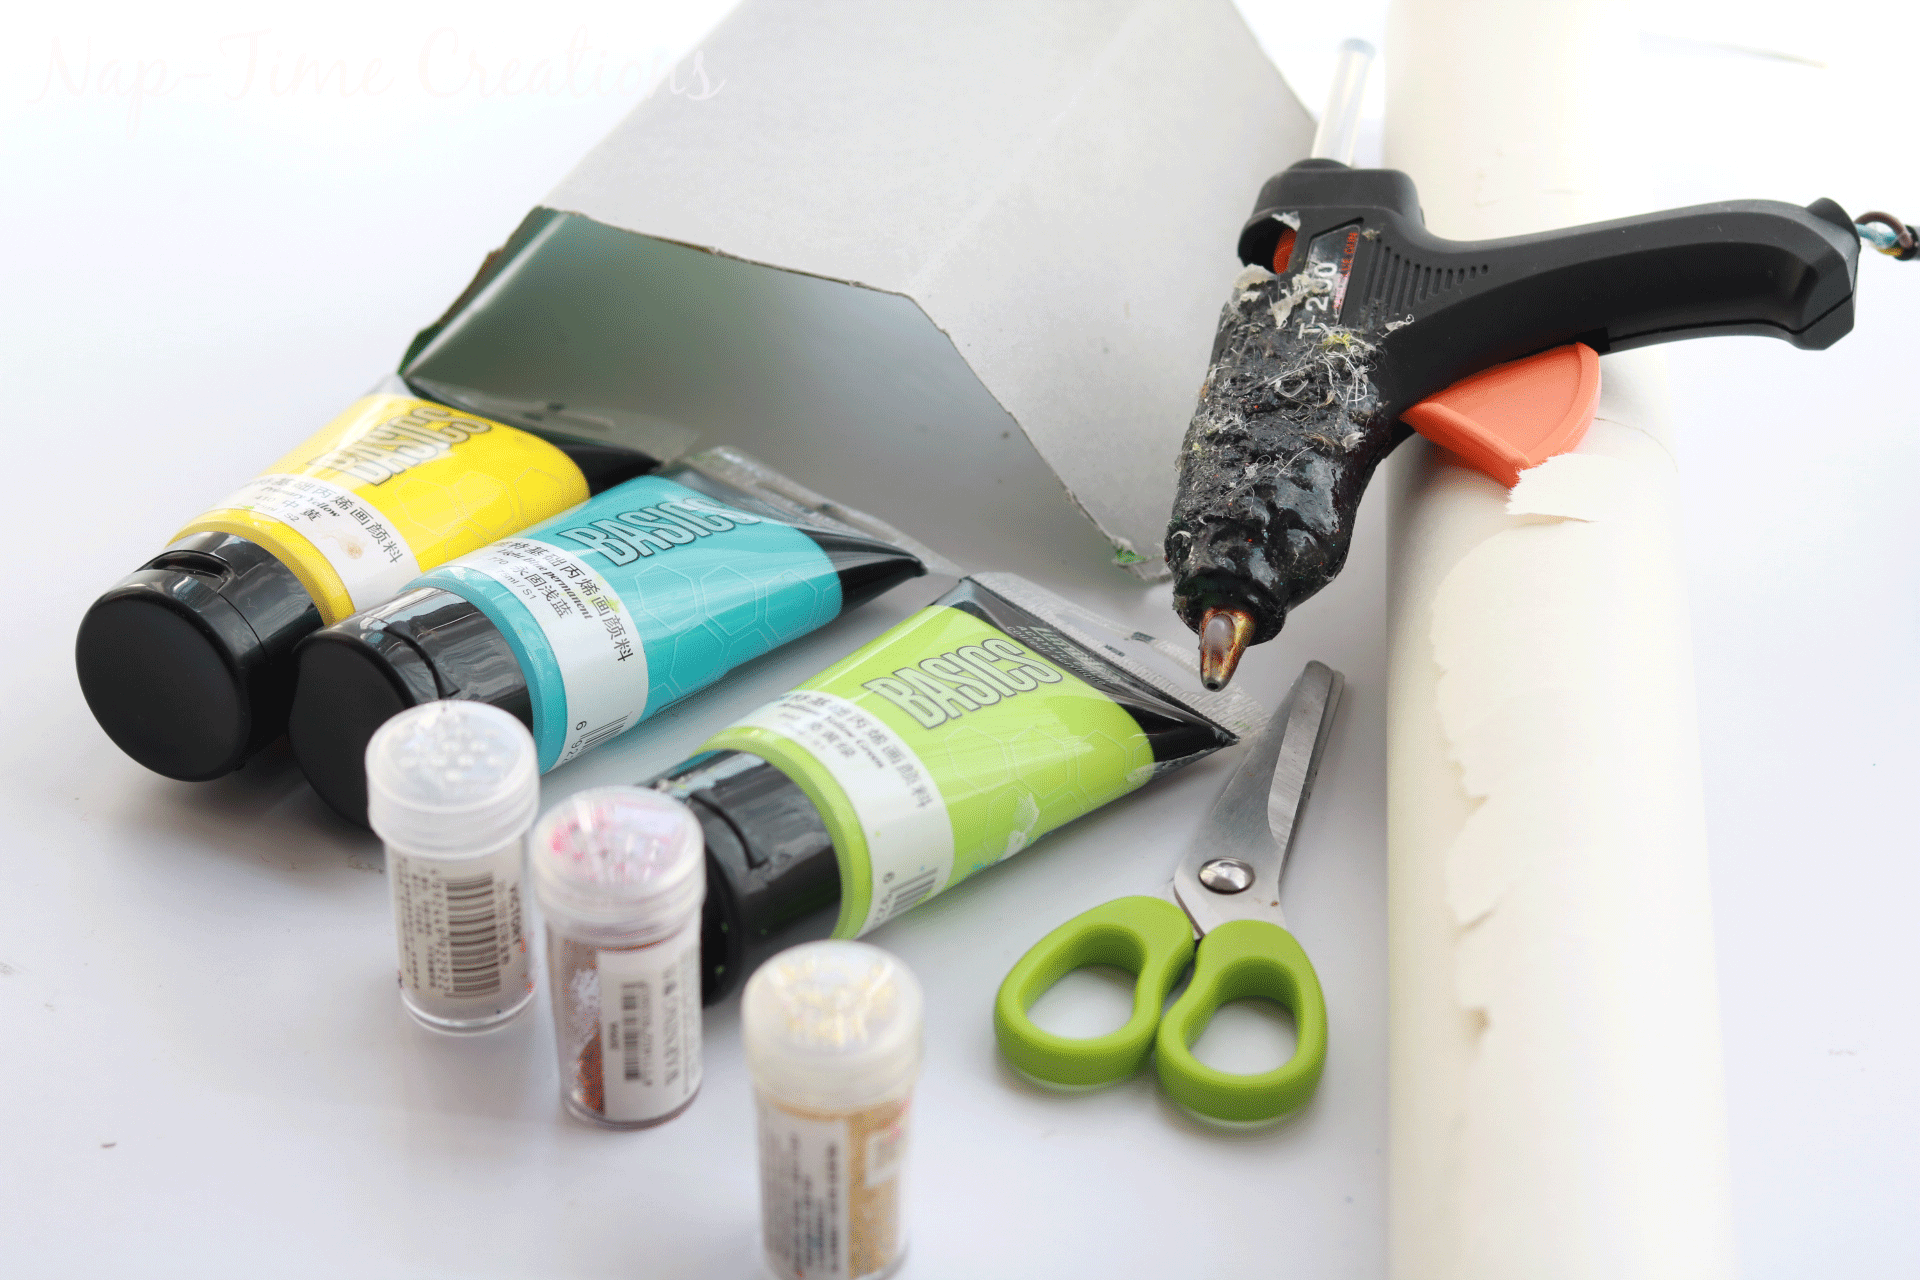
Depending on the thickness of your felt – cut 1 or more layers of felt. I cut 2 of each shape. You want the felt to be thick enough so that the paint will stay on the felt and not the cardboard.
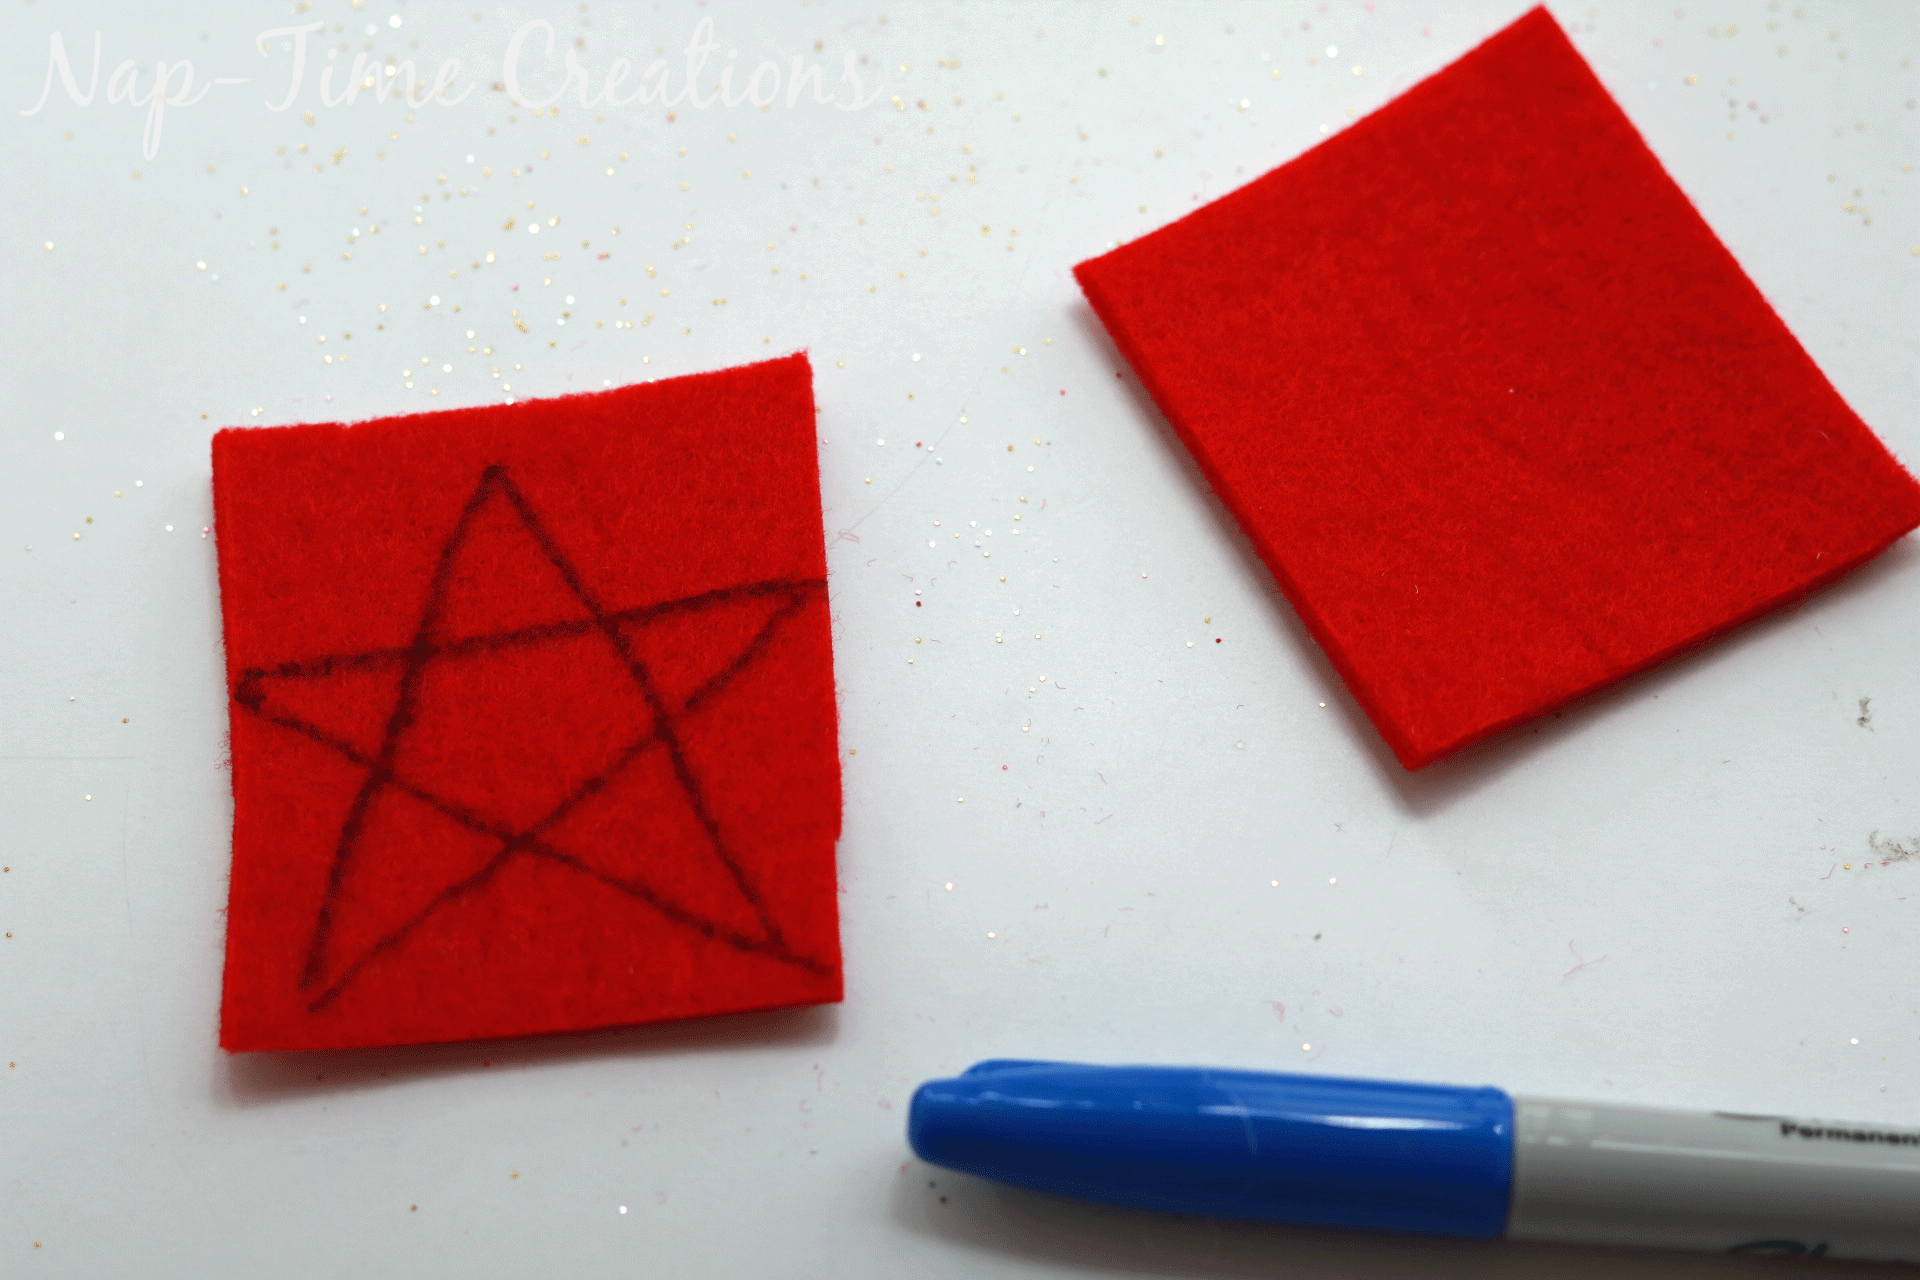
Cut out the shapes
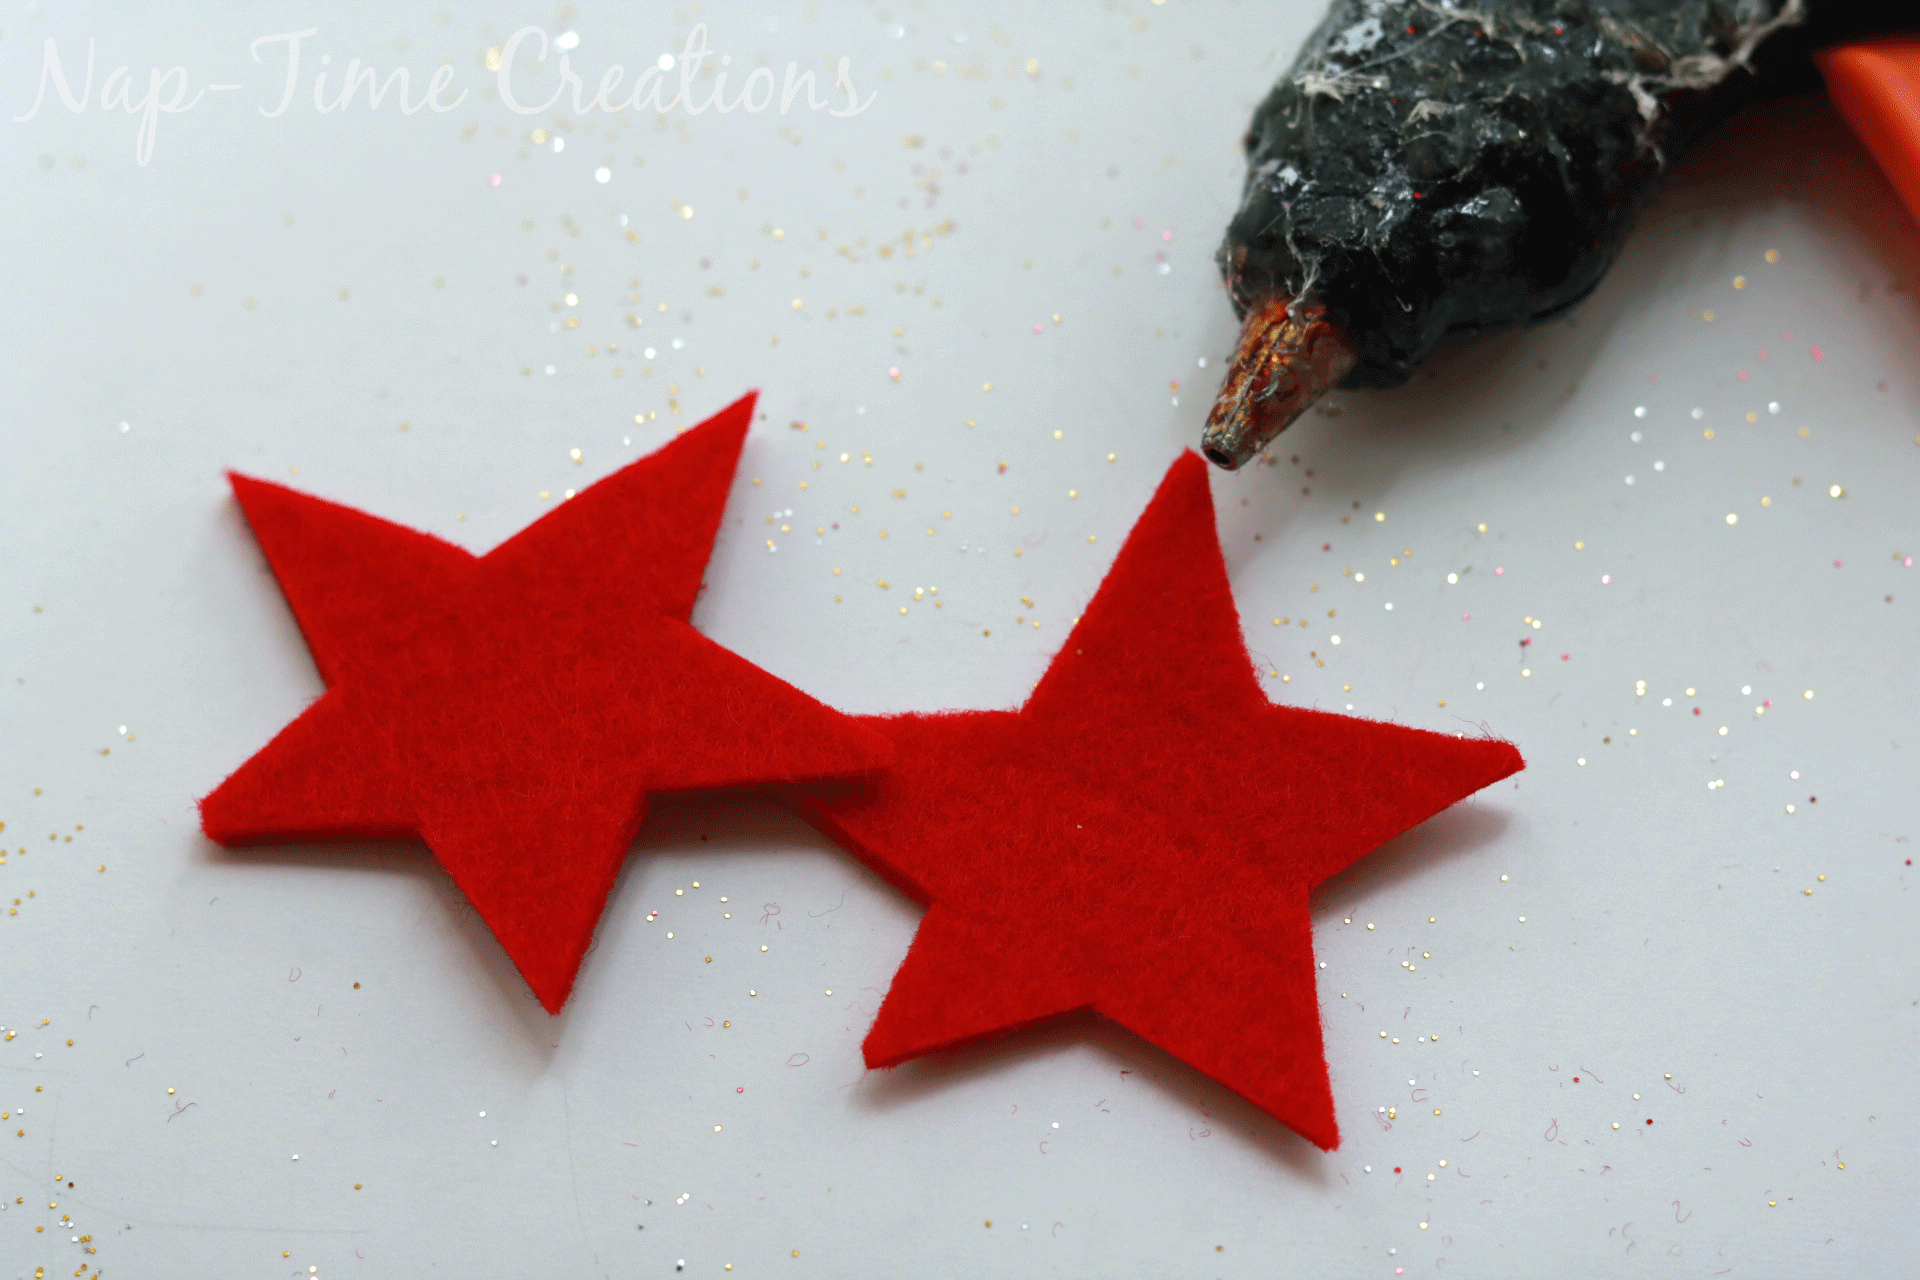
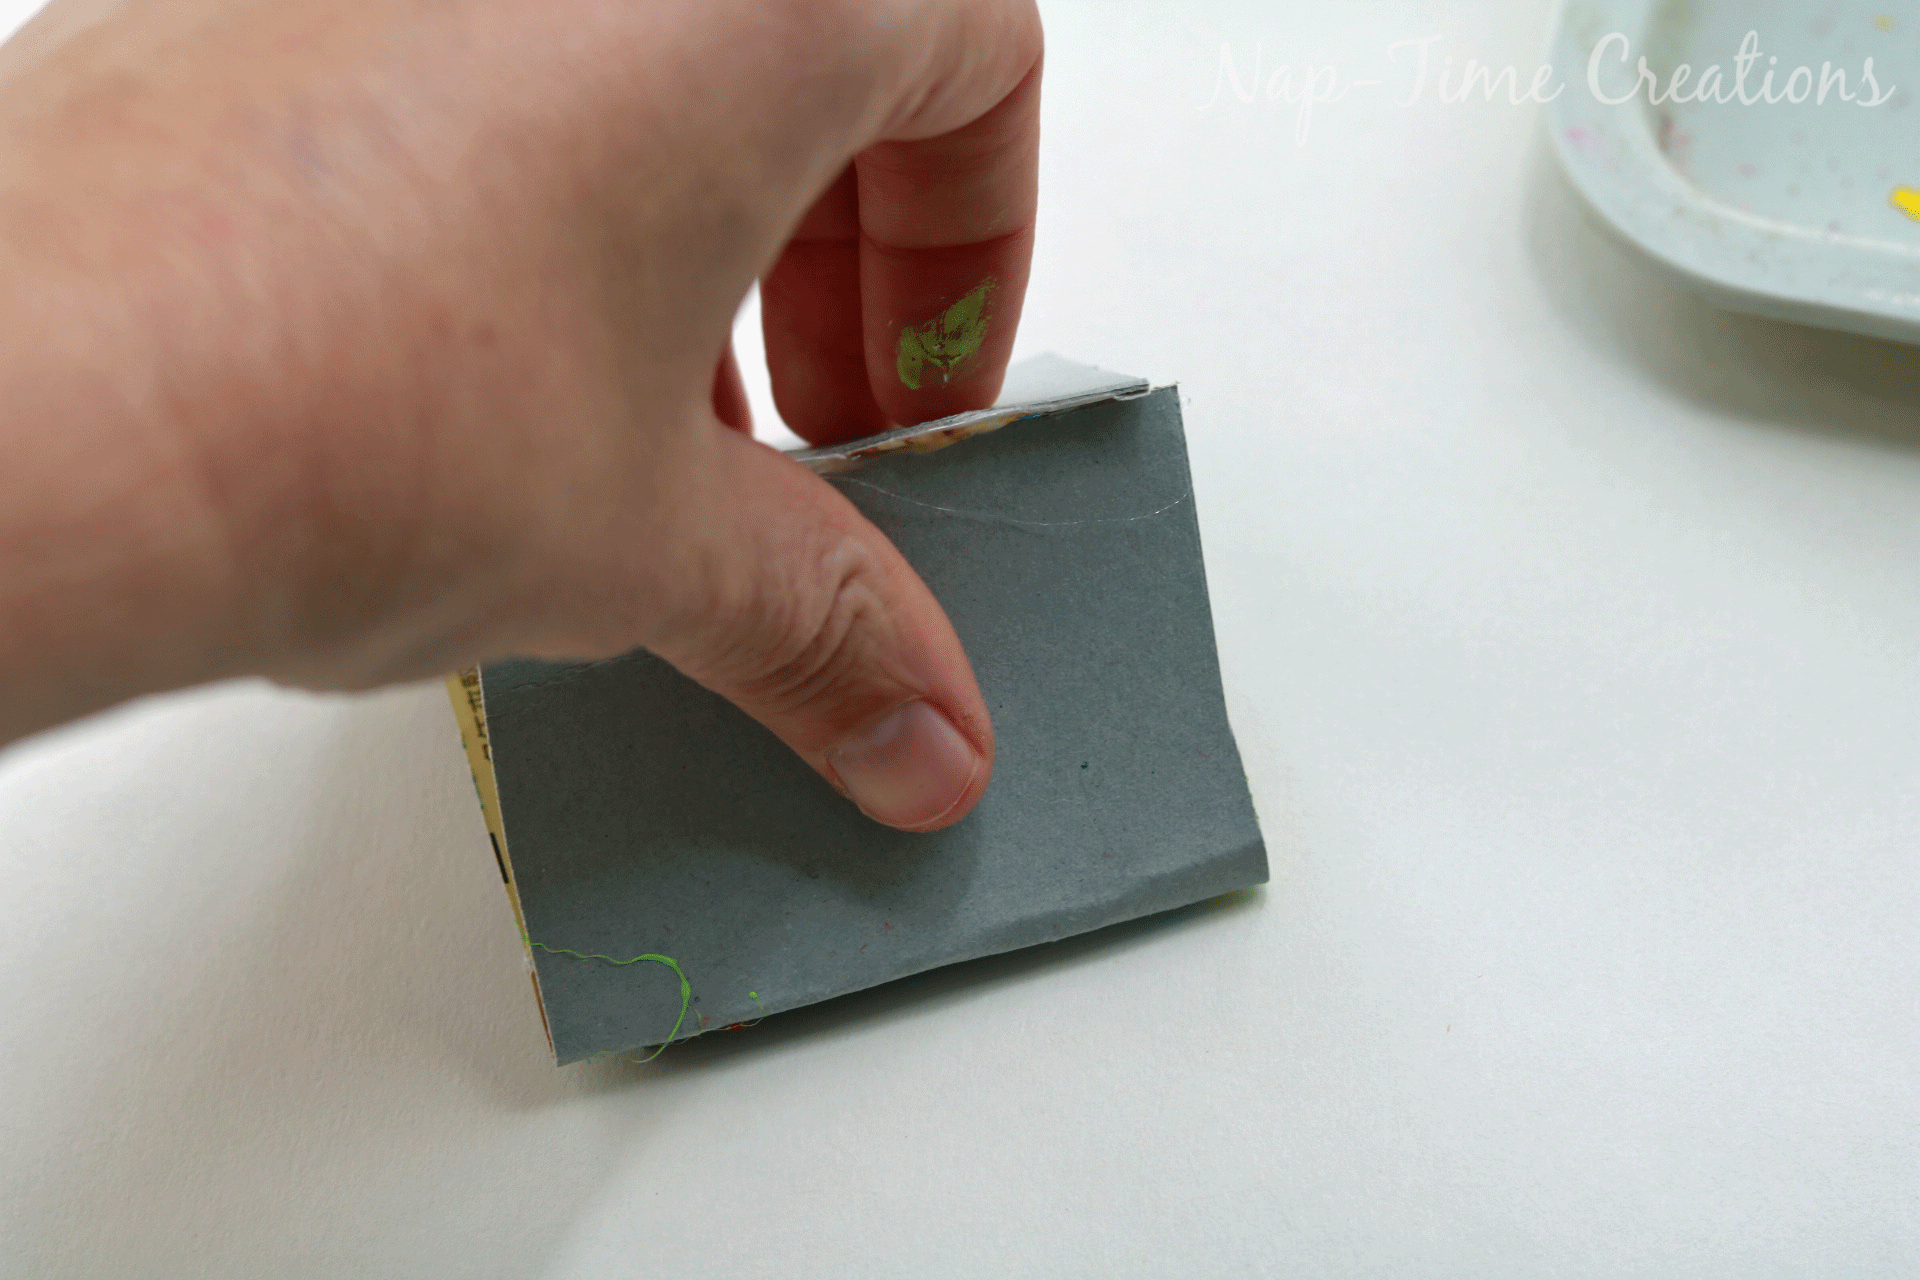
Make a triangle from the cardboard {see the video} and glue the layers of felt to the cardboard. 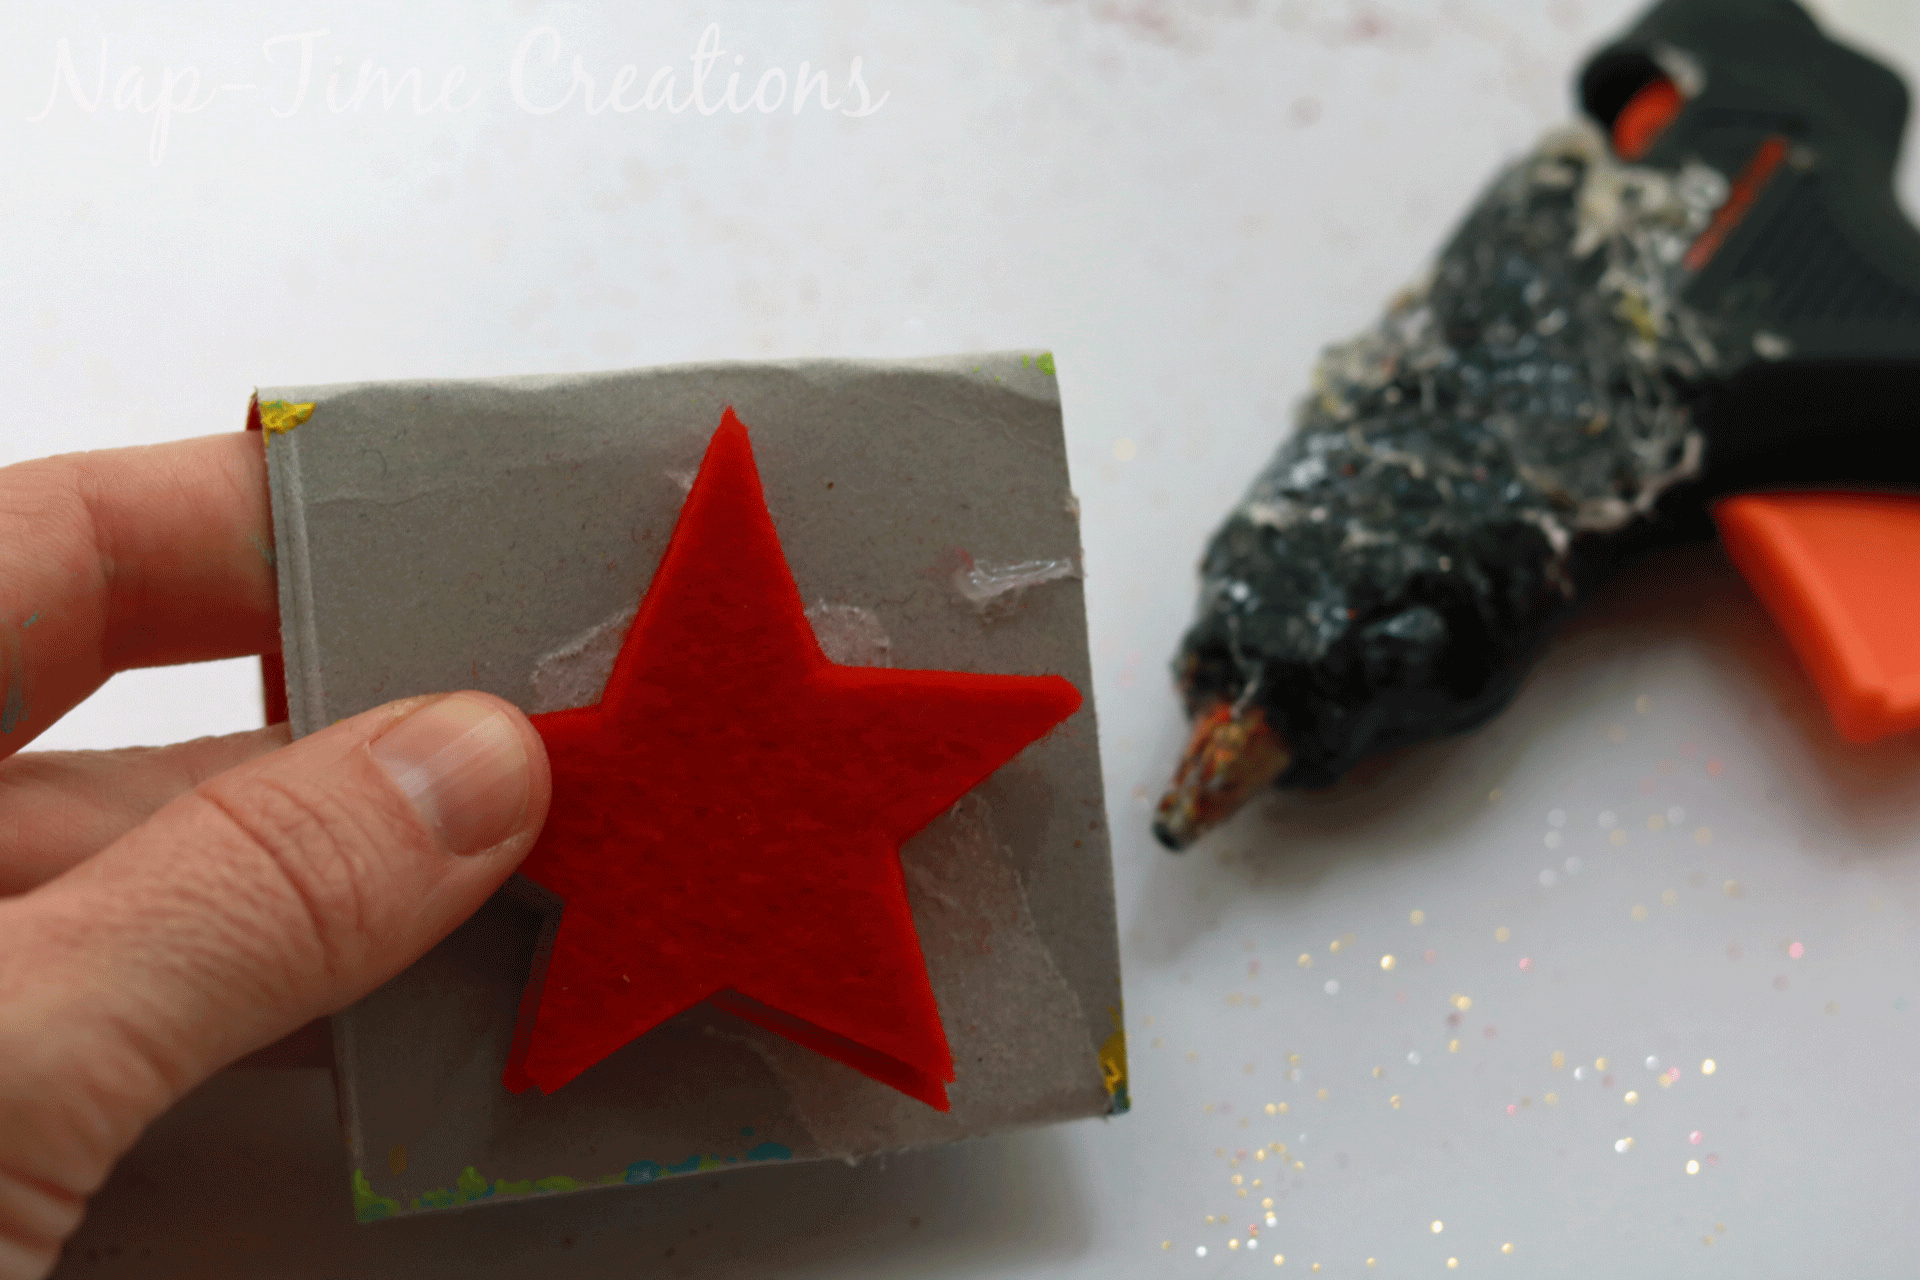
Lay out a large area of the blank paper, ready to be stamped. Squeeze some paint on a paper plate. Dip your stamp and start stamping!
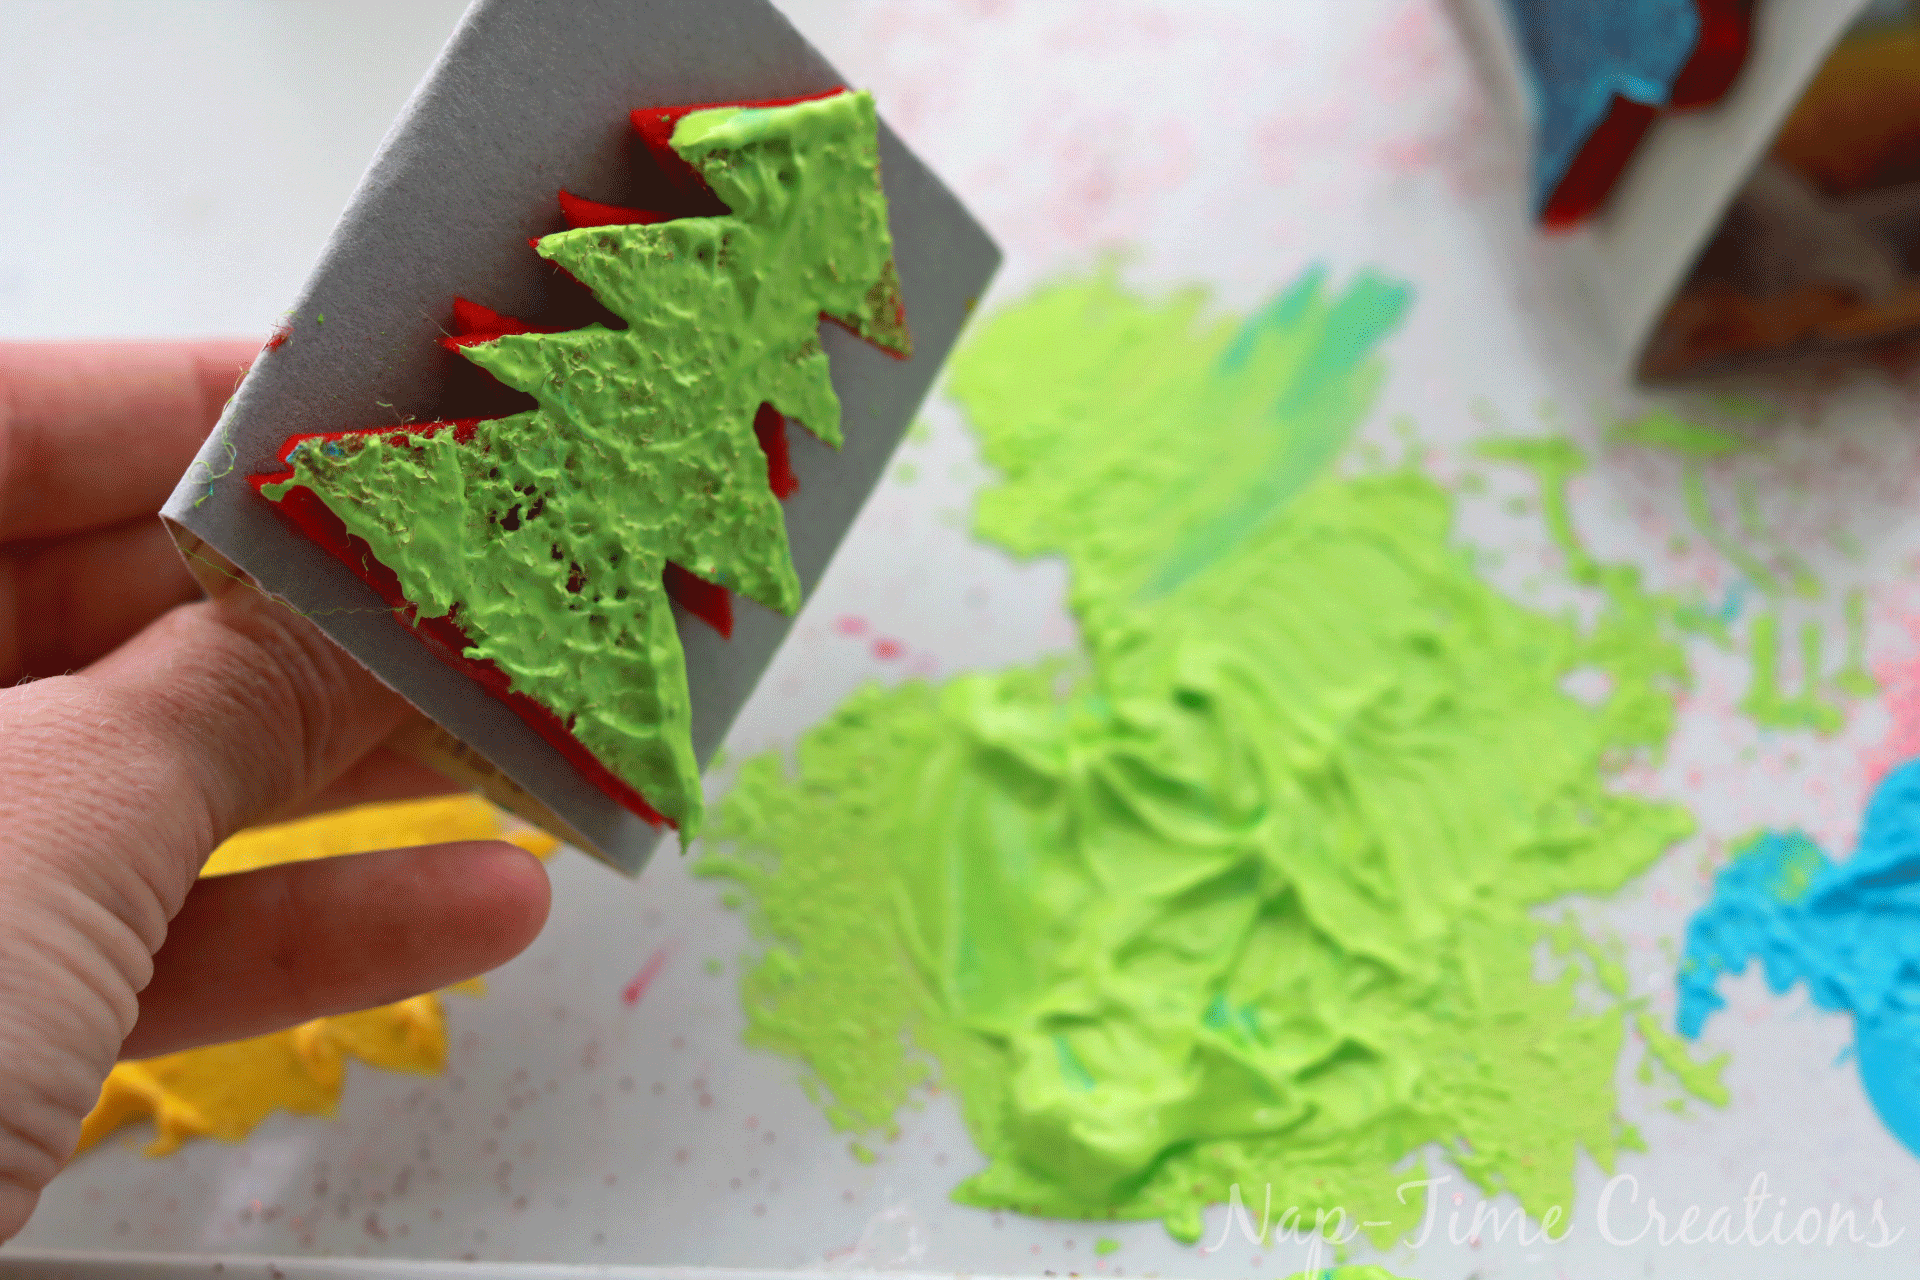
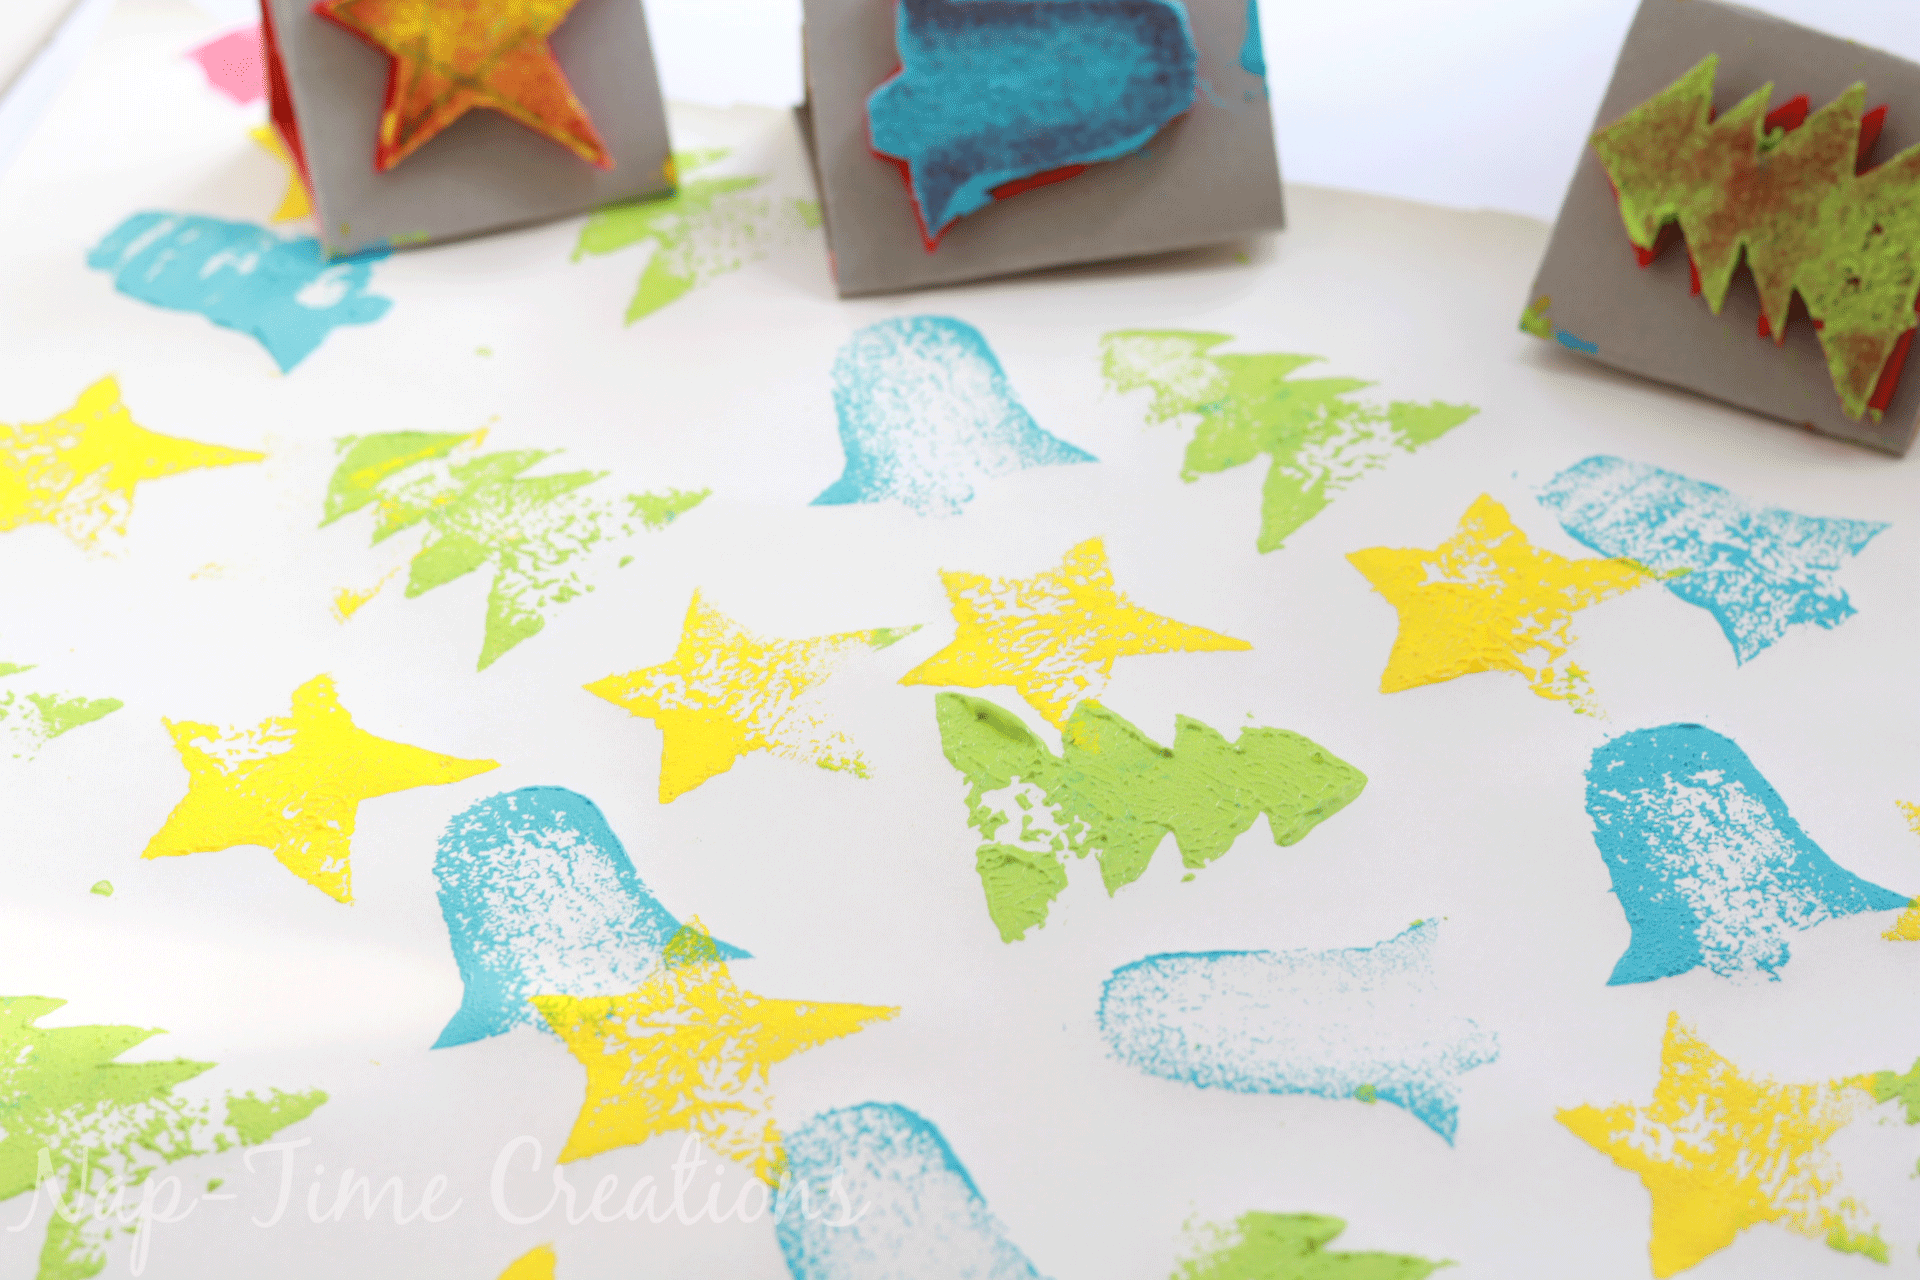
Make a pattern or just be random with your stamping.. I like how some of the shapes are more defined than others. You can stamp several times before re-dipping in the paint. This will also give some texture to your shapes.
If you want to use glitter, shake it on your paper while the paint is still wet. Let dry, then shake off the extra glitter. 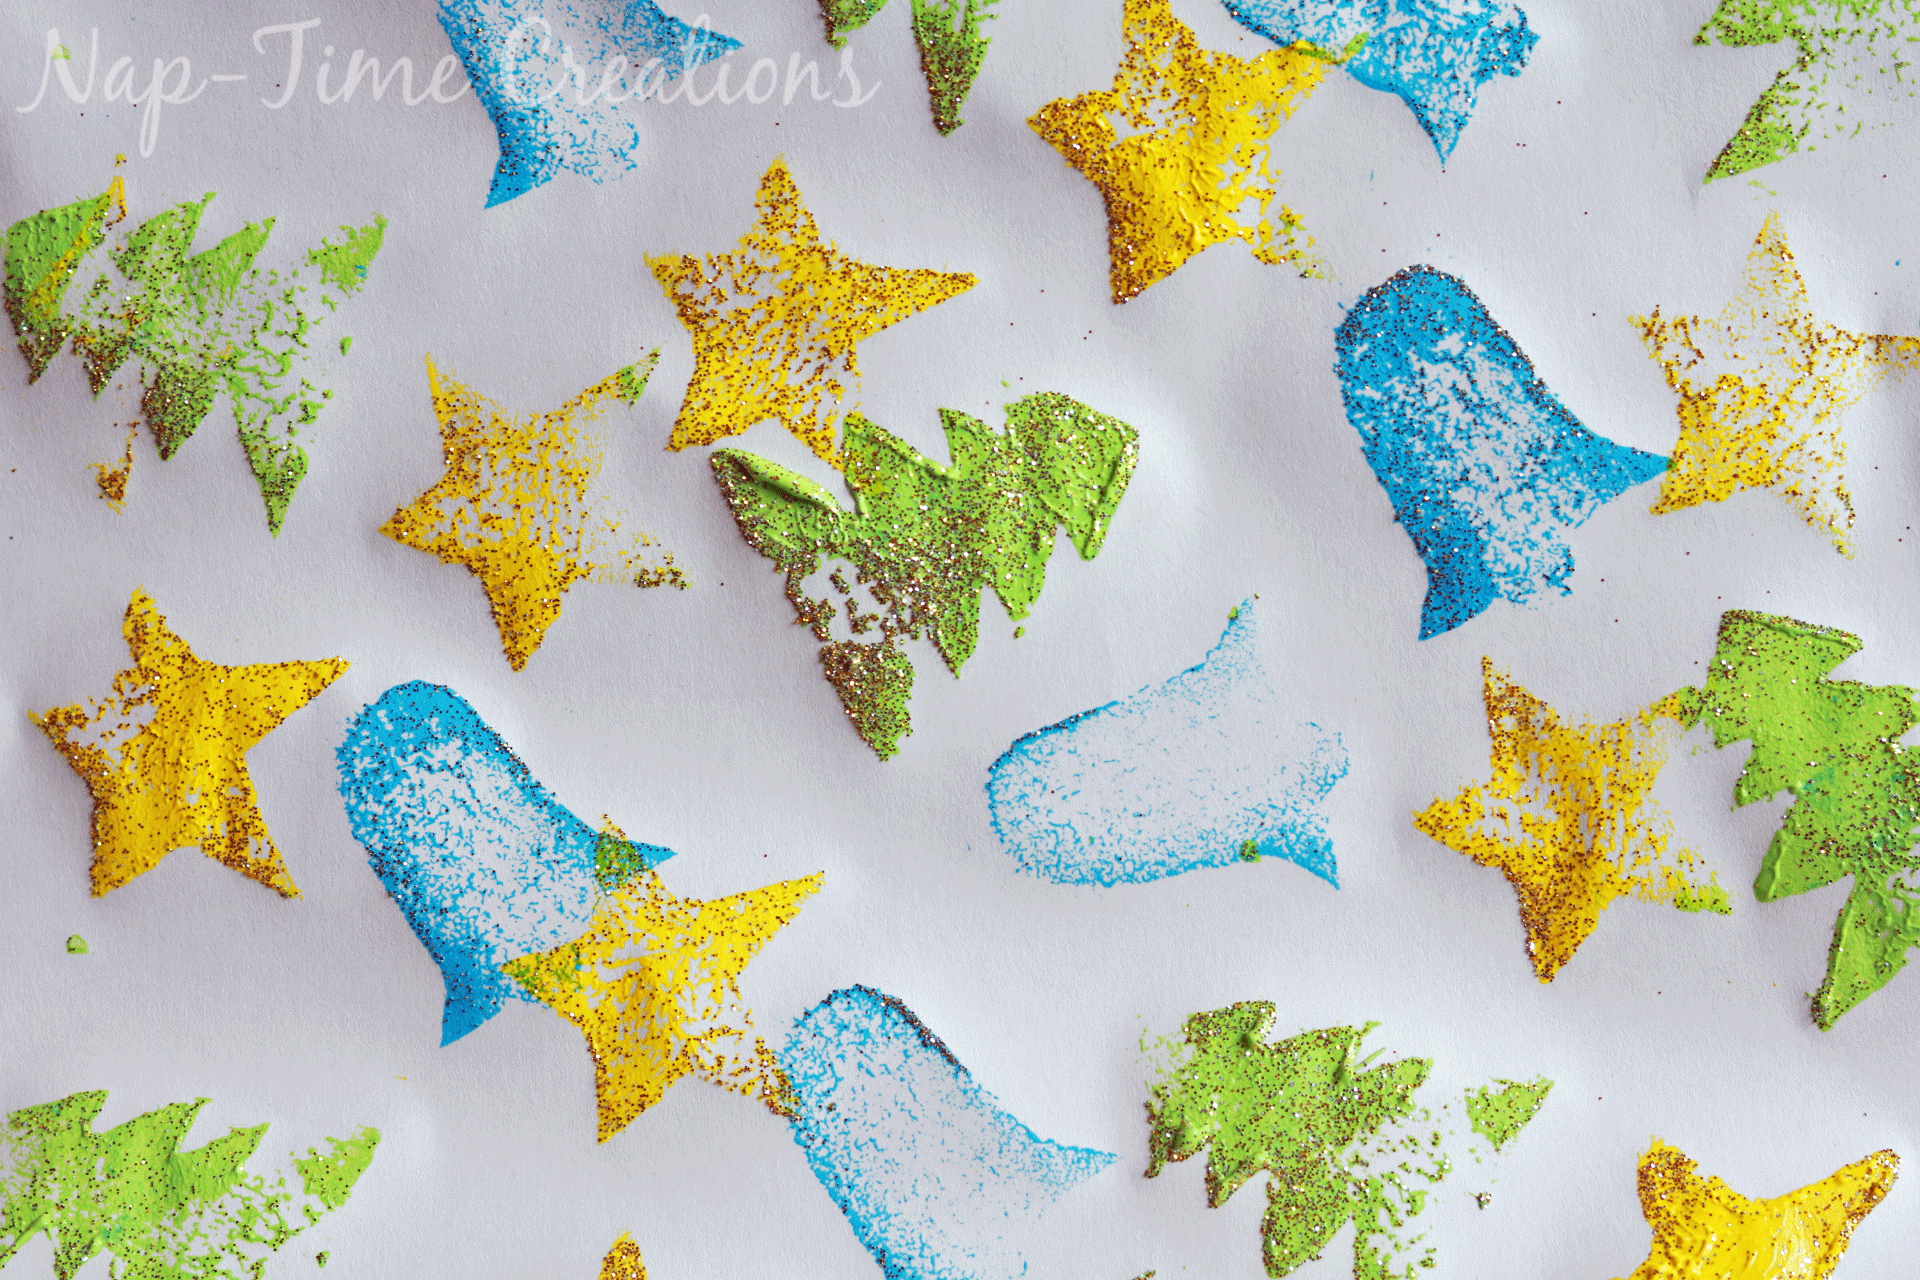
Wrap and embellish as desired! Sit back and enjoy your pretty packages! I just love handmade wrapping. It adds such a personal touch, especially when the gift inside is also handmade!







Vanessa Brady says
Absolutely adorable! I’ve got two little boys that are going to love doing this!
Quilting Jeannie says
That is a great idea for kids to help with decorations. This can be done for any gift giving occasion.
Emily says
Yes! you could make the stamps in any shape!
Charlene Asay says
I love this idea for wrapping the kids gifts for Christmas! Hope you join us at Family Joy Blog Link Up Party this week http://thinking-outside-the-pot.com/?p=3142
Victoria @DazzleWhileFrazzled says
Such a great idea! My kids would be all about this craft. Will have to keep this in mind for some bored weekend. Visiting from Handmade Hangout party.
Create With Joy says
Awesome project! Congrats – you are one of our Featured Guests at this week’s Inspire Me Monday Party at Create With Joy – Week 255!
Emily says
Thanks so much for the feature!!
Crystal says
I love all the possibilities this project has! Great for the kids to help with as well. Thanks for sharing with us at family joy blog link party, hope to see you again 🙂
Barb says
I would just make those designs on a potato instead of ruining all that felt! (Of course the potato would be ruined also!)
Steve says
Wonderful – will cut them out and get them ready for my daughter to sew tomorrow.
wobiyo says
Hi,
Absolutely adorable! I’ve got two little boys that are going to love doing this!
lisa says
Wonderful place! Not every fun thing should be expensive. Activities like these are way better cause it’s for free or affordable.Female Personal Trainer
lisa says
It is difficult to uncover knowledgeable individuals inside this topic, however you be understood as guess what occurs you are discussing! Thanks SSD Cheap Web Hosting