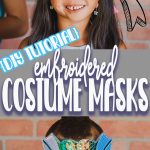
Inside: Sew an in the hoop embroidered play mask! DIY costume face masks are great for Halloween or everyday imaginative play. Sewing tutorial for Embroidery Machines.
**Updated 6/2025, originally posted 9/2020**
Anything I can do to encourage imaginative play in my kids, I do it! If I can provide them with fun tools and play ideas for inspiration I’m going to do that. Over the years costumes and play masks have been so fun for us and I thought this was a fun idea I could shar with you as well. These embroidered masks are perfect for Halloween or everyday imaginative play!
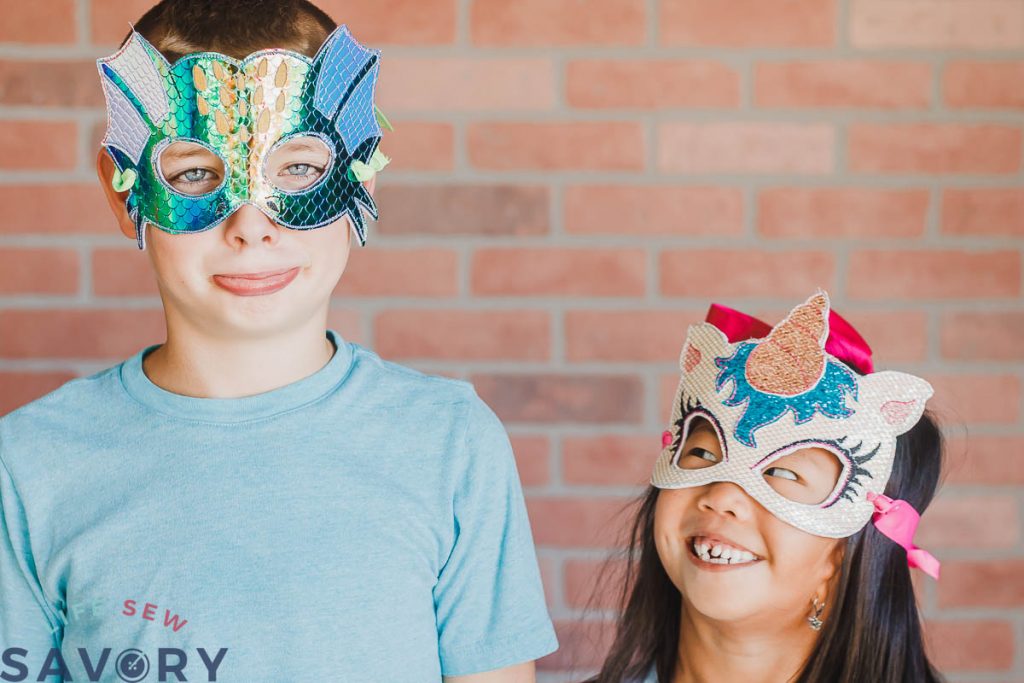
DIY Halloween or Play Mask – In the hoop design!
In the hoop embroidery is such a fun way to make any project. You just keep adding layers in the hoop and the machine does all the work!
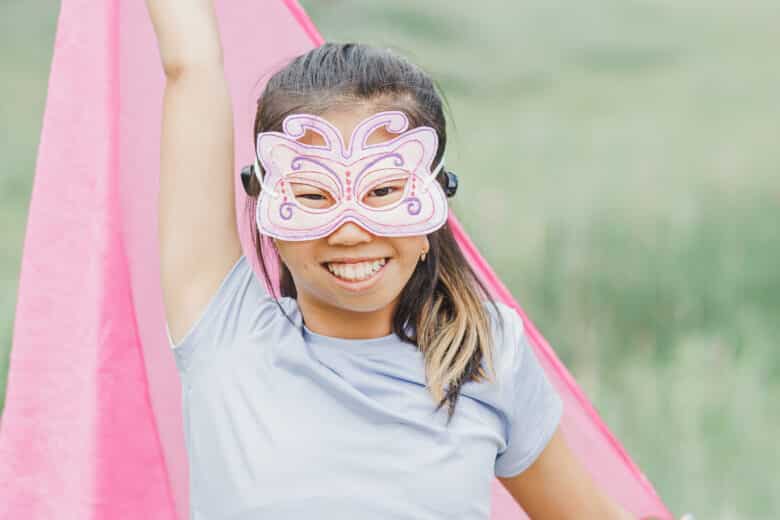

I first made these masks I could only find a couple, but since then there are so many amazing in the hoop embroidery patterns to buy to create fun masks.

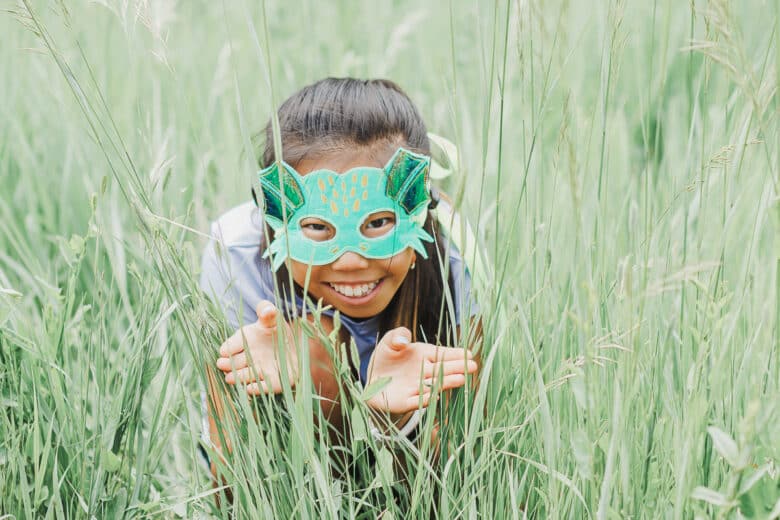
My kids are loving playing with these new masks I made for them and today I’m going to show you how, as well as give you some tips for working with faux leather in your embroidery machine. These DIY costume fast masks can take a simple outfit and really make it costume worthy.
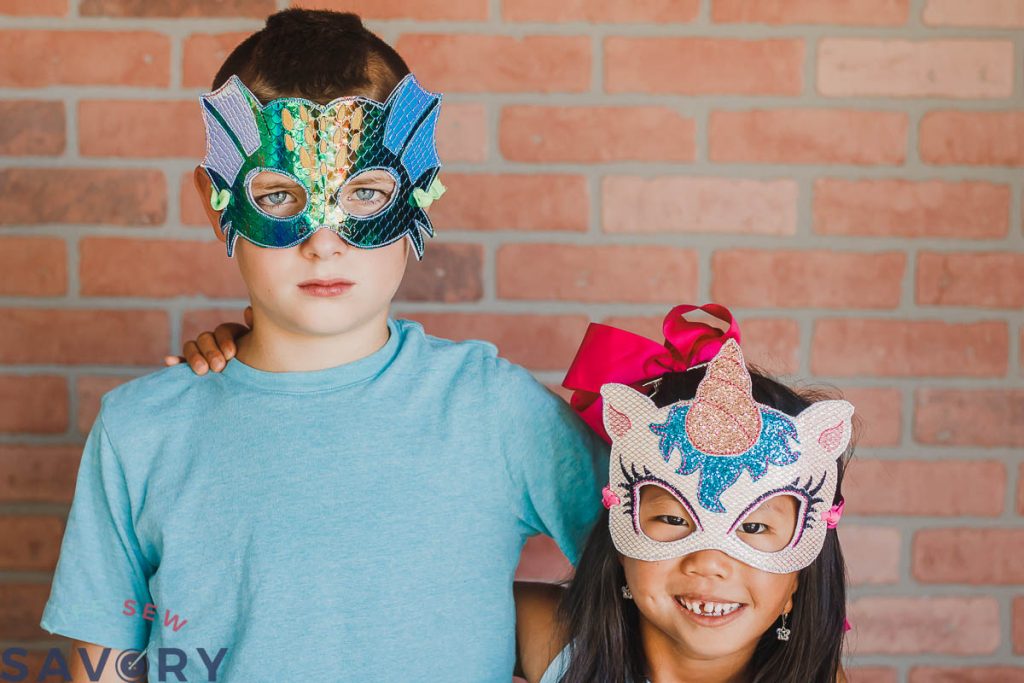
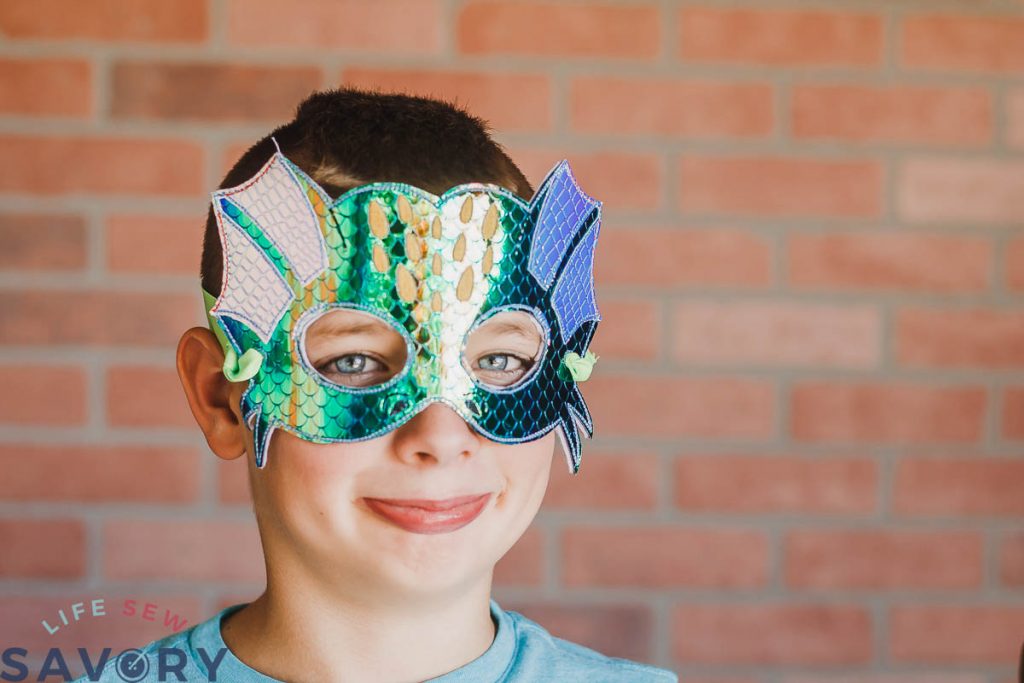
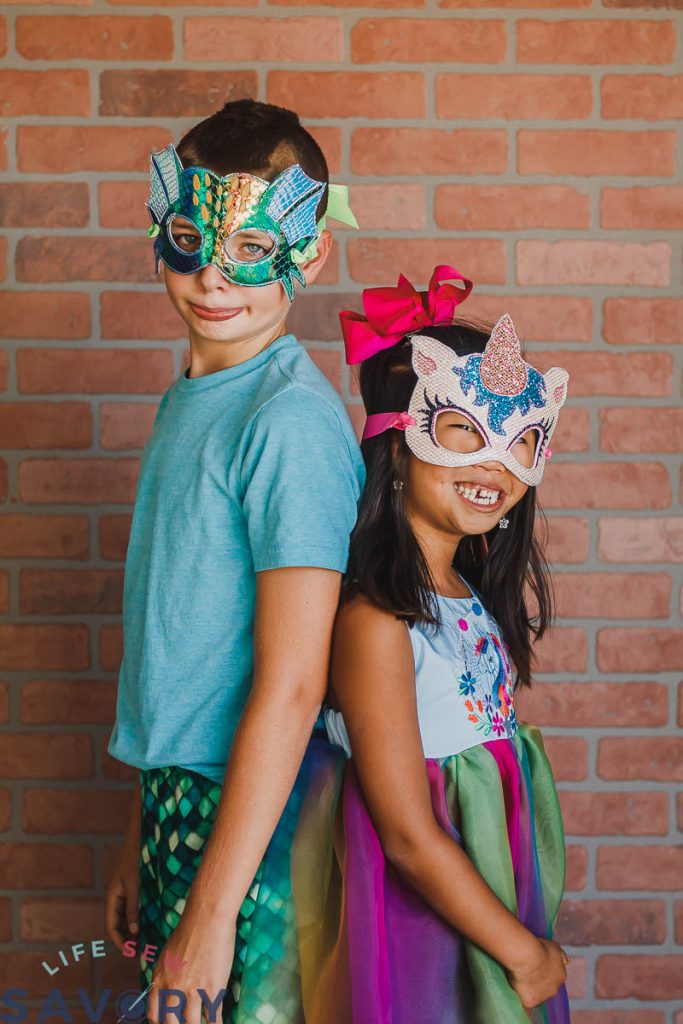
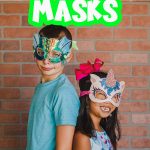
My son wasn’t loving this photo shoot, but in-spite of the strange faces, I think these embroidered face masks look amazing and I’m excited to show you how to make them.
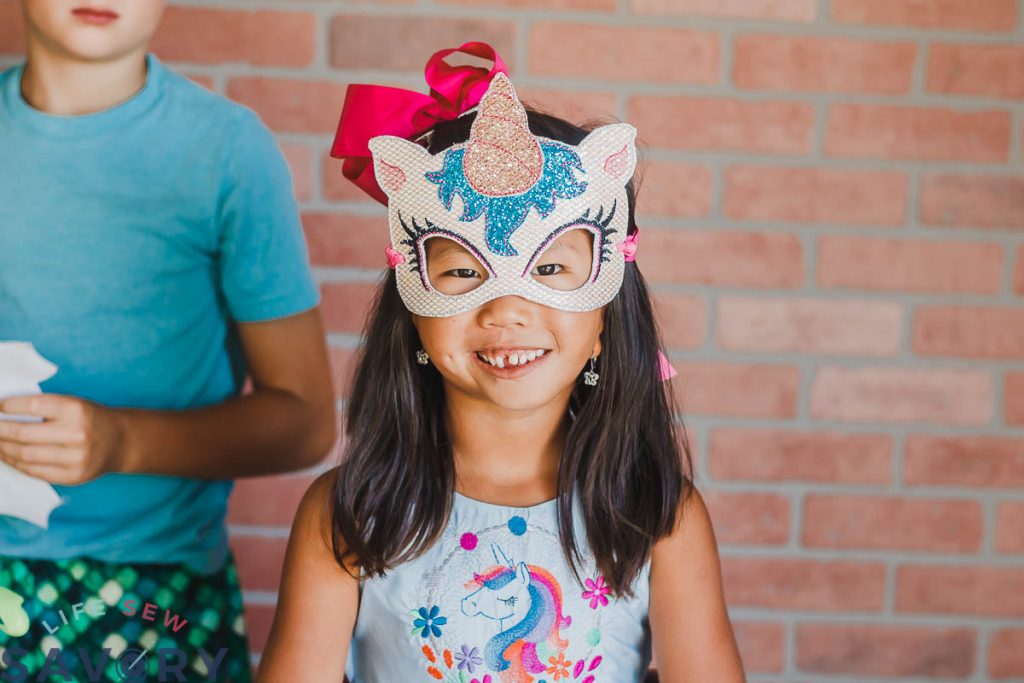
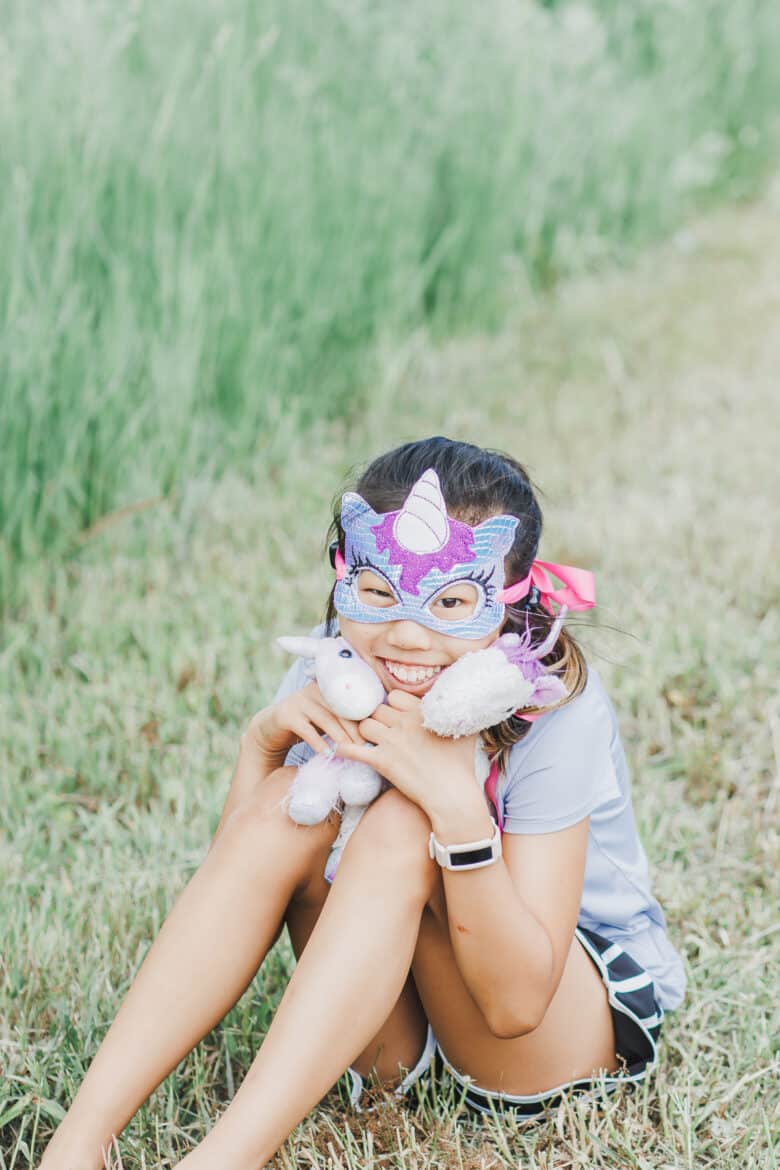
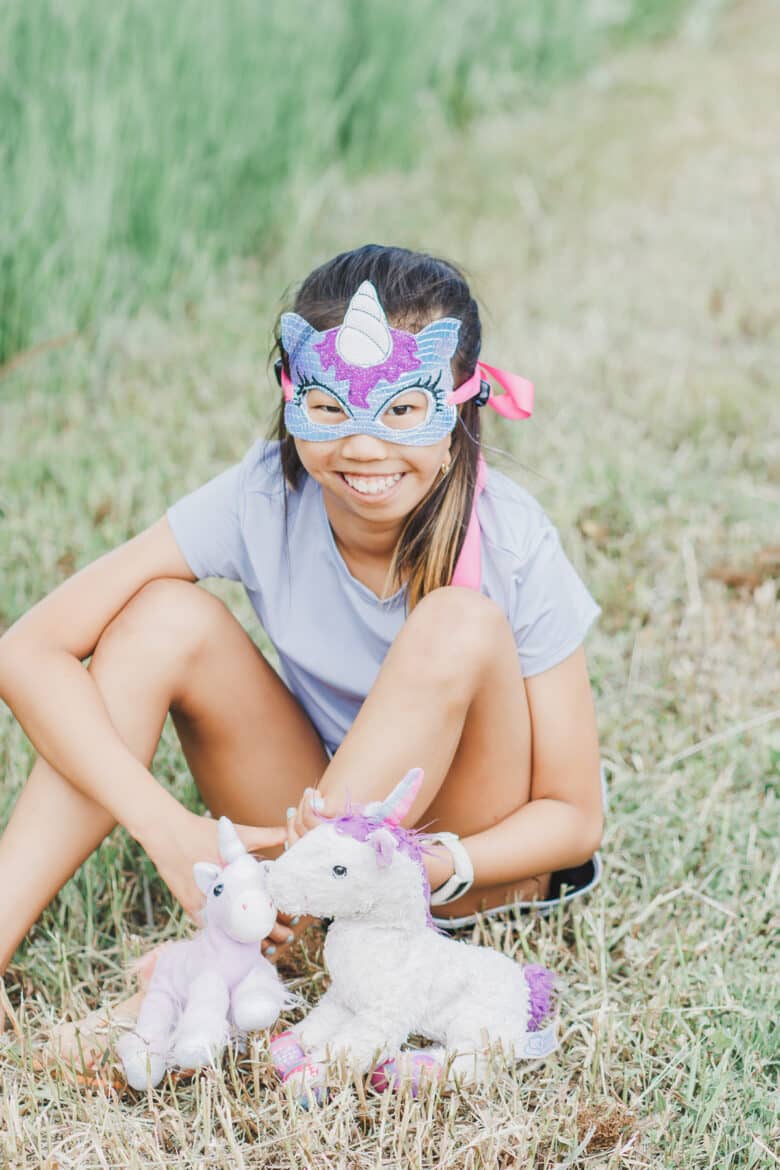
Swap out differently colors and materials to make the same mask pattern look totally different. You can see how this unicorn mask below looks different from the older one on smaller Rose.
Other easy Costumes to Make
- Easy Football player costume
- Luke Skywalker costume
- Superstar costume Pjs
- Peacock Costume
- Easy Felt Superhero Masks
Embroidered Faux Leather Masks
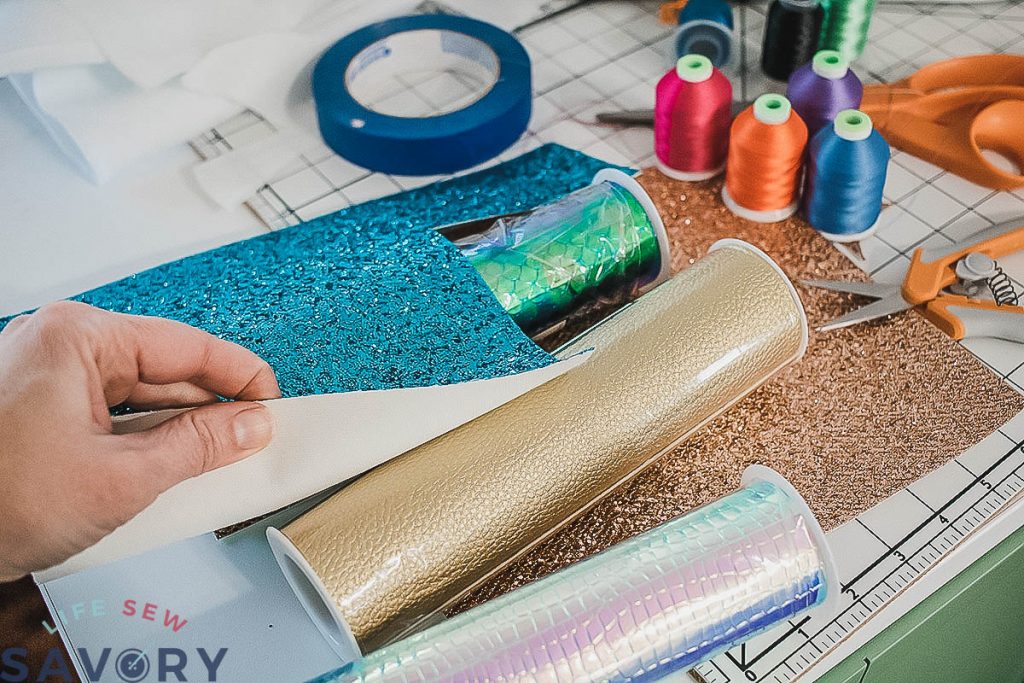
Here is what you will need to make your own gorgeous embroidered masks.
- Brother Embroidery Machine that can hoop a 5×7″ design or larger.
- Faux leather sheets – You can buy on Amazon or I purchased mine in rolls at Hobby Lobby.
- Glitter felt or any other fun material that would work for these masks.
- Embroidery Thread
- Sticky Stabilizer
- Mask Pattern {Since I originally posted this, there are SO many more amazing mask patterns to try! Linked below are some amazing ones I’ve found online. The top three will be ones seen here and the rest and for you to try!}
- Unicorn
- Butterfly – This designer has SO SO many more cute masks too! Lots of butterflies and others!
- Dragon
- I’m working on getting some links to etsy linked here, but you can go to etsy and search embroidery mask or in the hoop mask to find a whole amazing list of fun masks to make with this same method.
How to make an in the hoop embroidered mask
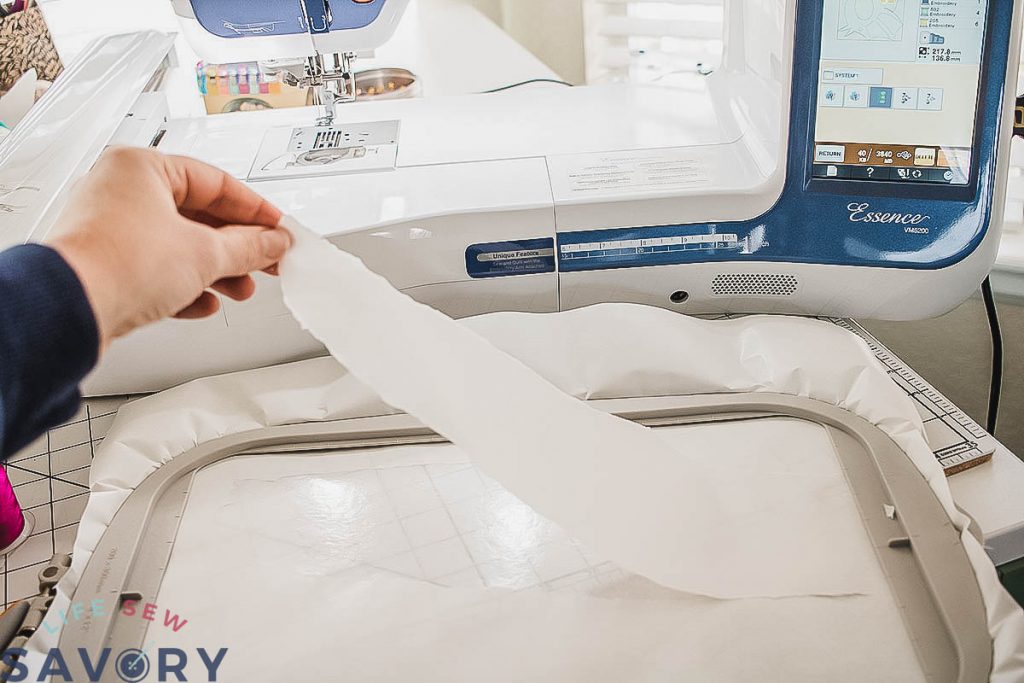
The easiest way to put faux leather in your hoop is with sticky stabilizer. Hoop a sheet of it with the paper side up and then peel away the paper to reveal a sticky patch large enough for your pleather piece.
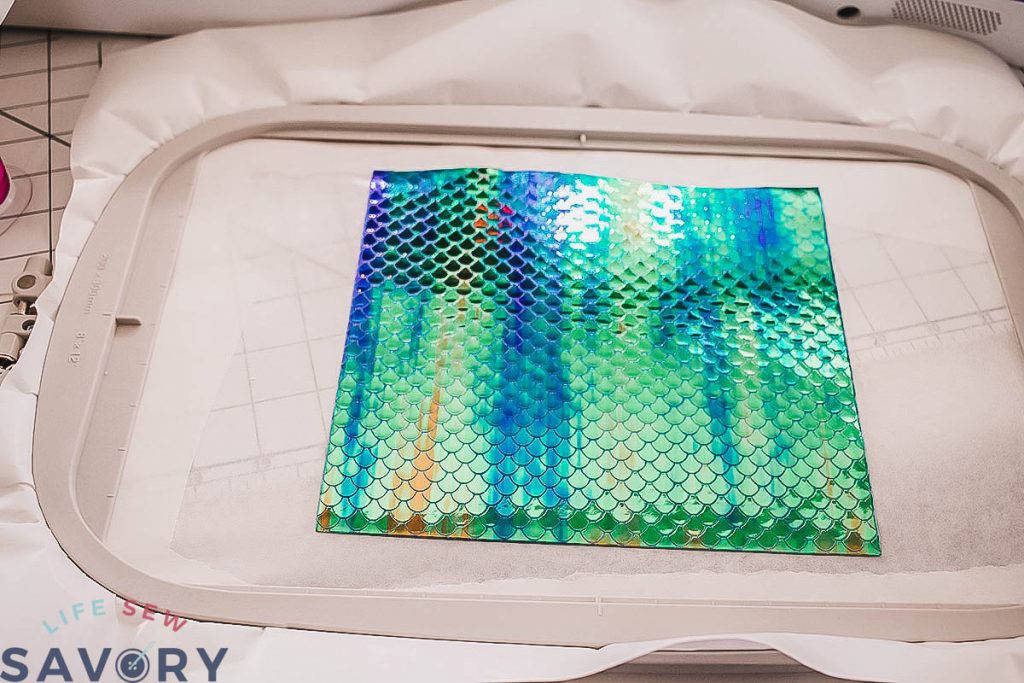
DIY Costume Face Mask-
Use the grid and sizing on your machine to make sure you faux leather is centered and large enough for your mask design. Resize if necessary, also taking into account the size of the child you are sewing for.
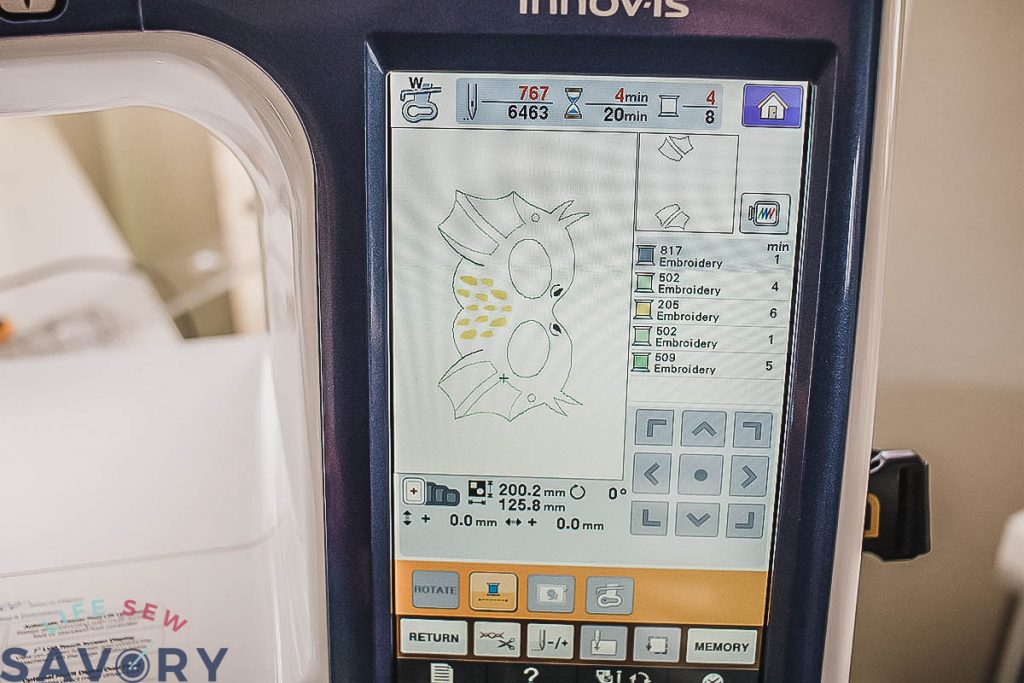
The machine will outline the mask {and each part of the mask} before doing the actual embroidery. This gives you an outline to work with as well as shows you where to place each additional layer for the mask pieces. The design will guide your thread choices, but for the outlines I didn’t really worry about using the exact color. Each outline will be covered with other stitching or piece of pleather.
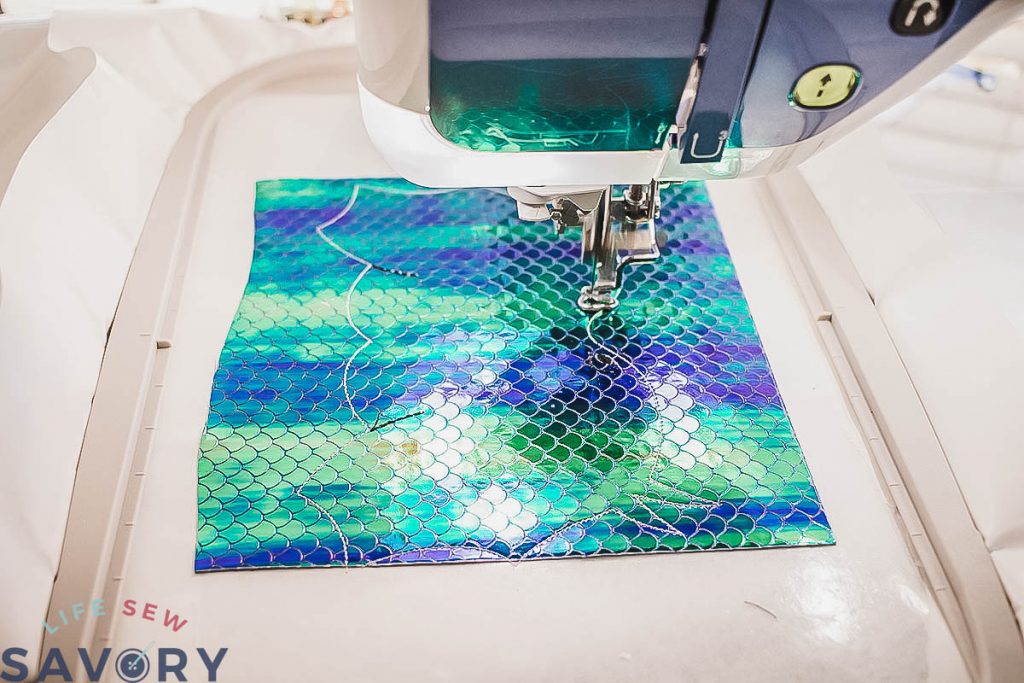
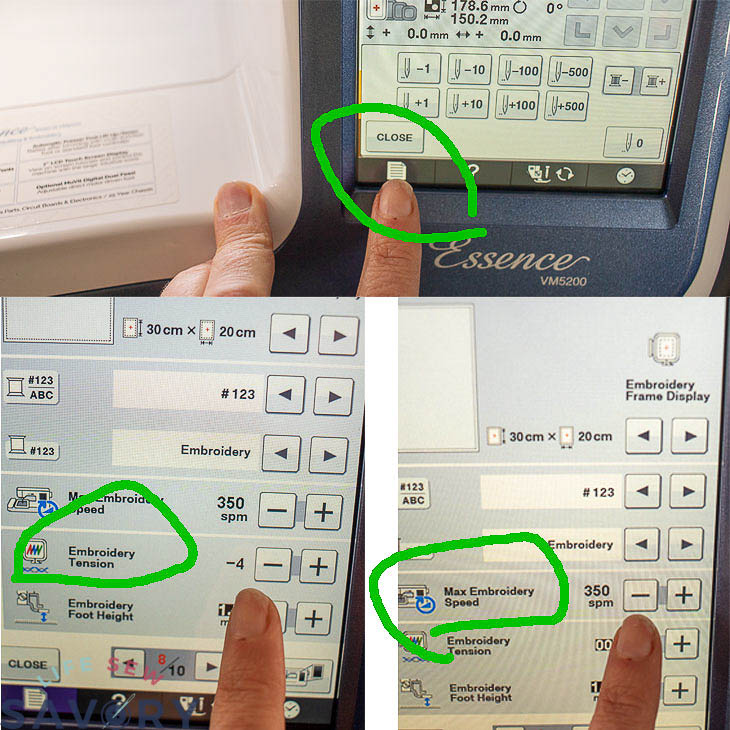
NOTE: if your thread is breaking or tension seems off – adjust now {as these stitches won’t be seen anyway} I slowed my stitches way down {350} to help the thread and needle go through the thick material without breaking. I also had to tighten my embroidery tension.
After the outline is created look at the first part of the mask to be sewn. It may be embroidered, or you may want to add another color of faux leather. If you are adding another layer of material use painters tape to attach exactly where it will be stitched. You do not need to cut out the exact shape, we will trim after sewing.
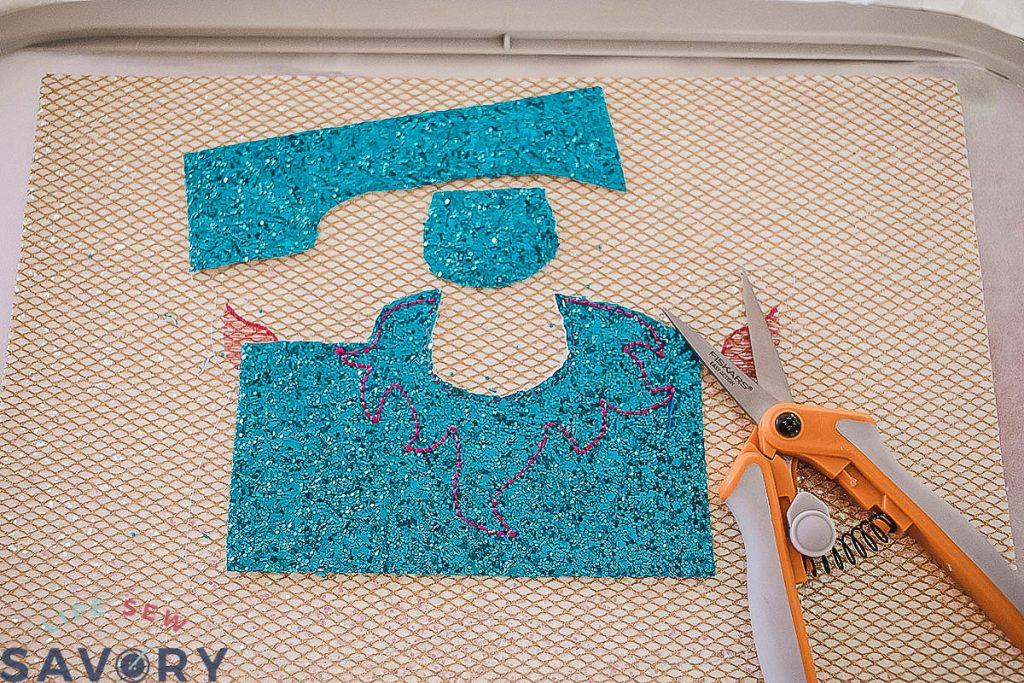
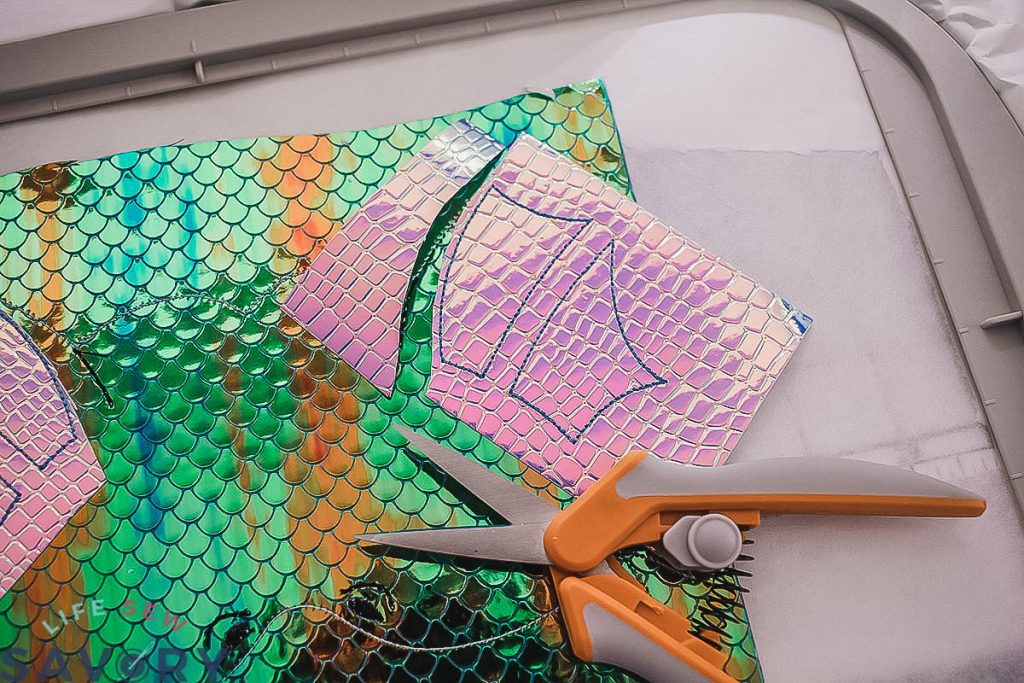
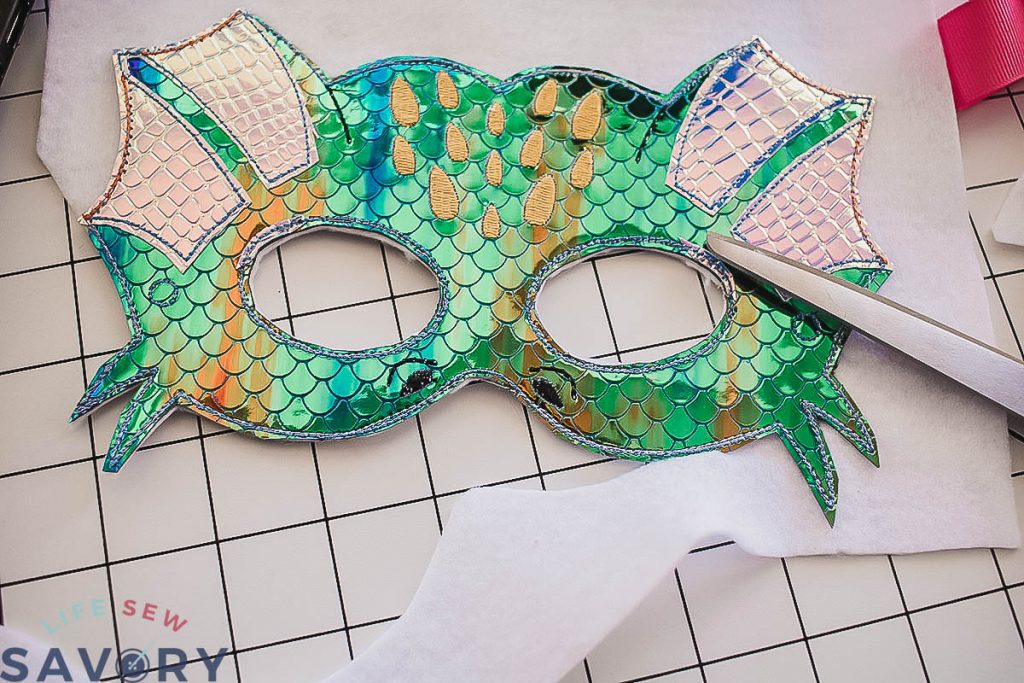
When several layers are needed I did trim between layers to avoid too much bulk. The faux leather will not fray, so I just used tiny sharp scissors to trim the layers close to the seam.
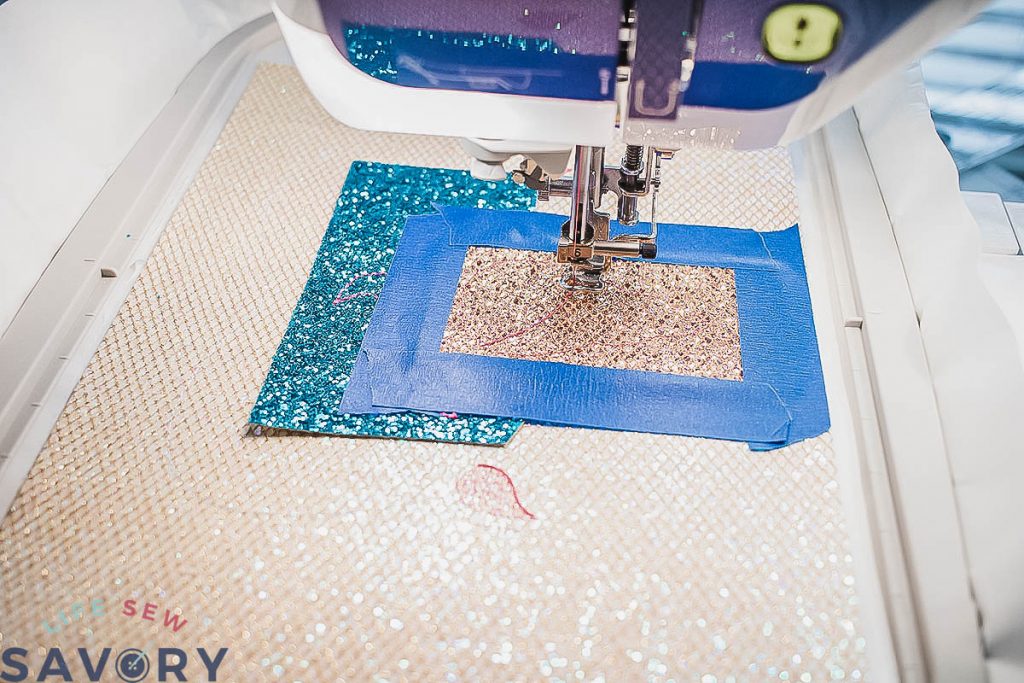
You can see my layers of fabric and embroidery on this design here. Refer to the design on your machine to help see what layers and embroidery are coming next in the design to choose your thread and material.
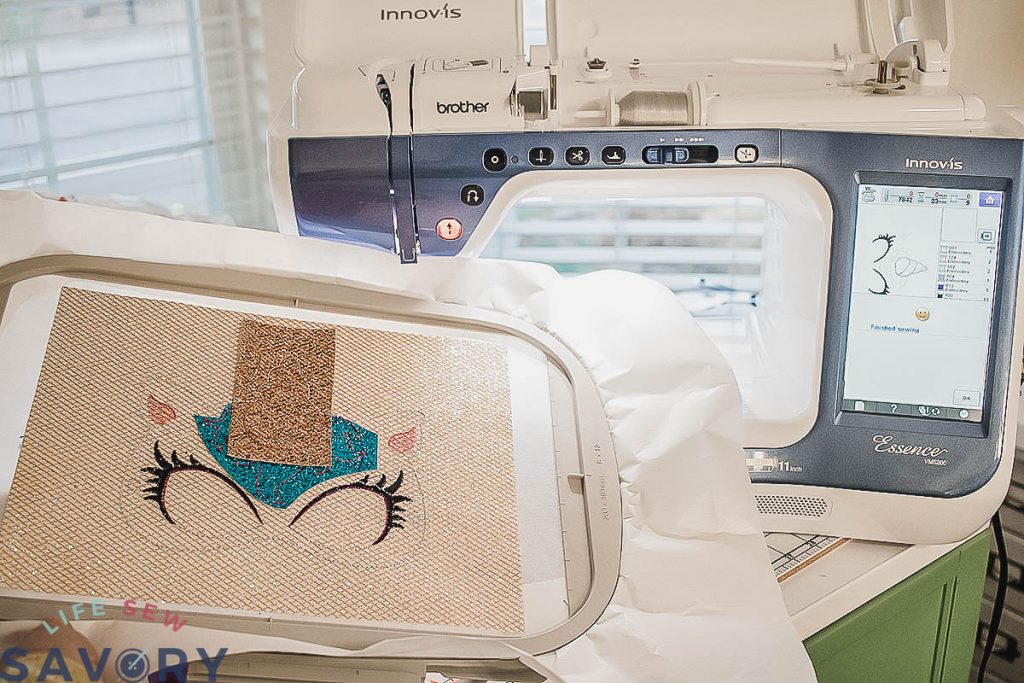
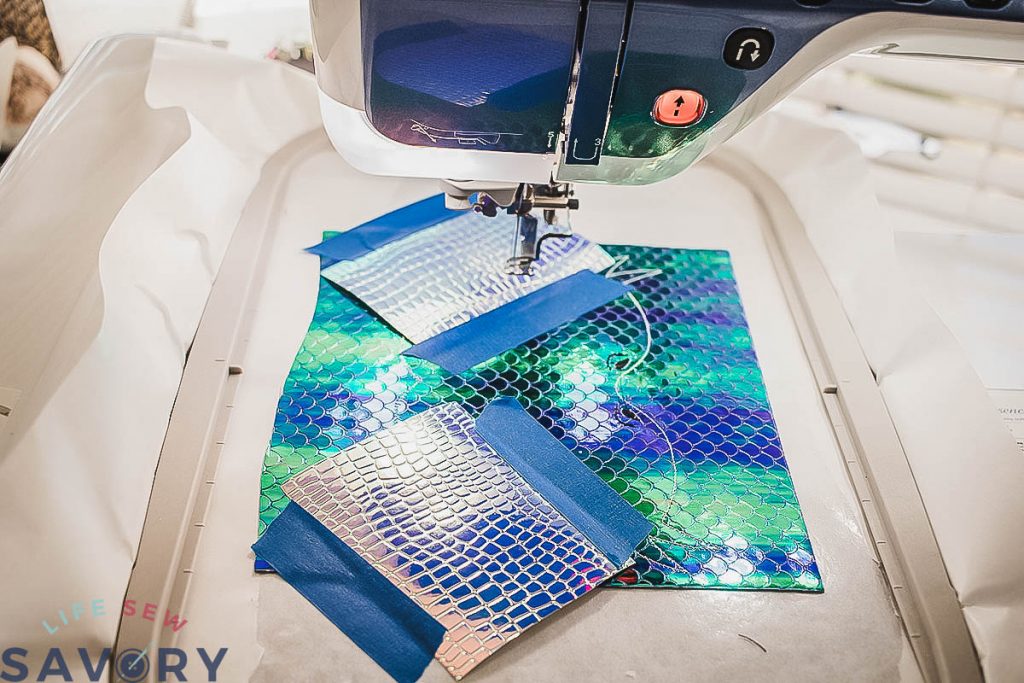
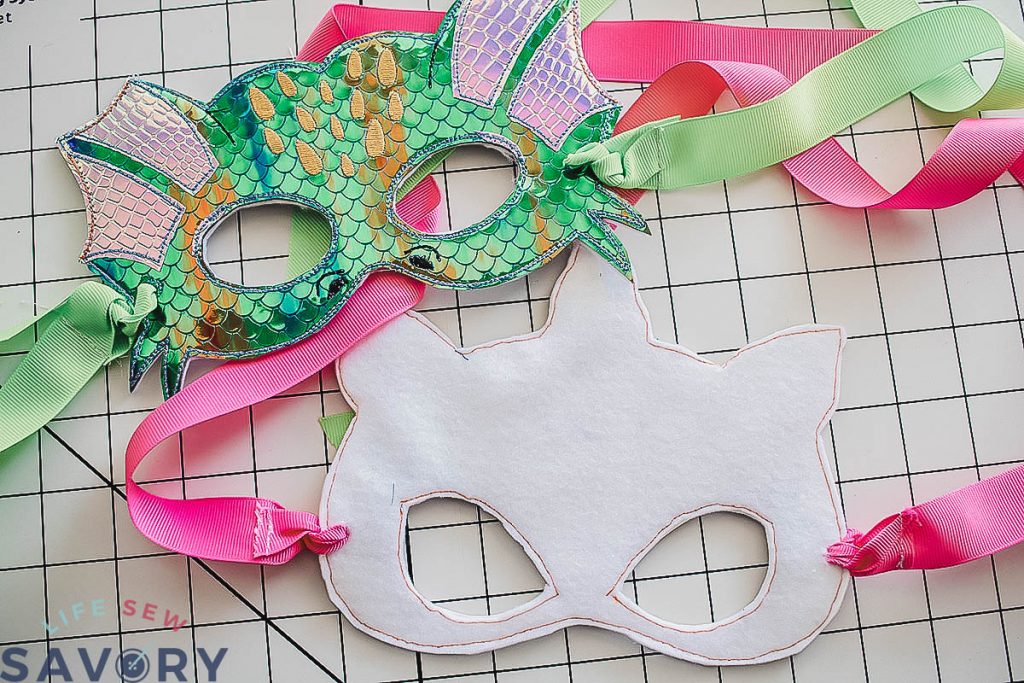
When the embroidery has finished you can remove from the sticky stabilizer and the hoop. Trim all the layers of faux leather on the mask and cut out the mask itself. I decided to back the mask with felt. Place on a piece of felt and use any regular sewing machine to stitch around the outside and eye holes of the mask.
NOTE: you can also slide the felt under the hoop for the final outline stitching and the design will sew the backing on the mask for you! No need to manually sew as shown here.
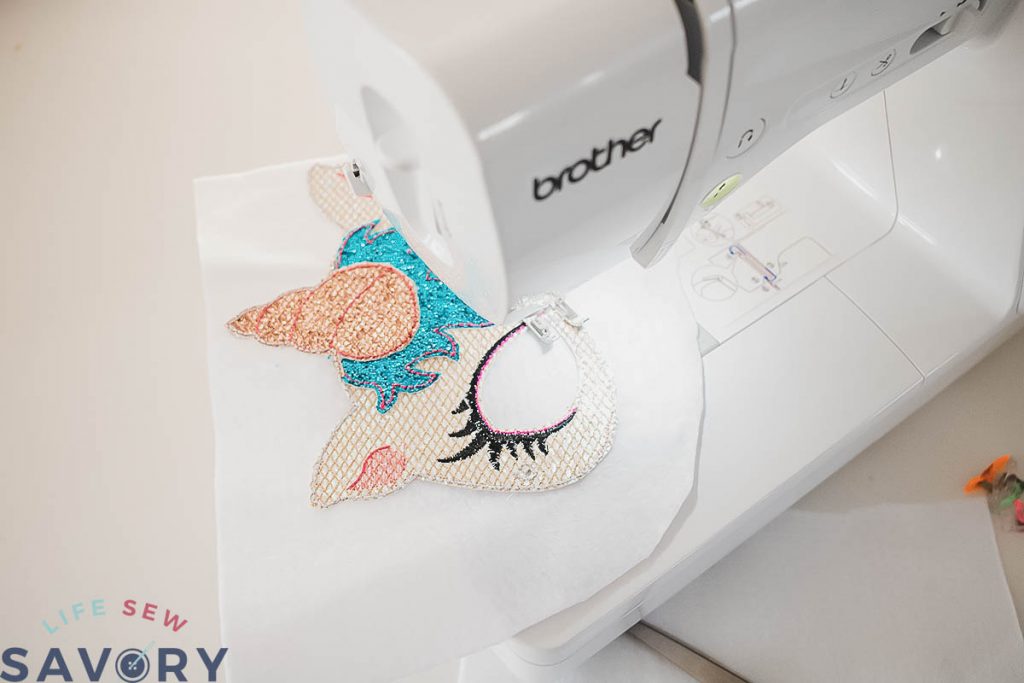
Trim the felt close to your stitches and also cut open the tie holes on the side of each mask {these were part of the original design}
Attach elastic or ribbon for ties and enjoy!
Now you have your very own DIY mask for costumes! So many hours of imaginative play with endless mask options! Here’s a sneak peak of what the full costumes look like. All the details linked here on Friday. What fun DIY Halloween masks can you image and make?







KAREN NYLEC says
This is my Halloween costume link takes you to the masks link. Please help!