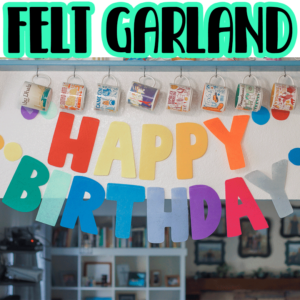
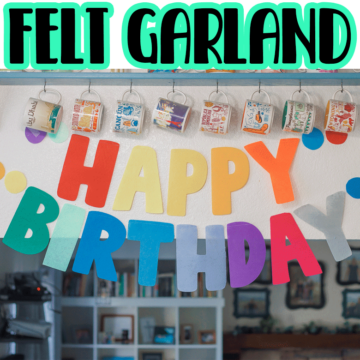
Inside: Learn how to make this cute DIY table top birthday sign with felt and free cut files. Felt and heat transfer vinyl create a fun happy birthday table or cake top decor.
It’s birthday season around here. All three of my kids have birthdays in the fall and we celebrate for several months starting the end of August. I’ve been wanting to create some new birthday decor for our home to decorate for each kids birthday. Today I’m sharing a DIY table top birthday sign, make it large for the table or smaller for a cake.
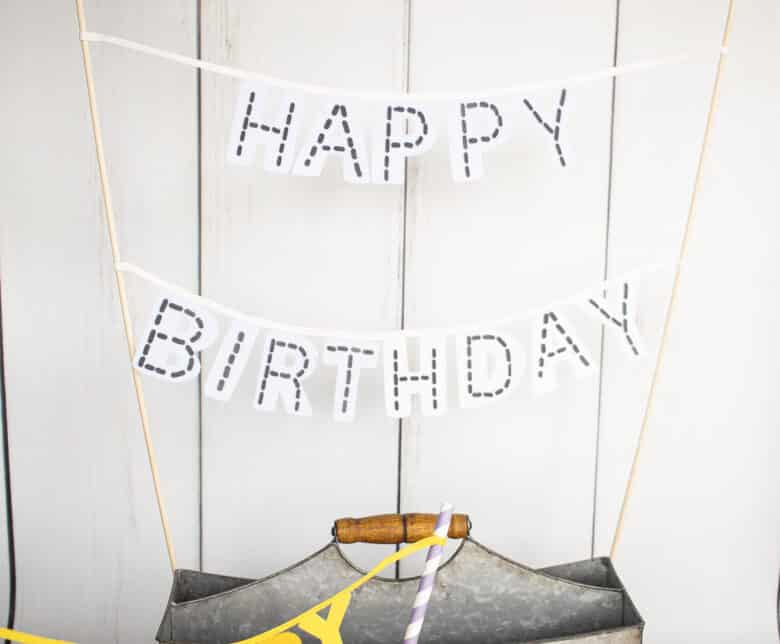
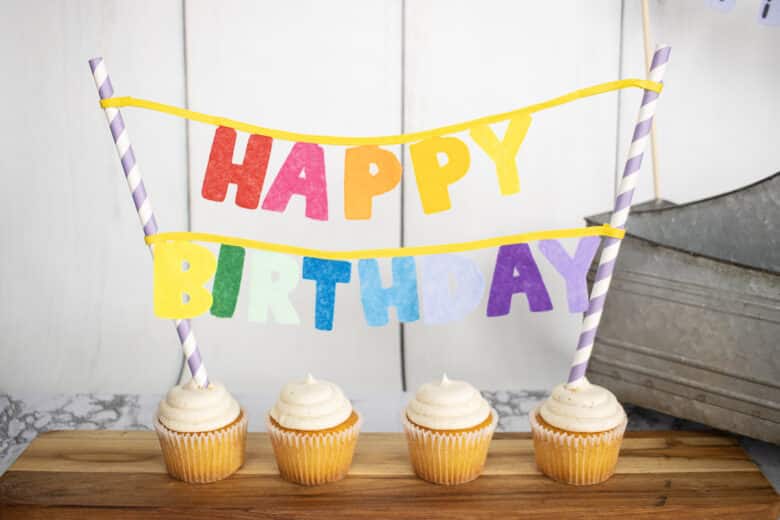
Table top or cake top birthday sign
I originally set out to make a cake topper happy birthday sign, but my cut files got a bit bigger, so I decided to make two versions. The SVG file cut as automatically sized will make the larger table top version. This version also has a vinyl second layer you can add for a fun stitching look.
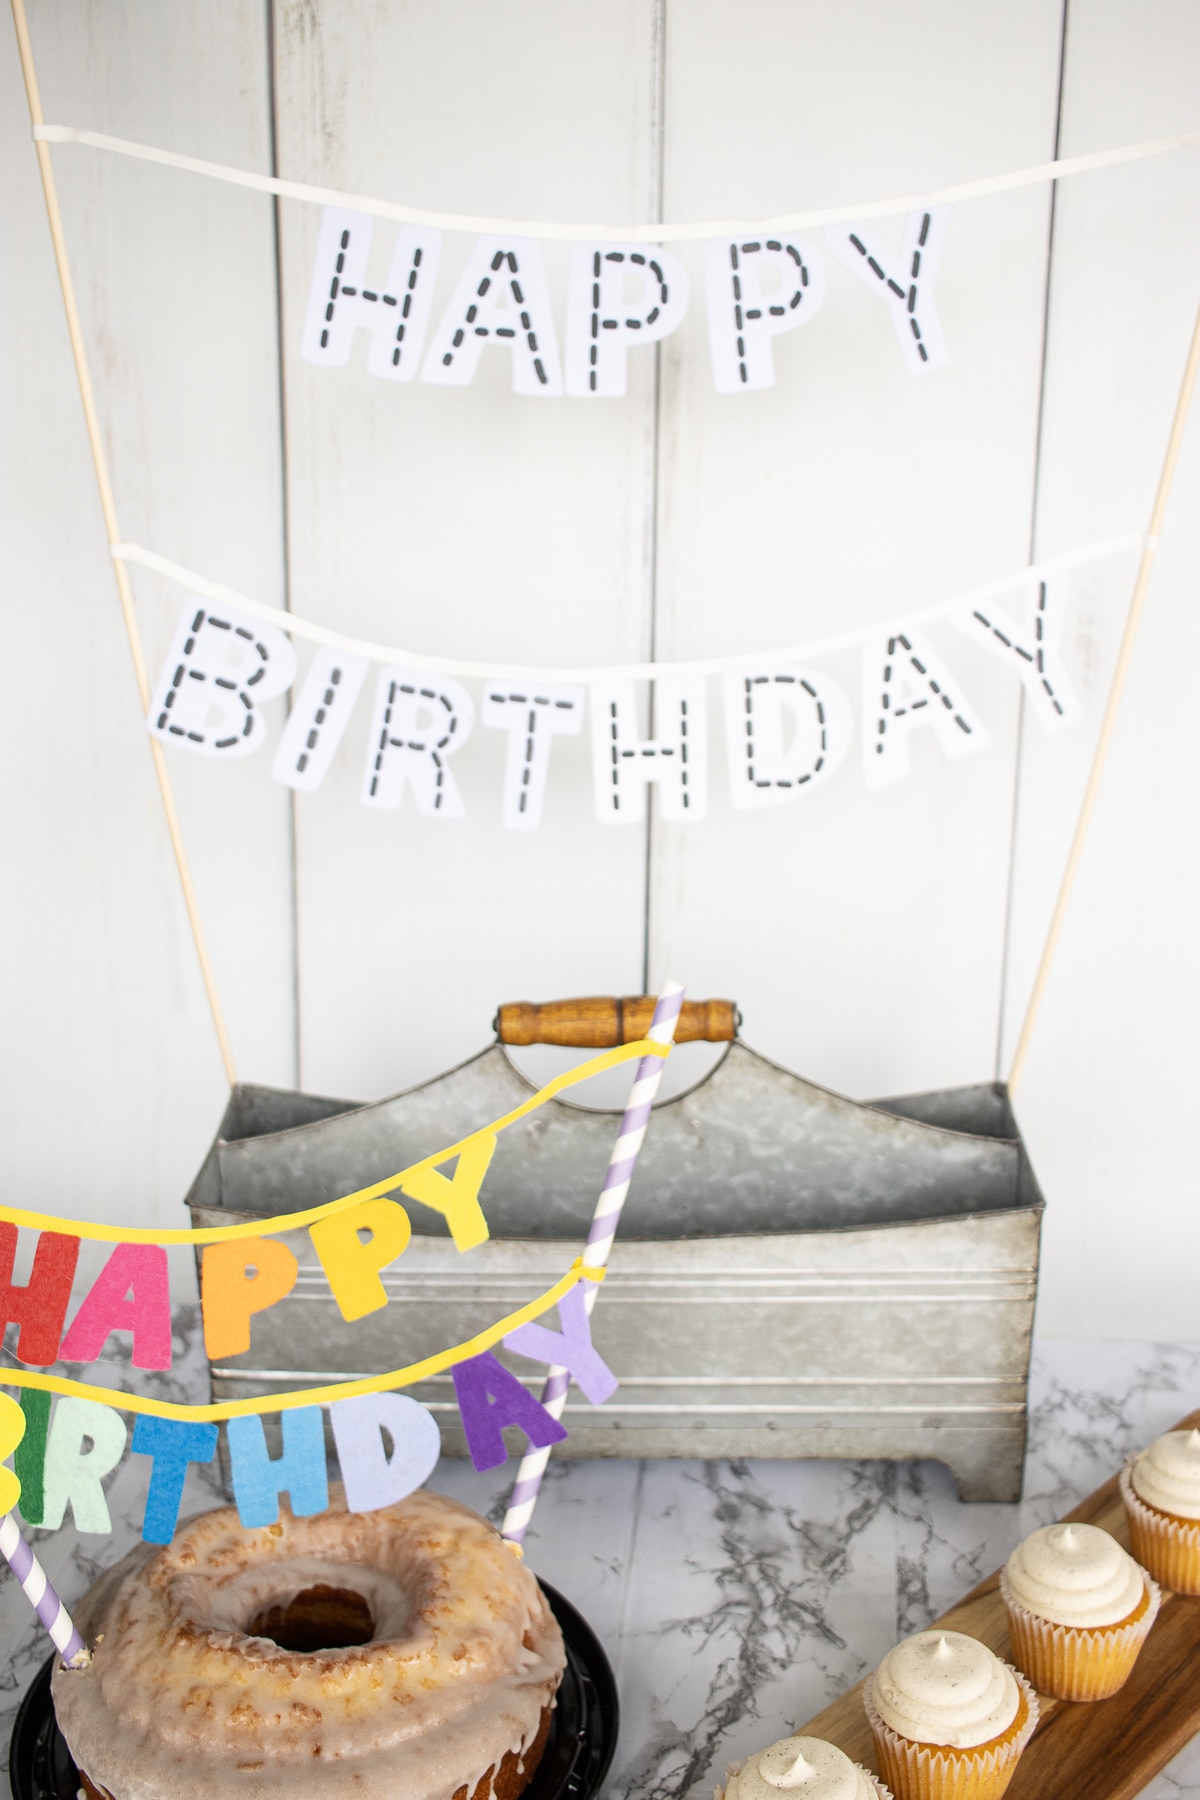
After I made the larger table version I reduced the size of my cut file and made a smaller cake topper version. It worked very well for cakes or cupcakes and I love the rainbow felt.

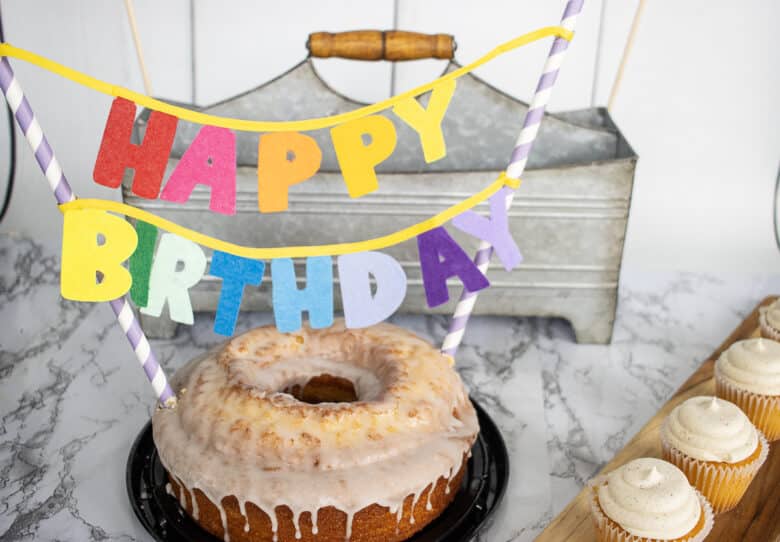
I’ll show you have to cut the rainbow letters below. You can also find a full video tutorial for this project in the sidebar or embedded below. If you don’t see the video, check the sidebar as you scroll or sometimes you have to try a different web browser.
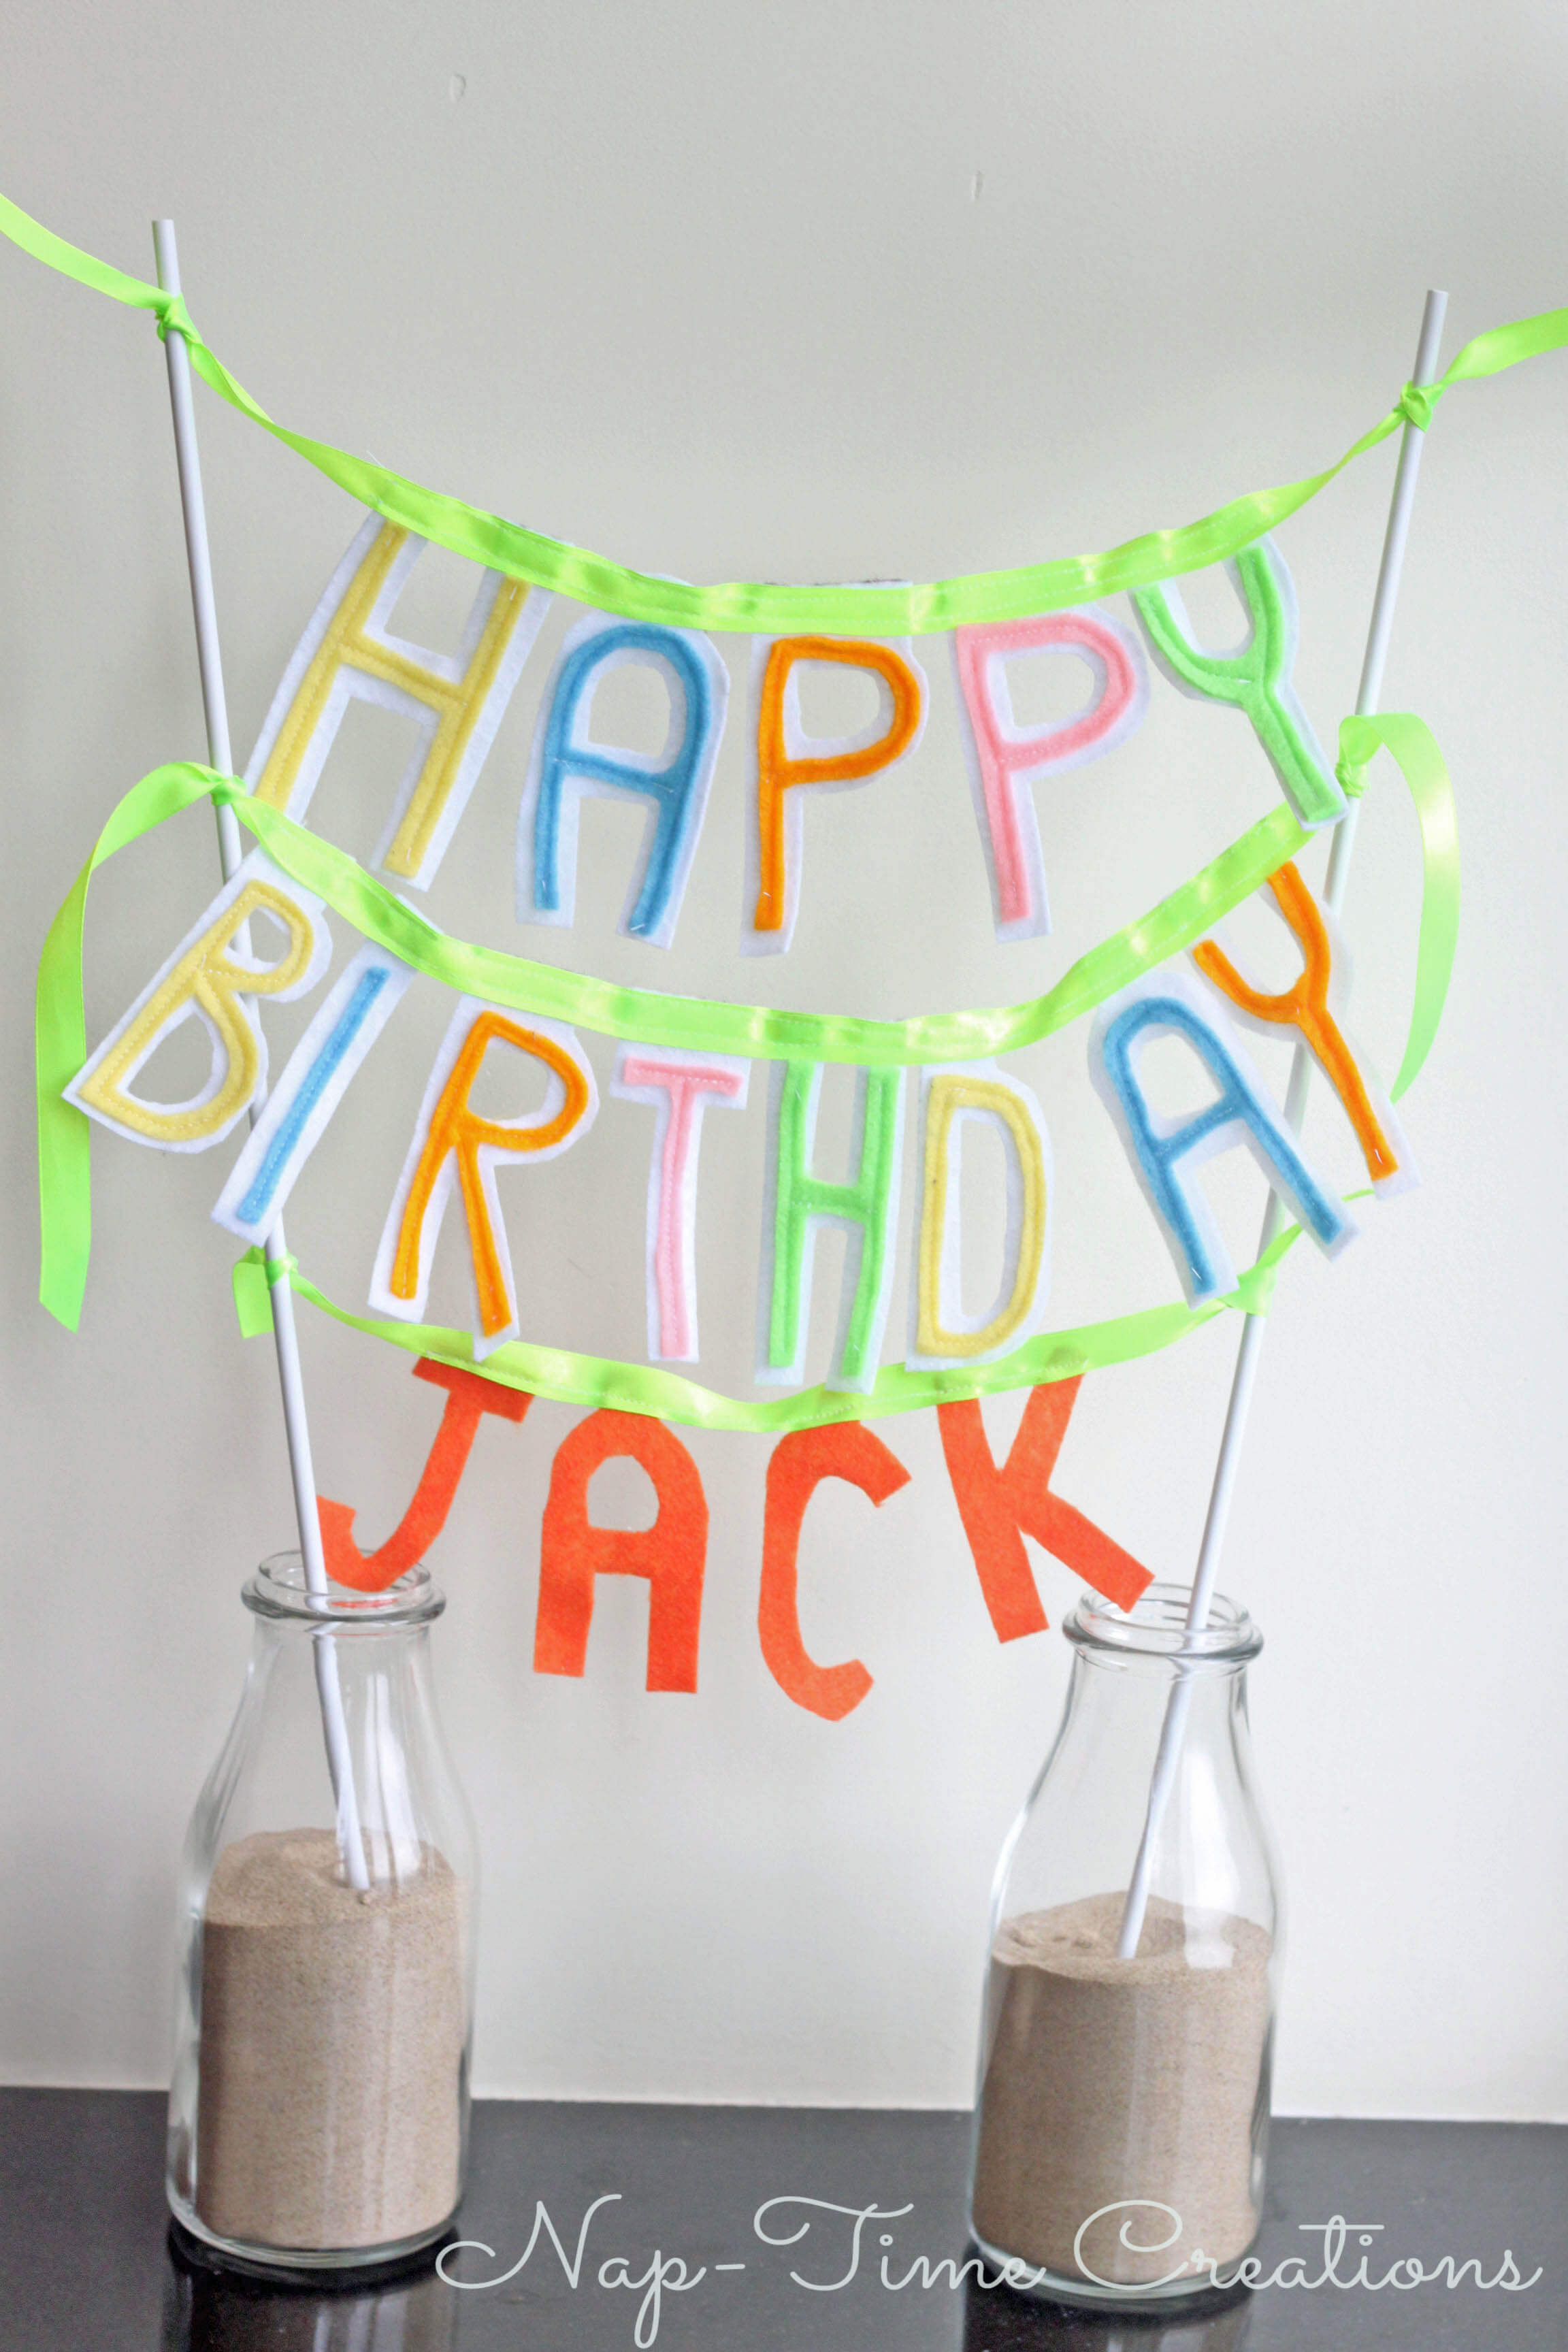
Here is the original table top birthday banner I made over 10 years ago! It was two layers of felt sewed together. I used cute jars of sand to hold up my sticks and ribbon on the letter tabs. I wanted to show you this for inspiration if you want to change up my project here a bit.
Other Birthday Projects
Here are some other super fun birthday projects to make. I’m planning to add a few more this month as I continue my birthday season here this fall.
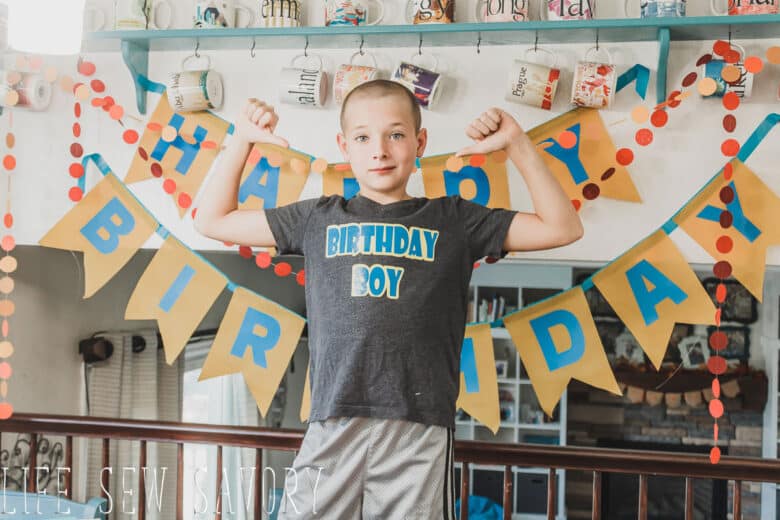
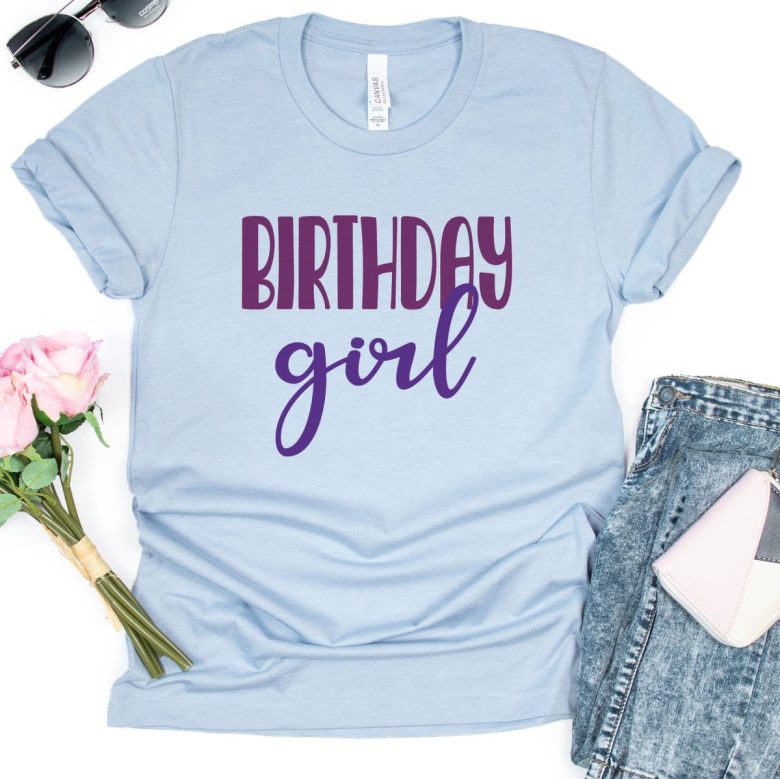
- Birthday Boy or Girl Shirt cut file
- Birthday Cut files of all kinds
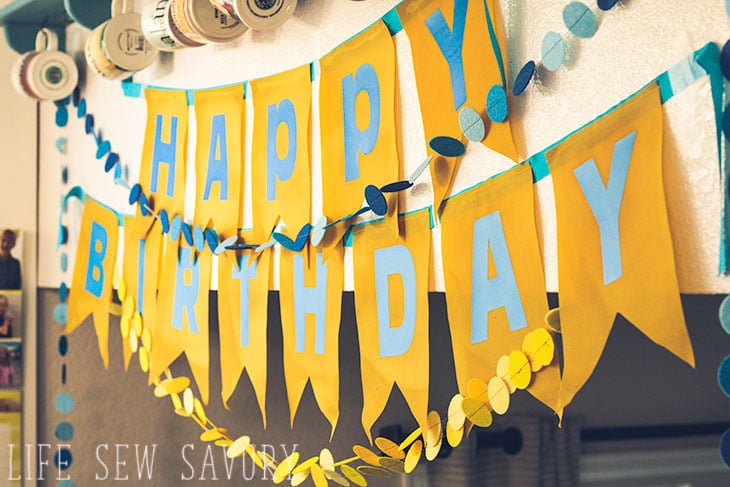
- Birthday bunting
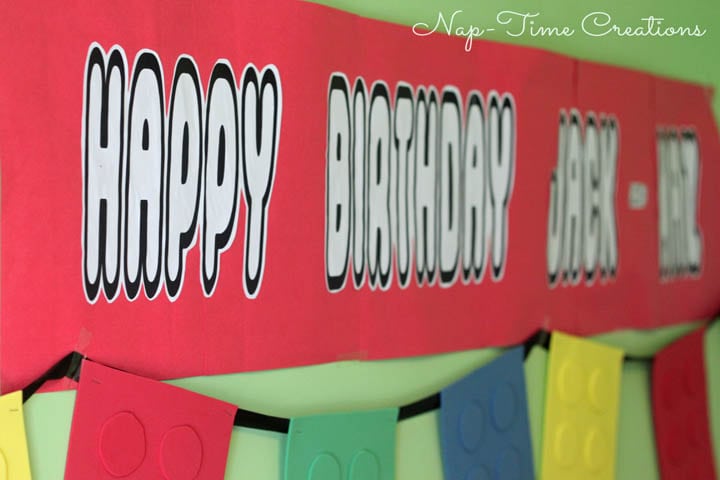
- Lego Birthday part decor, games and food.
Free cut/svg files for Birthday sign
Want to make a fun birthday sign like this? Here’s what you will need:
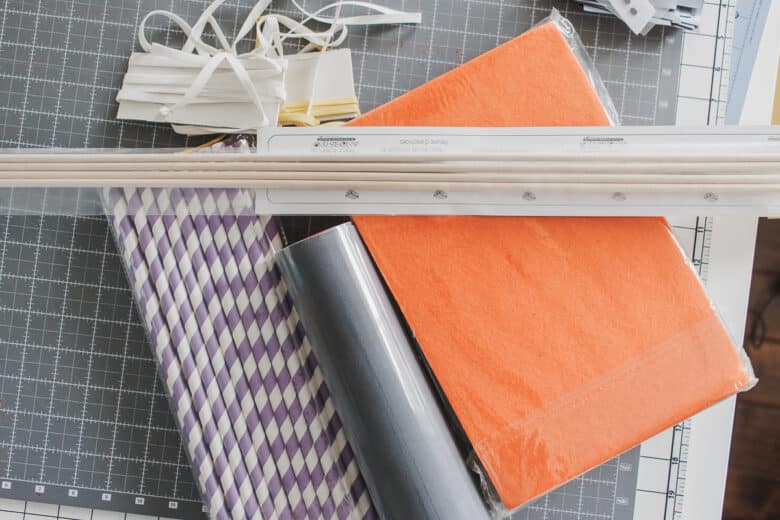
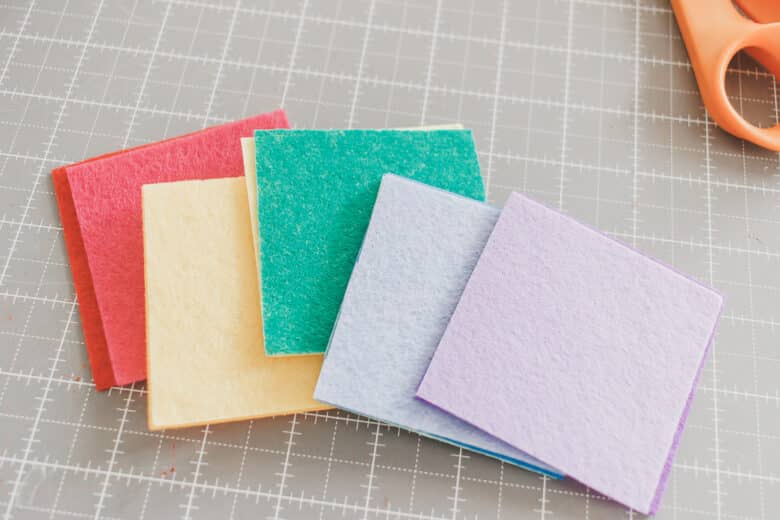
- Felt {here’s the rainbow pack I used}
- Heat transfer vinyl
- Some bias tape or ribbon
- sticks or poles.. Here’s the paper straws I used – for the taller table version I used bamboo marshmallow roasting sticks I randomly saw at the grocery store. You can find them cheap on Amazon here too.
- cutting machine or scissors – I’m using a ScanNCut
- hot glue gun
- free cut file – use button below to download zip file
- the file has two SVG files for the felt and vinyl, one JPG and one PDF if cutting by hand.
DIY Table Top Birthday Sign
**this whole project can be no sew if you use hot glue in place of the sewing step**
Let’s get started!! Gather your supplies and grab your cutting machine or sharp scissors. Download the free files and upload to the Artspira App or Canvas Workspace {for Brother ScanNCut} for other cutting machines upload to your software.
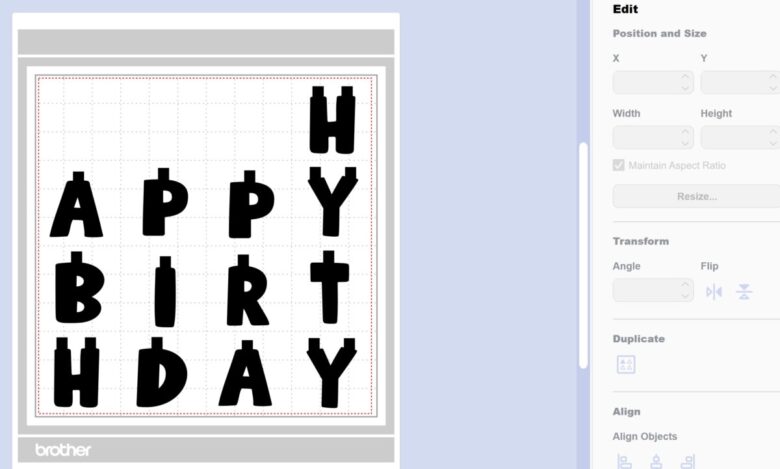
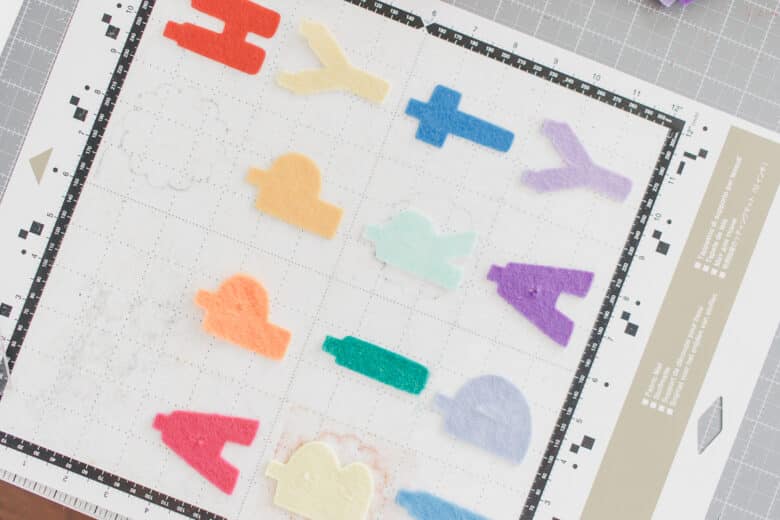
If you open the felt cut file each letter is it’s own layer so you can resize all together, or enlarge as desired. On the left is the original download. I used this one for the table top birthday banner. On the right I sized the whole file down, then moved the letters around so they were each in their own 3 x 3″ square {for the rainbow cut}
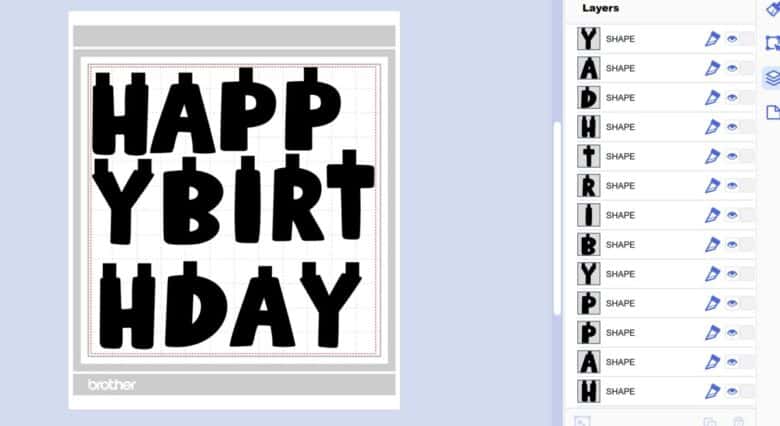
Creating the felt Letters
Transfer the felt cut to your machine after you size to your liking. I used a fabric mat and a standard autoblade for cutting this project. You can see details about the rotary fabric blade here, and a post on how to cut everything here.
If you are cutting all one color, just place a sheet on one color felt on the cutting mat. Press firmly to stick to the mat and avoid slipping. For the rainbow letters I cut 3 x 3″ squares and used the mat grid to place them on the mat. Press firmly to secure.
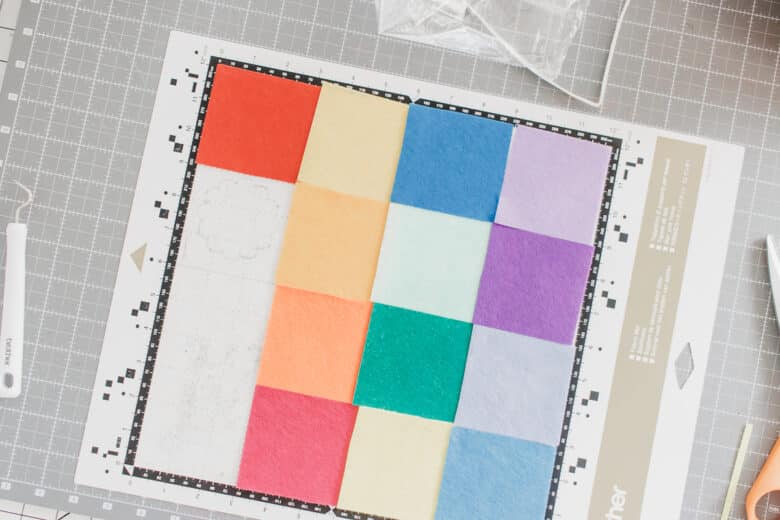
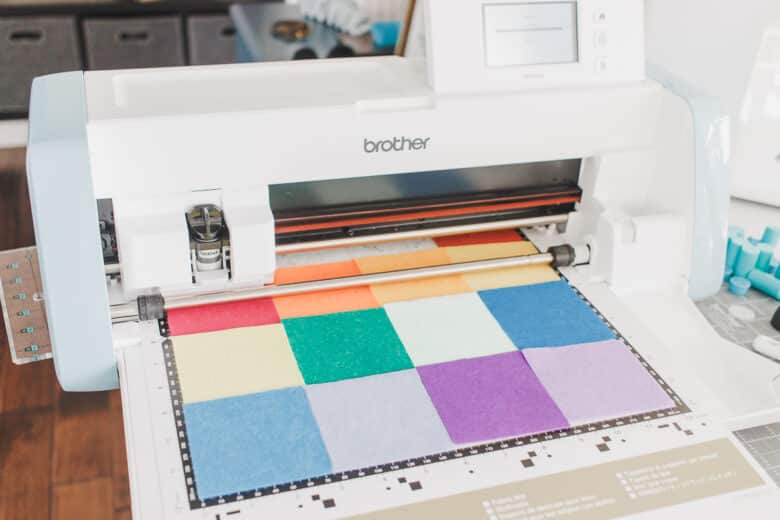
After cutting you should be able to lift away the extra outside felt. If you cannot, repeat the cut with the machine. Usually only a tiny corner is stuck, so I use a small, sharp scissors to clip.
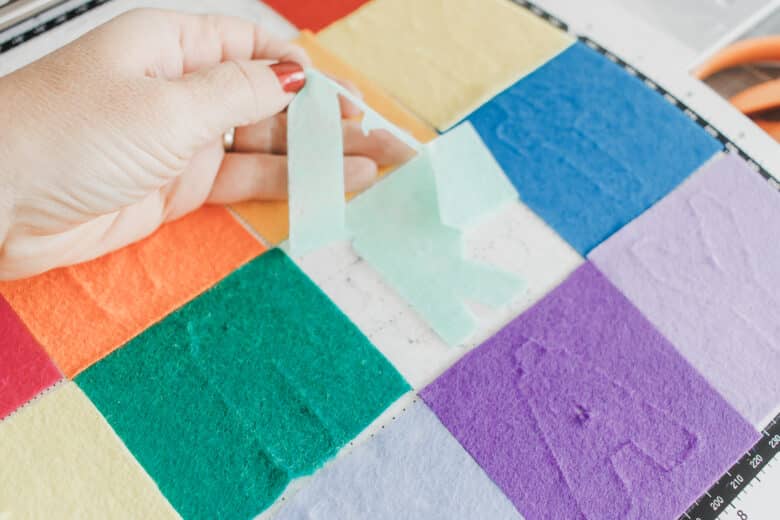
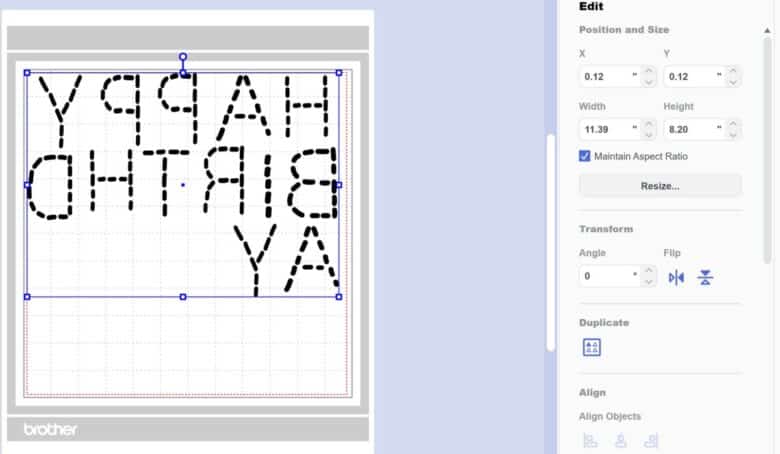
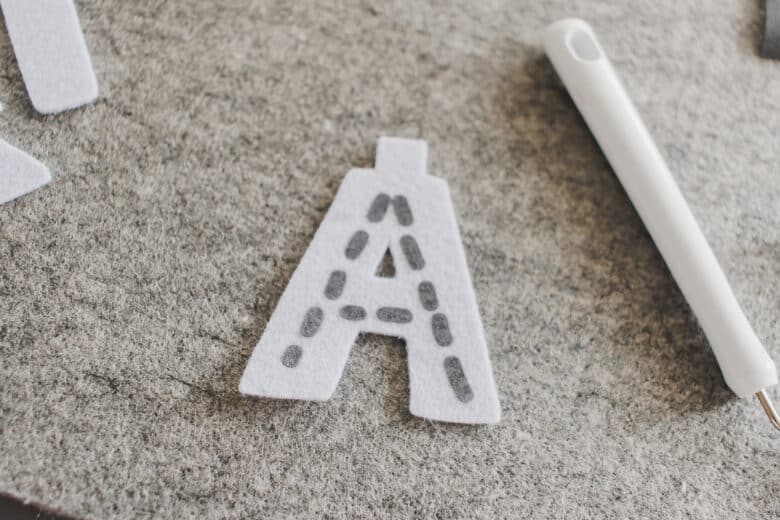
If you also added the vinyl layer, import the vinyl design to your cutting software. Resize if you changed the size of the letters. If you cut the letters as is, you can leave the vinyl as is. They match as designed. Make sure to reverse the letters before transferring to your machine. The vinyl cut as shown below, matches up perfectly with the felt cut design.
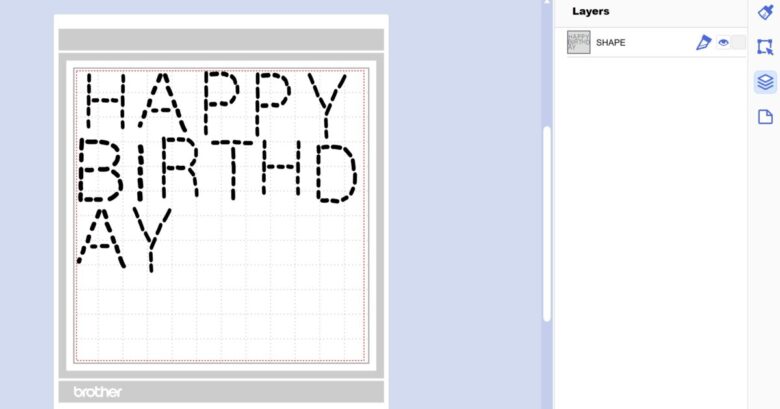
Weed the vinyl to reveal the faux stitching design. I used a flocked vinyl so it’s a bit thicker.
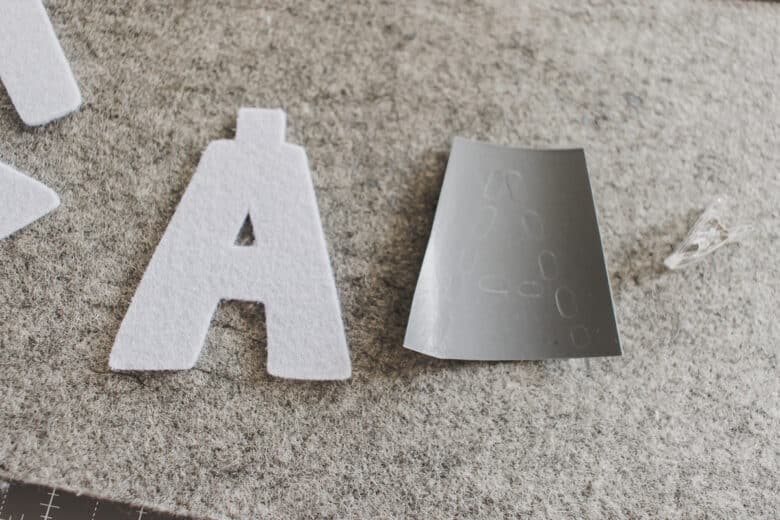
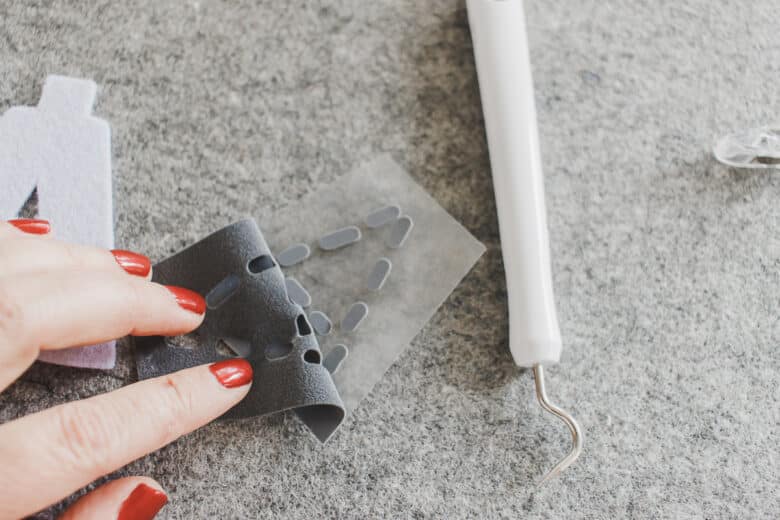
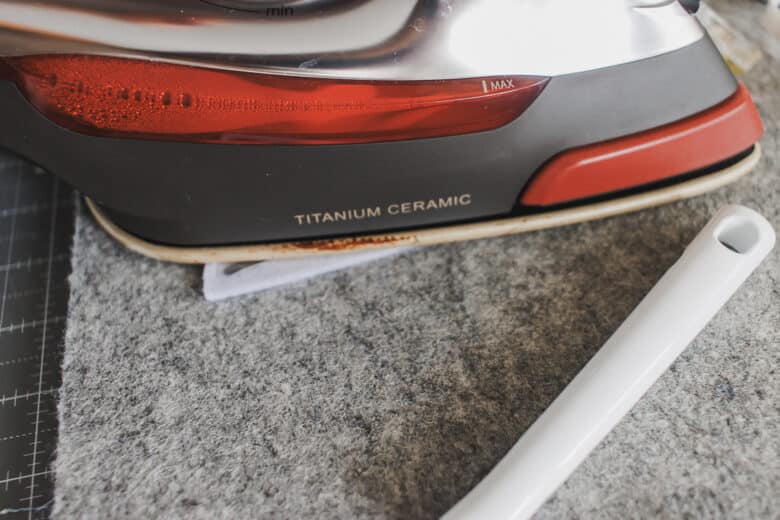
Place the vinyl on top of the letter with the plastic cover up. Place and hot iron or heat press on top for about 20 sec. It doesn’t take very long for vinyl to stick to felt.
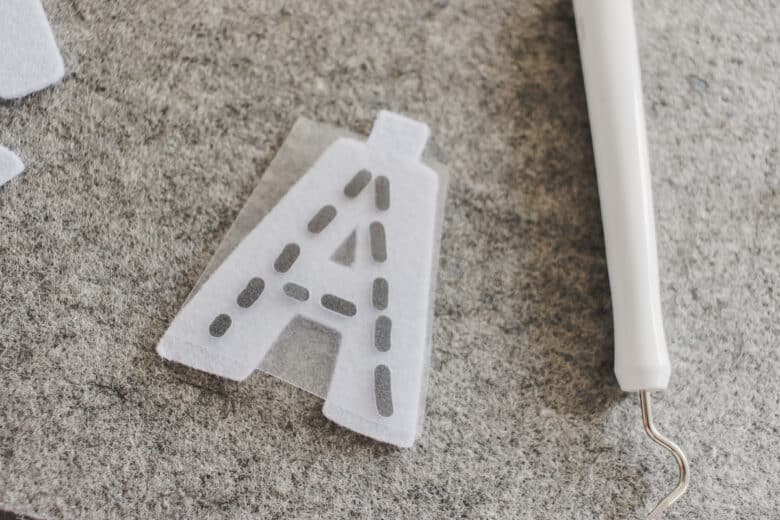
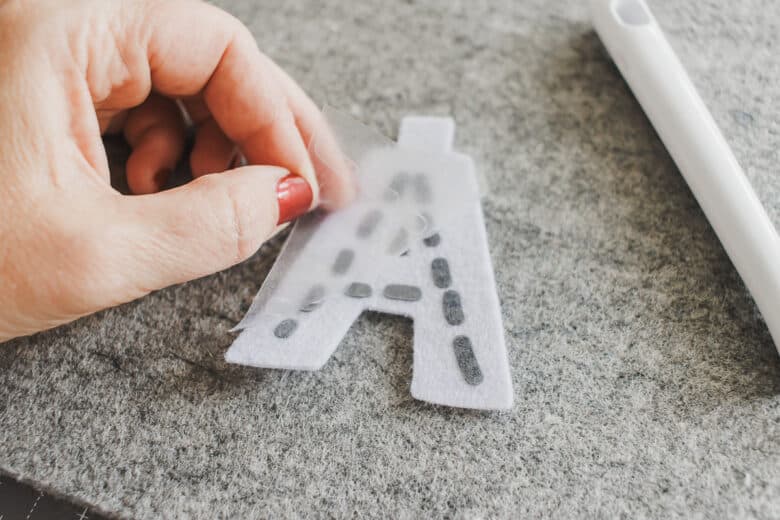
Cool for a few seconds, peel off the plastic cover, if the vinyl lifts, press again. Now you have a super fun letter. Repeat with all the other letters.
Creating a bunting with the felt letters –
Cut two of the same length ribbon or bias tape. Even though the happy will be fewer letters the ribbon needs to be the same length. You want at least 25″ {each!} for the bigger version and 15″ for the smaller. I always cut more than I need.
The tabs on the top of the letters are meant to go on the back of ribbon or inside the bias tape. If they are too long for your ribbon or tape, trim.
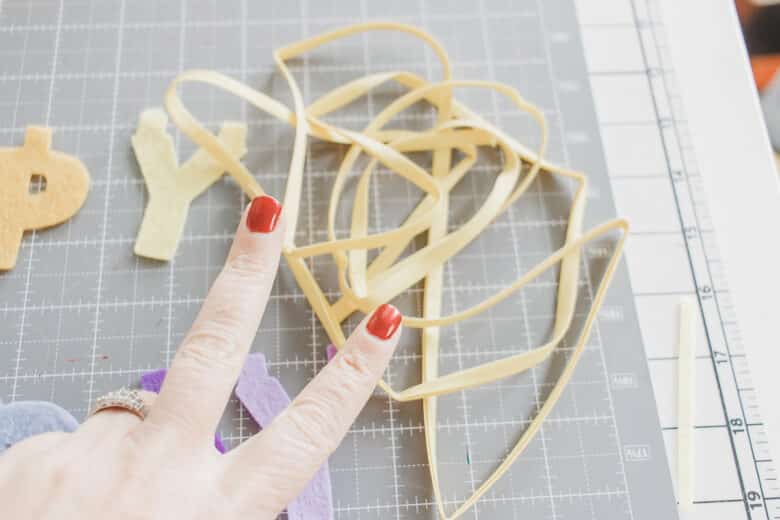
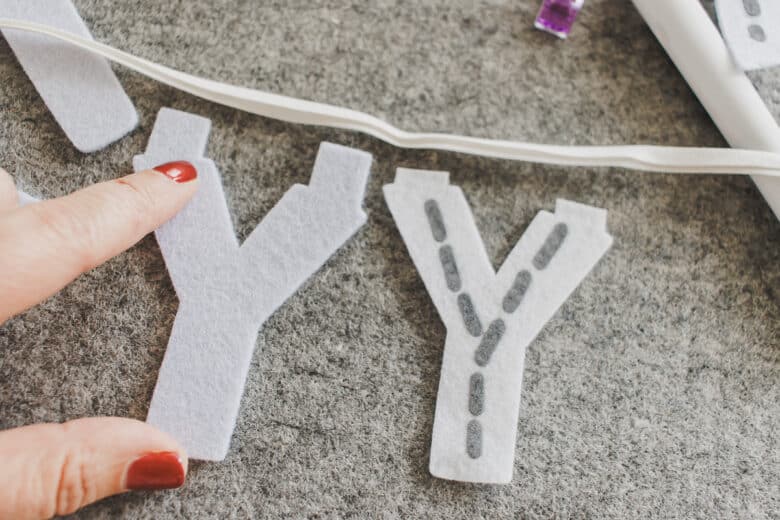
Sandwich the tabs inside the bias tape and pin or clip. I started in the middle of the tape with the middle letter and worked out.
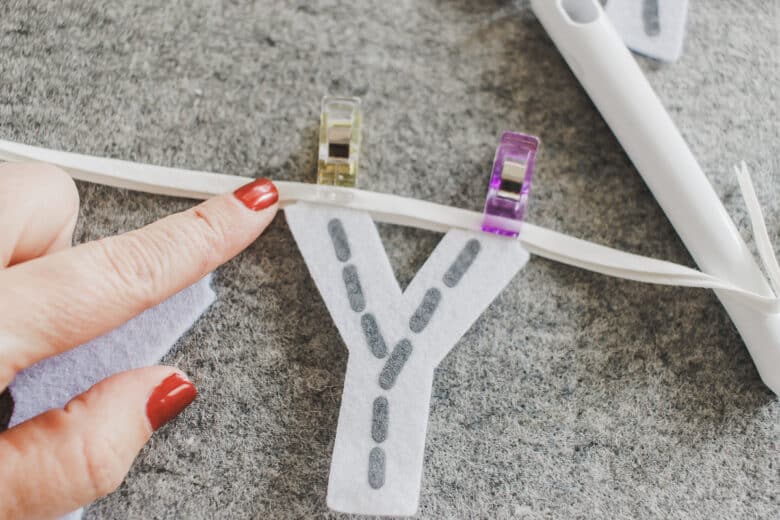
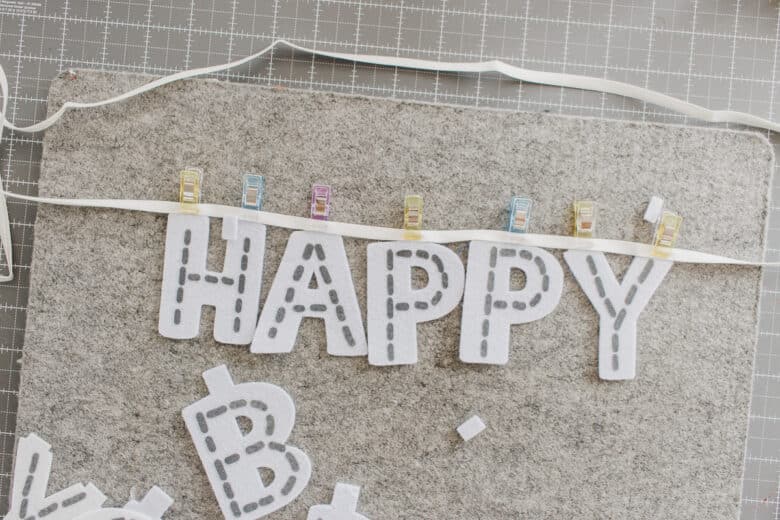
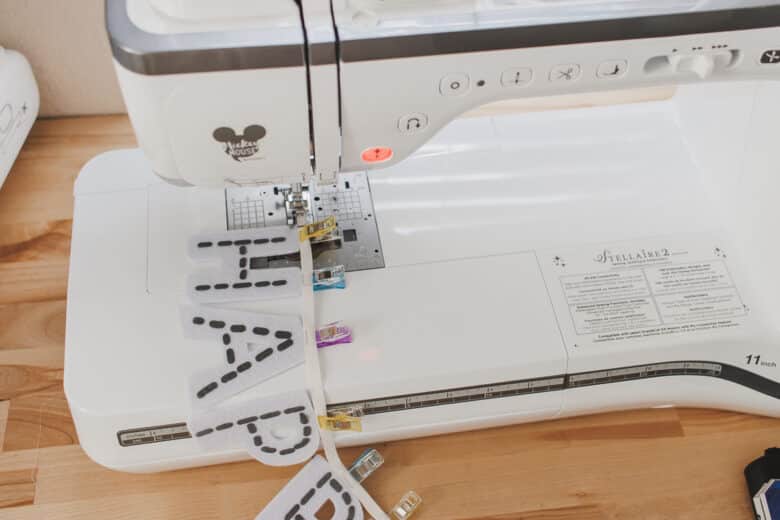
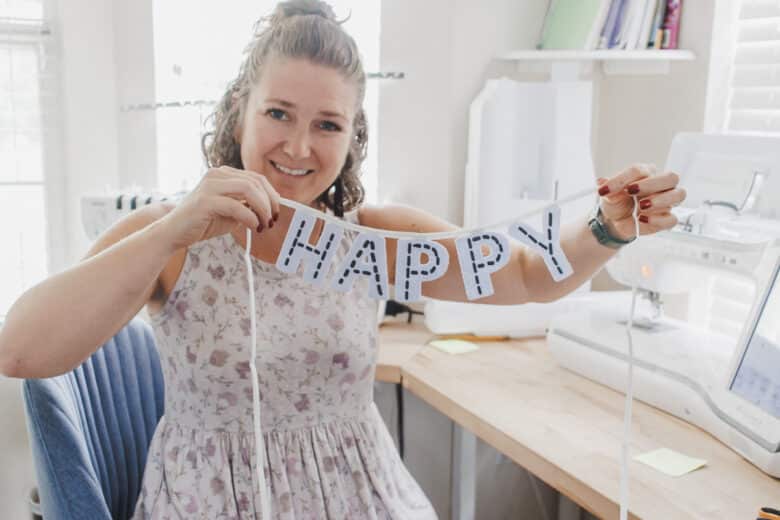
Sew with the same color thread as the bias tape or ribbon and stitch on the edge of the bias tape close to the felt letters. It turns out so cute when finished.
I’ll show you here how I attached the rainbow letters to the paper straws, but the process was the same with the larger version as well. Layout the letters and decide where you want them to attach to the sticks.
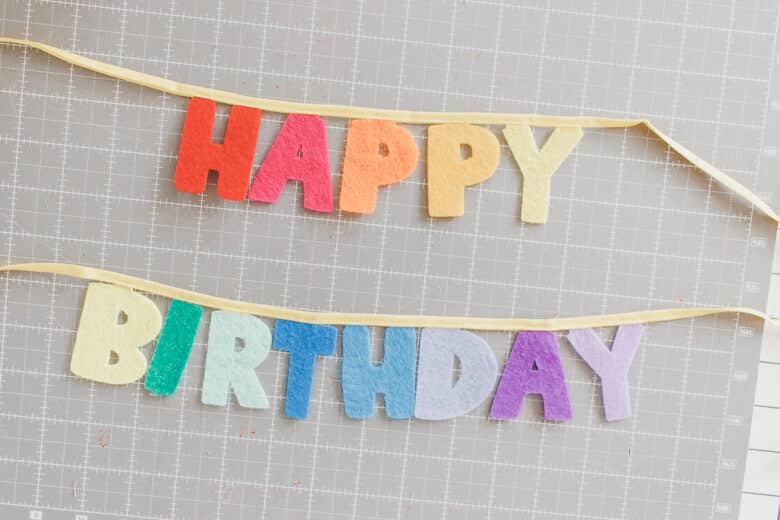
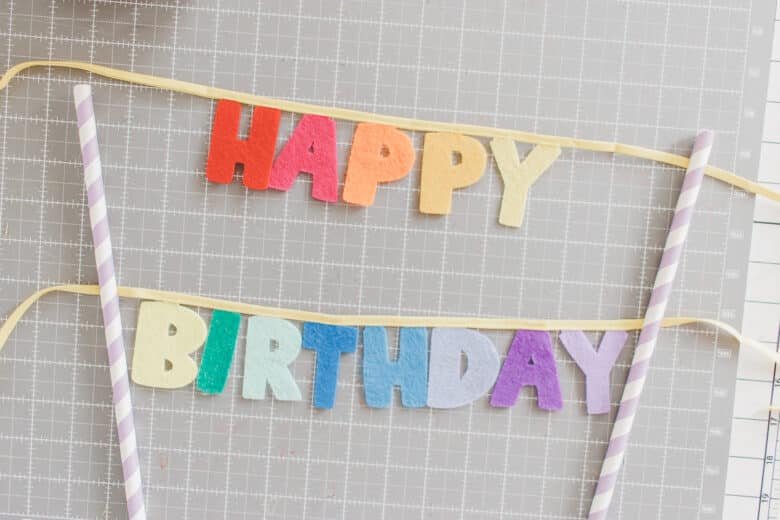
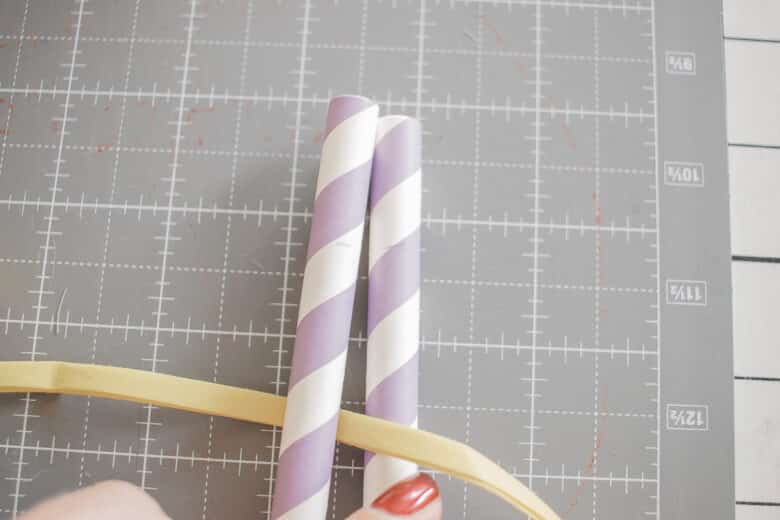
Mark the placement for the ribbon on both straws so when you glue it will be lined up. You can tie the ribbon the straw or glue {or tie it, then place a bit of glue so it doesn’t slide down} I started in the middle of the straw with the word Birthday since it is the longest. After that is glued on add the word HAPPY centered above birthday.
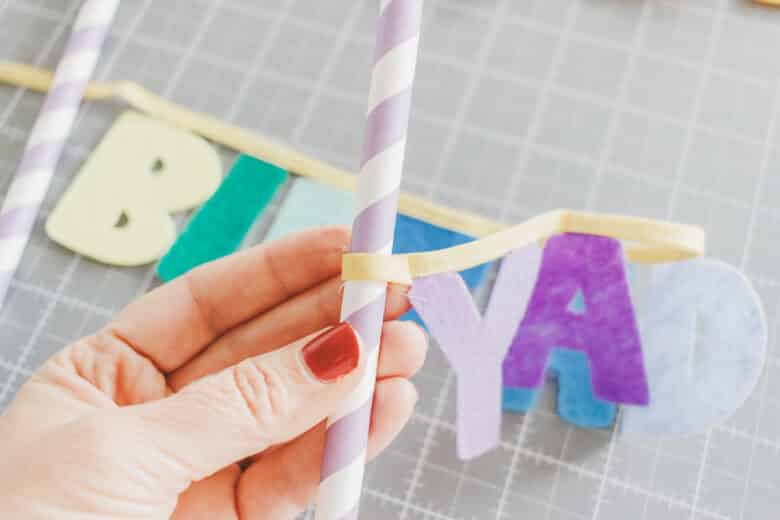
Now you have a super cute cake or cupcake topper to use for your next birthday celebration.
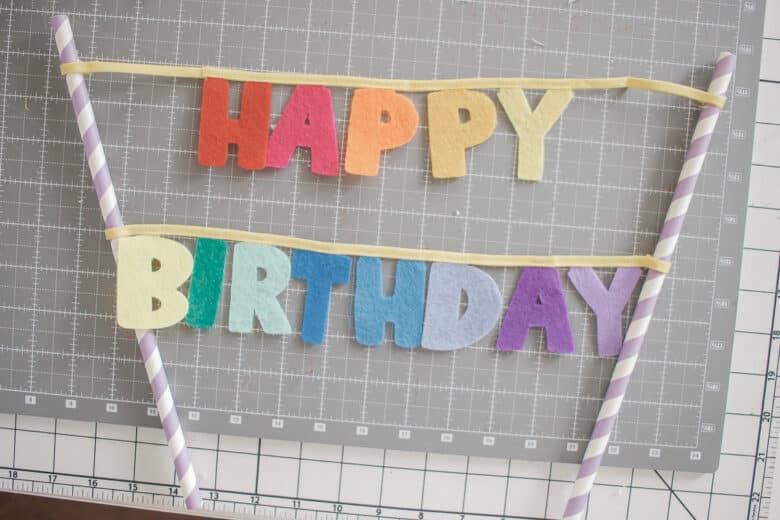
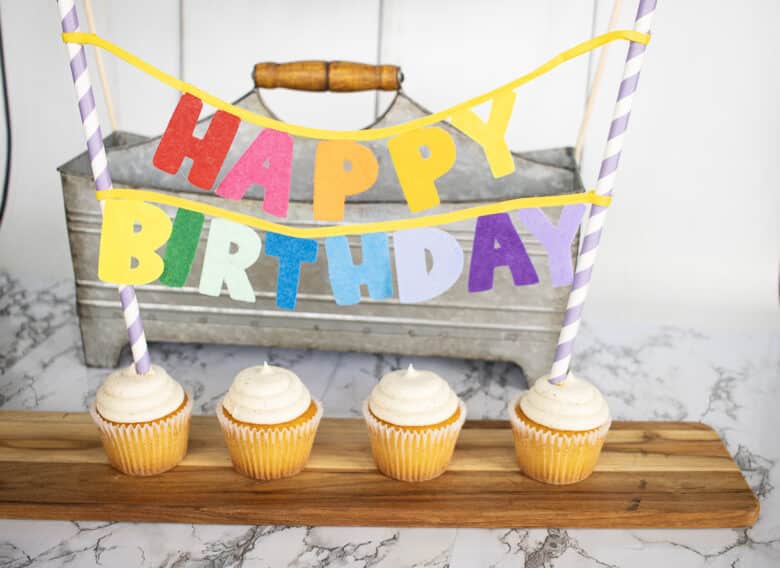
For the larger table top version you can tape it to a cute base {as I did here} or use vases or jars with sand in them to hold the sticks and your table top birthday display.





91 lottery says
I absolutely love this DIY Table Top Birthday Sign idea! The step-by-step instructions are super helpful, and I can’t wait to customize it for my upcoming party. Thanks for sharing such a fun and creative project!
Rtist Studio says
I absolutely love this DIY Table Top Birthday Sign idea! The step-by-step instructions are super helpful, and I can’t wait to customise them for my upcoming party. Thanks for sharing such a fun and creative project!
click here says
TV Libre ofrece acceso rápido a Televisión Libre. Television Libre facilita ver televisión online con transmisiones estables y sin suscripción.