inside: Learn how to sew an easy DIY laptop sleeve with this simple sewing tutorial. Details for everything you need to sew a laptop sleeve included here.
As I said last week I’m still a bit in denial that school is starting in about 10 days. However, I’m slowly coming to terms with it and making a bit of progress on my preparation. Designing and sewing a DIY laptop sleeve for my high school son is on my list. I made a prototype for myself and that is the version you will see in today’s tutorial. I will not be sending my son to HS with a floral laptop cover {haha}

Sew a laptop sleeve
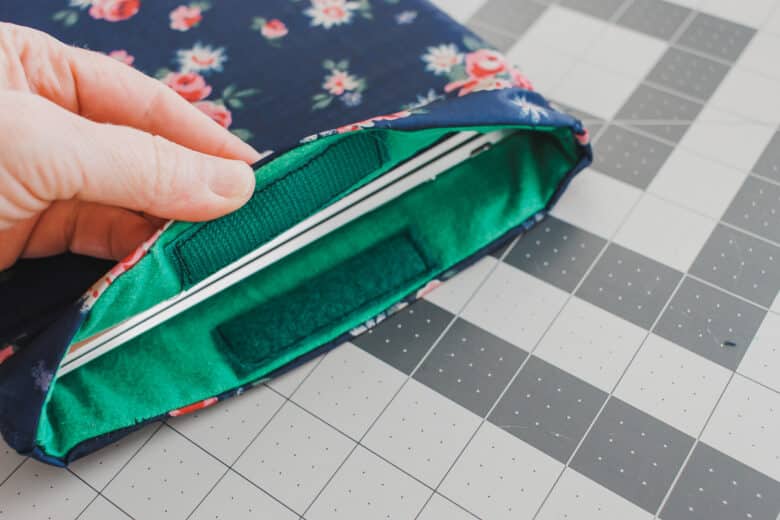
This easy laptop sleeve is padded to keep your device safe, can be made in any size and has a quick velcro closure.
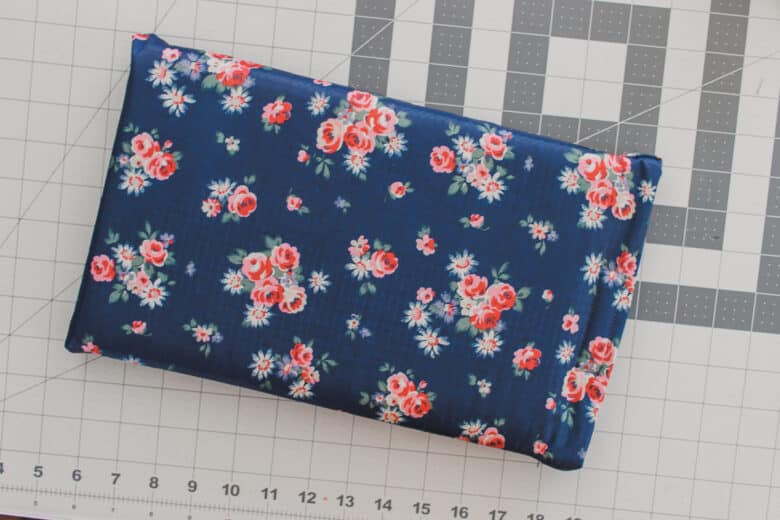

I’m calling this a laptop sleeve, but of course you can make this for any flat electronic device.
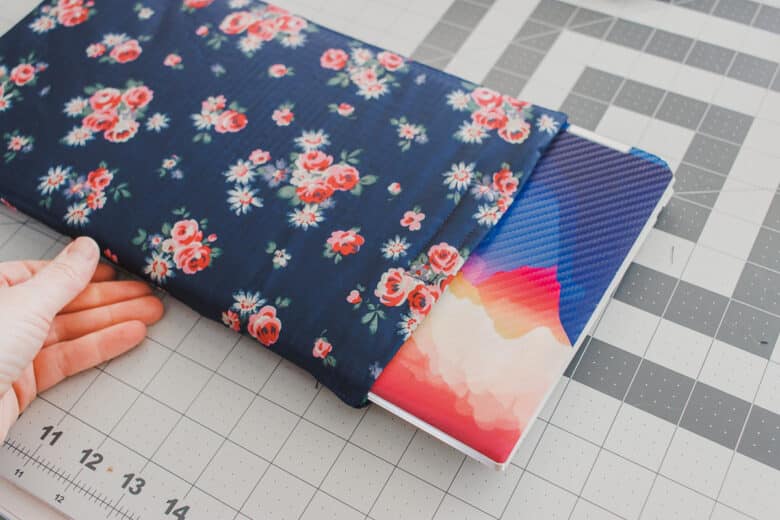
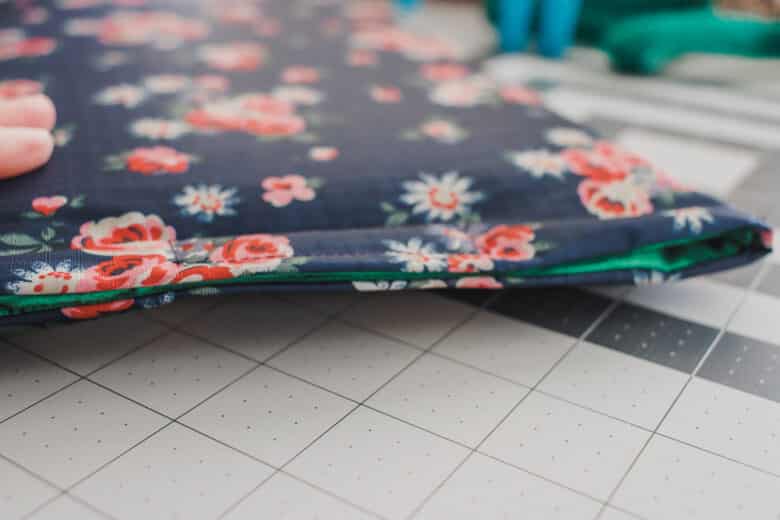
I love this small, slim design of this sleeve. It is perfect for travel and on the go movement with my laptop.


How to make a DIY laptop sleeve
ok! Let’s gather what you need to sew this project for yourself. Here’s what you need:
- Lining fabric {I used a soft flannel for lining}
- Main fabric {I used a coated vinyl from my stash}
- Fusible foam {I used single sided fusible, but single or double is fine}
- Hook and Loop for closure
Let’s start with cutting the fabric. My fabric is cut so the fold is at the bottom of the sleeve. Measure the device you want to cover. Add two inches to the long side. Cut that with the fold on the side. So if your lap top is 14″ wide, add 2″ = 16″, fold the fabric and the long way will be the 16″. Measure the short side of the laptop, 9″ add 2″ = 11″. So my final cut will be 32″ x 11″ {will be folded to be 16″ x 11″}.
Cut the foam 1″ smaller on all sides. 30″ x 9″ {folded in half}
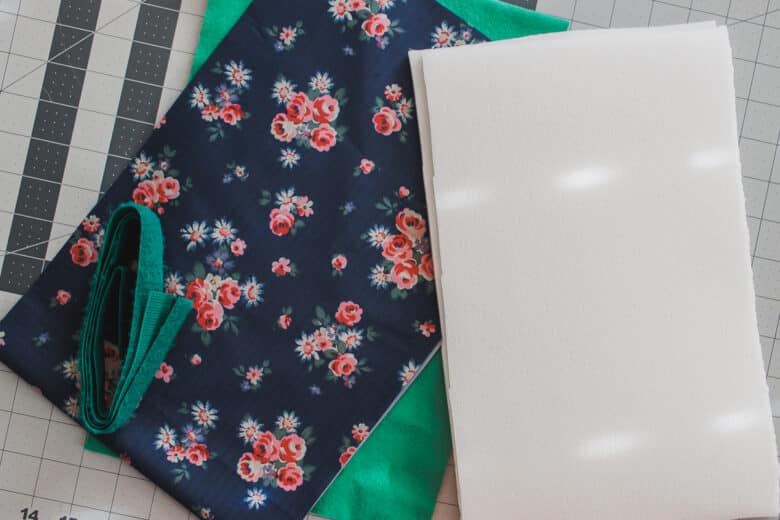
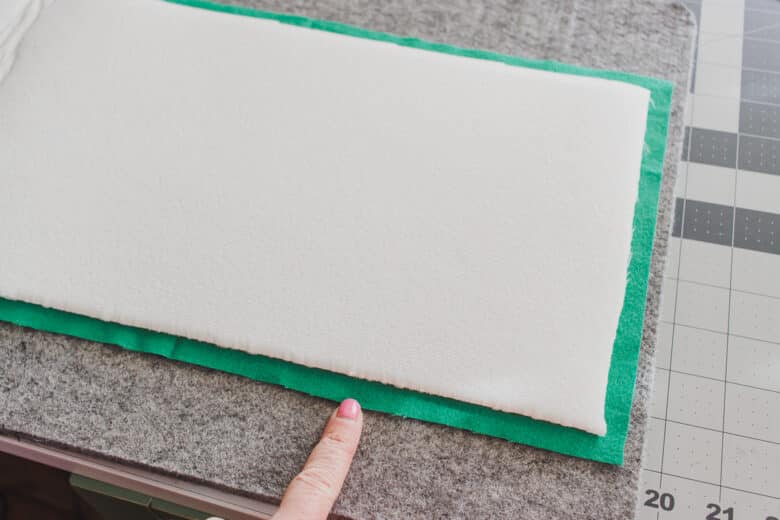
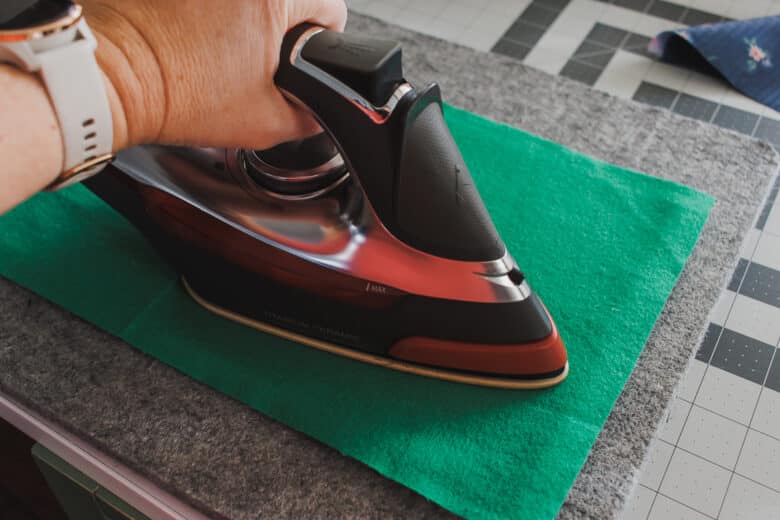
Place the fusible foam on the back of the lining fabric. Center so the fabric extends out evenly on all sides and fuse with an iron.
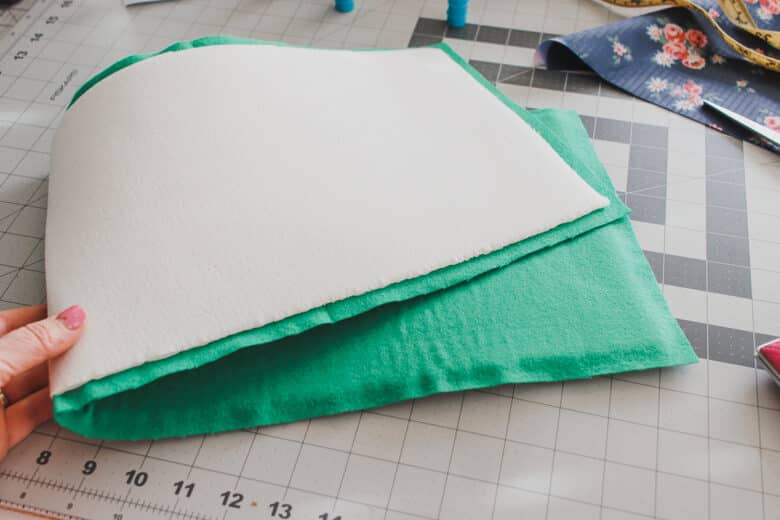
Fold the lining and main fabric in half and pin or clip the sides. On the lining you will leave a 6″ opening on one side for turning later.
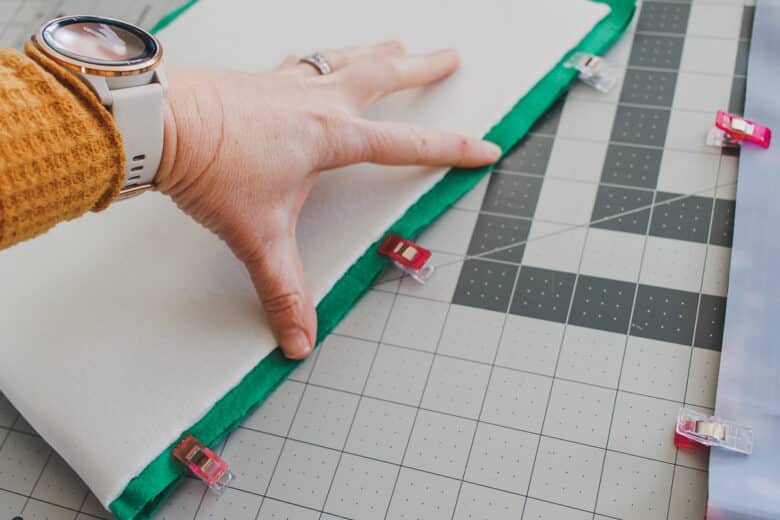
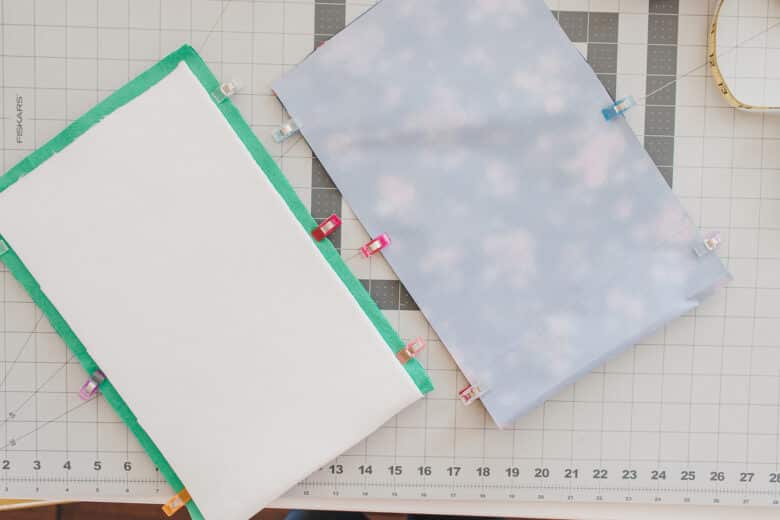
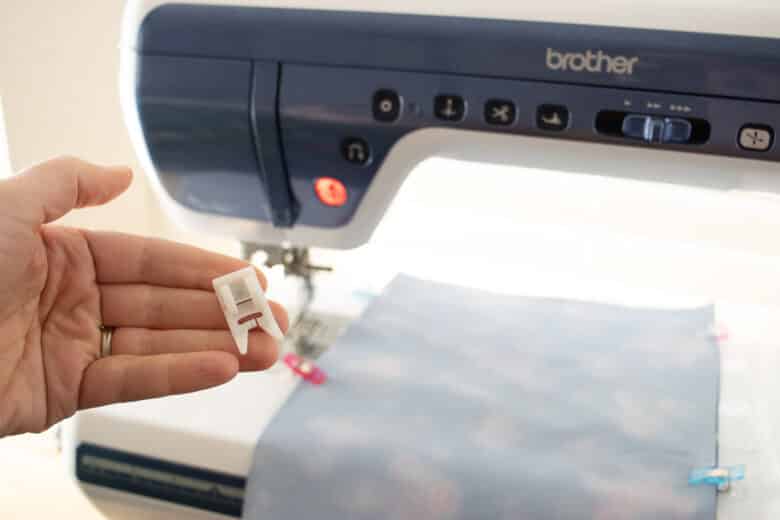
Because the back of my fabric was coated on the back I used a vinyl/non-stick/teflon foot to sew. Sew the sides of the main fabric and lining. On the lining make sure you leave a 6″ opening to turn.
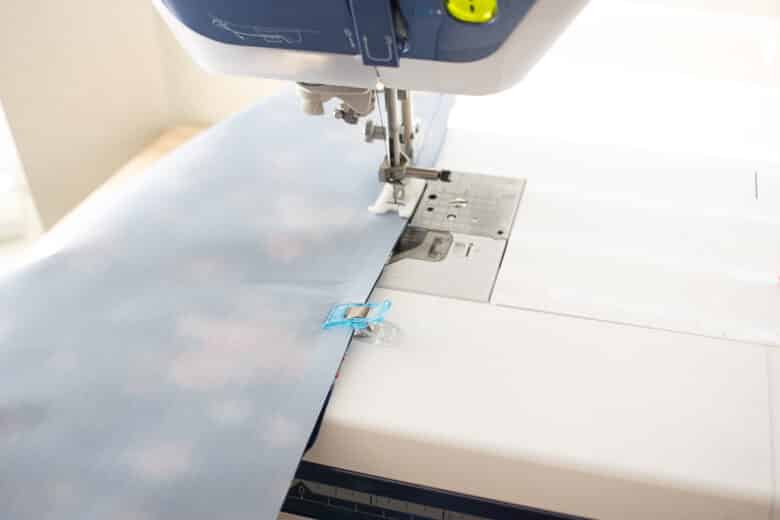
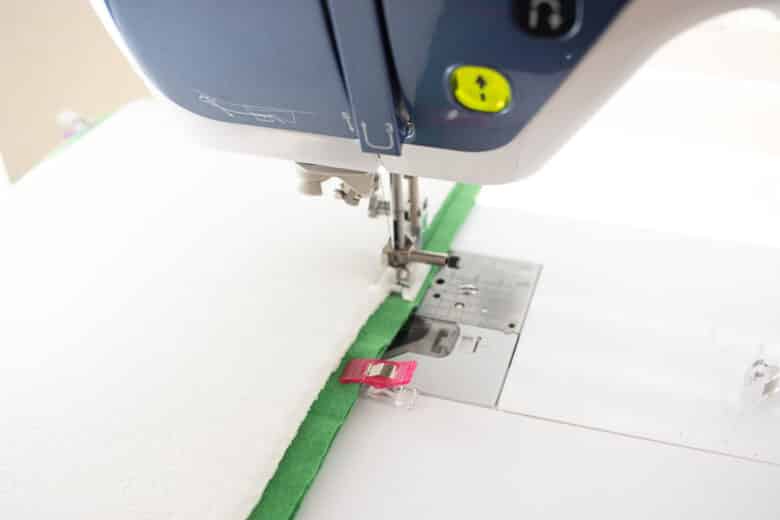
First photo is of my turning opening. Place the main fabric inside the lining with right sides together. Line up the side seams and pin or clip around the top.
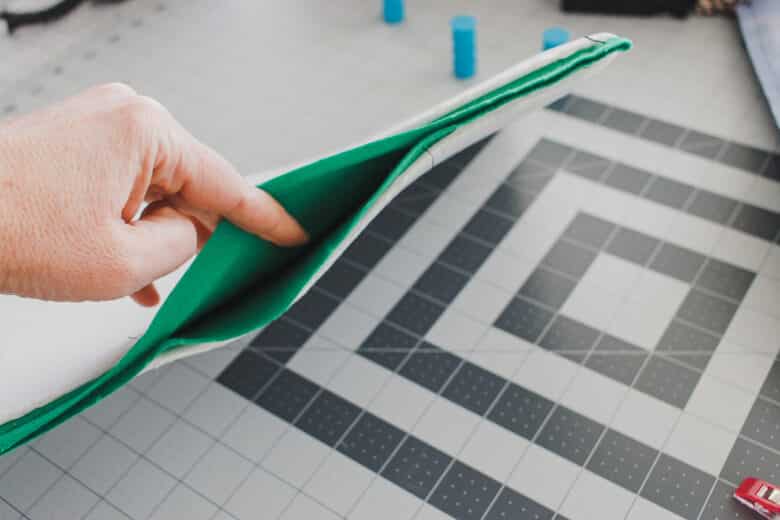
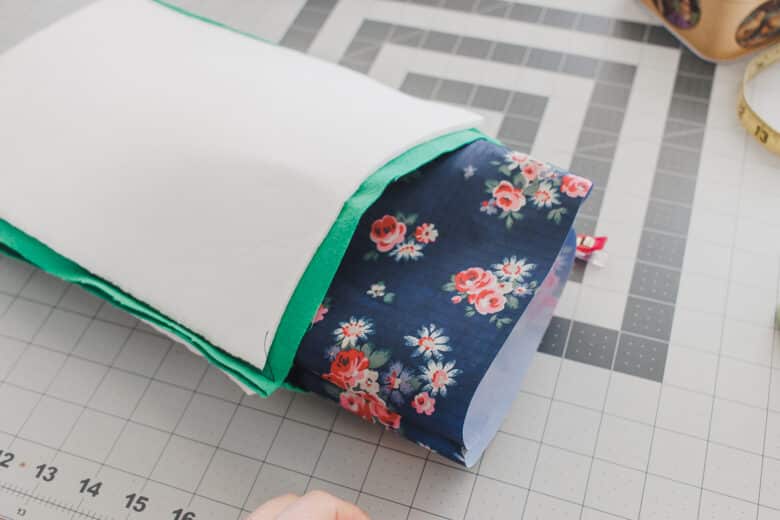
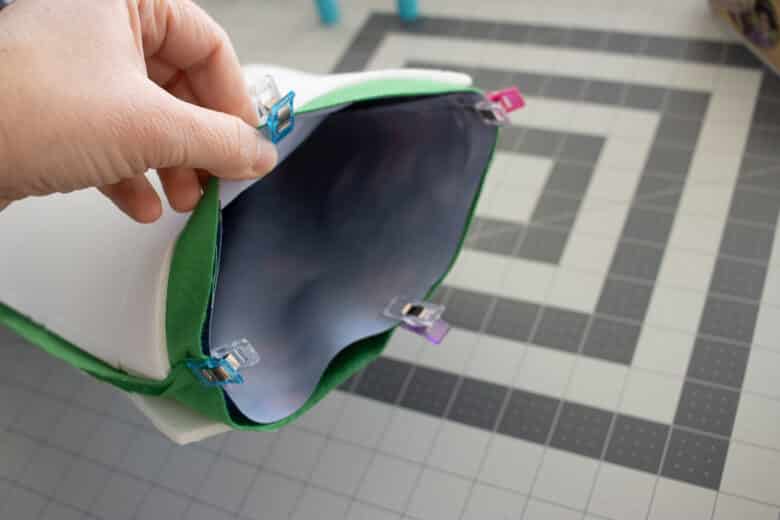
Sew around the top of the sleeve. Then, pull the main fabric out through the opening.
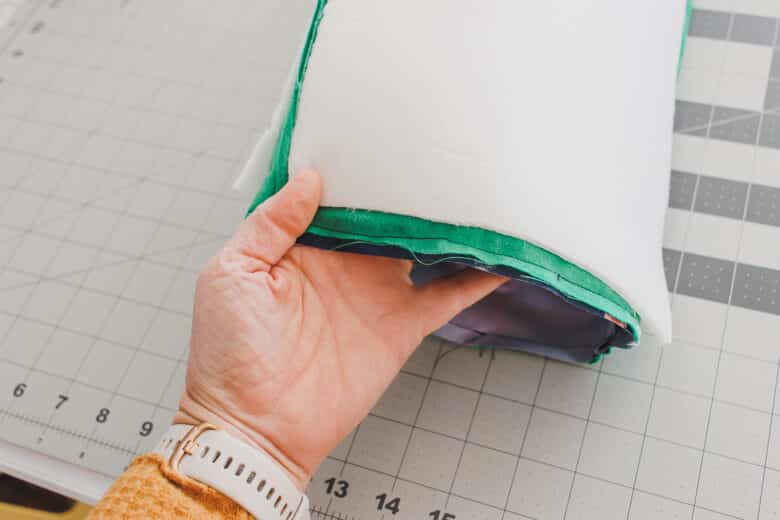
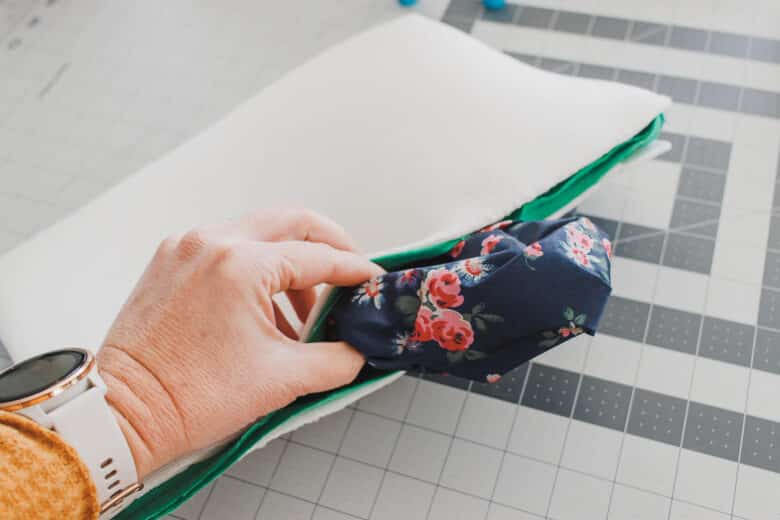
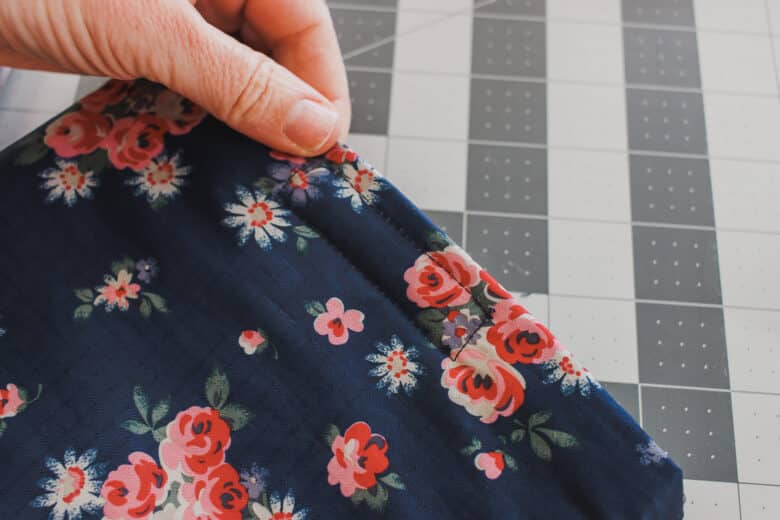
With the right side of the lining facing you, fold the seam allowance of the turning hole inside. Pin or clip, then sew this opening closed.

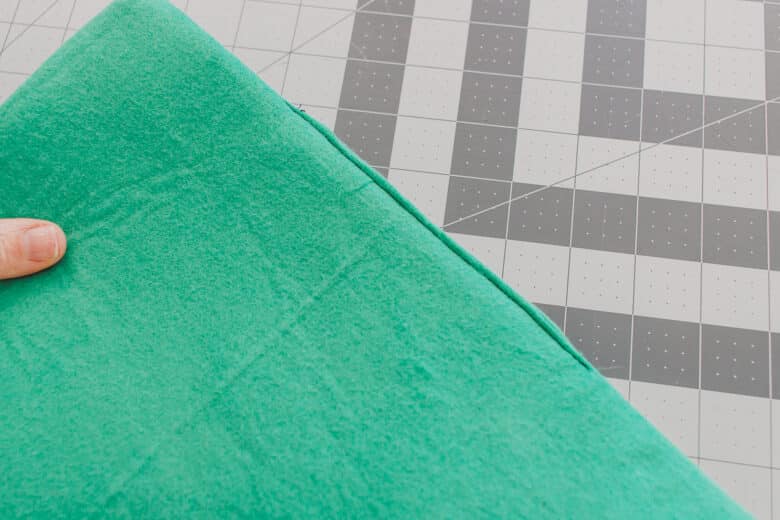
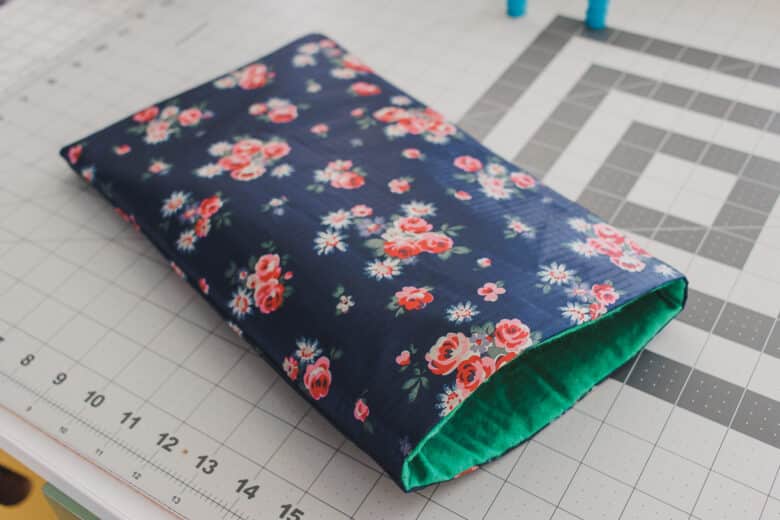
Tuck the lining fabric inside the main and poke out the bottom corners. Slide your device inside to check the fit.
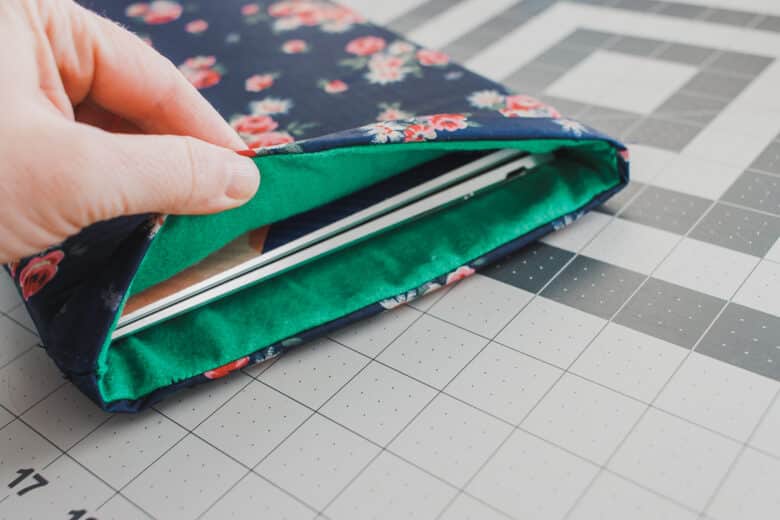
Pin or clip a 3″ piece of velcroto the center of the top edge.

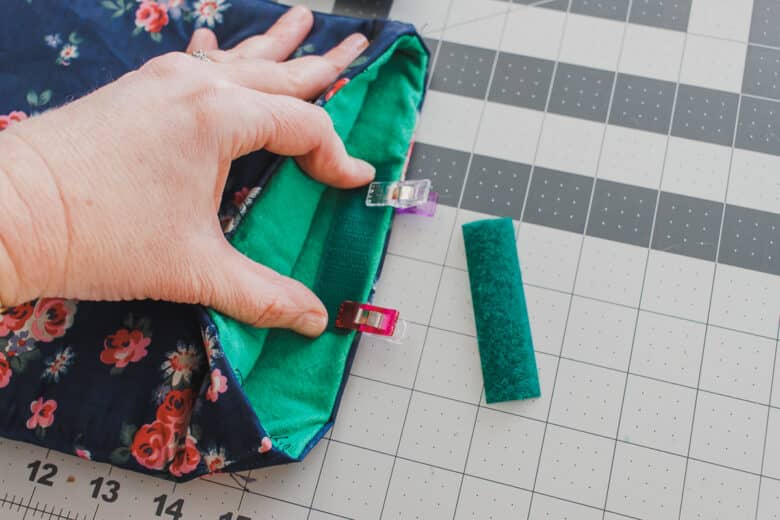
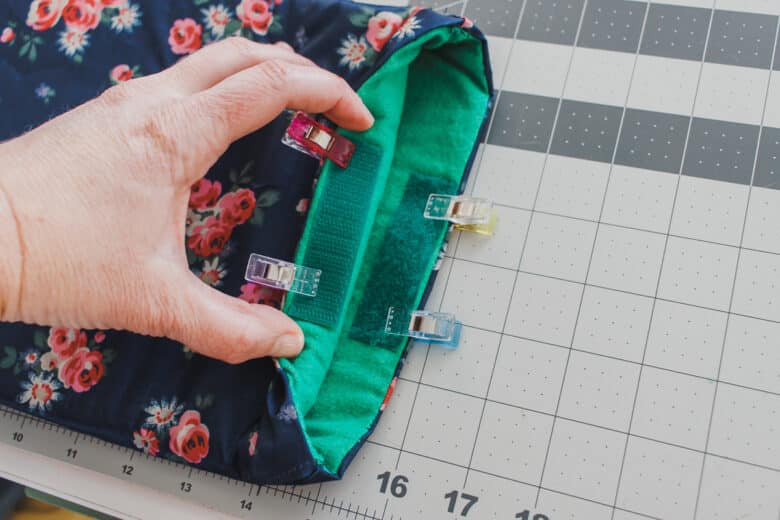
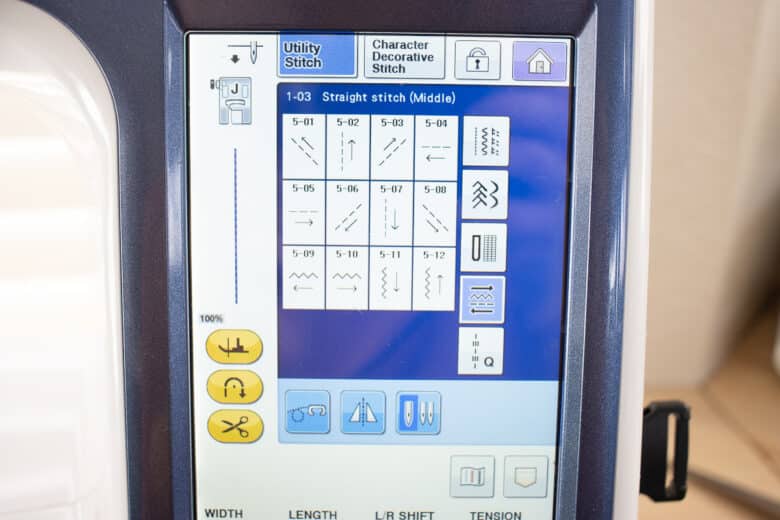
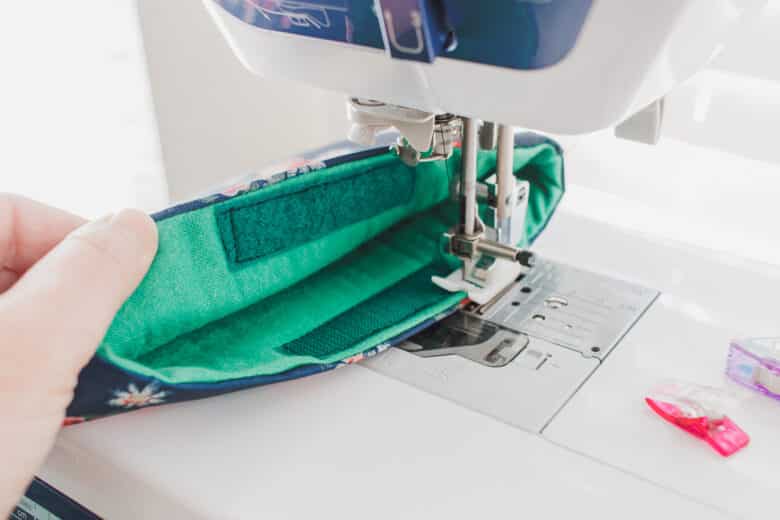
I used directional sewing on my machine to make this sewing easy, but you can also just use forward and backwards to sew in the velcro.
Now your case is finished and you can use and enjoy!! Show off your makes in our FB group or tag my on socials @lifesewsavory


Leave a Reply