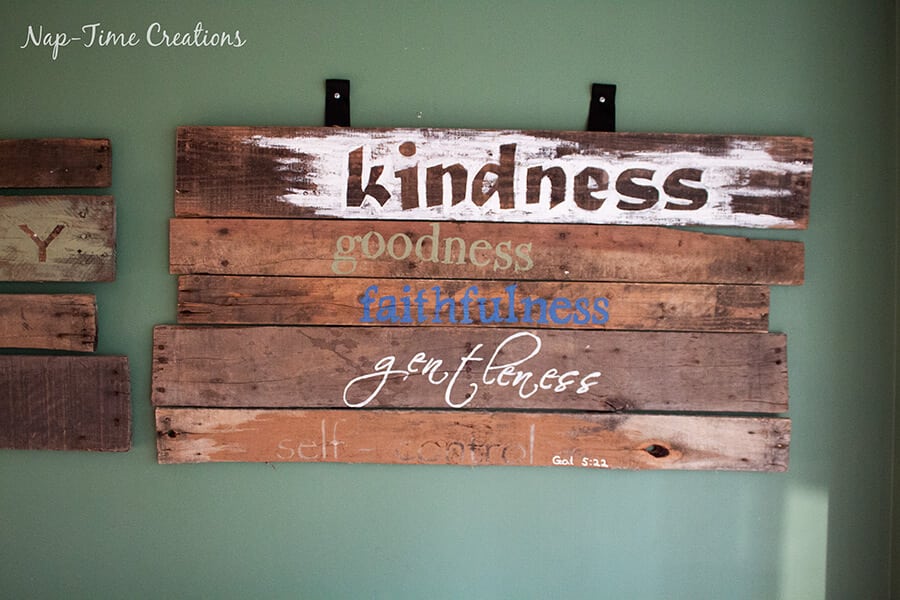
Hi all! Today my sister Ellen is going to share a fabulous DIY Pallet Sign project that you can adapt to suit your needs. I love the Fruits of the Spirit that she made, but you could put any words you wanted on the pallets. Here’s the fabulous sign that she made and the tutorial is below. Take it away Ellen! You can find out a bit more about Ellen on my contributor page.

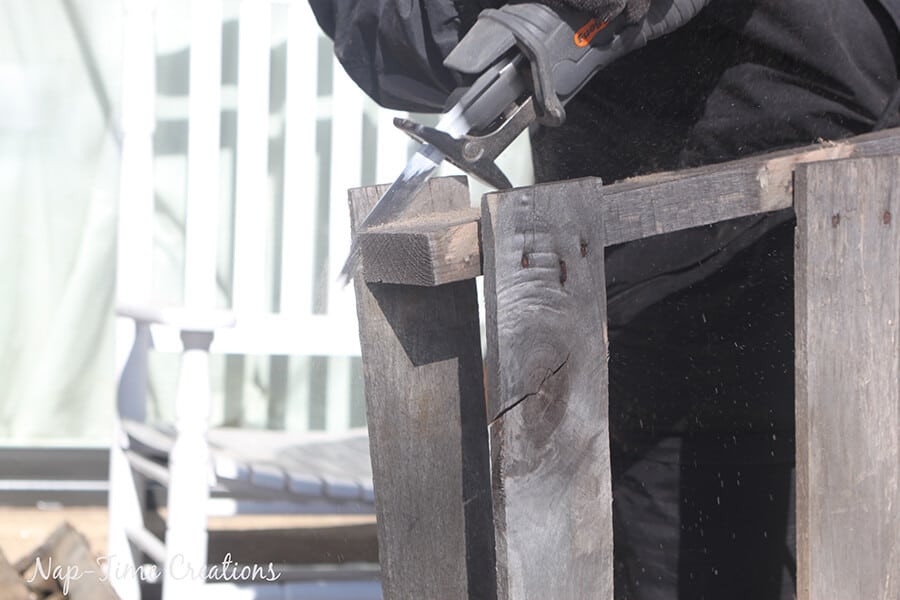
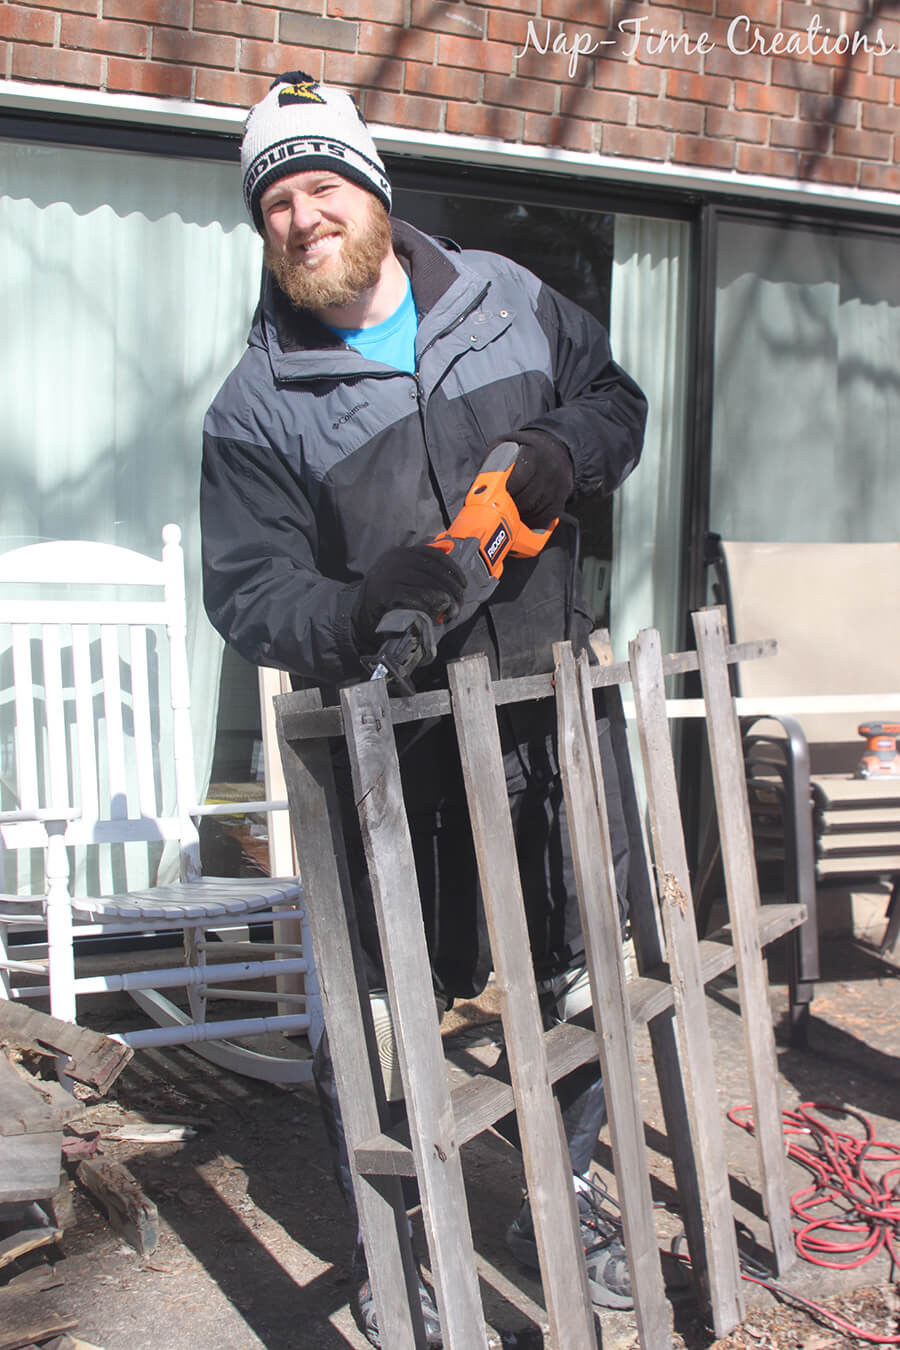
- find a handsome man (my husband) to cut the pallets apart. I tore a few a part with a hammer, but using the saws all seemed to be the quickest and best way to disassemble all the pallets.

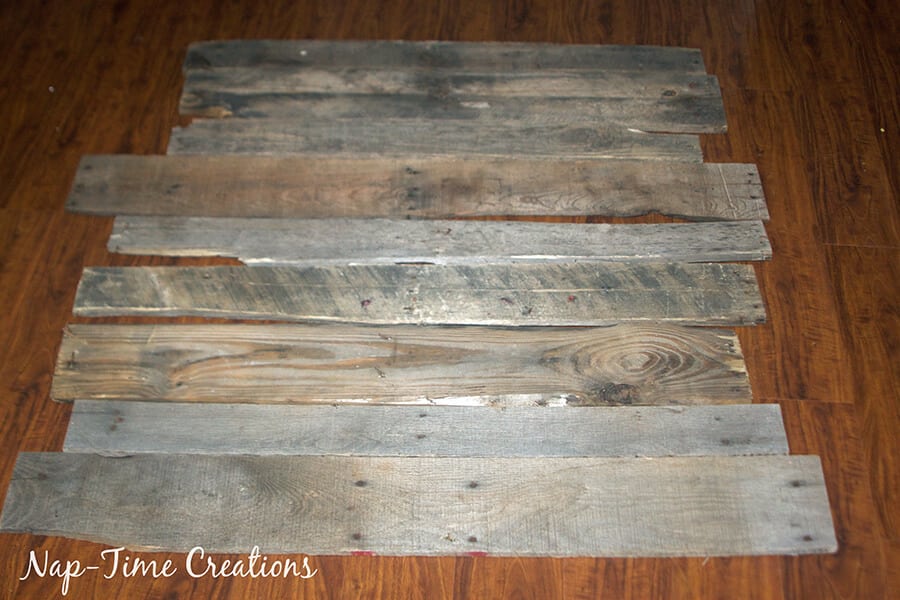
2. Then I hand picked the boards I wanted to use and laid them out together to eye them up.
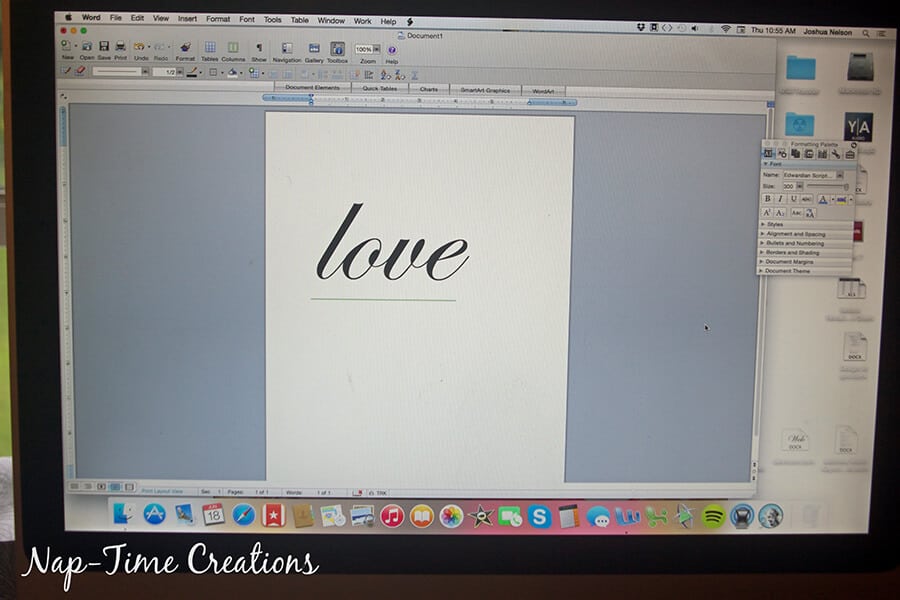
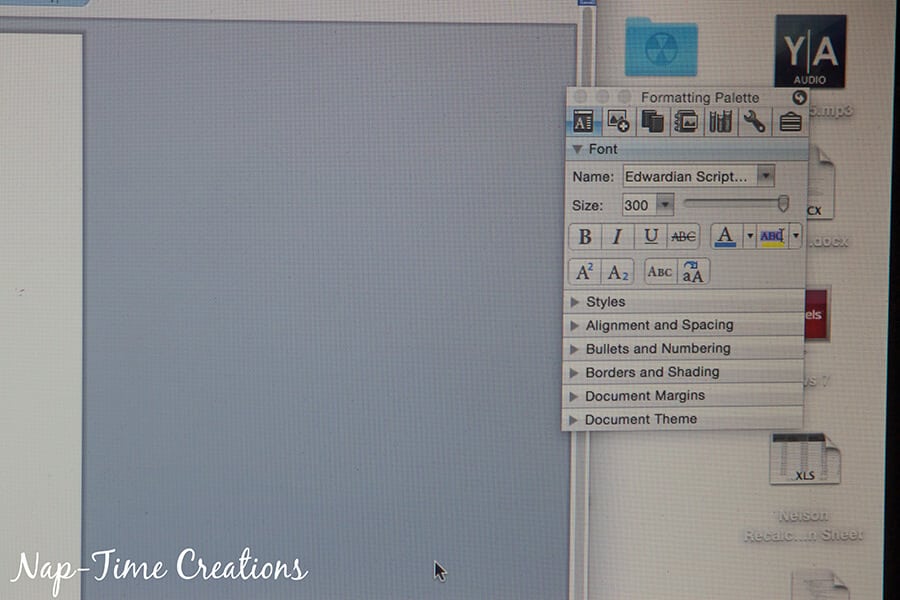
3. I knew I wanted to do the fruits of the spirit. Such a powerful verse and a good reminder to have on the house wall to see everyday. So then I picked a different font for every board, alternating the colors: green, tan, blue and white. {you can use any text you want with this technique}
4. The boards varied in width, so my sizing on the fonts had to vary as well. sometimes I did 350 size, and others was 200. Also, depending on what font you pick you will need to adjust the size. a few of these I printed, but then had to adjust and print again. Play with it and figure out what works best for your boards.
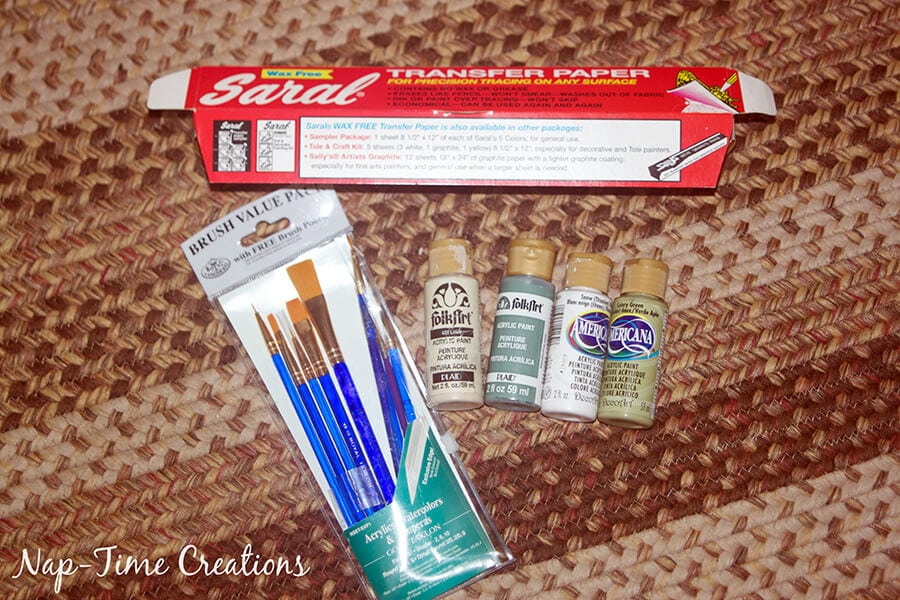
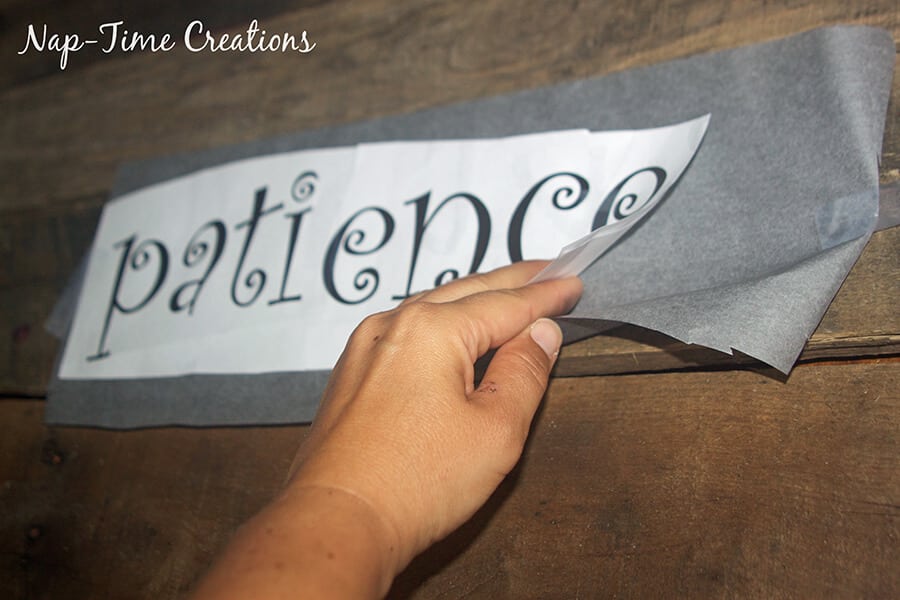
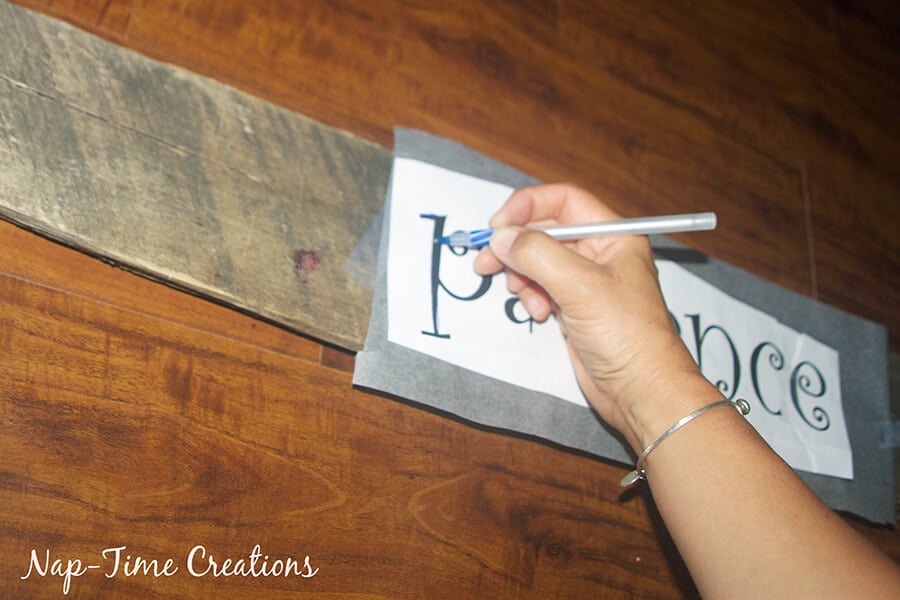
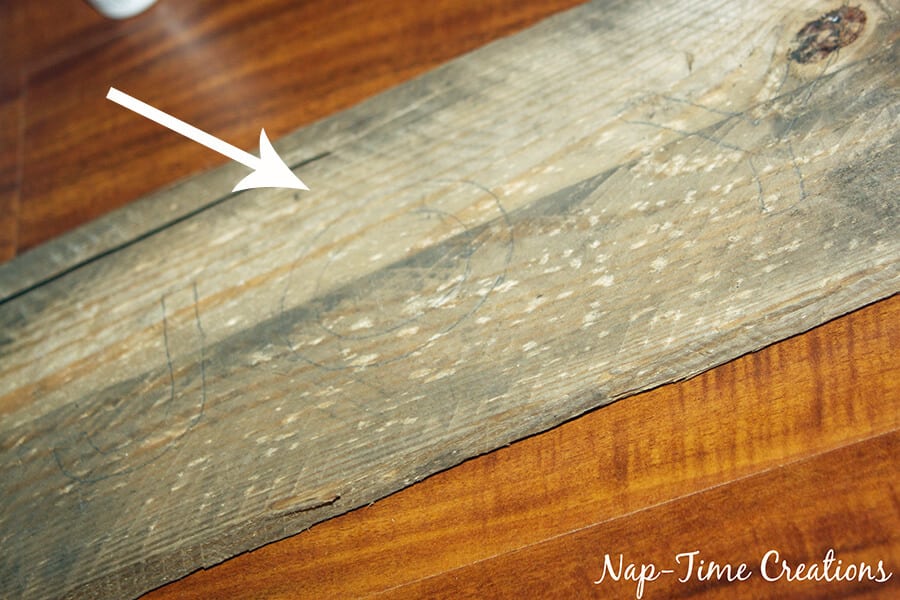
5. Once printed (the longer words printed on multiple pages because of the size) I cut the paper down and taped the pages together making one long word. Then I put the word on the board on top of the transfer paper. I traced around each letter so when I removed the word, I could see a faint outline of the word I wanted to paint. I used Saral transfer paper from Joann fabrics. I like this one because it is a gray color, so you don’t see any traces of it after you paint as its a very similar color to the boards. I also got my paint and brushes from JoAnn. You can also order the paper from Amazon {affiliate link}
6. Some of the boards I painted inside the letters and some I traced and painted the actual board and not the letter. You can do whatever you like best, I liked the way they both looked and the variety of them together.
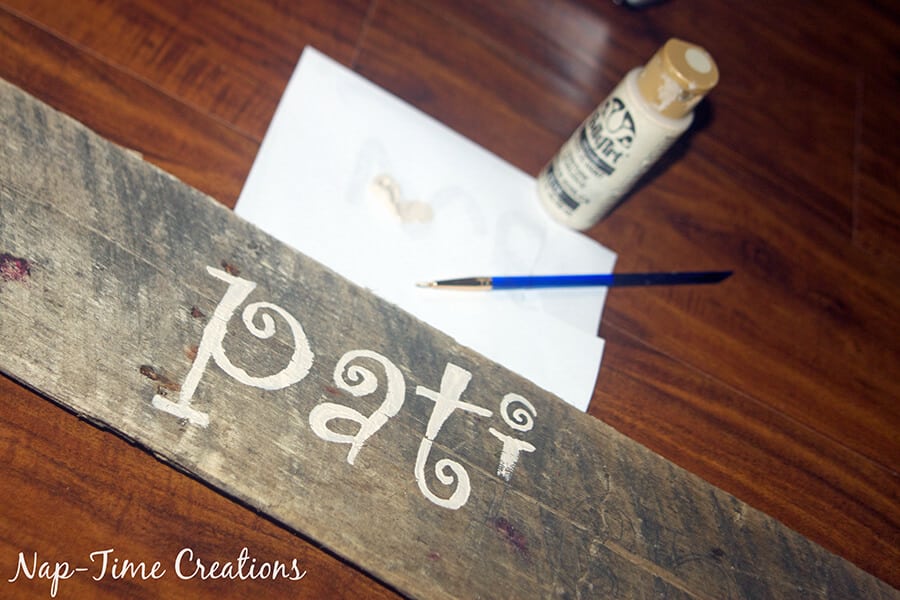
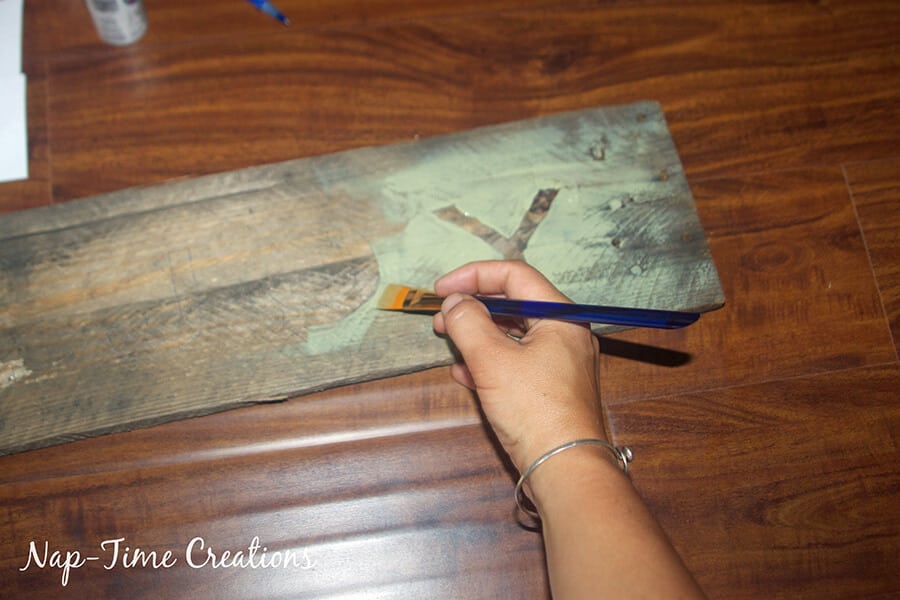
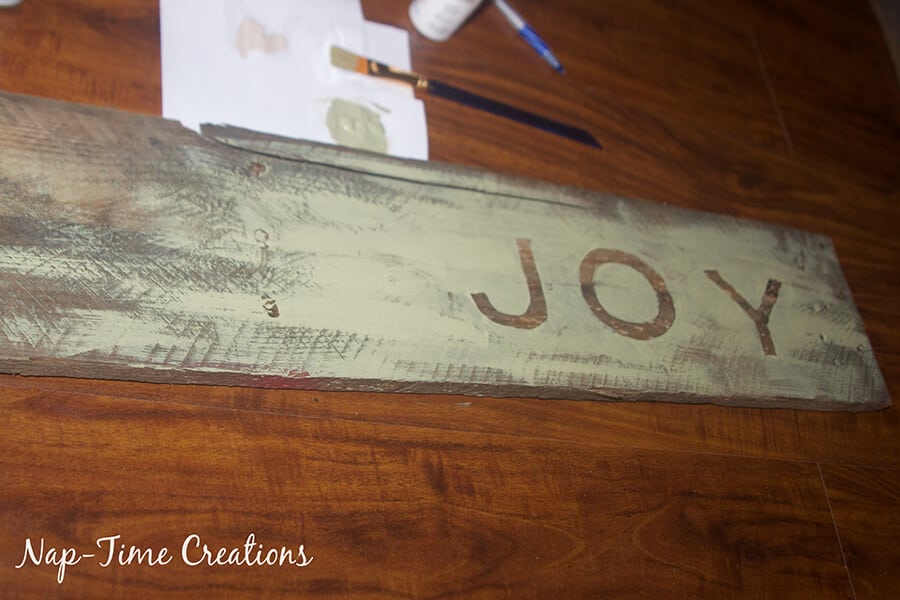
7. Each time I finished a board I looked at the original board layout to make sure it was still looking like I wanted it to. Then, when the last board was completed, I made sure they were all dry because hanging on the wall. with the help of my husband we screwed each board into the wall in the already made nail holes.
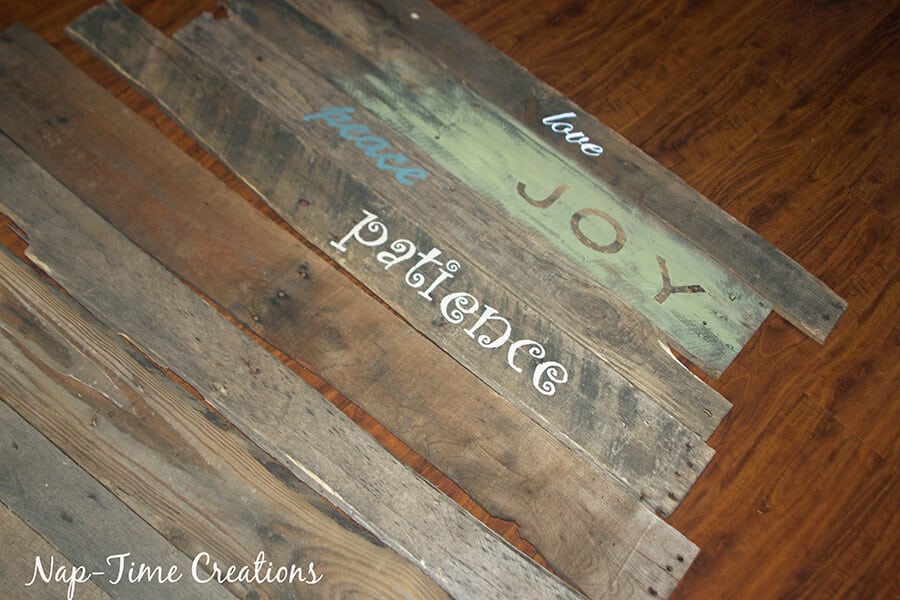
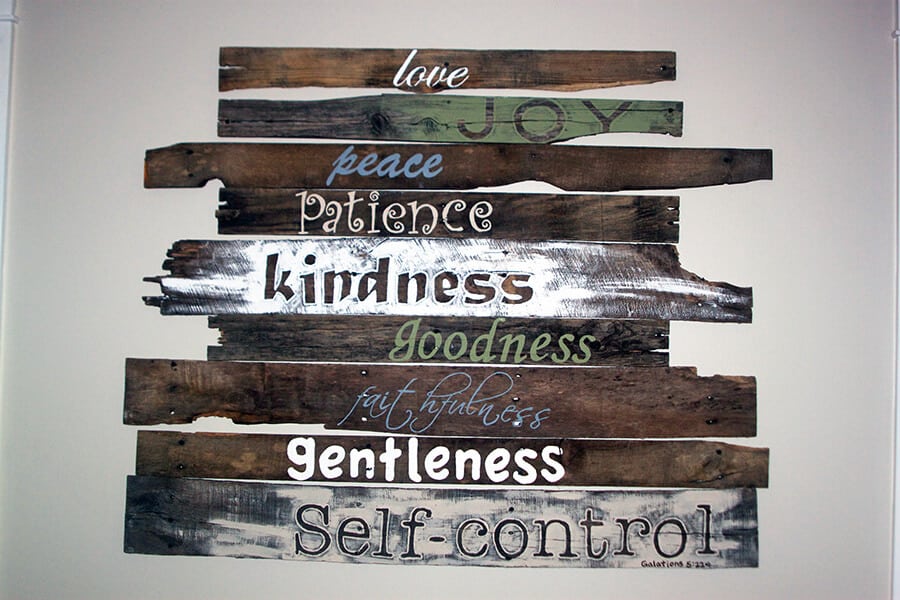
so happy with how it turned out and love seeing it every day.
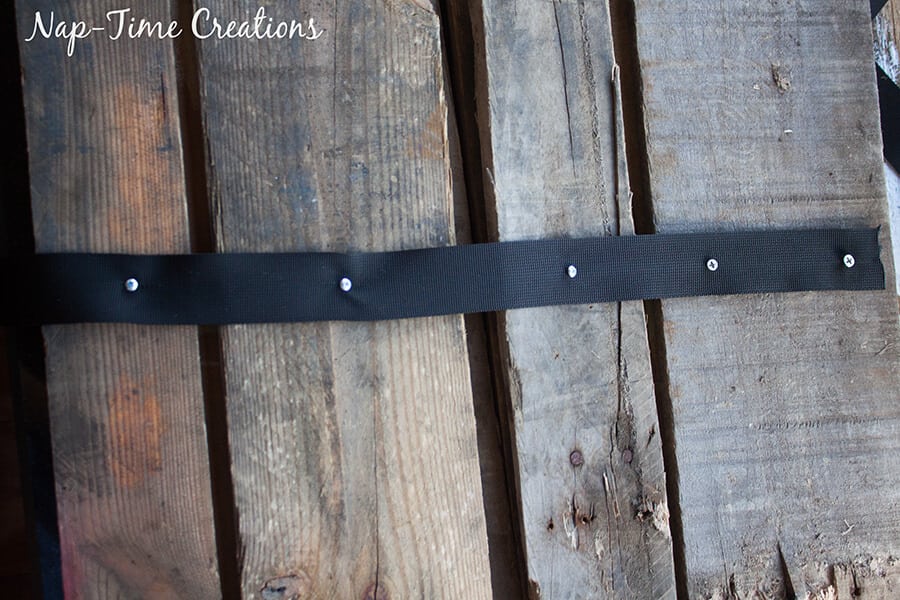
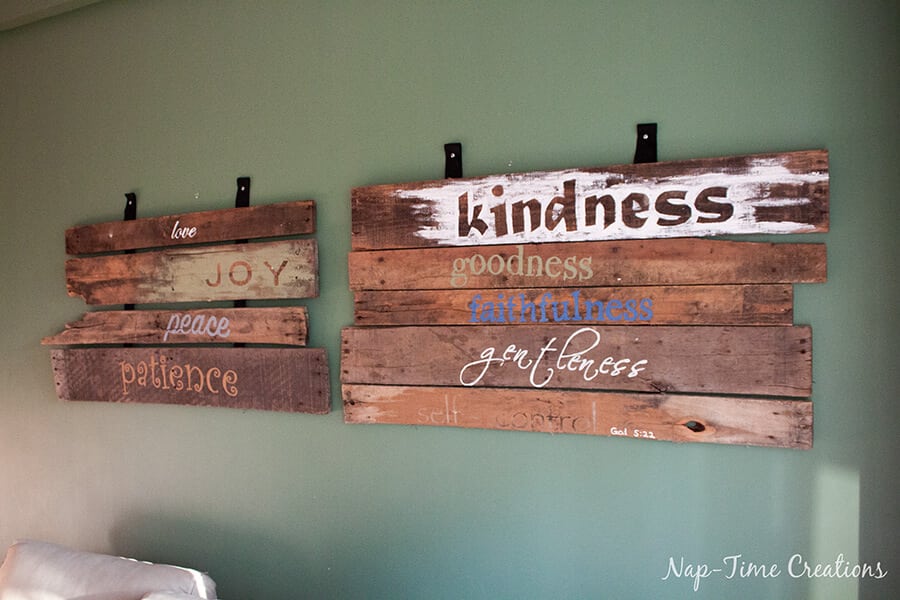
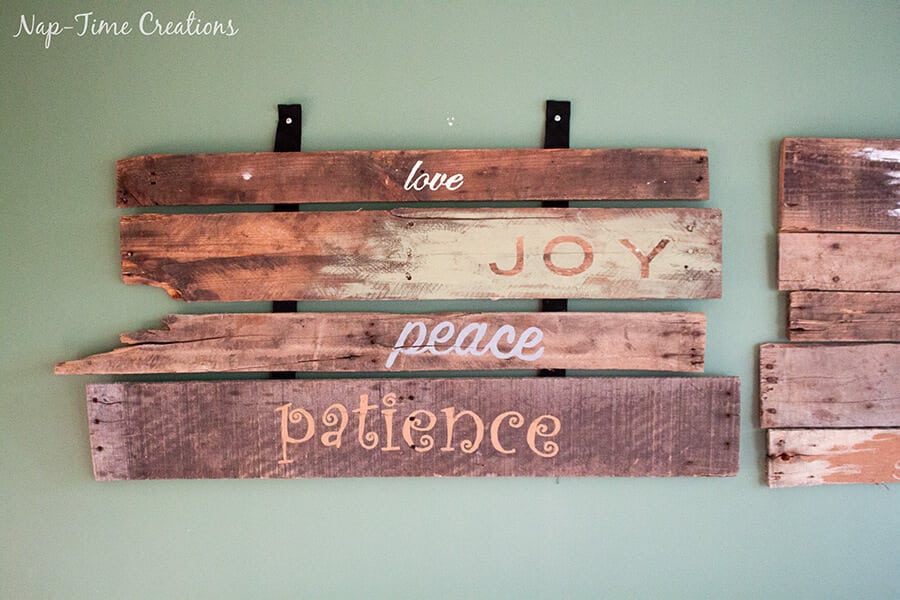
Note from Emily… We have cement walls in our apartment, so when my sister gifted me with this sign I attached straps to the back of the boards and then we were able to hang in two rows with only two screws holding each set. Just another option for hanging.





Audra @ Renewed Projects says
Love this! And great tutorial on the lettering.
Pamela Smith says
I love it! What a great way to use pallet boards. I like how you did each work a little differently. Thanks for sharing!
Jeanne Grunert says
Why do I always see these cute craft ideas when we don’t have pallets around? I love it! Thanks for sharing it. Bookmarking and pinning it for my next craft project. Visiting from the #HomeMattersParty
Marjan says
Just love the designs, want to try this myself.
Lori says
This is so precious! Love pallet art! Would love for you to share this at our link party! http://www.thestonybrookhouse.com/2016/01/table-it-link-party-81.html
Blessings!
Lori
35p0xr says
Seampclaice
6eycegnepsbjonhmqh
Jeremy says
Hi emily ! 👍 From France ! I like your energy , keep that up 🤩