
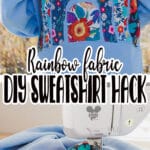

Inside: learn how to make a DIY rainbow sweatshirt. Add a fun rainbow fabric design to the back of of a sweatshirt with this fun sweatshirt sewing hack.
I saw a sweatshirt like this for adults advertised on social media and I knew I had to make one for Rose. I ordered the sweatshirt and a bundle of fat quarters from Amazon and in a few hours I had this beauty! It turned out so well, and it a very easy sewing project.

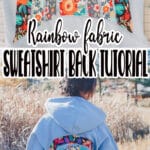
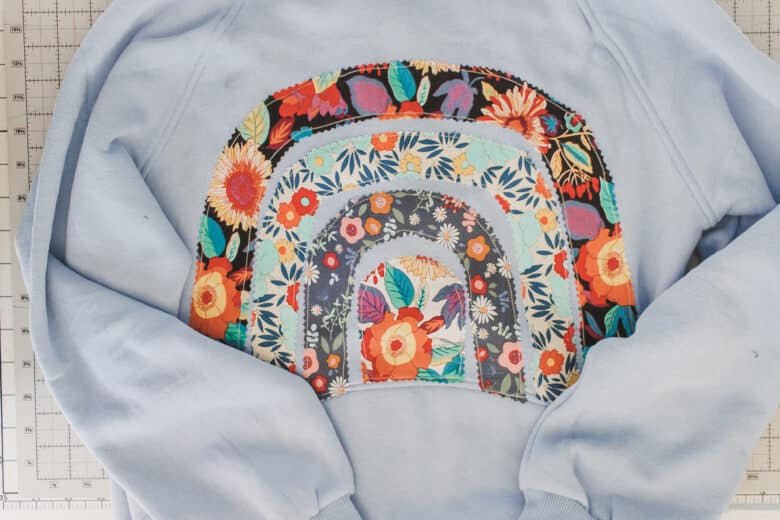
Rainbow back sweatshirt tutorial
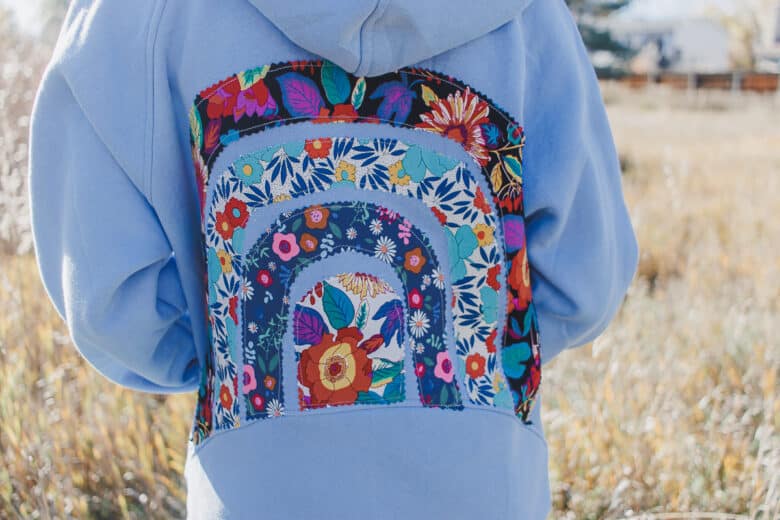
How cute did this sweatshirt turn out? The more crazy the fabric print, the better I think this sweatshirt turned out. This tutorial will show you how to add a fabric rainbow to the back of any sweatshirt. You can sew your sweatshirt from scratch, or buy one like I did.

I’ll explain the full process below, but this is really a simple sewing tutorial. You could probably make it no-sew with a super strong fusible. I used a very light web to just hold the rainbow in place while I sewed it down.

Rose loved this sweatshirt before I added the fabric to the back, but she really loves the after! The bright and beautiful back adds a great pop of color to this shirt. Choose bright and bold prints that coordinate with the color theme of your shirt, then enjoy!!


Other fun sewing hacks
Do you love sewing hacks as much as I do? Here are a few others to try-
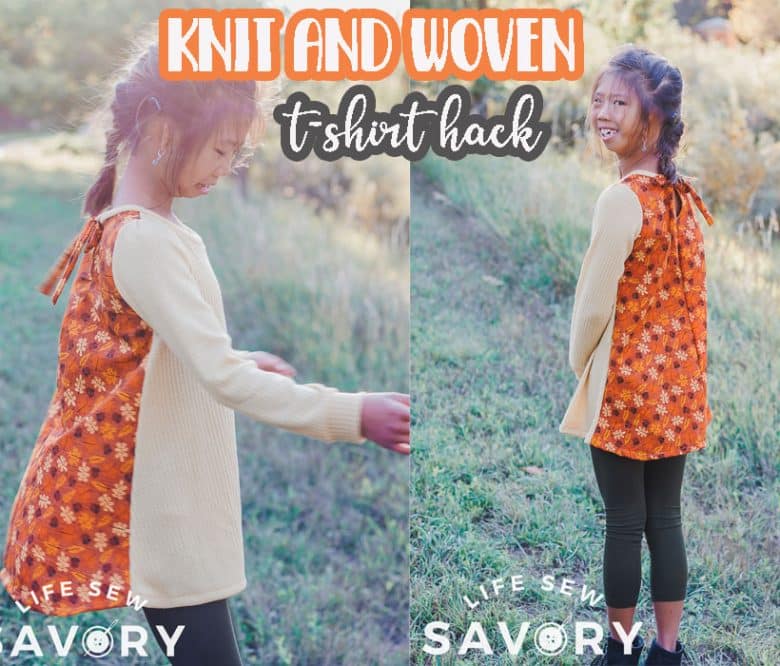
- Woven fabric back on a t-shirt
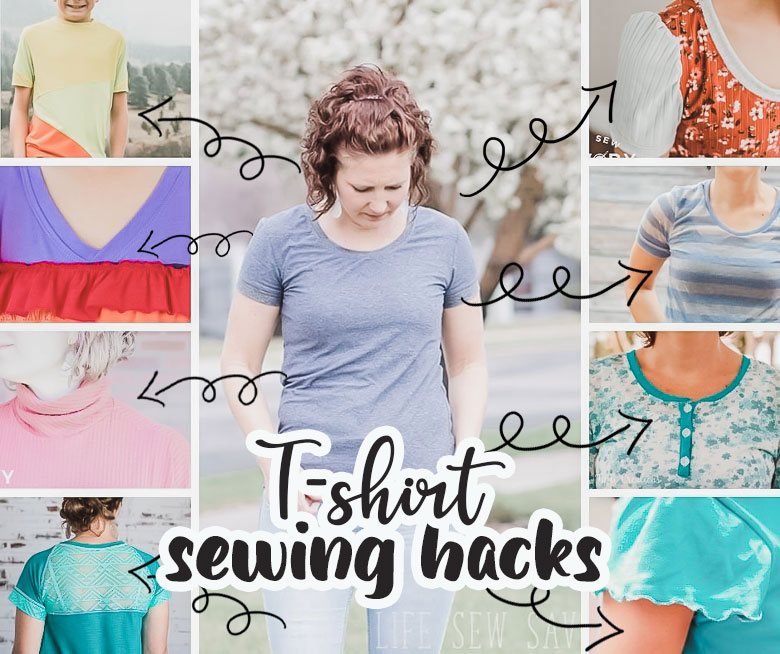
- A HUGE list of t-shirt hacks
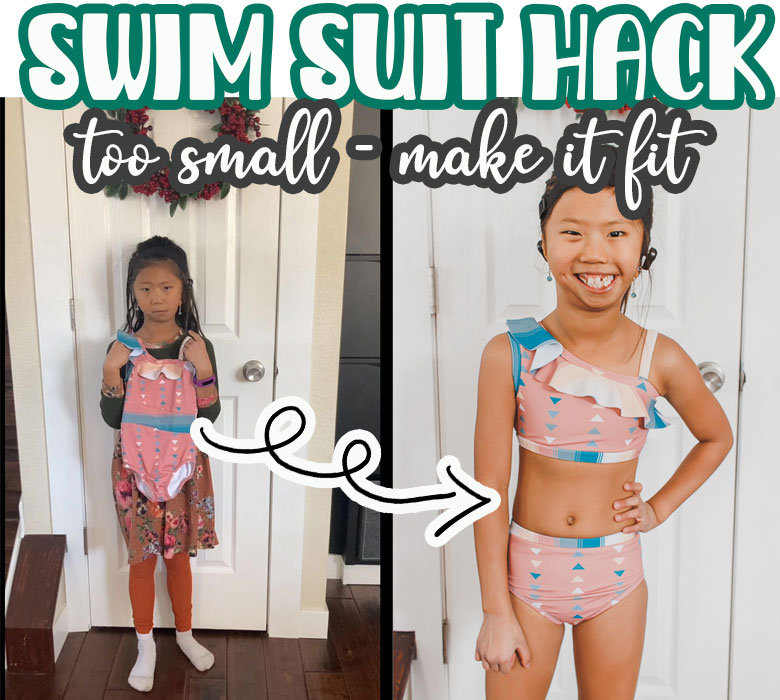
- One piece suit to two piece suit
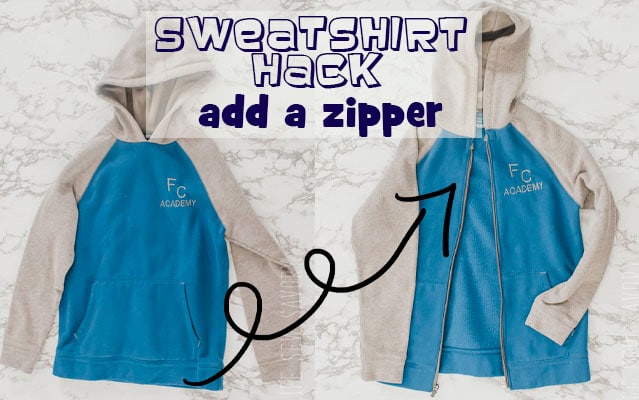
- Add a zipper to a sweatshirt
How to sew a rainbow back sweatshirt
ok! let’s get started… here’s what you need to make this project.
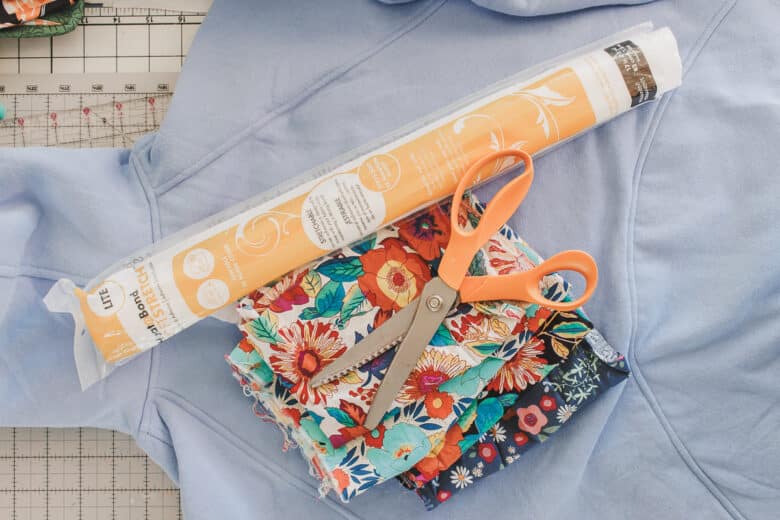
Supplies for the rainbow back sweatshirt:
- Sweatshirt
- Fat Square pack – this pack comes in many different designs
- lightweight double sided fusible interfacing
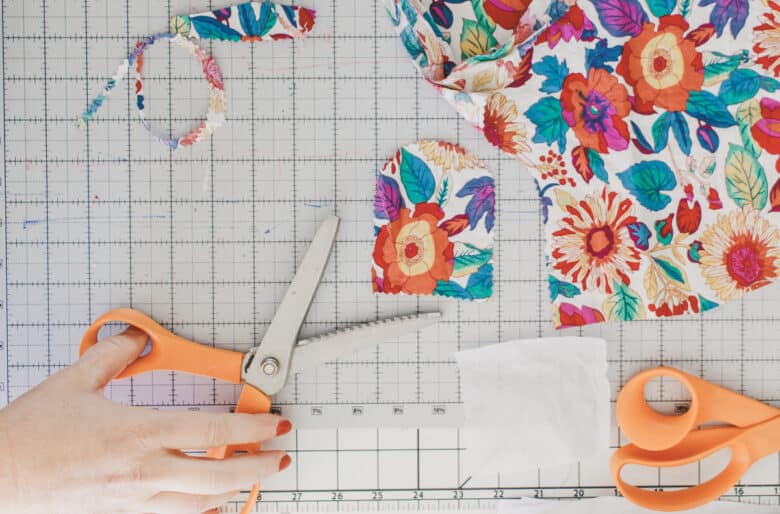
- Pinking shears
Gather your supplies to create this look. I pre-washed the sweatshirt AND the cotton fabric. The fusible I choose was very light, just enough to hold the fabric in place while I sewed it down, but not add bulk to the back.
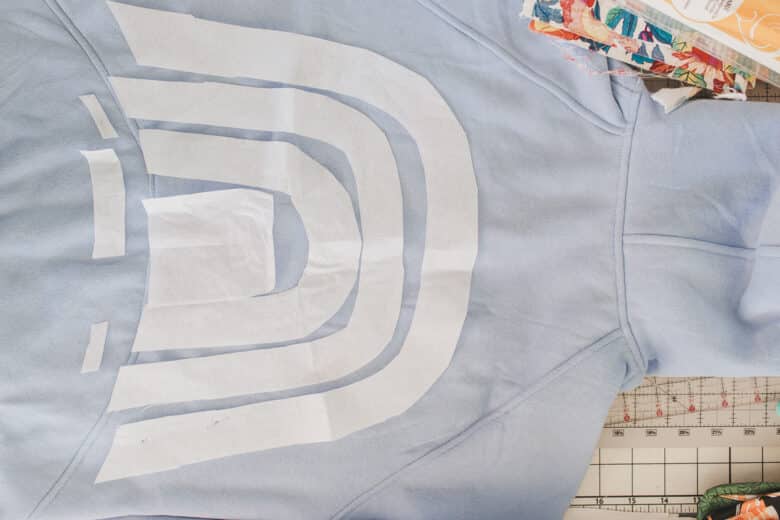
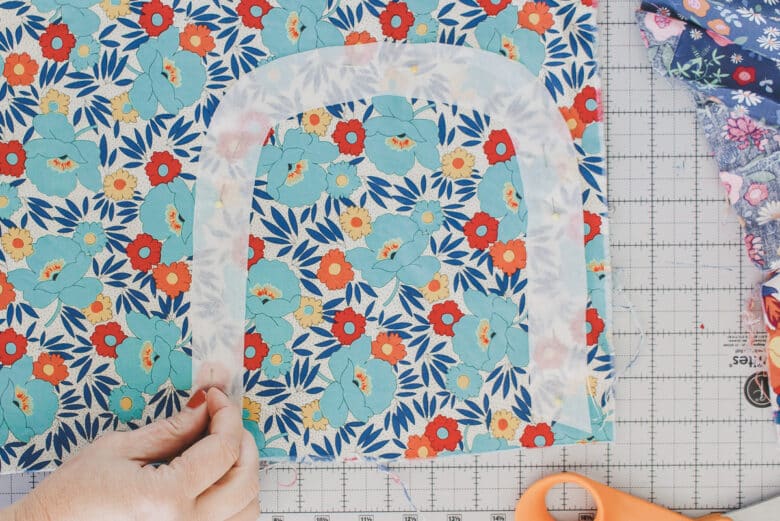
Use a piece of tissue paper to create a rainbow design. The back of my shirt had a curved waistband, but if your is just a regular waistband straight one, you would create the rainbow design off that line.
Give your self some extra length when you cut the fabric so you can adjust the rainbow as needed when finalizing the design.
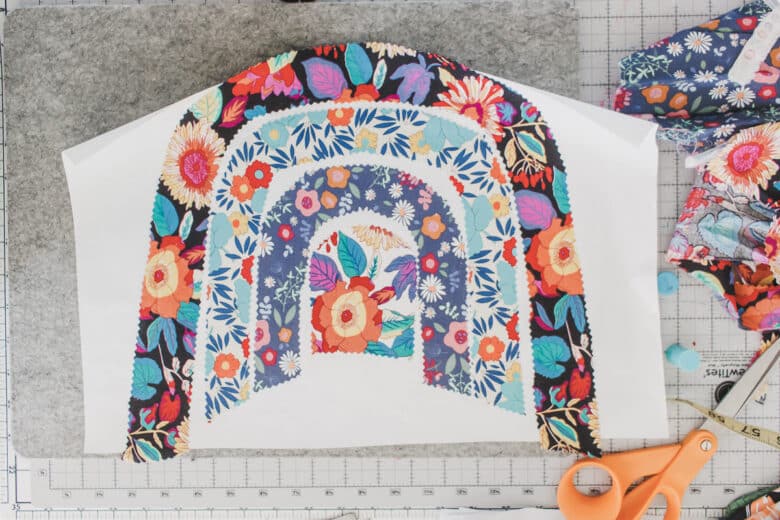
Arrange the fabric in the order you want it to be, then cut each layer with your pinking shears. This type of scissors will minimize the fray when you wash.
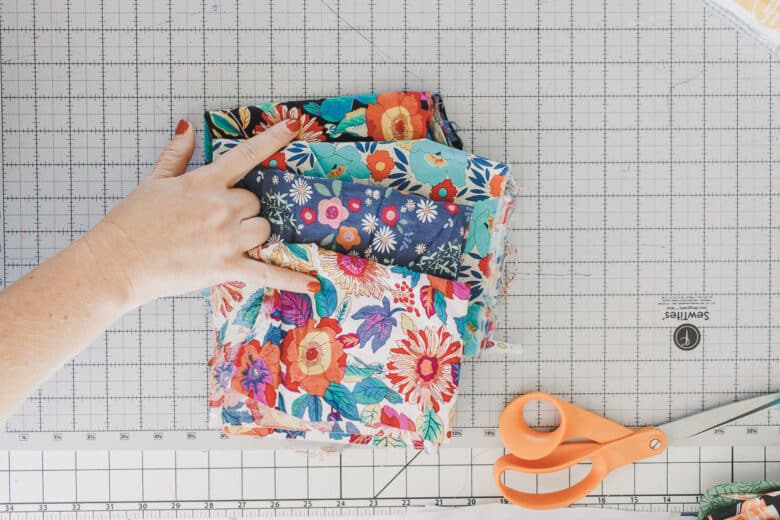
Cut all the layers of the rainbow, do not worry about the exact length right now of the “bows” you can always trim later.
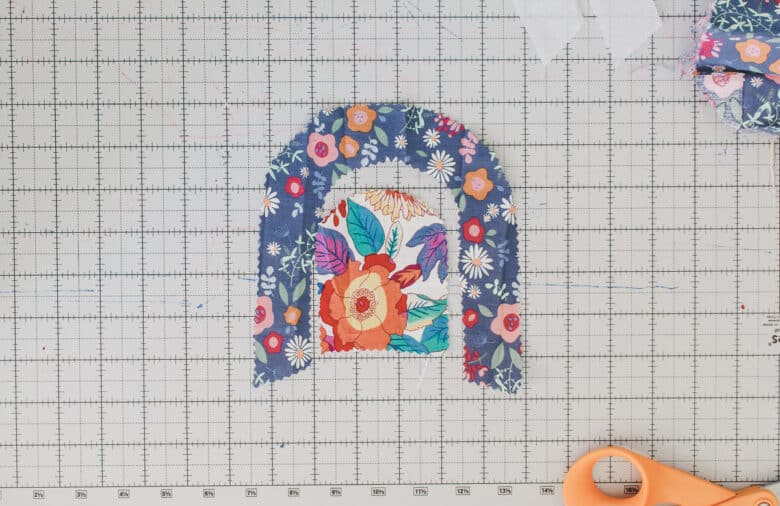
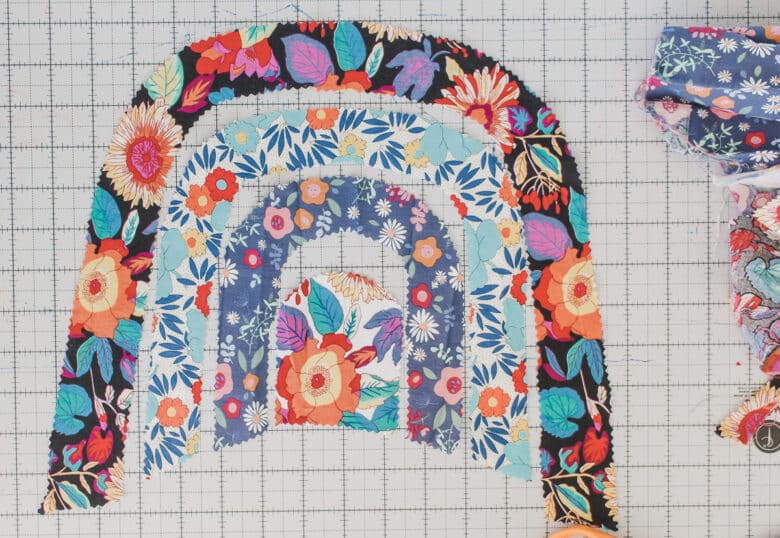
When you have it all cut out make sure you like the way it all lays together. You can still trim later as needed.
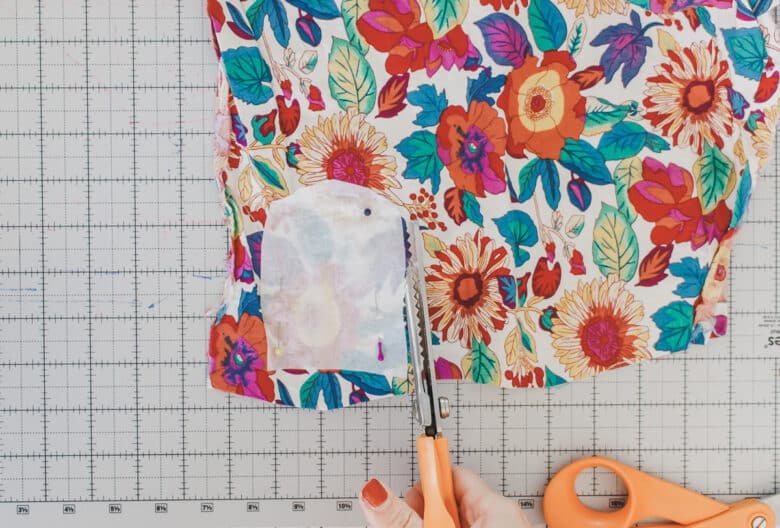
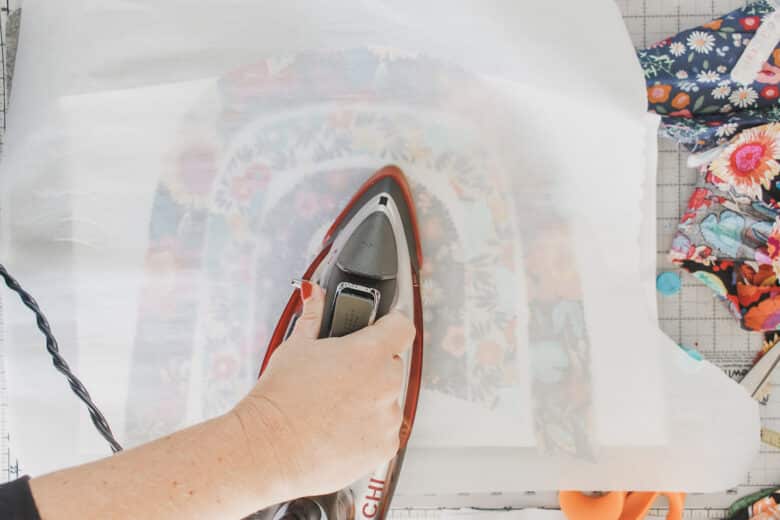
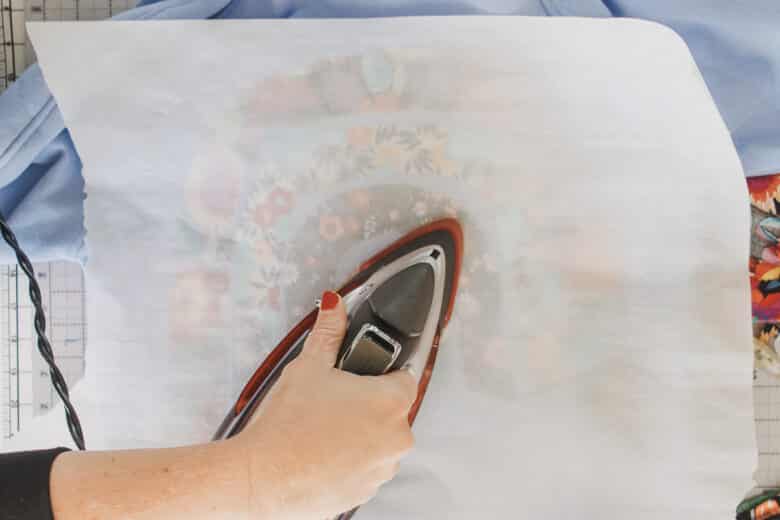
Place your fusible with the paper side down and the web side up, place the rainbow on top of the fusible, then top with parchment paper and press. Iron until the fabric is fused fully.
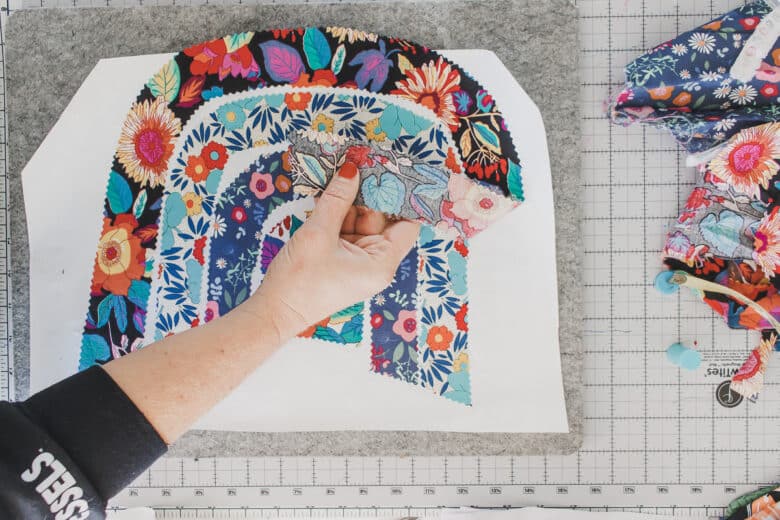
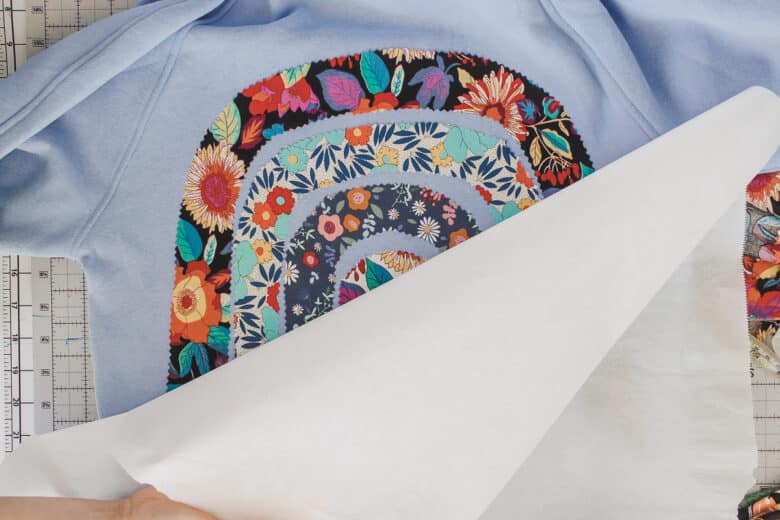
Peel the fabric off the paper backing, make sure the fusible web comes off with the fabric. Place the fabric rainbow on the sweatshirt and arrange and trim fabric as needed.
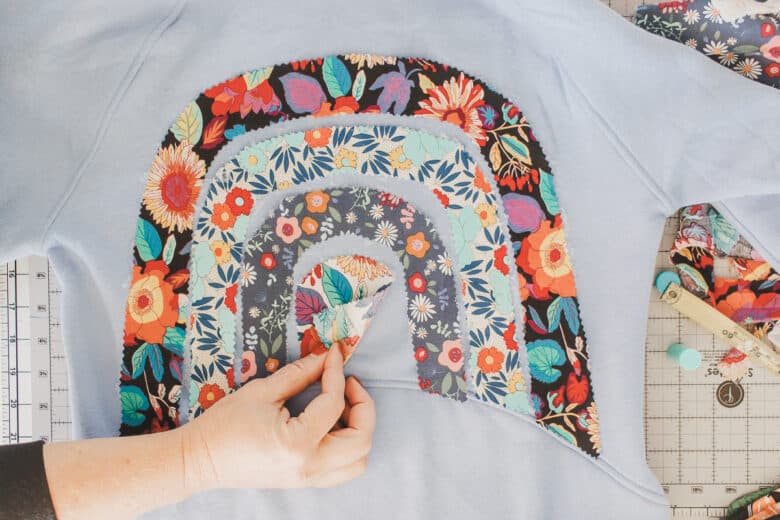
Use the parchment again on top of the fabric and press to fuse the rainbow to the sweatshirt. When the fabric has fused, remove the parchment.
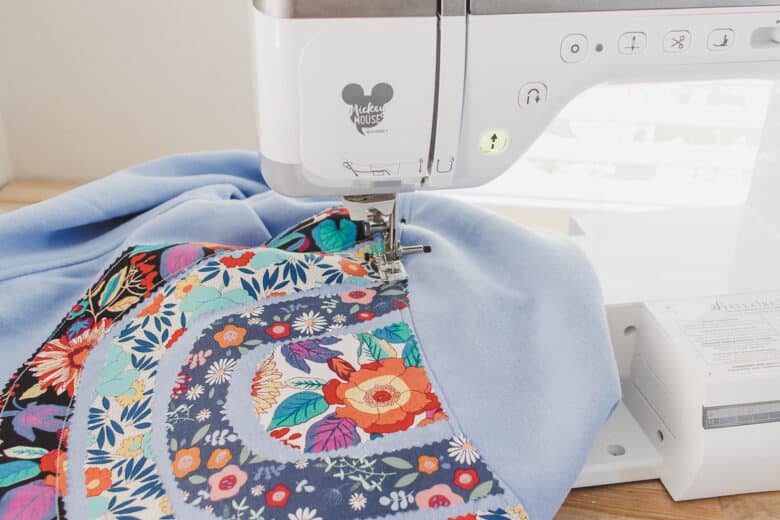
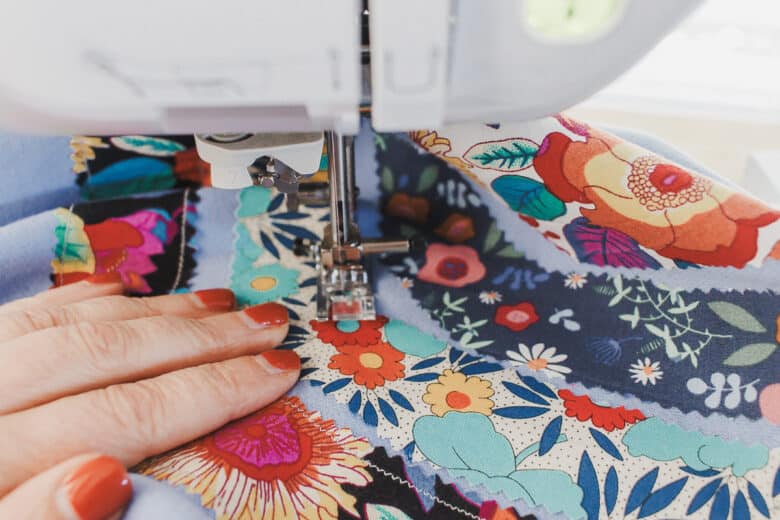
Chose a narrow zig-zag on your sewing machine, then stitch both sides of the rainbow with the narrow stitch.

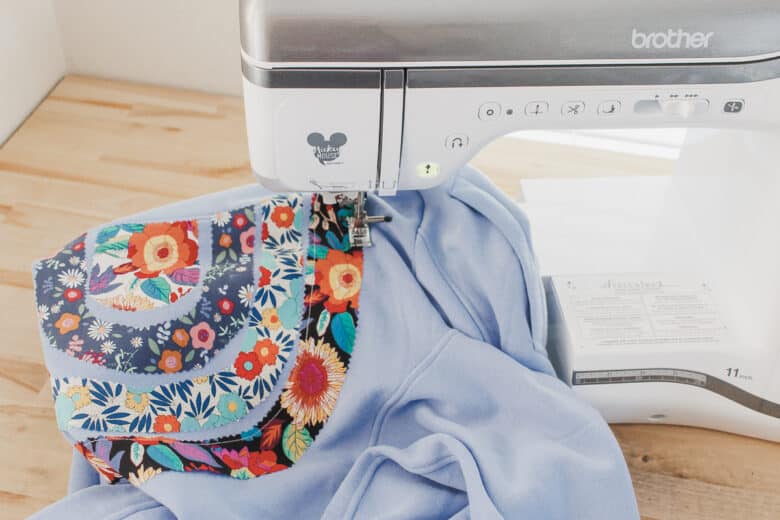
Make sure to keep the back of the sweatshirt out of the way while sewing and carefully sew around all the rainbow edges. When you finished you have a beautiful back on your sweatshirt. Enjoy!!


Leave a Reply