inside: A full how to tutorial to create a beautiful embroidered table runner on your embroidery machine. Use machine embroidery to create a beautiful holiday table for Christmas or other holiday.
It’s time to start prepping for the holidays! Maybe you have been for months already, but it usually hits me when November arrives. Today I’m sharing a fun Embroidered table runner for Christmas, but you can make something similar for any holiday or season.
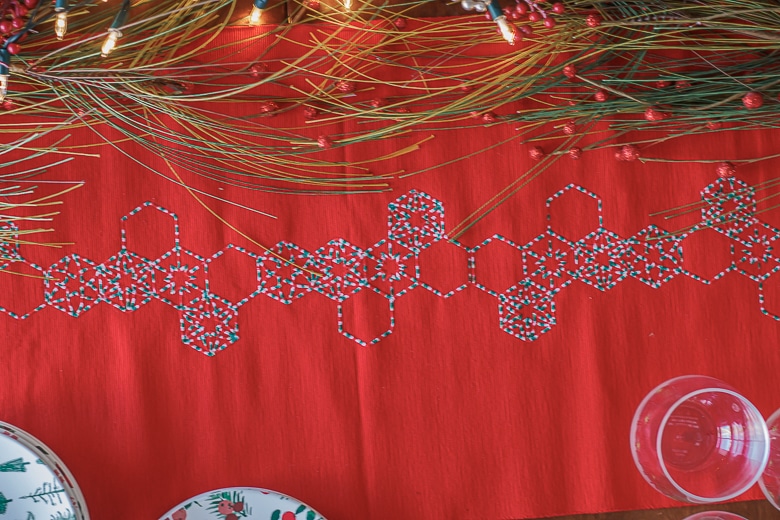
Embroidered Table Runner
I’m loving playing around with my new sewing and embroidery machine,{the Stellaire 2} but you can do this project with any embroidery machine. Of course a large hoop size will make this project easier, but you can do it with any size hoop {you will just have to move more with a smaller hoop}
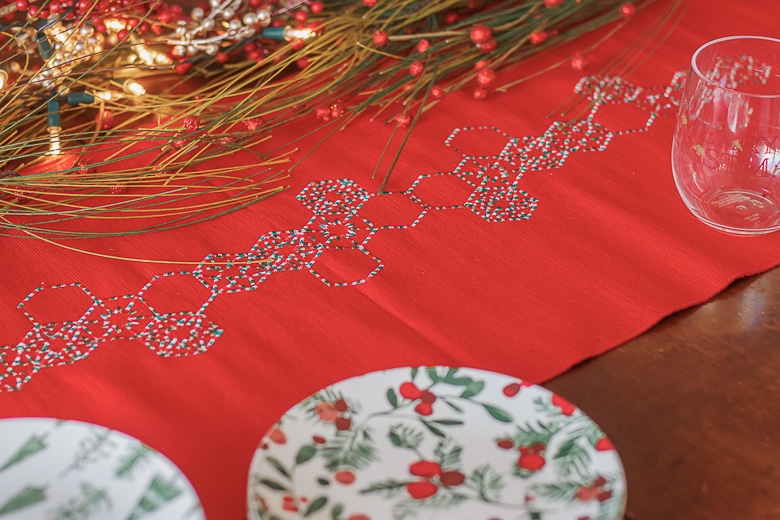
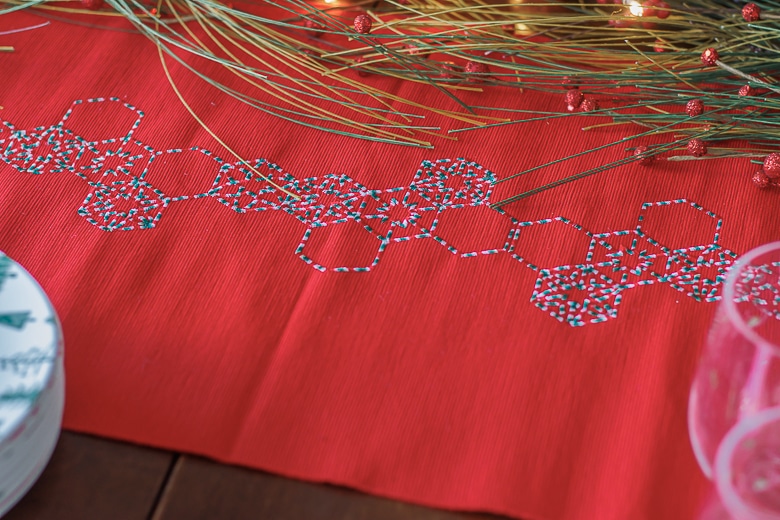
Below, I have a video to walk you through the process as well as detailed photos. I love the subtle design in the center with the variegated thread. I didn’t choose a specifically Christmas design, but a fun geometric pattern that I thought would look good with my cool thread. All the details below!
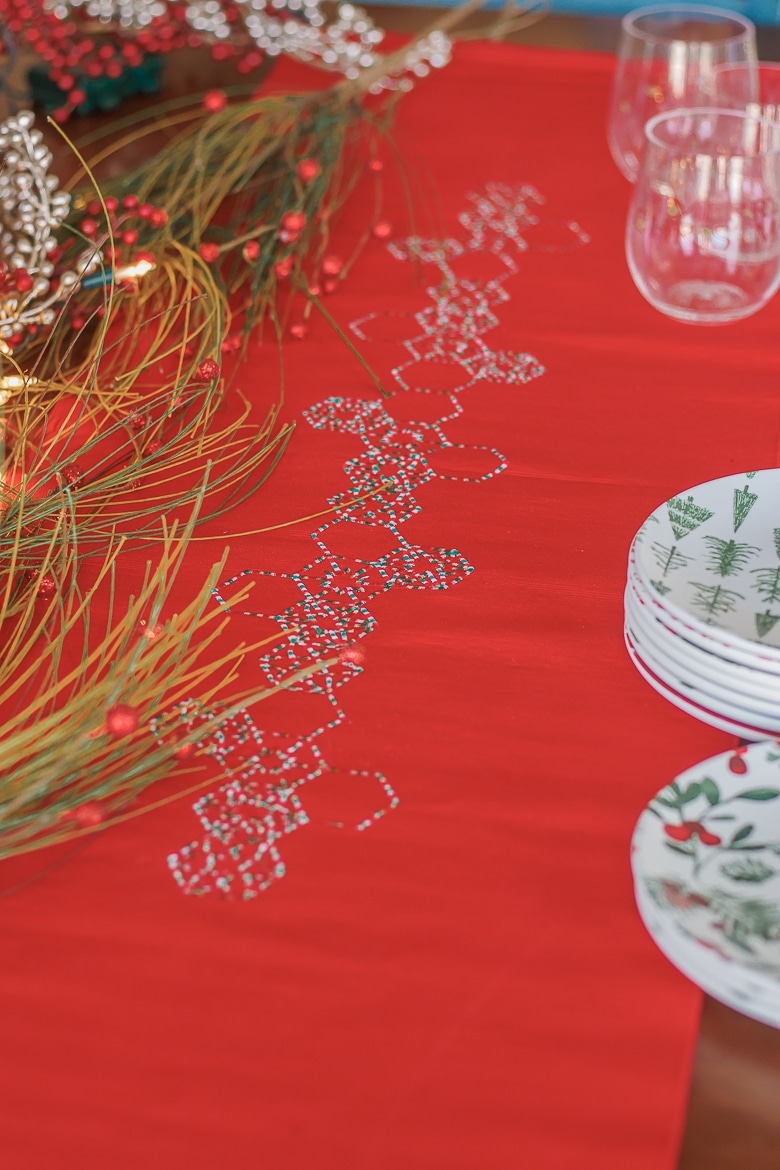
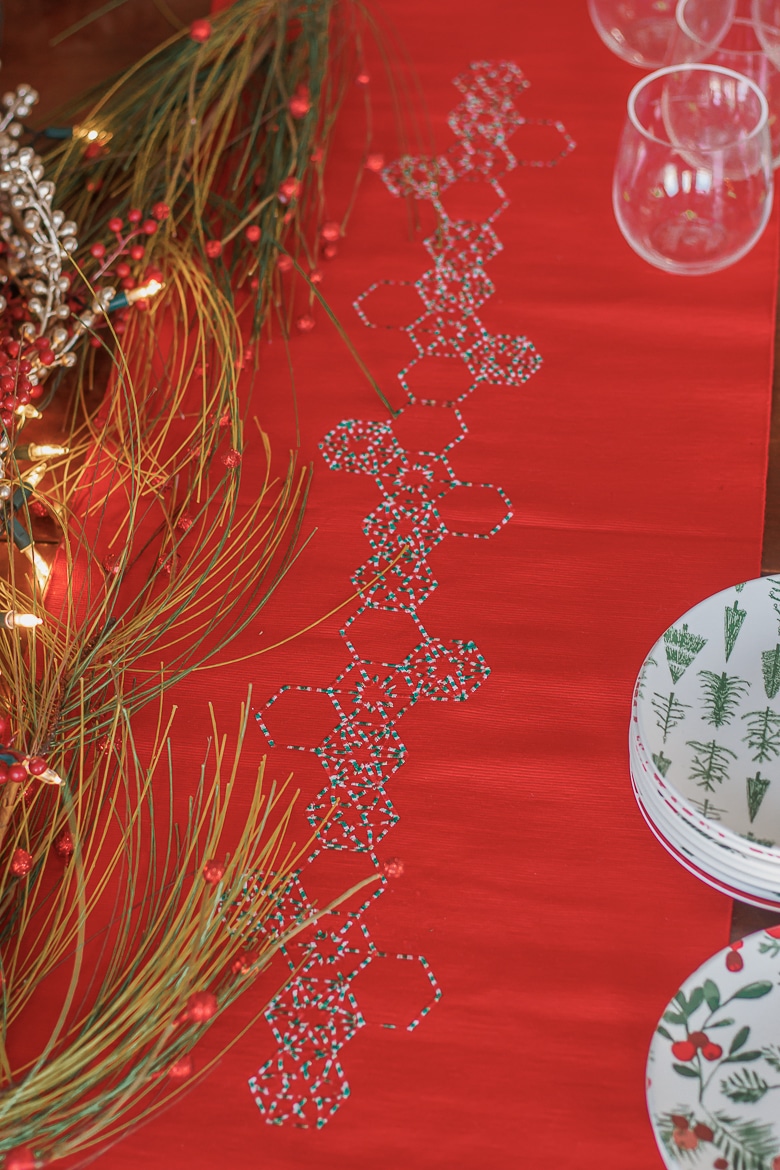
Other Christmas project to sew
- 30+ DIY pillows to make for Christmas
- Christmas wall hanging
- Quilted Christmas stocking – free sewing pattern
- Christmas tree table runner
- Felt Christmas tree growth chart
Table runner tutorial video
I’m including a step by step video tutorial in this post as well. I’m dropping it here, but sometimes it end up closer to the top of the post, or on the side as you scroll. It’s a good one to listen to with sound as I have a voice over giving all the directions – but you can use the closed captions if you like as well. Please let me know if you have any questions after watching the video and reading the tutorial..
Use your Embroidery Machine to make a table runner
Supplies Needed:
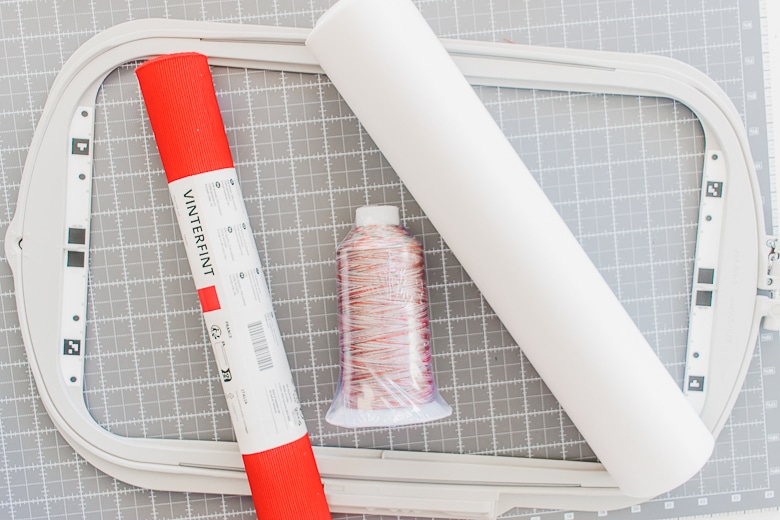
- Embroidery Machine and hoop
- I used the new Stellaire 2 and the 9.5″ x 14″ hoop
- Embroidery sticky stabilizer
- Fun variegated thread. – Color Candy Cane
- I bought this from a shop at Houston Quilt Show, but this is the link to their online store.
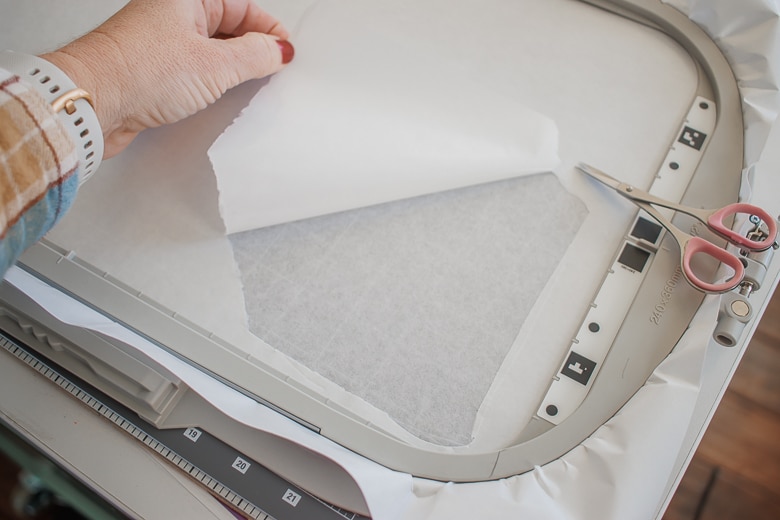
Hoop the sticky stabilizer with the paper side up. Perforate the paper and peel back to expose the sticky side.
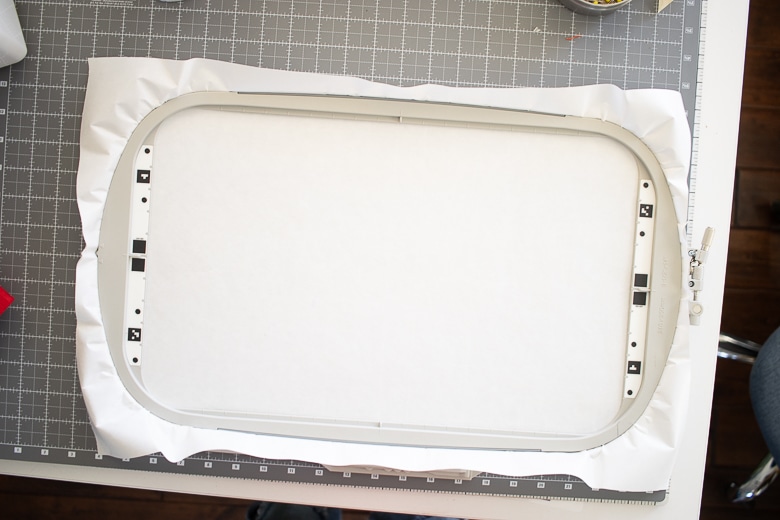
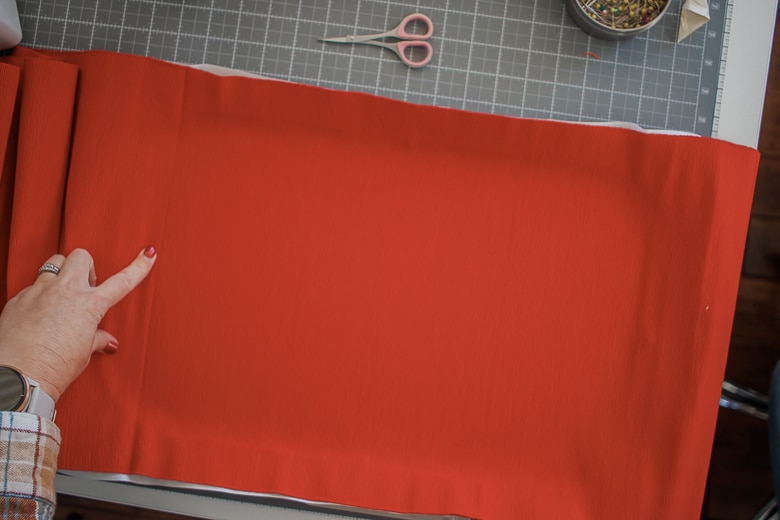
I started my embroidery from the center of the runner and worked my way out. You can do this or start at one end. Make sure to hoop the runner straight. It doesn’t have to be centered as you can move your design, but it should be straight. Use the guide lines on your hoop to keep it straight.
Put the embroidery foot on your machine if it isn’t already.
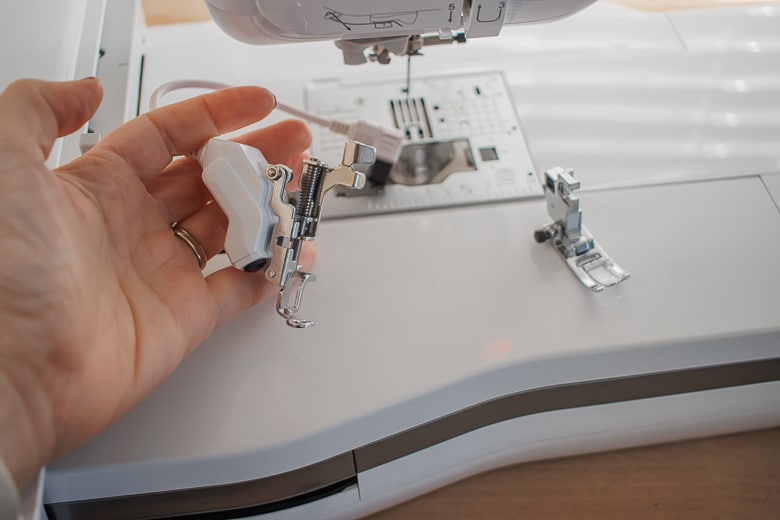
Choose your embroidery design. I didn’t choose anything specifically Christmas, but you can choose any sort of design. If you have a small hoop you will need to re-hoop your fabric more times.
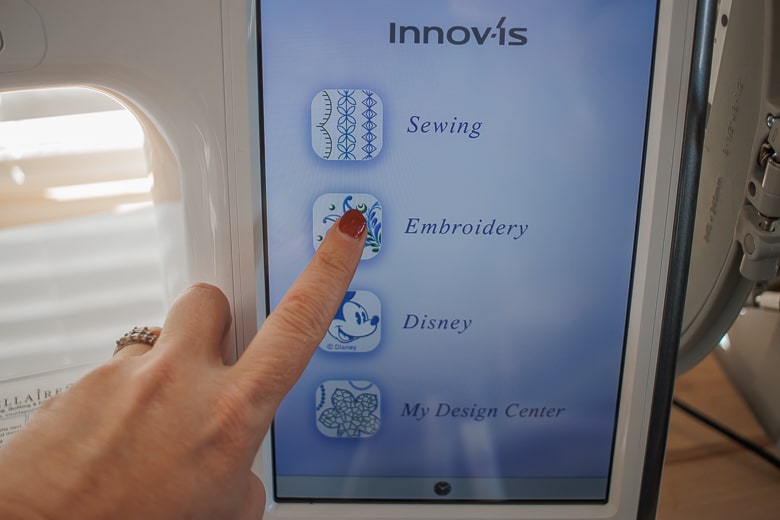
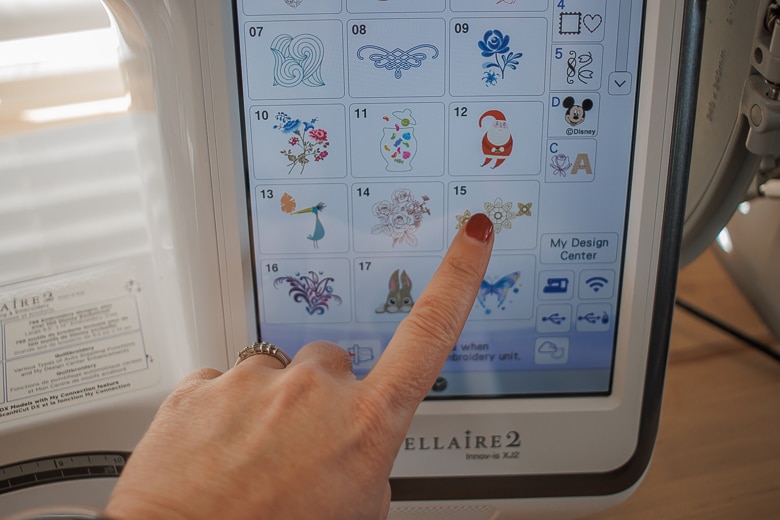
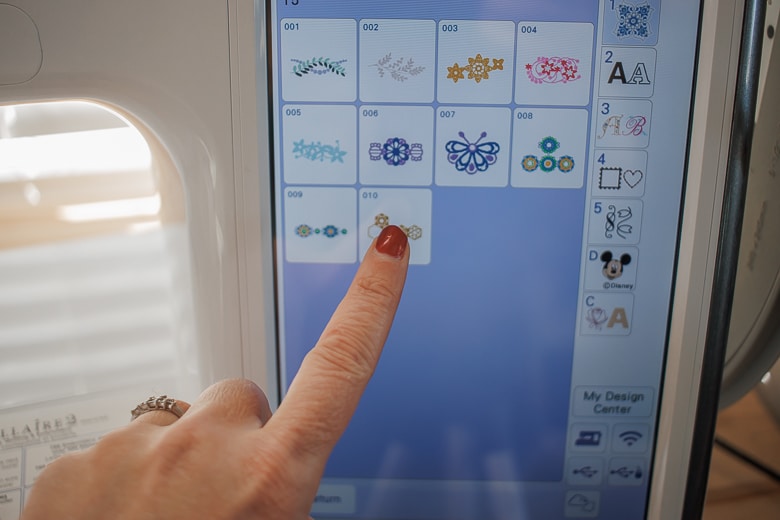
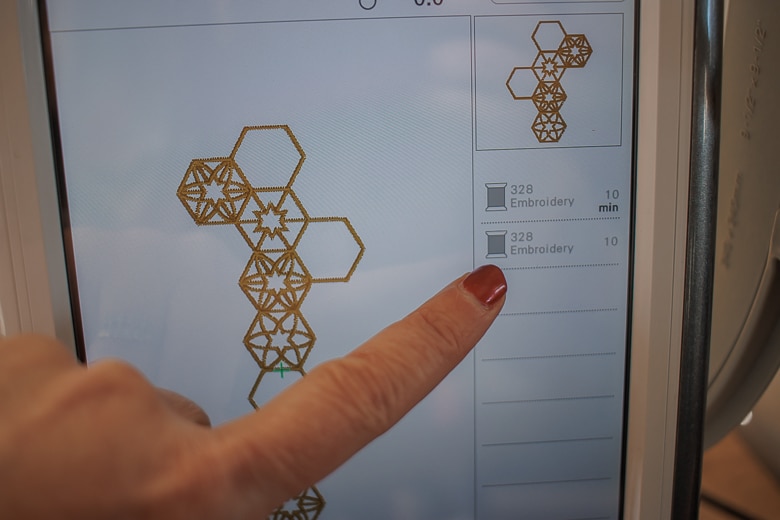
I used this design of pentagons. Then I resized as large as it can go, and rotated it. I duplicated the design so I had two and mirrored the second one to arrange the pattern.
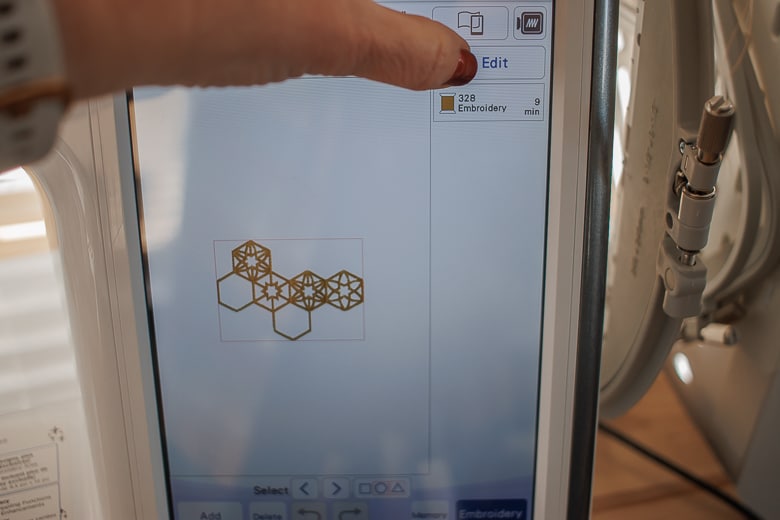
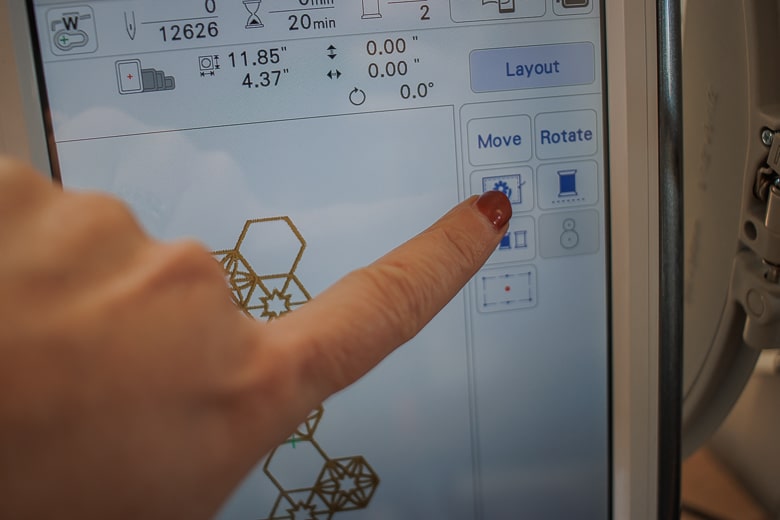
Under layout in the embroidery screen, push the thread button to turn all the colors off. This will make the machine stitch out my whole design without stopping. I’m just using one color anyway.
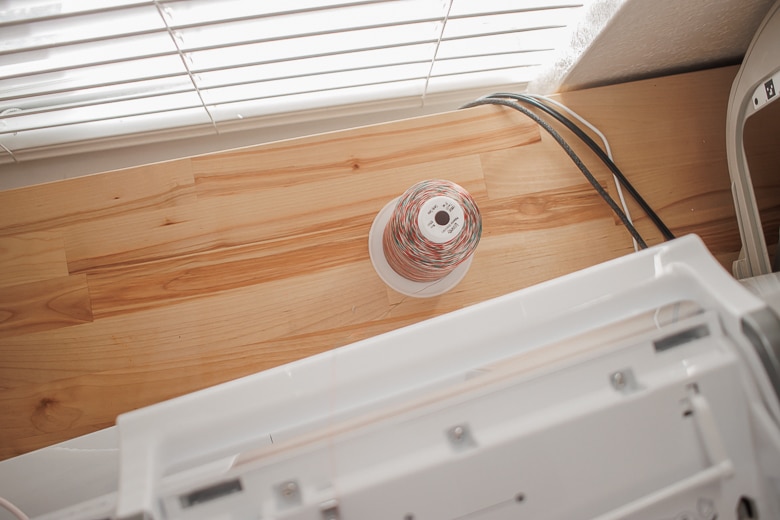
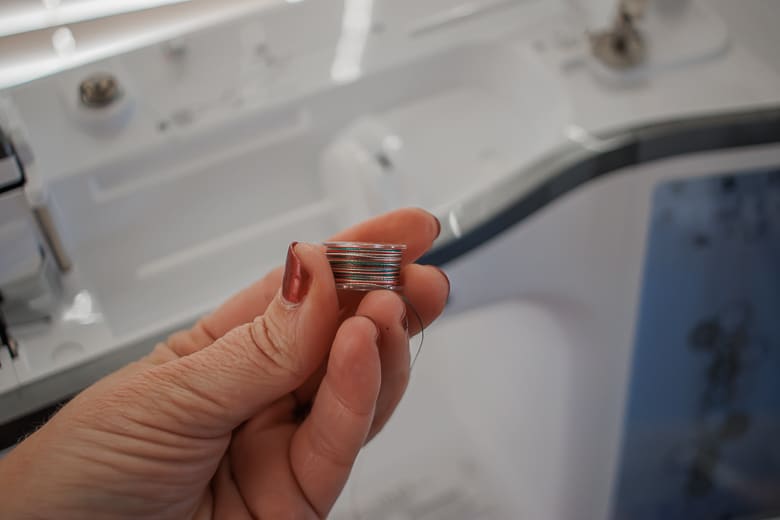
I placed the large spool of thread directly behind my machine. Thread the bobbin with the same thread as the top. Make sure the thread can come easily up off the spool.
Embroider the first set of designs, then rehoop the runner. I peeled it off the sticky stabilizer then moved it over and used the same stabilizer for my second set.
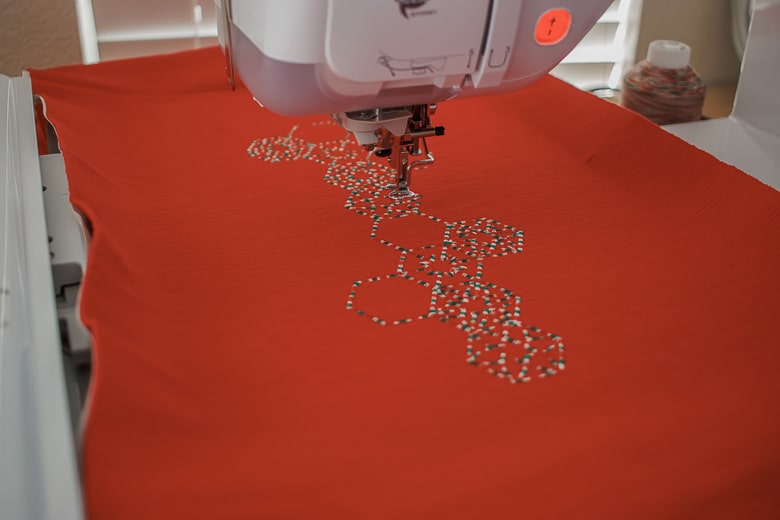
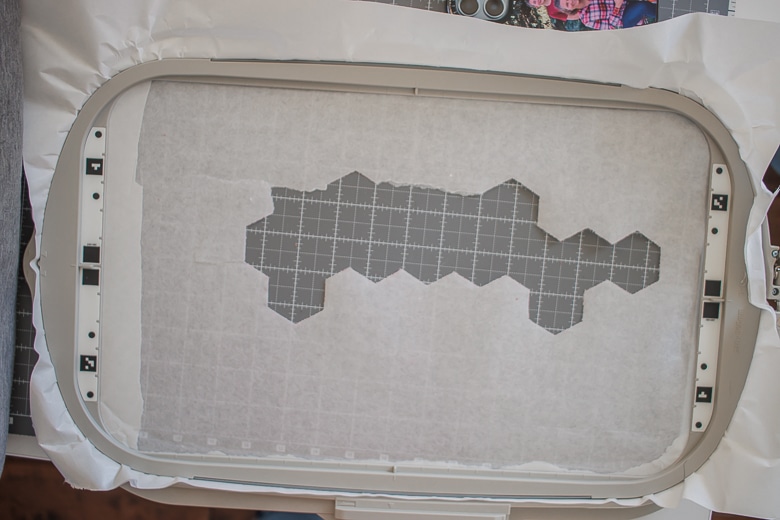
Use any tools your machine has to line up the next design. I used the laser light here to line the cross-hatch up with the bottom of my design with the top of the next one.
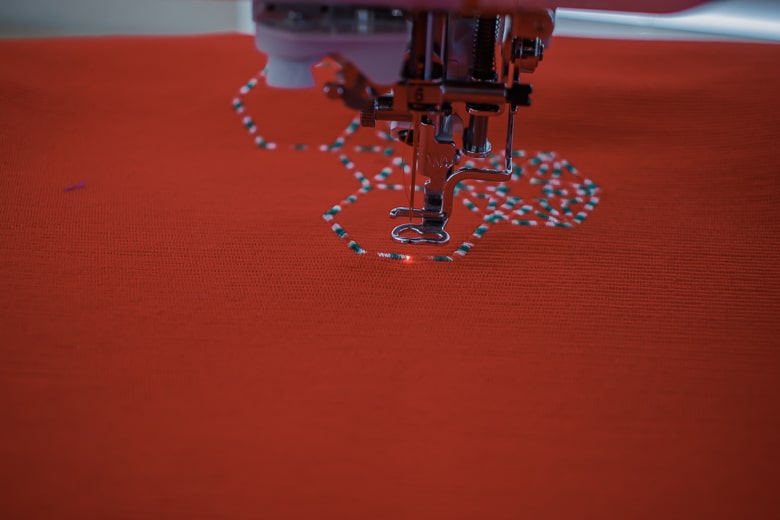
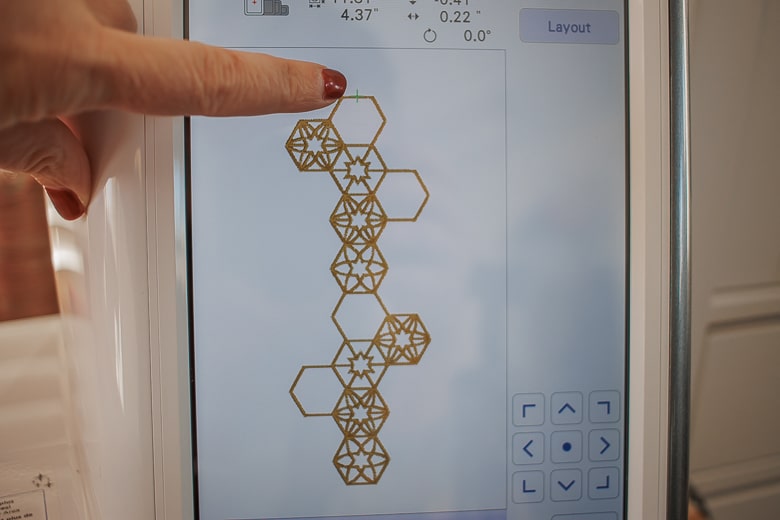
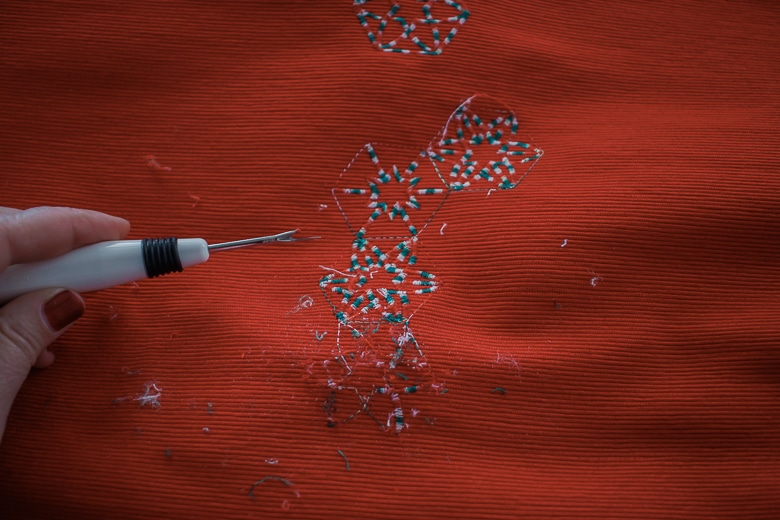
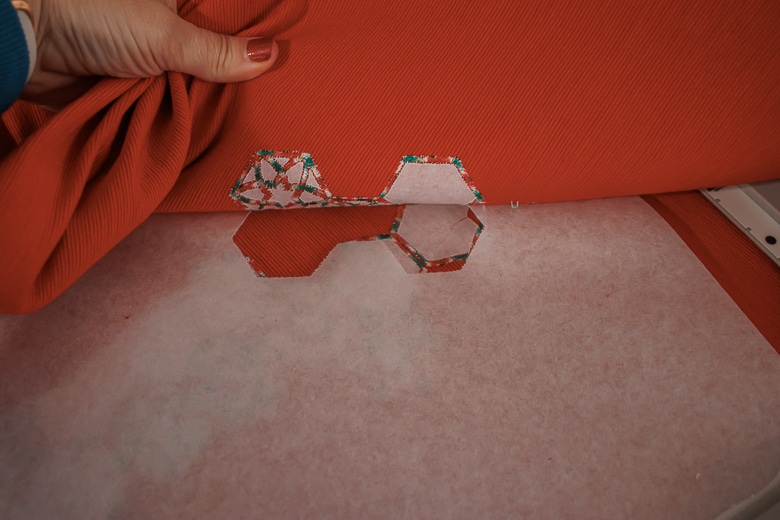
When I lined up the next set I forgot to mirror the image again – aaahhhhh, I had to pick out several designs. Then redid the section to finish the runner.
I’m very please with the result. Can’t wait to decorate the rest of my home for Christmas now.










Leave a Reply