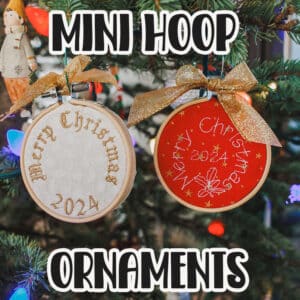
inside: Make mini embroidery hoop ornaments for Christmas. These cute felt and fabric ornaments are easy to make and looks so cute for Christmas decorations.
I didn’t think I was going to make a new ornament this year. I had updated my huge ornament list post already. But then I open up the artspira app from Brother and loved some of the cute {and free} cut files they had in there. So I decided to whip up these easy felt and fabric mini hoop ornaments for a ornament this year.
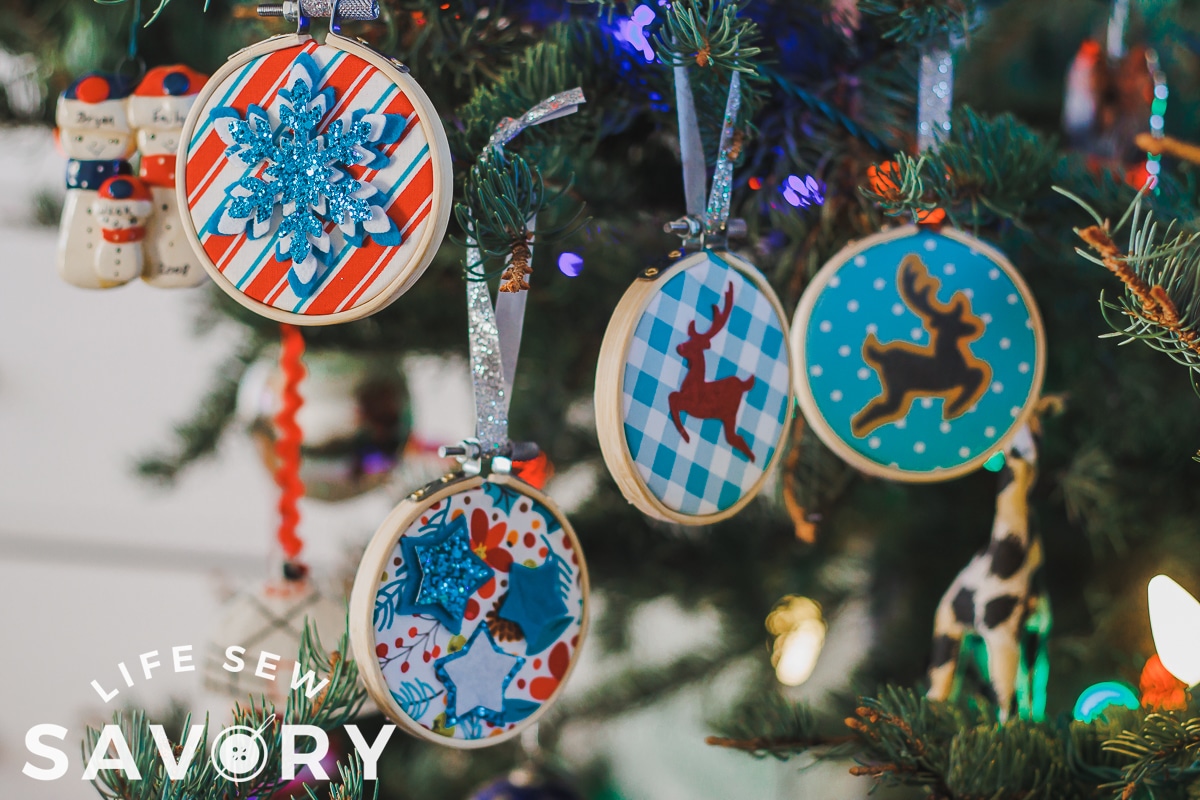
Embroidery hoop ornaments
Have you tried the Brother Artspira app? It’s full of free ScanNCut and Embroidery machine inspiration. If you have a Brother cutting or embroidery machine, you have to check out the app. When I logged in at the begging of the week I saw these cute deer and snowflake designs and was inspired to make these fun felt and fabric no-sew ornaments.
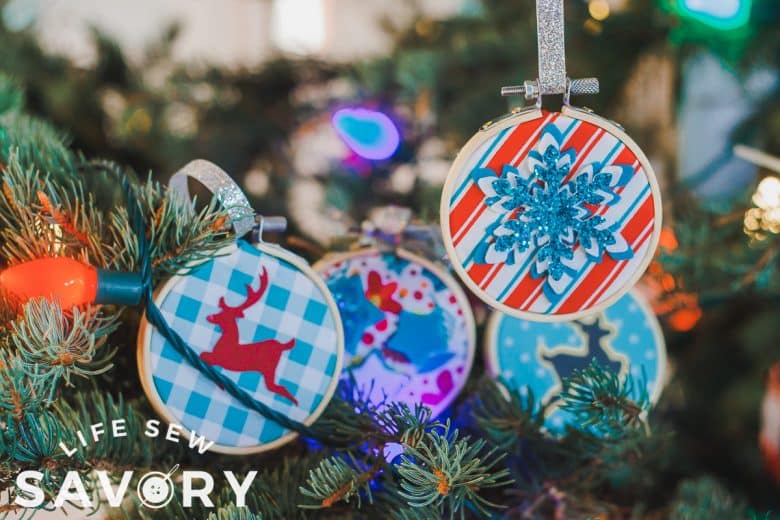
I had a ton of fun {and a few hot glue burns} while making these over the past couple days. This easy ornament craft would be a fun one to make yourself OR would be easy to prep to make with a large group.
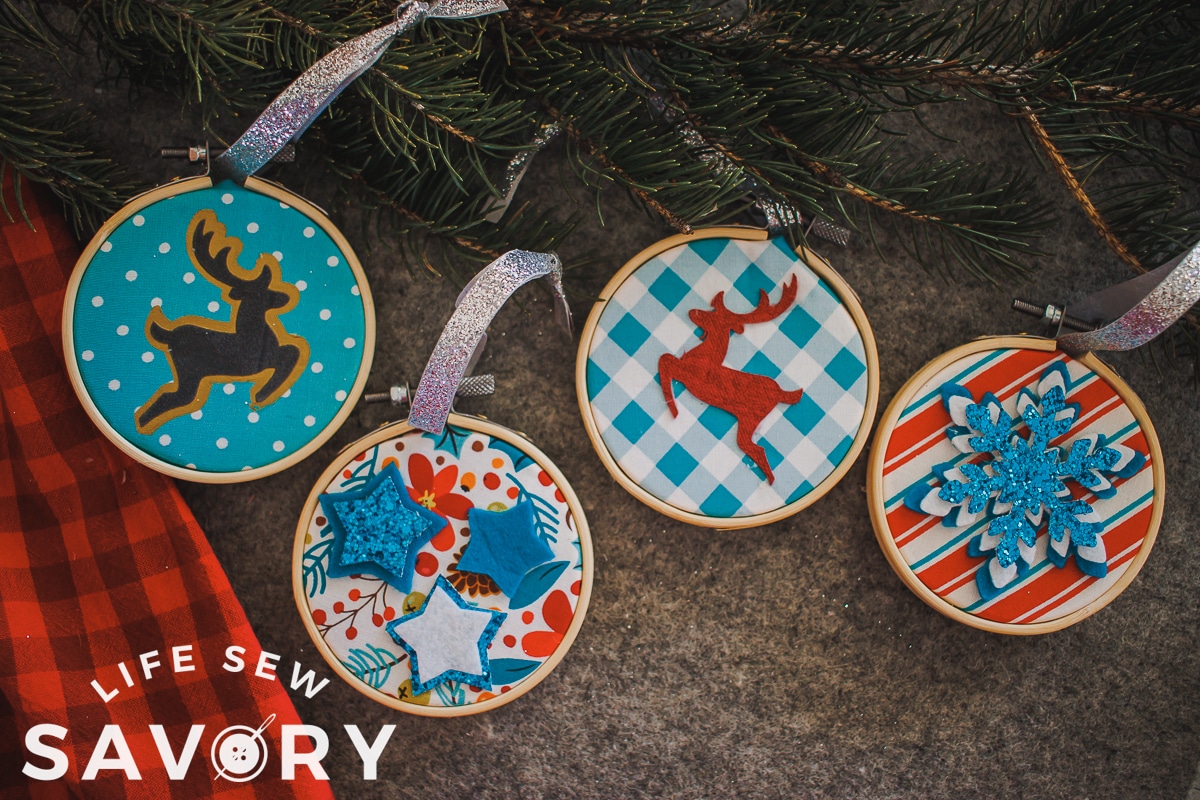
felt and fabric Christmas ornament
I knew right away I wanted to use these cut files so I dug through my stash to find the rest of the supplies. Amazon to the rescue with a quick order of mini hoops, but I had all the other supplies on hand. I used some scraps of fabric from my wall hanging I made last month.
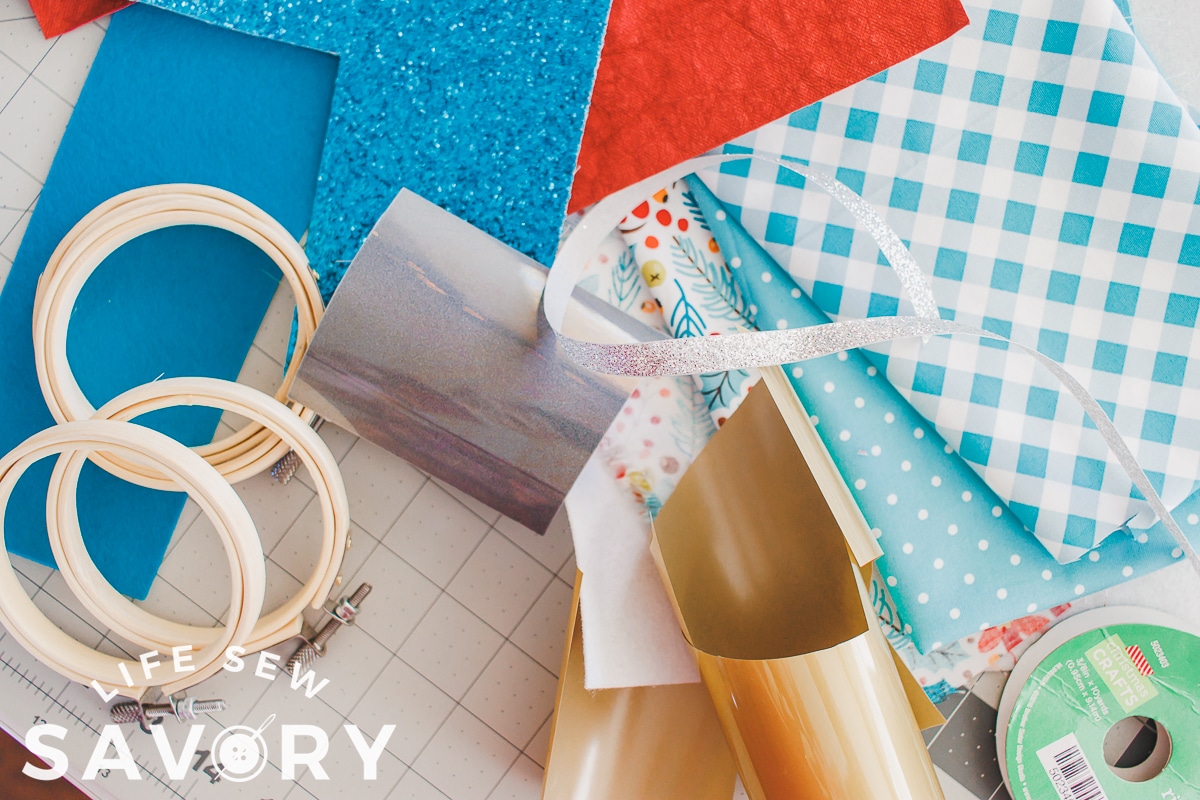
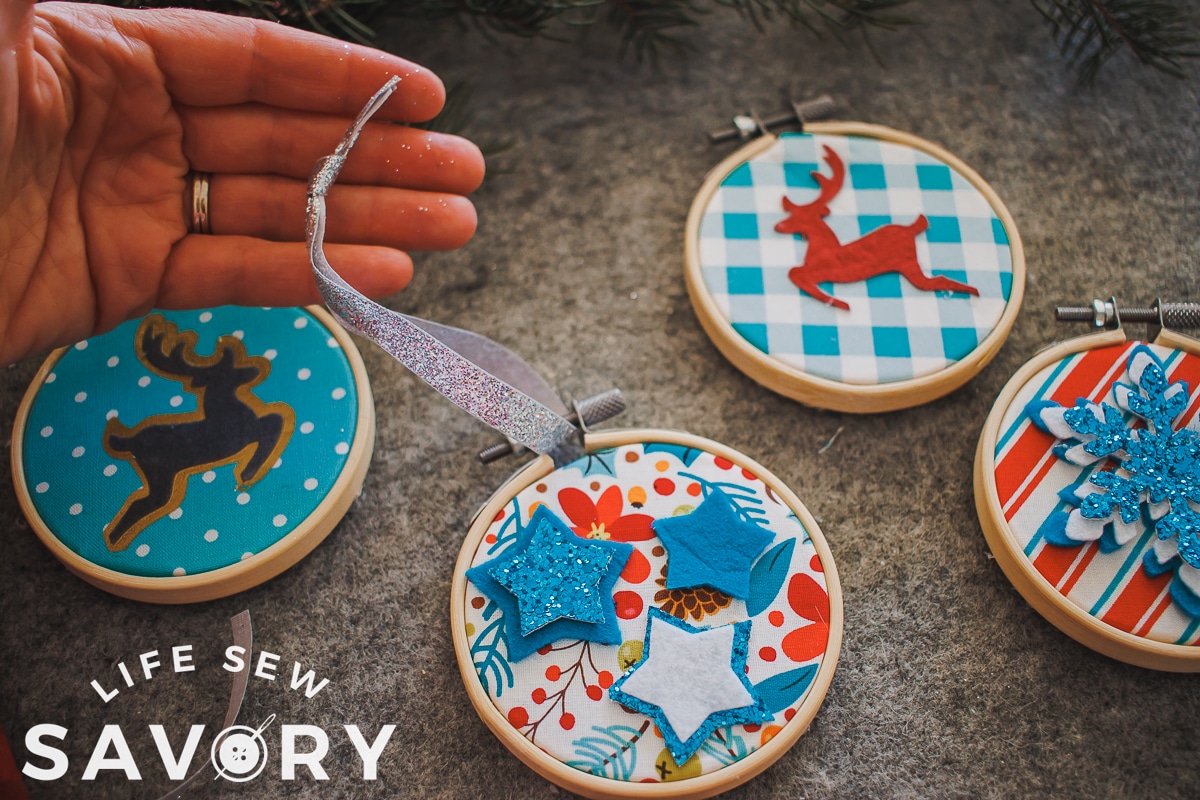
I used stiffened felt, glitter pleather, and heat transfer vinyl as well as the fabric that I had. The result is a cute set of ornaments that all go together, but are also great separate.
Ornament Supplies:
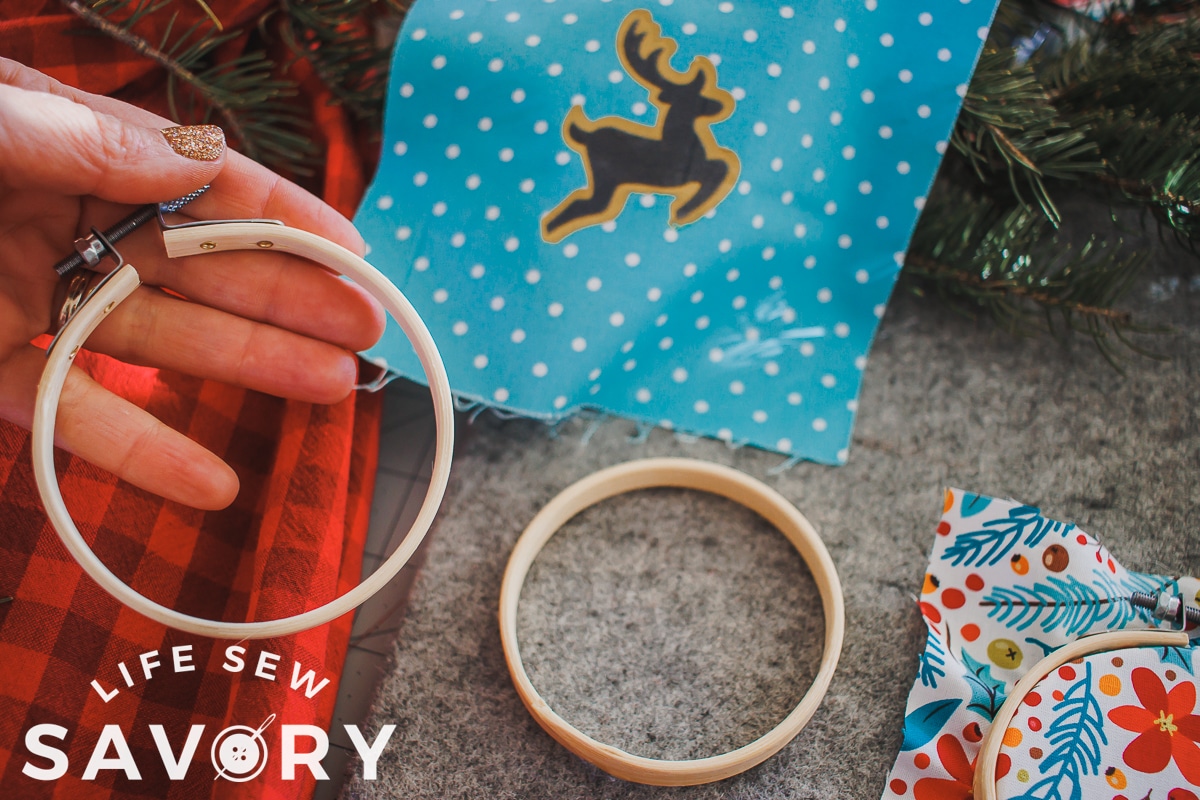
- Mini 3″ hoops
- Fabric scraps of Christmas fabric
- Felt
- Glitter pleather
- Heat transfer vinyl
- Glitter ribbon
- Hot glue
- Cutting machine
- Designs from Artspira {You can download the app for free in the App Store or on Google Play.
Not sure if your Brother machine is compatible with the new app? Any WLAN {wifi} enabled embroidery or ScanNCut machines work! Lets get creating! This really is a simple ornament craft.
How to make easy Christmas ornaments
Alright! Let me try to show you how this all comes together. I’ve taken some screen shots from my photo to show you the app if you aren’t’ familiar with it. The photo on the left below is the home screen and you can see the project and design rows. In the cutting designs I chose the deer.
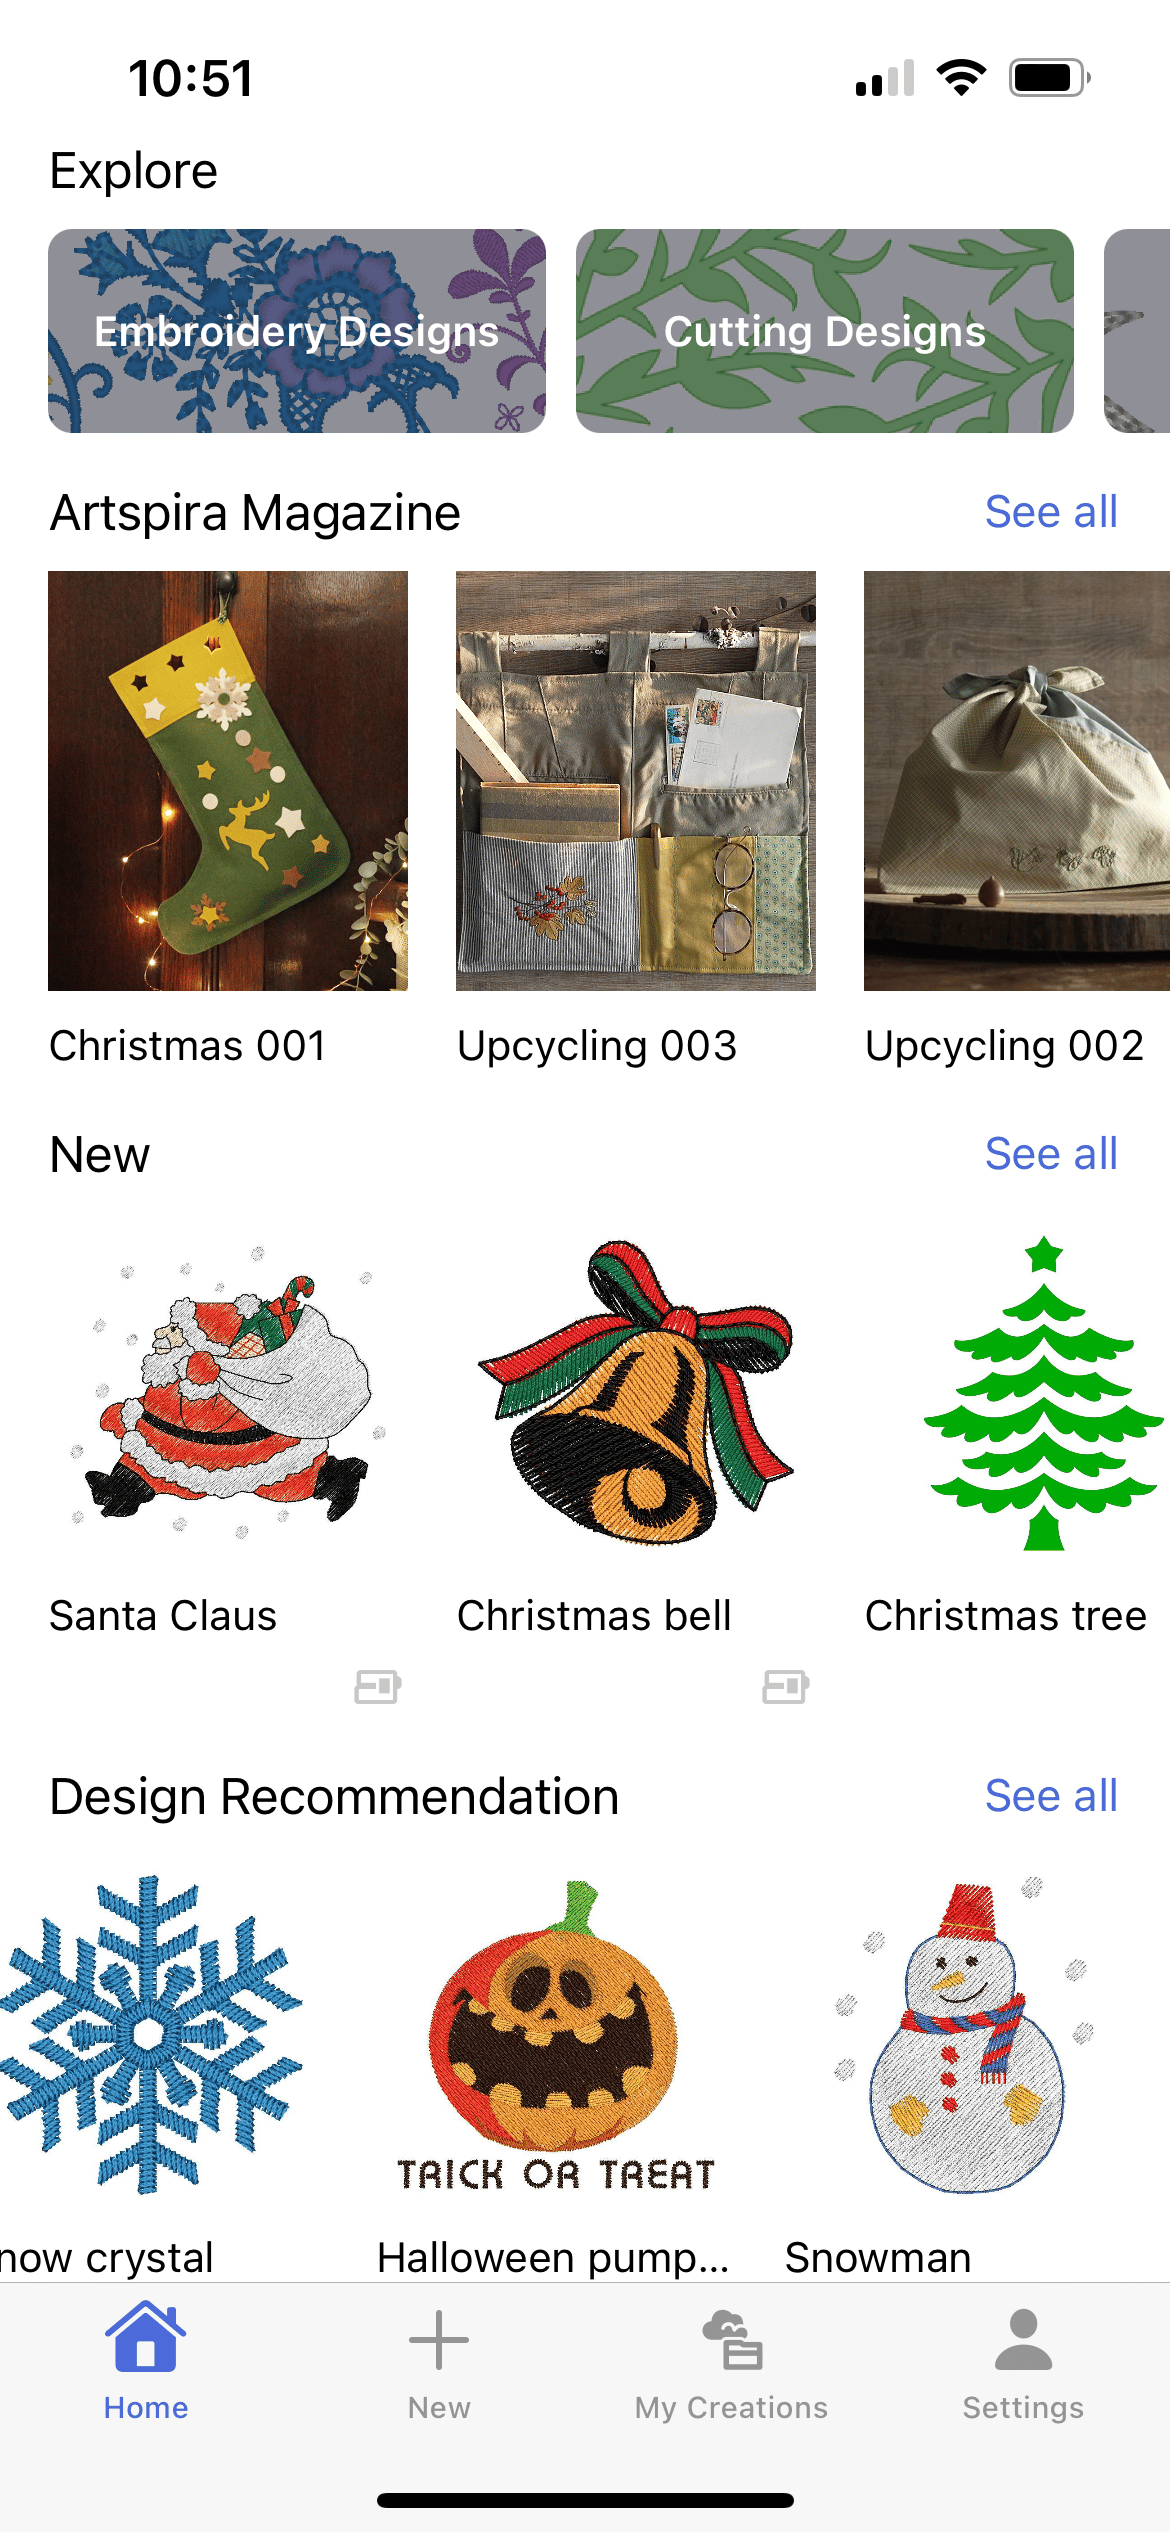
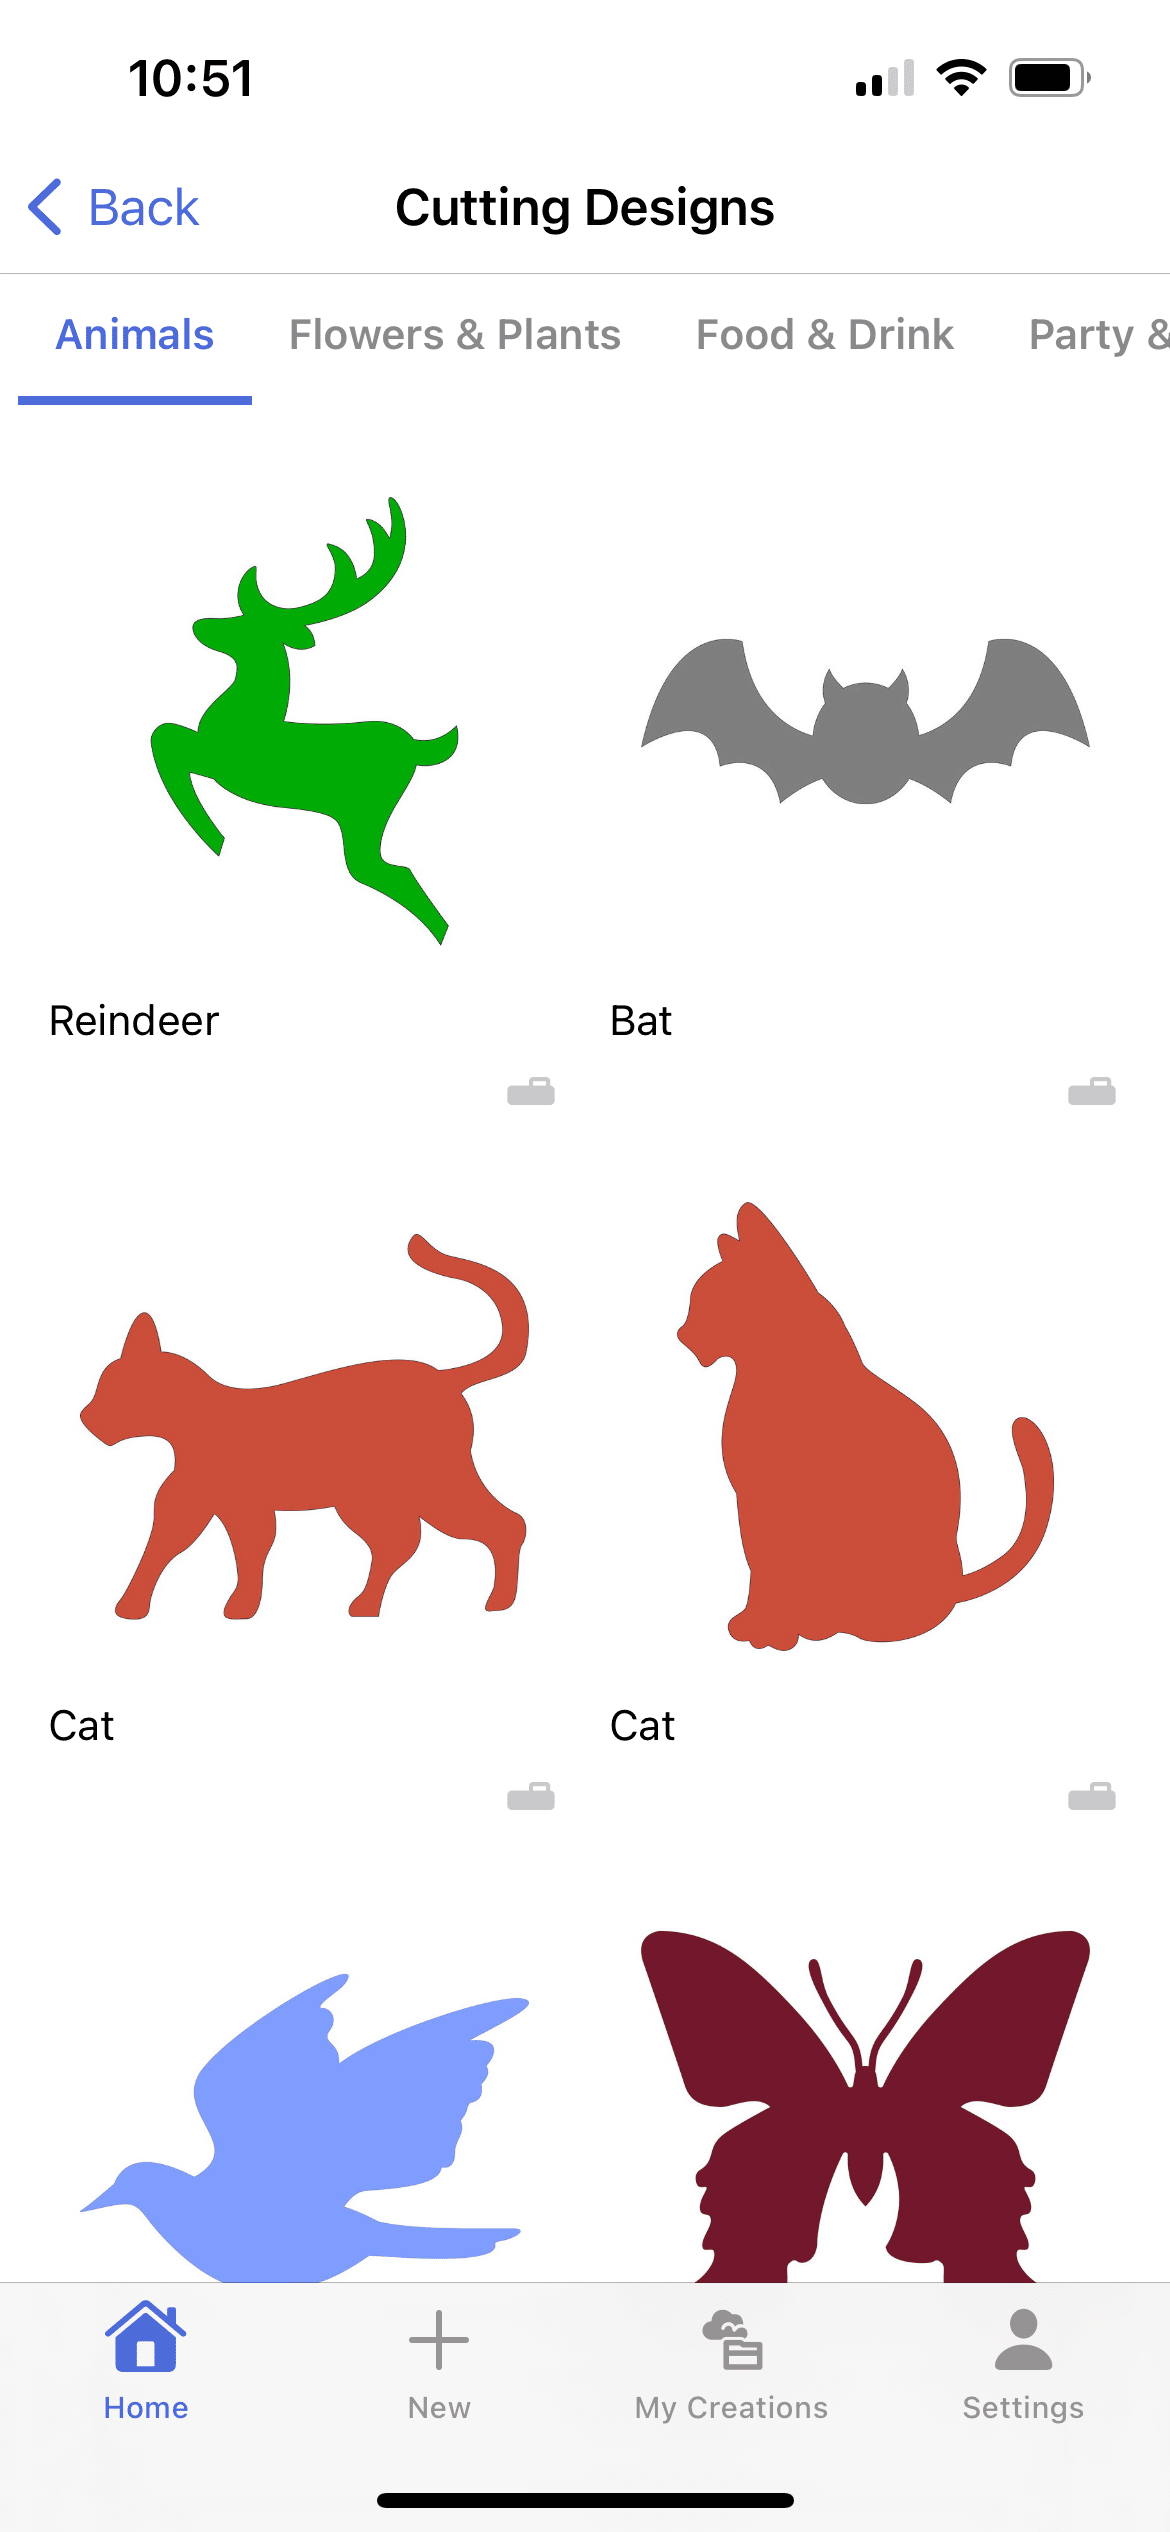
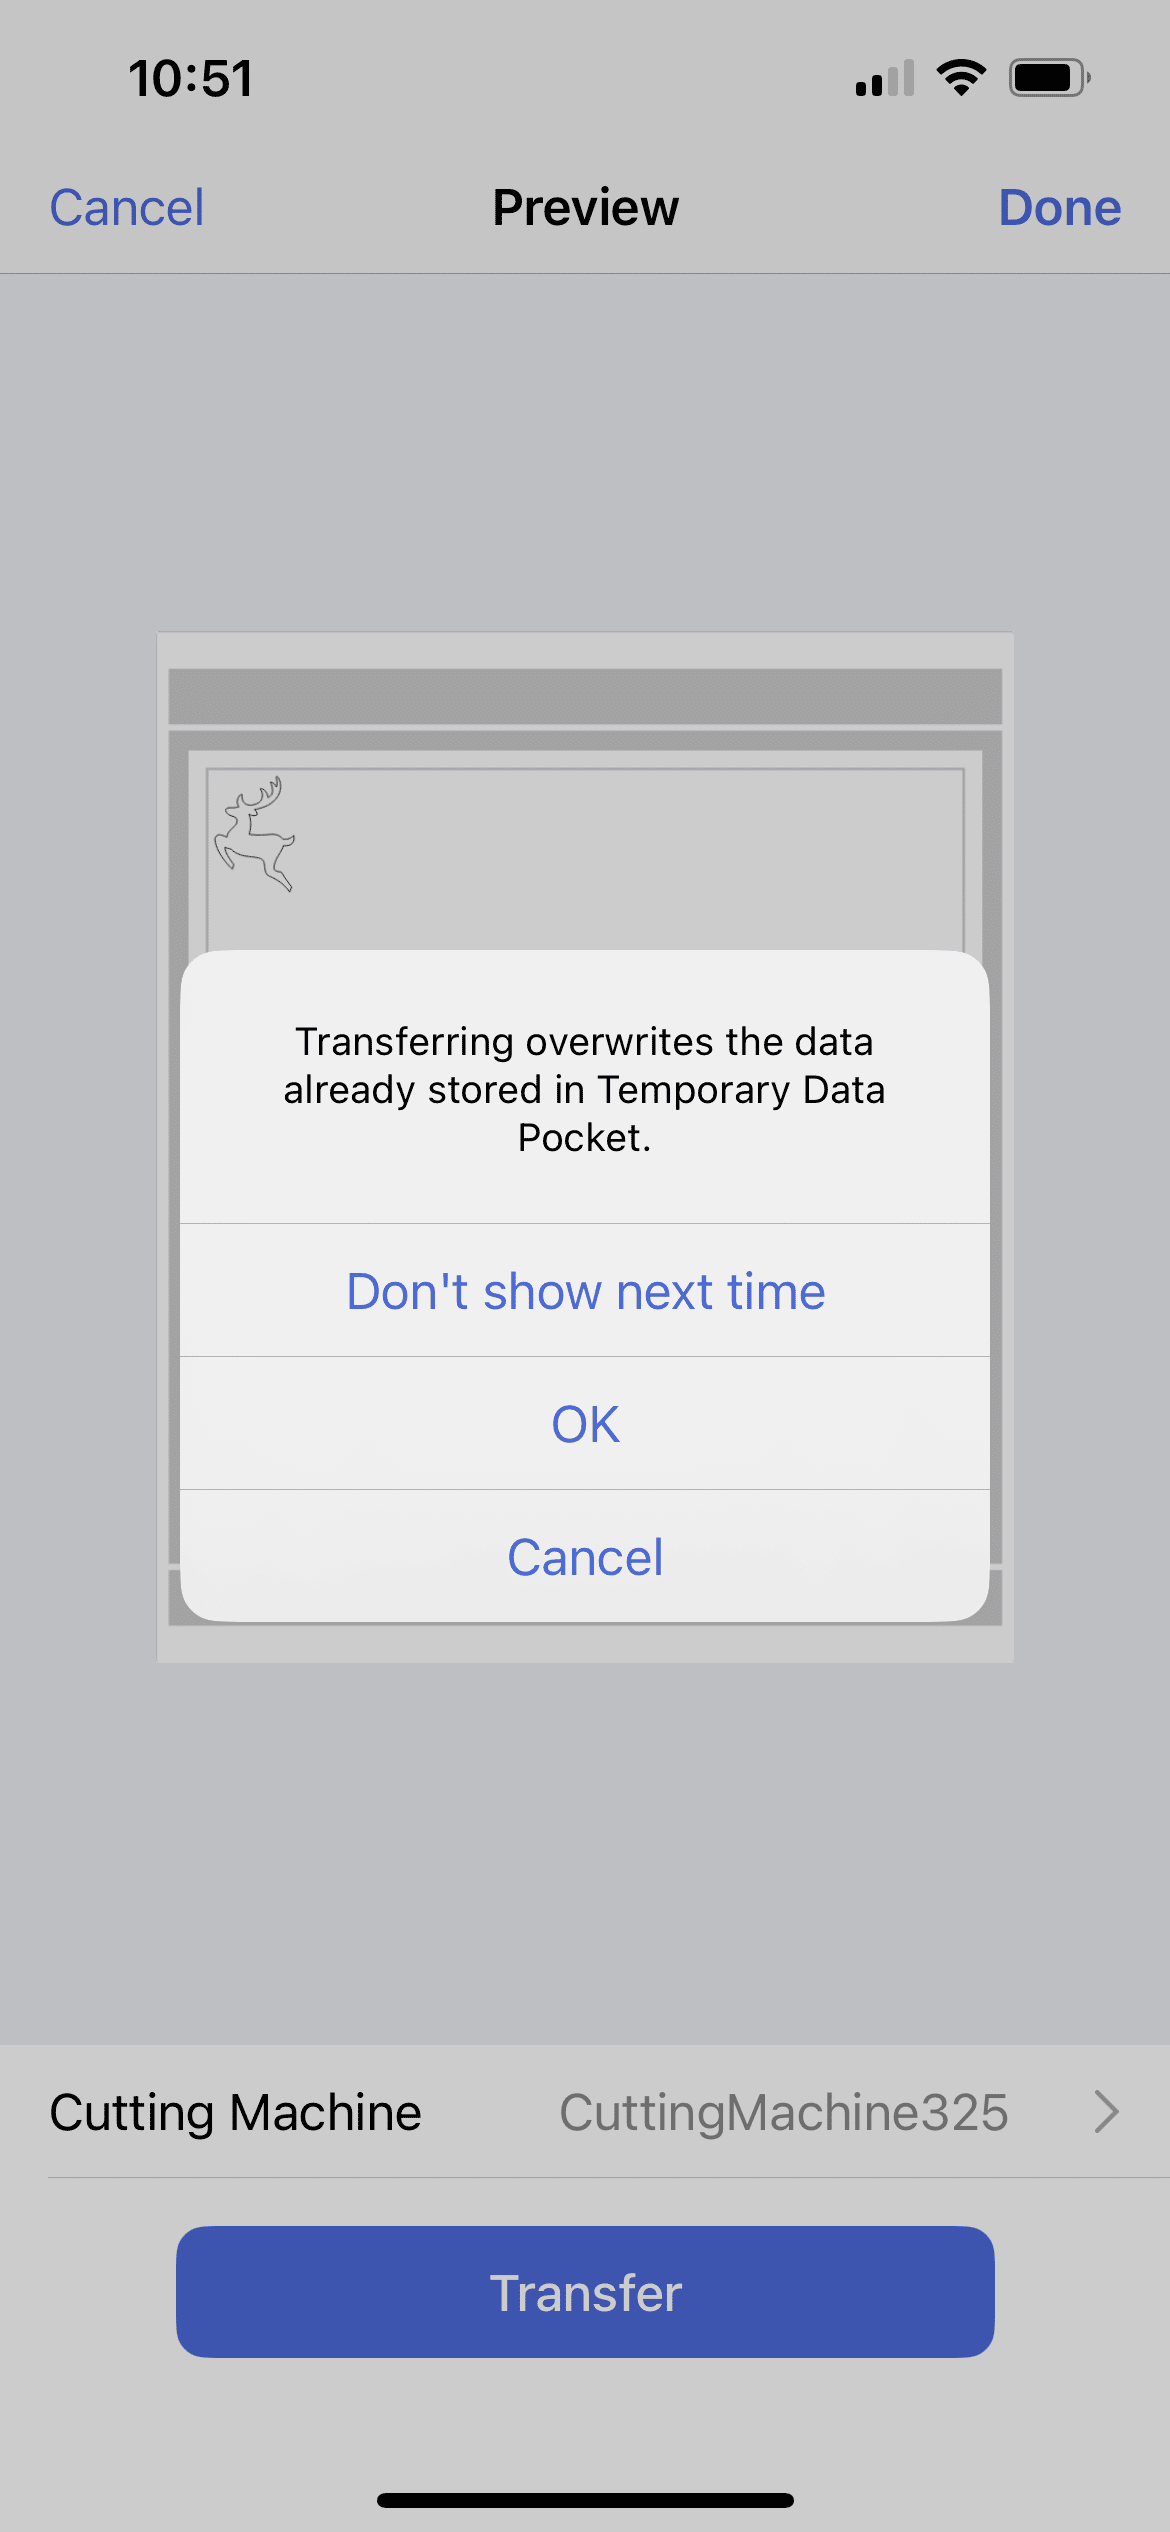
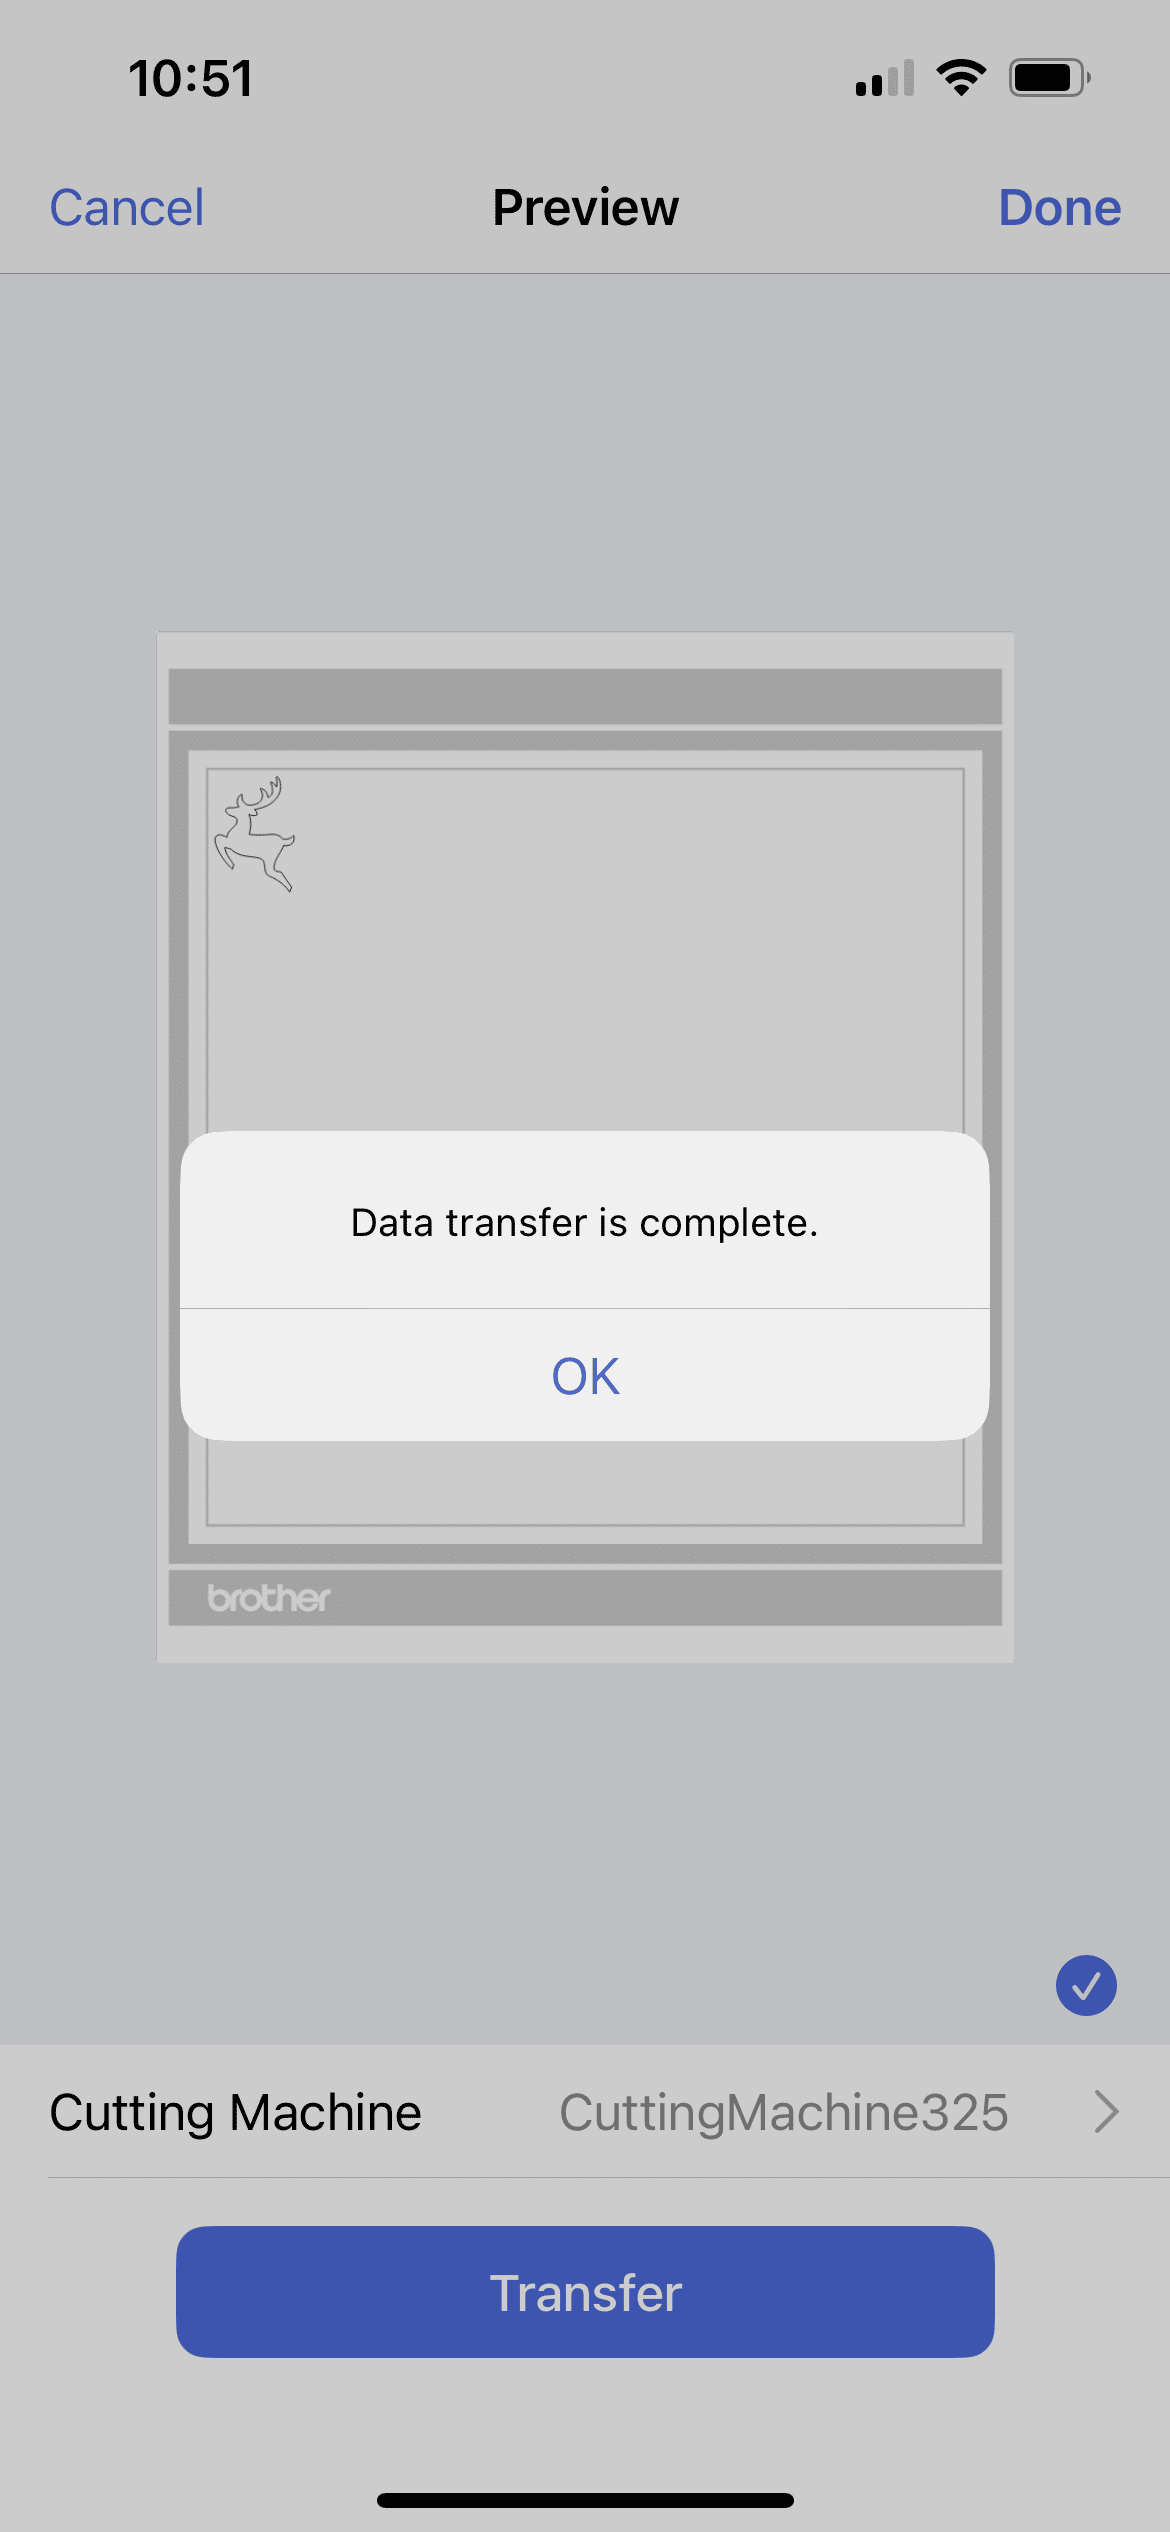
Once you click on the deer it will ask which design you want to send it too. I have already registered and connected my scanncut to the app, so I went to transfer it. Before sending you will see a preview. If it’s all good press transfer.
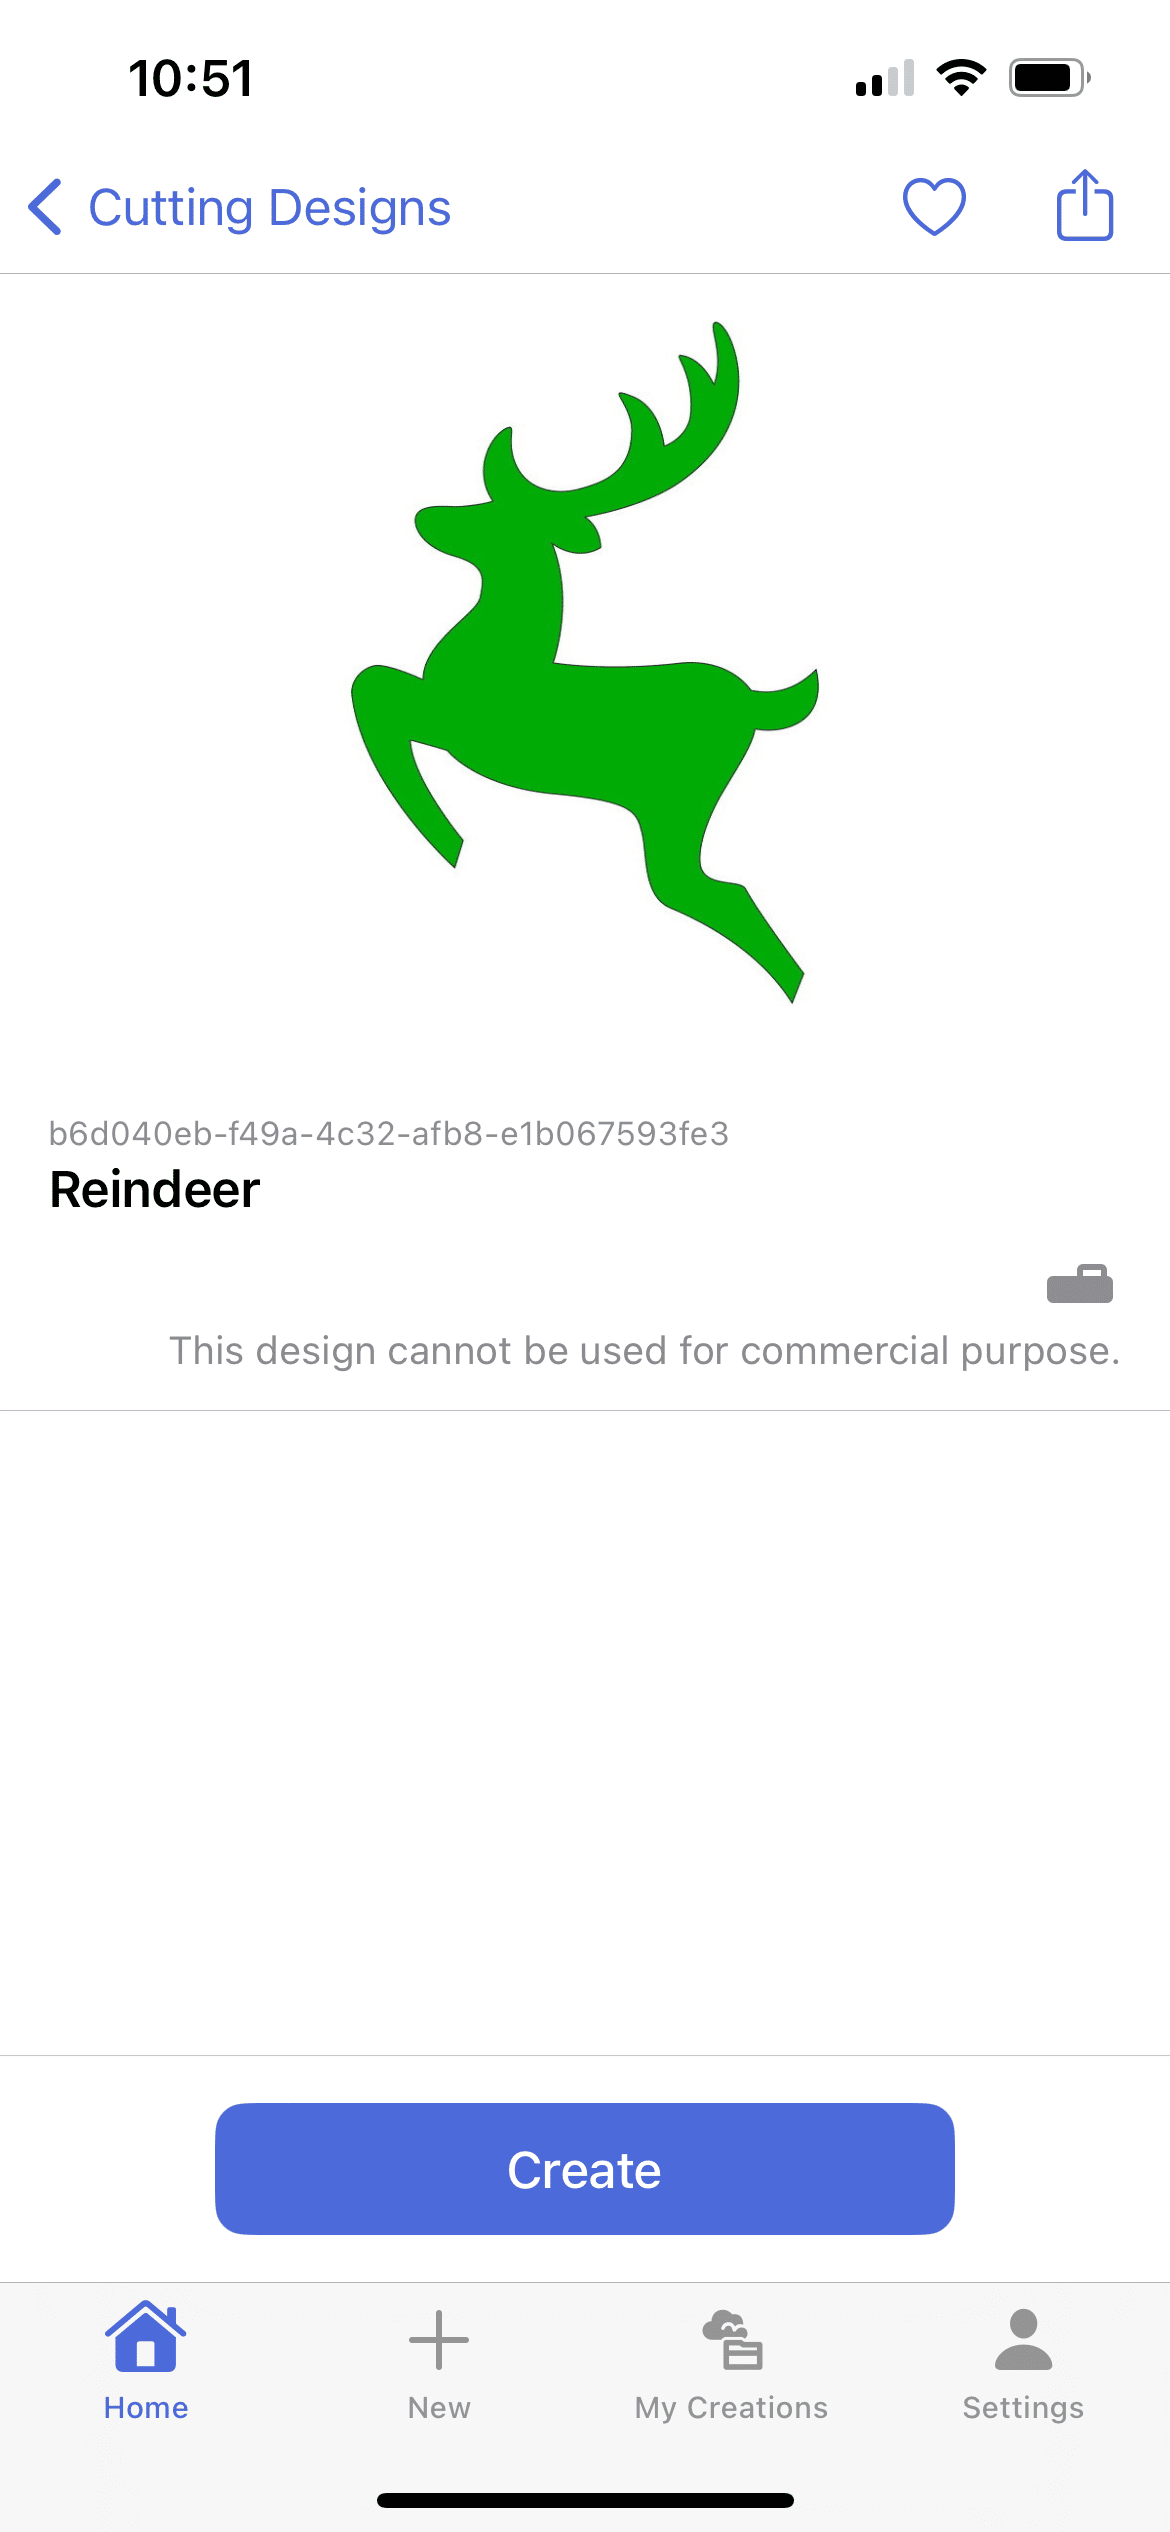
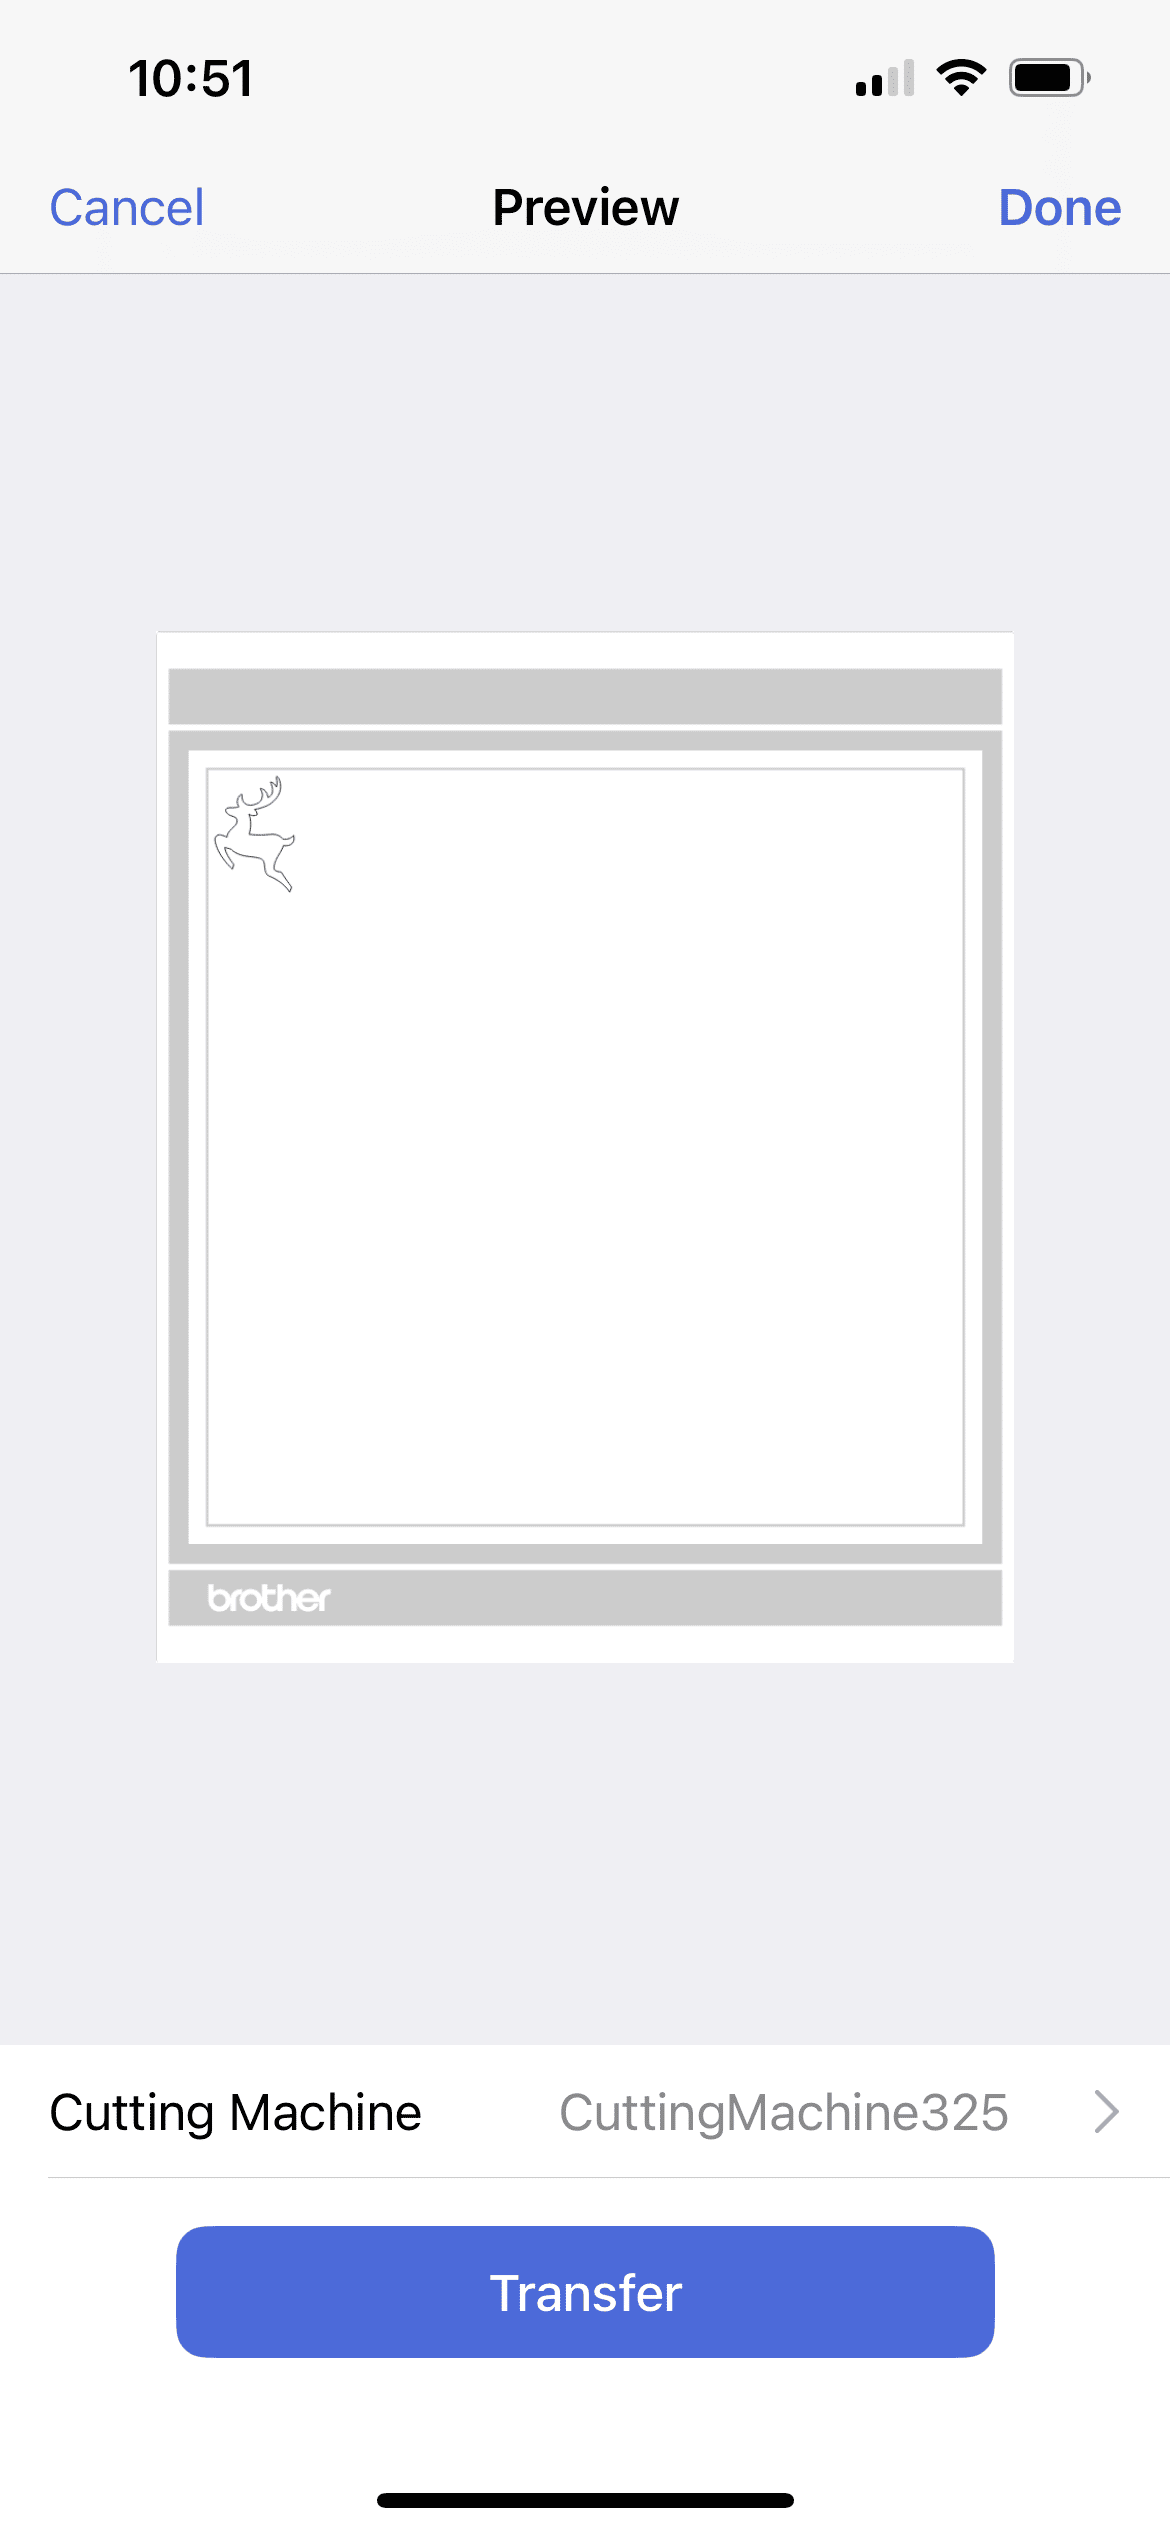
Making a transfer from the app to machine will overwrite the last transfer you made. It also lets you know when the transfer has been made.
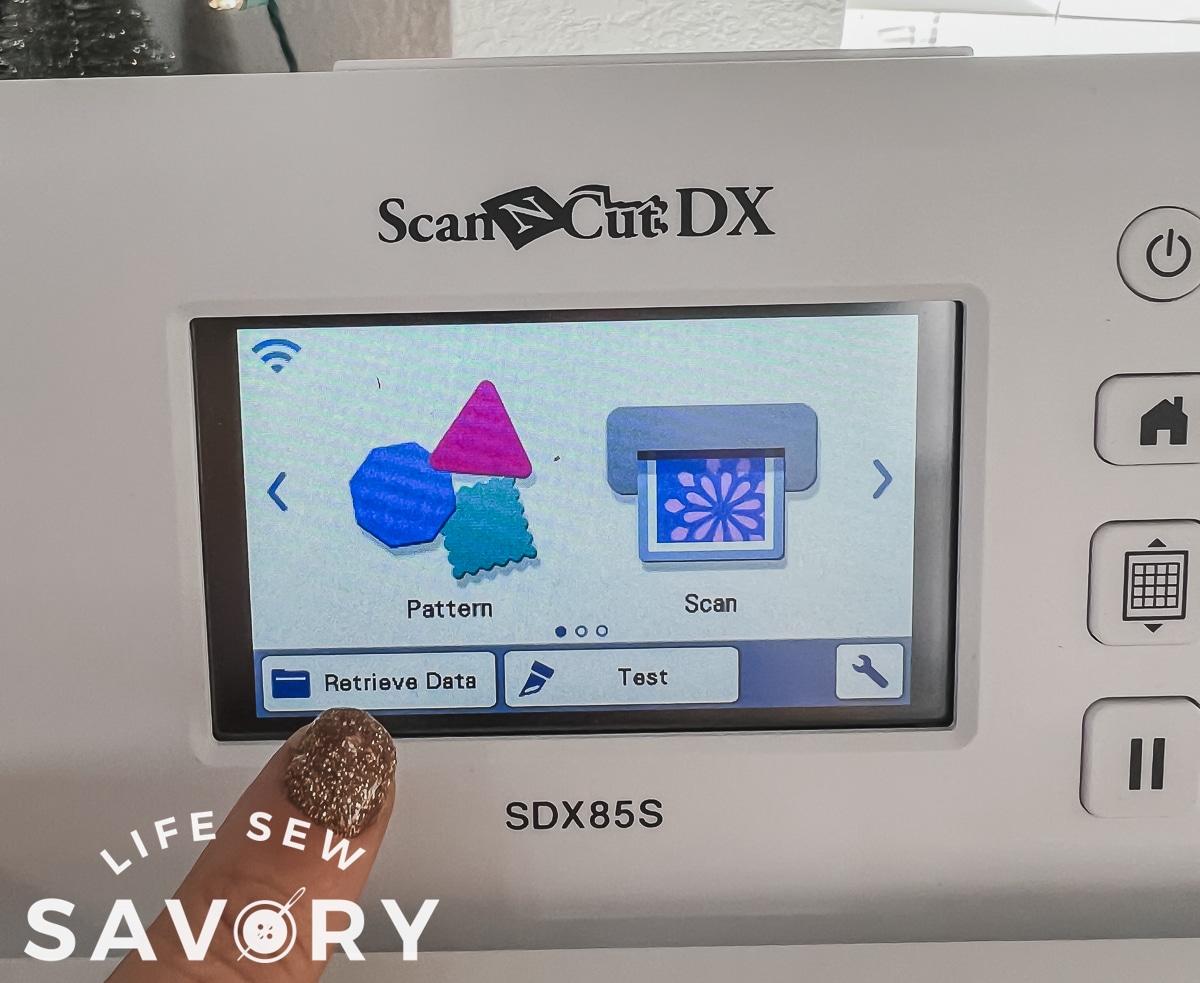
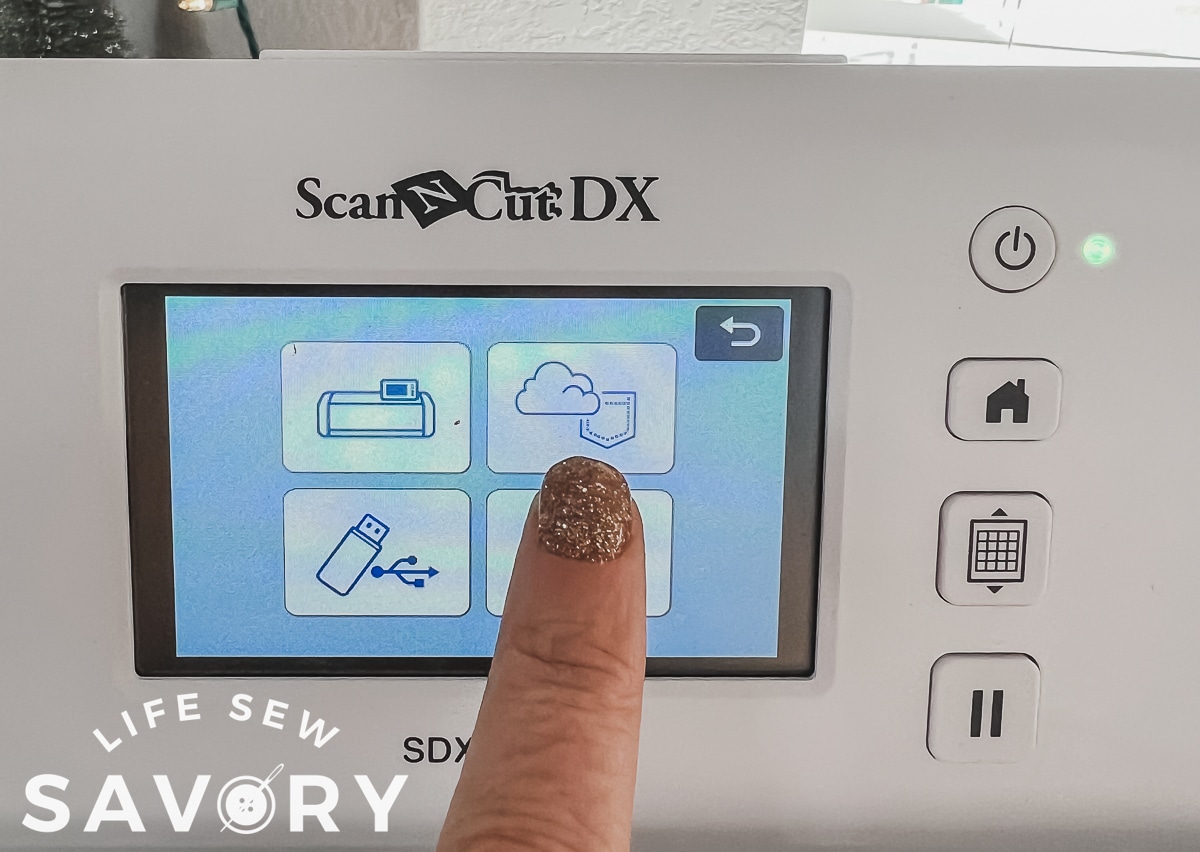
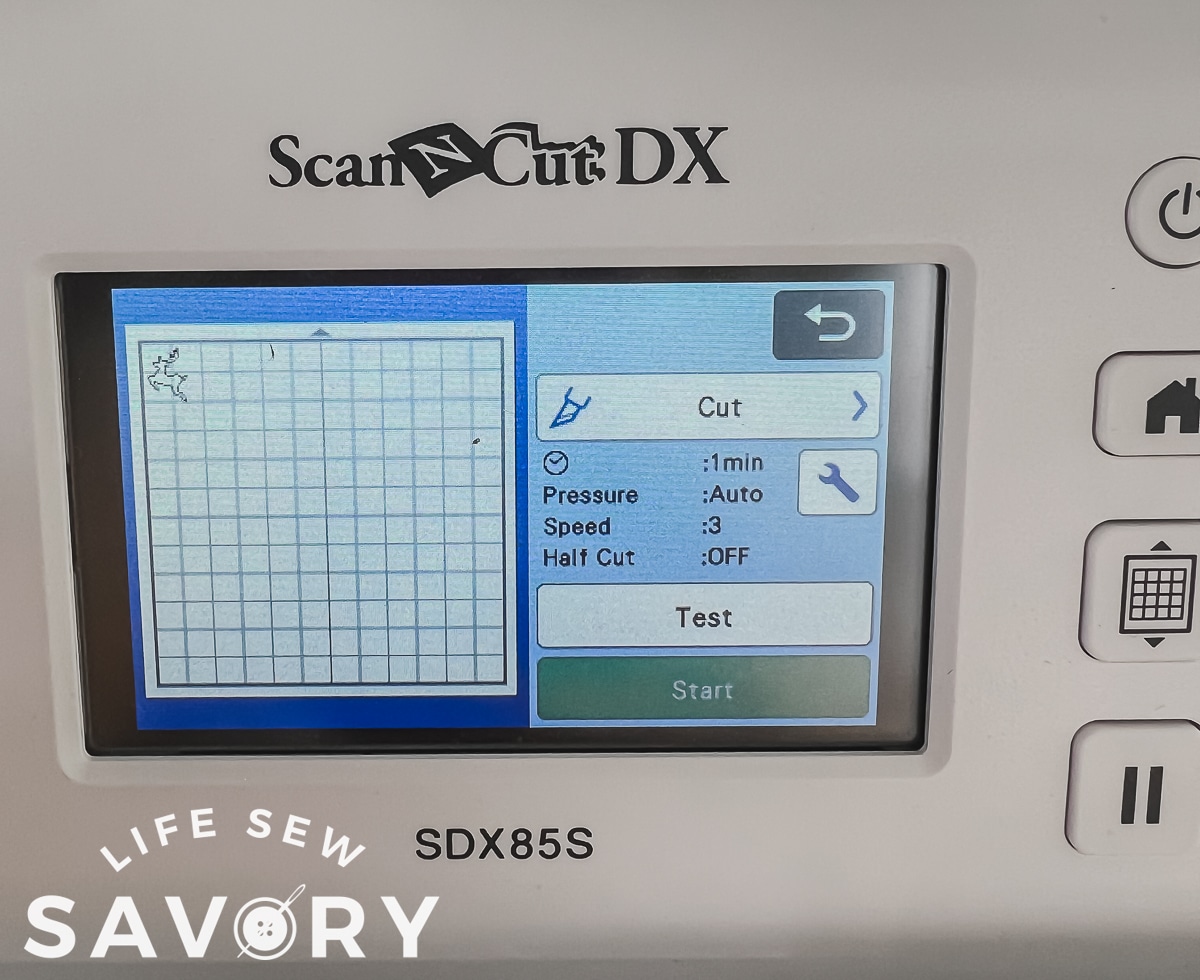
Now it’s time to head over to the scanncut and to actually cut the design. Retrieve Data, then grab it form the digital pocket. If you don’t see the pocket symbol, make sure your machine is up to date with updates. that fixed the problem for me. From the pocket the design will open on your machine. Resize or move if needed.
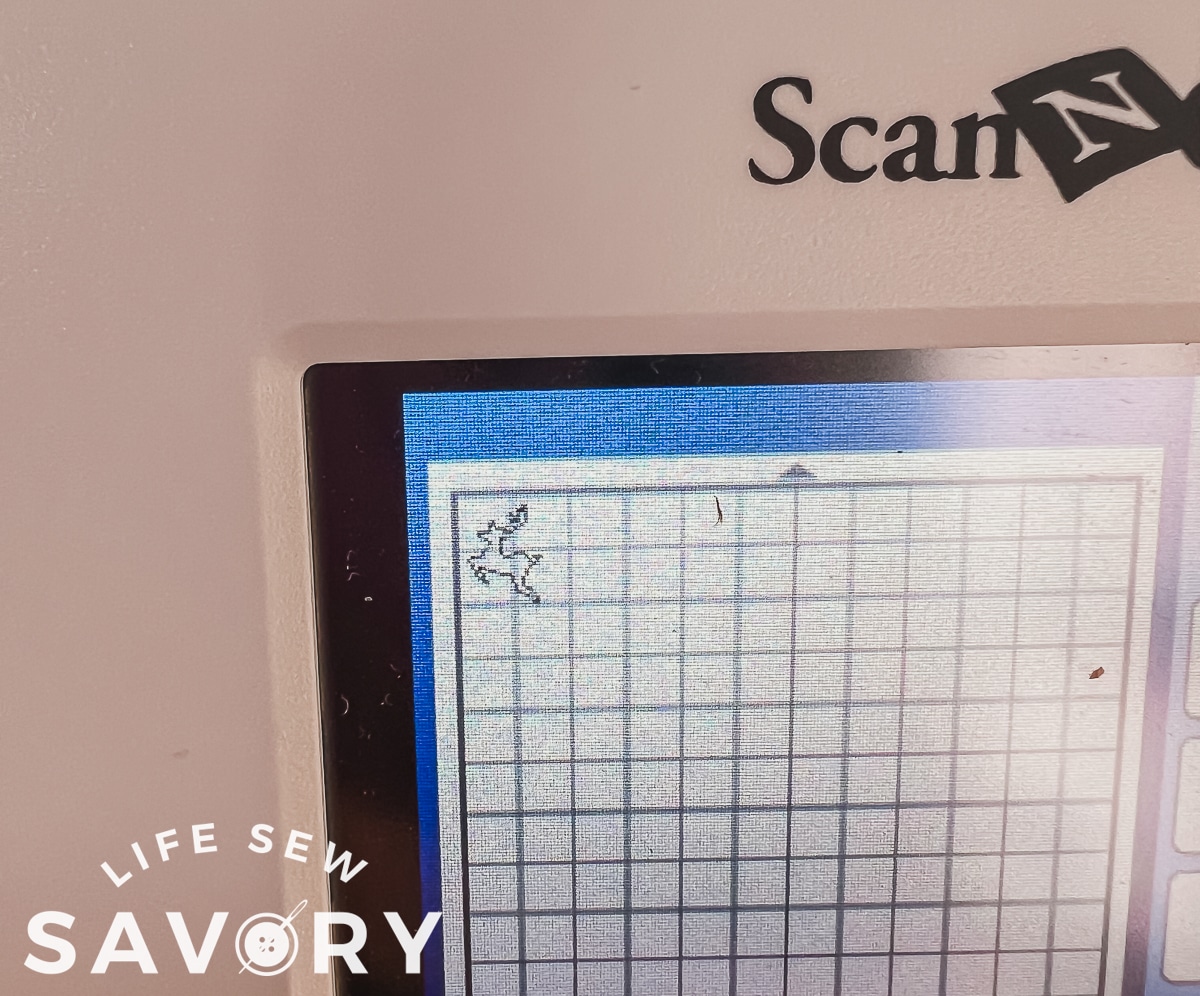
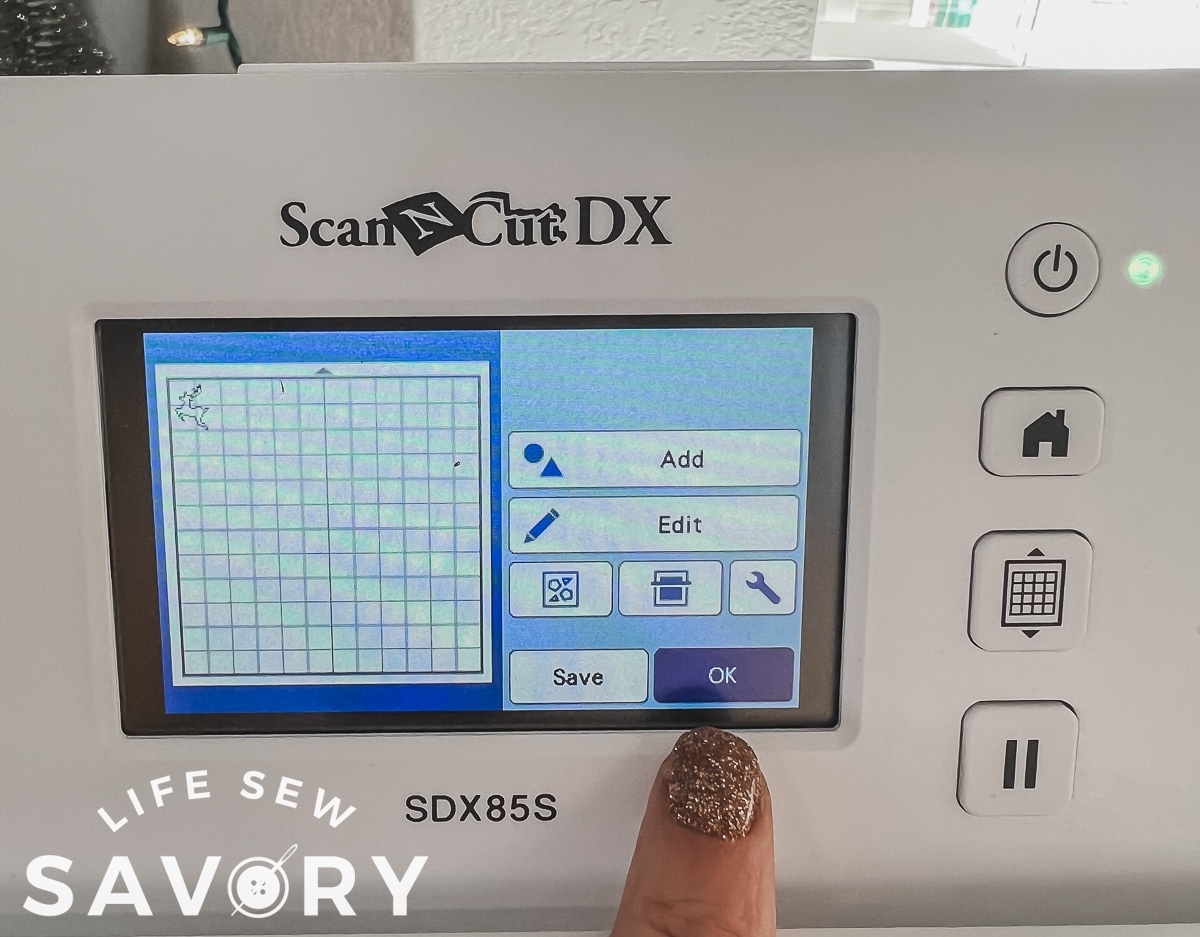
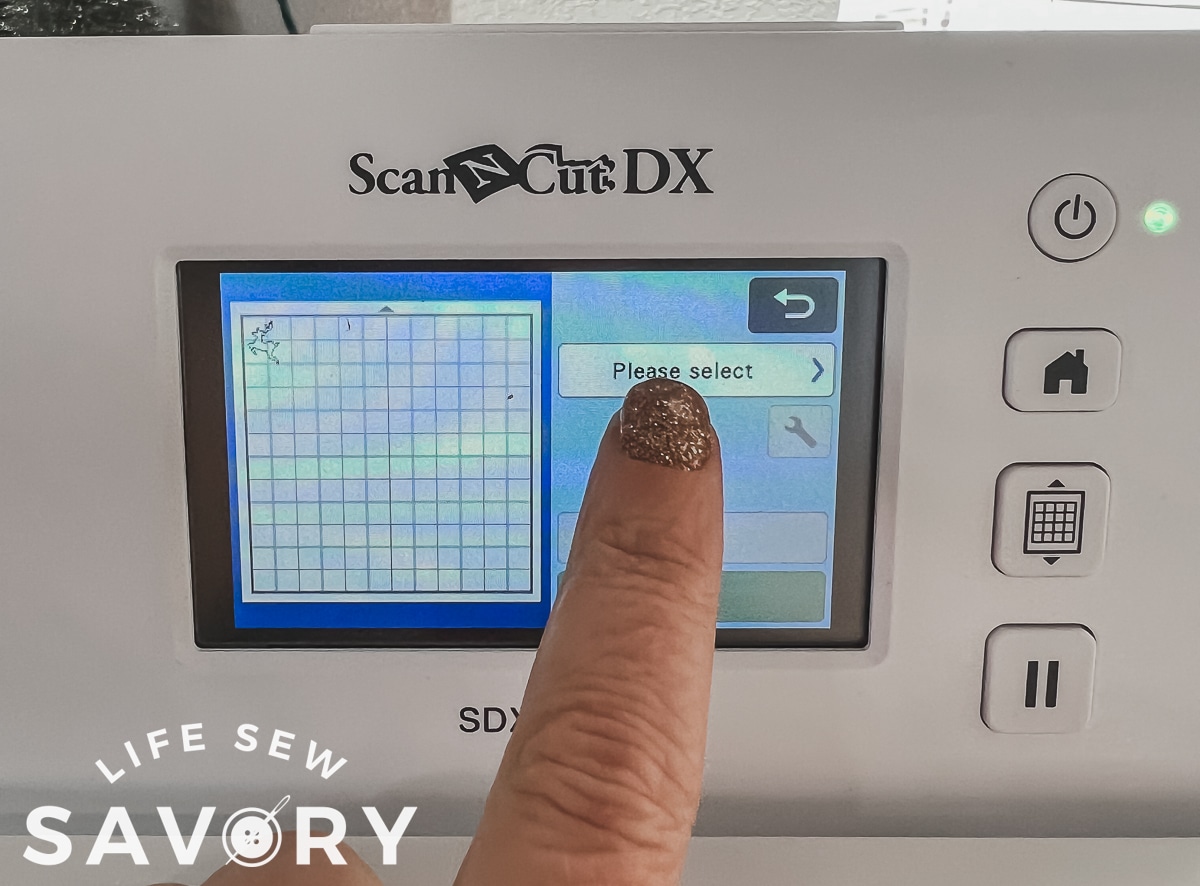
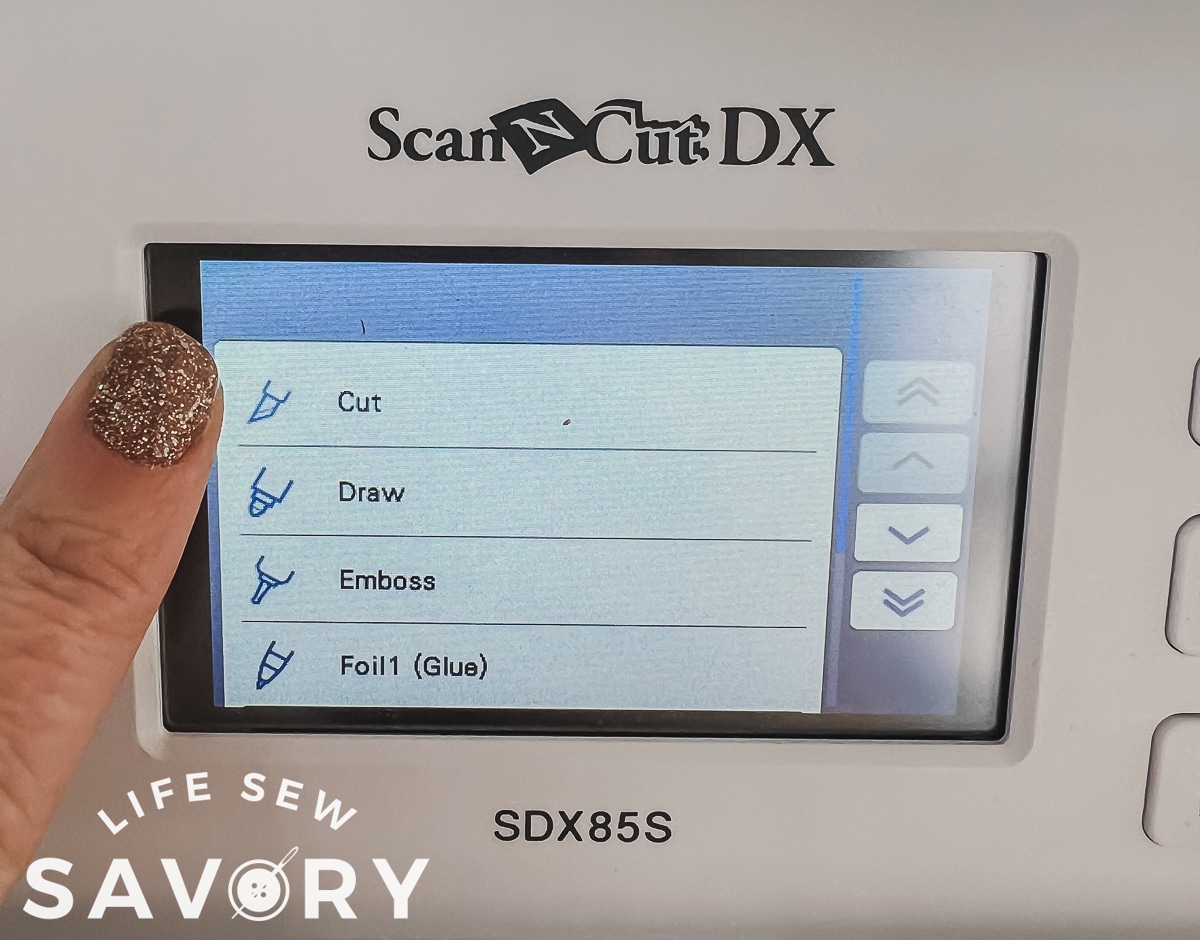
Select cut and either half cut or full. Vinyl always needs the half cut setting.
Prep the cutting mat and material you will cut. Use either a high tack mat OR add a high tack sheet to a regular mat. The grey vinyl is a flocked this vinyl that is lovely. I cut one deer about 2.5″ tall for my 3″ mini hoop. I also cut a second layer using the offset feature on my machine.
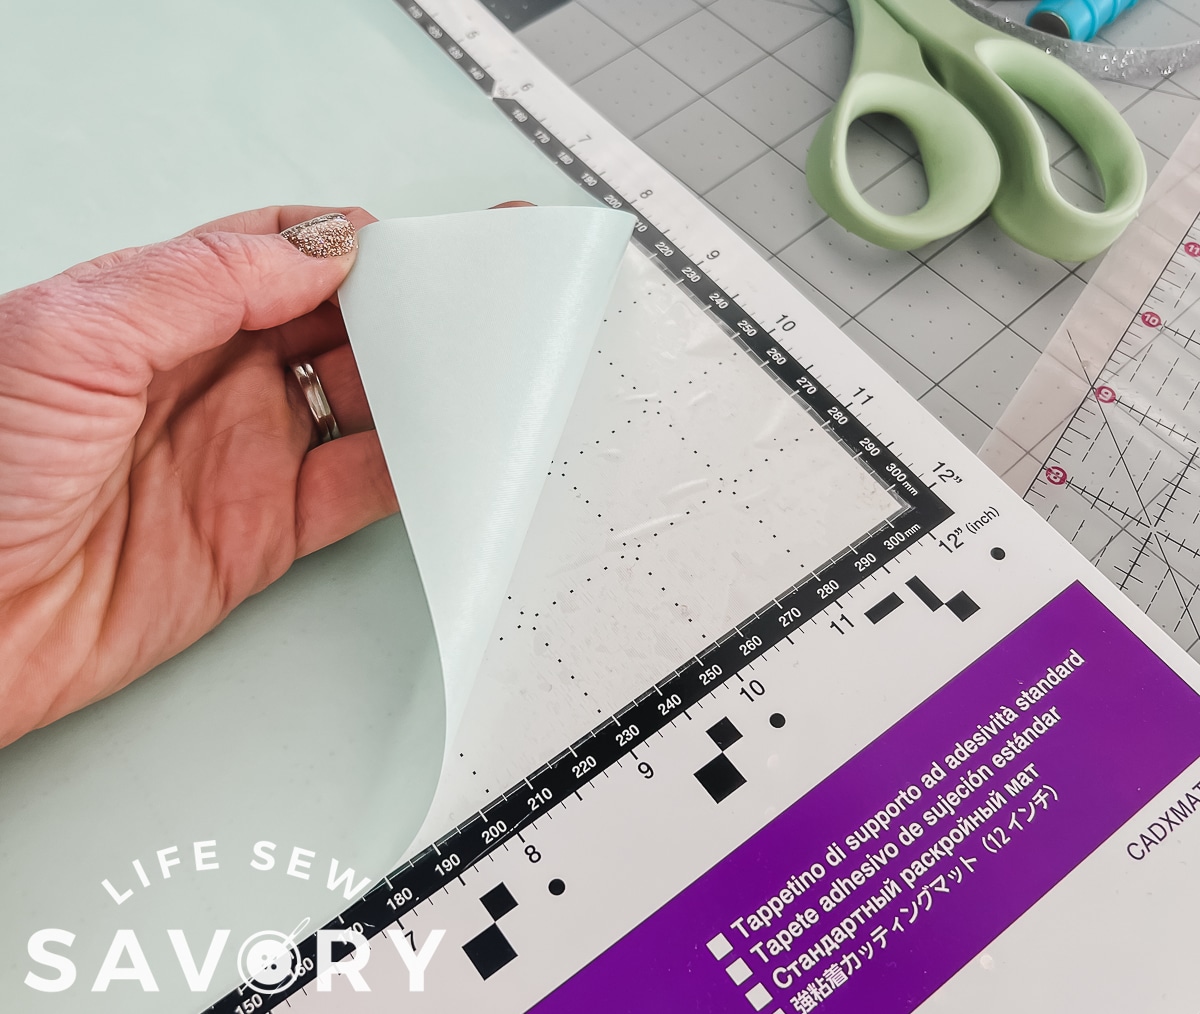
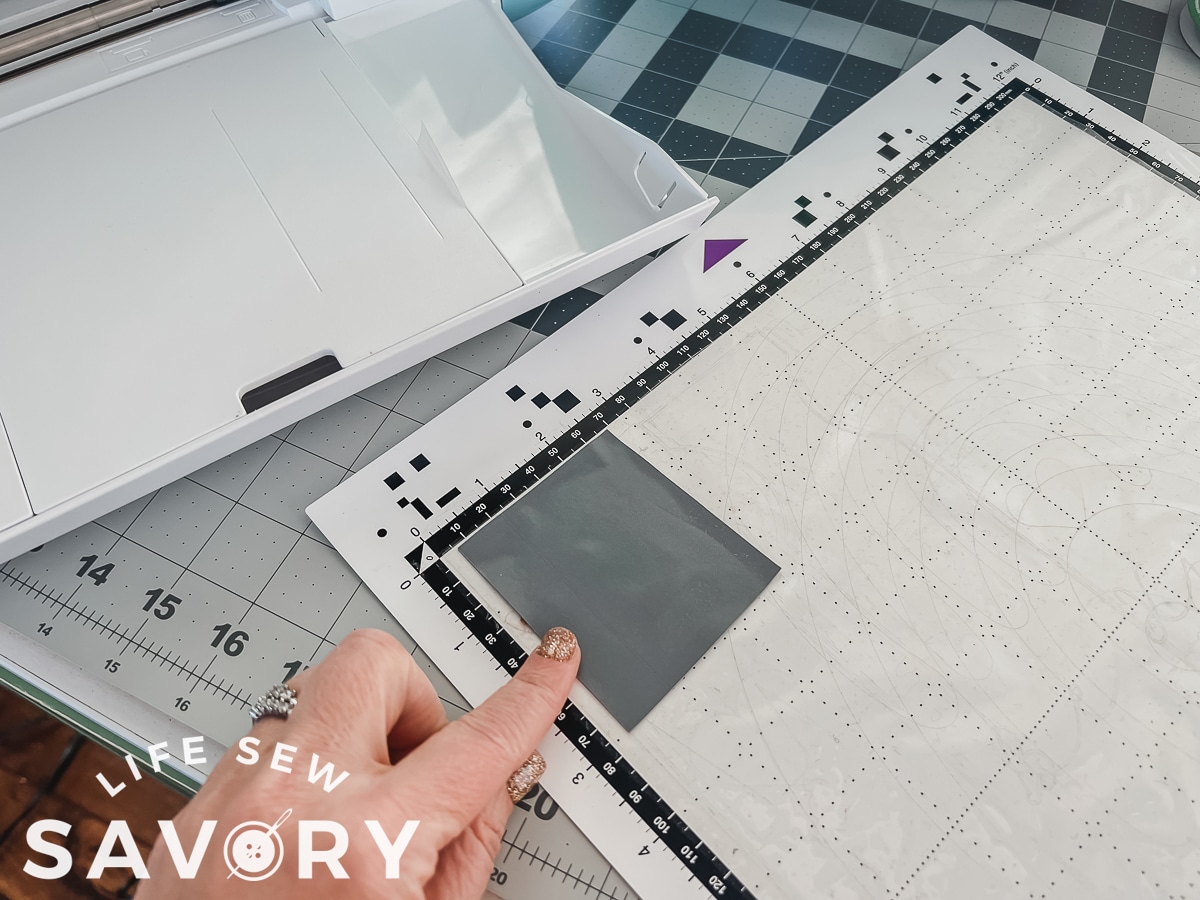
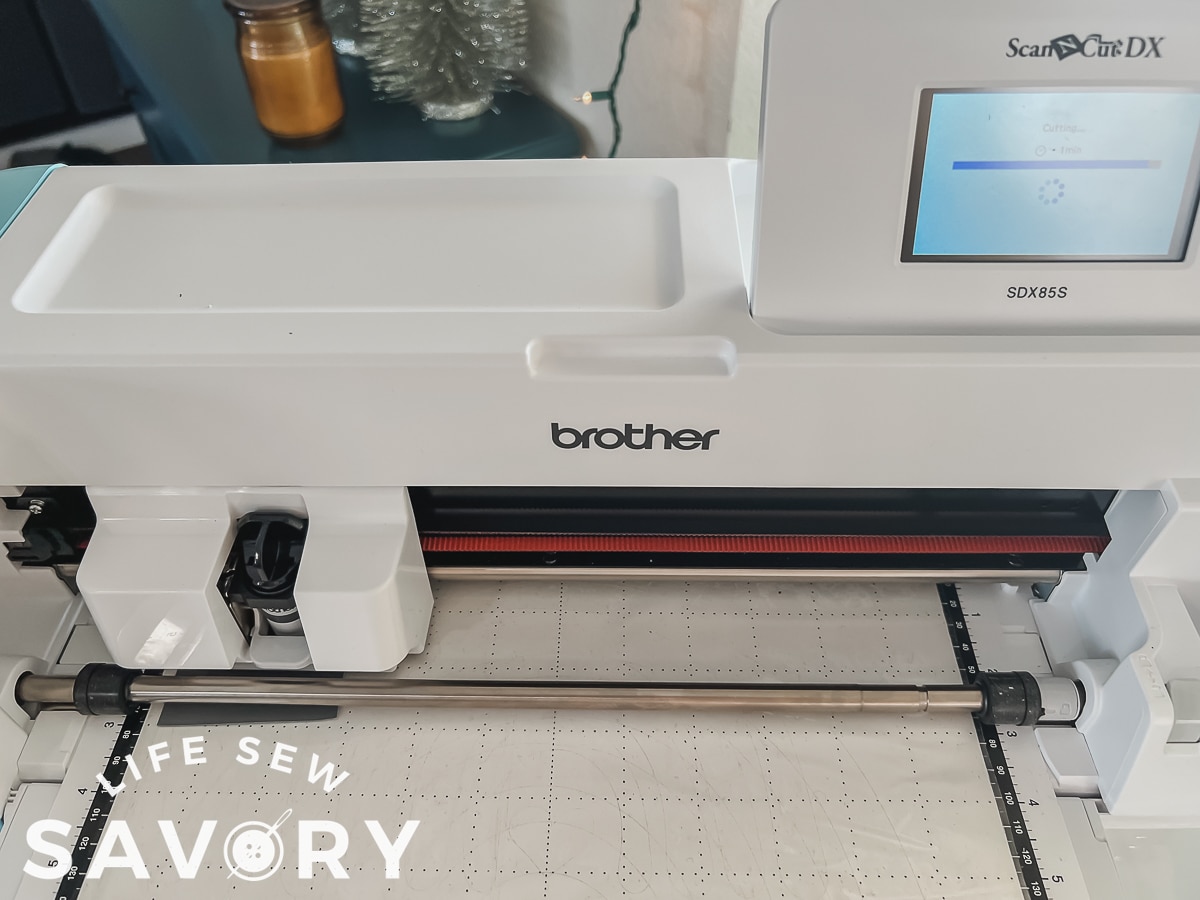
Some other designs were cut from glitter faux leather and stiff felt. The designs were transferred from the app the same way as above.
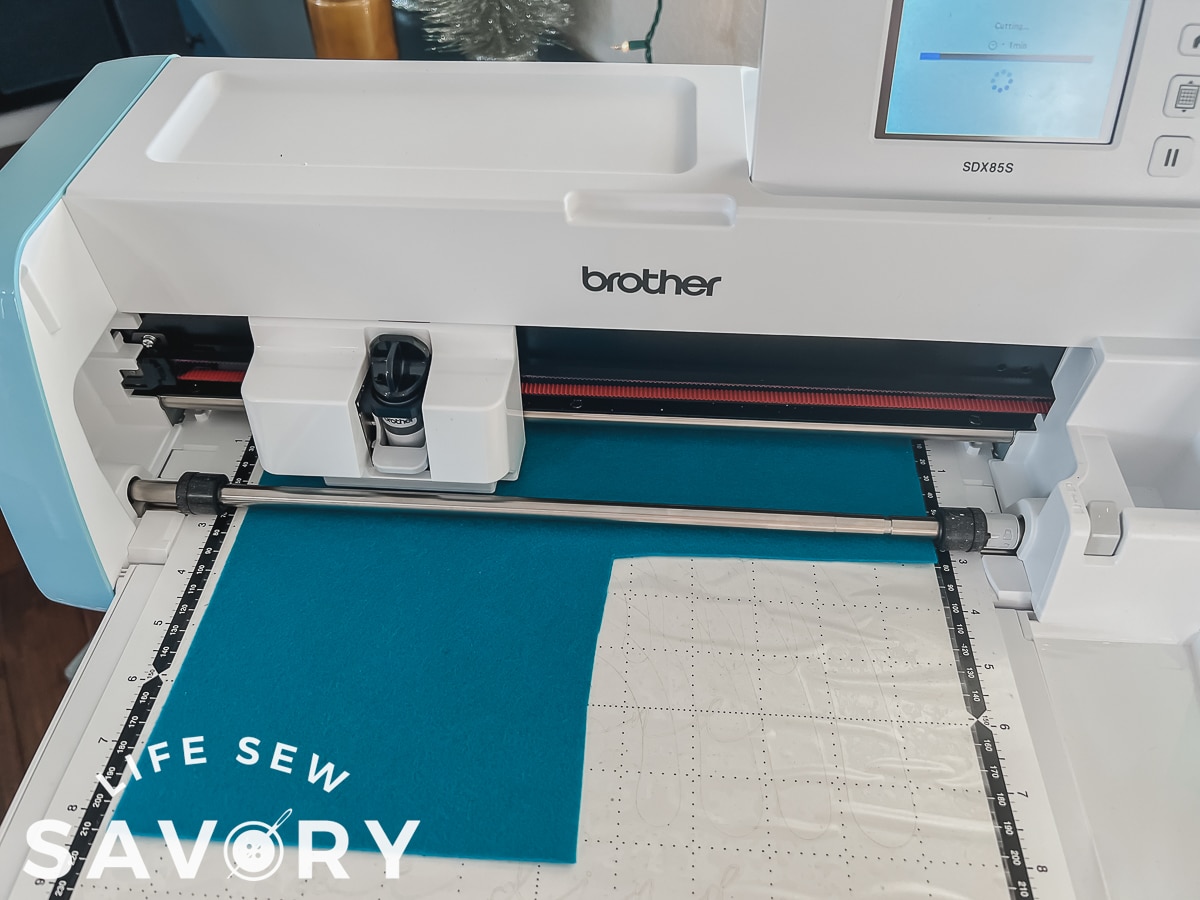
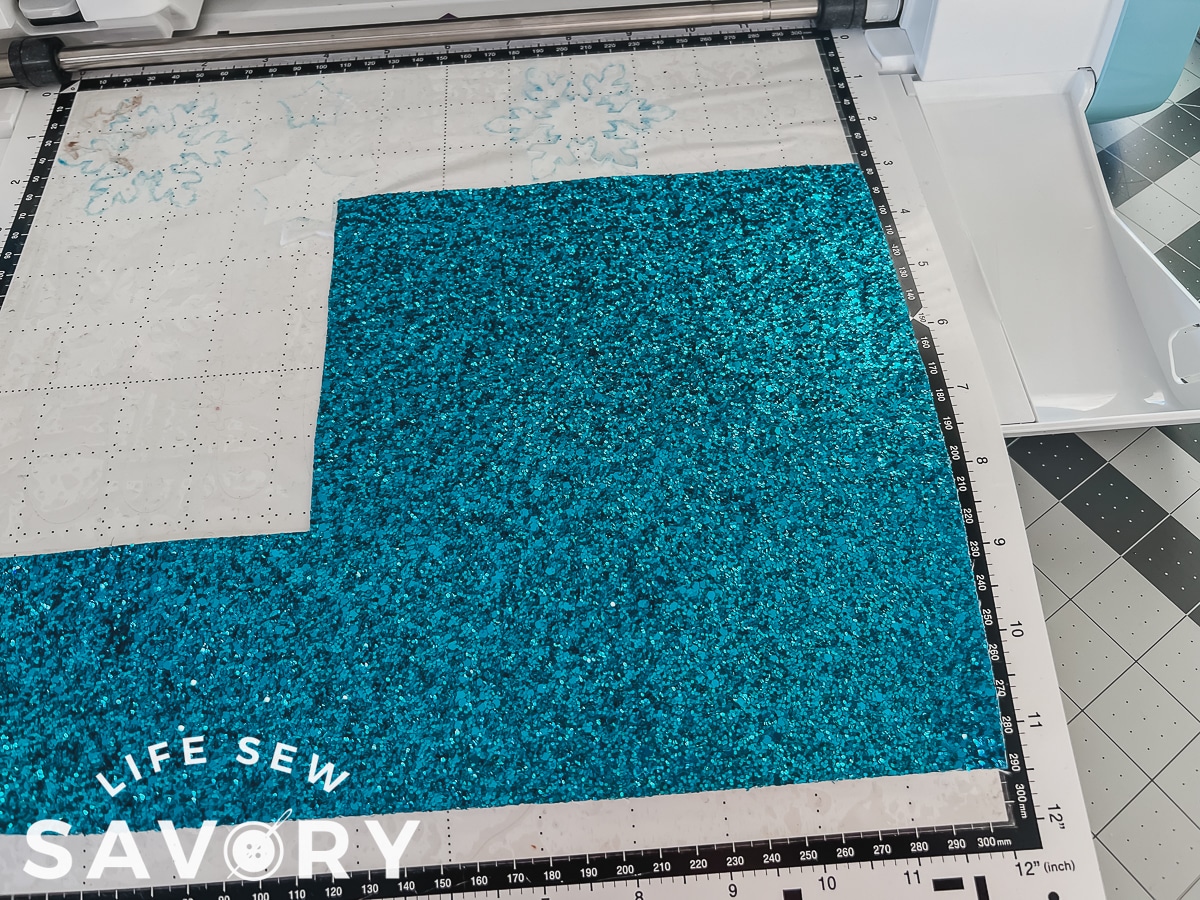
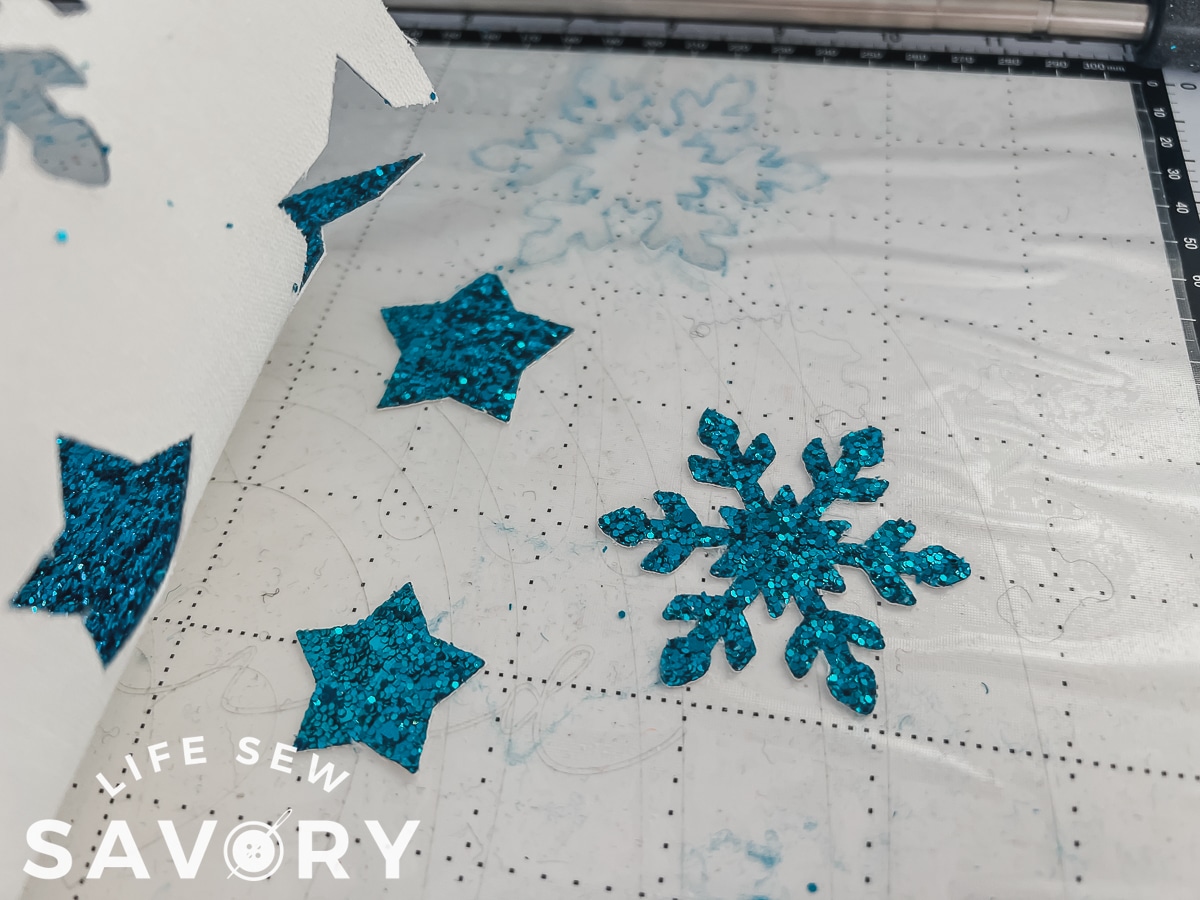
The red deer was cut from Craft Tex paper. I had scraps left from the card holders I sewed here. It’s such a fun product to work with.
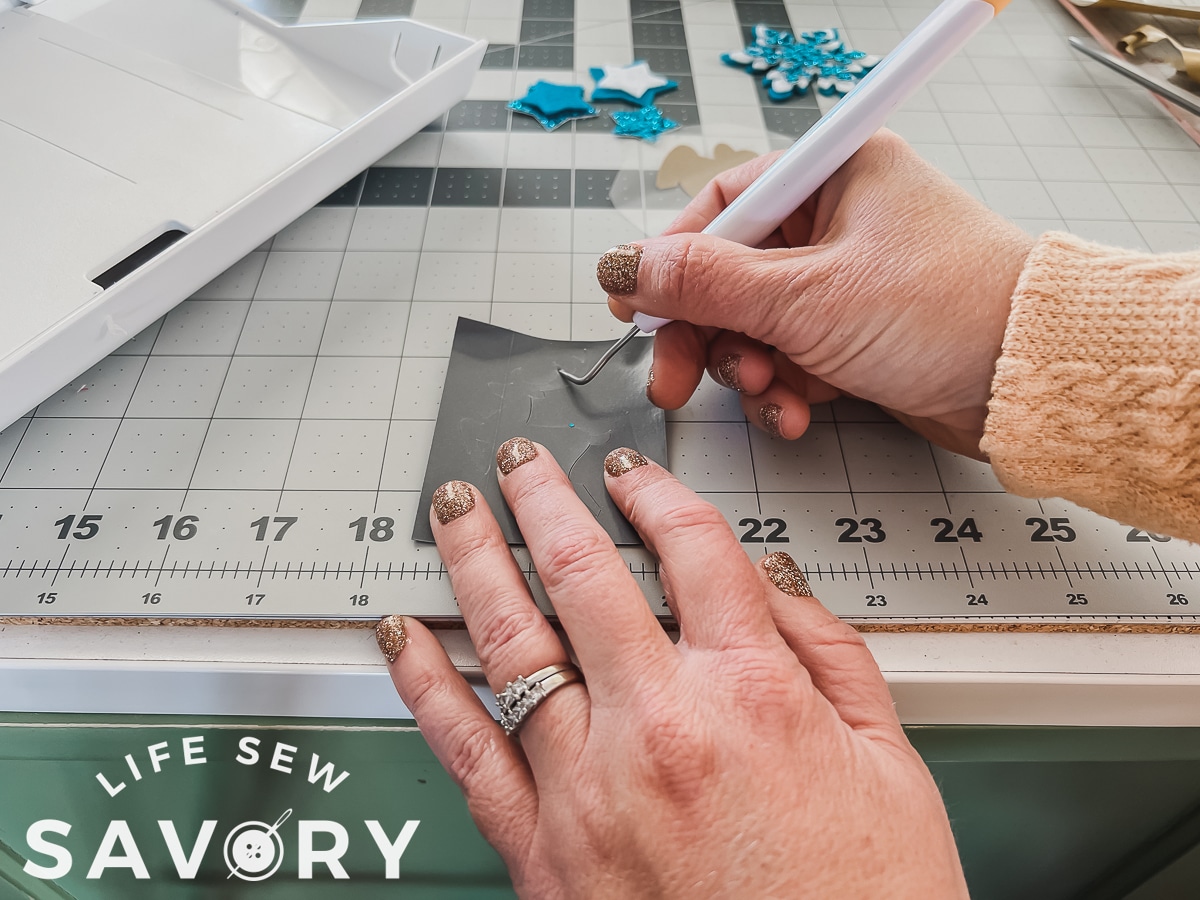
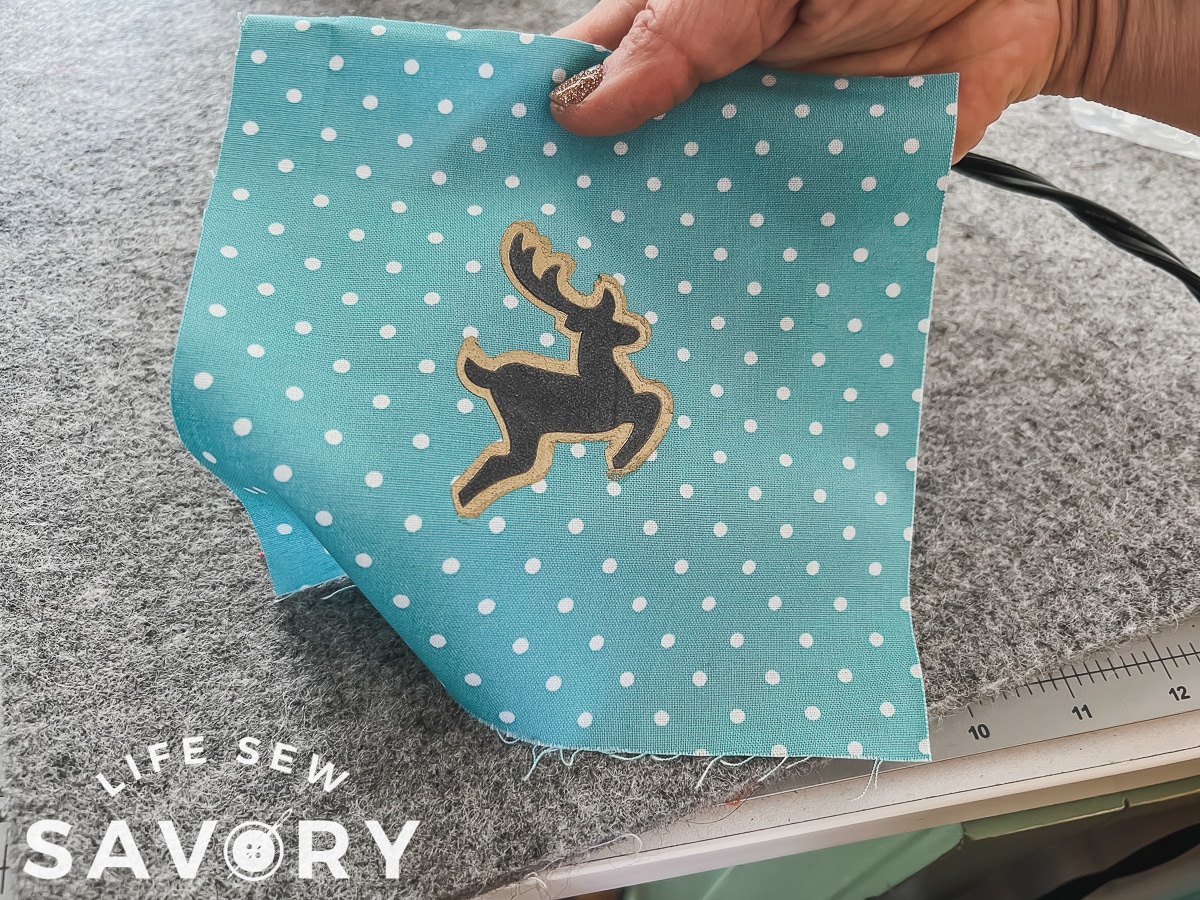
Once I had everything cut it was time to prep. I weeded out the vinyl from the two layers of the deer.
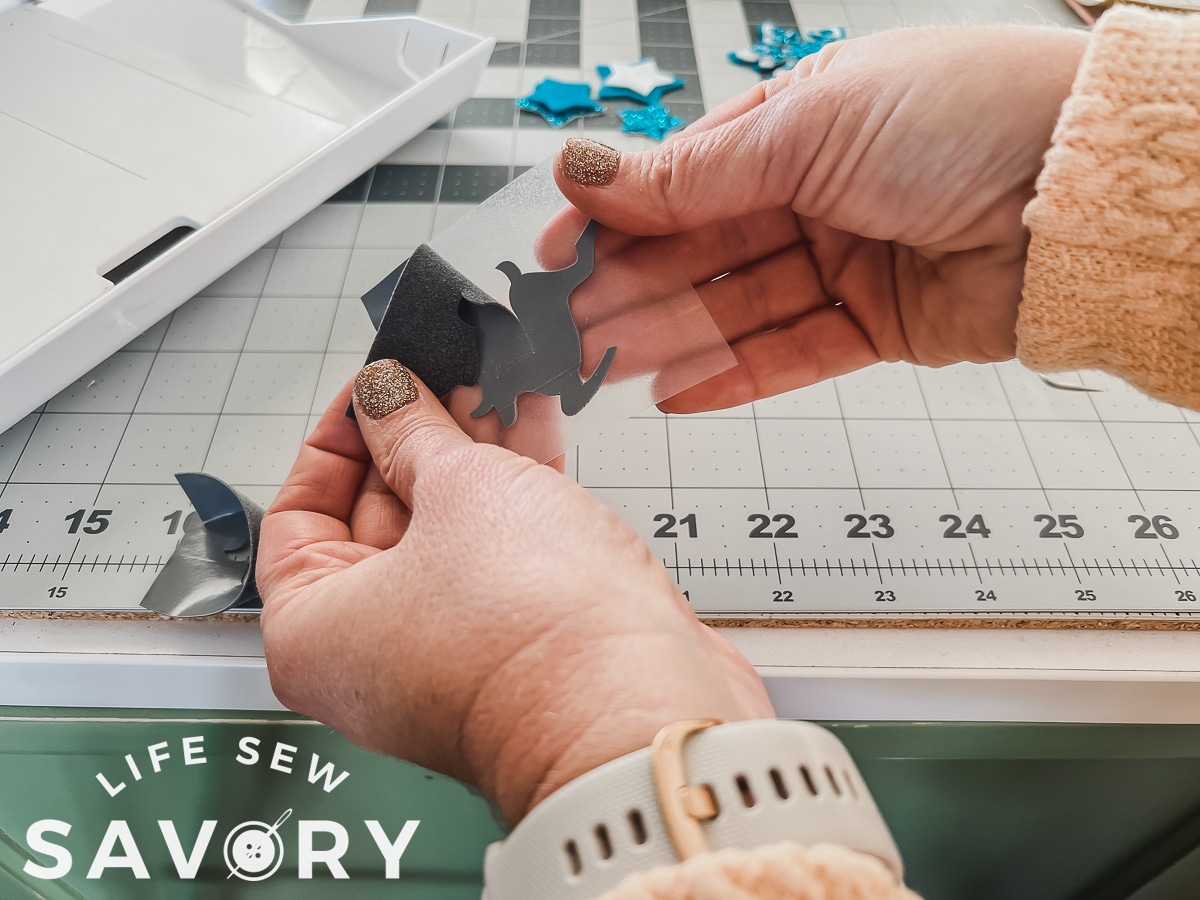
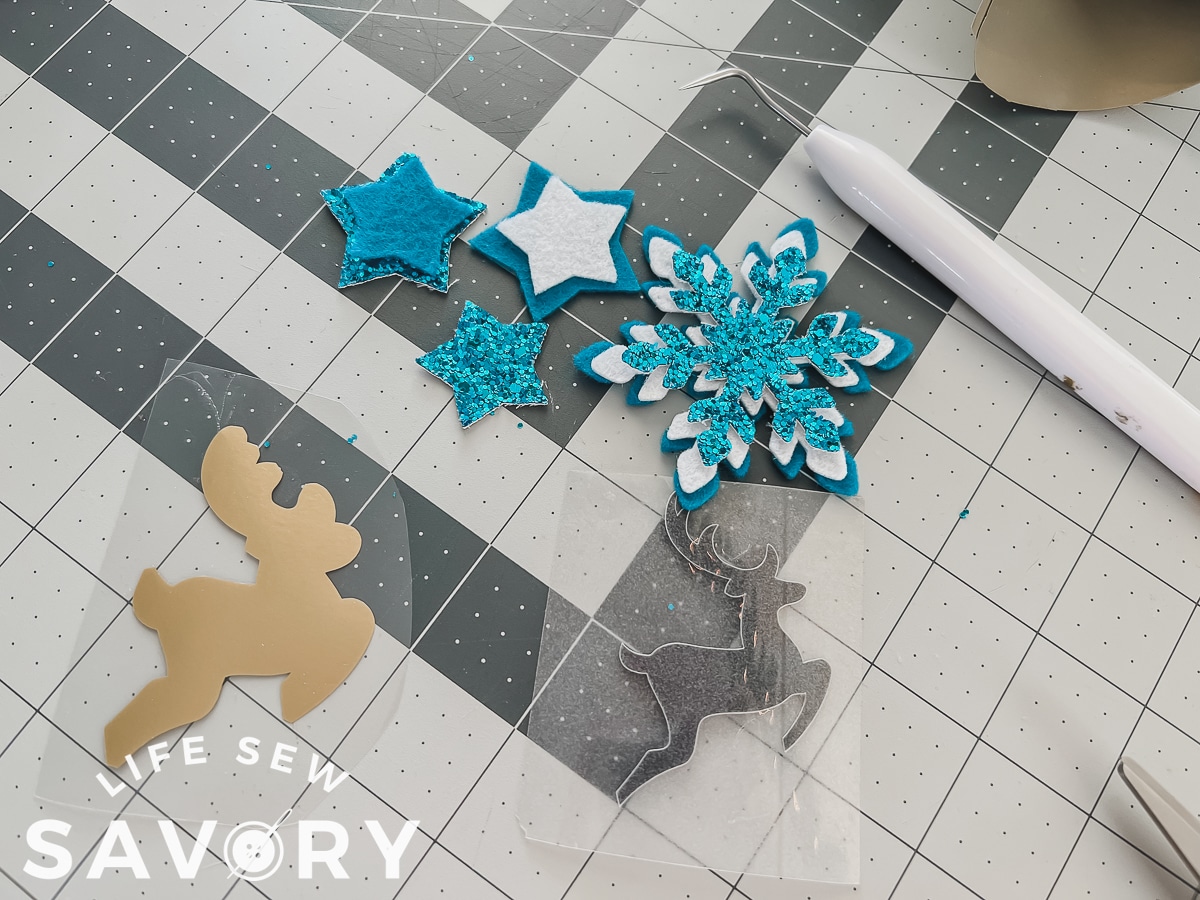
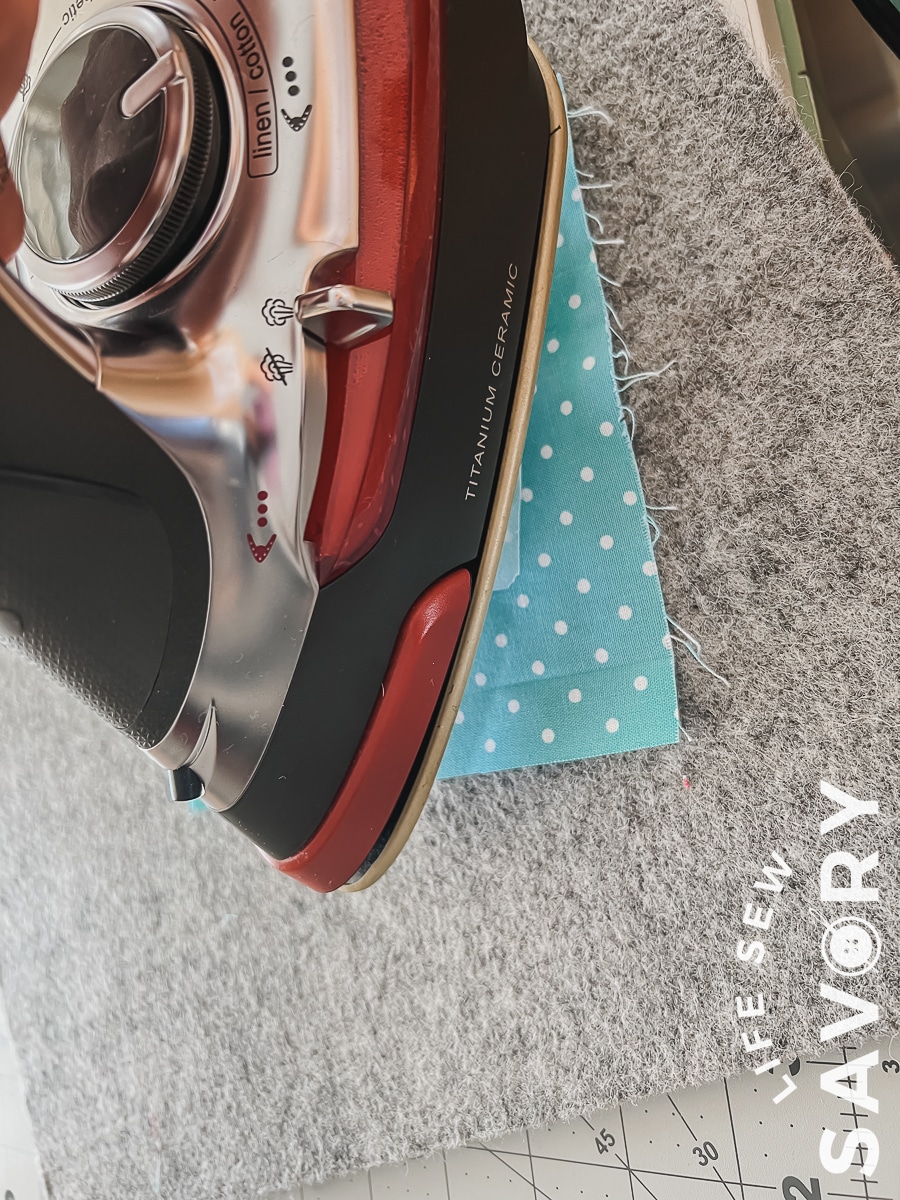
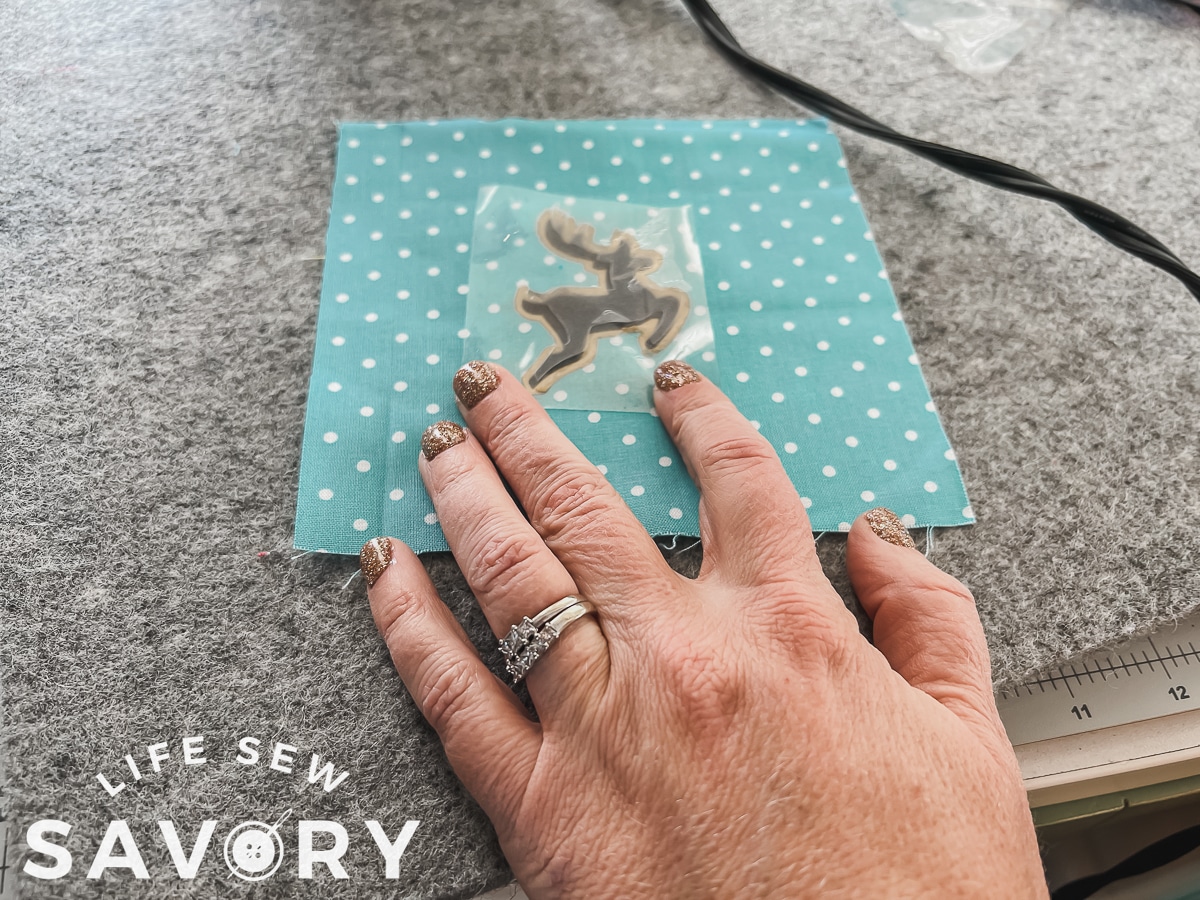
Iron on the under layer in the center of a piece of fabric. My mini hoops are 3″ so my squares where 4-5″ for prepping. After the gold is on, peel off the transfer clear layer, then add the grey deer and press again. Make sure all vinyl is covered with transfer tape.
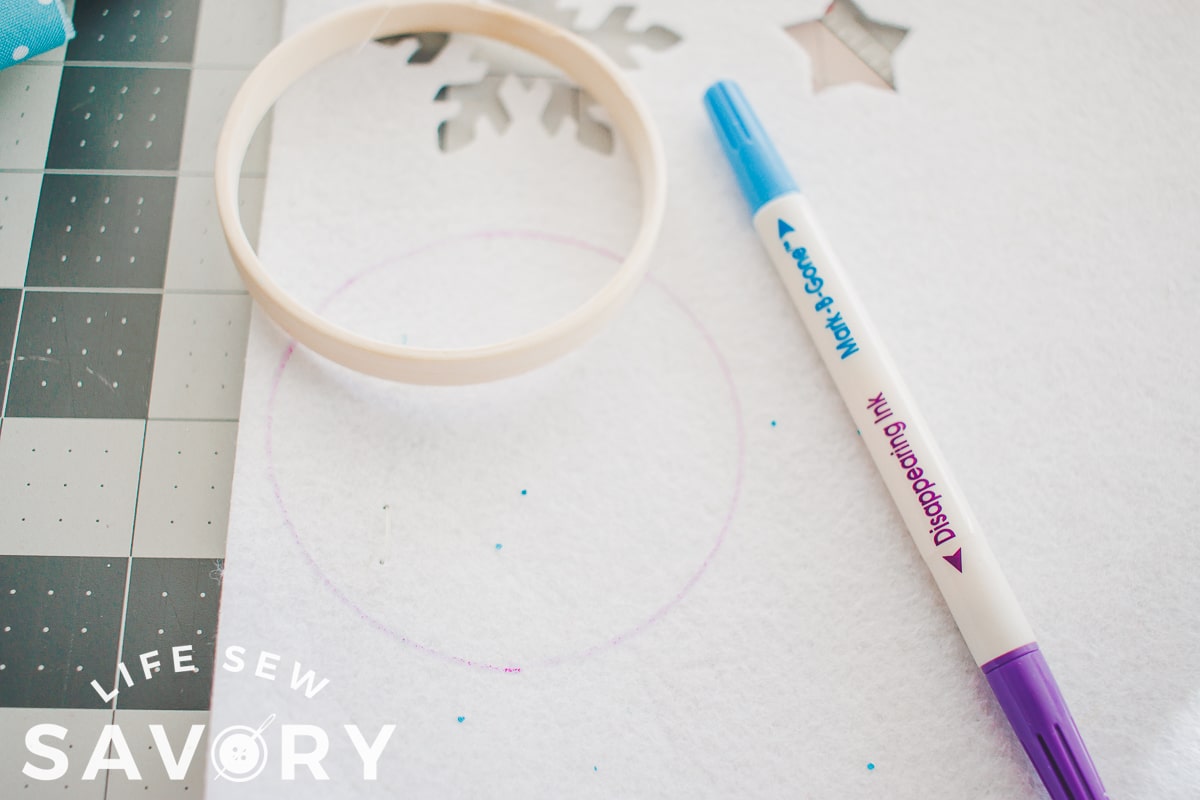
For the snowflake I had cut the same file three different sizes to I stacked ang glued the layers together. You will also need to prep the backings. I used the inner hoop circle to trace on white felt for backing. Cut circles for ornaments.
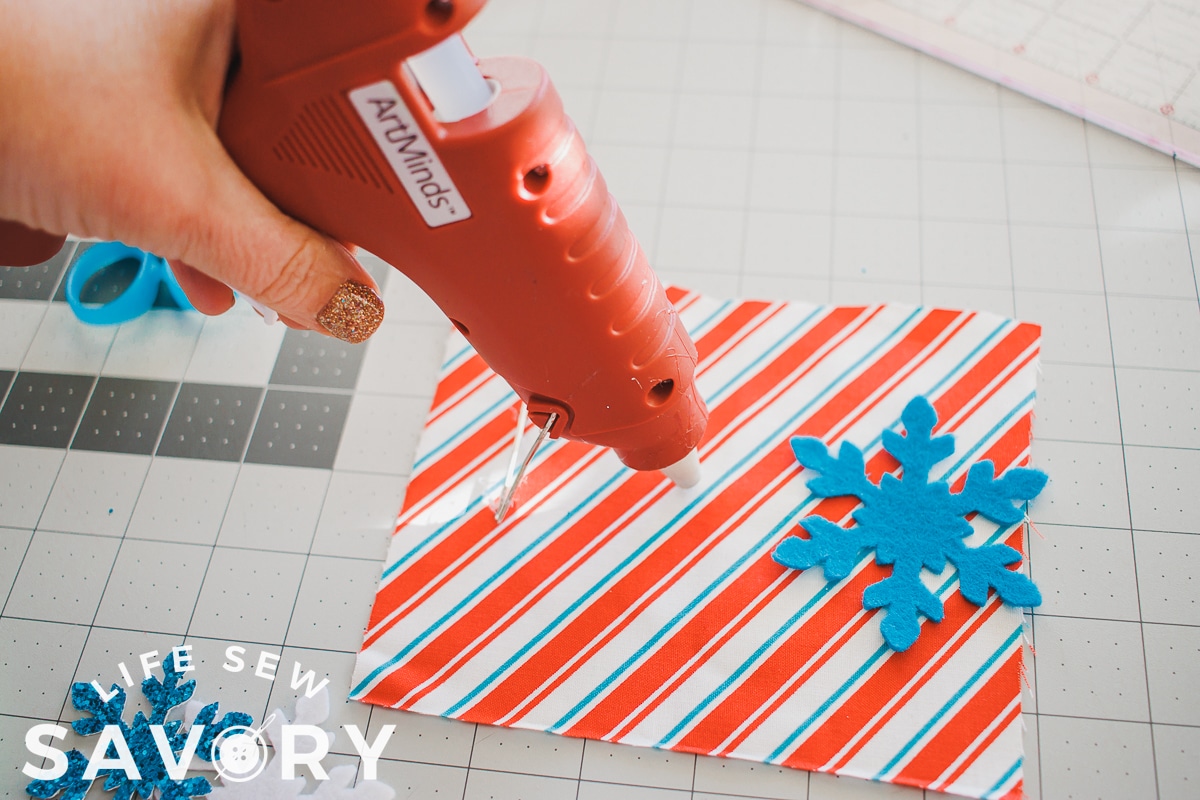
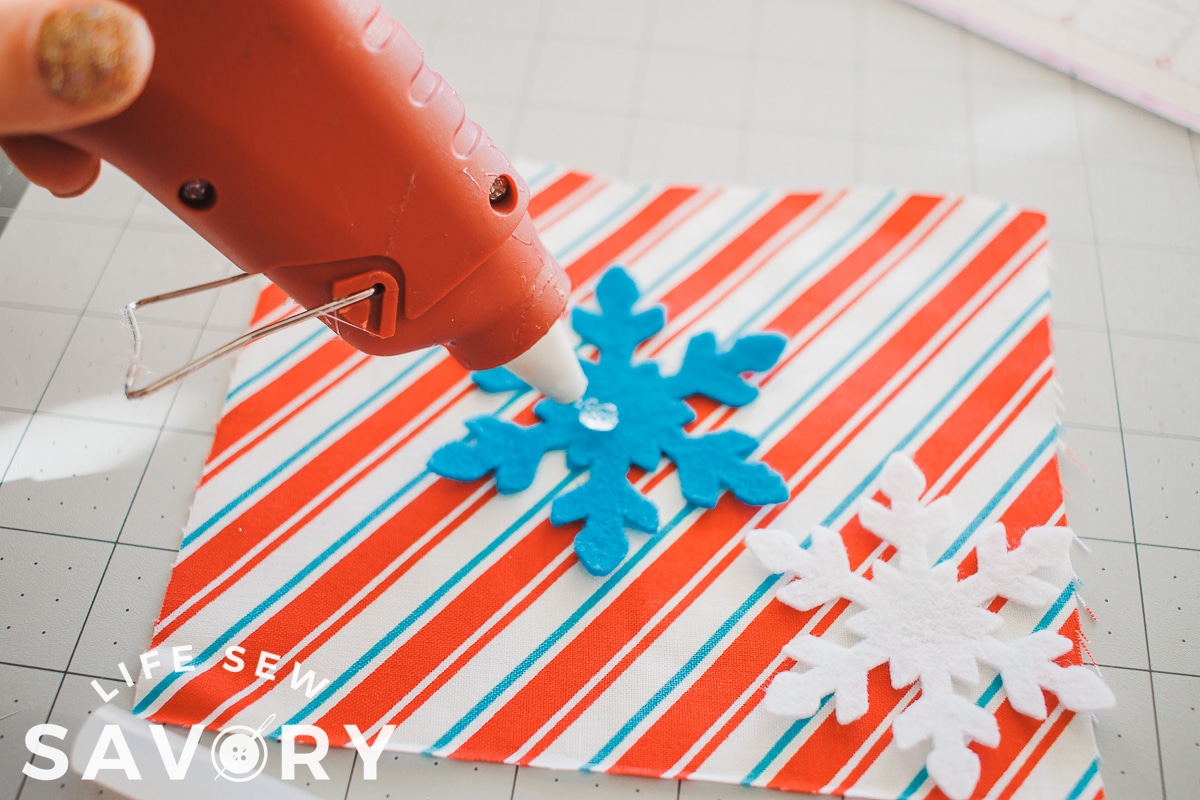
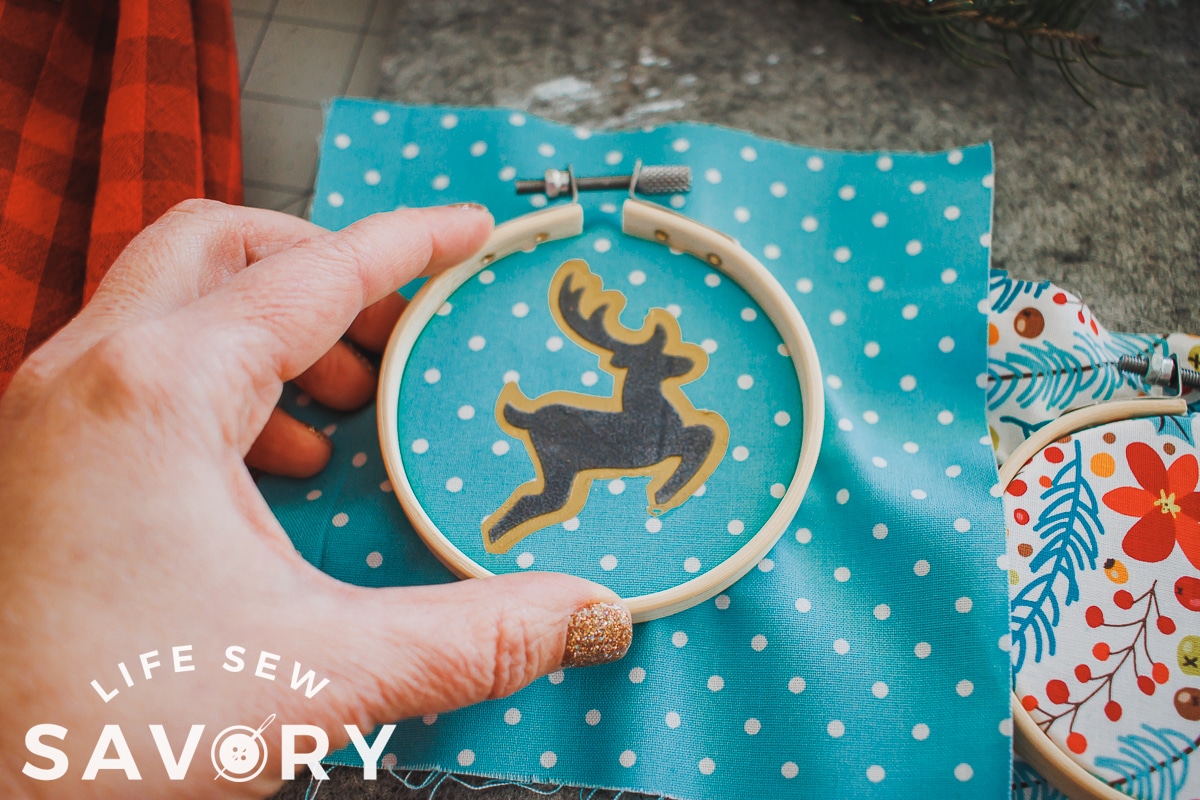
Open the hoop. Take the small hoop and place it on your table. Place the fabric on top of the hoop and center the design in the hoop. Press the top larger hoop onto the fabric to secure. Tighten the screw.
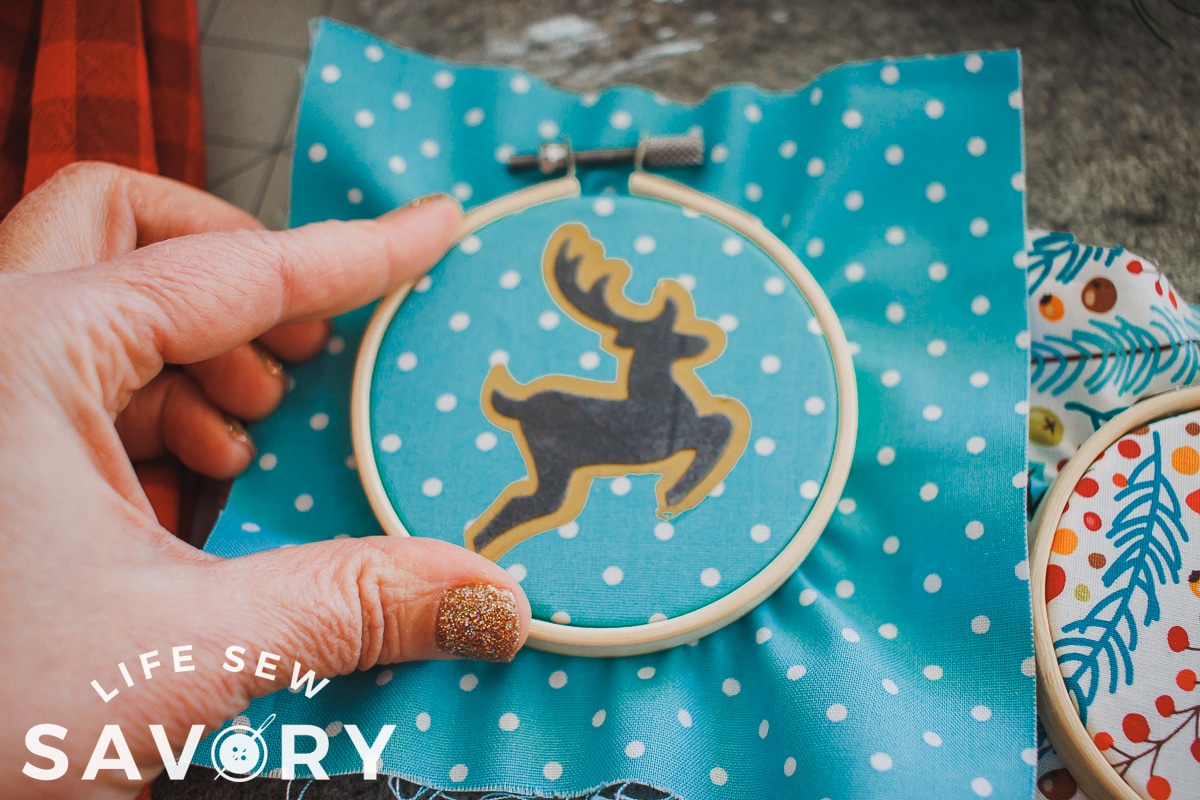
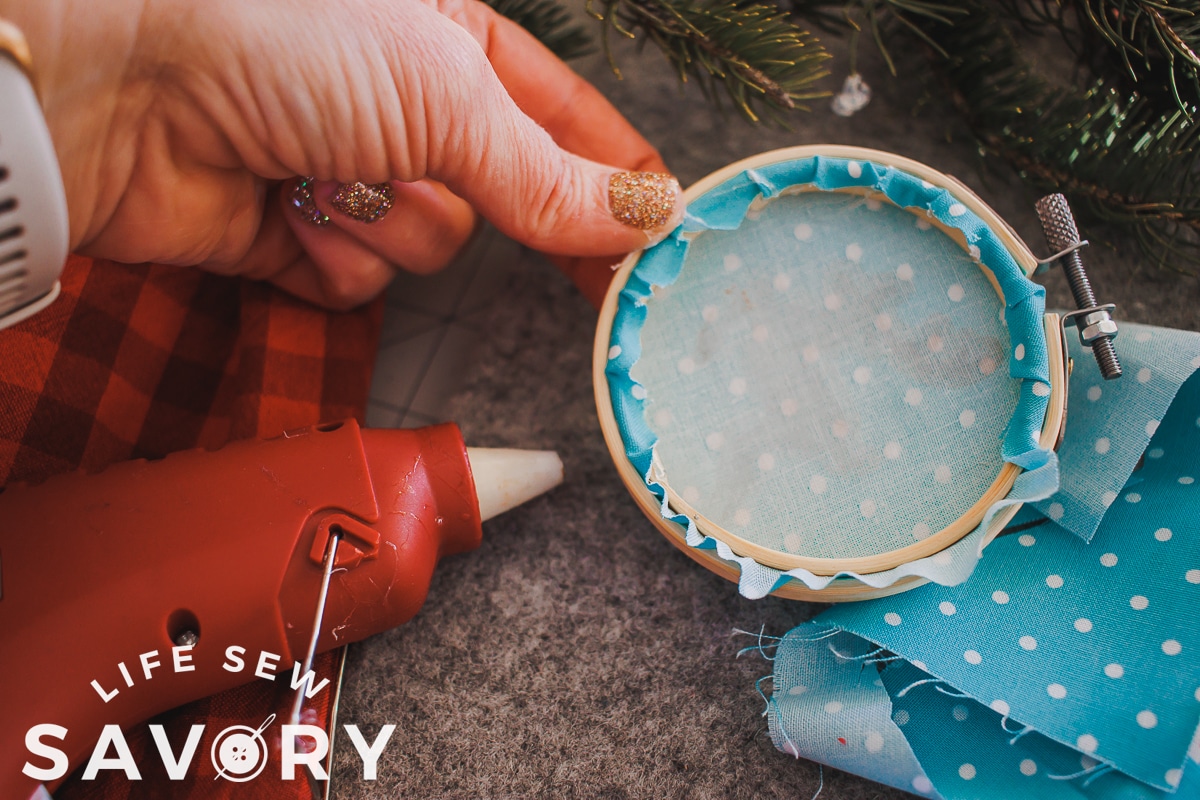
Trim the extra fabric to about 1/2″ long on the back. Use hot glue to fold over the fabric to the back of the hoop. Then use hot glue again to add the white circle backing.
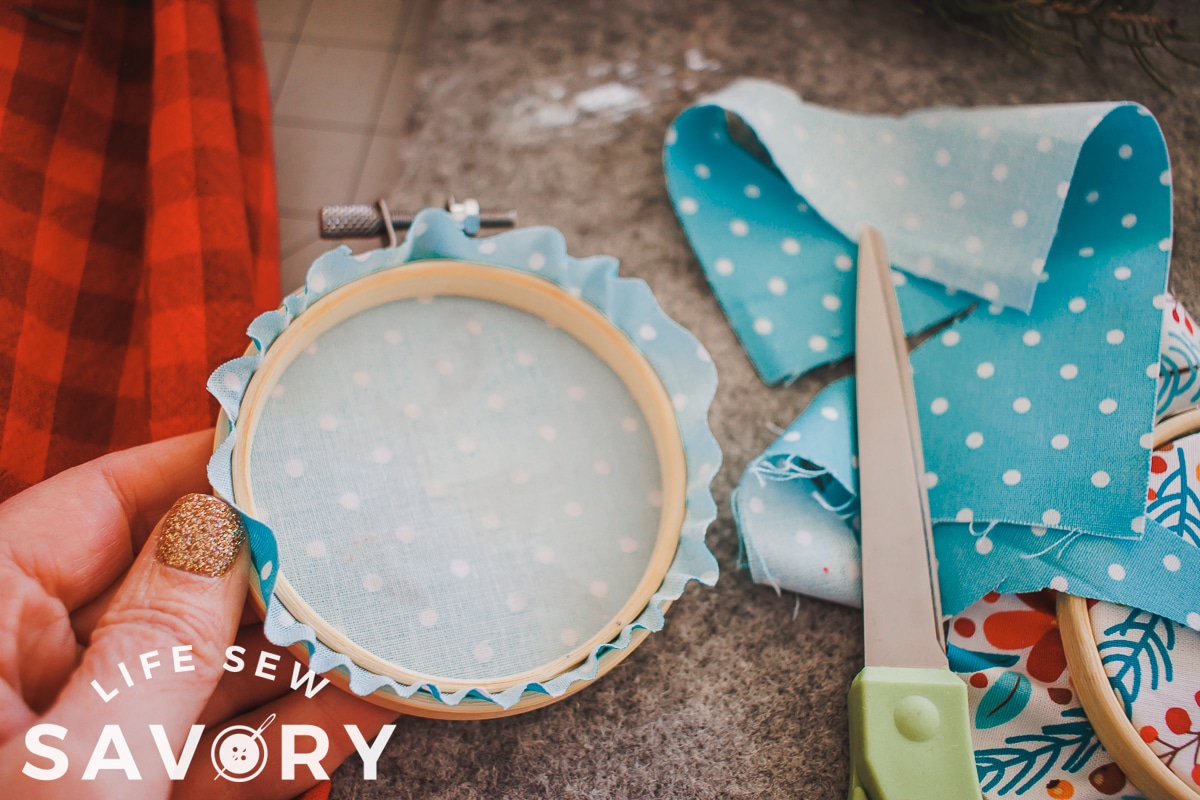
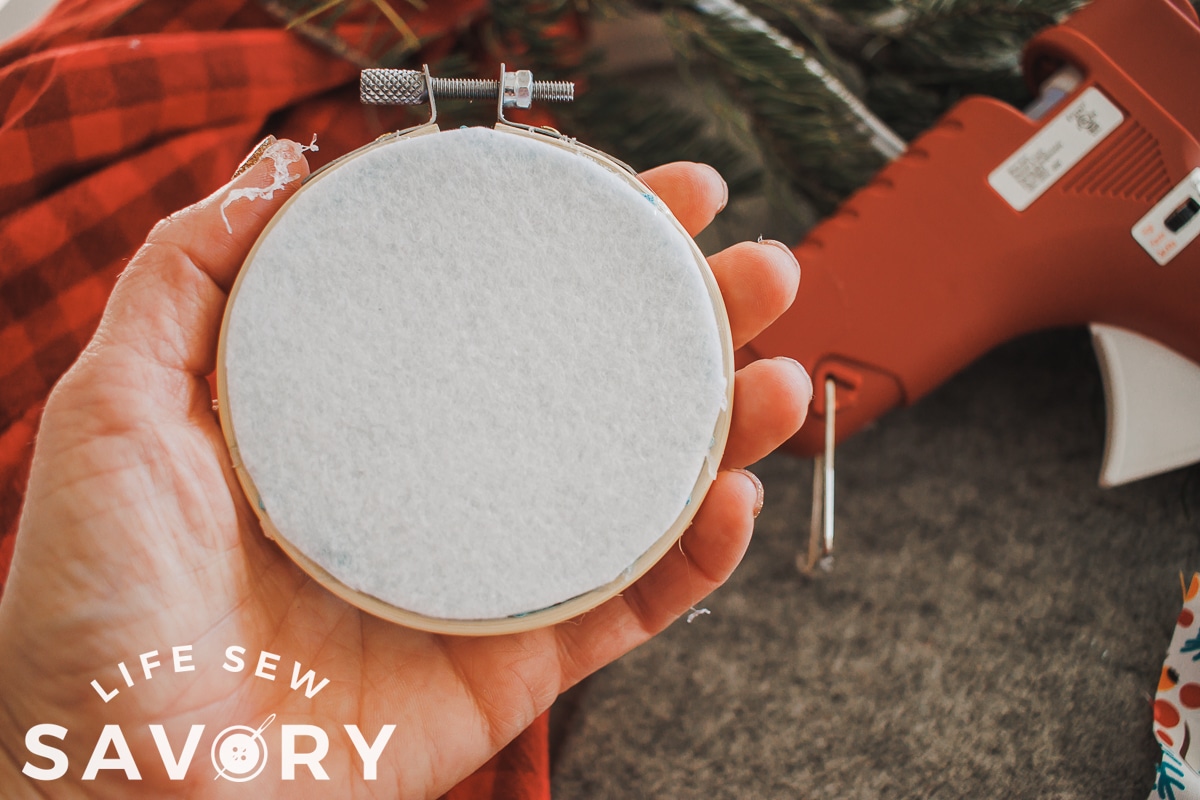
Add some glitter ribbon for a hanger and enjoy! Repeat with all the other ornaments you want to make.






Leave a Reply