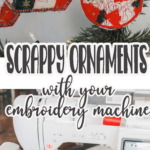
inside: Learn how to make scrappy fabric Christmas ornaments on your embroidery machine. Use files from Artspira to create these beautiful fabric ornaments.
Every years I make at least one new handmade Christmas ornament. While browsing Artspira I was inspired by some of the amazing Christmas designs, so this year my ornament uses designs from Artspira and your Brother embroidery machine. If you don’t have a Brother machine you can use this same concept and find designs that work with your machine.
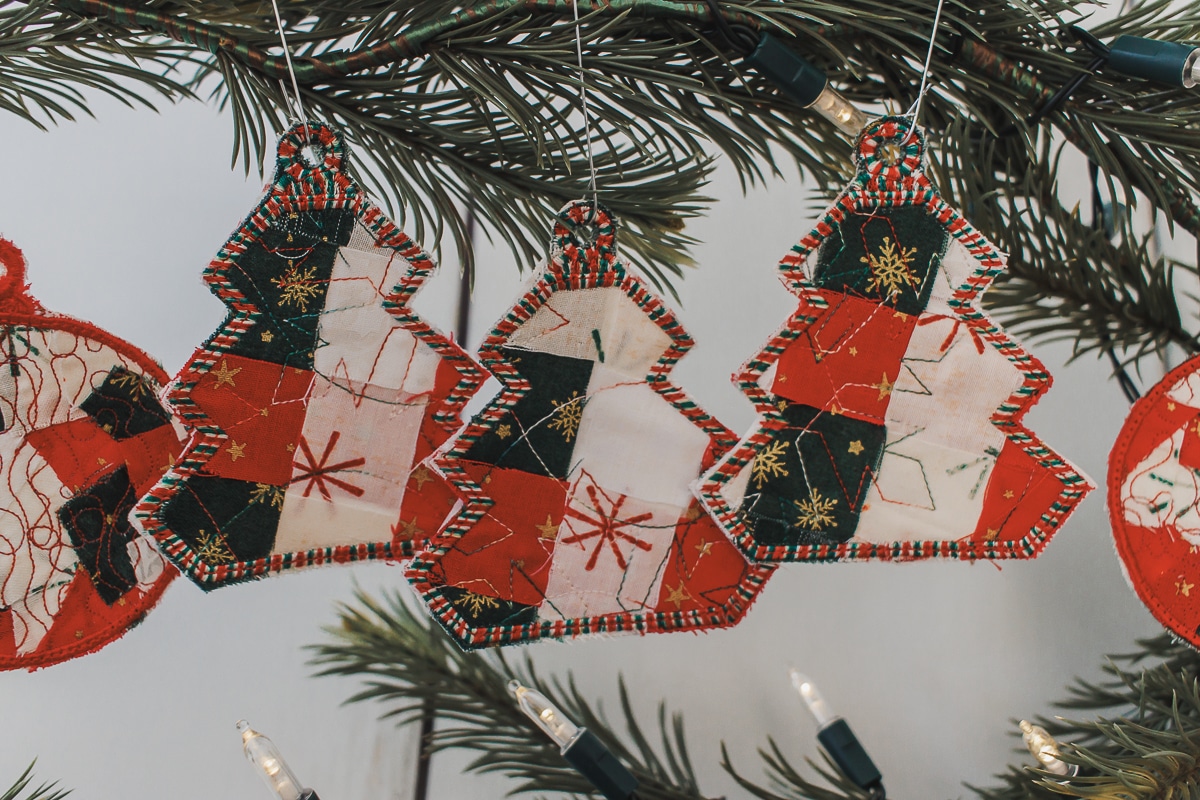
Embroidered Christmas Ornaments
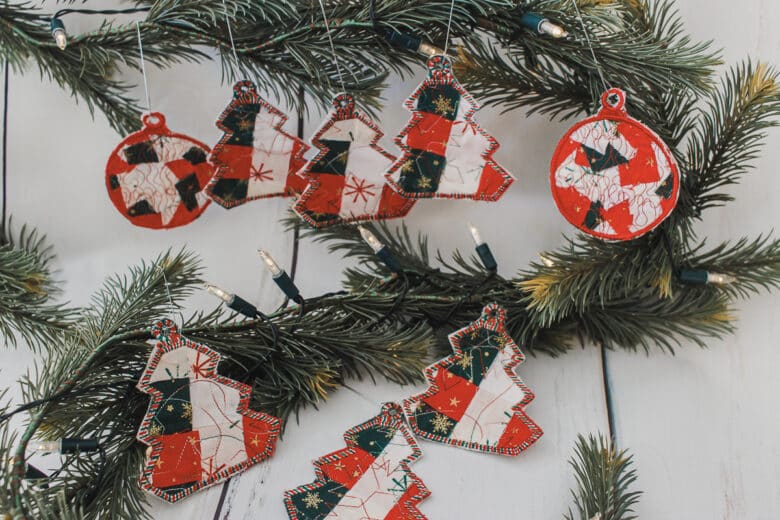
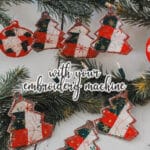
These cute fabric ornaments took a bit to make, but they turned out so cute. You can arrange the fabric scraps in any way you like {I share two options} and then embroider over the scraps to hold together into a fabric. I used a tree design from the Artspira app to create the tree outlines, then cut the ut the trees to finish.
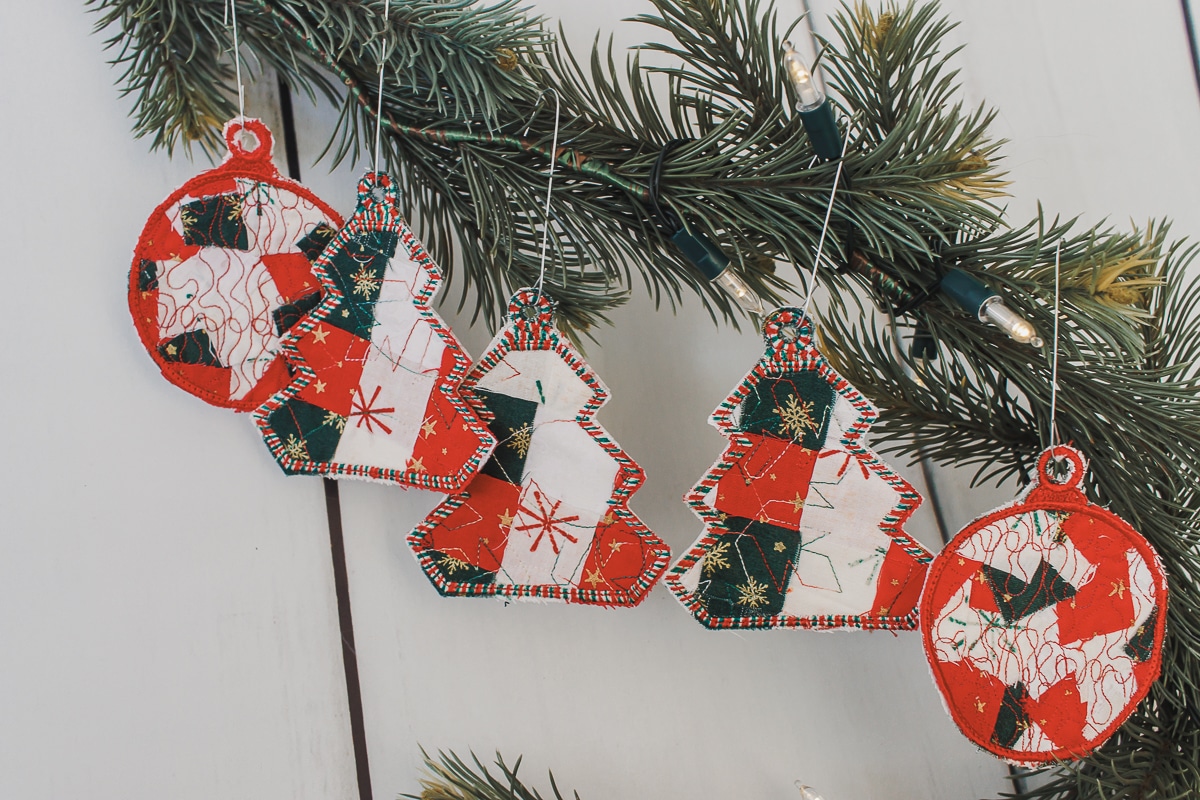
I used two different embroidery machines to show you options for sewing these ornaments. You can also see there are two different shapes. Artspira had a couple of different ornament embroidery shapes so I tried out a couple. I can’t wait to hang some of these on our tree this year.
Other fun Christmas ornaments to make
Below are some of the other fun Christmas ornaments I have made in past years. Click the link under the photo to go to the tutorial.
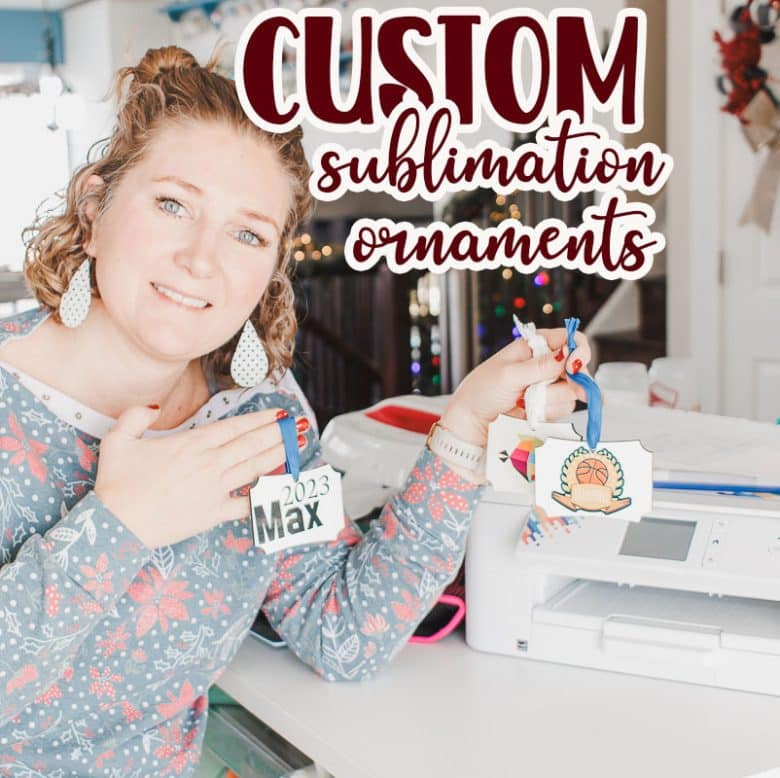

- Sublimation ornaments
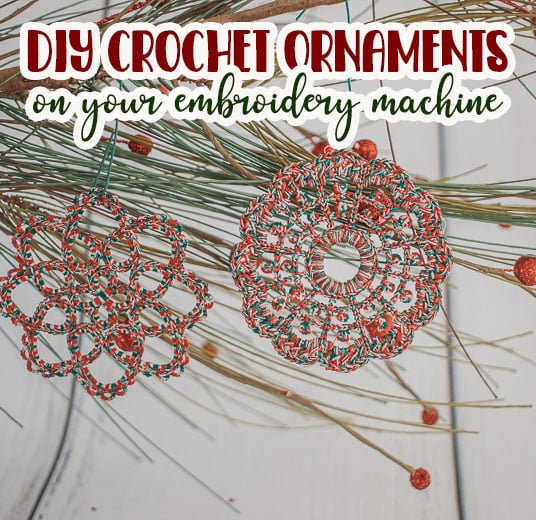
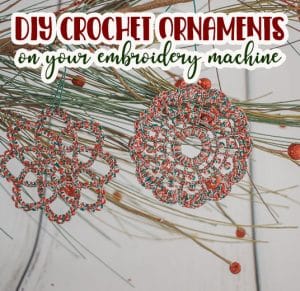
- Crochet-like embroidery machine ornament
- Hot chocolate ornament
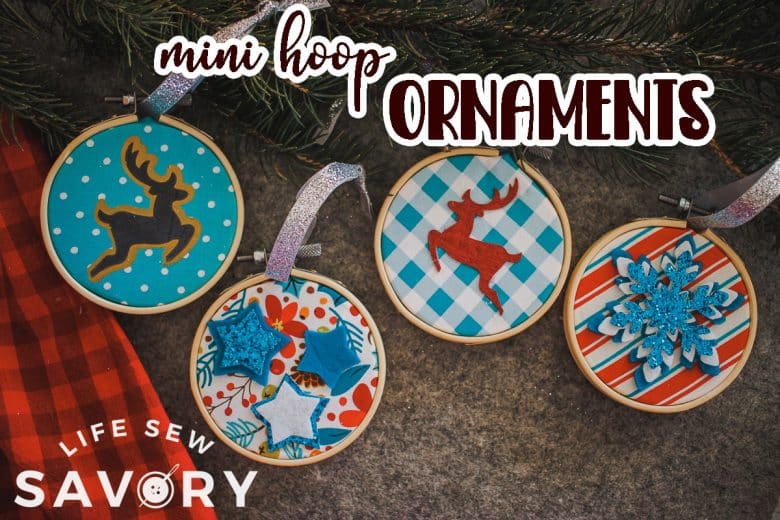
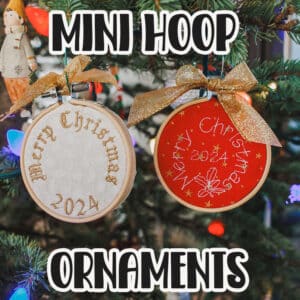
- Mini-hoop ornaments
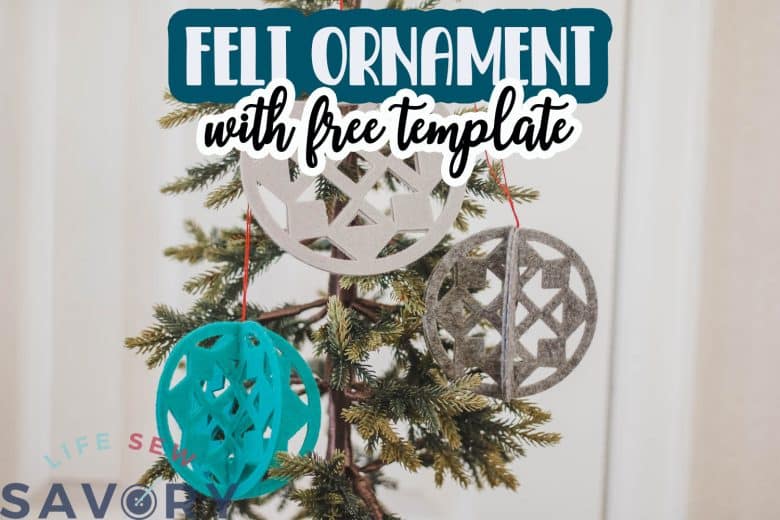
- Felt Ornament with ScanNCut file
Scrappy Fabric Ornaments
Ok! So here’s what you need to make these fun fabric ornaments. Grab some scraps of fabric, and let’s get started. Here’s what you need:
- Fabric scraps
- Sticky stabilizer
- Embroidery Machine {I used the Stellaire 2 and SE2000}
- Artpsira app or other embroidery files for the trees
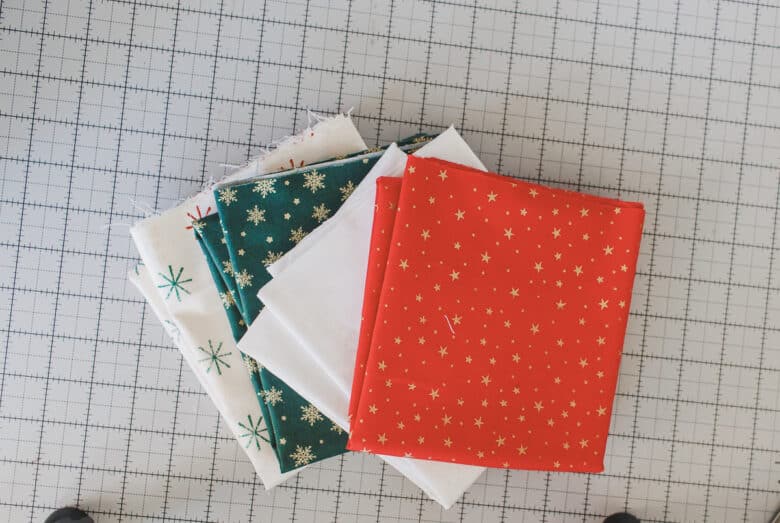
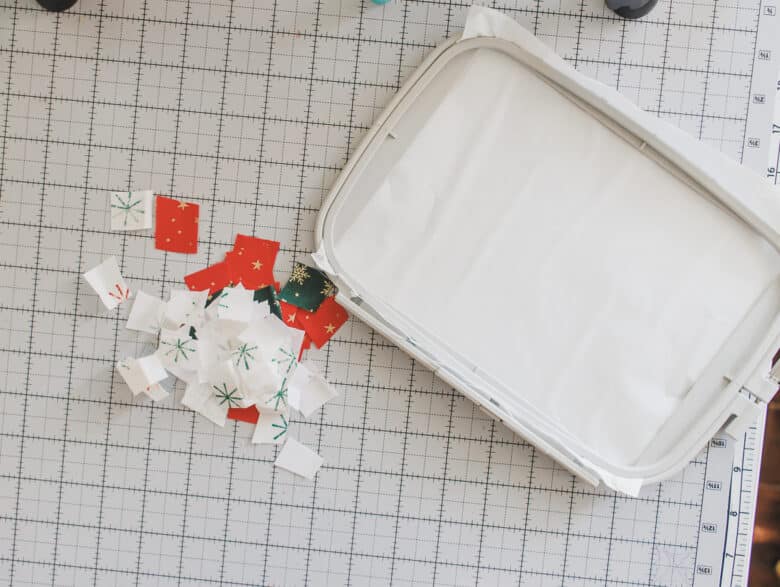
I didn’t really have tiny scraps of fabric, so the first thing I did was to cut 1″ strips of my fabric. I’m just going to show you what I did for this scrappy fabric, but you can create the scrappy look in any way you like.
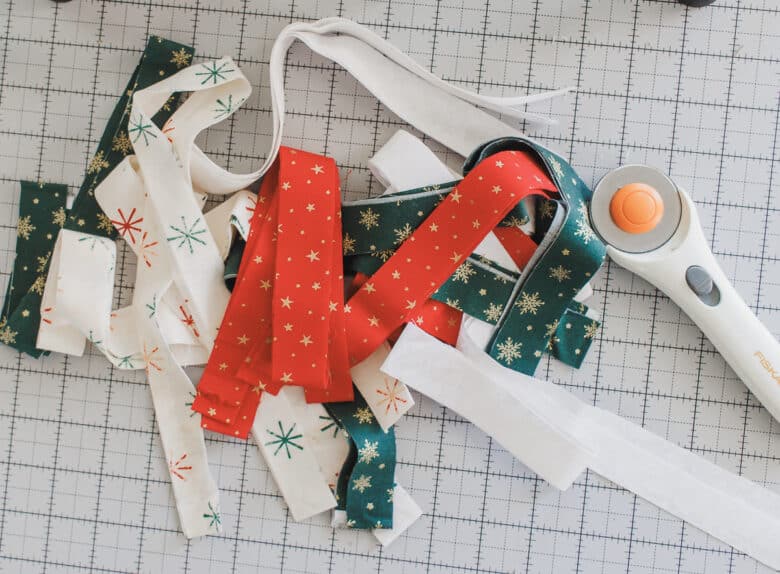
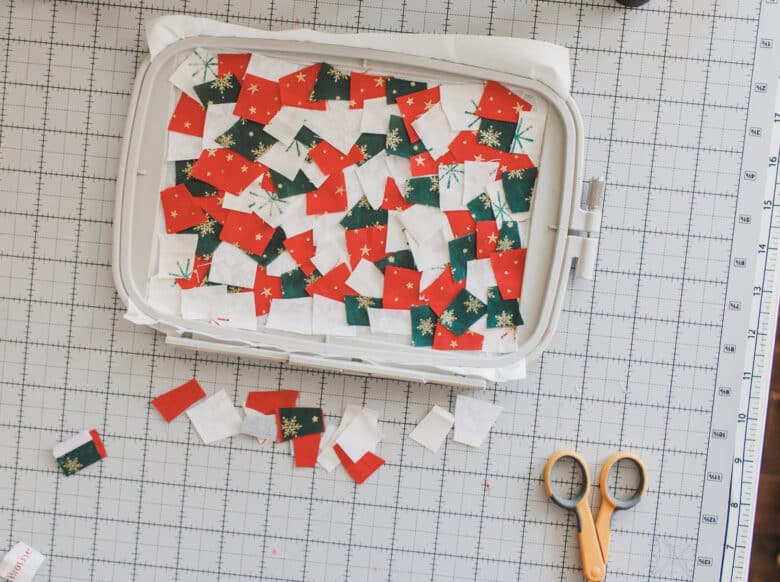
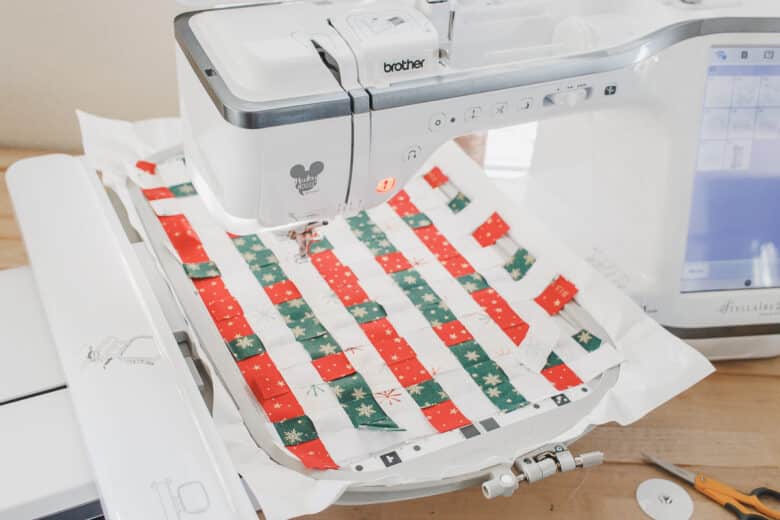
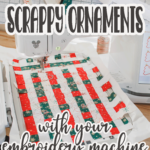
I made some ornaments in my 5 x 7″ hoop on the SE2000 and my 9.5 x 14″ hoop on the Stellaire 2. Place the sticky stabilizer in each hoop and remove the paper topping to reveal the sticky side. For the large hoop I did a fabric weave with the strips of fabric. It was actually super fun to weave the fabric. I don’t love how the white stripes ended up being so obvious. So I would weave differently next time. {haha}
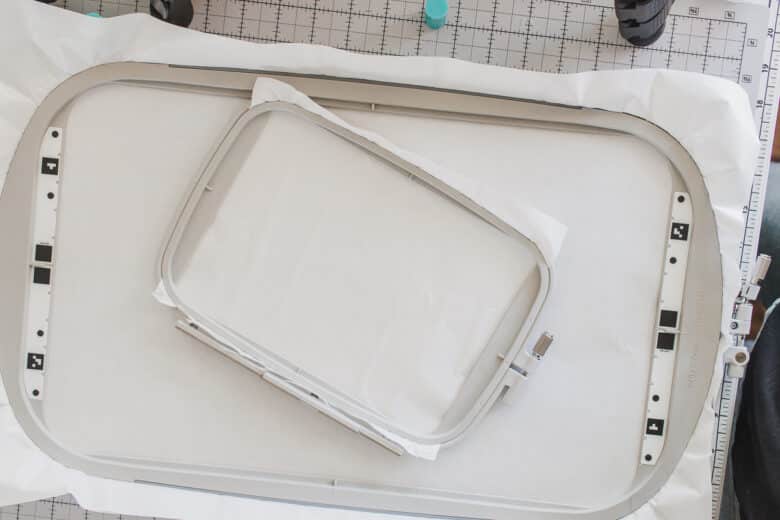
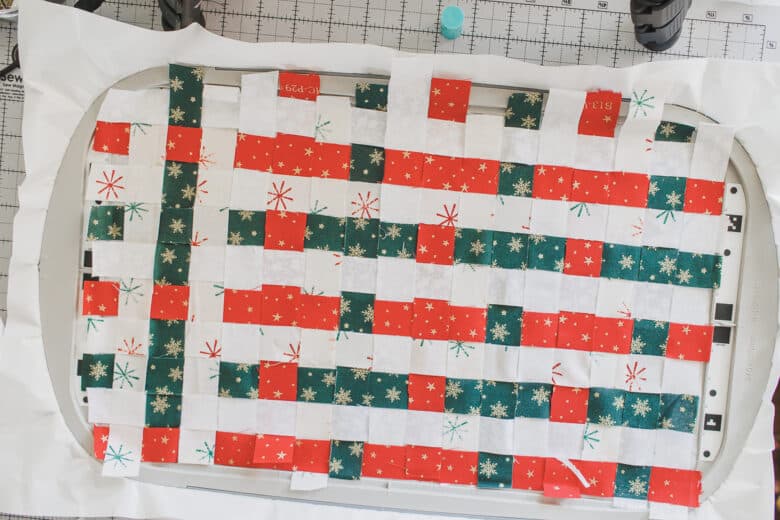
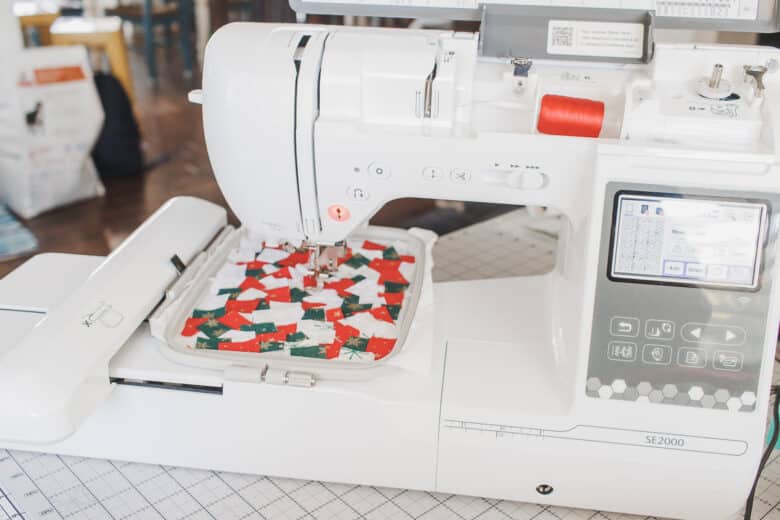
For the smaller hoop I cut the strips of fabric into squares and then stuck them all over the hoop. I LOVED this version and which I had done the large hoop with the small squares.
Load the hoop onto your machine. Below I will show you how to import the designs to the machine.
How to make Ornaments on your Embroidery Machine
The first layer of embroidery is to “quilt” the scrappy fabric to create a more solid pieces of fabric. For the large hoop on the Stellaire I used a free design from the Artspira app for the quilting. I sent the free snowflake design to my machine.
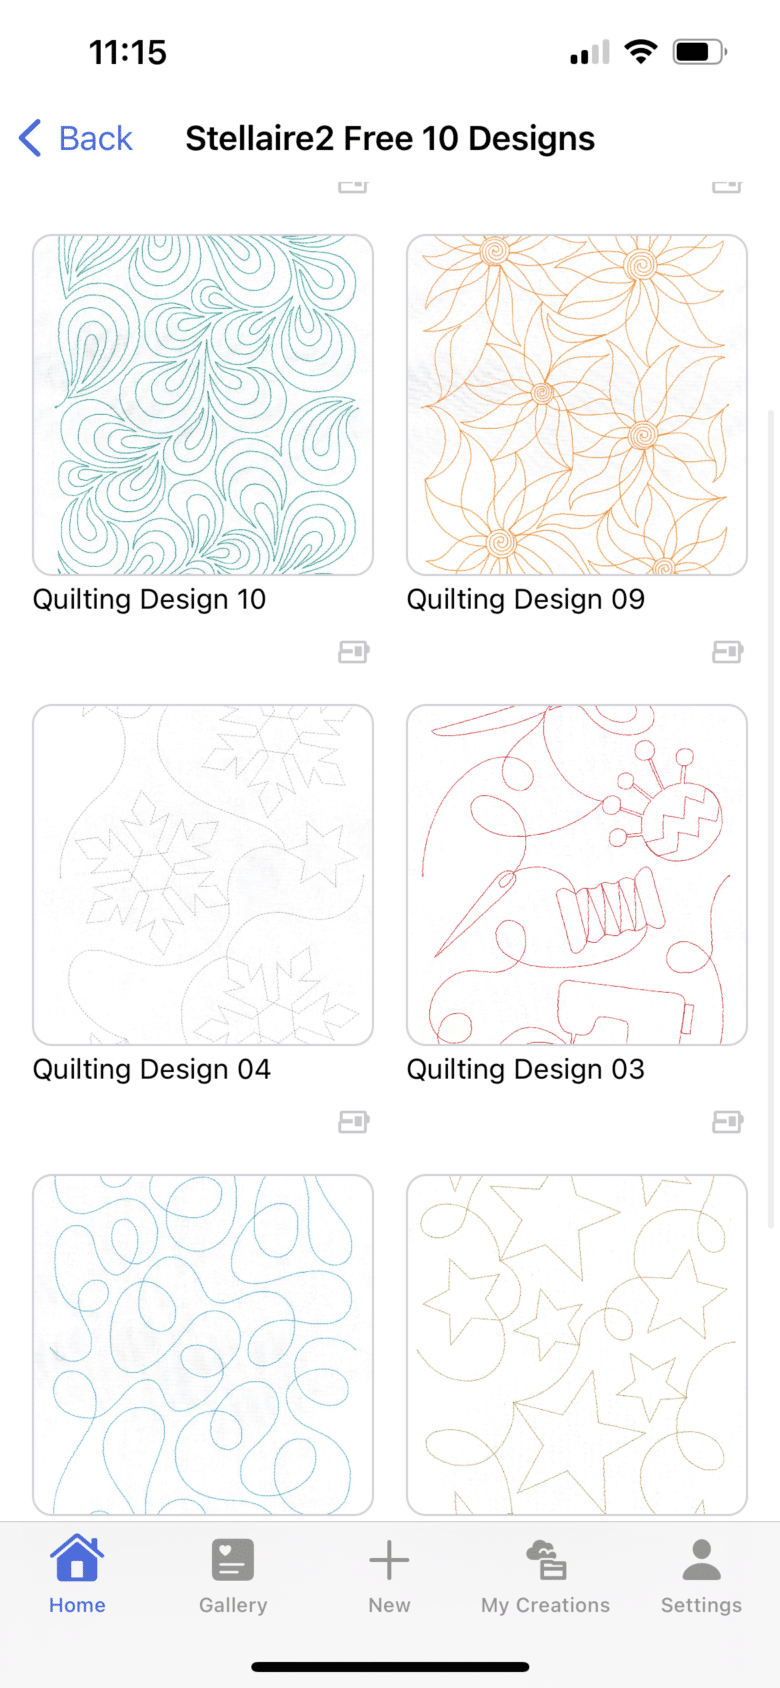
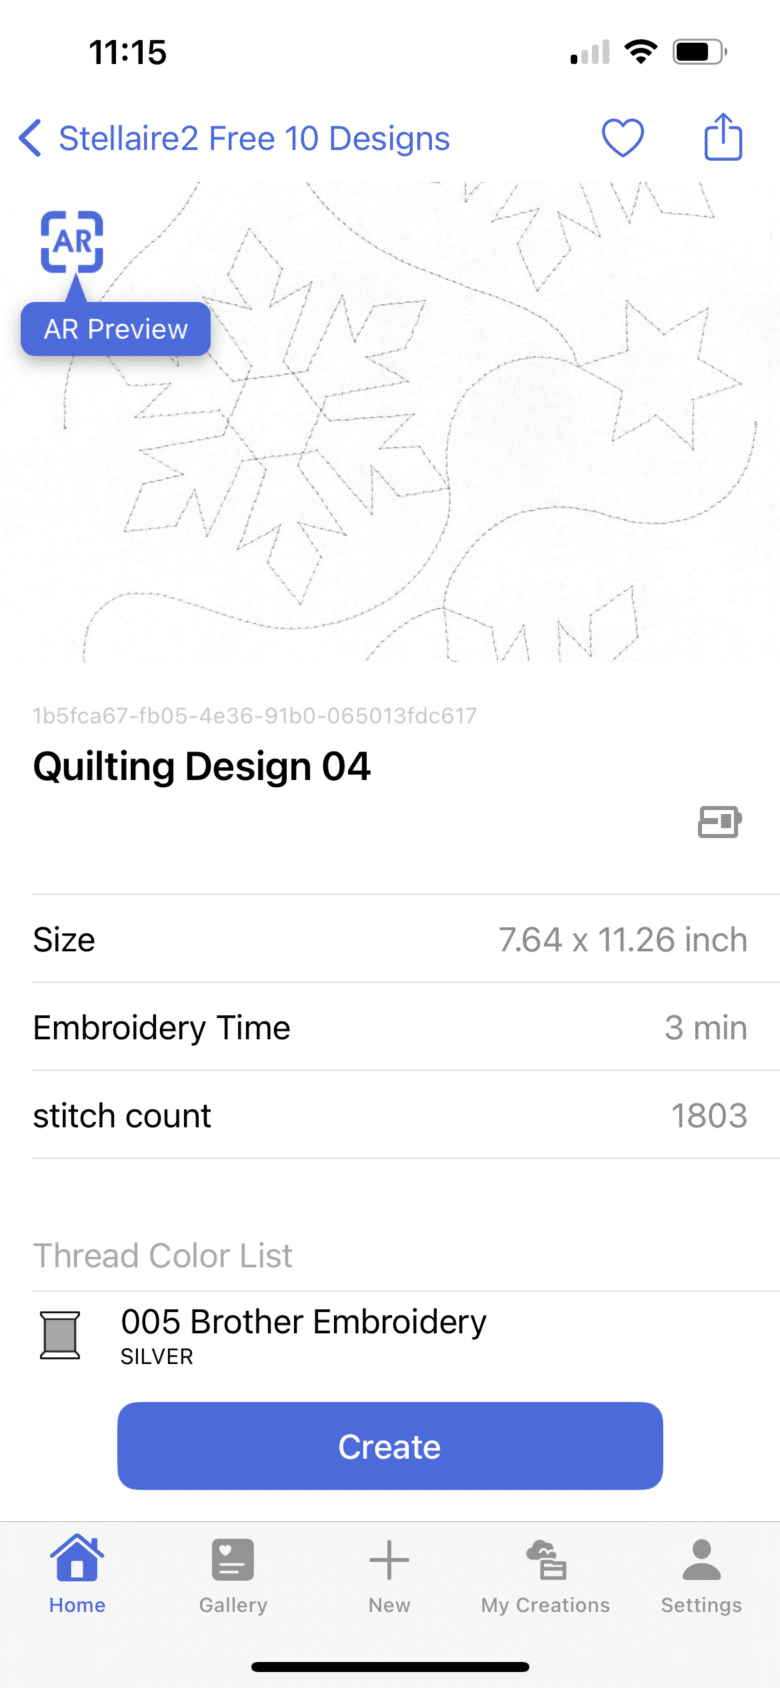
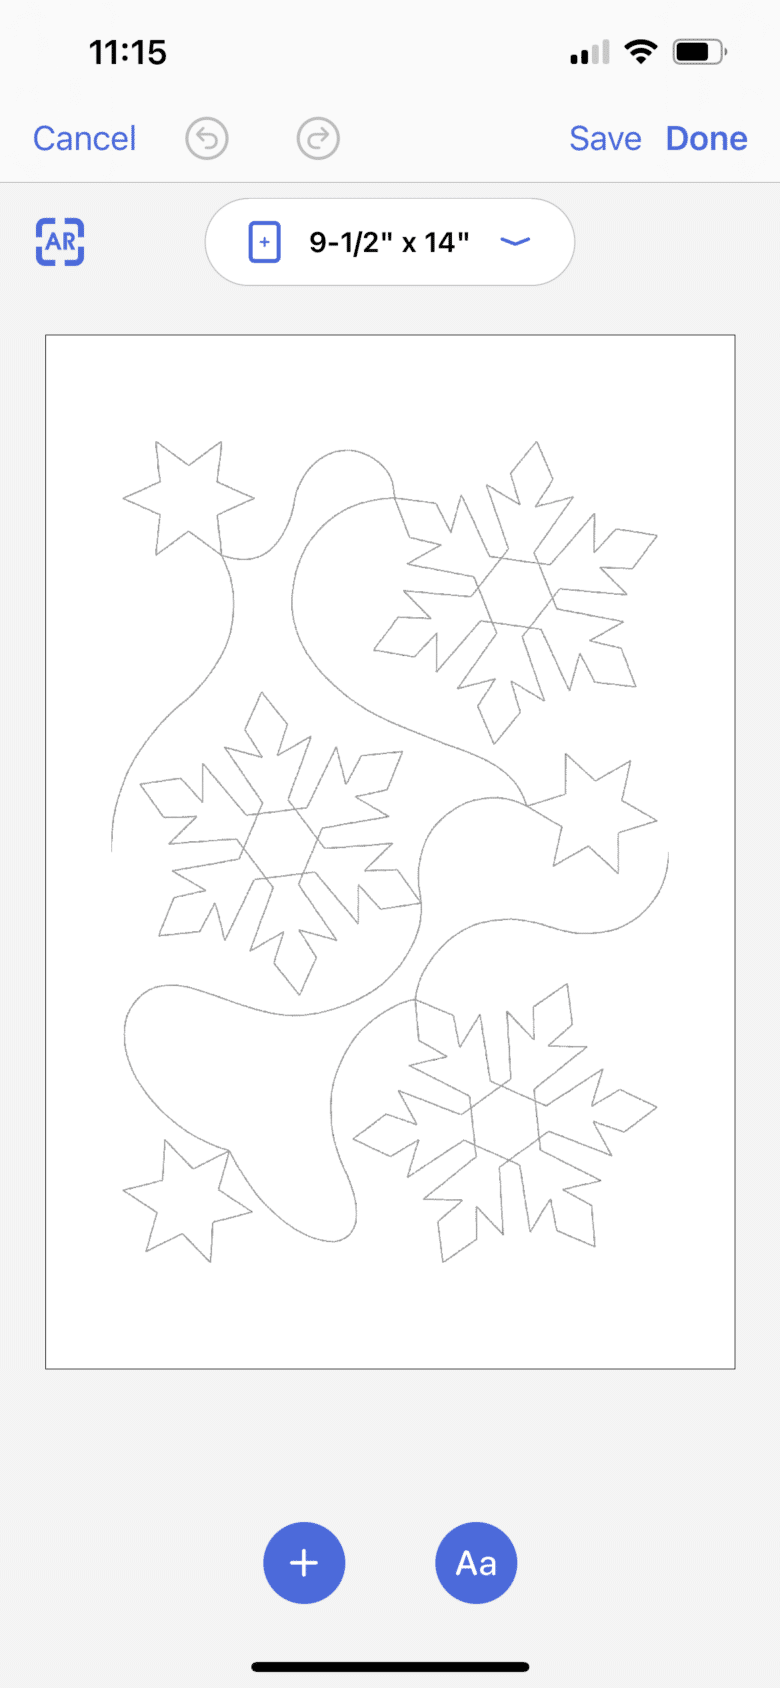
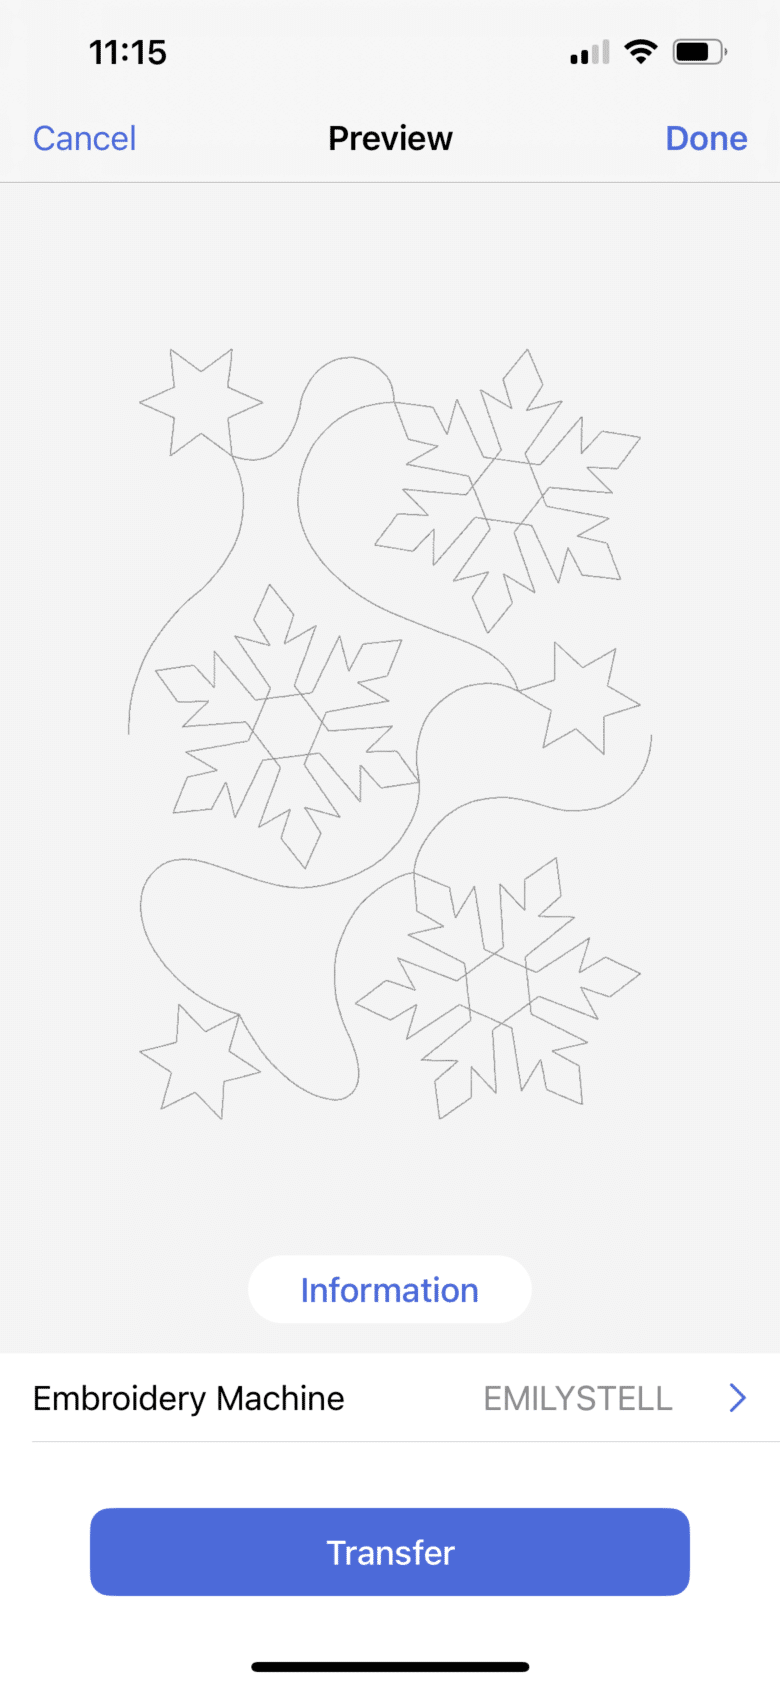
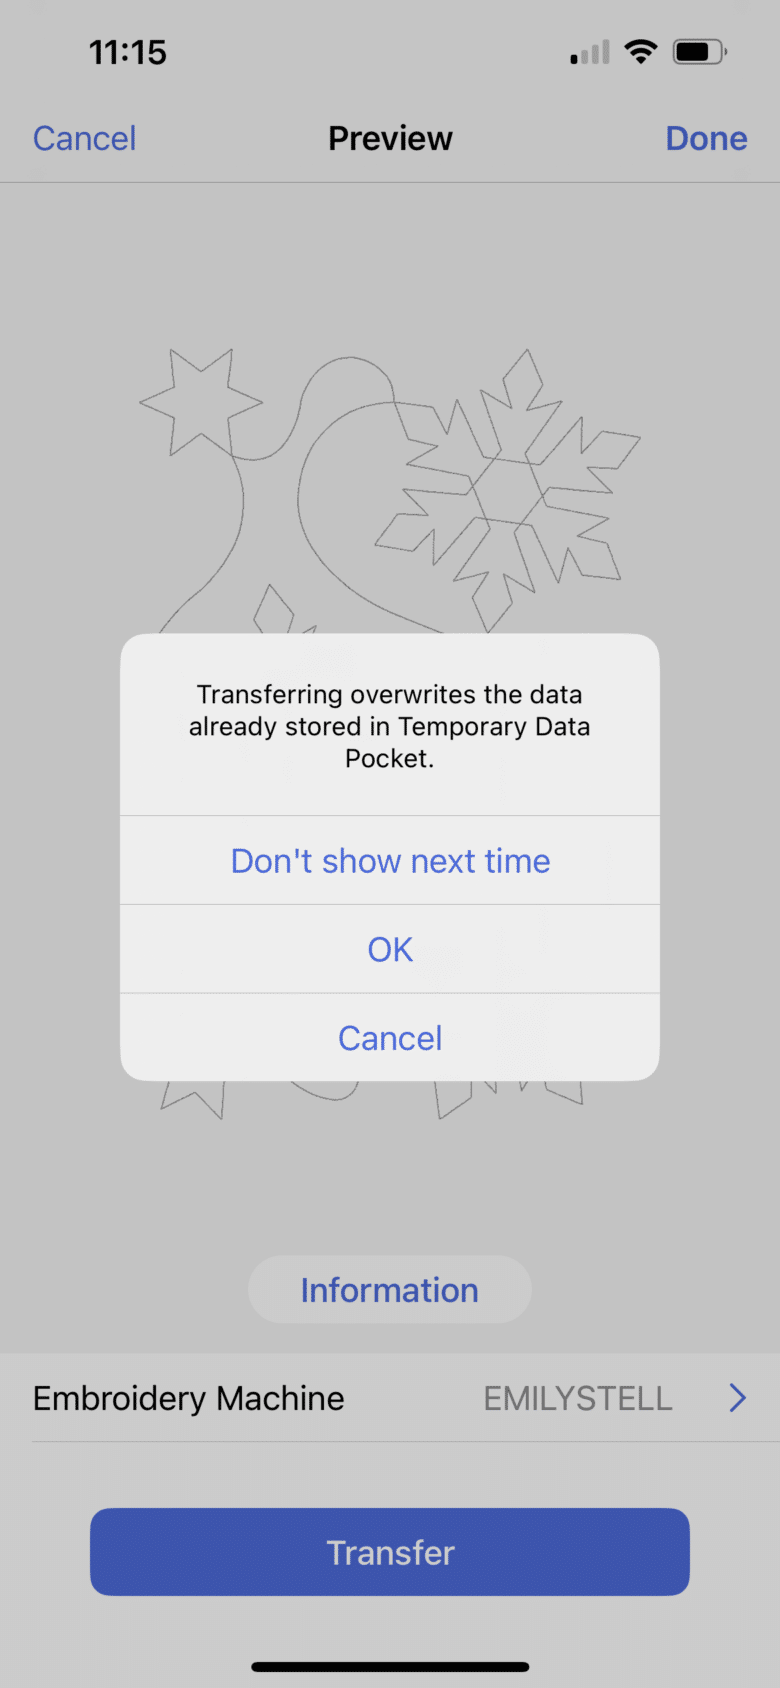
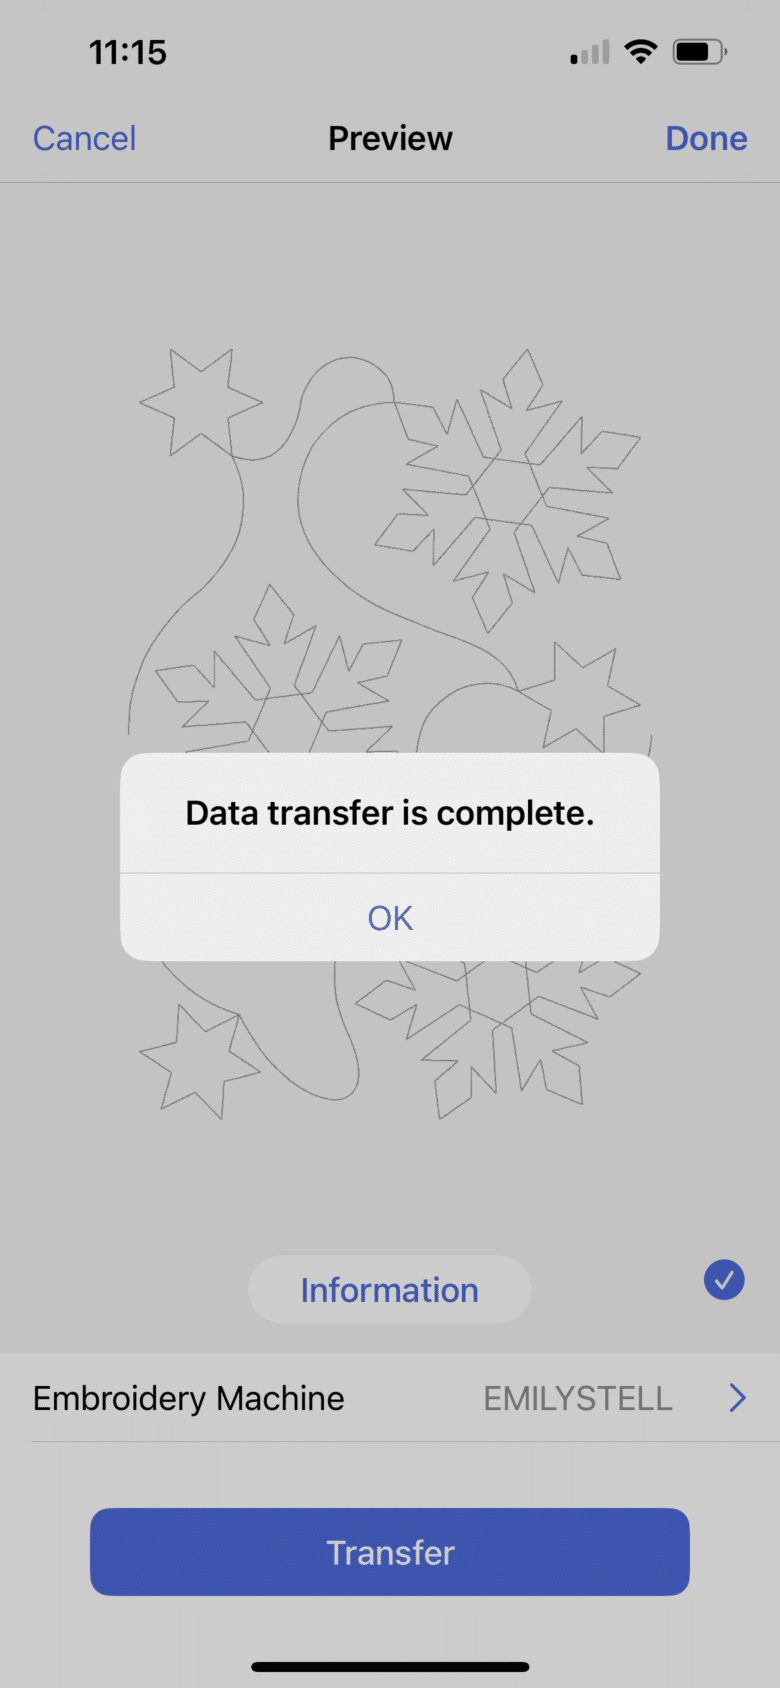
For the small hoop I used a simple stippling design also from Artspira. In the app I created a repeated design that covered the entire 5 x 7 hoop. For the snowflake design I sent it to my machine then duplicated it to cover the screen. It’s not a super tight design so if your fabric scraps are super small you may need to move and repeat the design a few times to cover the fabric with more stitching.
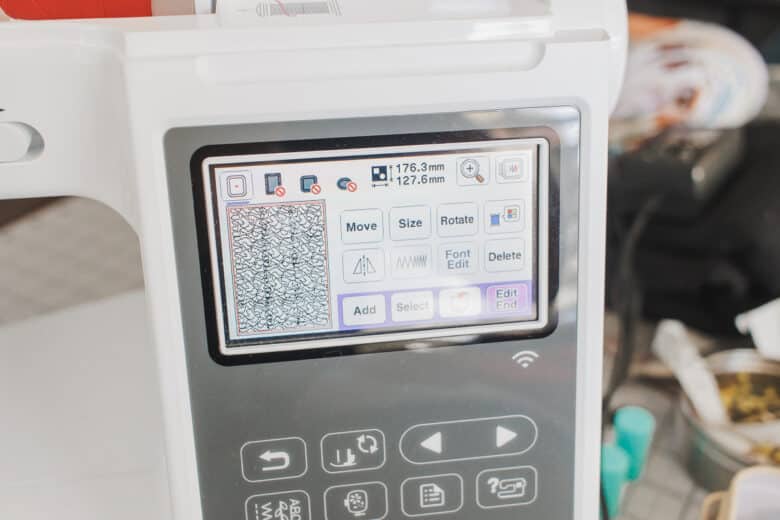
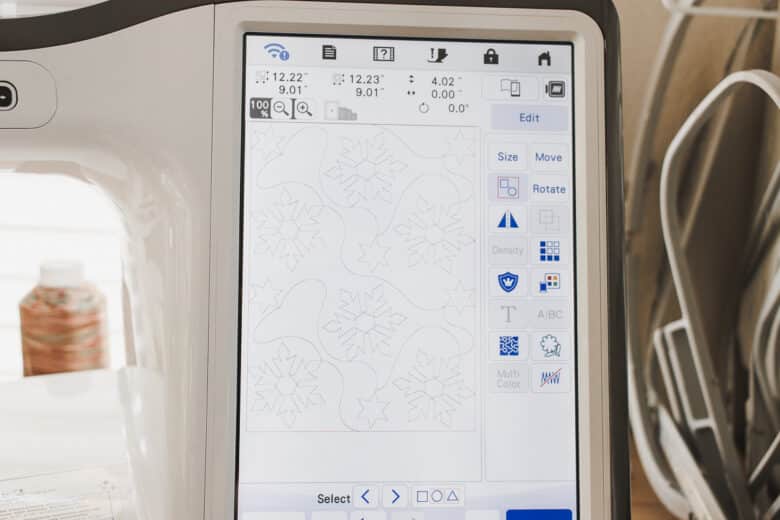
The snowflakes stitch out so well!
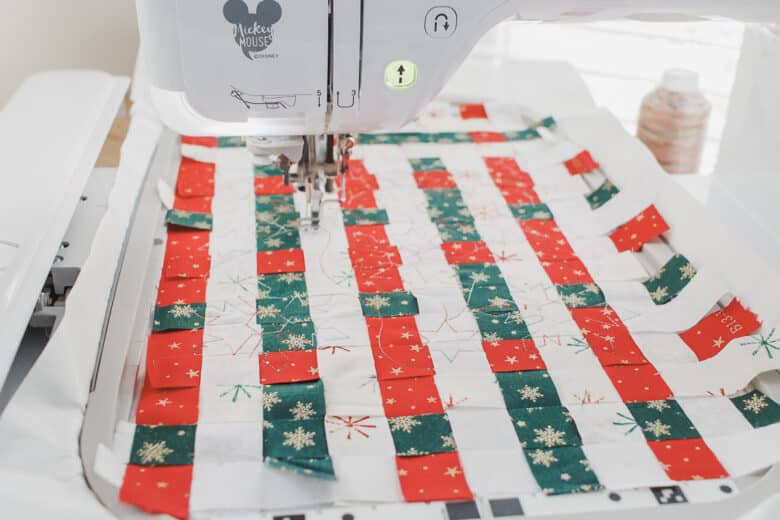
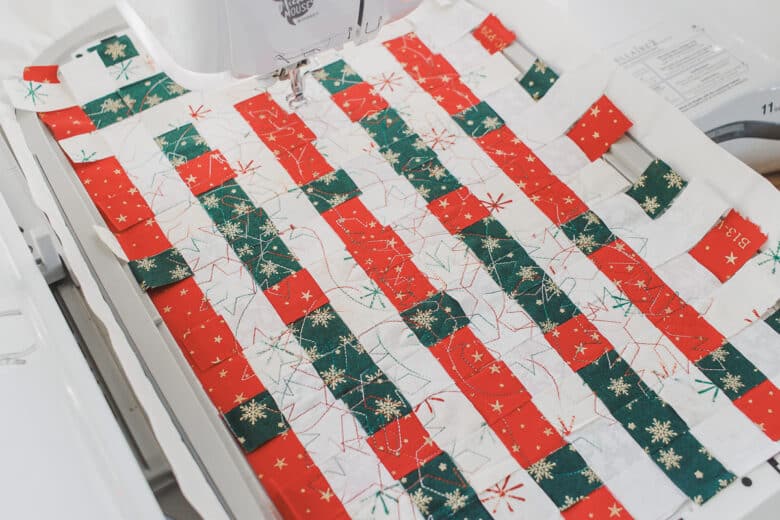
Once you have the hoop fully stitched and the fabric all joined together its time to create the ornaments. On Artspira there are some fun ornament shapes. Search ornament in embroidery to find these. I know it looks like a lot of design, but really we only will use the outline. Transfer the design to your machine.
If you don’t have Artspira you can find any ornament shape embroidery file online to use.
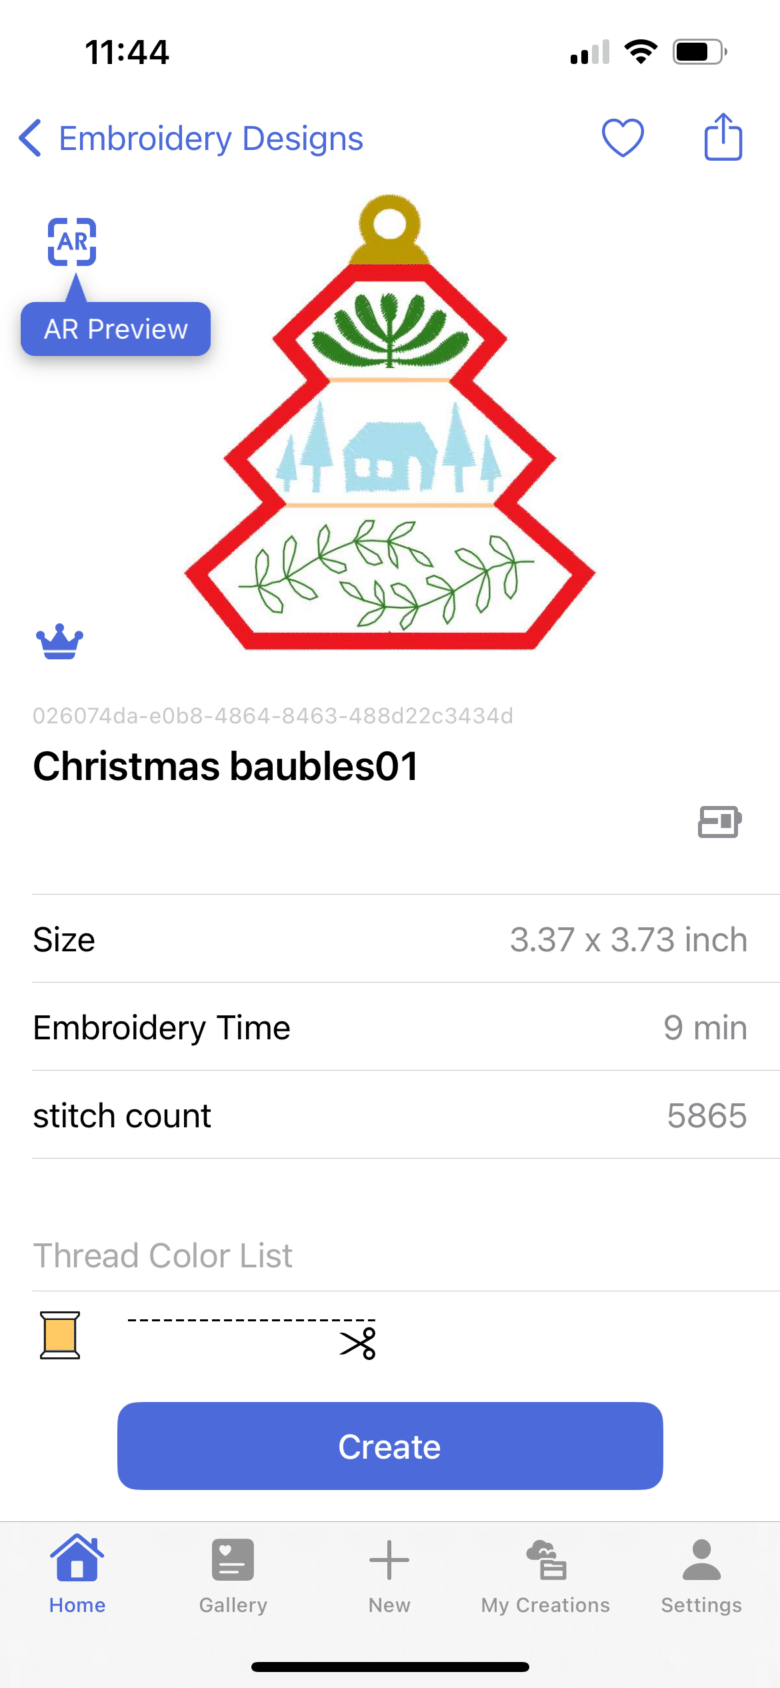
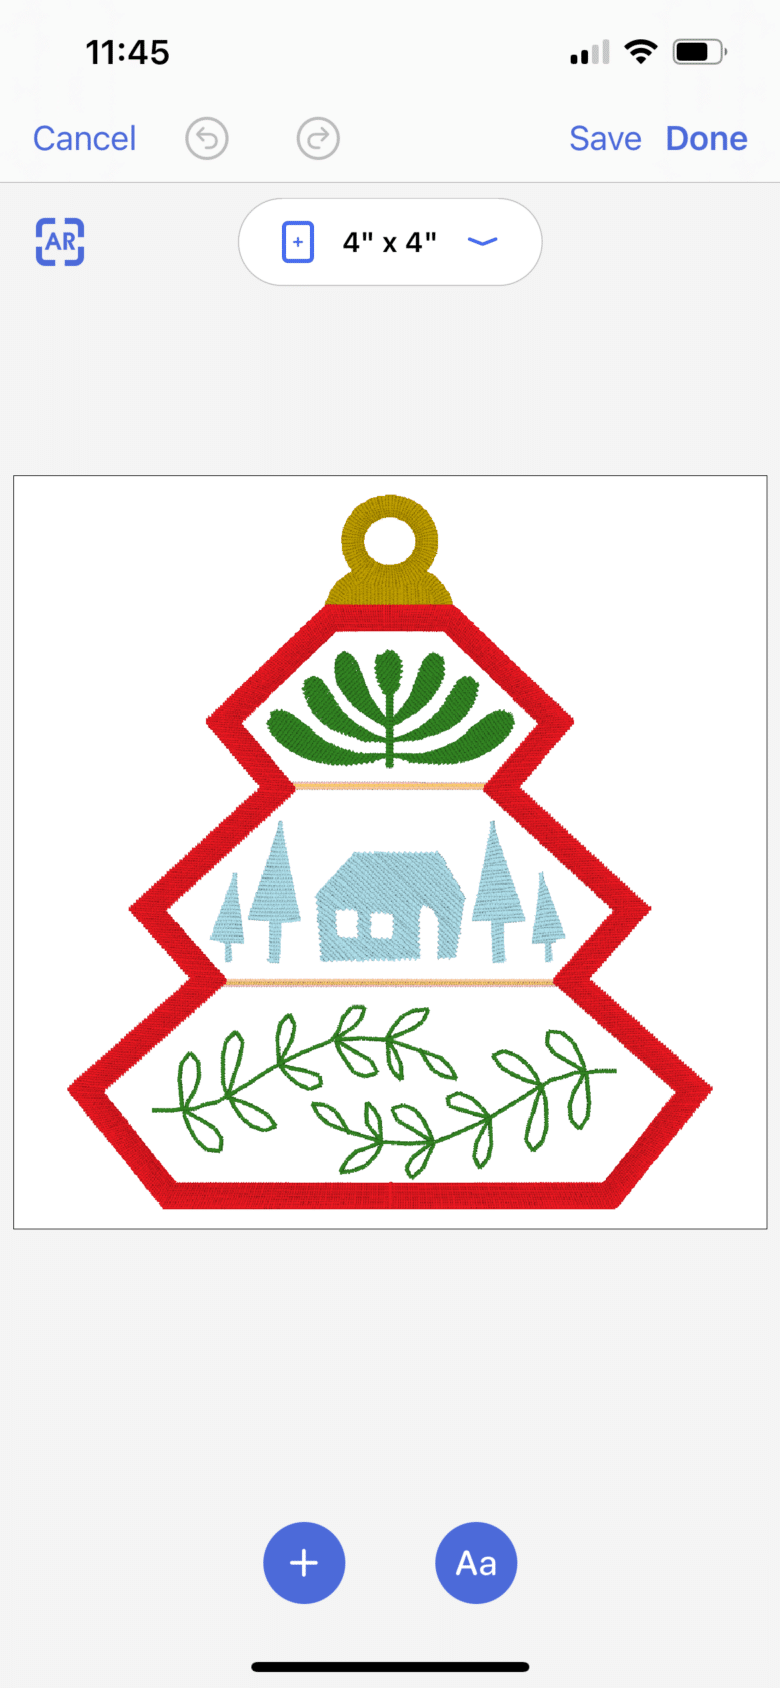
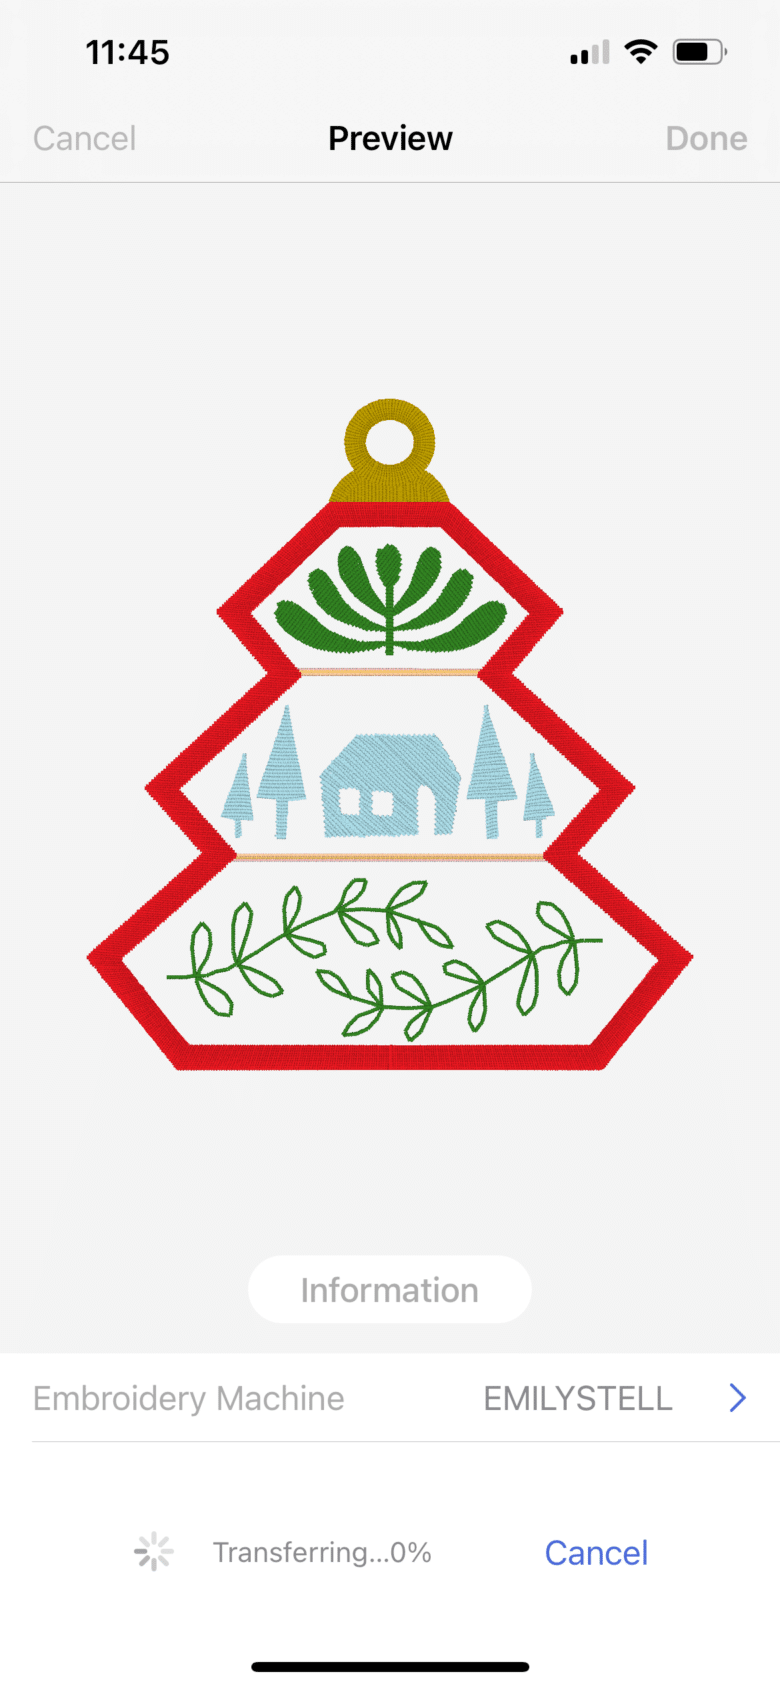
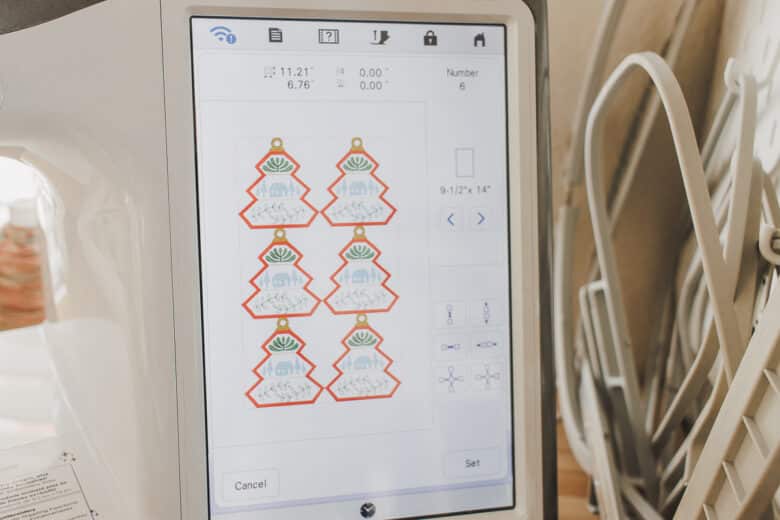
To start I tiled the design to create as many ornaments as I could in the hoop. Use the tile button as shown here.
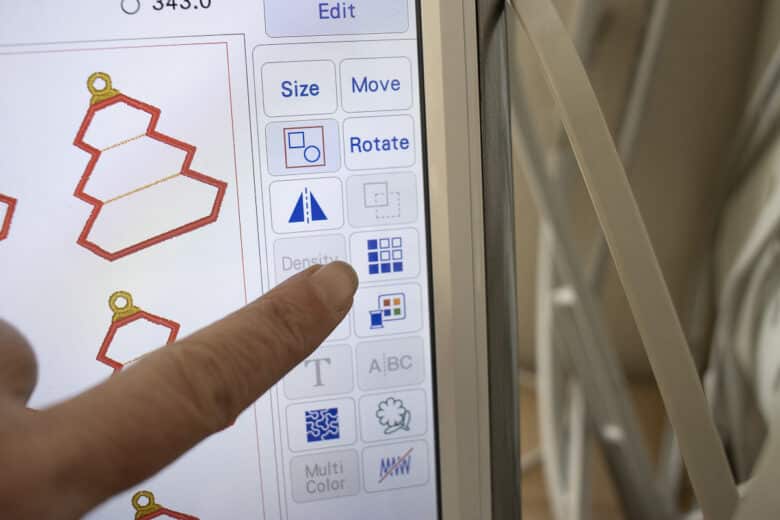
Now lets get rid of all the other embroidery that we don’t want in the design. Use the no-sew button here to get rid of all the fill in the ornament.
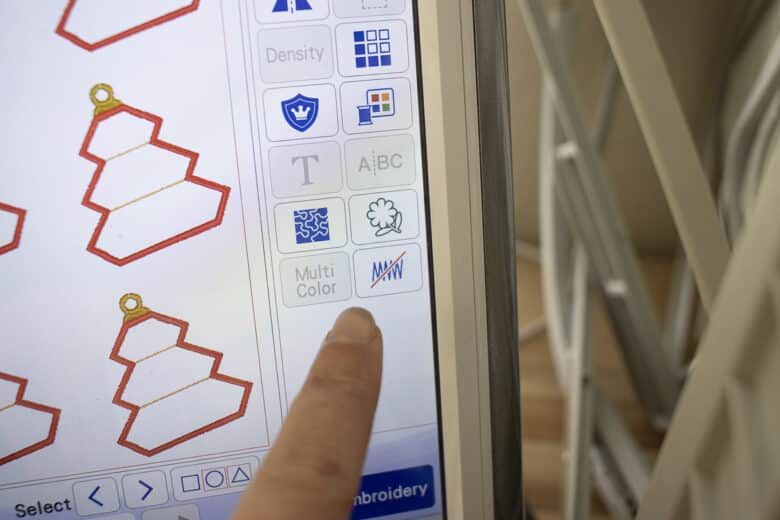
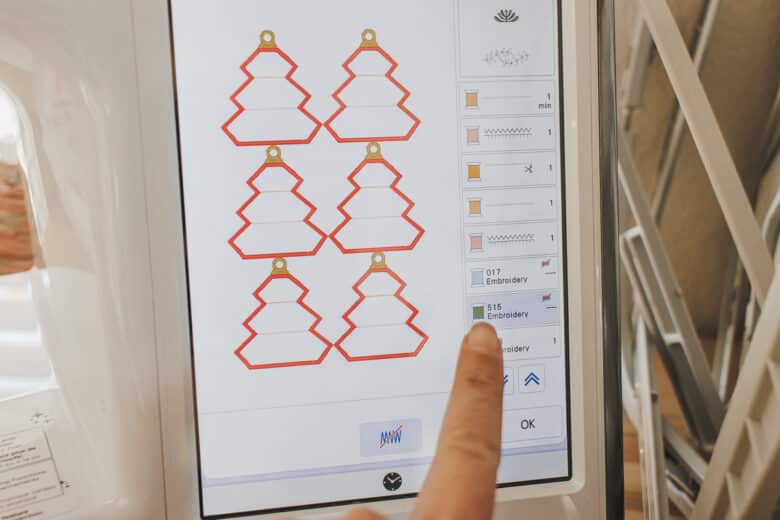
Use the arrow up an down to check out each color and turn it off if needed. I also rotated the tree design to try and offset the woven grid pattern. Again I think the scrappy squares were easier to work with.
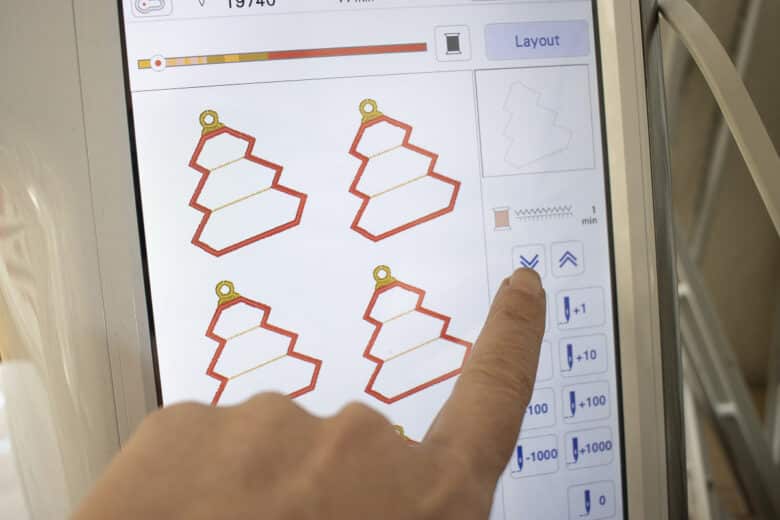
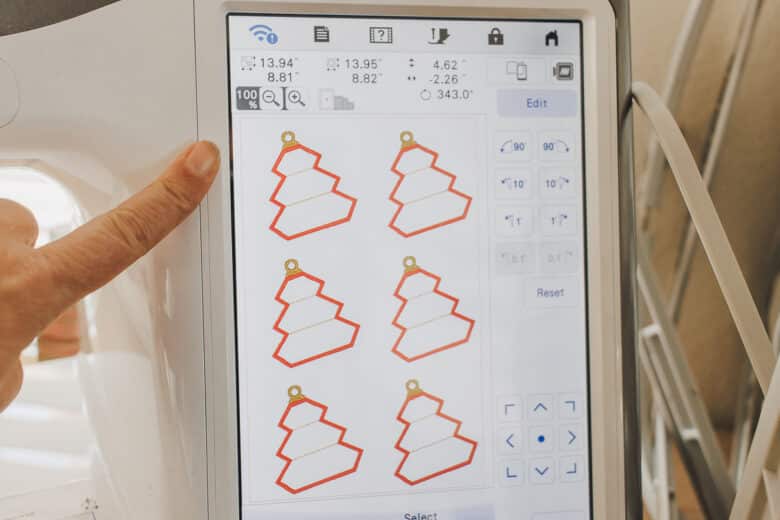
For the smaller hoop I imported a circle ornament from Artspira and duplicated it. Now on the SE2000 {and other machines like this} There isn’t any way to turn off some of the design. You can however, manually skip any stitches you don’t want to sew. I used the app to see what colors where coming up so I could see which colors to skip. Use the + and – button to skip over any stitches you don’t want to use and just use the outline of the circle ornament.
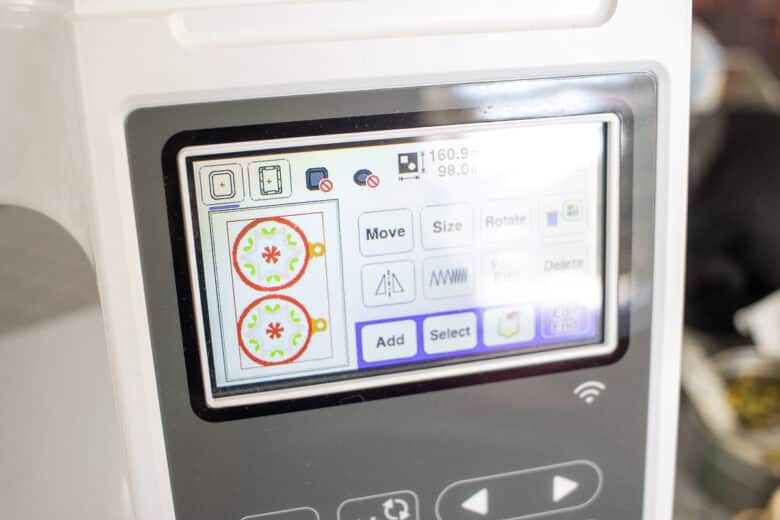
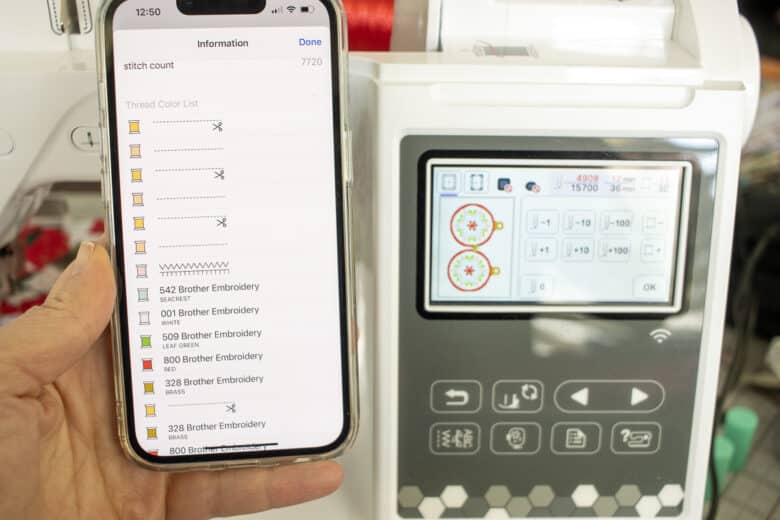
The ornament outlines came our perfectly. I made sure to stitch the circle hanger part on top of the ornament as well.
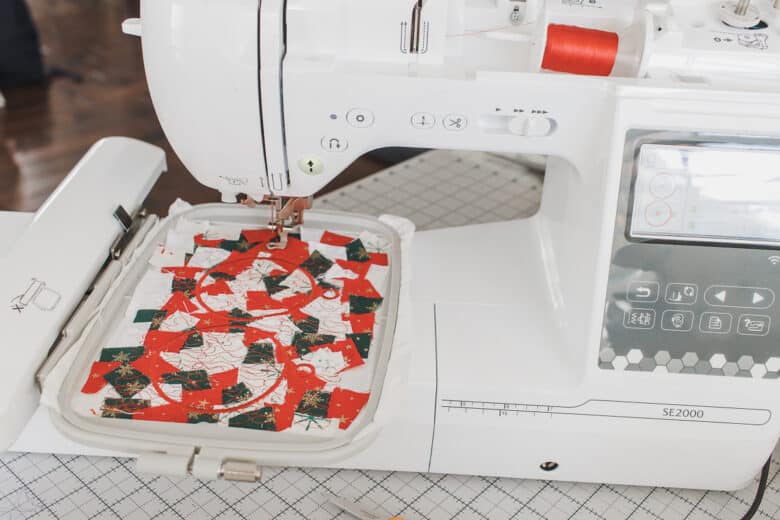
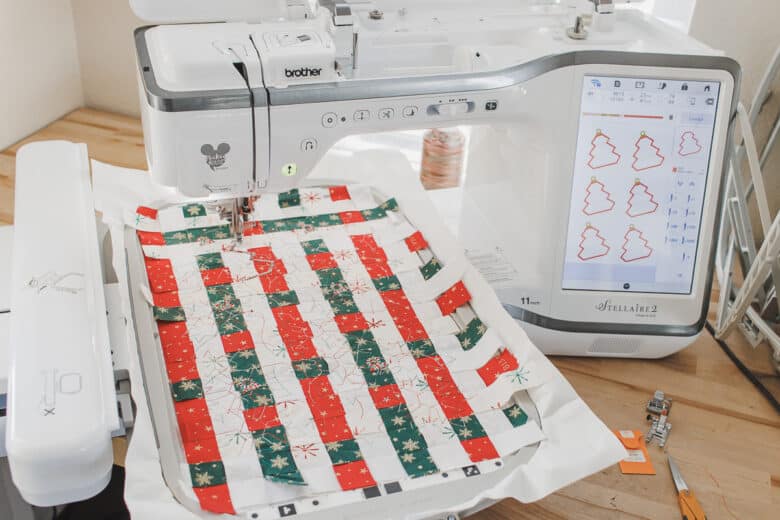
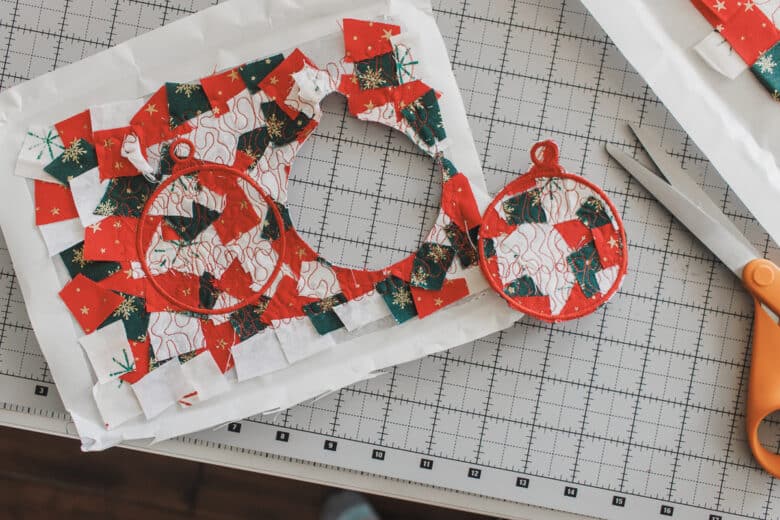
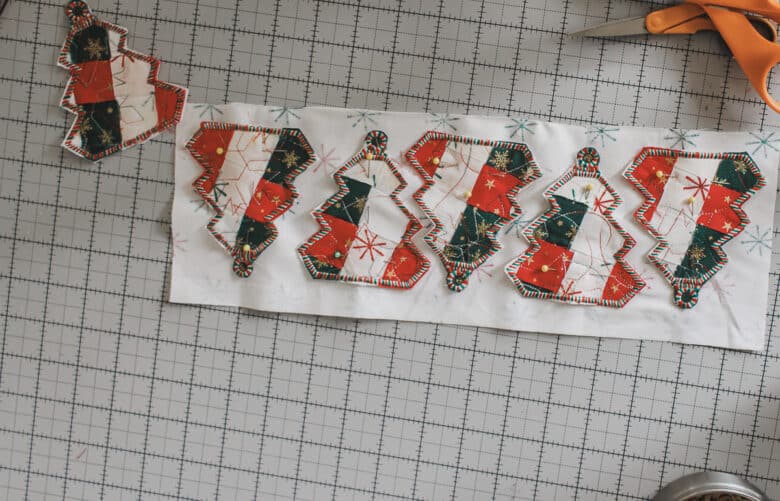
When they are finished you can remove from the hoop and cut out the ornament shape.
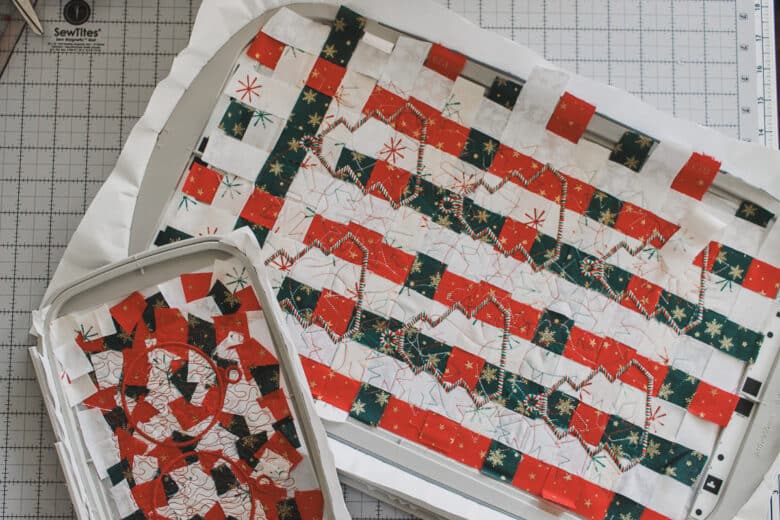
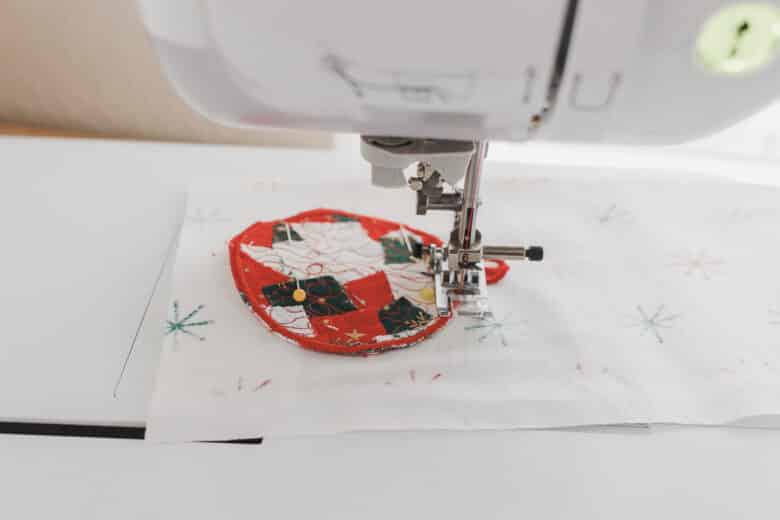
Place the ornament wrong sides together on a solid piece of fabric. Sew around the ornament on the embroidery stitching to sew the layers together. Also sew around the top hanger part.
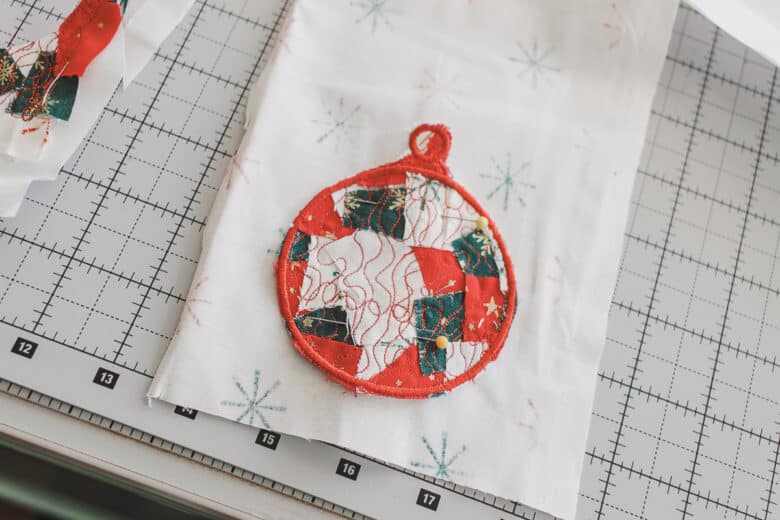
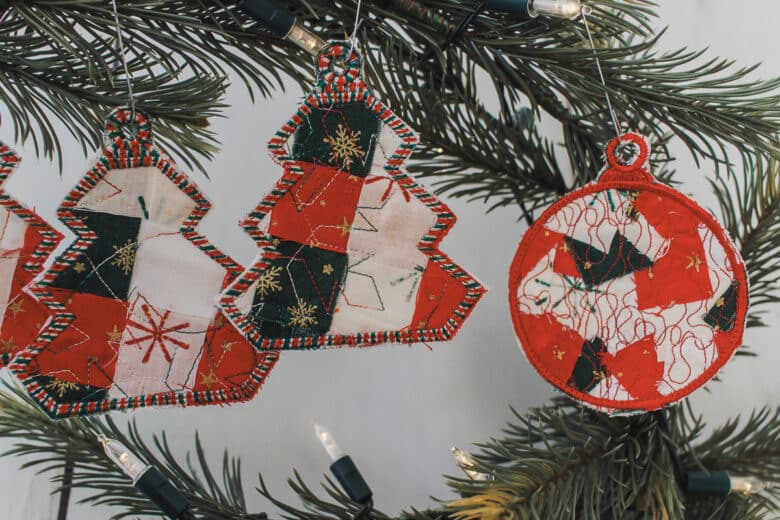
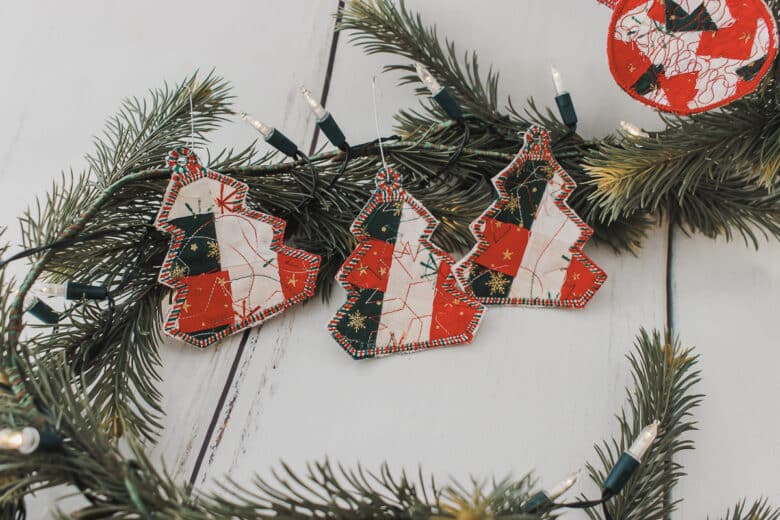
Cut out around the ornament and the hole at the top for hanging. Now you can see the finished front and back of the ornament. Repeat with all the other ornaments you are making.
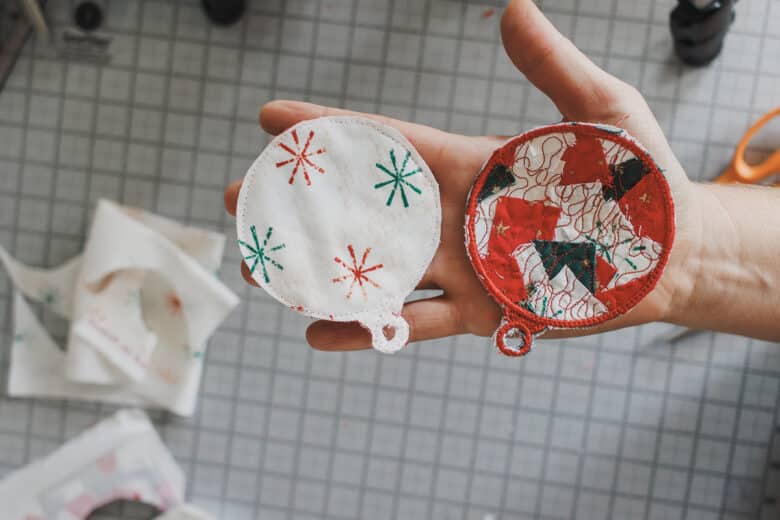
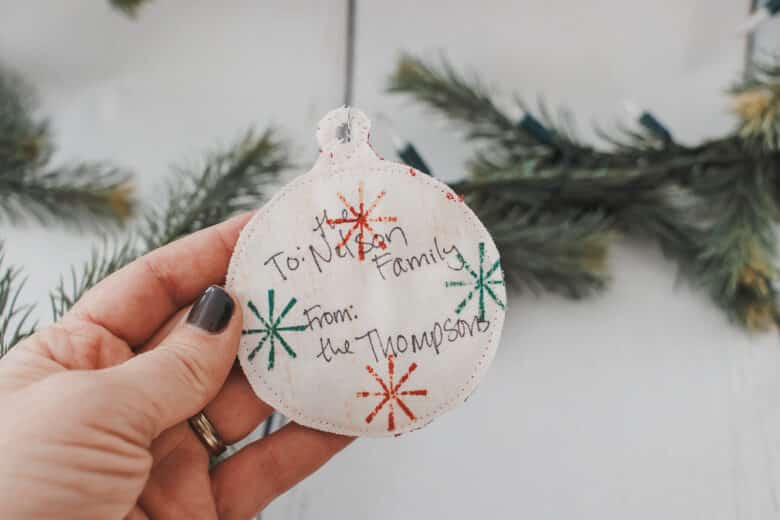
They all look so cute!! I love how they turned out and can’t wait to get a tree to hang them on. I think I will also use some as gift tags on presents this Christmas. It can be a tag and an ornament all in one! Now it’s time for you to make some ornaments – happy stitching!!




Leave a Reply