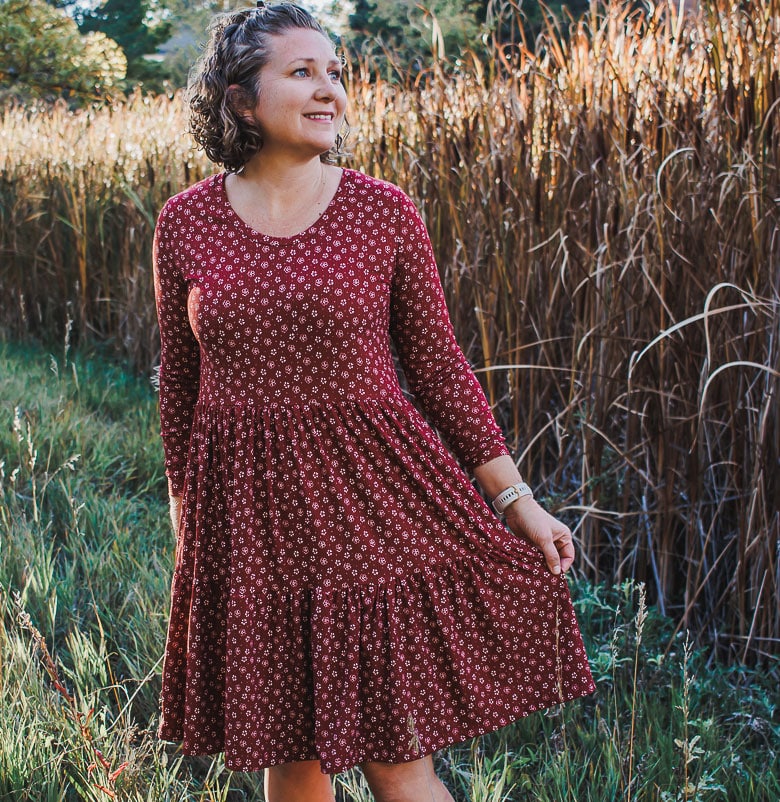
inside: a new fall dress sewing tutorial. The perfect fall dress to sew with this new sewing tutorial. A tiered dress sewn with a t-shirt top, this fall dress sewing tutorial is simple and beautiful.
I got this fabric from Sincerely Rylee Fabrics in my last order and knew that I wanted to make myself a comfy dress out of it. I finally got around to sewing it this weekend and I am so pleased with the result. I’ve sewed my daughter a dress similar to this, but never one for myself. I think there will be more to come.
Fall Dress sewing tutorial
I’m pretty for this new fall dress. PLUS, its made from rib knit which is so soft. I think I might need another from waffle knit. I was able to make this dress from two yards of fabric and I have just a bit left over. Even the larger sizes 2-3 yards should be plenty for you to create this look.
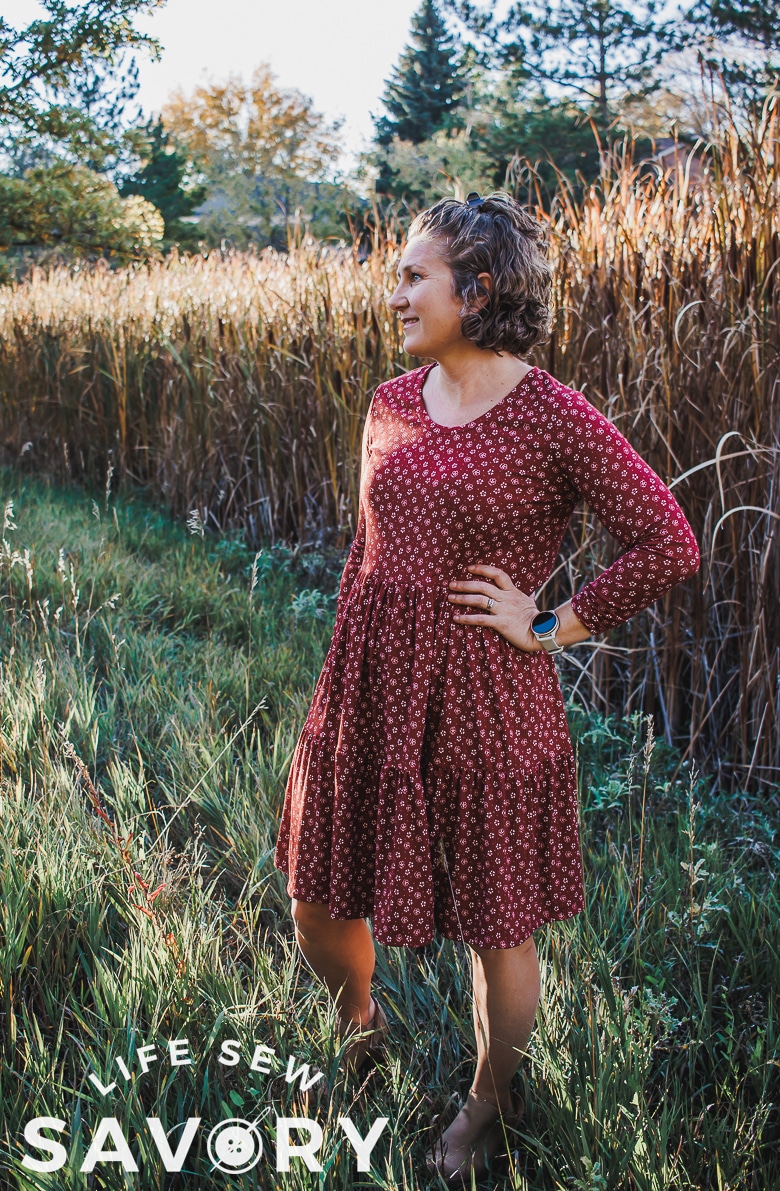
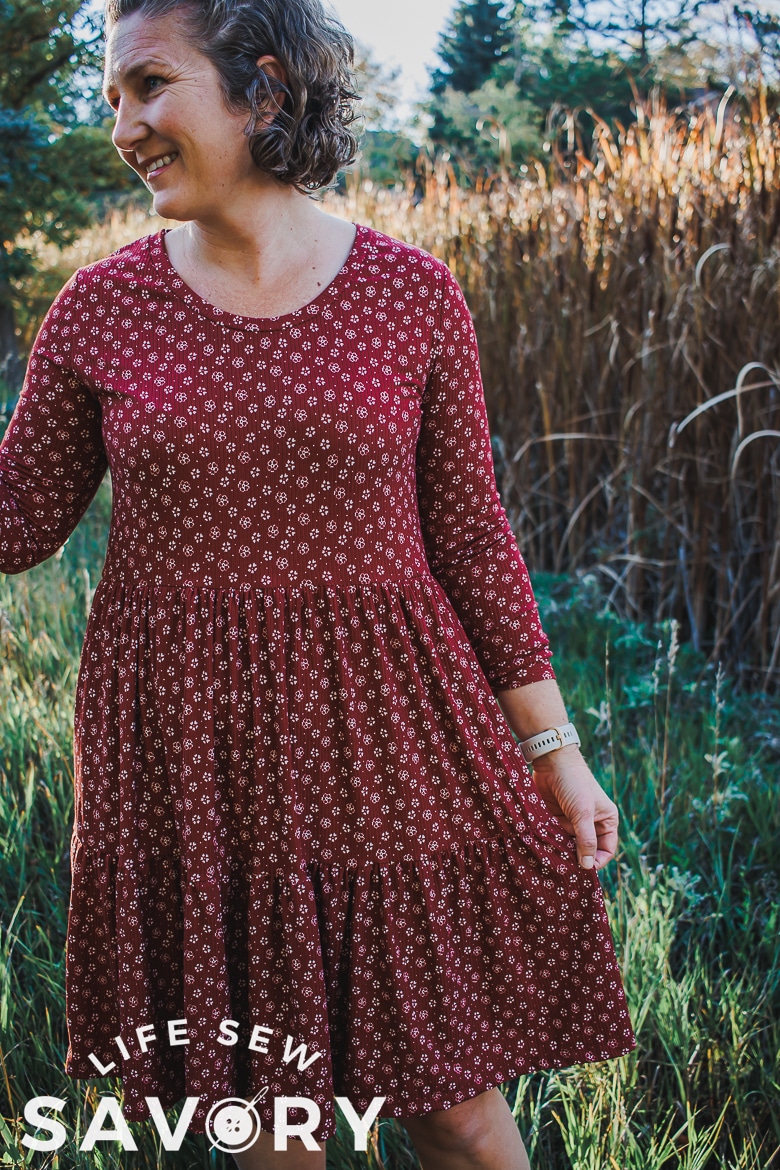
I created this tiered dress from my boyfriend tee top pattern and I’ll show you below how to add the tiered skirt. I did have to take off the skirt and shorten the top when I finished because I didn’t like where it hit my middle. I thought it was okay, then the skirt pulled it down just a bit and I didn’t like it.
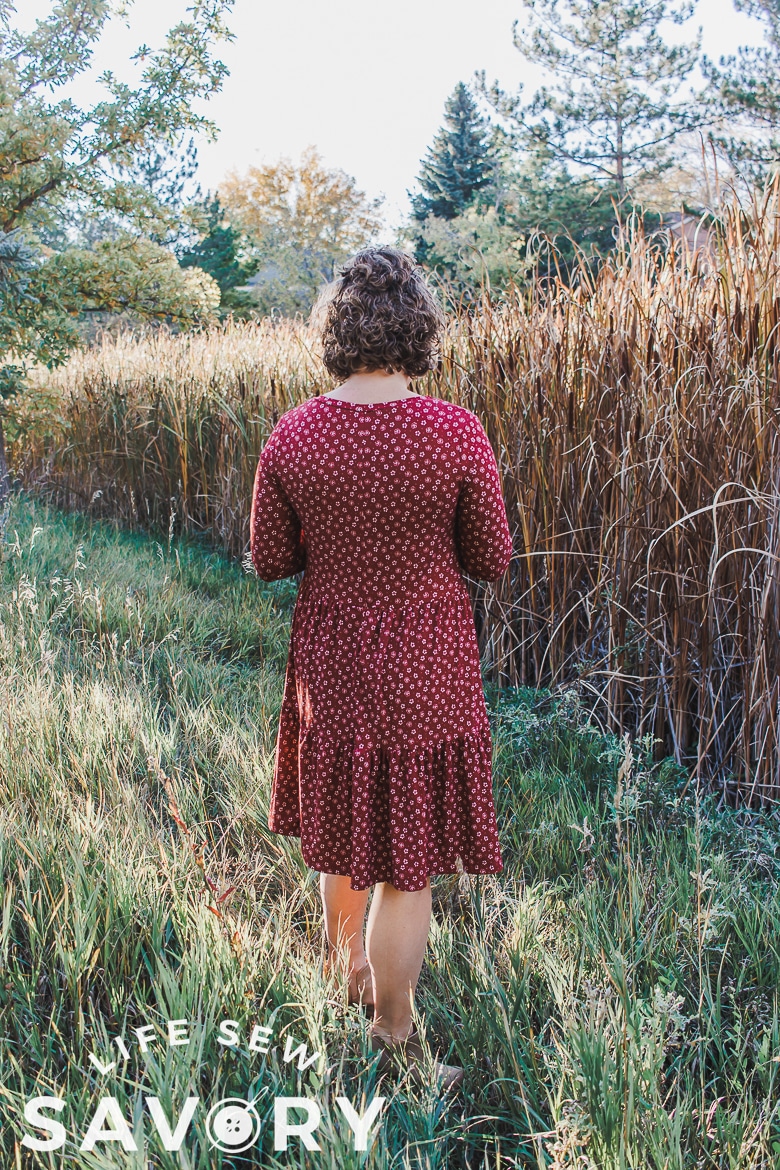
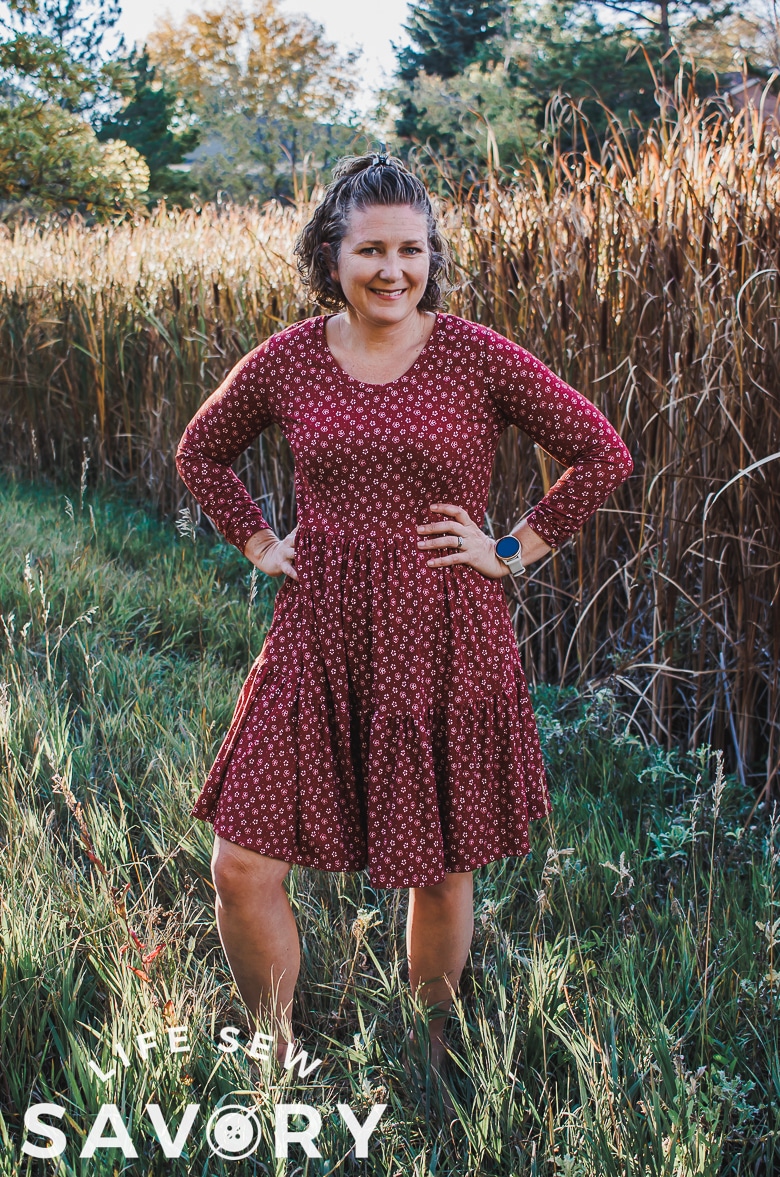
You can use any t-shirt pattern as the base and top of this dress. I’ll give you the links below to the one I used here {and my personal favorite tee pattern}
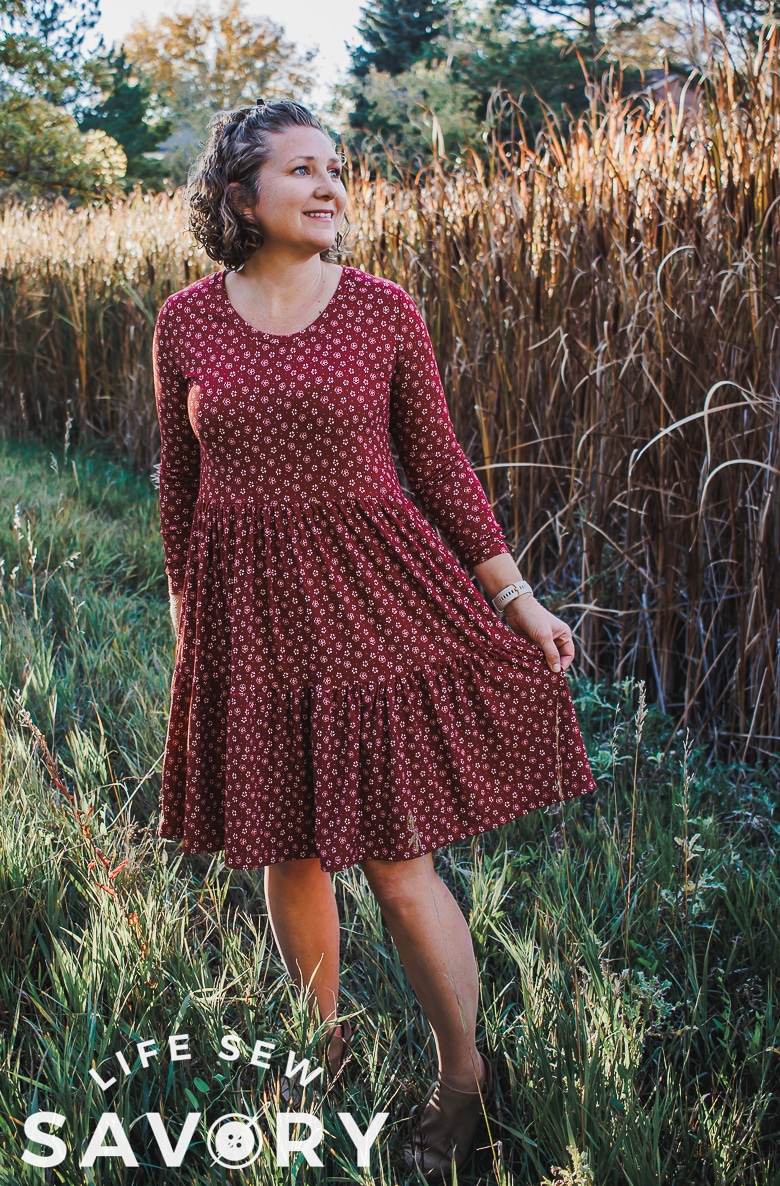
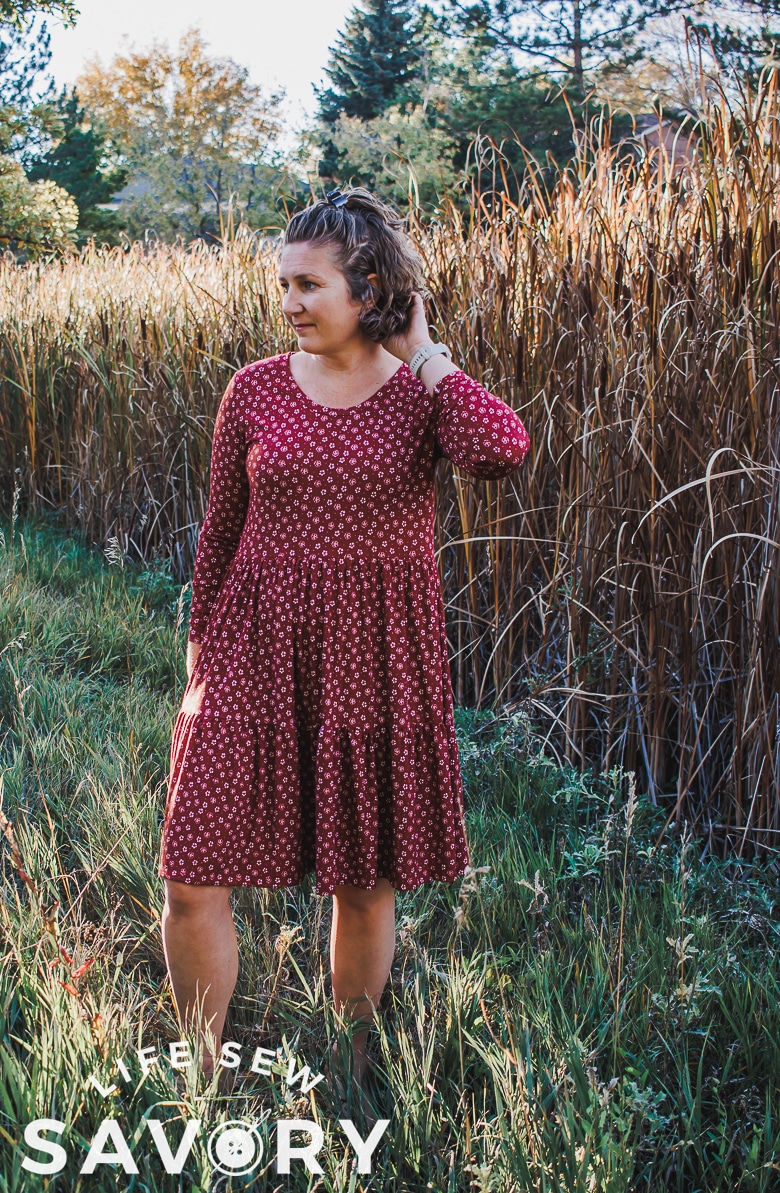
You really could sew any kind skirt on this t-shirt dress, gathered, circle or make this tiered version. See all the details for this dress and the full sewing tutorial below.
Free t-shirt patterns to use
- Boyfriend tee {used in this dress}
- Raglan top
- fitted tee
All of these would be so cute with a skirt attached. The fit of each does vary depending on the fabric used. The rib knit I used here is a bit more fitted then when I used a drapey rayon for a shirt, but it’s all still super cute.
Sew a tiered dress from a t-shirt pattern
Ok! let’s get sewing. I’m basing this tutorial off my tiered skirt tutorial found here. I also made a dress for my daughter using a free kids tee as the top here. We will be making this dress similar to those.
Ok! So start by sewing up the t-shirt as directed in the pattern you are using. I shortened the top by about 6″ and then ended up shortening it more later. Shorted a bit before cutting to save fabric. I also cut the back of the shirt not on the fold {and sewed it up} so save a bit more fabric.
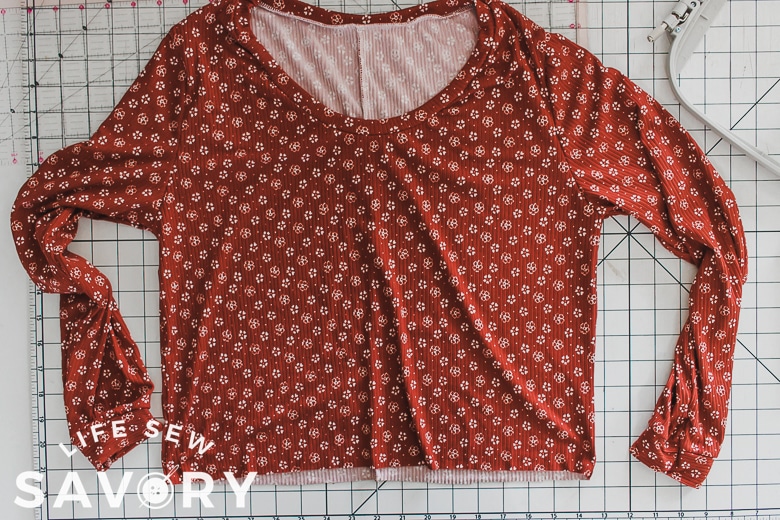
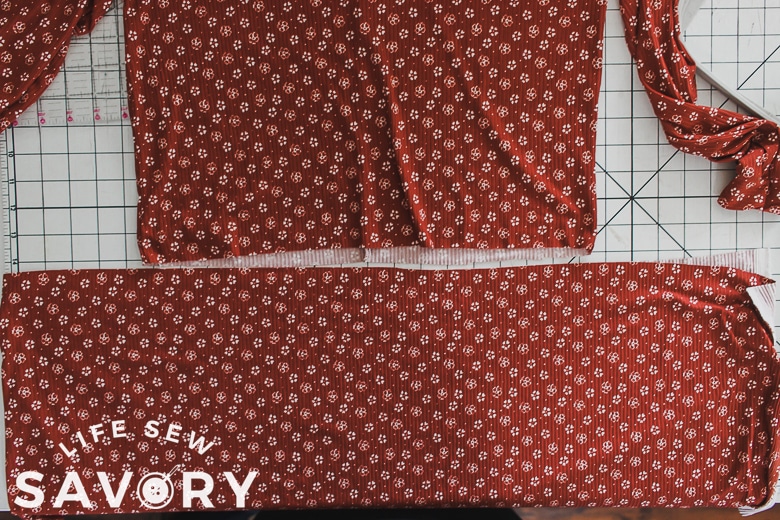
Measure from your waist to where you want the bottom of the skirt to be. Divide this measurement to determine the height of your two tiers. Cut the first tier 1.5x the width of the skirt. I was able to just use the width of fabric for this tier. Sew the skirt piece into a circle.
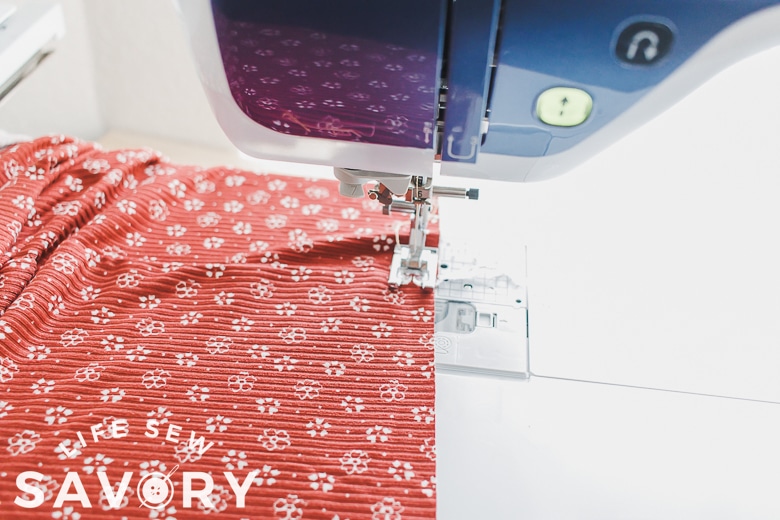
Run a gathering stitch along the top of the fabric to gather the skirt. Need help with gathering? Here are all my favorite methods. Side note… I just discovered that on this combo sewing/embroidery machine I can sew with the embroidery unit attached! This comes in handy when I’ve got multiple projects going and don’t want to remove the embroidery unit.
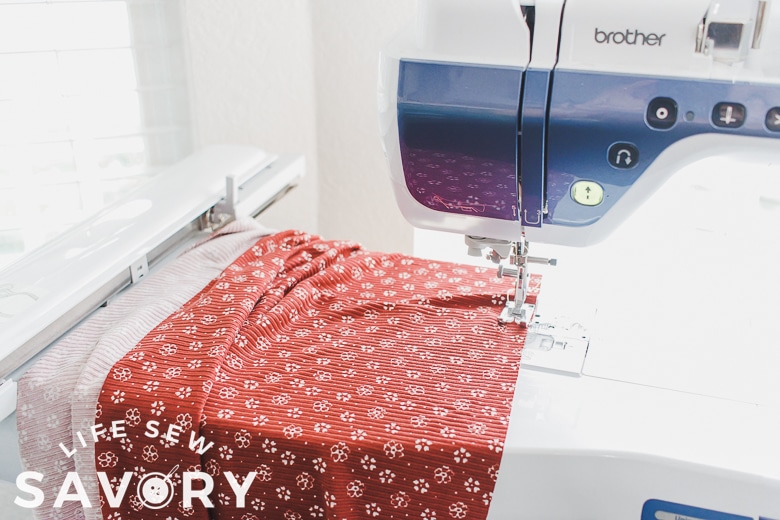
Pull the thread to gather the skirt to match the bottom of the top.
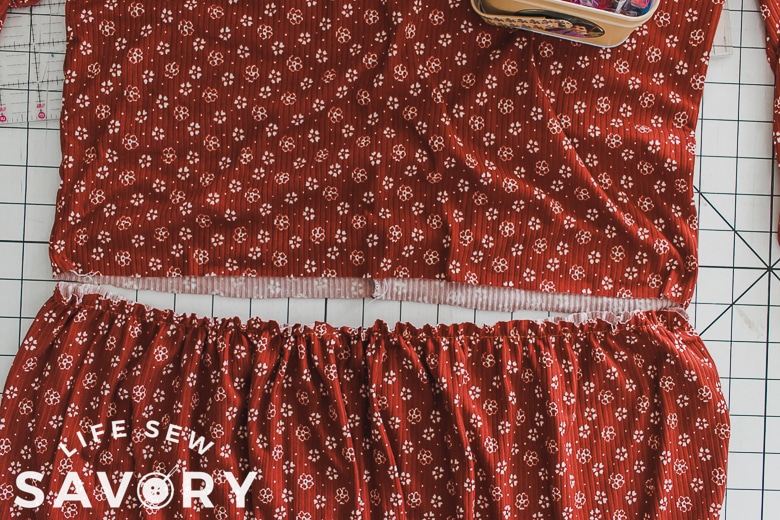
Pin or clip the quarters, then ease around the circle.
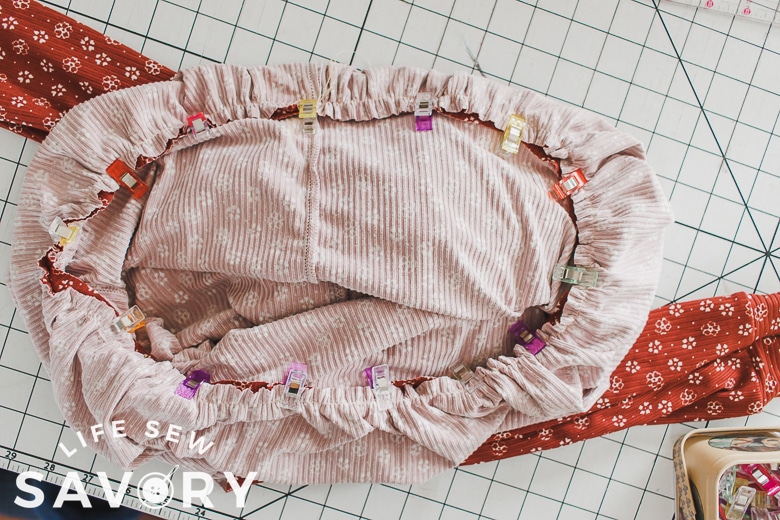
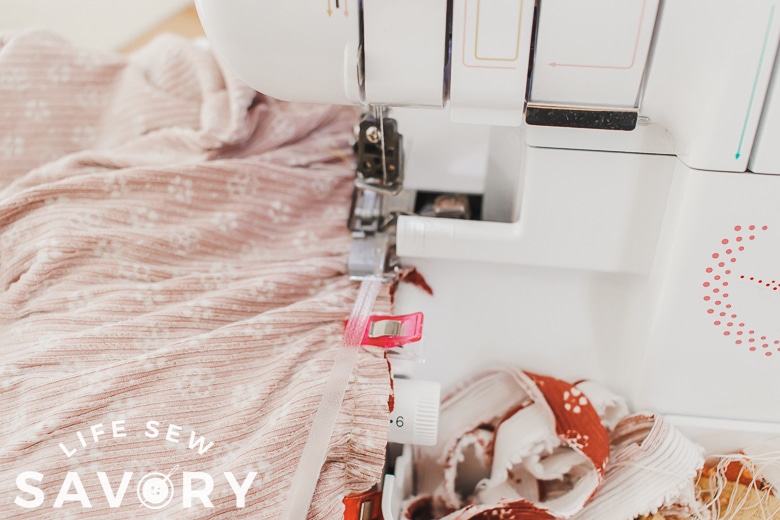
I sewed clear elastic into this waist seam to help stabilize it. I love this clear elastic method on my serger. It’s so easy. Make sure this waist seam is sewn on the serger or with a stretch stitch.
Here is the first layer attached to the dress top. For the second tier I once again used about 1.5x the width. My tiers are the same height. I did have to add some fabric to the second tier, so it’s wider than the width of fabric. Sew the pieces together to form a circle.
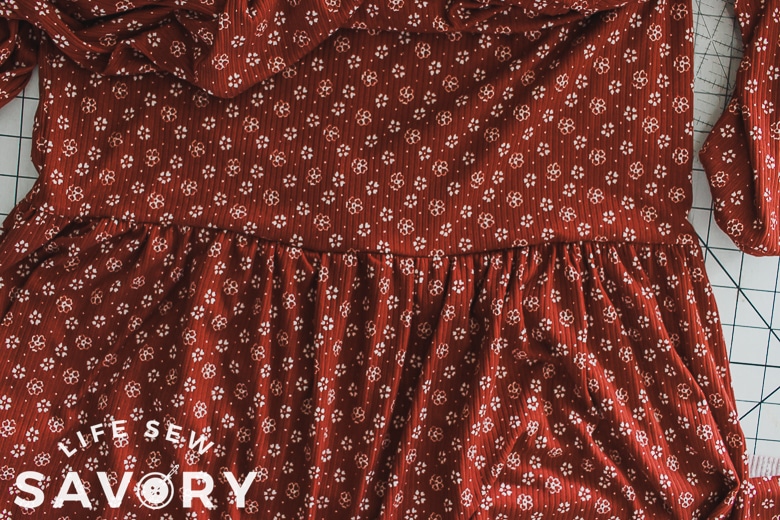
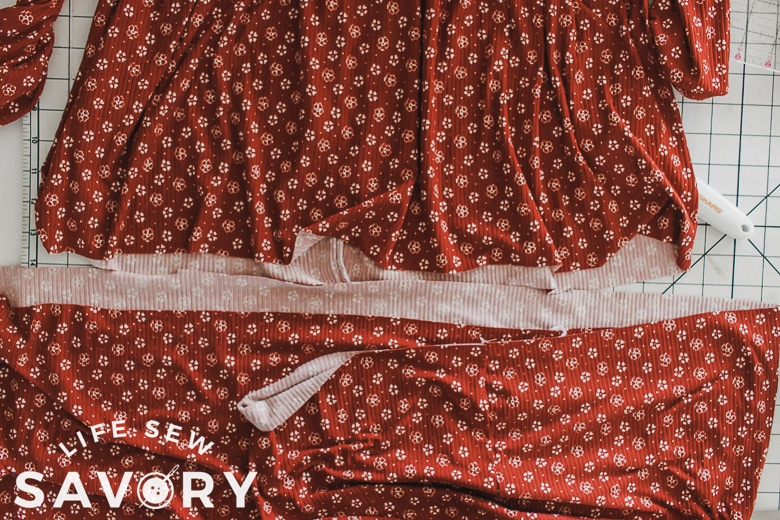
Gather along the top of the second tier and then pull the threads to gather. When it’s the right size to pin along the bottom edge of the first tier, quarter both pieces first. Match up these places, then clip or pin all the way around. Hem the bottom of the skirt.
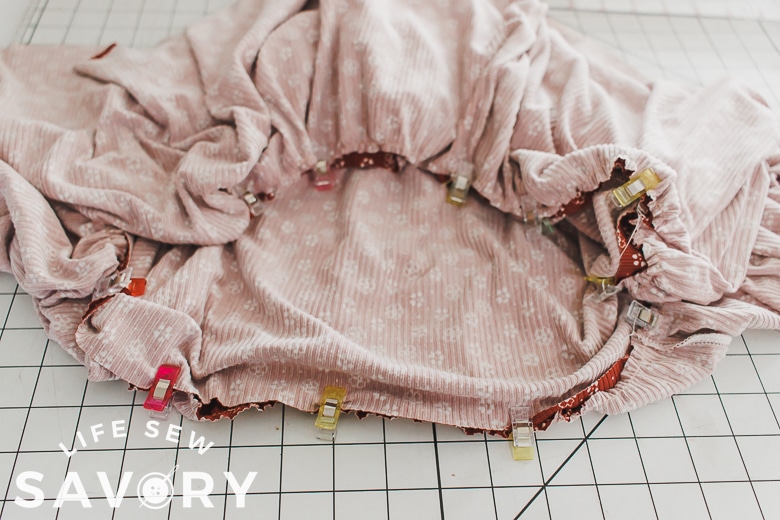
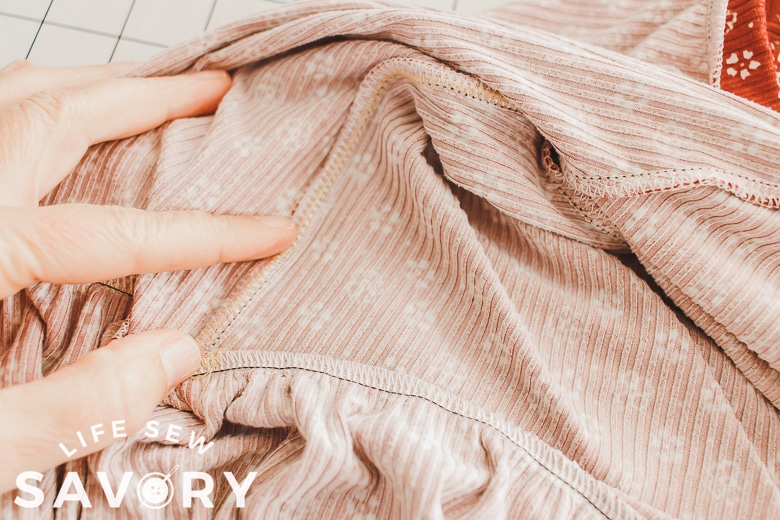
I did end up adding in some clear elastic to the side seams to help with the skirt pulling the top down. I zig zagged in clear elastic from the armpit down to the waist. I attached it to the waist elastic so that it was not pulling on the fabric.
And thats it! Now I have a gorgeous fall dress and I can’t wait to sew more! Share your photos, I can’t wait to see what you make.







Dee Kay says
I have been looking for something akin to this for a winter night gown. That color looks amazing on you, Emily. Thanks for the inspiration!
Lori says
Thank you for another wonderful tutorial. I’ve seen for over 20 years and I still learn new things from you. The clear elastic is an awesome idea.
lol beans says
I’ve been looking for something similar for a winter nightgown. Emily, you look stunning in that colour. Thank you for the motivation!