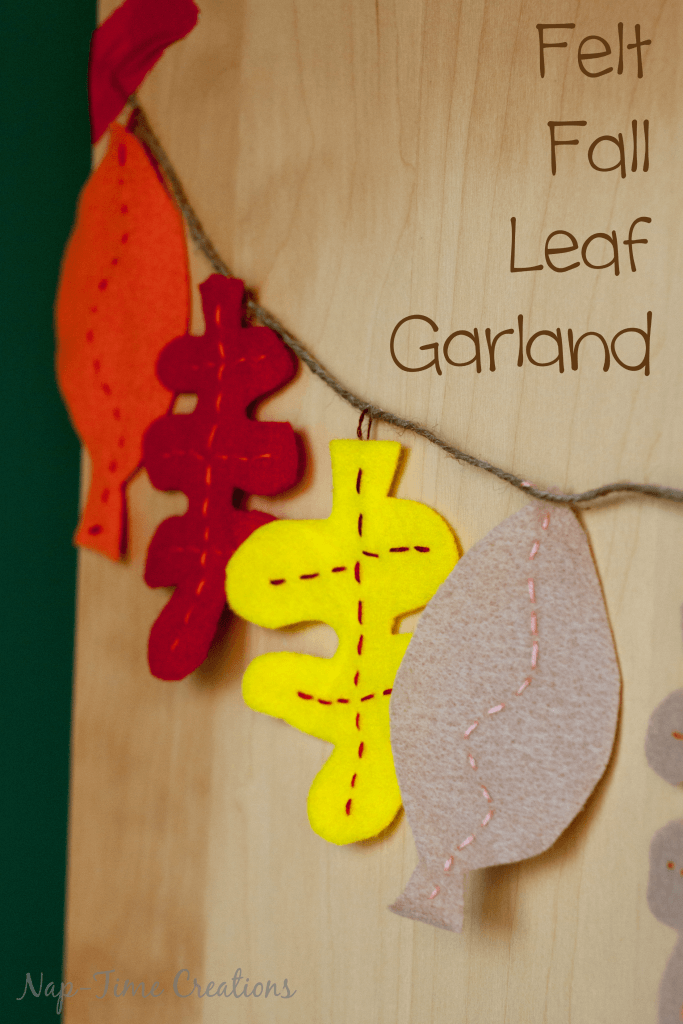
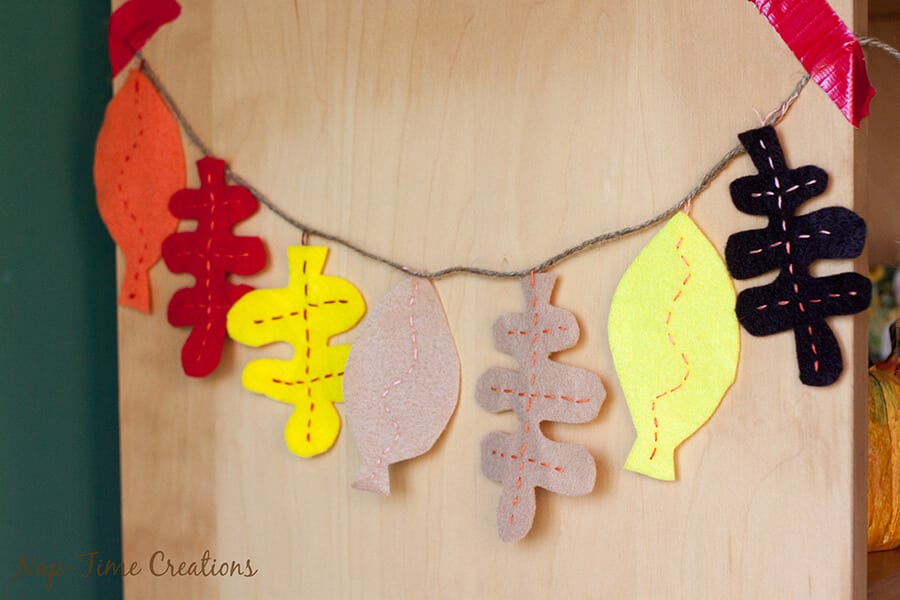
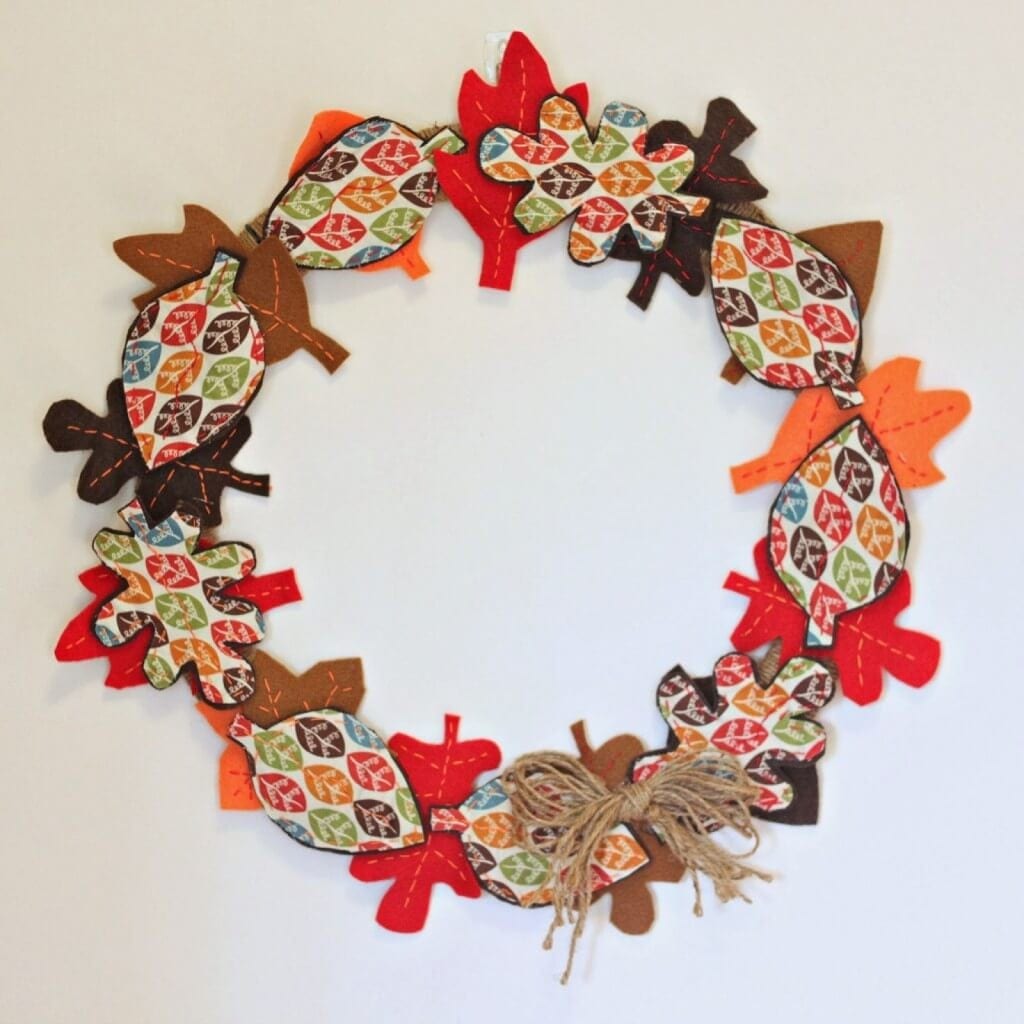
I love felt and I love fall! Both are my favorites! Today I’m combining these into a fun Felt Fall Leaf Garland. The project came together in a couple hours this afternoon, so it won’t take long to create a fun decoration for your home.
![]() You can use this template to cut our your leaves. Print at 100% to get the full size.
You can use this template to cut our your leaves. Print at 100% to get the full size.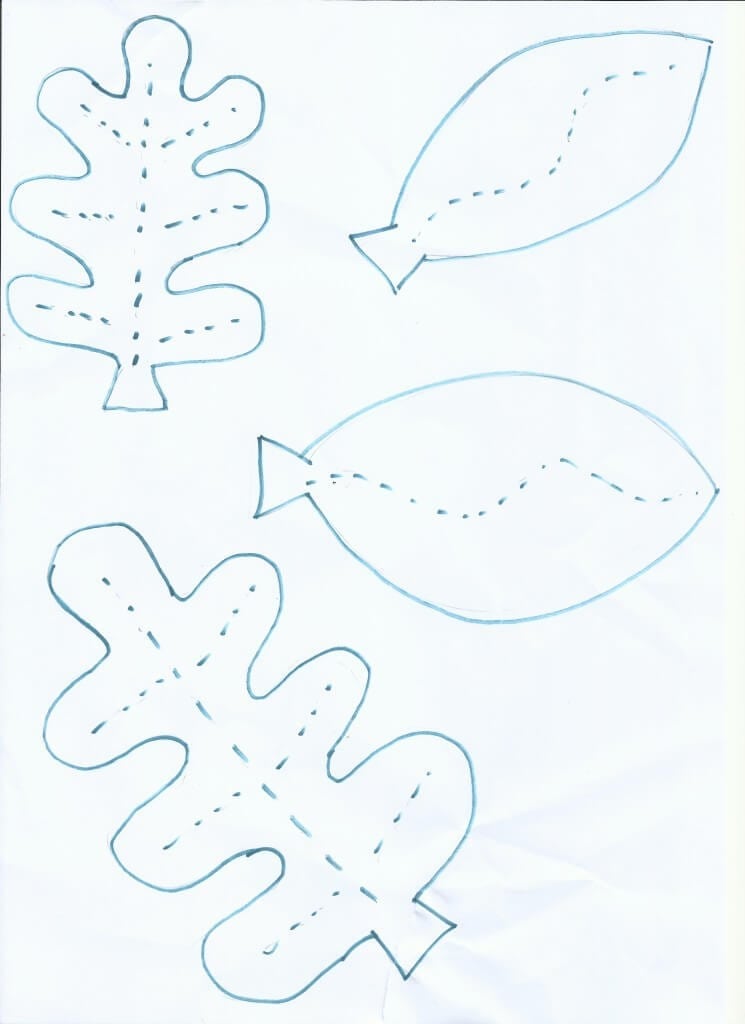
I also used embroidery floss and twine for this garland. You will have to decide how many leaves to cut based on how long you want the garland and how close the leaves will be.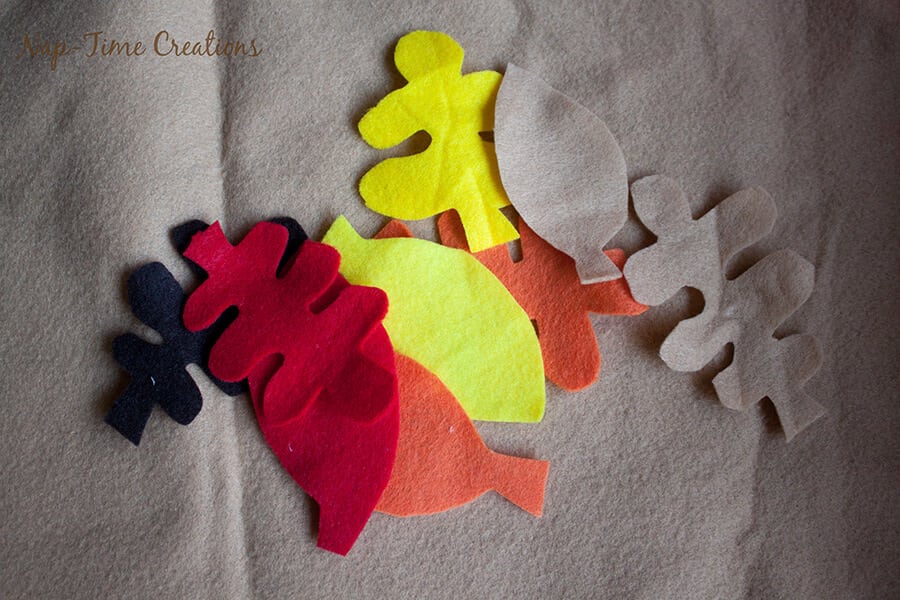 Use the guidelines on the template to handstitch with embroidery floss. I used a half strand. Start at the top of the leaf and work towards the stem. When you get to the stem, thread the floss through the twine and then tie it off on the back of the leaf. Threading through the twin will keep the leaf from sliding around.
I like to mix the felt colors and thread colors, but you could also keep it more the same.
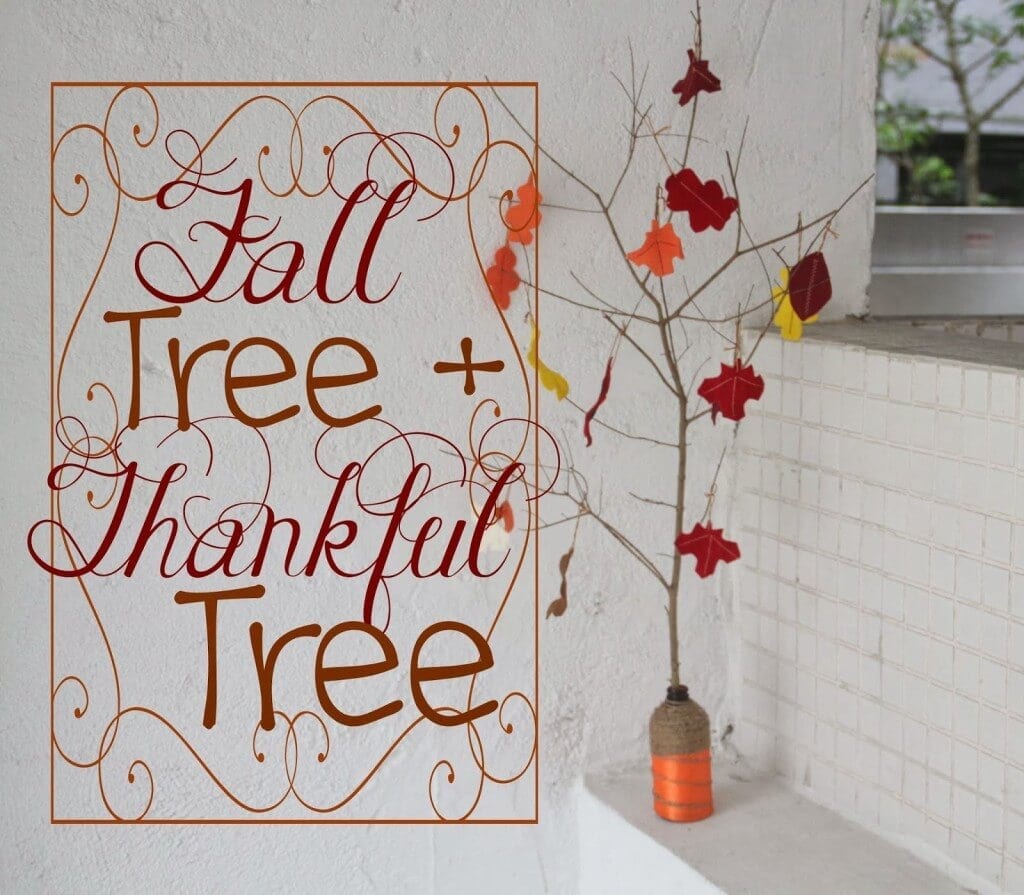
Here are a few other fall felt projects I’ve made:









Tracy Harrington Atkinson says
I love this idea! I did this as well but used construction paper and wrote something to be grateful for on each leave. I like the permanence of the felt. Great idea! Thank you.
Emily says
that is fun too! I do like writing on leaves, but I also like being able to keep them from year to year.
Natasha says
Oh these look amazing! I love the colours. I’ll have to try this myself at some point! – Tasha
Catherine says
Thanks! This looks so simple, that even I could do it, lol. I love simple, cute, rustic decorations like these. Can’t wait to give this project a shot. 🙂
Carrie says
Oh, I love them!! I would love to have you share at my new link party: http://craftymomsshare.blogspot.com/2015/10/crafty-weekend-thanksgiving-activity.html.