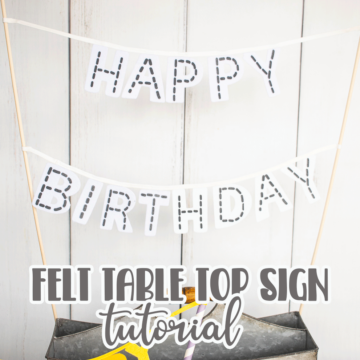
inside: Get a free template to create a felt happy birthday garland to celebrate a new year. This felt happy birthday garland creates a fun way to celebrate a special day.
I’ve been sharing fun birthday content for the past couple weeks. It’s birthday season around here. My kids have birthdays in August, September and October. Just yesterday my oldest turned sixteen and I can hardly believe it!! I had just made these birthday garlands this week, so we had fun decorations for our dinner last night.
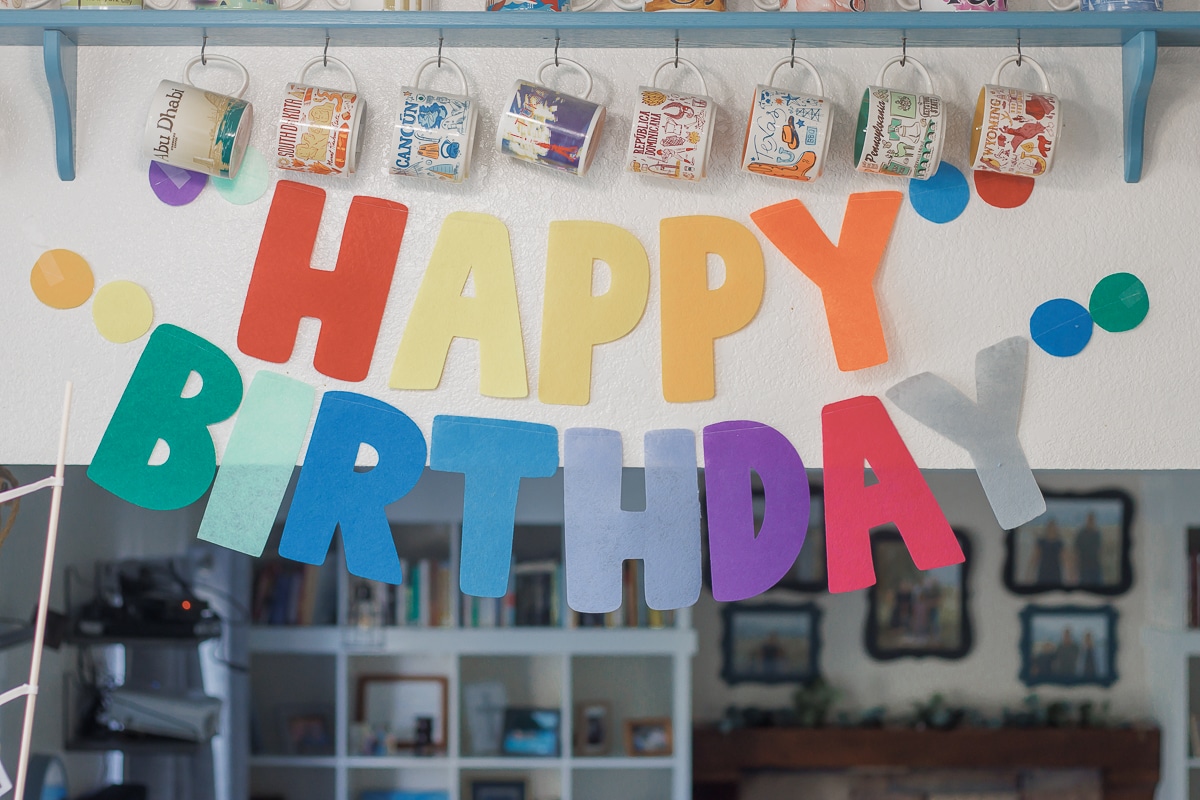
Felt Birthday Garland
For this felt birthday project I created two different size garlands. I also connected the letters with two different methods. For the large letters I connected them with a thin cording and a zig-zag stitch. For the medium size letters I just sewed them together with a straight stitch. These larger letters can be cut one at a time on a 12 x 12″ cutting mat.
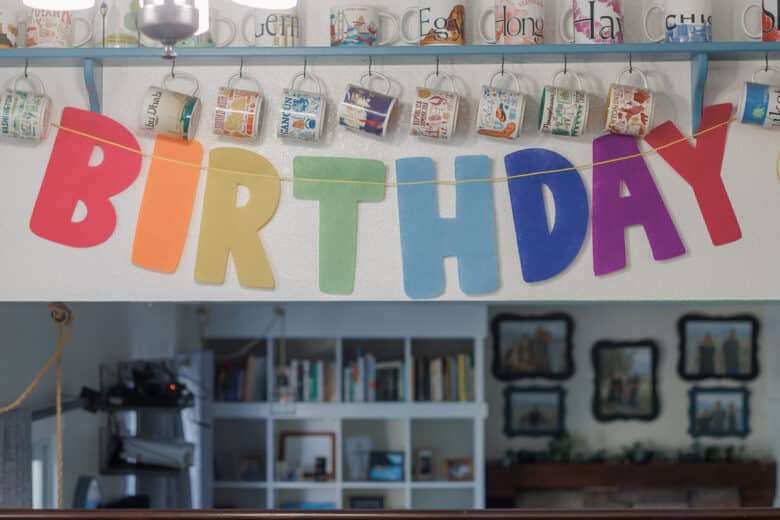
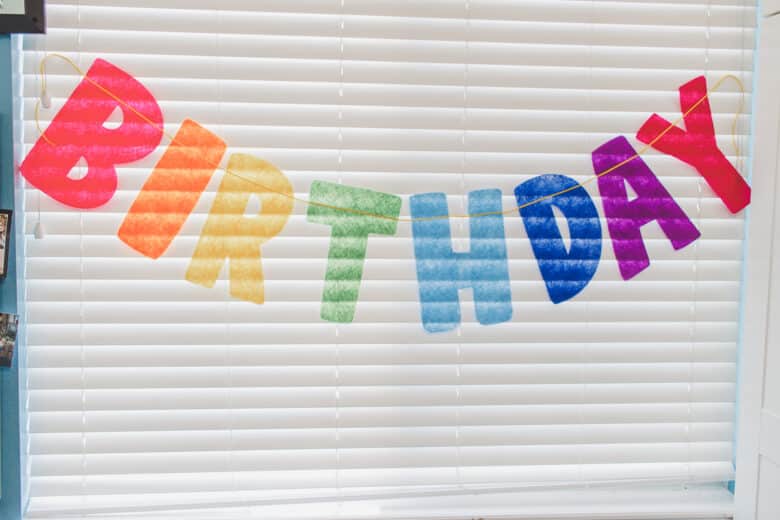
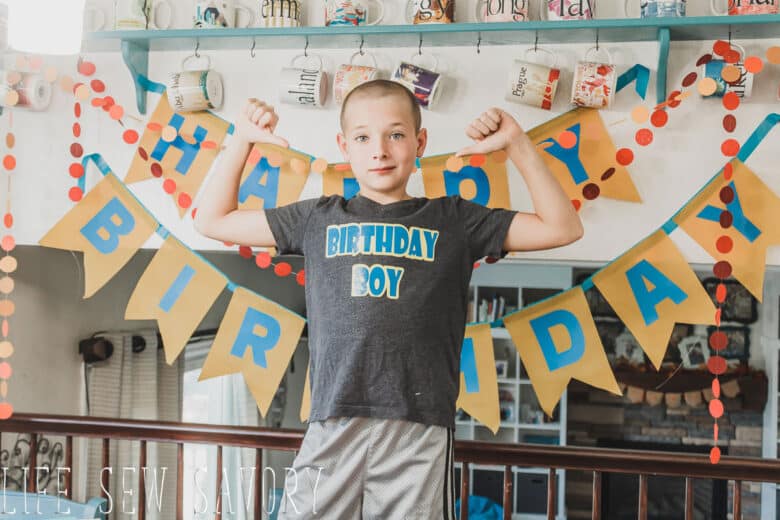
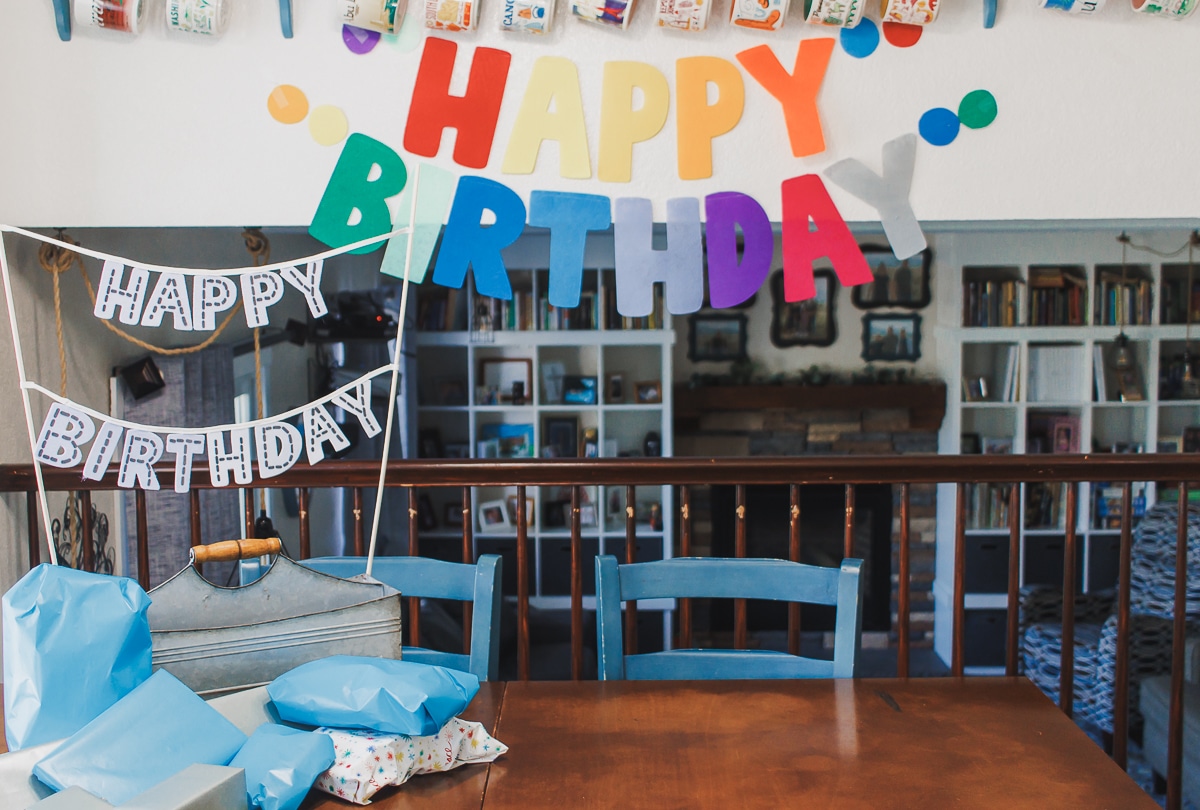
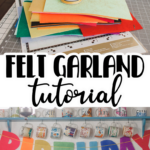
Here is my birthday boy and the larger letter garland behind him. You can cut the letters from all one color or make a rainbow one like I did here. We always hang out birthday signs behind the the table under our Starbucks mug collection.
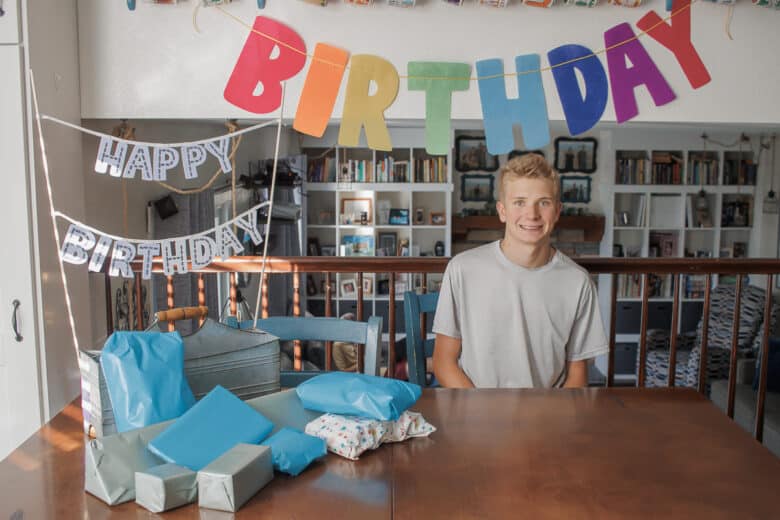
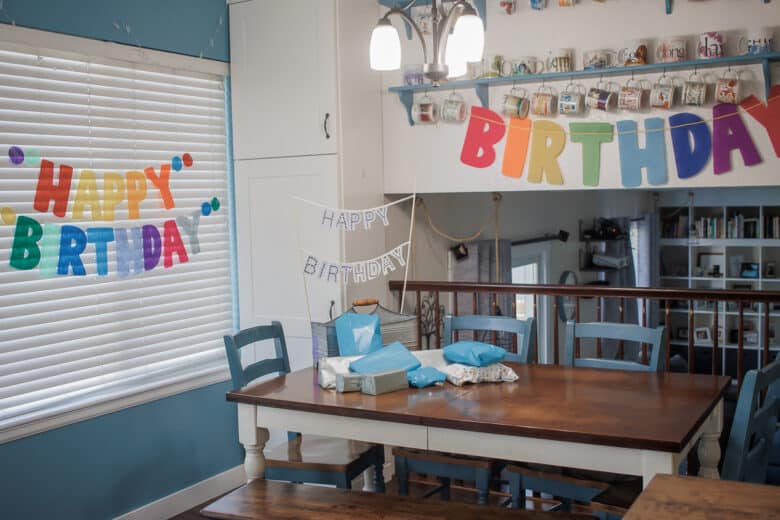
Happy Birthday Garland
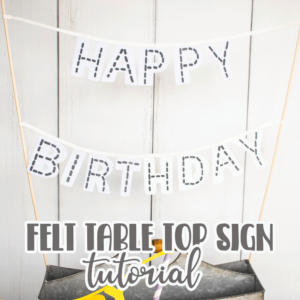
Here is my Happy Birthday garland with the mid size letters. You can cut two of these at a time on your cutting machine. I used my Brother ScanNCut to cut all the felt letters seen here in this post. I sewed this garland together with just a straight stitch and white thread, this makes it looks like there is nothing between the letters. You can use the larger letters, medium letters or a combination of the two for your very own birthday garland. Use the free download below to create your own garland.
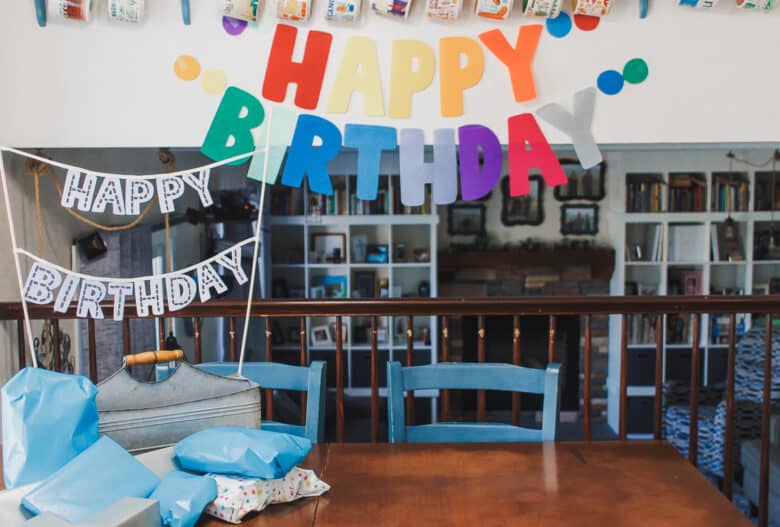
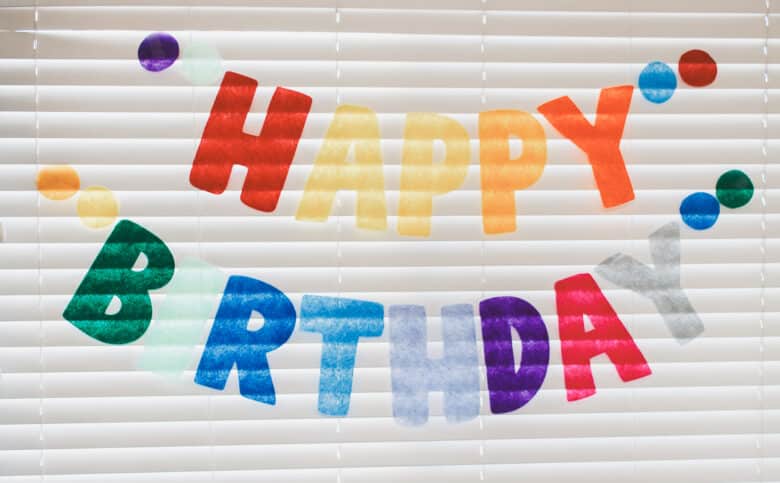
Free Birthday Decor and Downloads

- Cake Topper Felt garland
- Birthday Shirt and Birthday Bunting
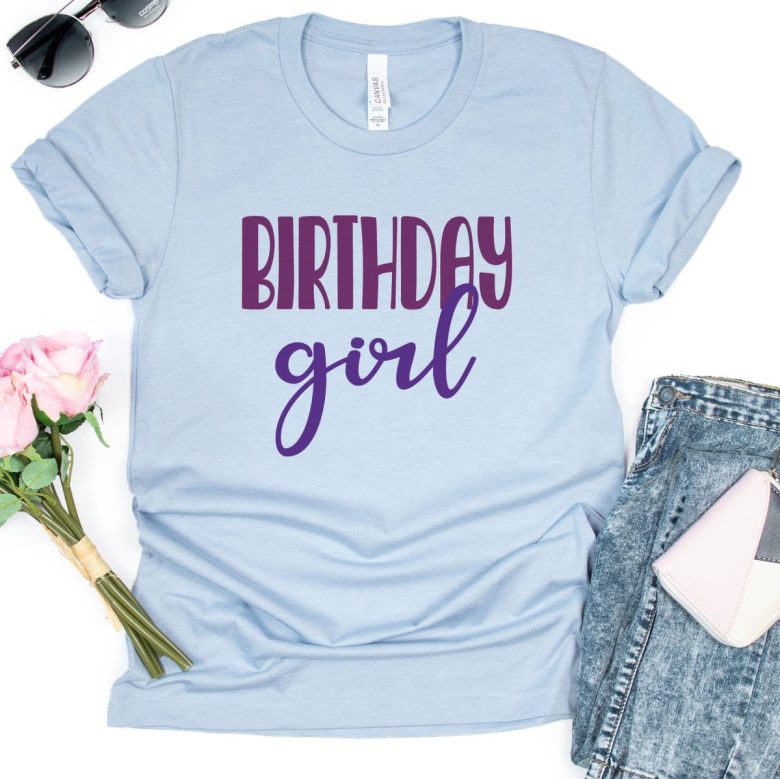
- Birthday Girl shirt
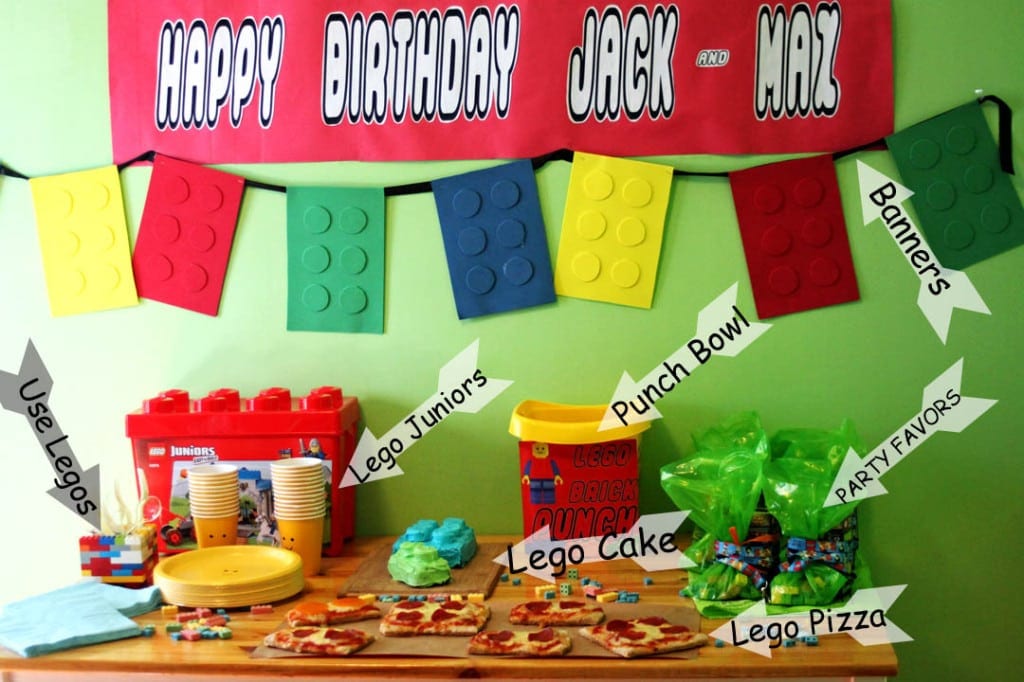
- Lego Birthday Party
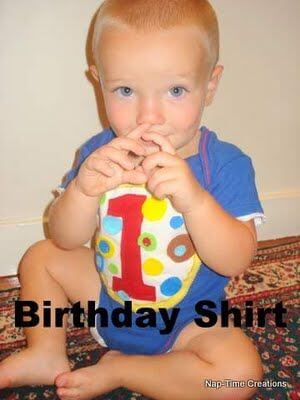
- 1st Birthday Onesie
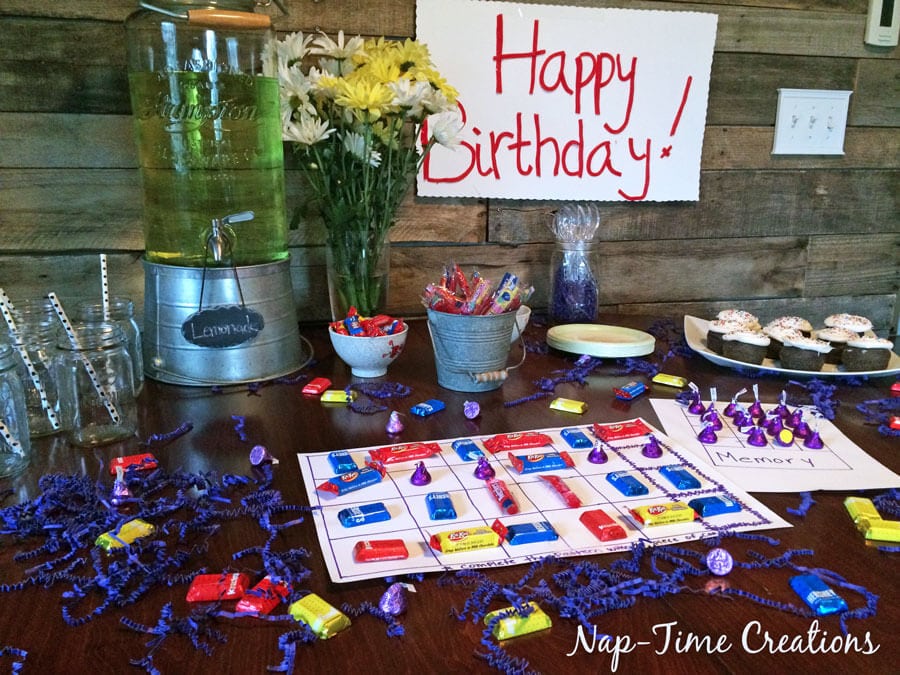
- Candy Birthday Party
How to make a felt letter Garland
Ok! Let’s dive in an make a beautiful birthday garland of your own. Here’s what you will need to create your own felt sign.
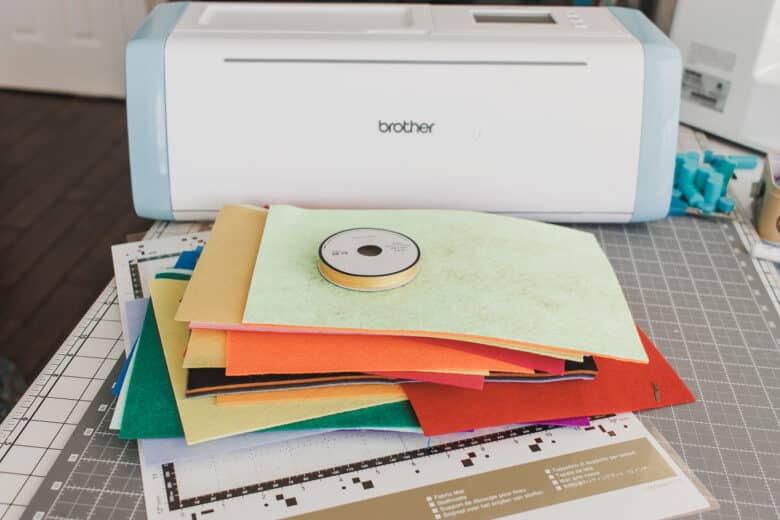
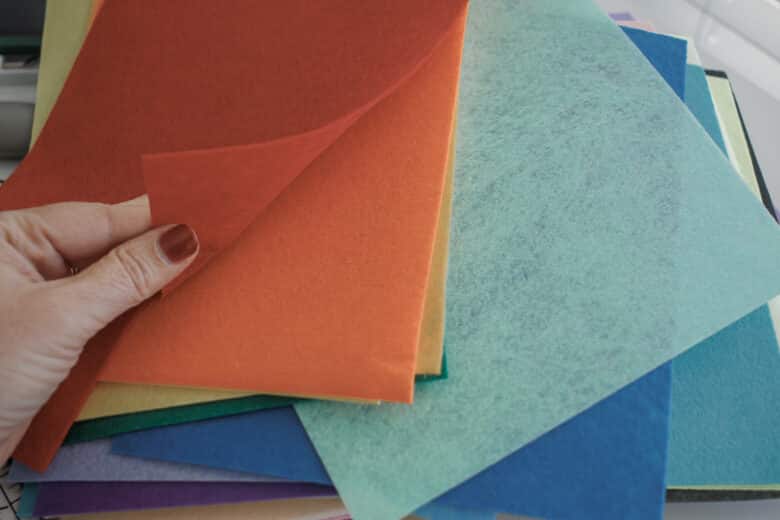
- Cutting machine OR sharp scissors to cut by hand.
- Fabric Mat for your machine
- Rainbow felt or stack of same color
- thin cord
- download the free letter file using the button below
- Cut as is for medium letters, enlarge one letter at a time for bigger letters.
The file you will download using the button below is a .zip file. It contains SVG and JPG files for all the letters. Unzip the file to use. The SVG files are for electronic cutting machines and the JPG is for cutting with scissors.
DIY Happy Birthday Felt Garland
Download the letters using the button above. Load the first letters to your machine and place felt on your cutting mat. To cut the letters as downloaded you can cut two letters at a time. To cut larger letters, delete one letter off the file and enlarge the other one to fill the sheet. My felt was 8×12″ so make sure your letter is not bigger than this.
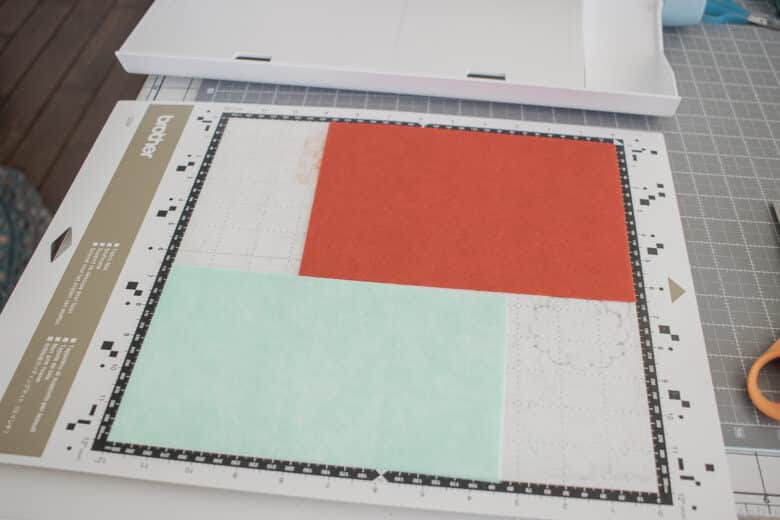
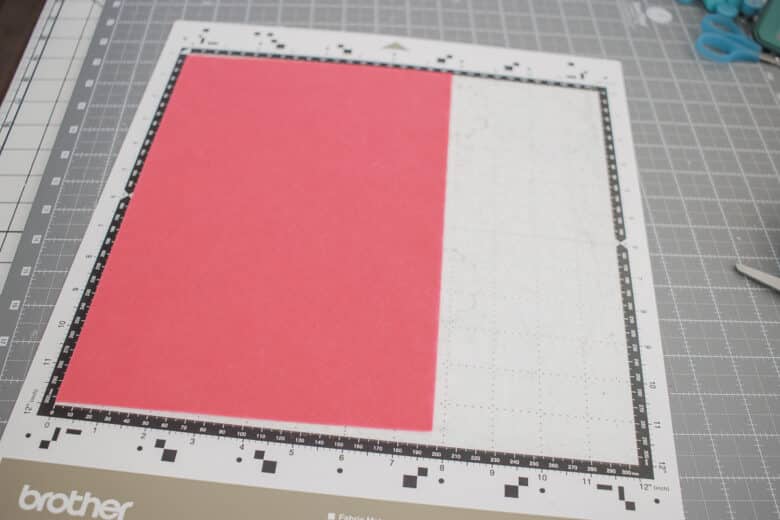
Load the mat into the machine and cut the letter or letter{s}.
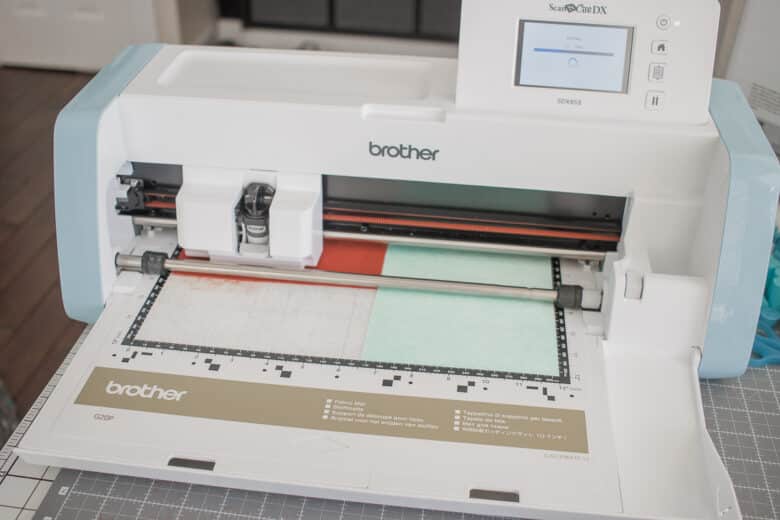
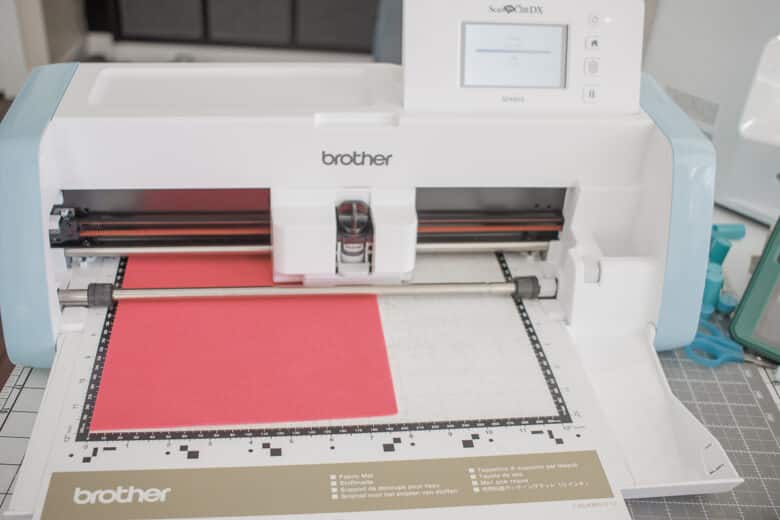
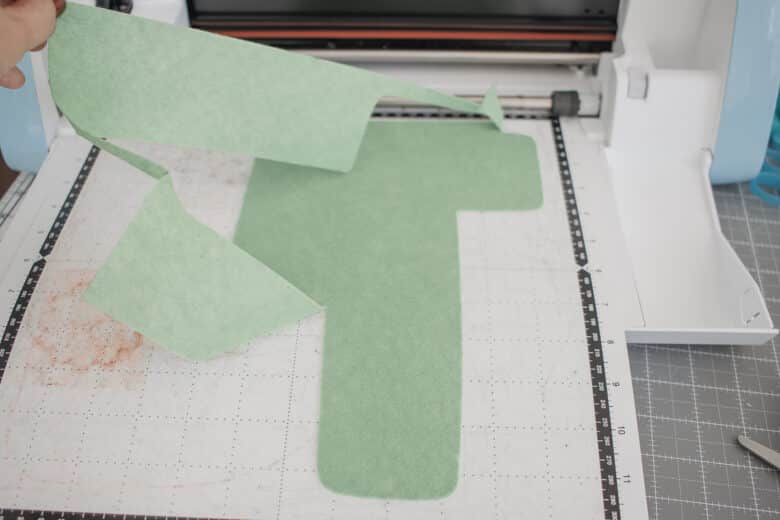
Peel the extra felt from the mat after cutting. Repeat this until you have cut all the letters to spell Happy Birthday. **TIP**if the felt slips at all use painters tape on your mat to help hold the felt in place.
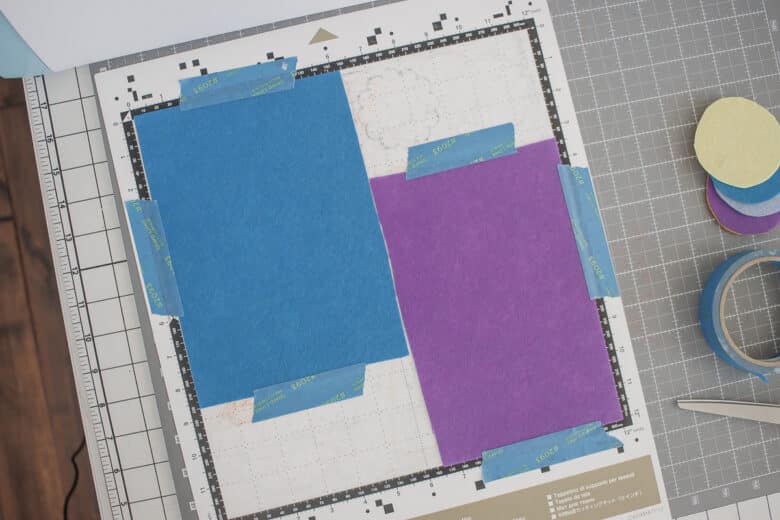
In addition to cutting the felt letters I also cut felt circles to use on my felt birthday garland.
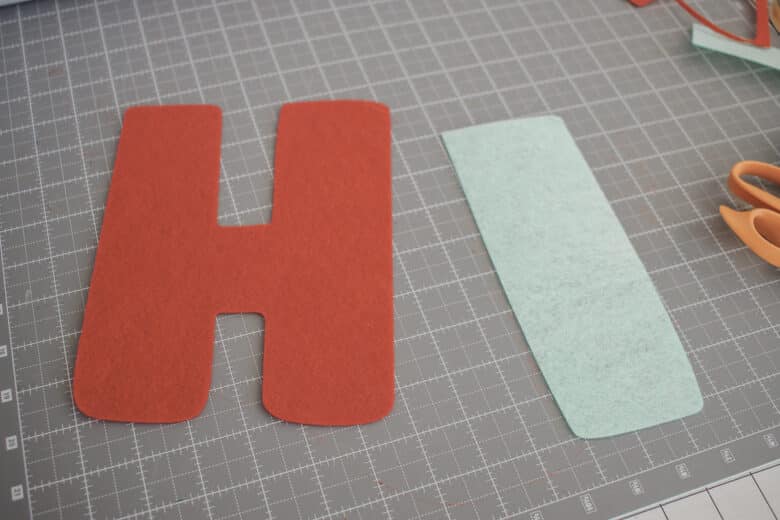
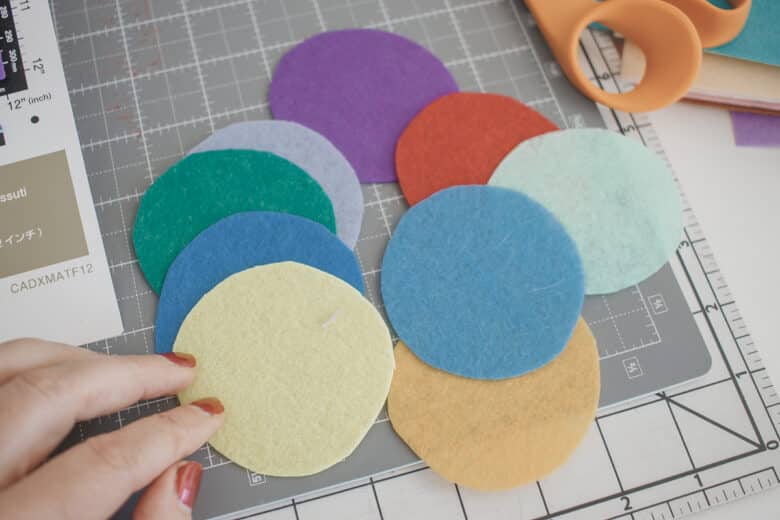
As I mentioned above, there are two ways to sew these letters together. Below you can see that that I am just sewing the circles and letters together with a straight stitch. To do this sew over the letter then continue stitching between the letters. This will create a two thread cord between the letters. You will need to continue to pull the thread/felt as you stitch in the gap to keep it moving. I sewed two felt circles, then the letters for each word, then two more circles.
You can make one long HAPPY BIRTHDAY garland or two as I did.
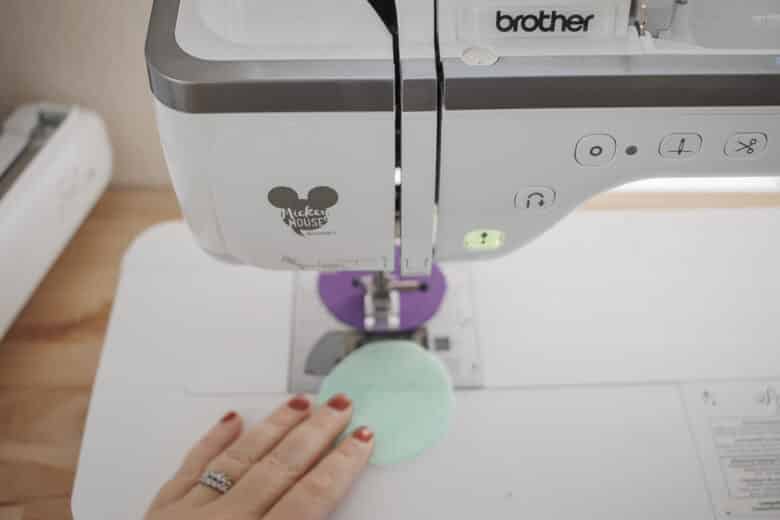
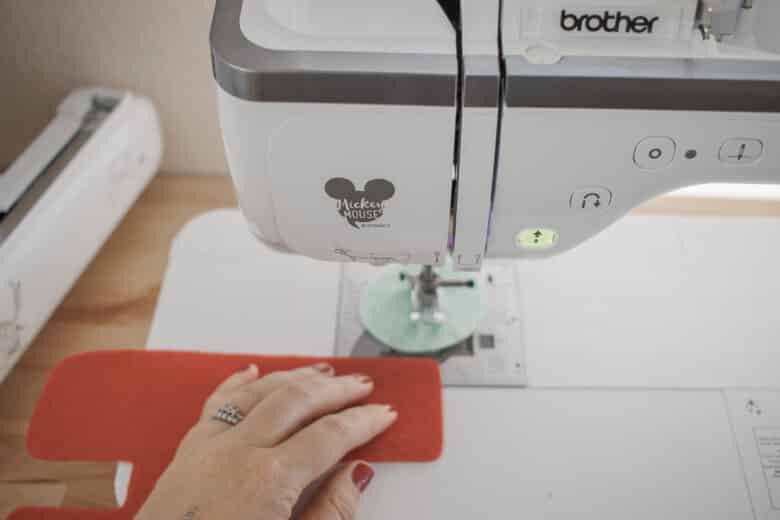
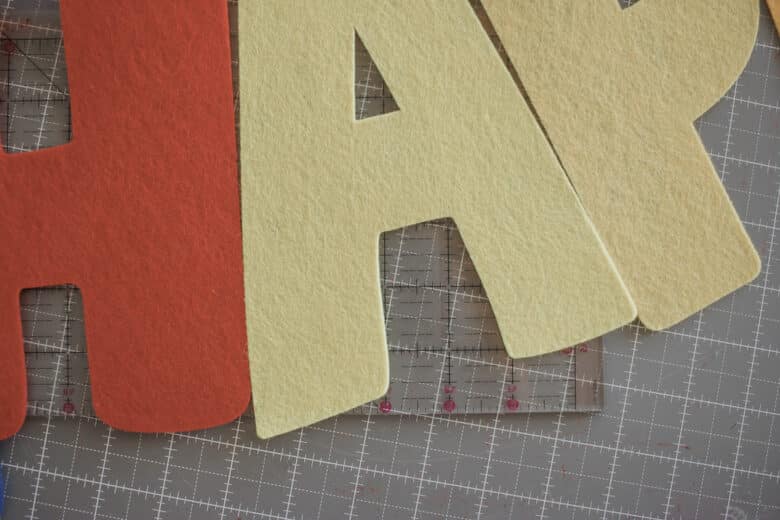
When I first sewed these together I realized the the H, A and P were hanging too close together. I cut them apart and sewed again, leaving a bit more space this time.
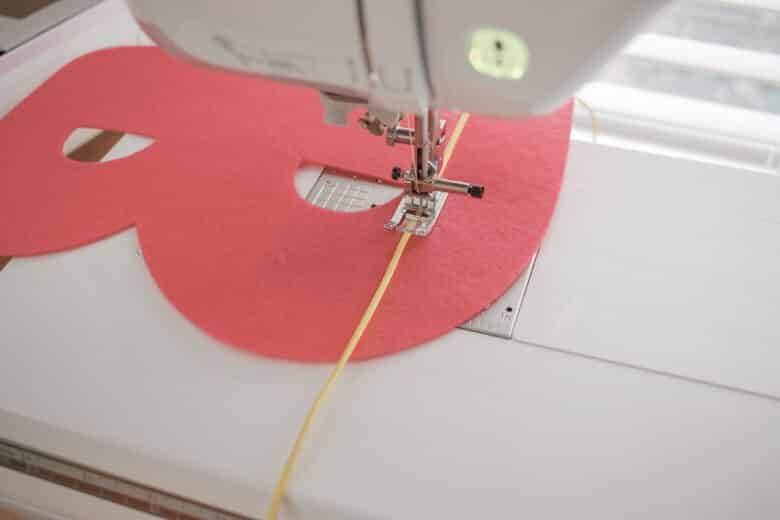
For the larger letters I just cut the BIRTHDAY letters and sewed them with a thin cord.
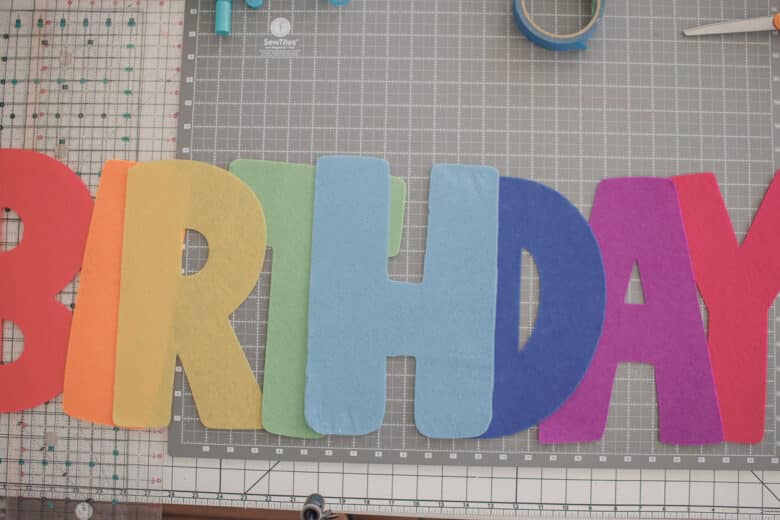
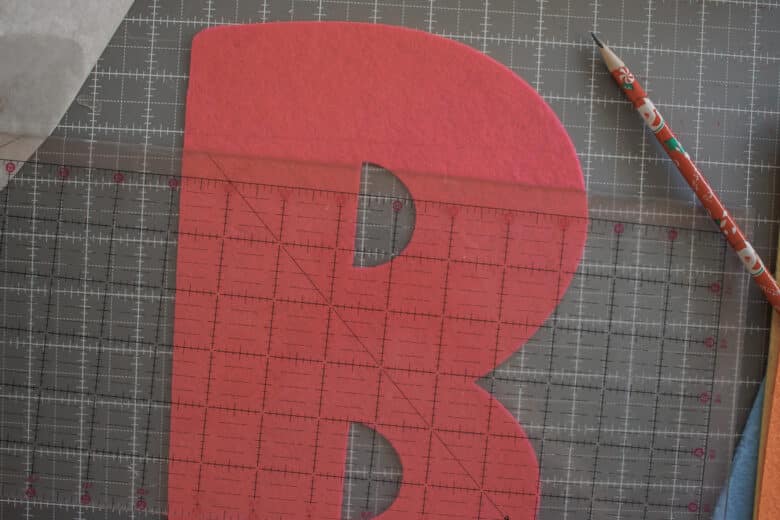
I used a ruler to mark 2″ down from the top of each letter. I wanted to make sure I was sewing the cord evenly and straight across. Using a narrow zig-zag {3 mm} sew across the first letter, then across the cord in the gap and onto the next letter. Some letters need more space between them due to the shape of the letter.
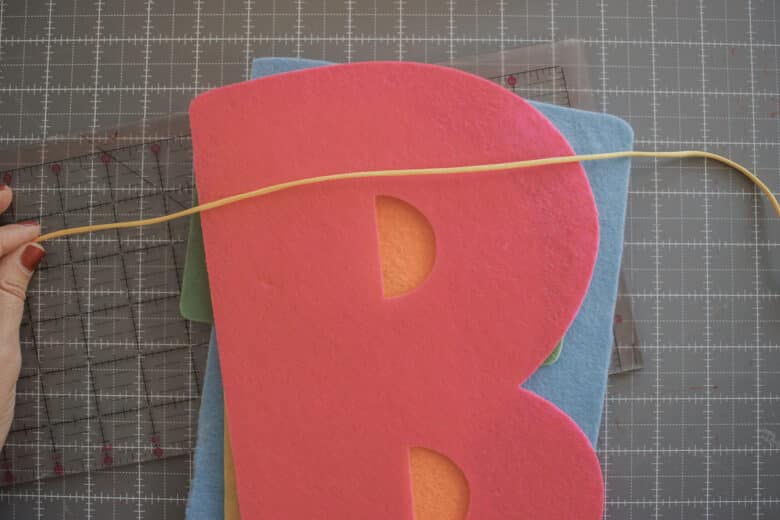
Once finished you can now enjoy your new birthday garland!




Leave a Reply