Inside: Use the free felt flower template to make gorgeous felt flowers. Felt flowers are perfect for hair accessories, bags, wreaths and more! Simple felt flower tutorial.
I’ve been making and using felt flowers for crafting for many years now. There are just so many types of felt flowers that you can make and so many uses for them once made. Today I’m sharing a fun idea for felt flowers, plus a free template to use when making them.
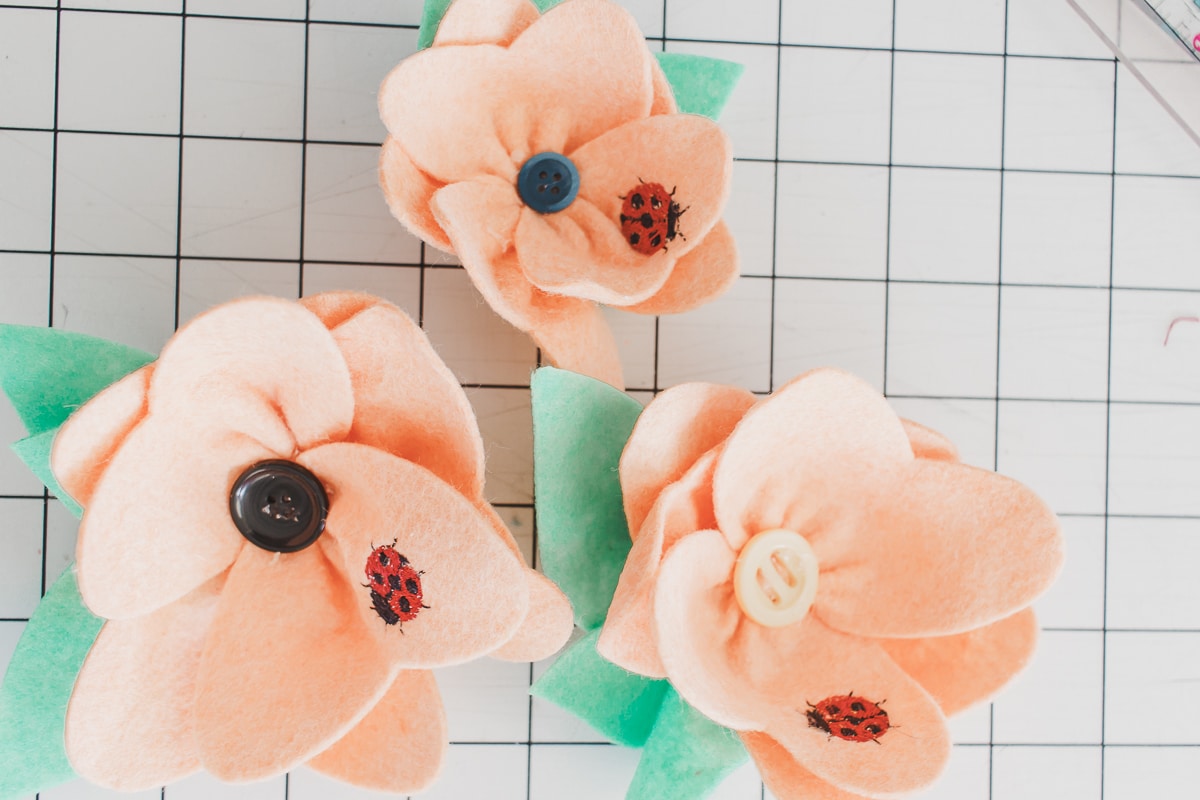
Simple Felt Flowers with free template
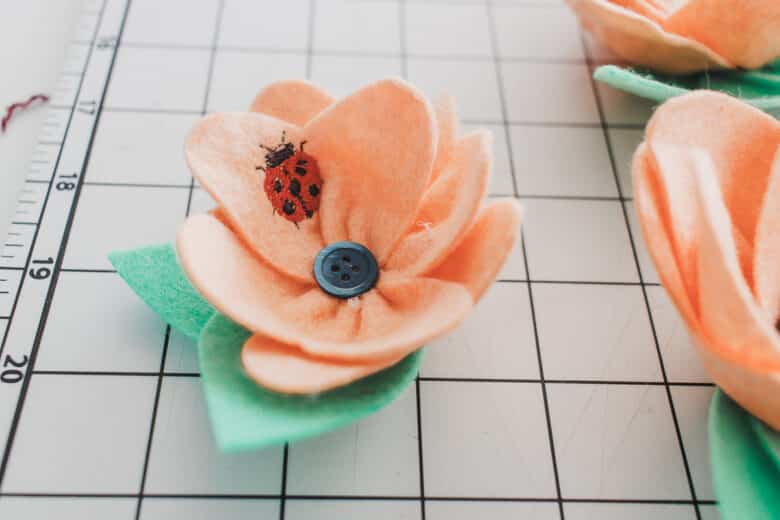
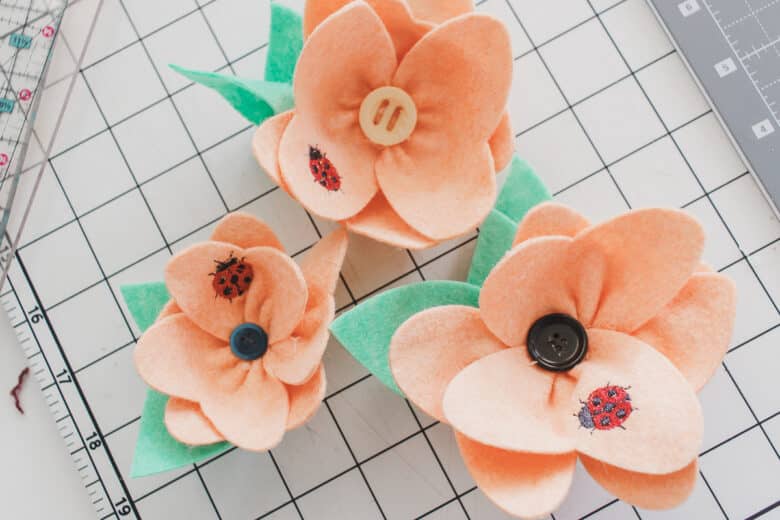
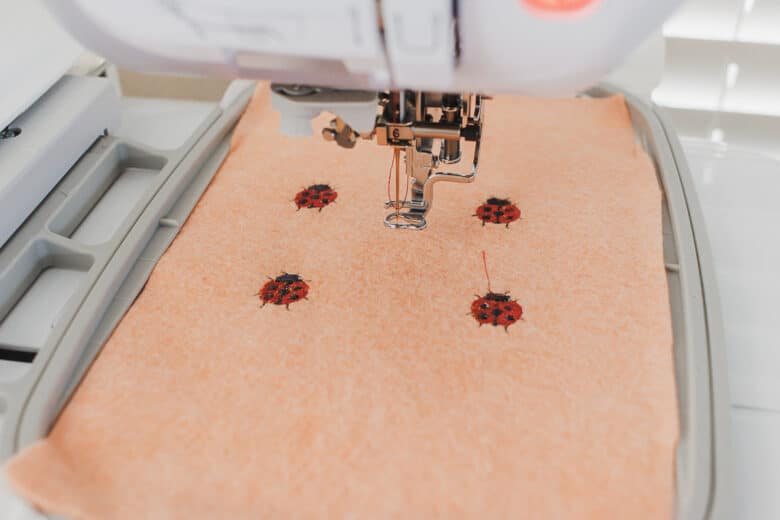
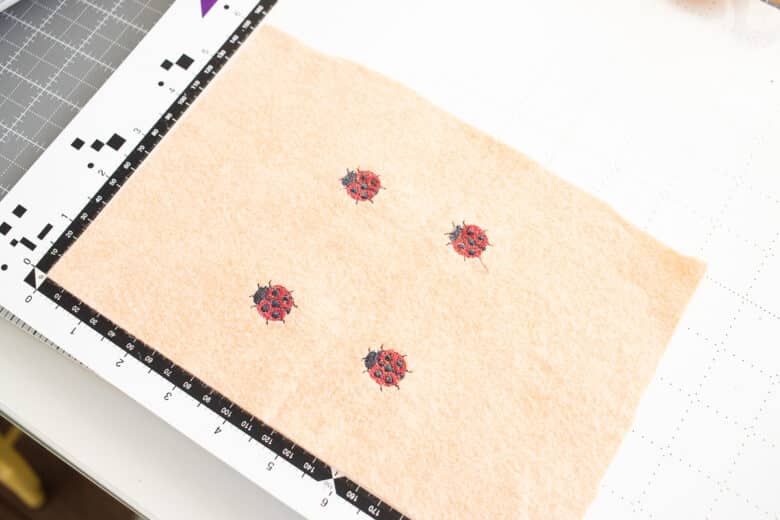
I thought it would be fun to experiment with adding small embroidery to these felt flowers. You can see the tiny, cute ladybug I added to these flowers in the photos. This step is completely optional, but I love it. I will give the instructions for adding the embroidery, but feel free to jump ahead and just cut the felt.
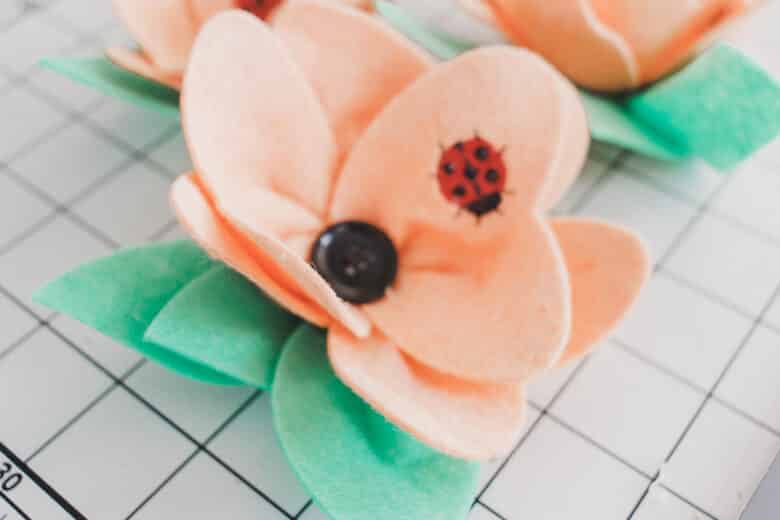
I also used my ScanNCut with rotary blade to cut the felt. My free template includes a SVG and PDF version so you can cut with an electronic cutting machine or just cut out by hand with the PDF file. If you want to learn more about the rotary blade for cutting felt see my tutorial here.
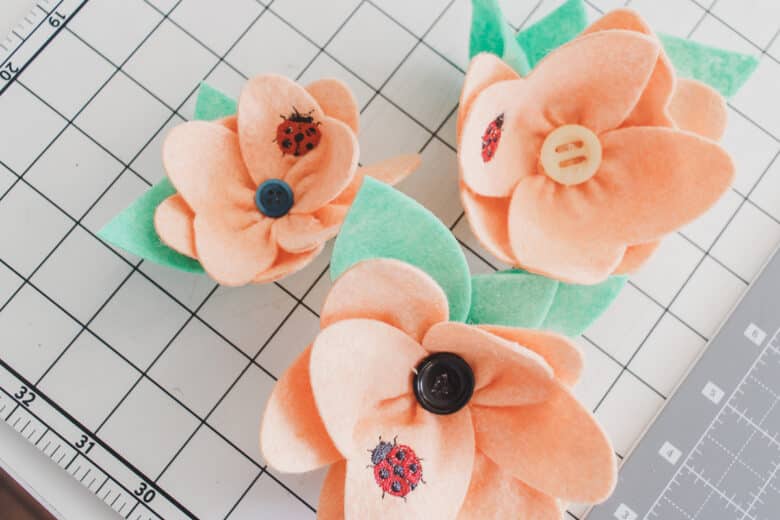
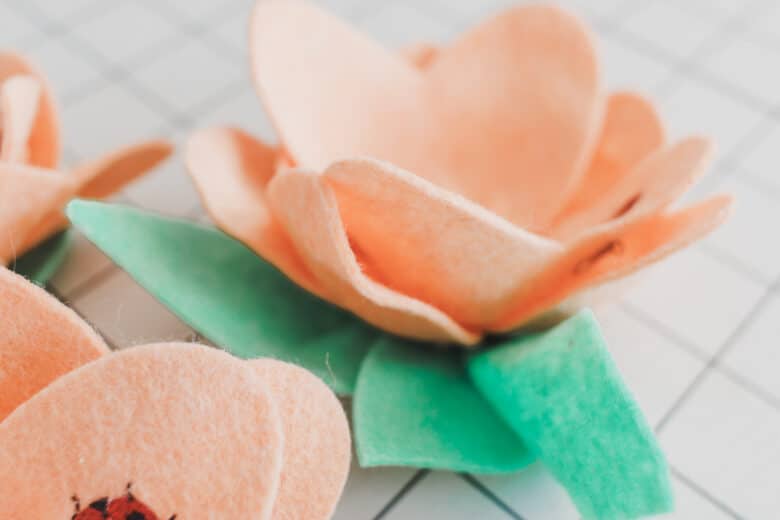
I chose to make my flowers all one color and with the same amount of petals on each. You could mix up this project by adding more petals and varying the colors of them, even within a single flower.
More felt flower projects to make:
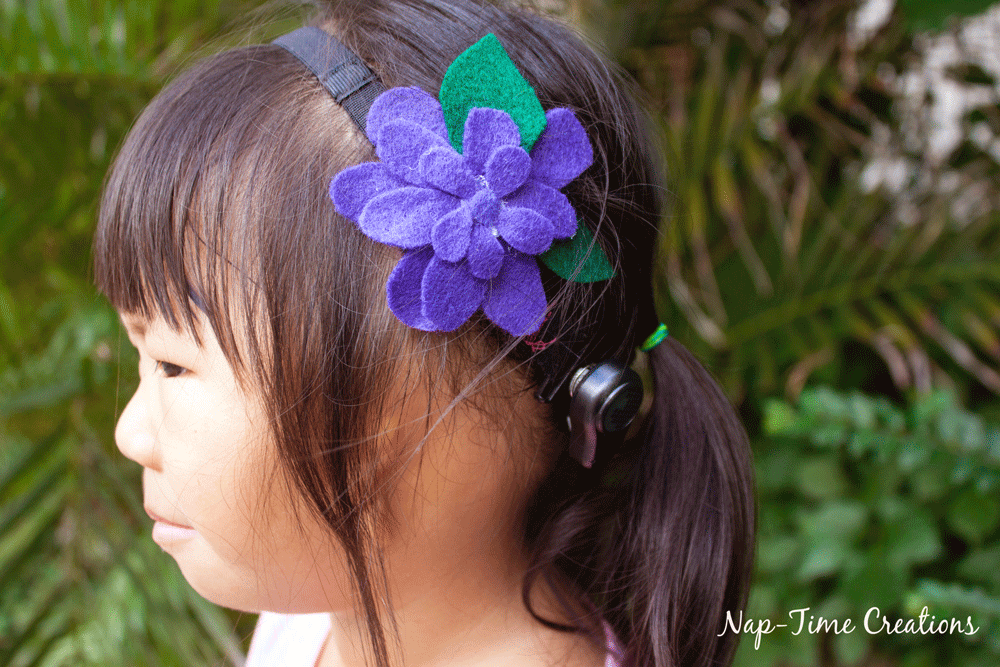
Here are some examples of other felt flower projects that I have made. Links to these other projects are below the photos.
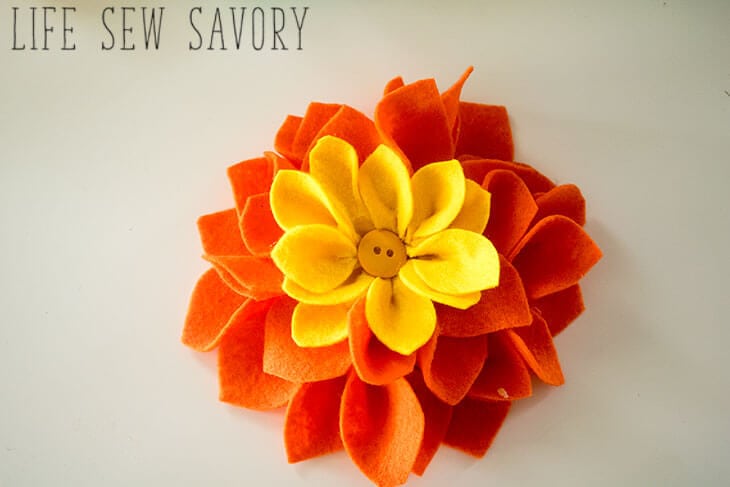
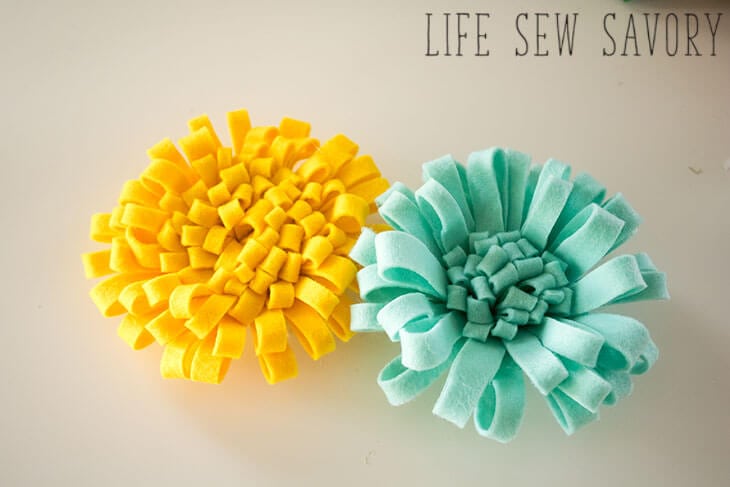
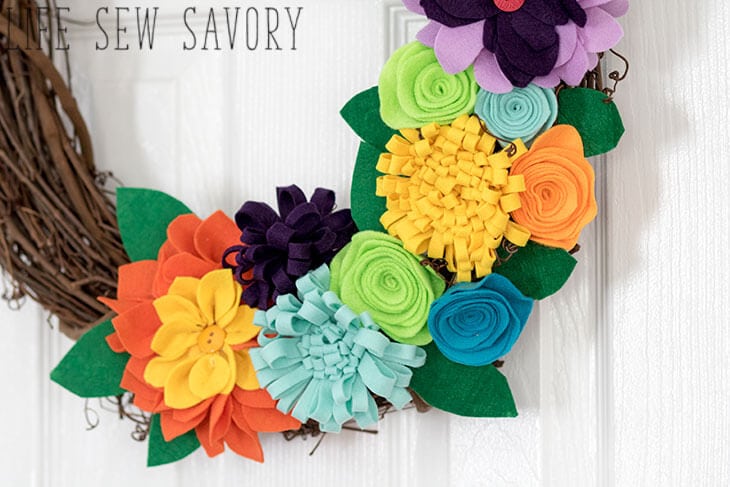
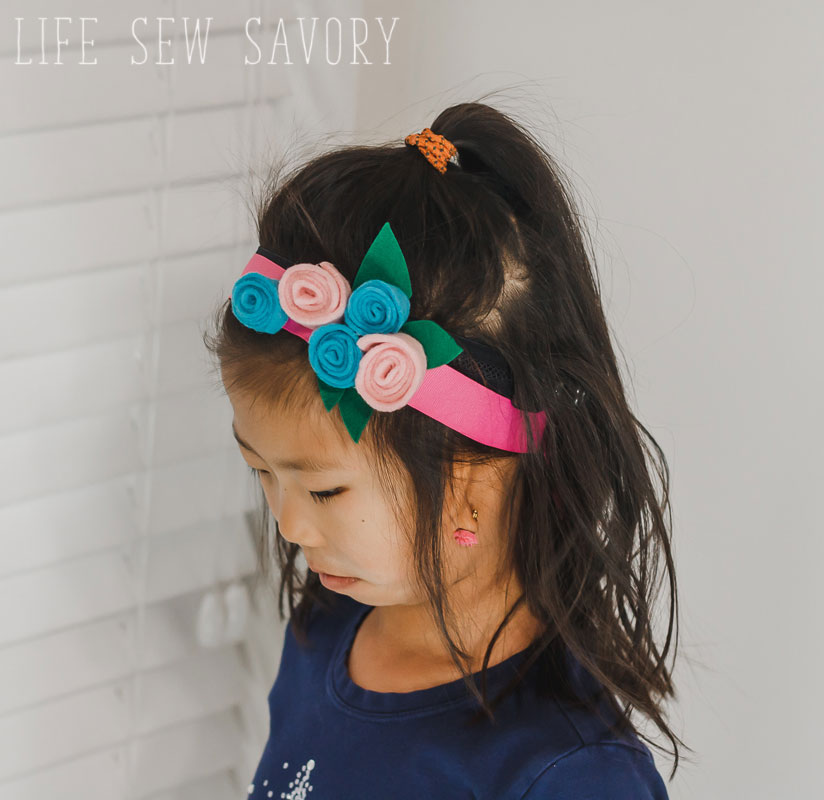
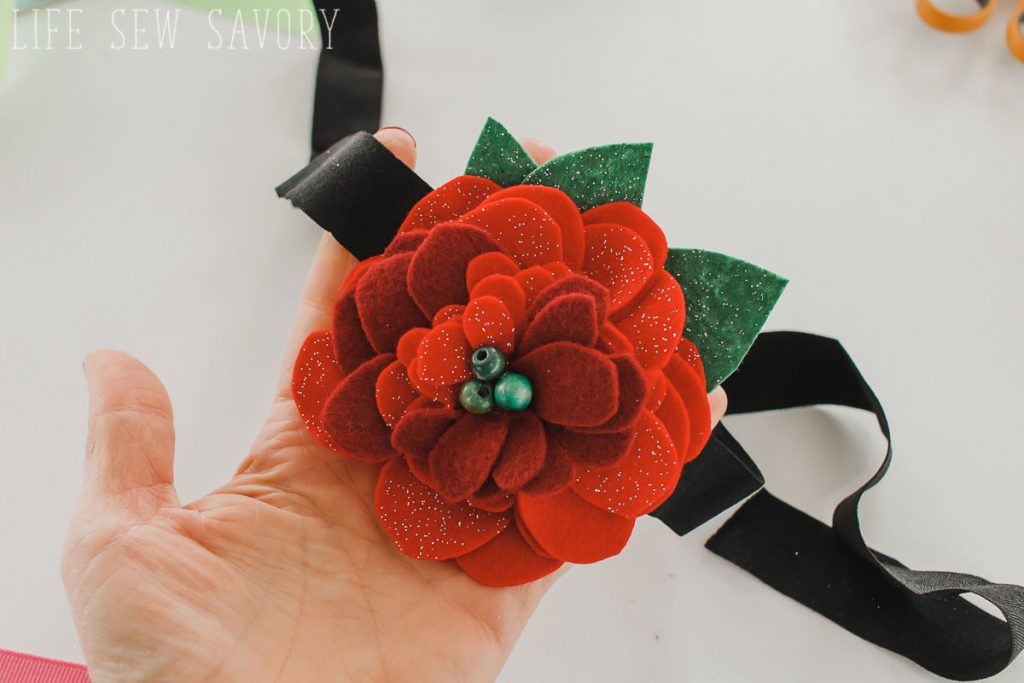
Free template for felt flowers
Here’s the free template. The file is a .zip file and once you download you can unzip to get both the PDF and SVG files. The SVG files are for cutting machines and the PDF is for hand cutting. Adjust the size of the flowers by changing the percent at which you print the PDF or change up the size on your cutting machine software as needed.
Other supplies needed:
- Felt
- ScanNCut ScanNCut on Amazon
- Sticky embroidery stabilizer
- embroidery thread
- hot glue gun/glue
- buttons
How to Create Felt Flowers
Ok! So I’m going to show this project with embroidery AND a cutting machine. You can make this without either or with one and not the other. Gather your supplies as listed above.
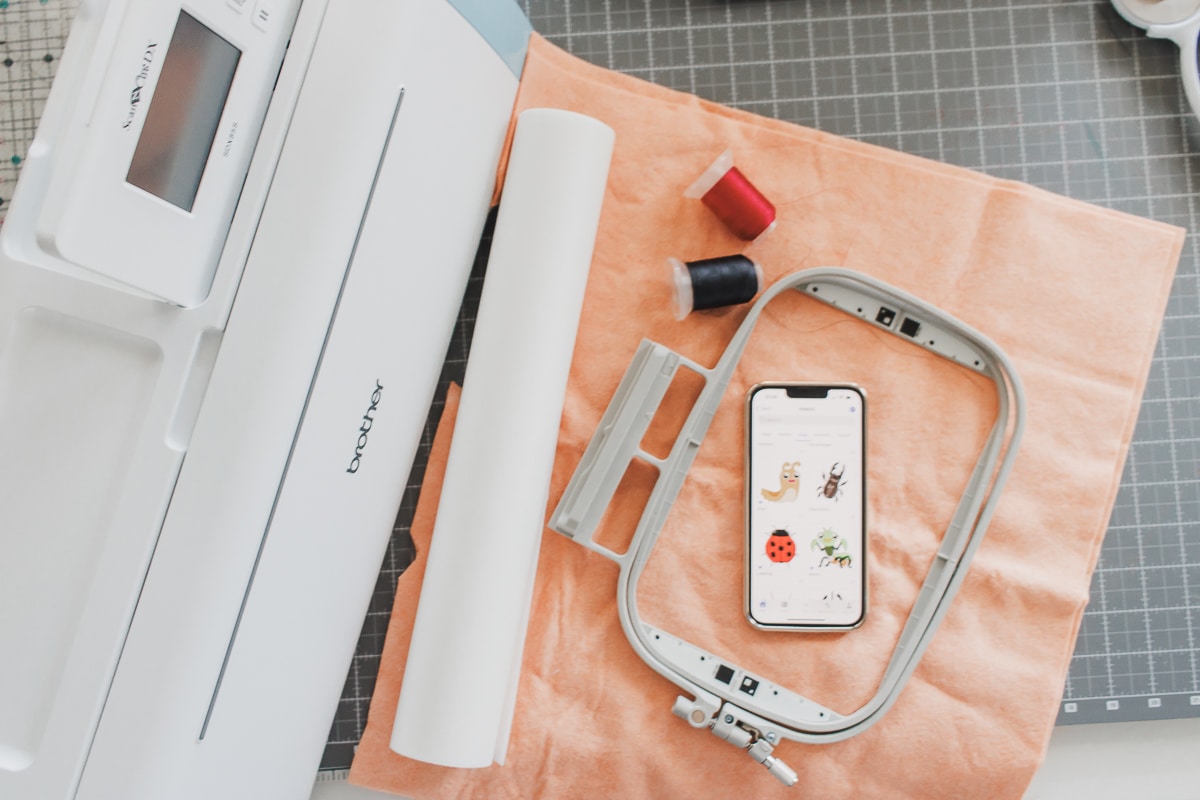
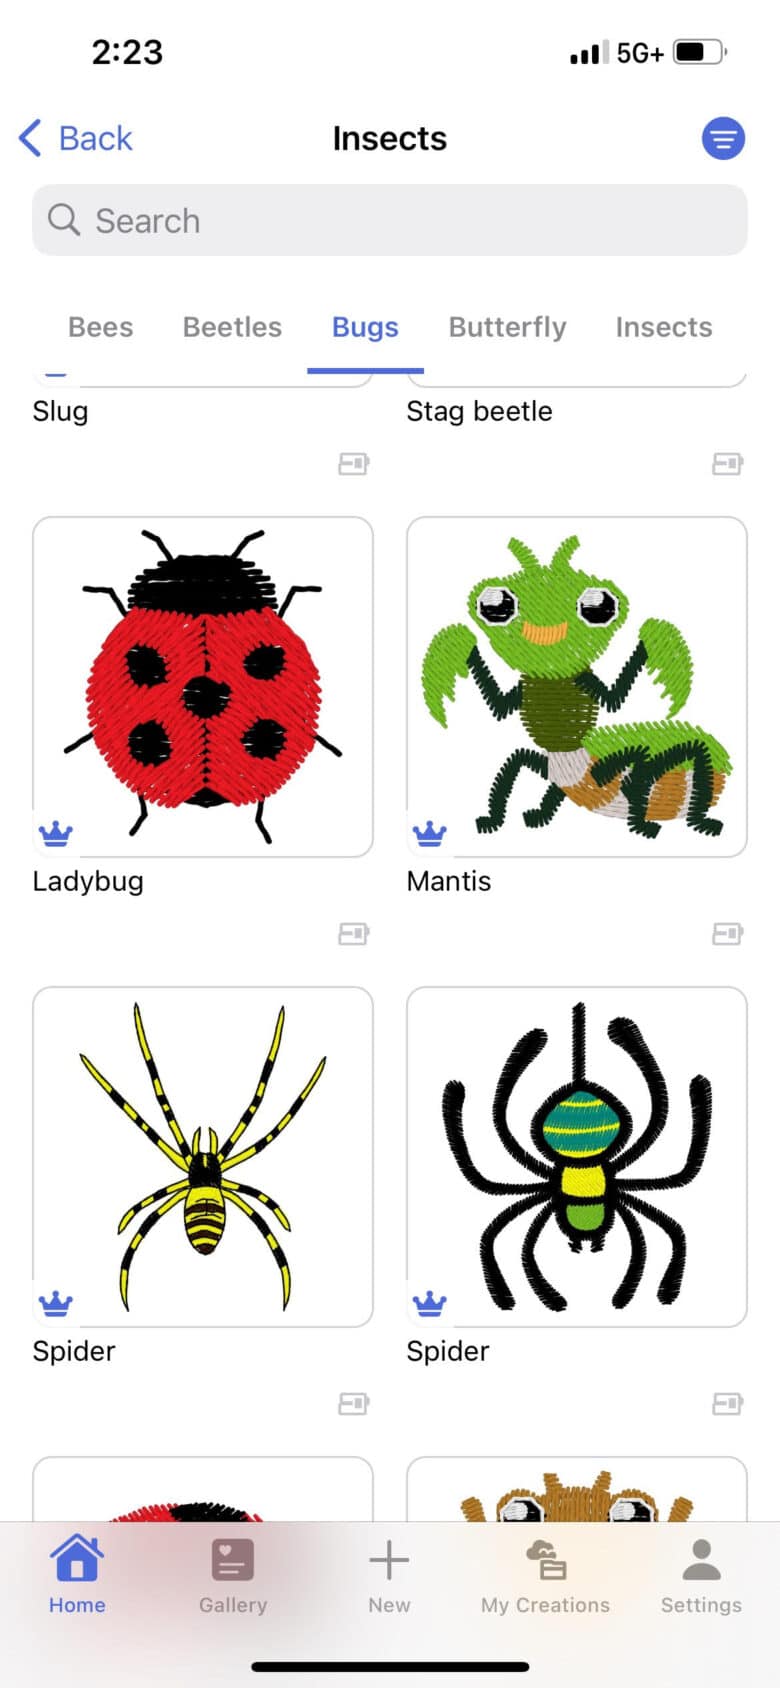
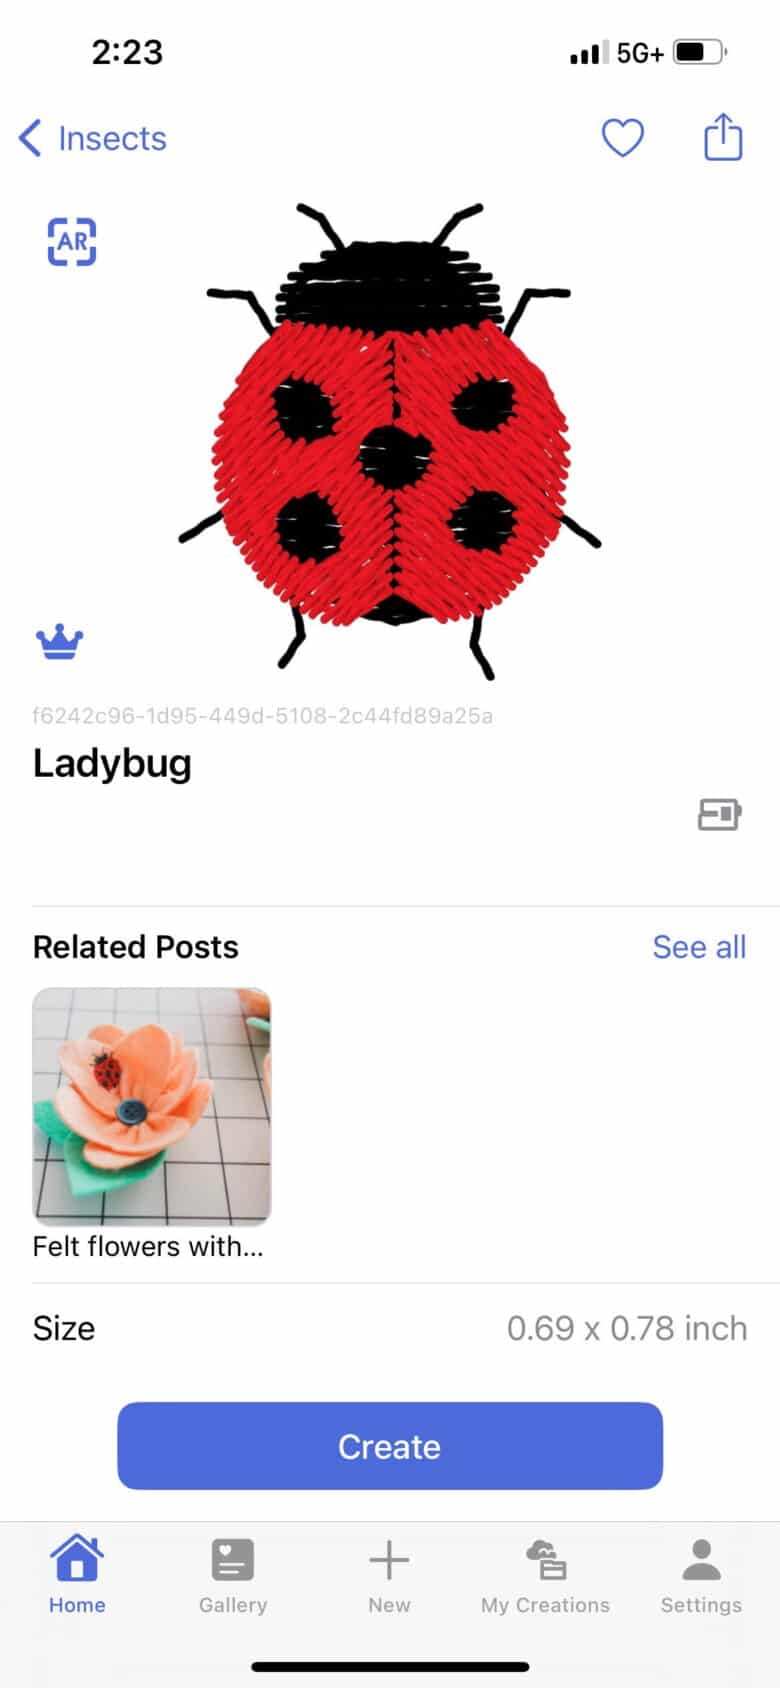
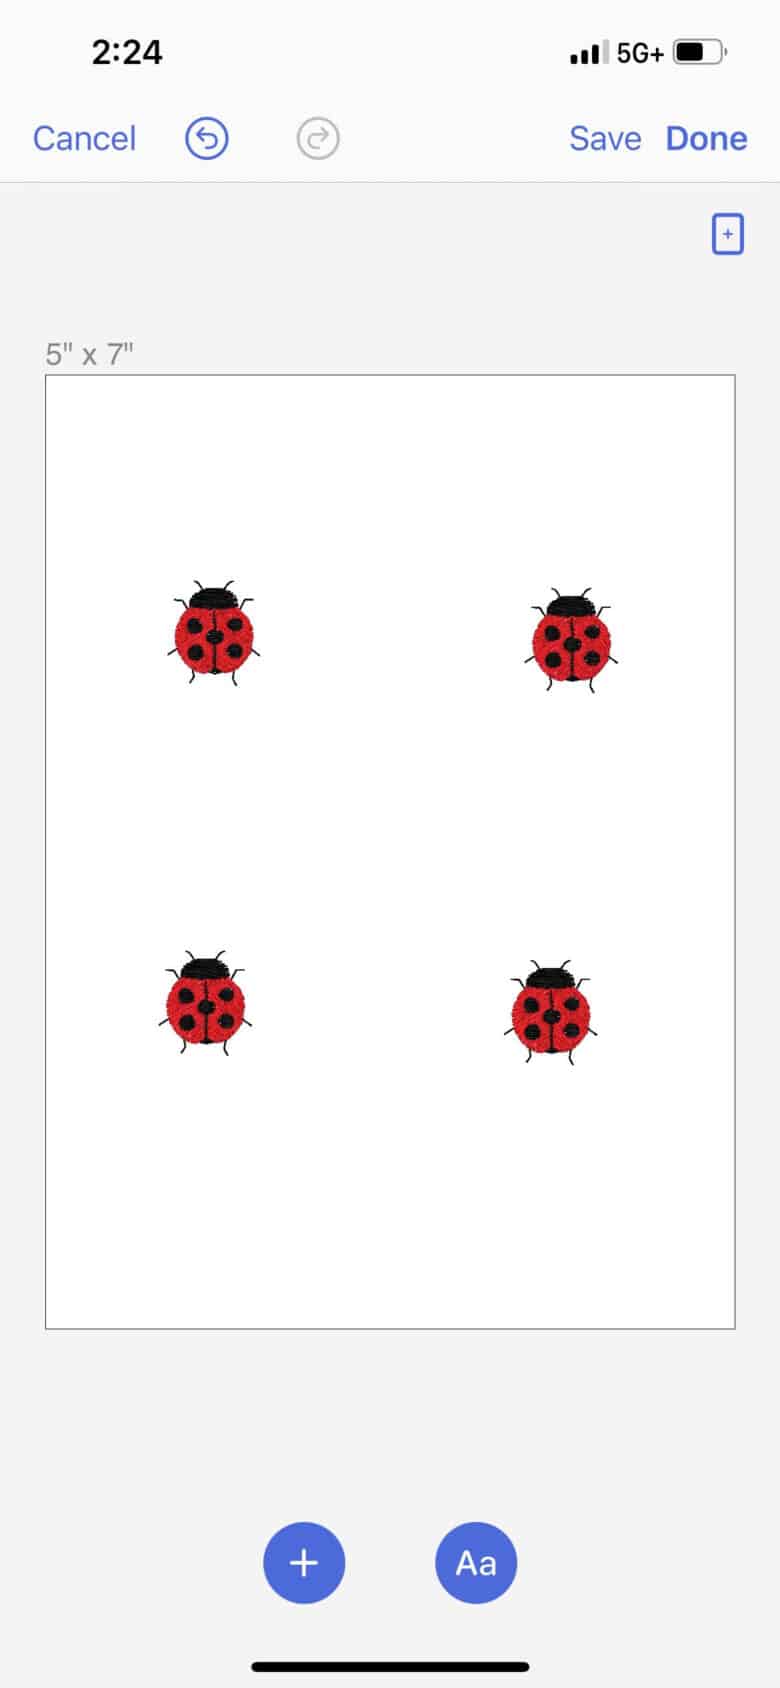
For the embroidery you can use any built in design on your machine or find a design somewhere else. If you have a Brother embroidery machine you can find this adorable little ladybug design on the Artspira App. It’s free to download the app and look around. This ladybug was not a free design, but there are thousands of free ones.
Find the design you like, click that design and check out the details. I chose this one as it was tiny. {and cute!} I chose a 5 x 7″ hoop and then added 4 of the same ladybug. You could add 4 different bugs too! Send this file to your embroidery machine.
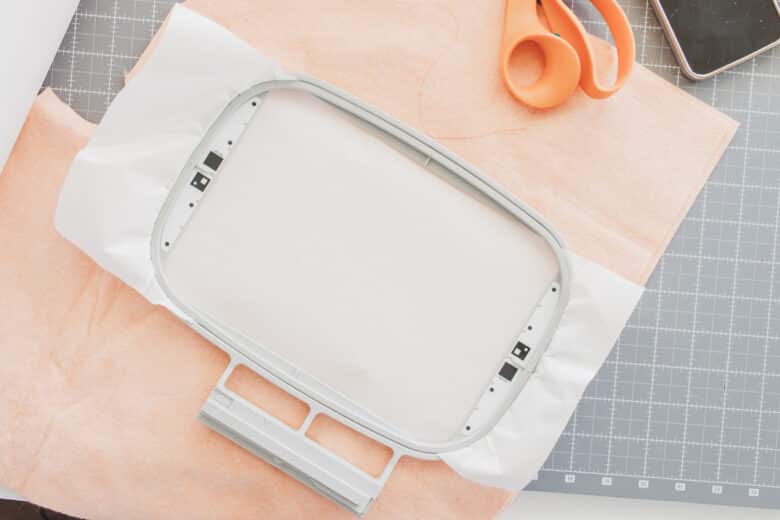
While getting the design ready, you can also prep the felt for embroidery. Place some sticky stabilizer in the hoop. Remove the paper cover and place a piece a felt in the hoop.
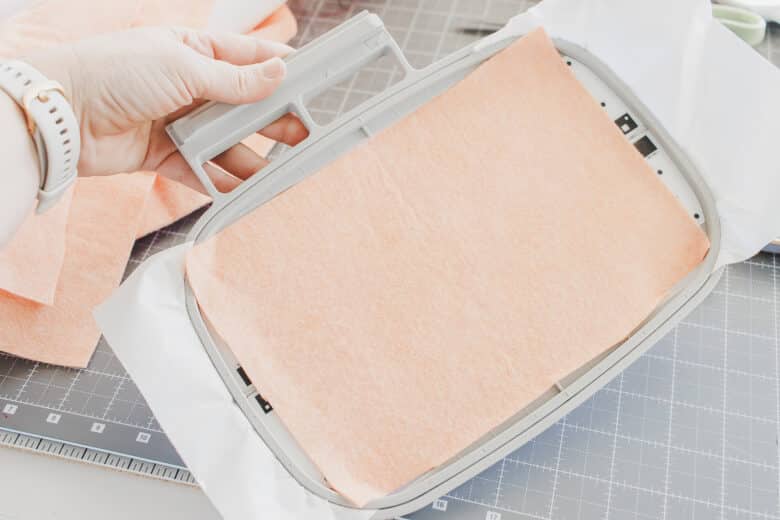
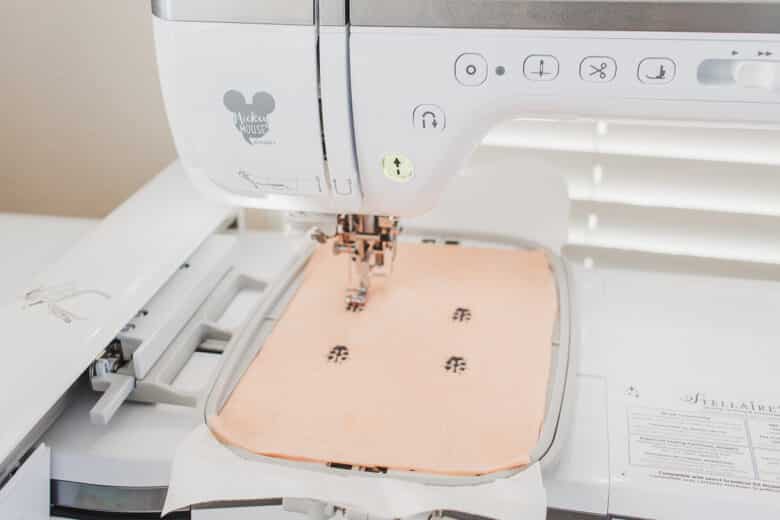
Import the design into your machine, then start embroidery.
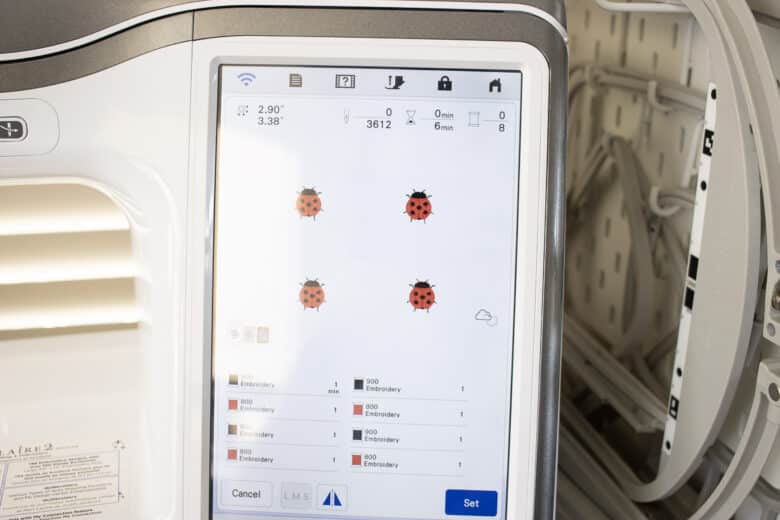
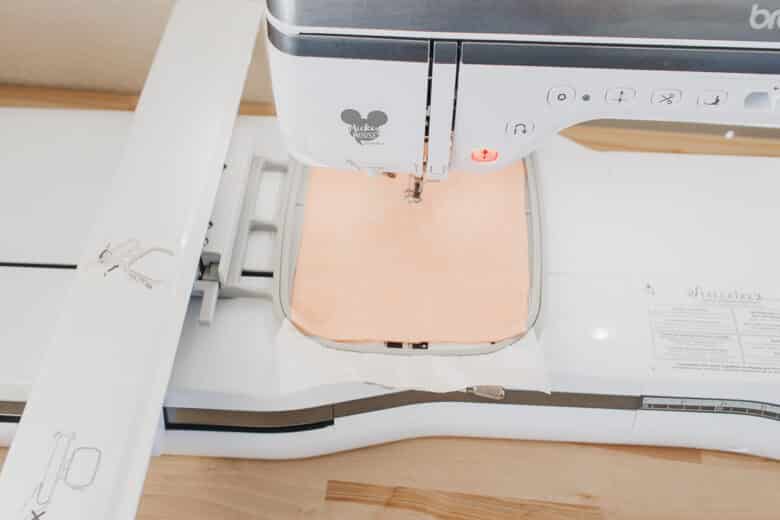
This one was super easy with just two colors.
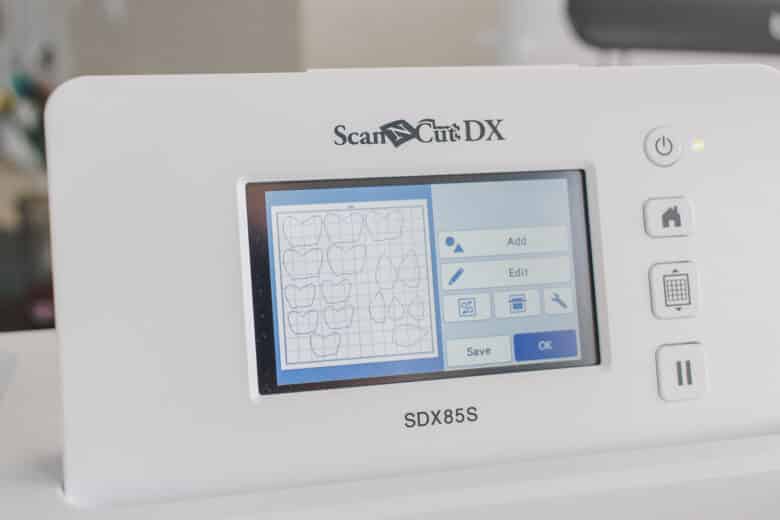
If you are using the SVG file and a cutting machine you can now open the file on your machine or machine software. I use Canvas Workspace on my computer and edit as needed, then transfer to your ScanNCut. For this first cut I’m only cutting four flower petals. I deleted the extra for the first cut.
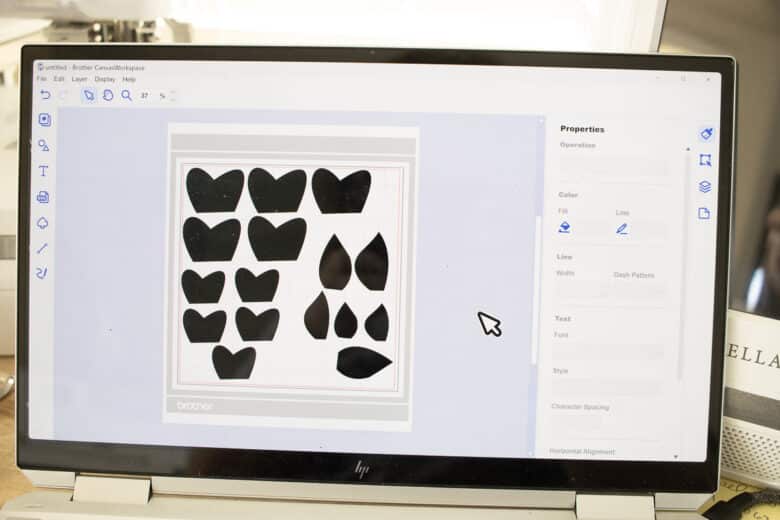
After you import the file, scan the mat to check placement. I’m cutting four petals and some leaves.
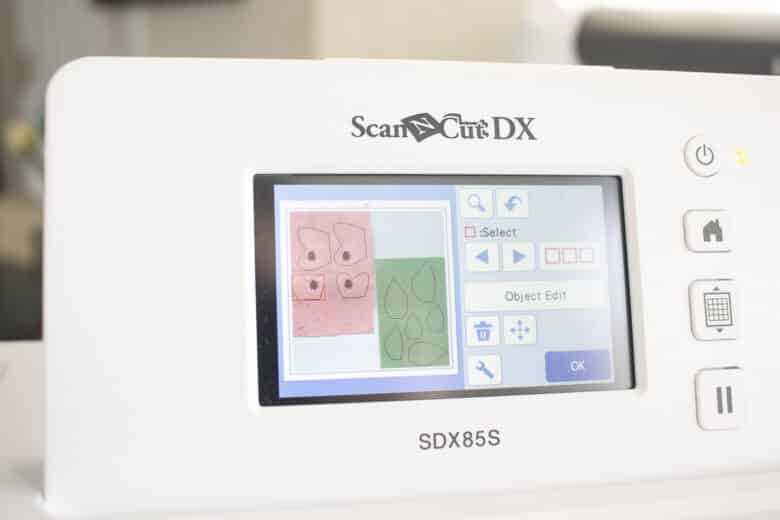
I used the rotary blade on my ScanNCut. If you haven’t tried this blade yet, it’s amazing. Here’s a tutorial on everything you need to know when using the rotatory blade.
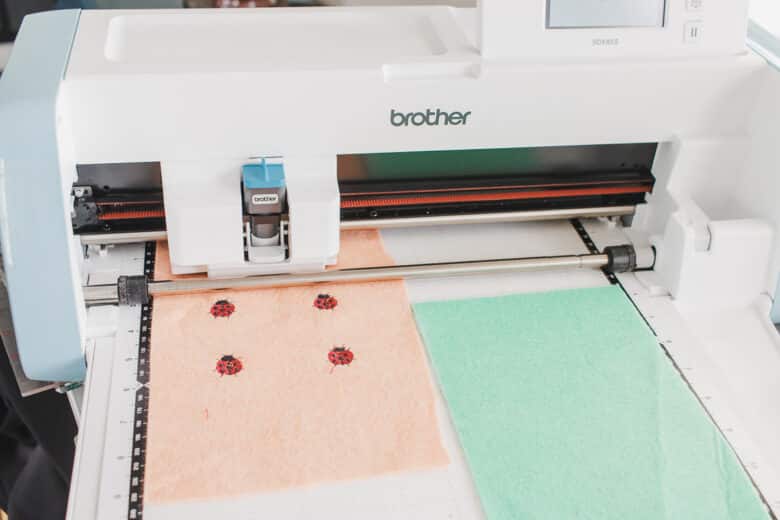
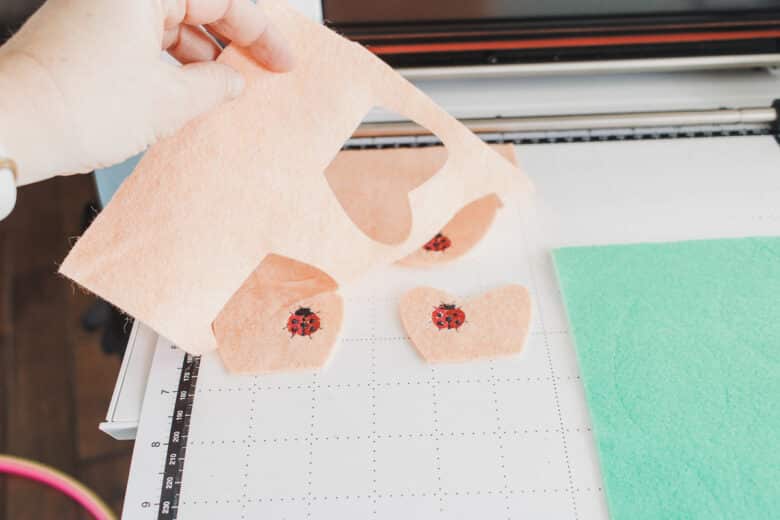
After cutting the petals with the bugs, I cut another sheet of just plain flower petals. You will need at least 5 petals for each flower.
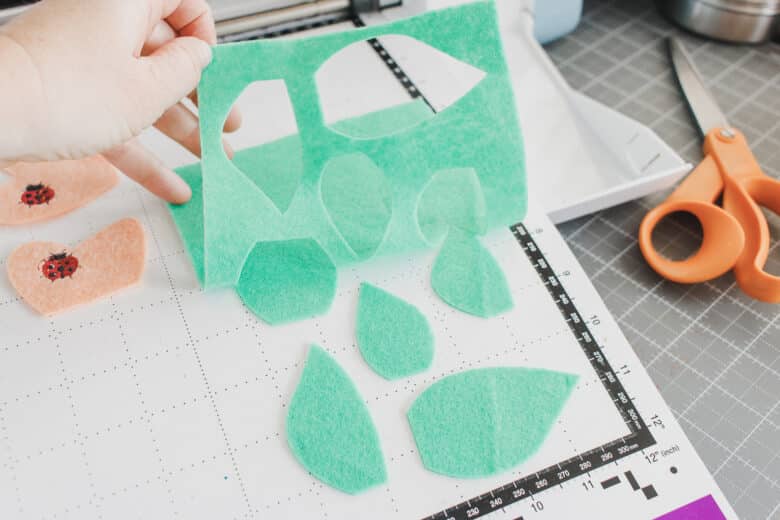
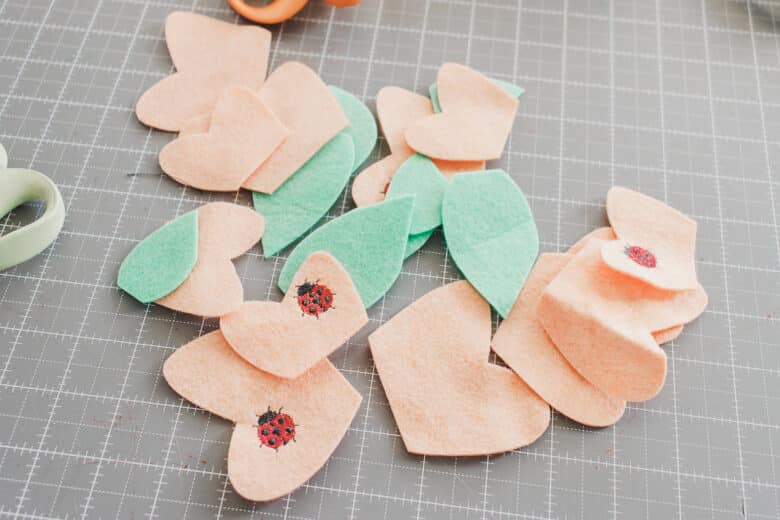
Lay out the petals for each flower. If using an embroidered petal, make sure that piece is on one end of the row. On your sewing machine, lengthen the stitch to it’s longest setting. This is 5mm on my machine.
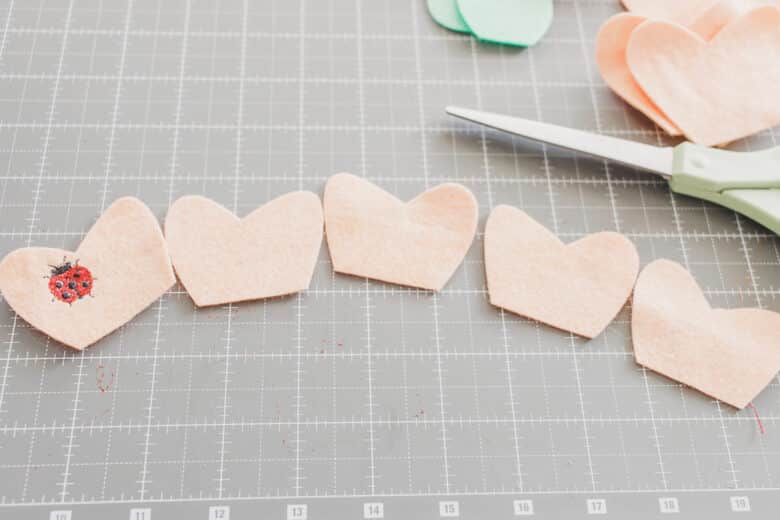
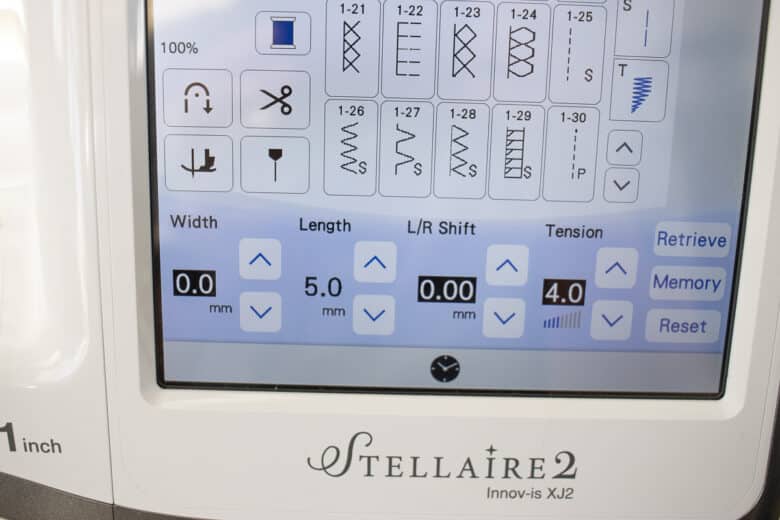
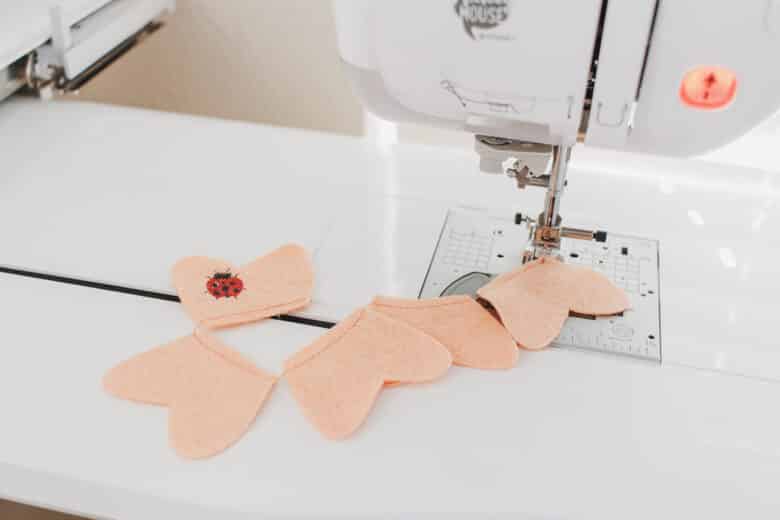
Pull out 6 inches of both threads before sewing {this will help with gathering} Sew 1/8″ from the straight edge bottom and sew all the petals together. Now you have all the petals stitched together and ready to gather.
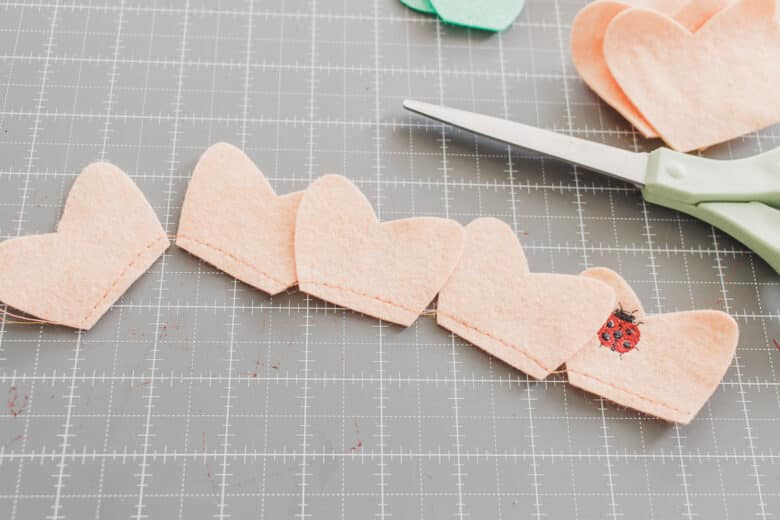
Pull the bobbin thread to gather the bottom of the petals to cinch up and gather the bottoms.
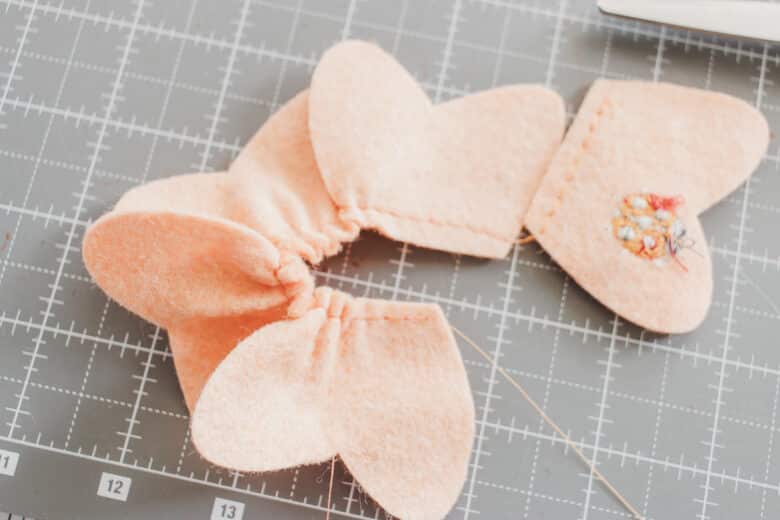
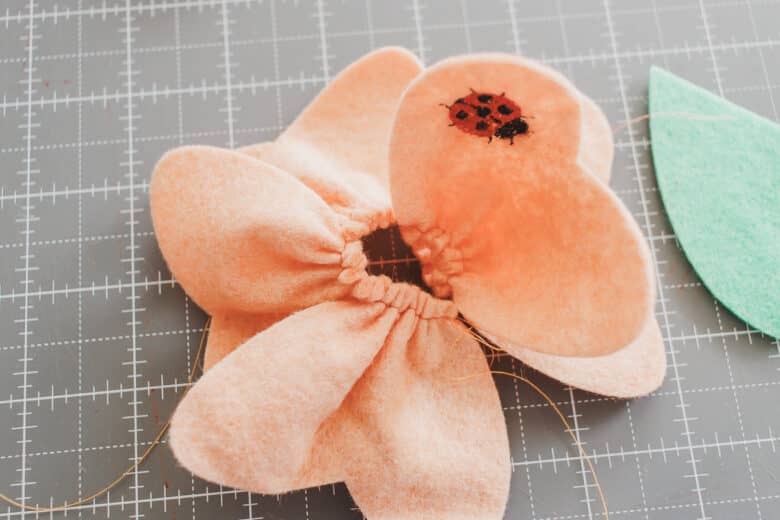
Start on one end of the string of petals and roll the remaining around the first. Rotate the petals in a circle to form the flower and alternate the petals. Use hot glue to hold this circle all together. Place a button {or other jewel} in the center to cover up the gathers.
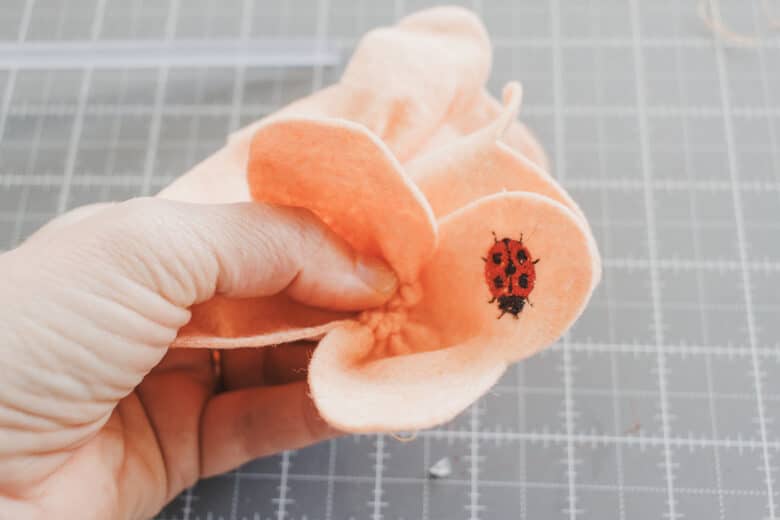
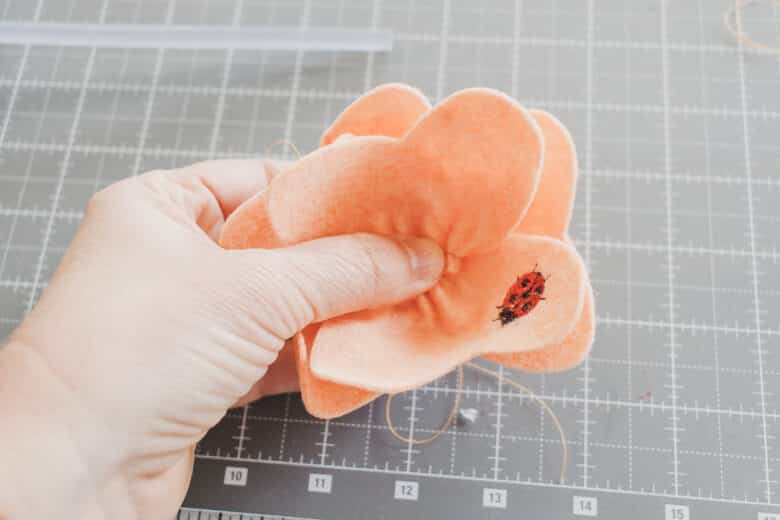
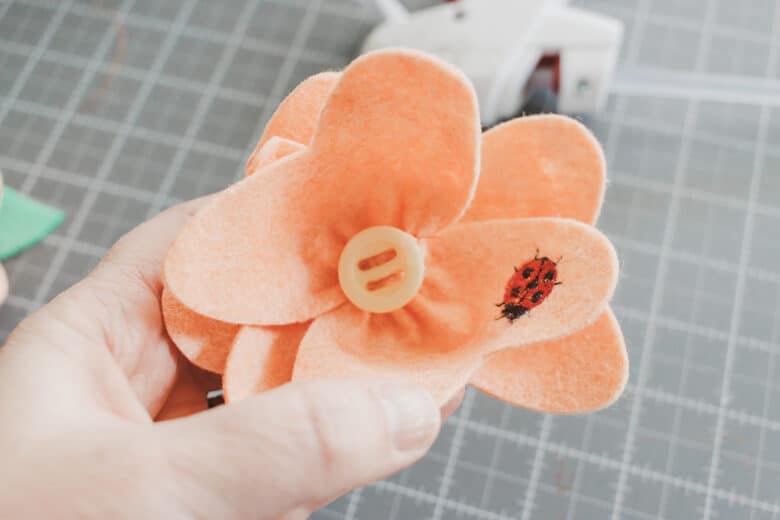
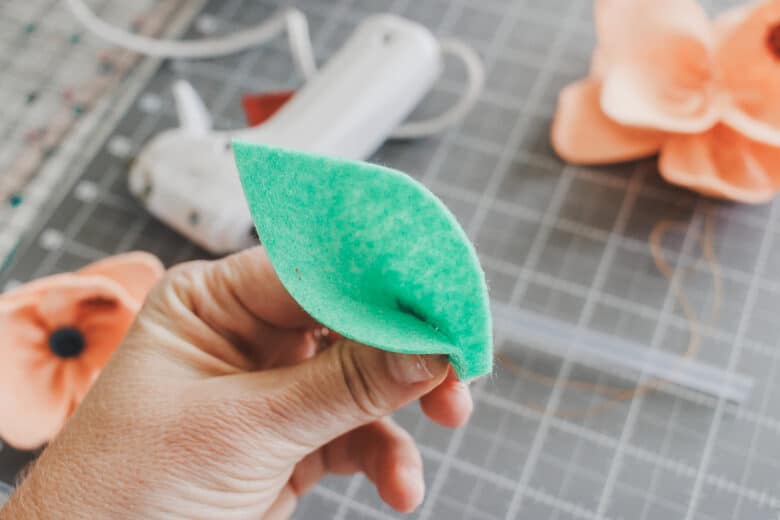
Fold the bottom of the leaves {and glue} to give texture to the leaves. Glue one or two leaves to the bottom of each flower. You can use the leaves to cover the gathers on the bottom of the flower.
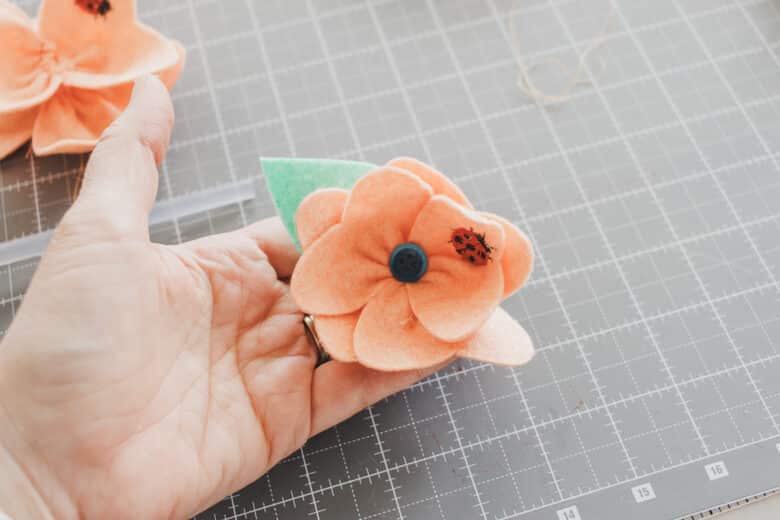
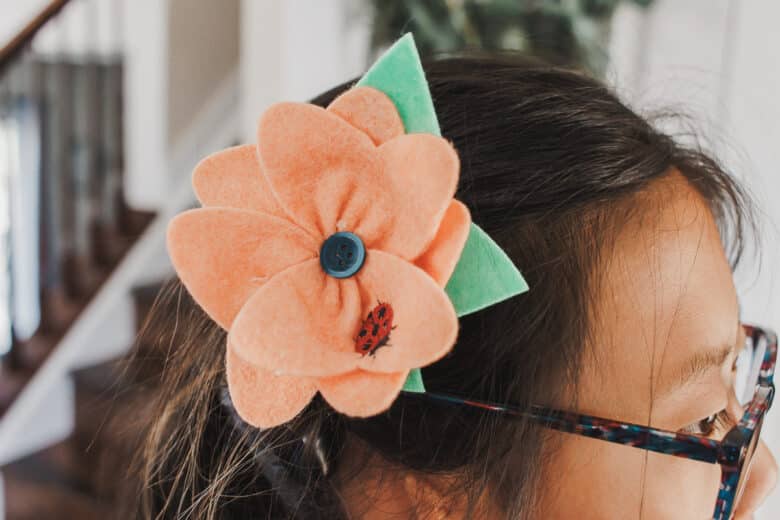
Now you can use these beautiful felt flowers for hair accessories, bag accessories or other fun crafting. Can’t wait to see what you make with this!!









Leave a Reply