inside: Sew some adorable mittens with this free mitten sewing pattern. Sizes for kids and adults, these cozy mittens are easy to sew and will keep your hands warm on cold days.
Time for some cozy, easy mittens! Sew up a few mittens from sweaters for stocking stuffers or yourself this week. I sewed all three of these mittens in about an hour and it was so easy. Grab some old {or thrifted} sweaters {the woolier the better!} and let’s get sewing with this free mitten pattern. The free PDF pattern comes in multiple sizes so you can sew mittens for the whole family.
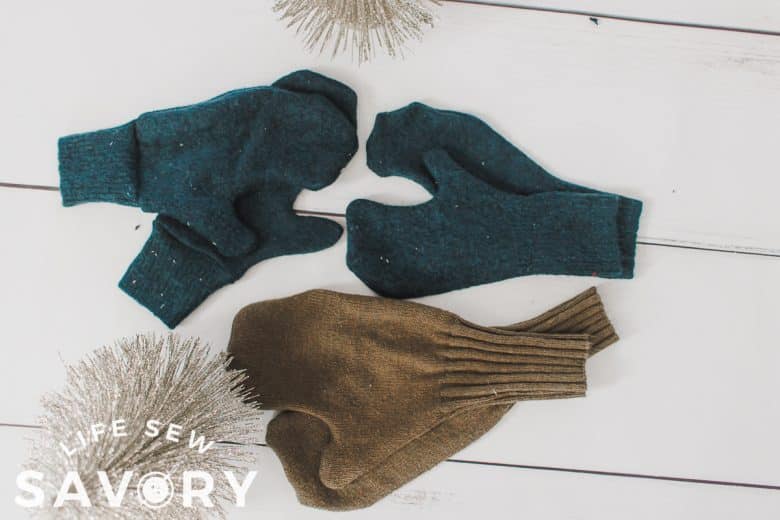
Free mitten pattern for sewing
I had so much fun sewing these for the kids this afternoon. I’ve been thinking about this project for awhile. I even went thrifting for sweaters a few weeks ago. My husband also often passes me sweaters to sew with, so I had some choices.
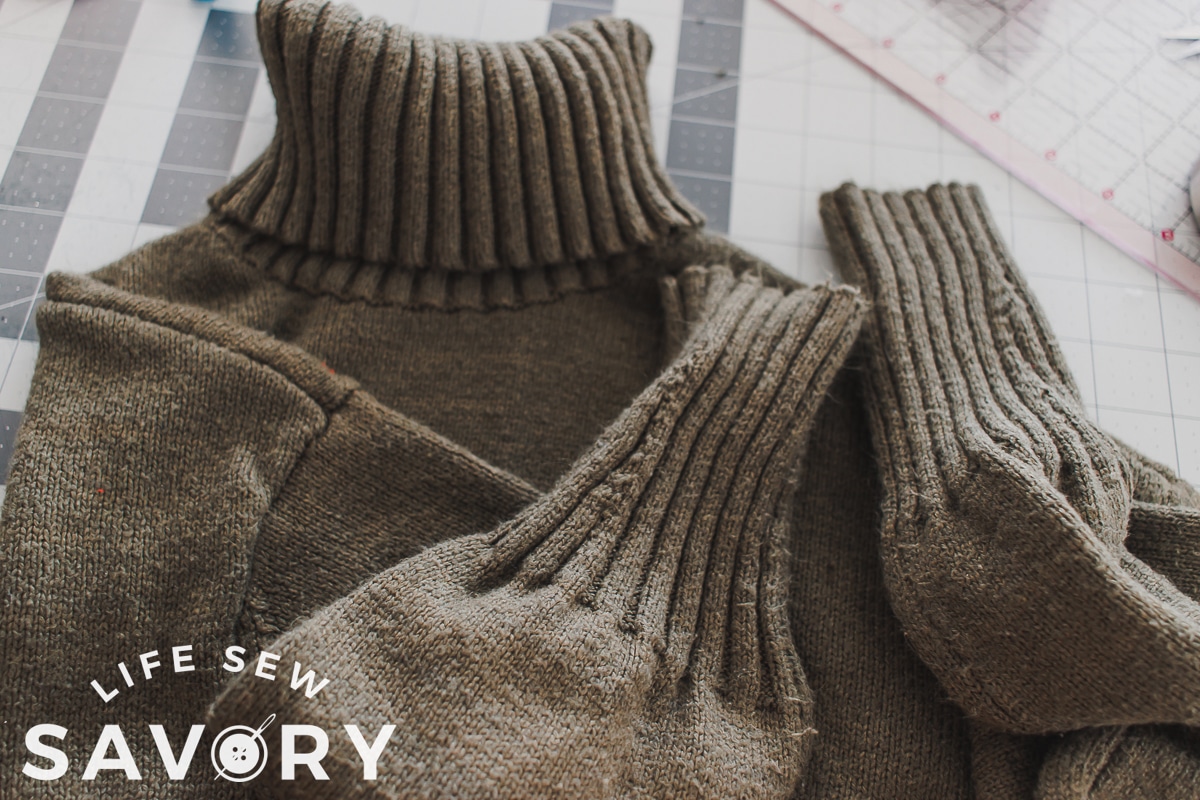
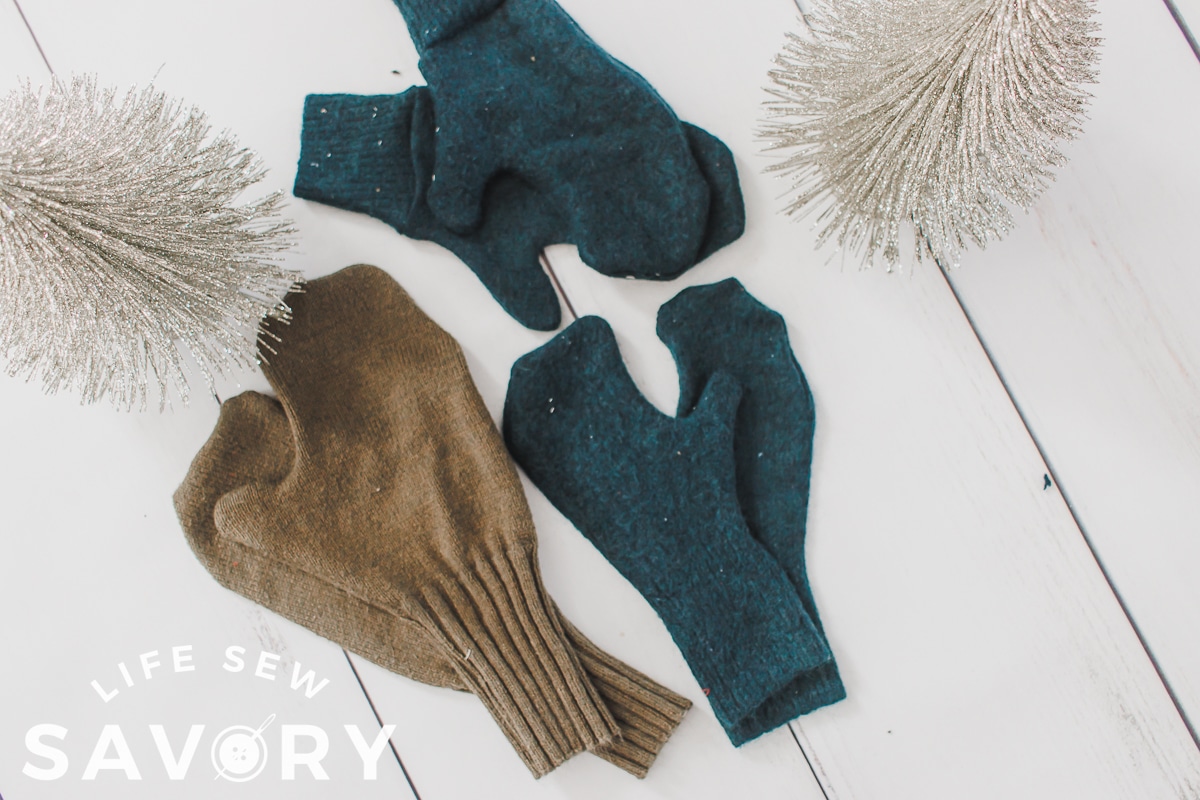
I actually love upcycling sweaters. I’ve made whole outfits for my kids from my husbands old ones. Here is my post on upcyling sweaters for kids. Slowly the kids are getting too big for some of the refashioning projects… but this mitten pattern will fit them for many years as I made the pattern for kids through adults. I used all the hands in out house to create the free template.
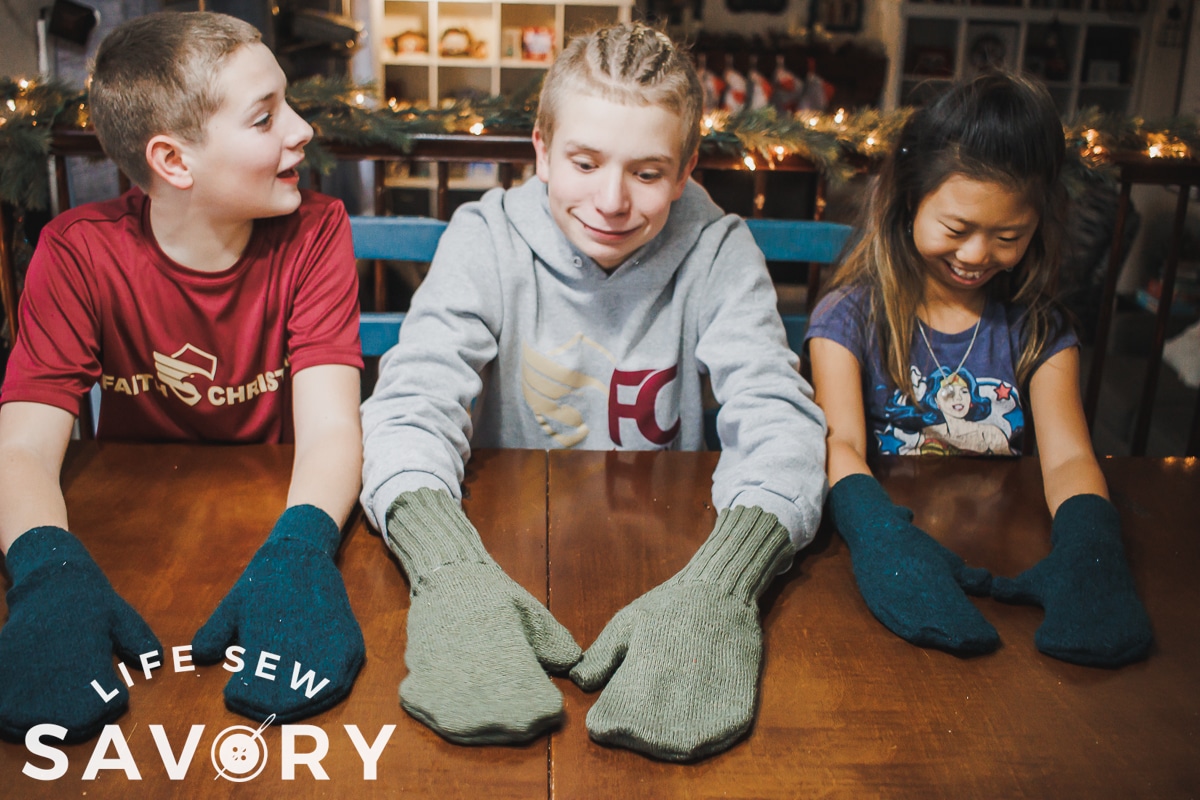
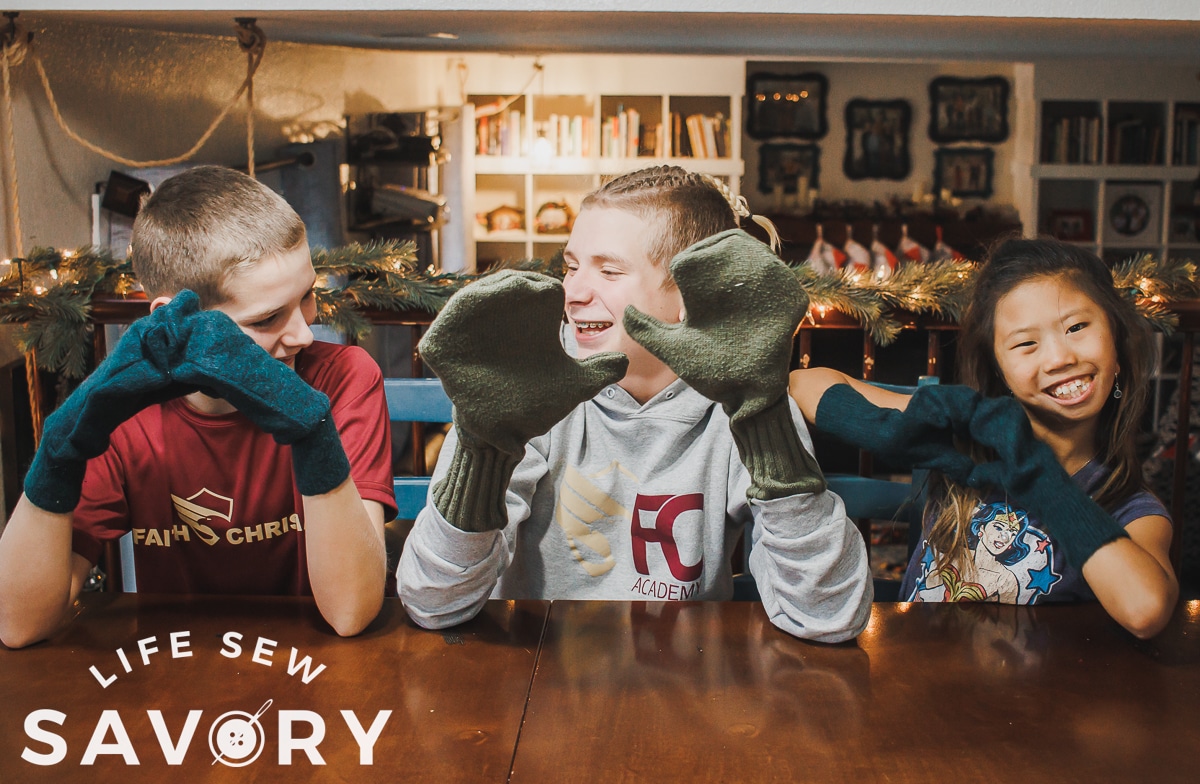
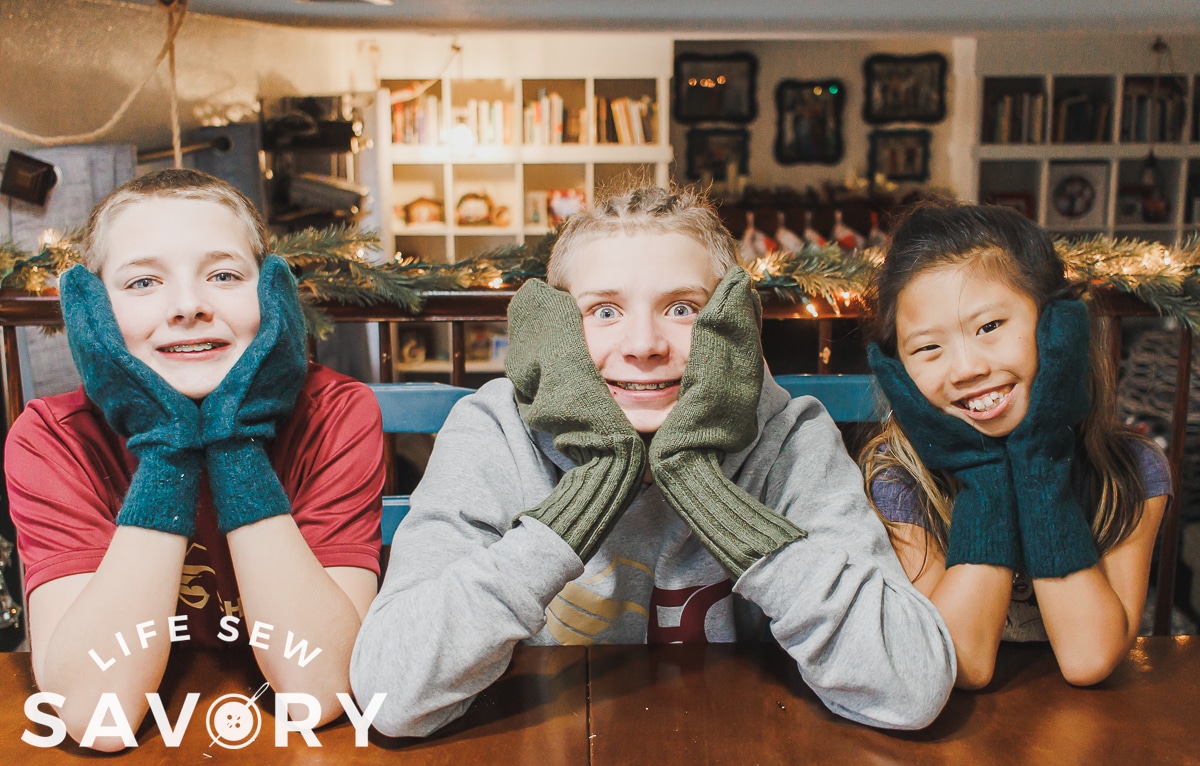
Here are my three in their cozy new mittens. Rose was way more into the photoshoot than the boys {like always} {haha}
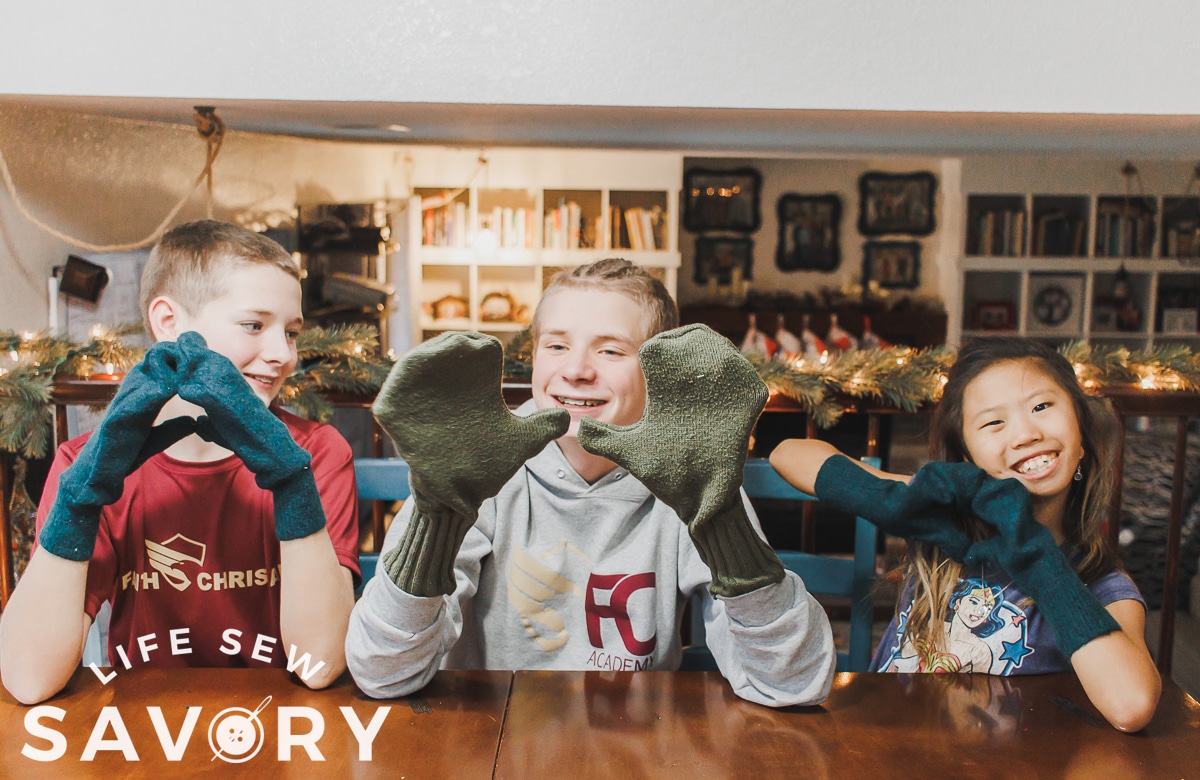
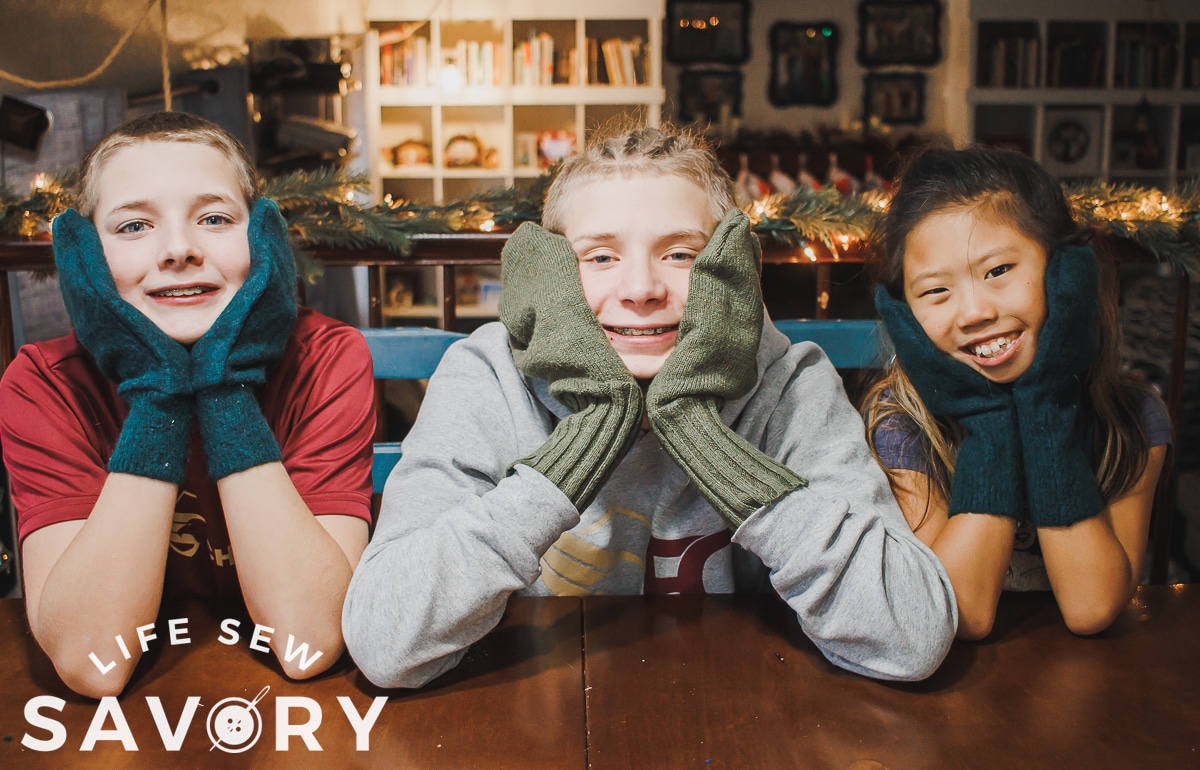
These mittens are cozy made from old sweaters, but also would be great with fleece or wool fabric. I do love using the sweater bands/edge for the wrist bands.
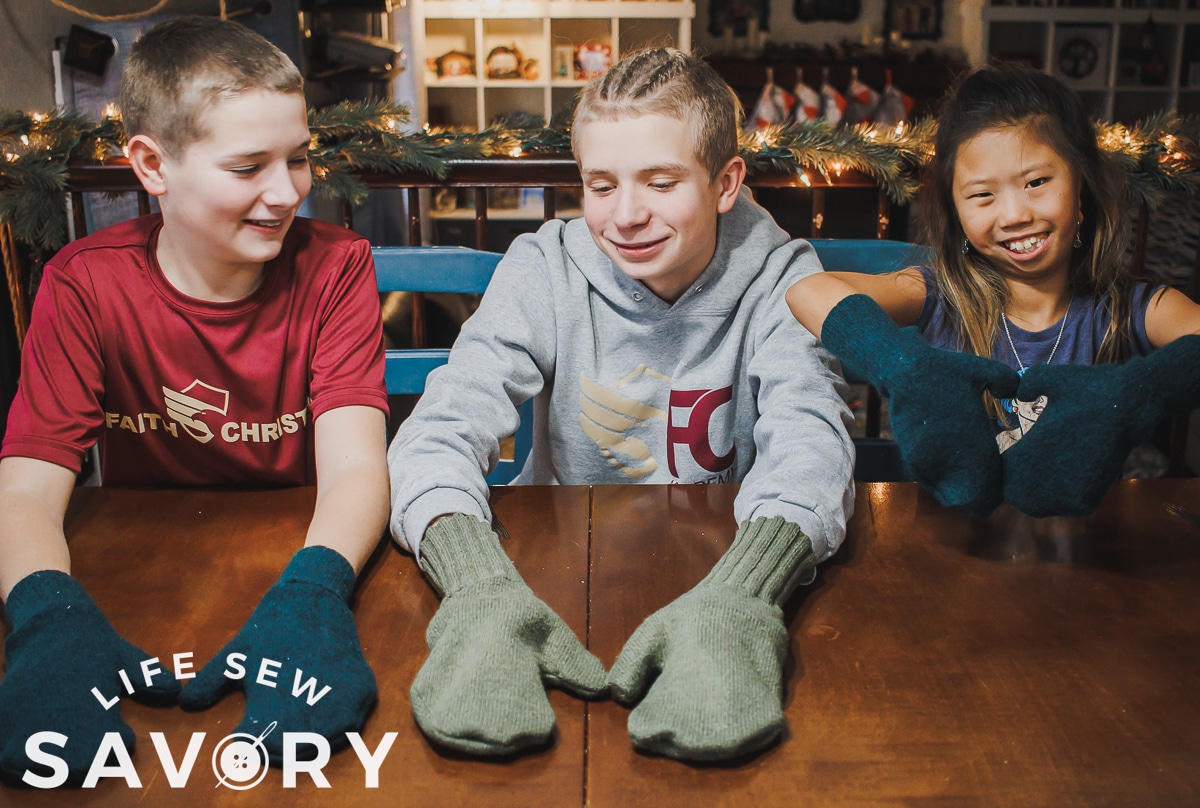
We got a few good ones {above} and then a lot of non-sense photos… Here are a few of our outtakes {haha} Grab the free sewing pattern and tutorial below.
Free mitten sewing pattern
You can download the free sewing template in multi-size from my shop using the button below.
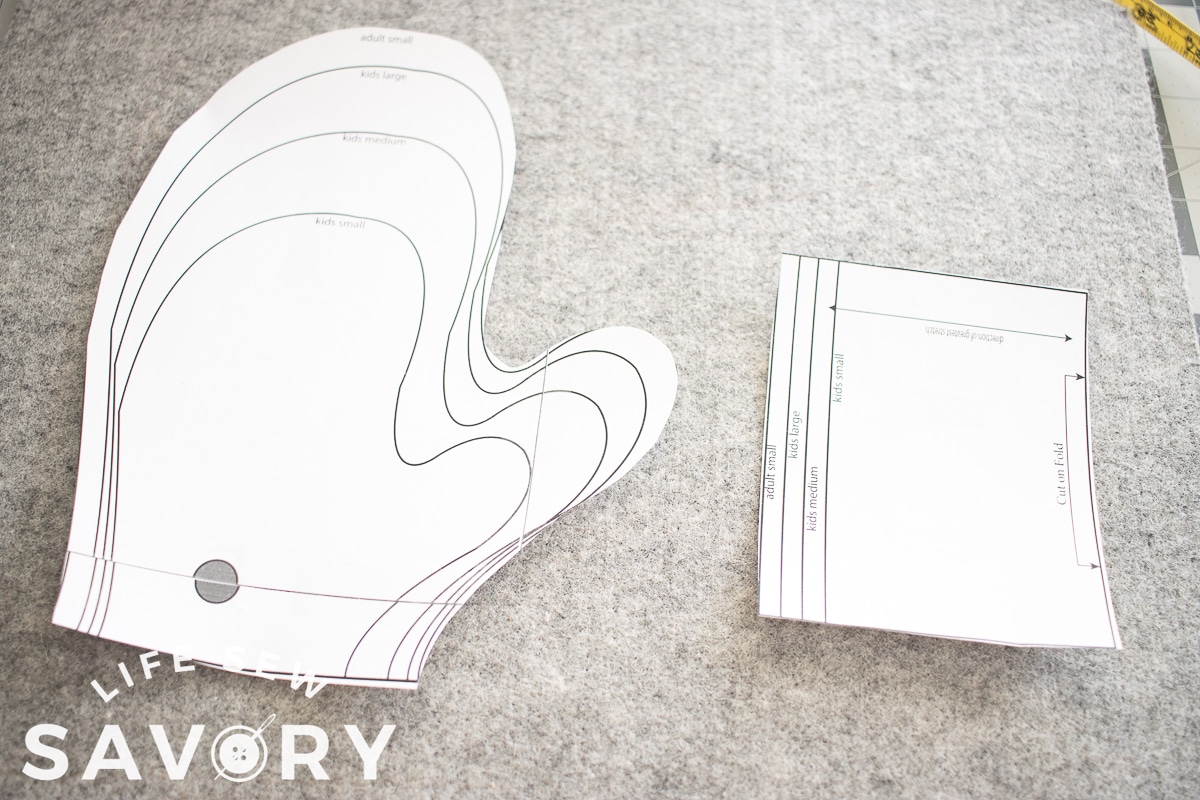
Download and print your pattern, then trim and tape the three pieces together so it looks like this. After you have it put together you can choose a size and cut out the pattern. Need help download and using PDF patterns? Start here.
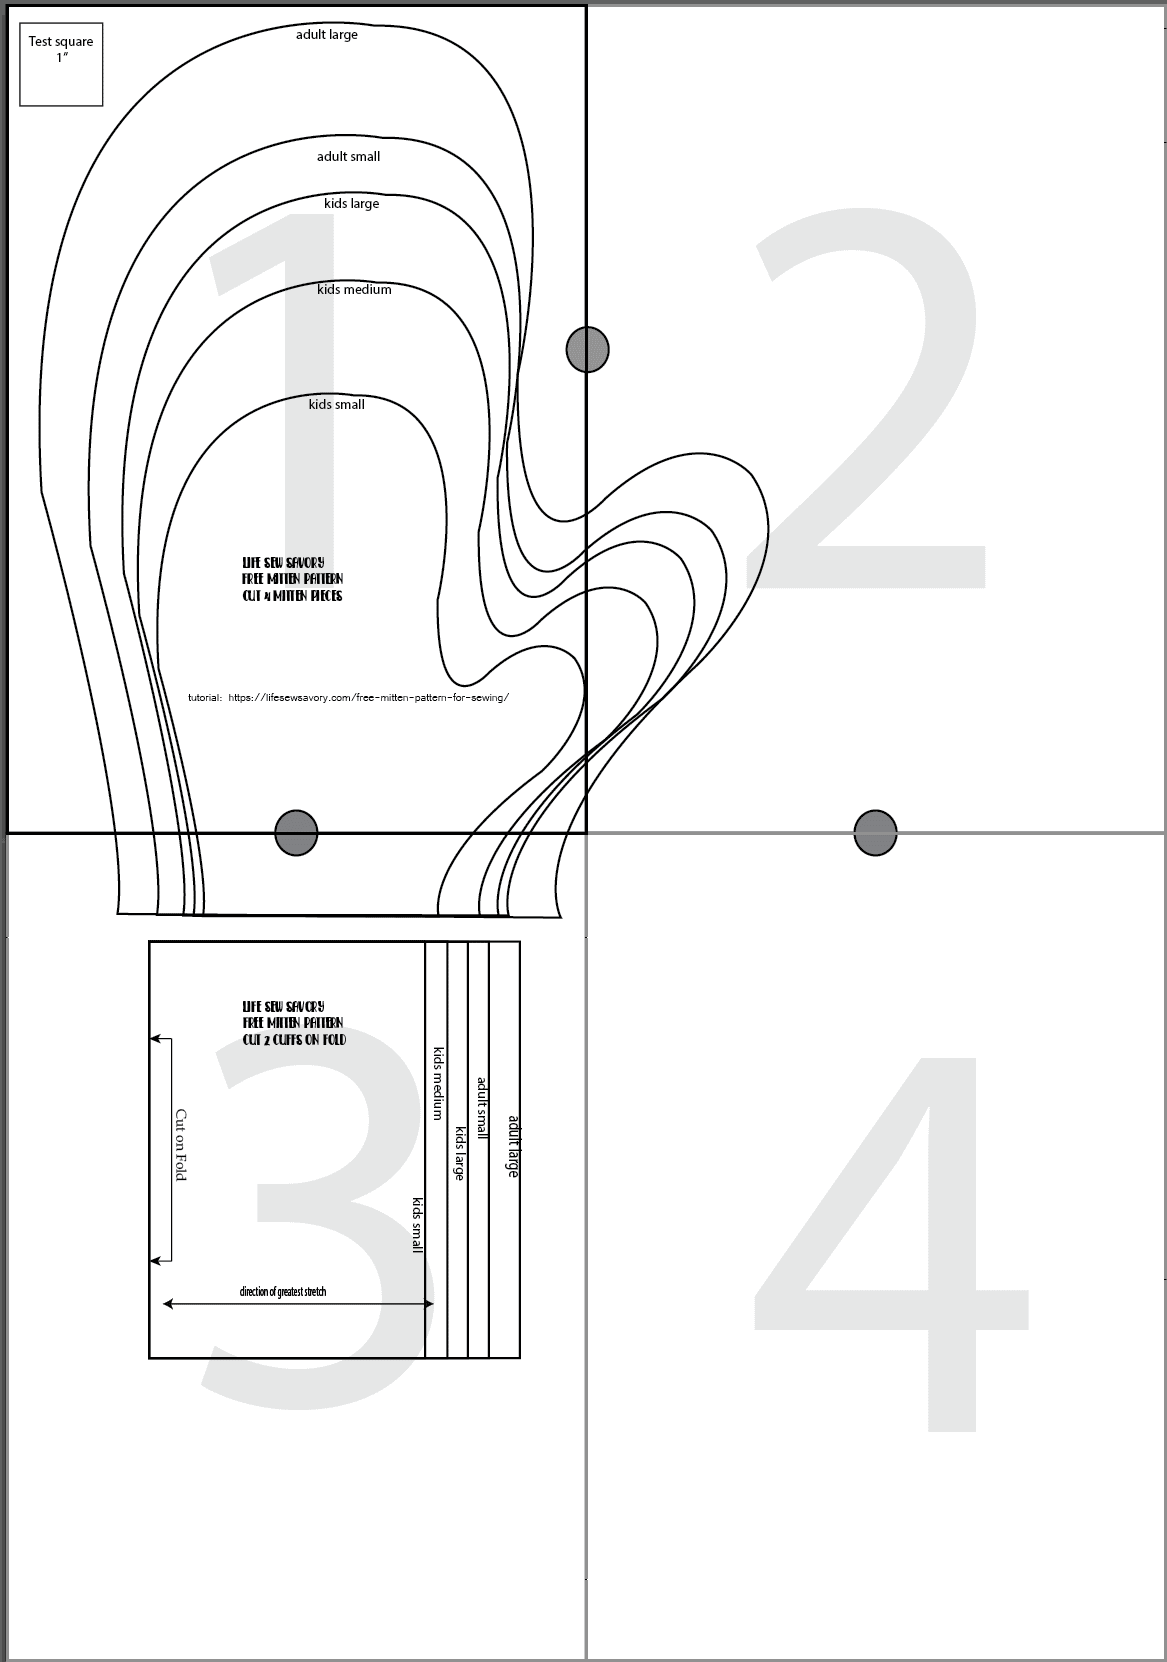
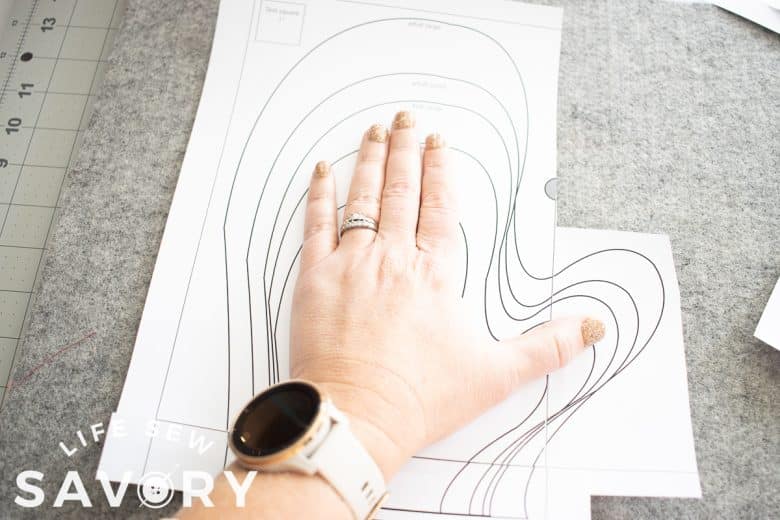
Use your hand as shown here to decide what size to cut. You can easily blend sizes if needed as well. I cut the adult small for myself, but trimmed a bit from the finger length.
How to sew mittens from Sweaters
Ok! Now that you have downloaded the pattern and decided on which size to sew first, let’s get started. I sewed three pairs of mittens and each were slightly different, so I will be mashing all three together in this tutorial.
Mitten Supplies:
- Wool Sweaters {wash and dry on HOT to shrink and make the wool thicker for the mittens}
- Fleece fabric
- Wool fabric
- Mitten template above
Sewing time!
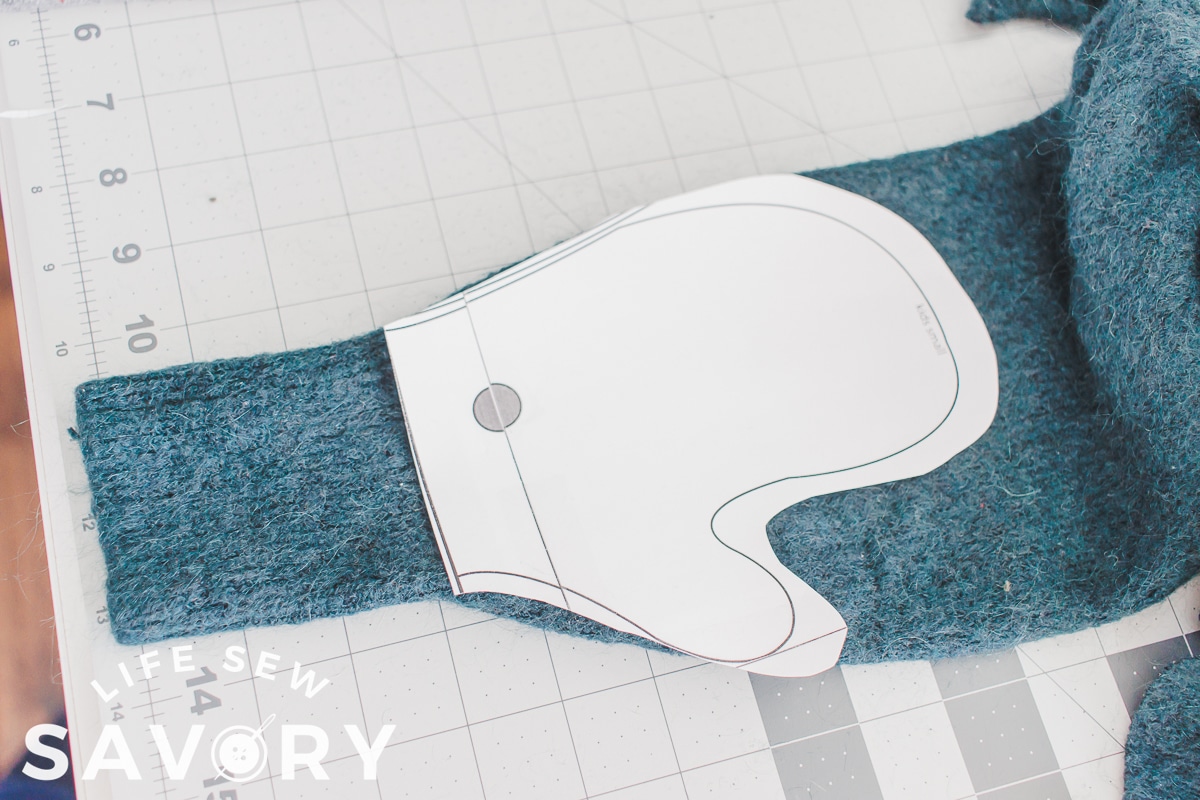
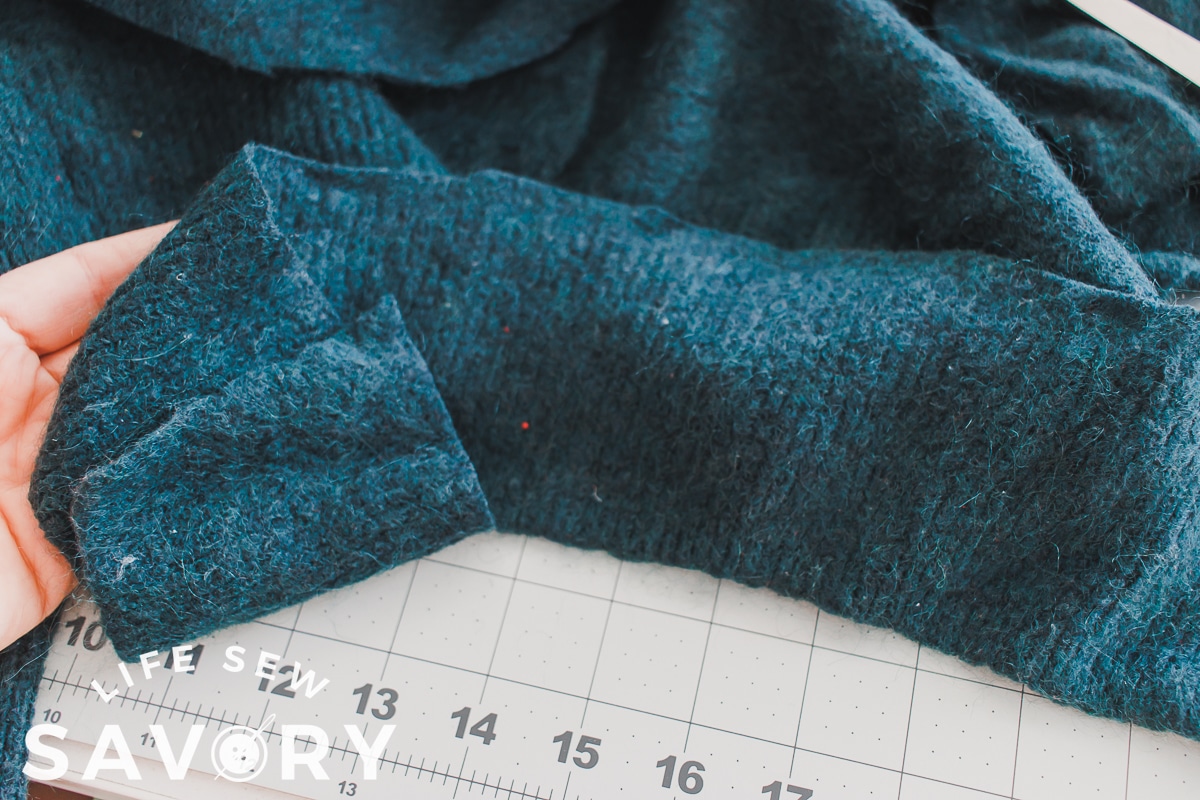
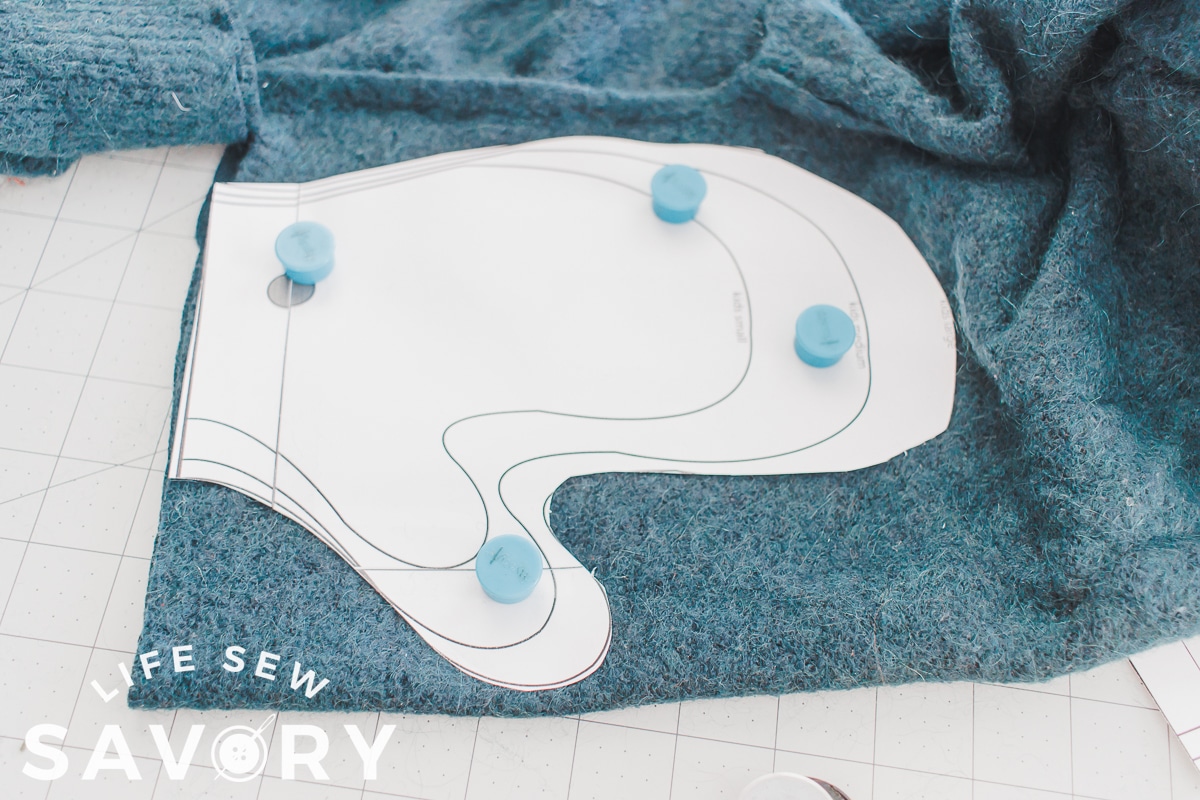
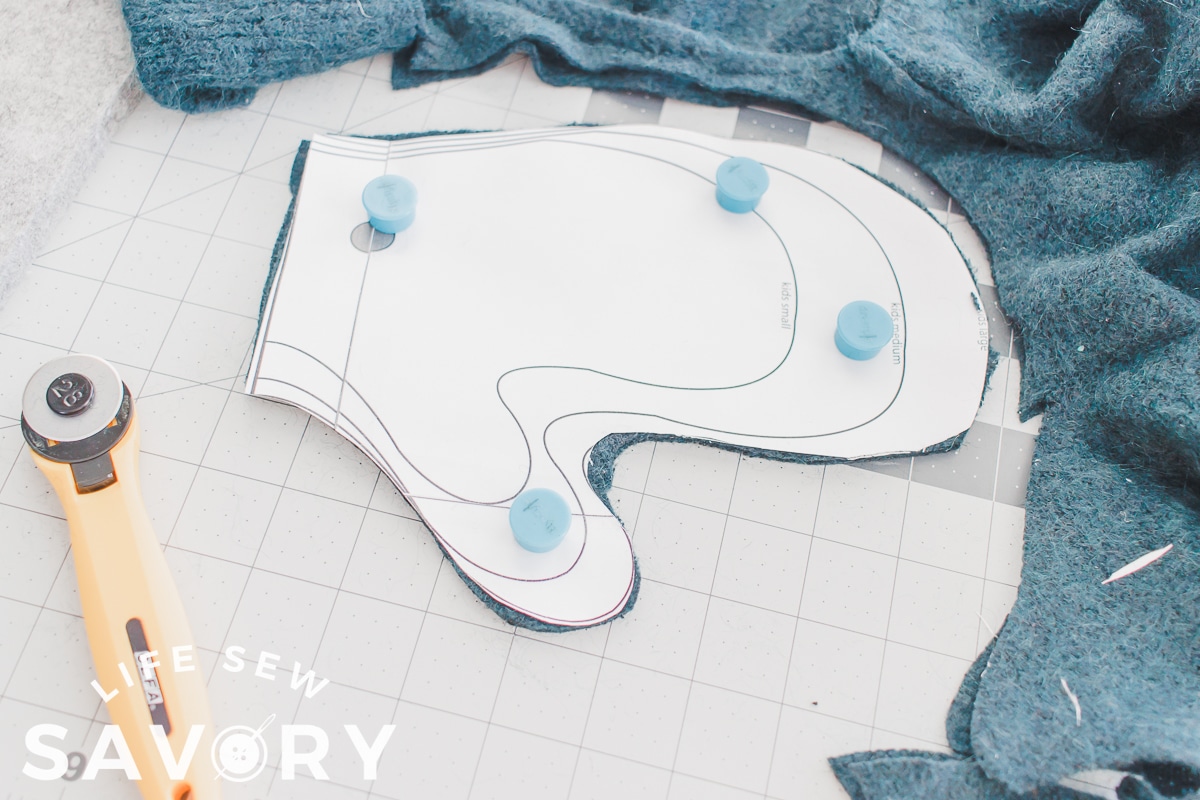
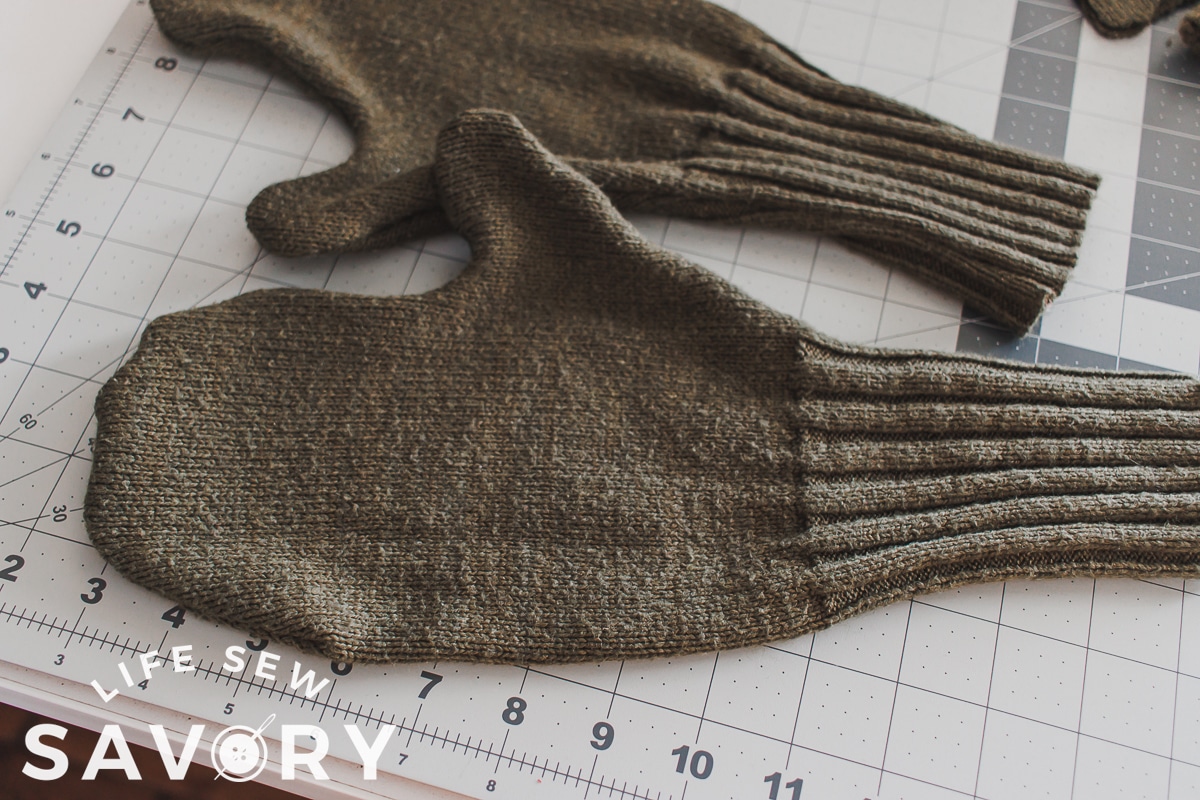
Option 1 for cutting the mitten. Cut open the side seam of the sweater and then fold over the back or front side. Place the bottom of the mitten template at the top of the sweater ribbing and the side on the fold. My finger is pointing to the part that is folded.
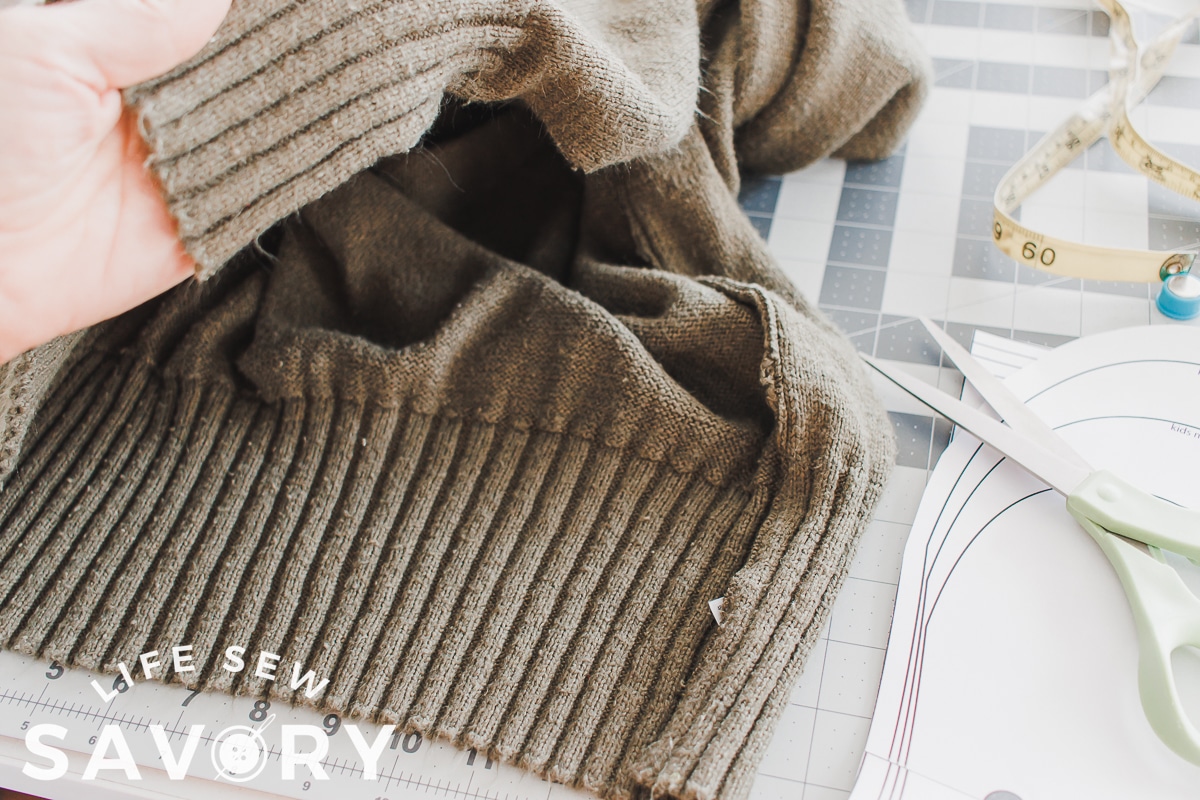
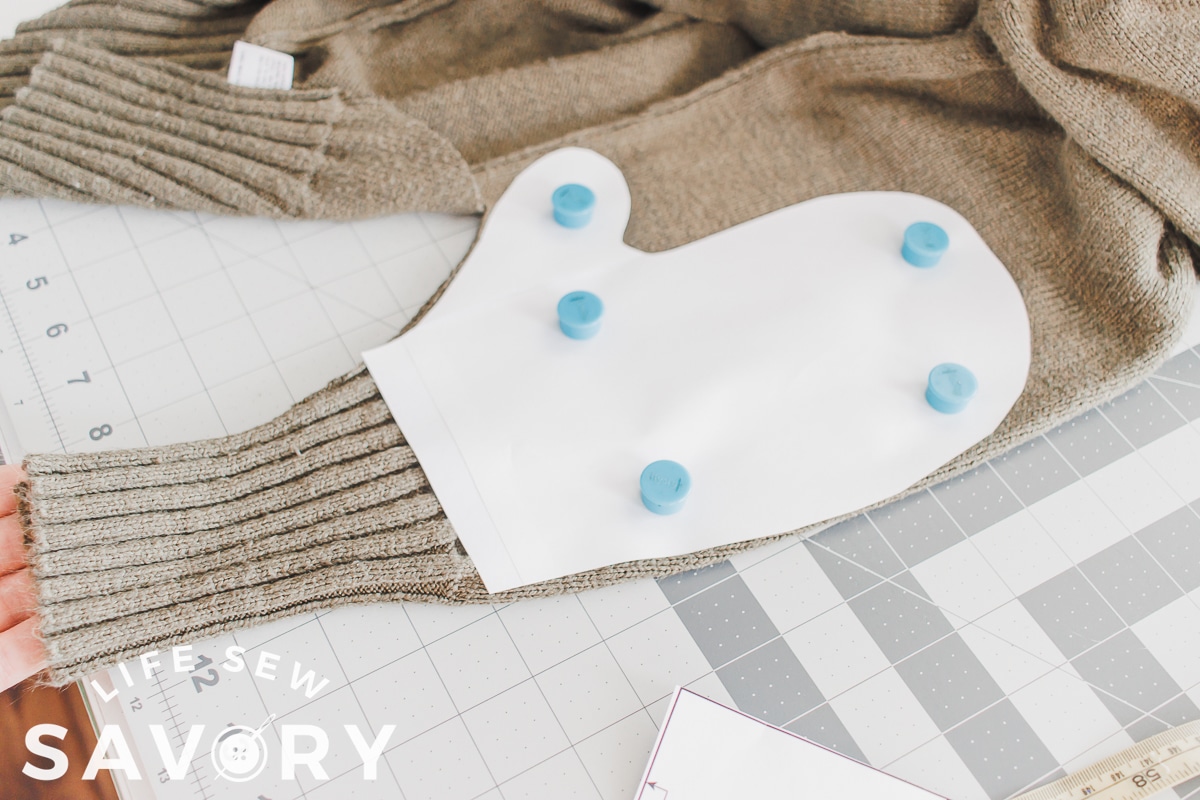
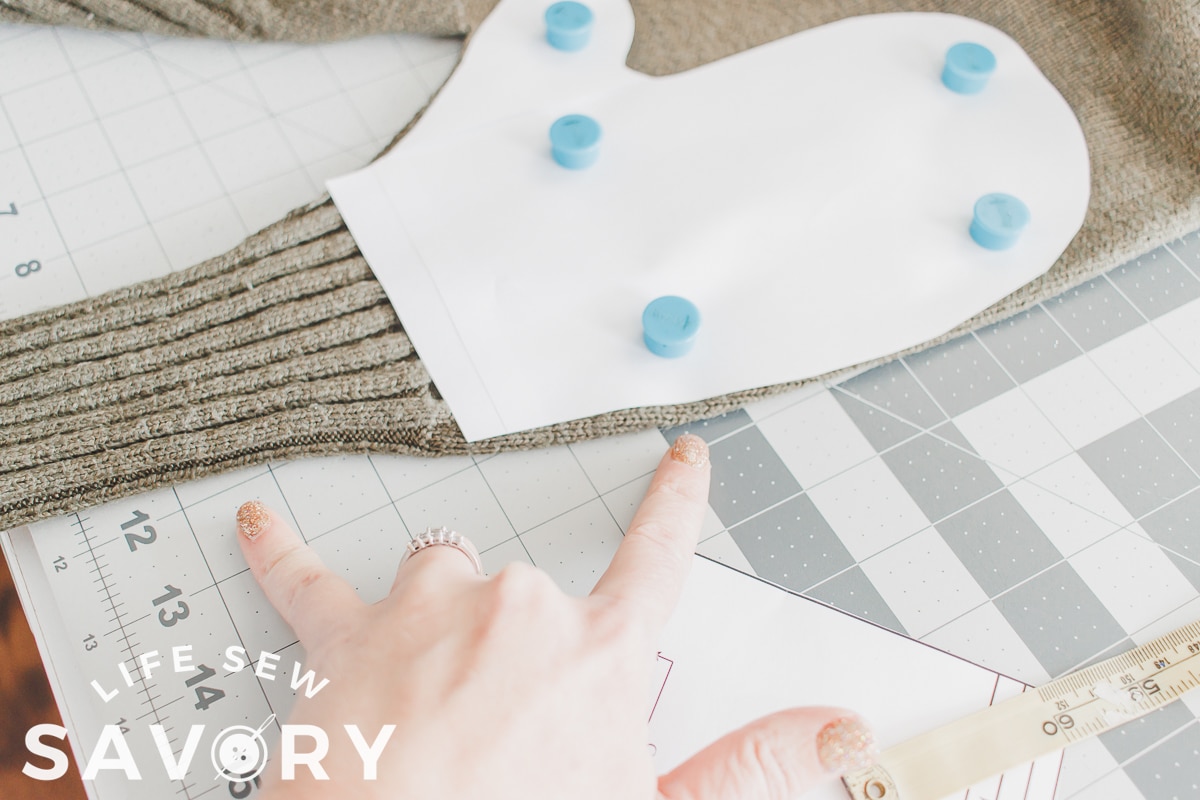
After I cut out the mitten I decided to trim just a bit off the top. Feel free to blend sizes or trim from the pattern before cutting as well. Because part of it was cut on the fold, the mitten opens up like a strange butterfly. Place right sides together and pin or clip to hold in place. Sewing option are under the other cutting options.
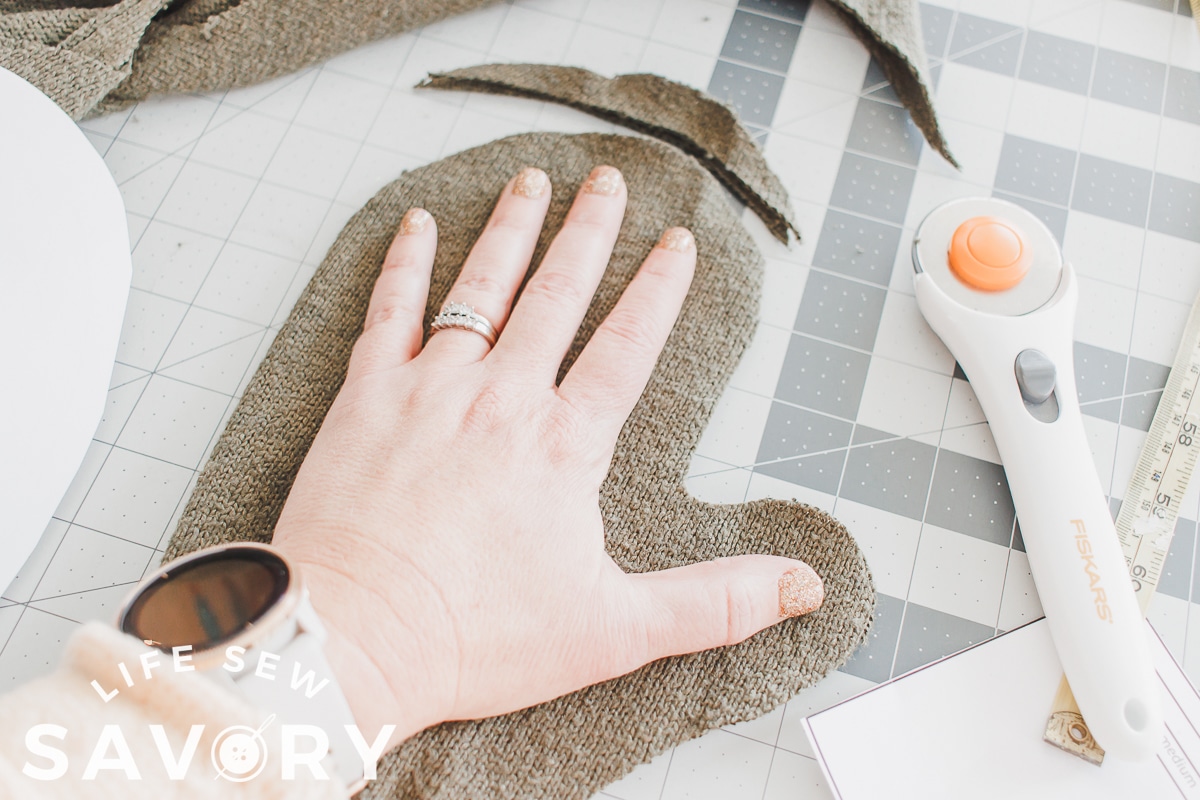
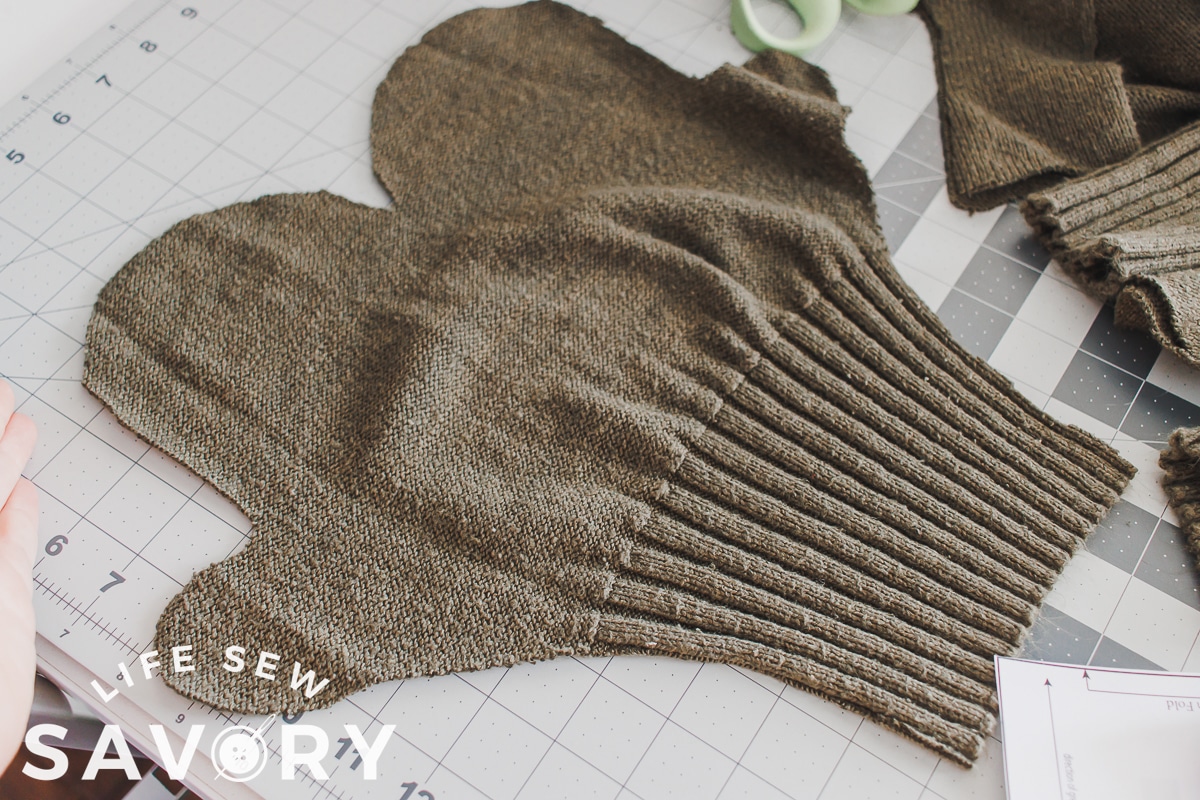
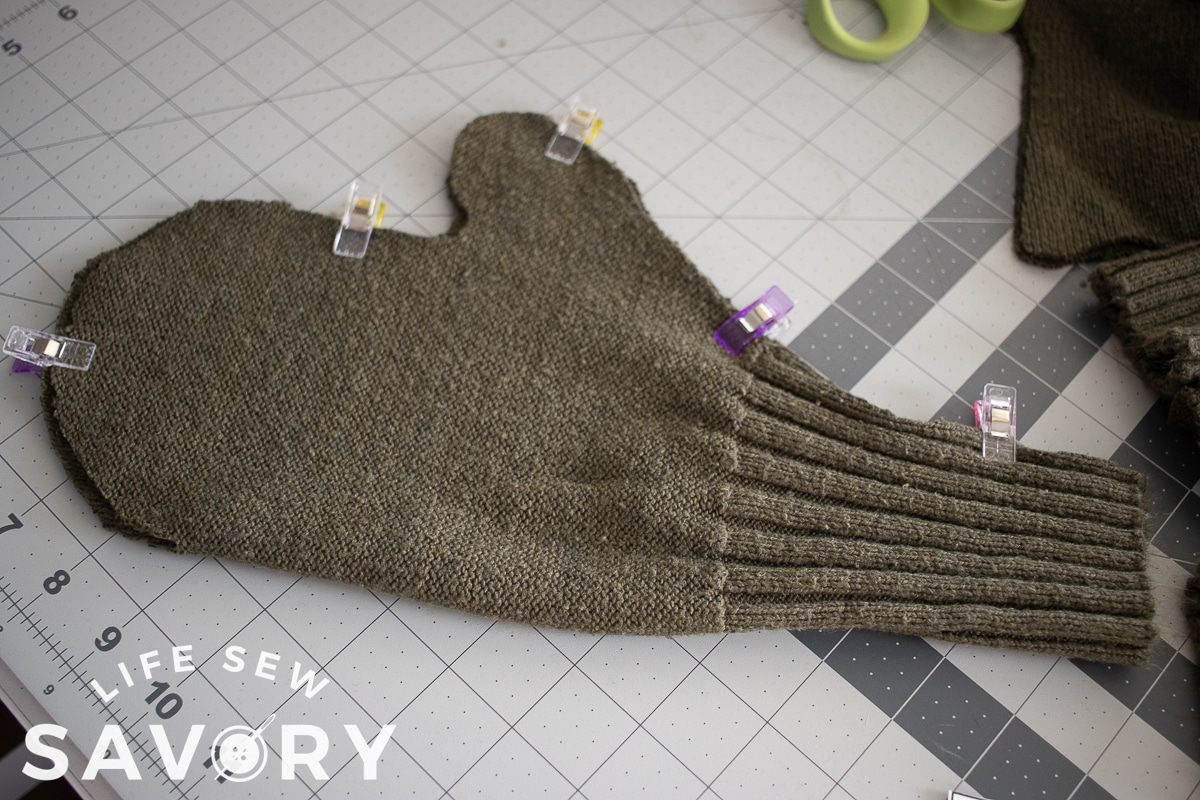
The smaller sizes was I was able to cut right on the sweater sleeve. This kept the ribbing in a circle and was actually so easy. Part of the mitten is cut on the fold for this option as well.
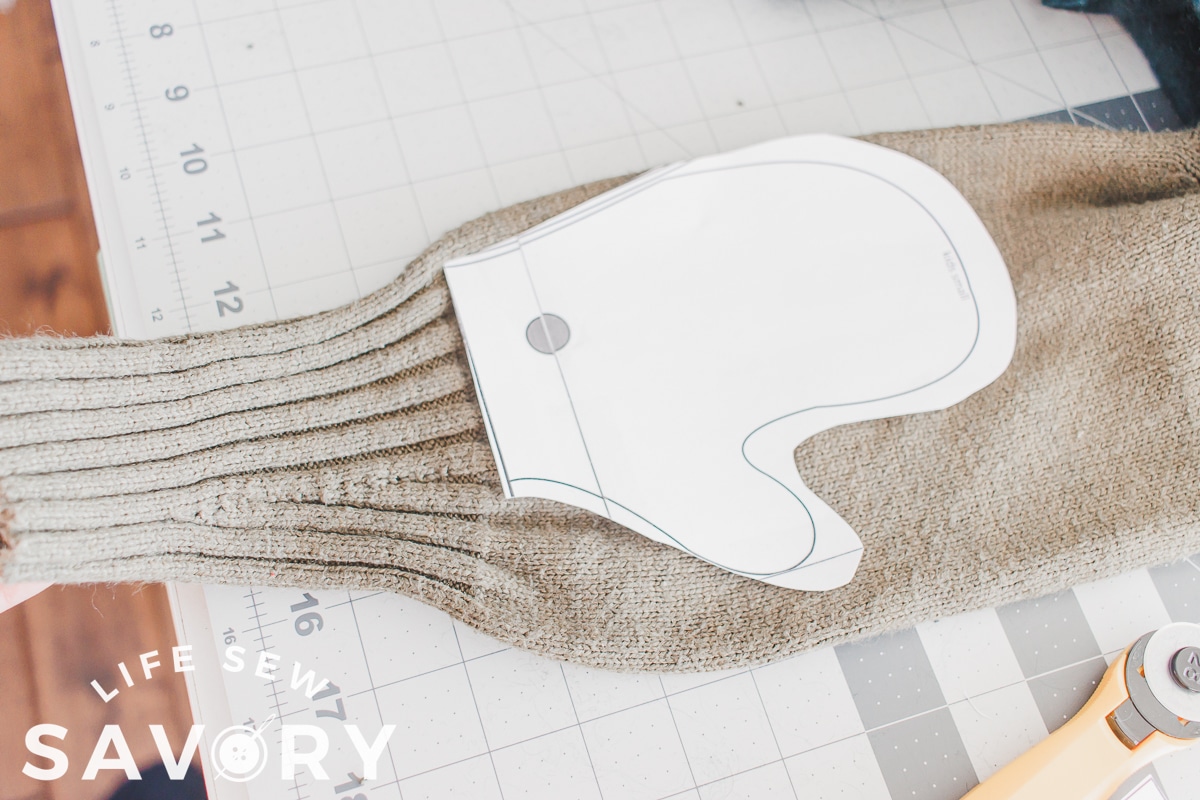
Here is the mitten cut from the bottom of the sleeve and then after it’s sewn. Again, sewing options are below the cutting.
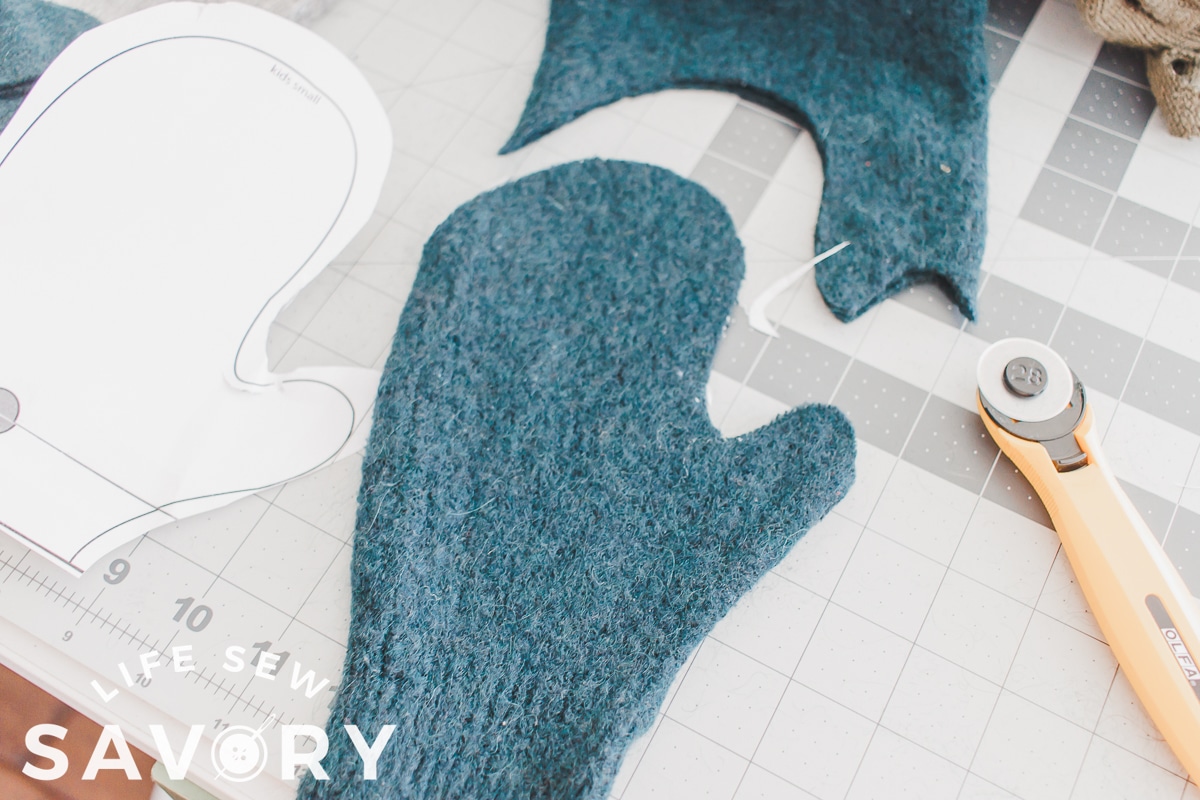
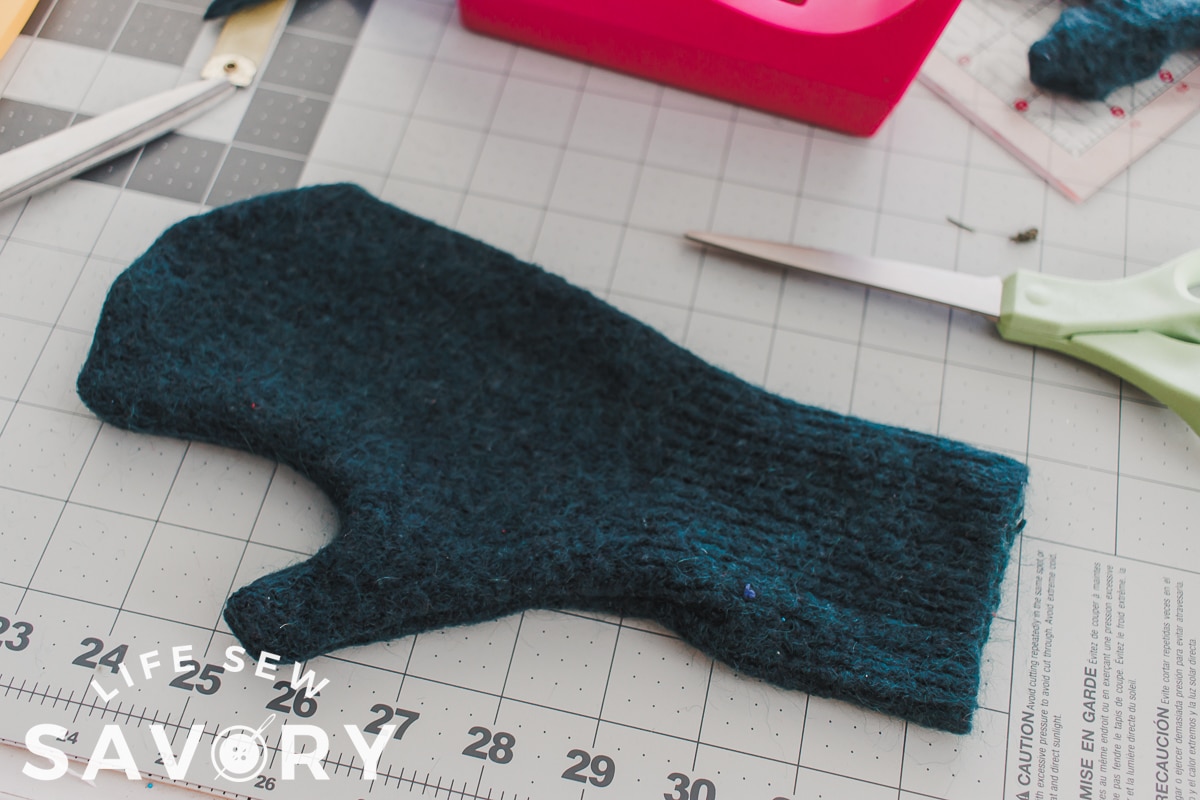
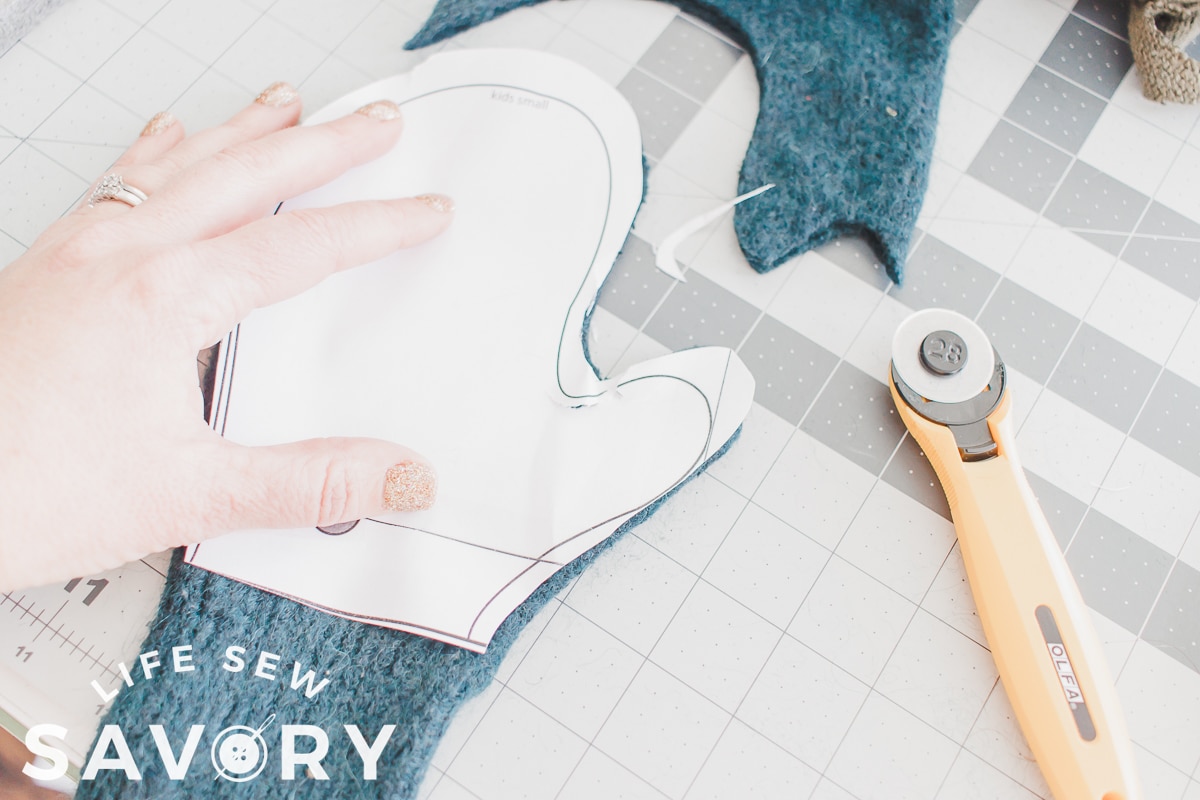
The final option for cutting mittens from a sweater is to remove the ribbing and cut the mitten in two pieces. I cut off the ribbing, then cut the mitten. {cut 4 pieces- two for each hand}
The cut the ribbing separate using the ribbing pattern piece. You an sew the mittens {any of them} using a zig zag on a regular sewing machine {seen here} or a serger {seen below}
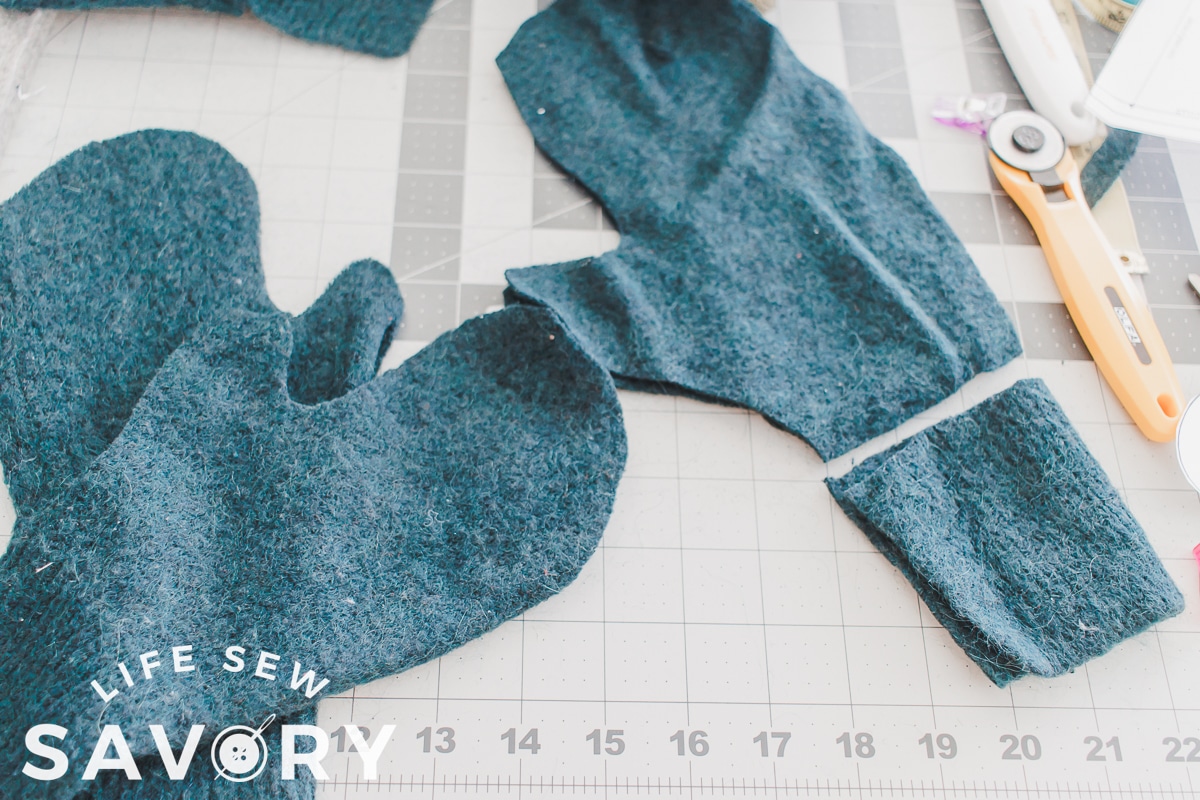
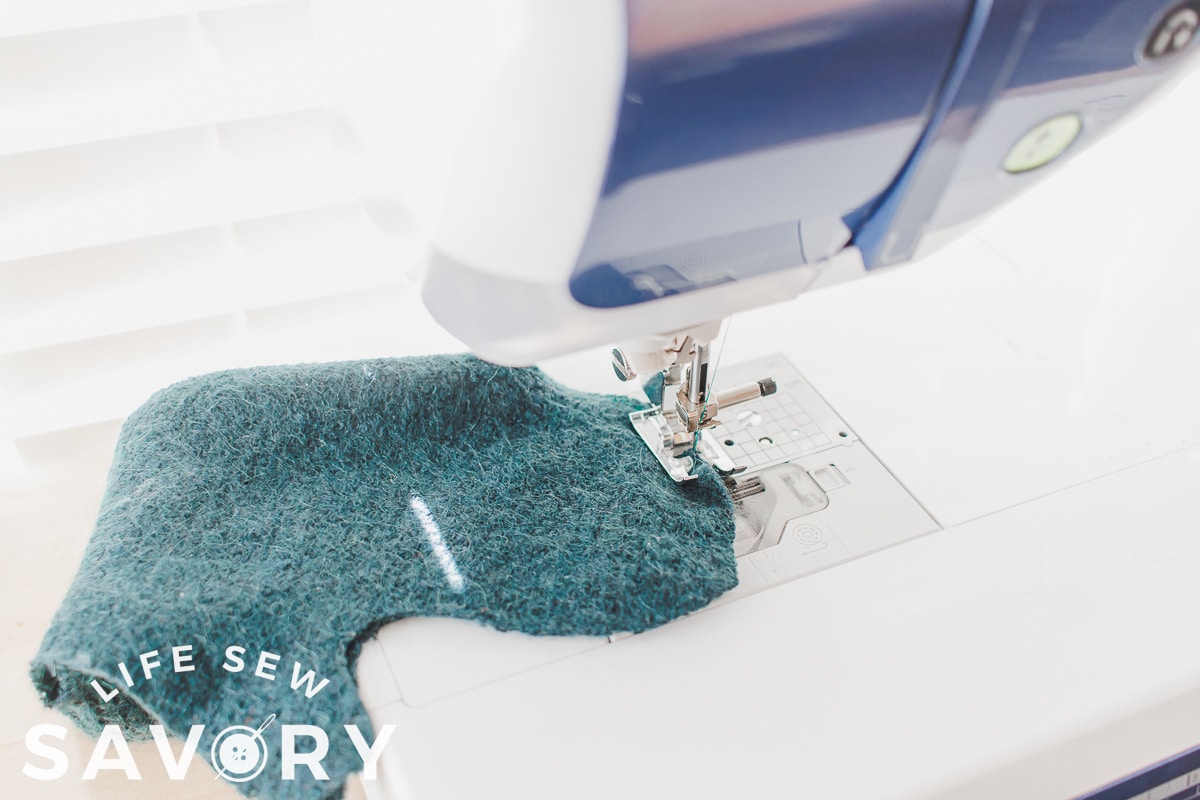
For any mitten where there is a raw seam on the bottom of the ribbing, make sure to finish it with sewing or a darning needle to draw the threads back through. For the two piece mitten sew the cuff to the mitten with right sides together. I used the serger to join.
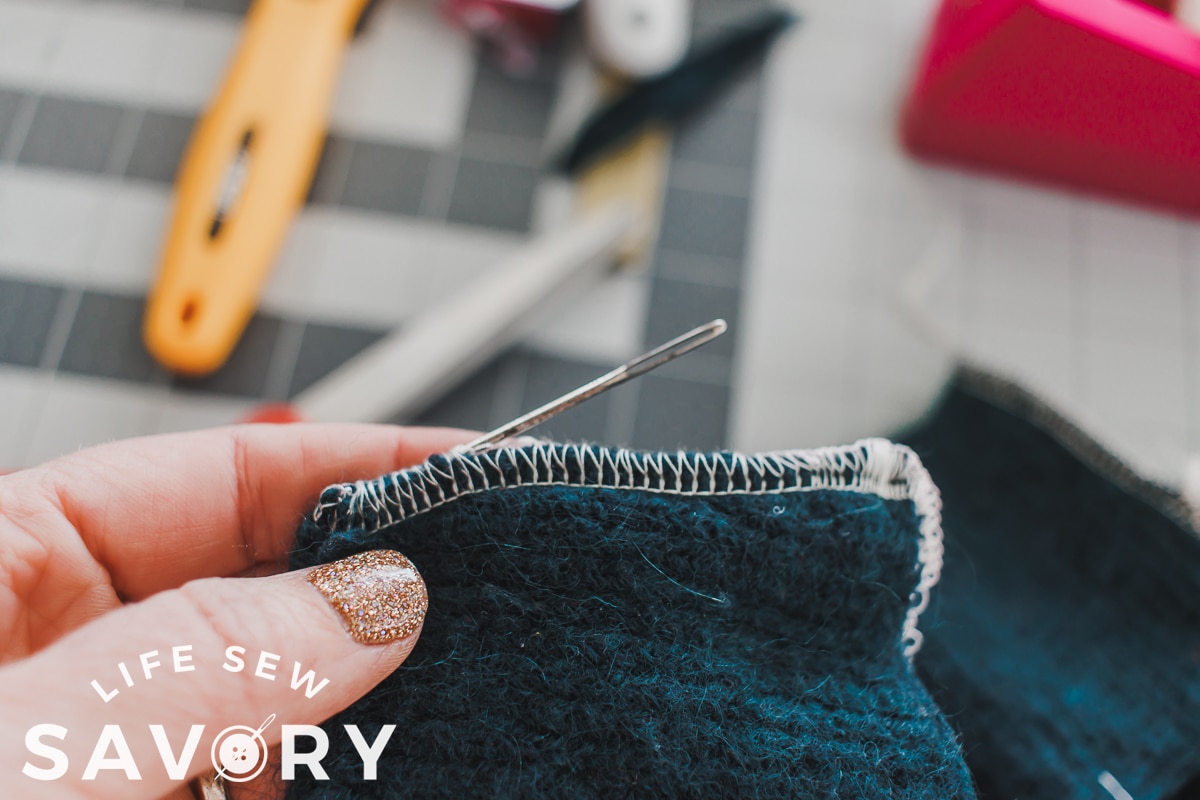
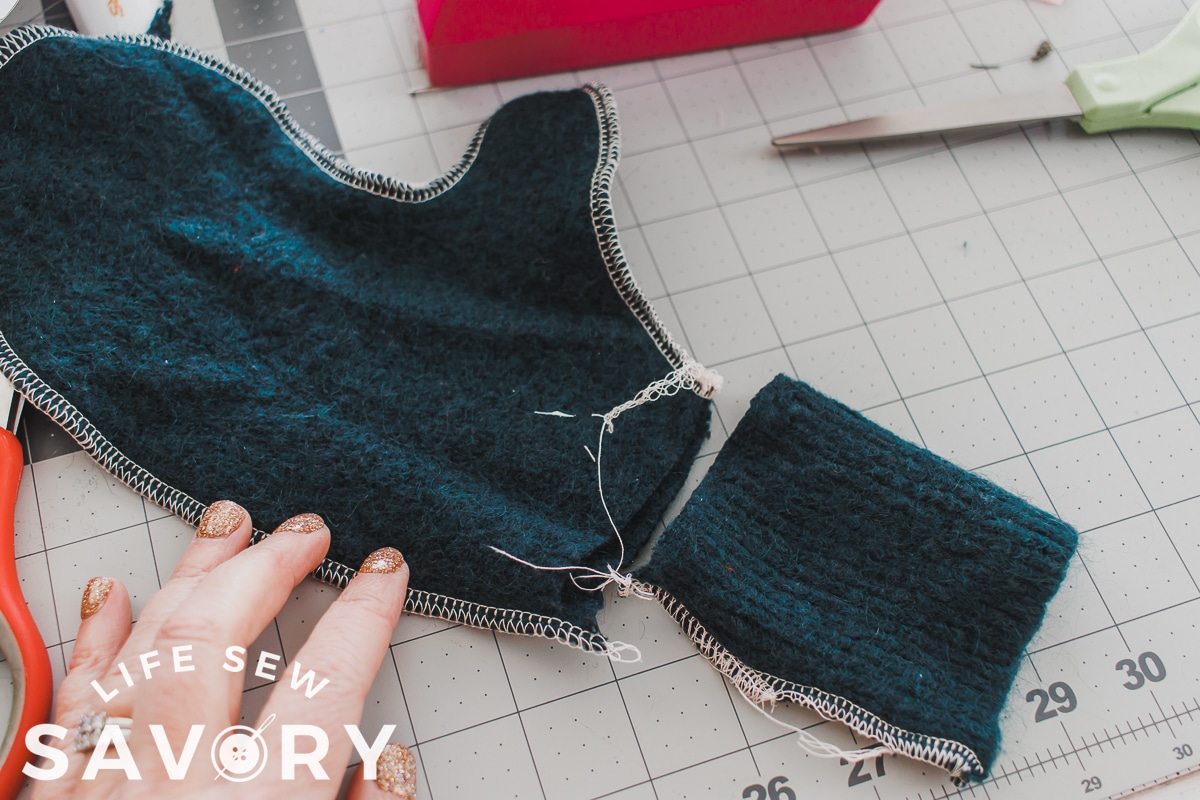
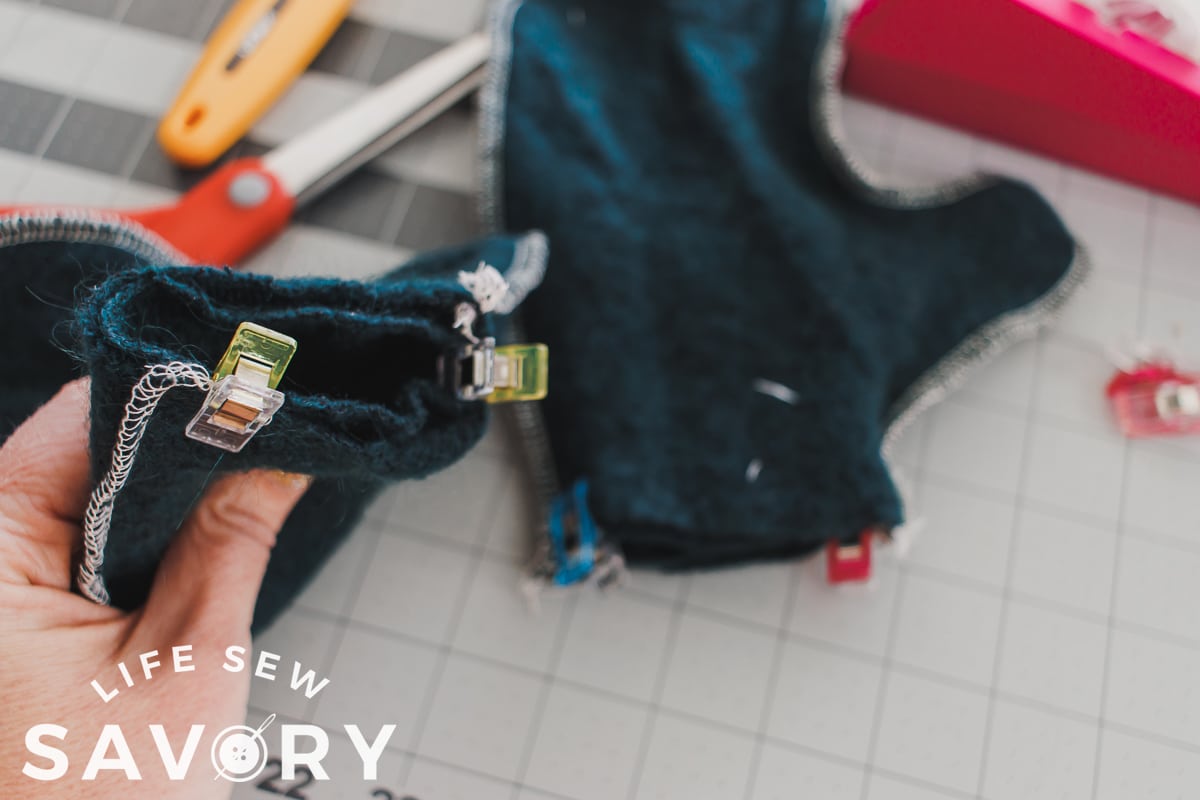
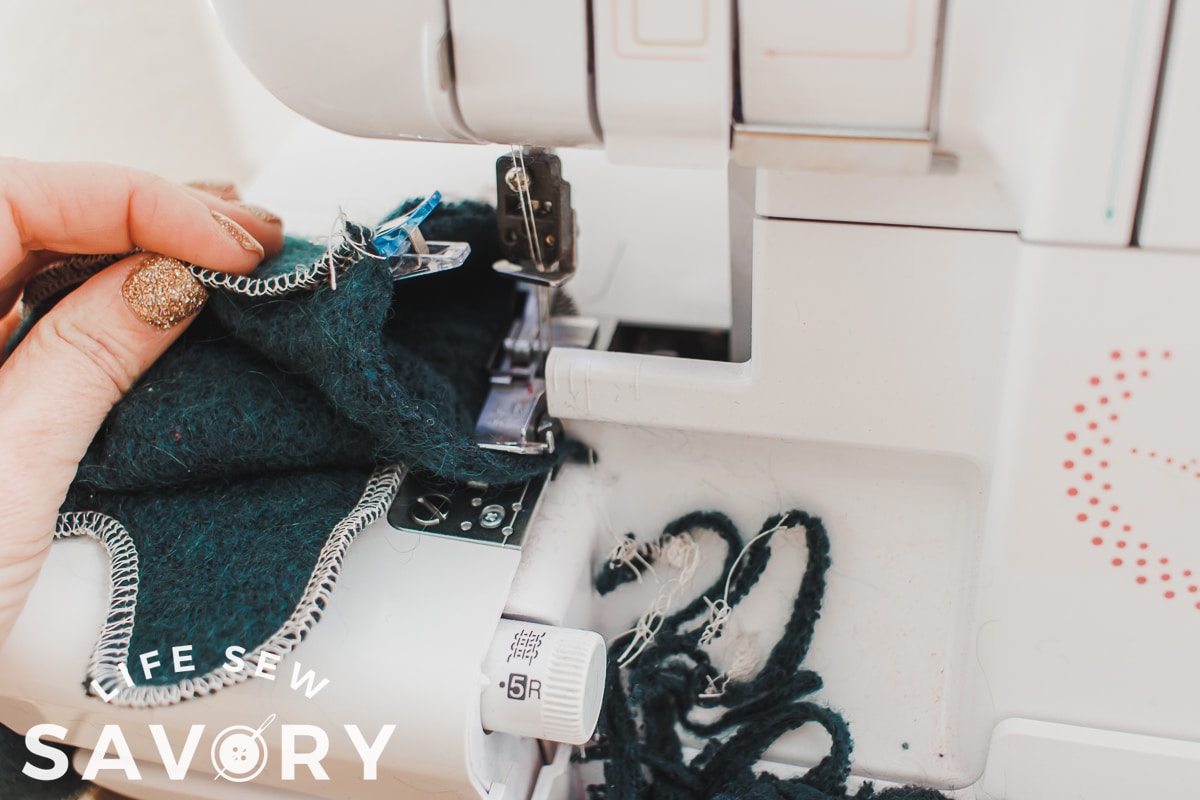
You can use the serger to sew up the whole mitten as well. I liked how this seam laid, but the zig zag works ok too. Press and steam any of the seams to make them lay flat. For these mittens I was able to sew up the open side of the cuff and around to the back of the hand to close that strange butterfly shape.
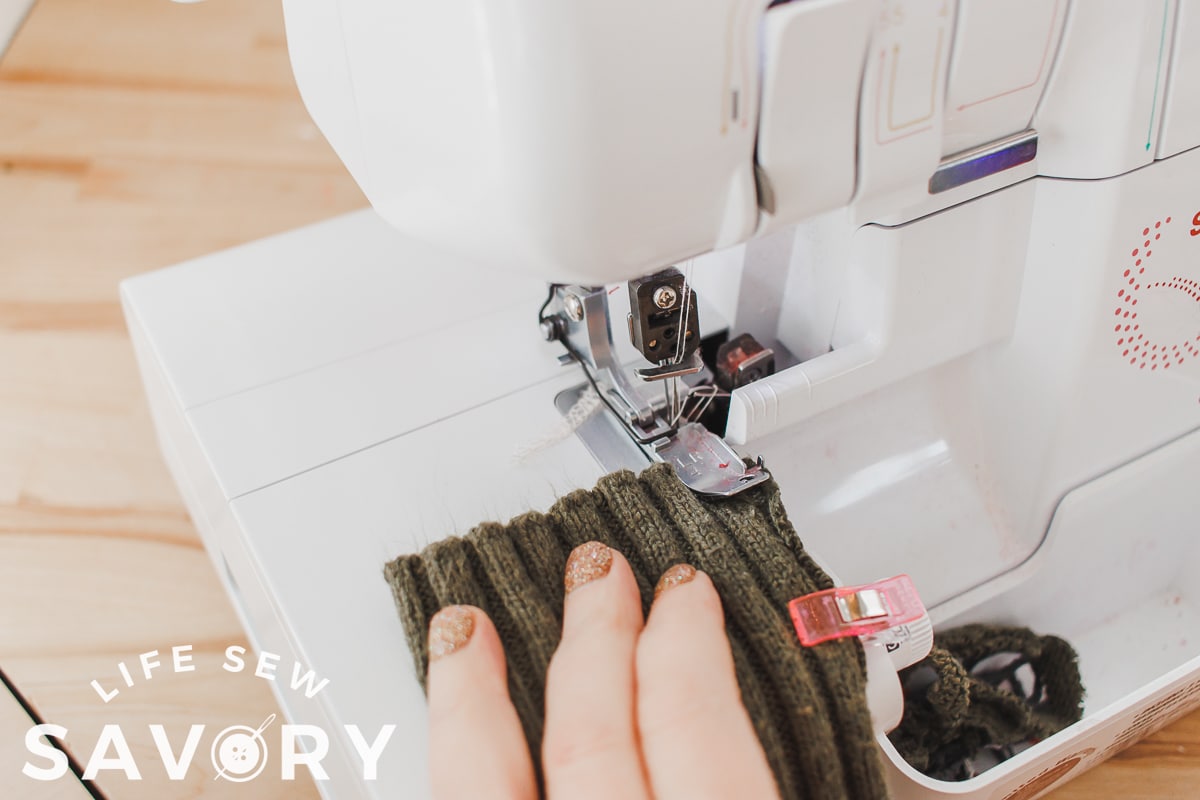
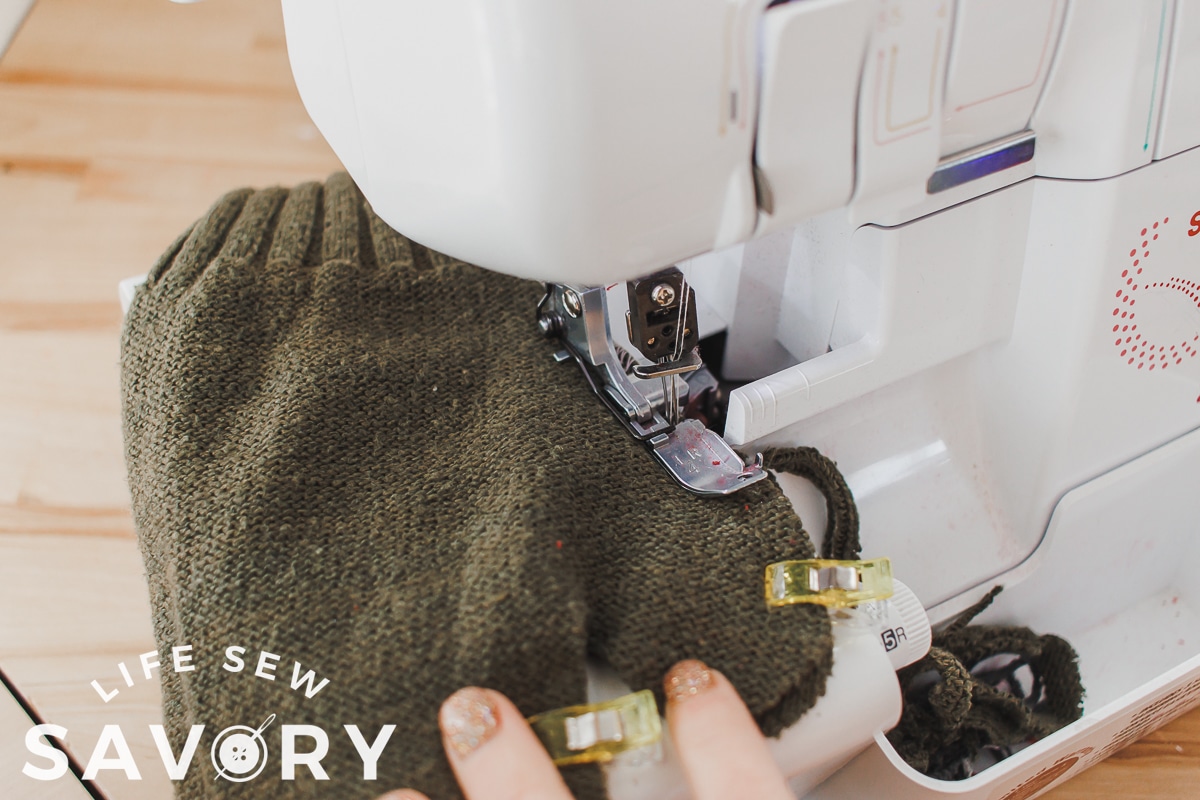
So fun right? I would love to get my hands on some fun wool sweaters to wash/shrink and sew some more mittens! You can also check out my post on winter accessories to sew for more fun sewing projects.






erica B says
I used this pattern for my toddlers. The thumb area ended up a bit small once I stitched it. (I’m a beginner sewing level). They’ll work for my 1.5 yr old without the thumb but my 3 year old would never be able to get his hand in the small size. Also.. sewing the thumb was mega hard so I have so much more respect for people that make and sell handmade mittens!